The Dragon Age II: Legacy walkthrough contains:
Daniel "Thorwalian" Kazek
Walkthrough manual:
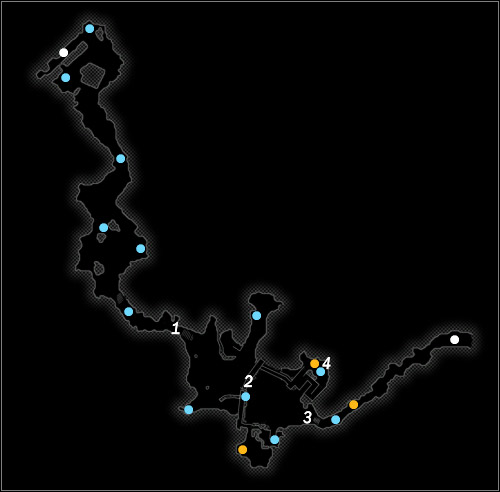
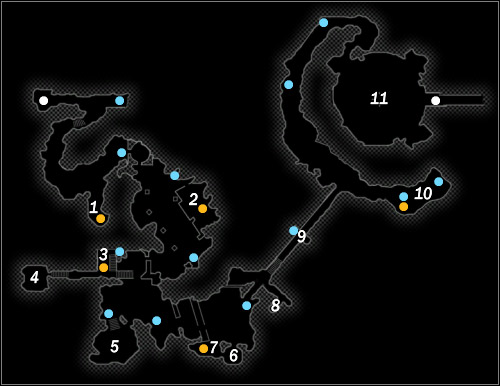
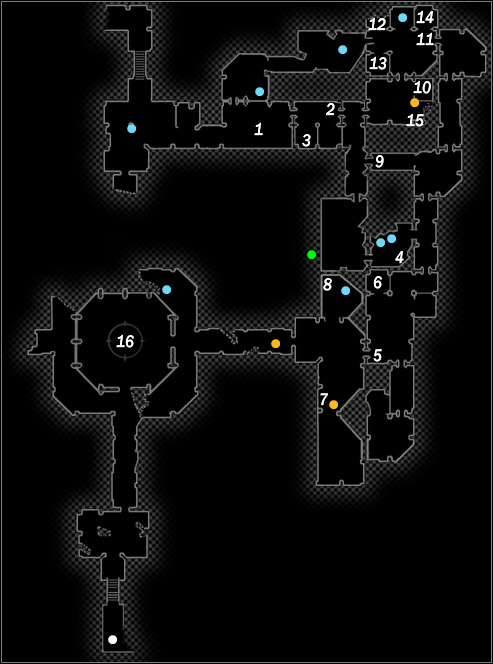
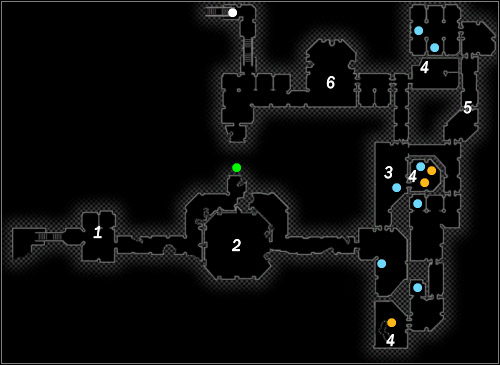
In the Legacy DLC you explore some new locations. The description of each is preceded by the map with all the active items, codex entries, sights and passages to other levels marked. The numbers indicate the important places but the numbers' explanation is in the text dedicated to the particular level.
You can find here the description of the main and side quests. As well as the information about the existence of the hidden boss and how to solve all the puzzles leading you to the bonuses. This walkthrough includes the description of the alternative decisions which player can make and shows their consequences. The text written in orange indicates actions presented in the picture above. The text written in blue is about all the extra missions. Here you have the explanation of the markings you can see on the map:

Passages between locations

Active items (like chests, bottles, rubble, etc.)

Letters and notes adding entrances to the codex

Sights
To discover the Hawke's family history you need to go upstairs of your mansion where you will find an object described as the Memento of the Past. Touch it and you will hear another Varric's story about the Champion travelling to the Vimmark Mountains and revealing the mystery hidden there.
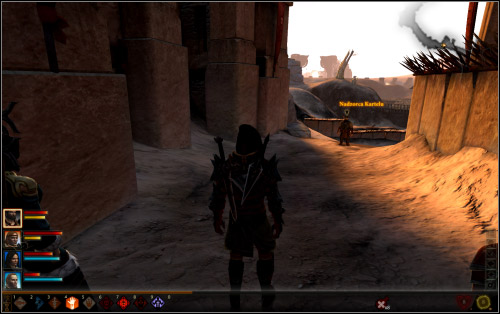
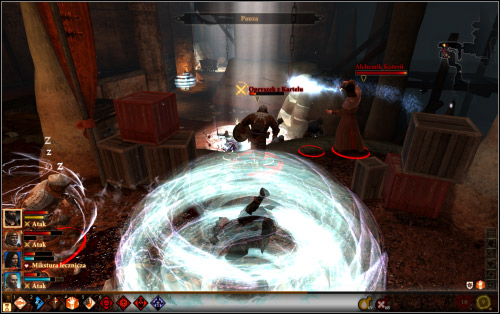
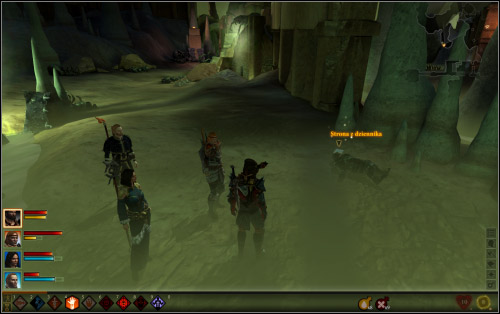
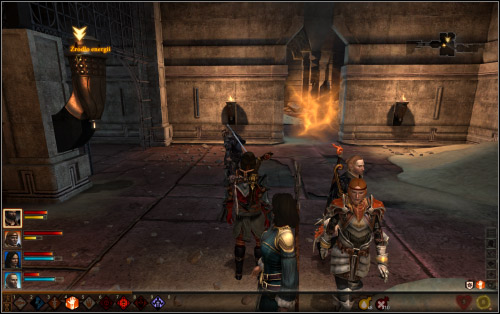
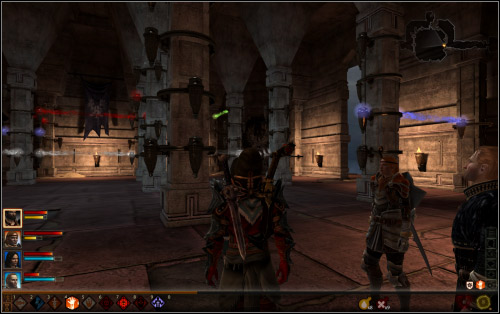
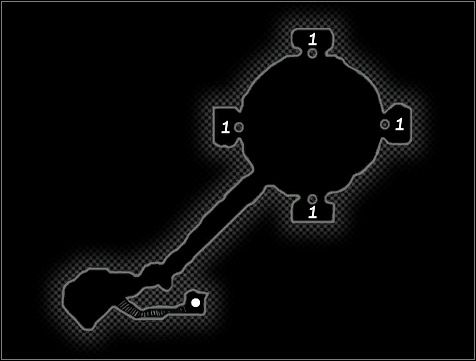
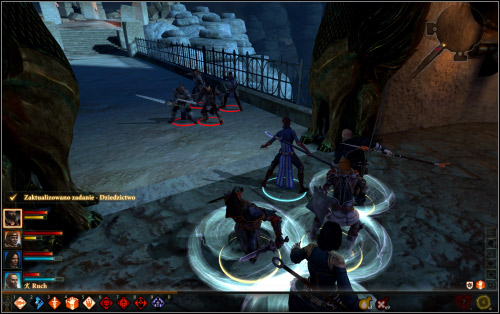
The Champion has travelled there after being attacked by the Carta gang. The case is odd and it needs to be explained right away. Gather your team and move. While travelling you will hear a scream. The problems starts when you notice the Carta's member (1). He will explain that he needs the Champion's blood because of some case connected with the Hawke's father - Malcolm.
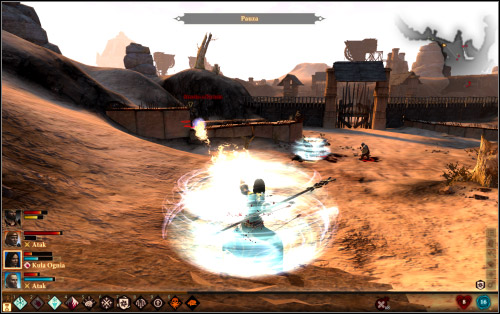
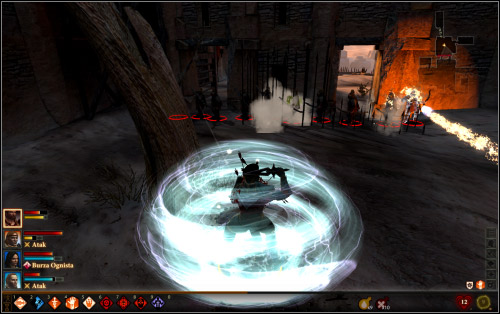
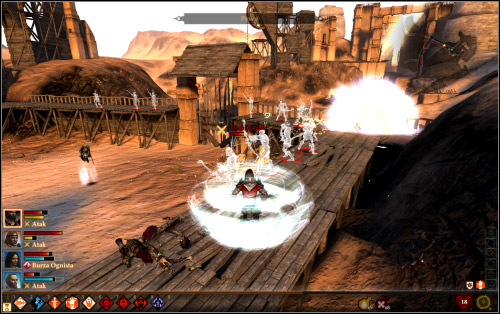
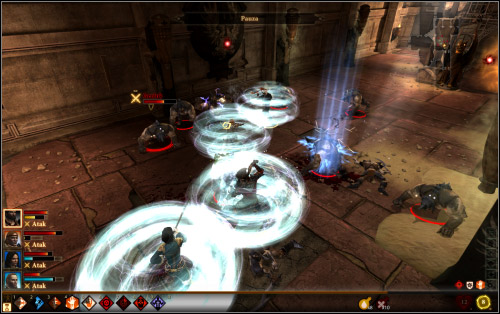
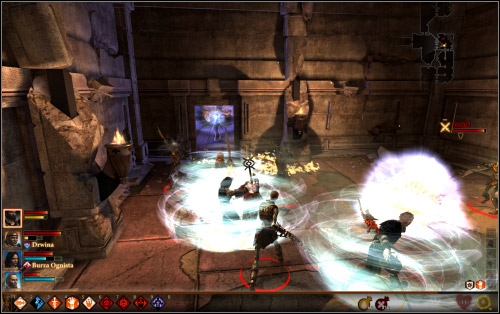
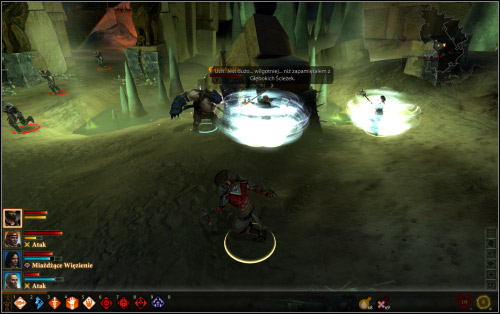
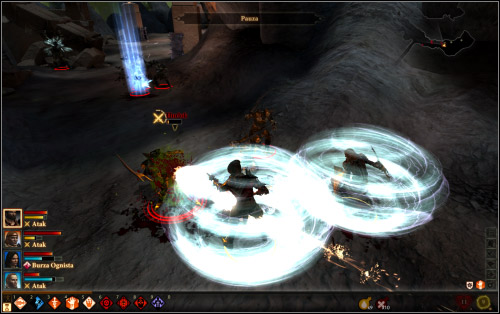
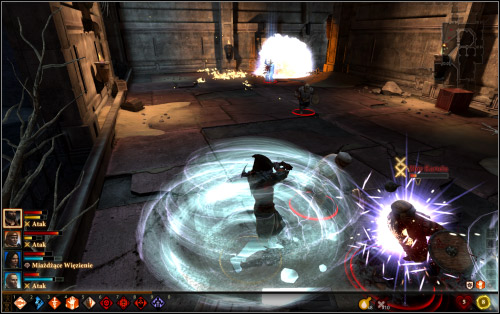
The talk ends with a fight. The duel as usual at the beginning of the new adventure is quite demanding, mostly because of the archers standing higher. Try to eliminate them in the first order and pay attention to the life level of the rather delicate companions. The archers and the other Carta's members will be supported by few other warriors. Then open the gate (2).
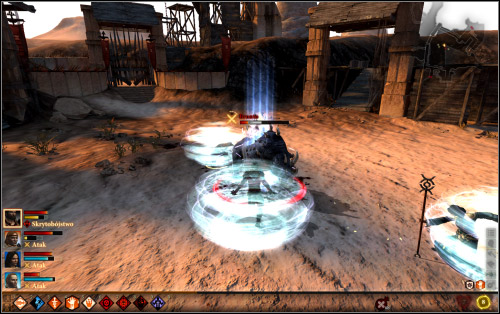
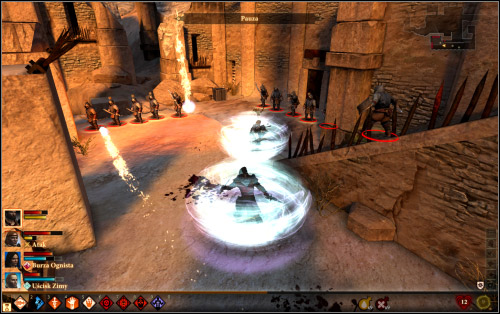
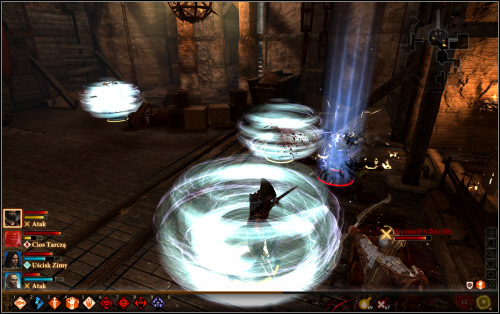
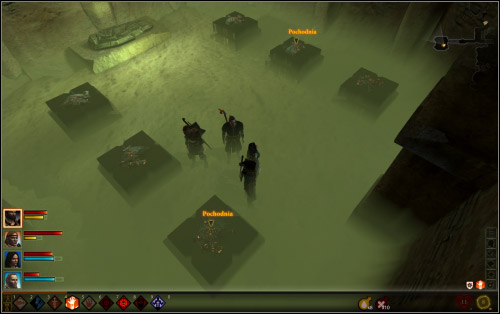
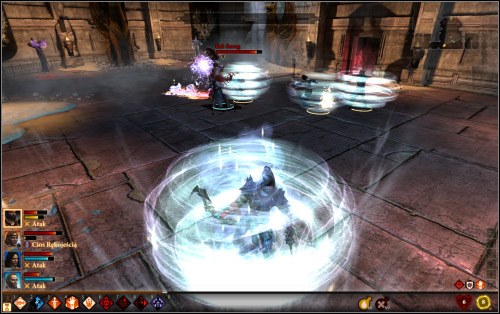
Bronto will appear here in a moment. It is big, maybe not the mightiest, but be careful when it charges. Other dwarves will appear and attack you from both sides. During the fight try to withdraw from the center because the bandits may trigger the trap that will shoot the blades. They don't have to do it but better be careful. The other gate is closed (3).
The key is in the chest behind one of the platforms (4). Take a look on two rocks lying on the edges. That will give you two new entries to the codex. When you pass the gate you can go to the passage.
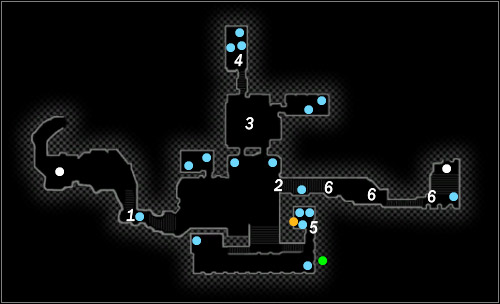
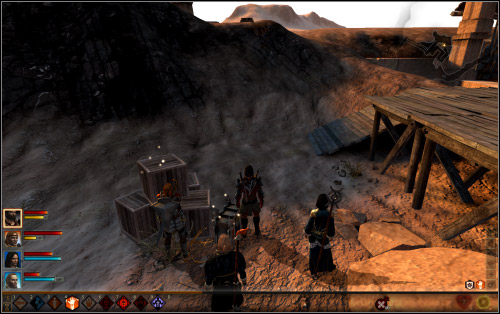
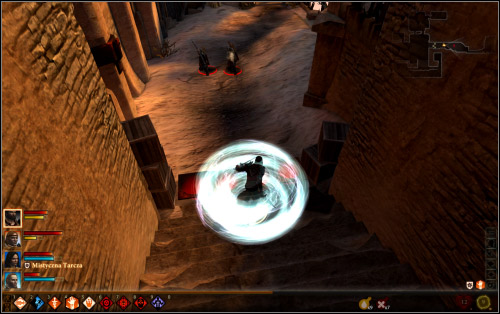
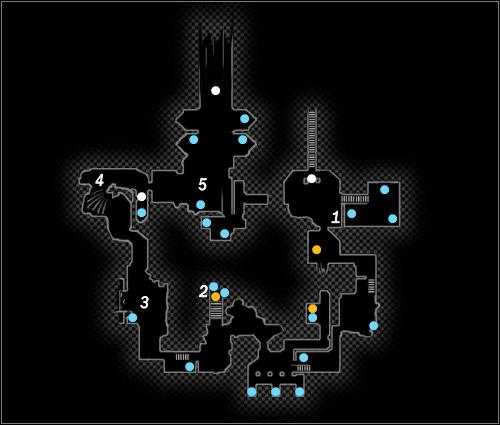
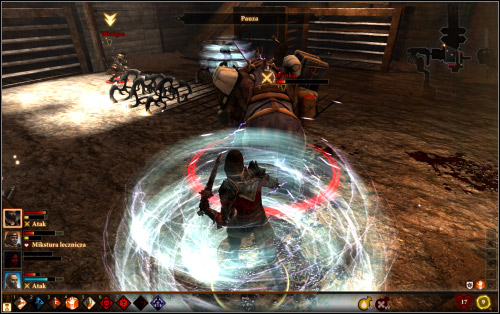
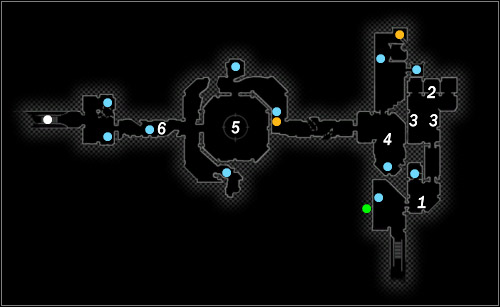
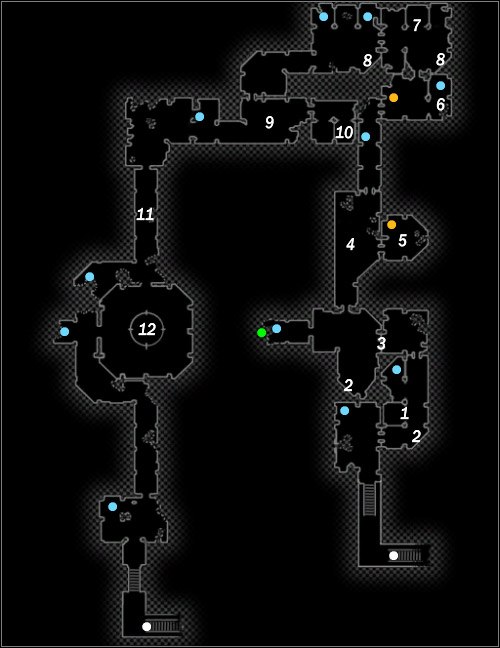
You get closer and closer to the Carta's hideout. Don't expect warm welcome especially when you see the running dwarf. When you go downstairs you will notice an easy trap (1) which you should dismantle.
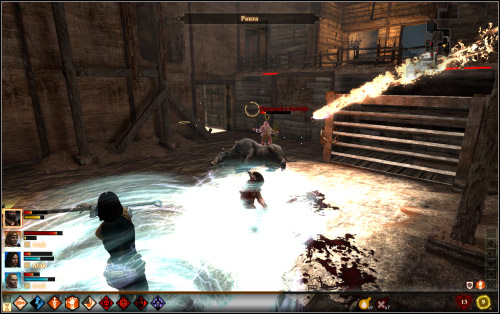
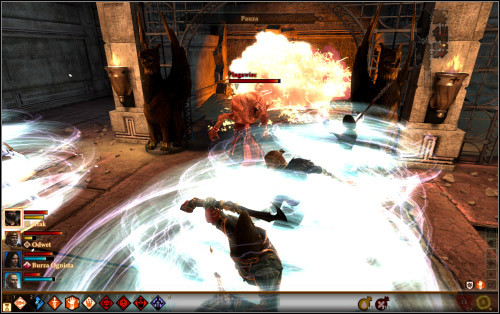
It will be hot in the courtyard. First two brontos then a group of thugs. There will be about 10 of them so pay attention to your companions. Luckily, no archers this time. The main gate (2) is closed but you will find the key nearby. Go downstairs to the small room. Before you do it search the inside of the post. It is additional task and if you don't feel like doing it skip the next paragraph of this walkthrough.
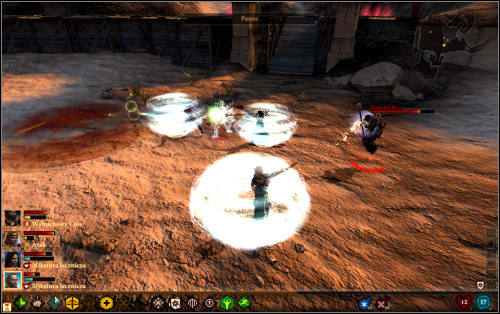
Pay attention to the room with the trap (3). Trigger it and remember the way it works as you will be attacked by the locals when you enter the room 4. These won't be ordinary thugs but a group of archers and assassins with quite hard skin. Luckily they will stand in the range of the trap, so activate it to get rid of at least part of the enemies. Unfortunately you can't eliminate all of them that way. See for yourself whether it is worth to give it a try at all. In that secured room you will find some interesting items.
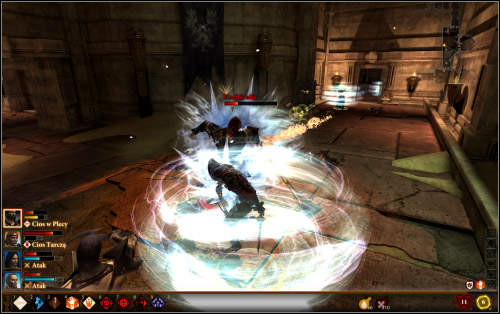
When you go for the key (5) don't let the tranquility of that place lower your alertness. When you go back the dwarves will attack you sending mostly archers. Try to focus their attention on a tank and beware of the overlord.
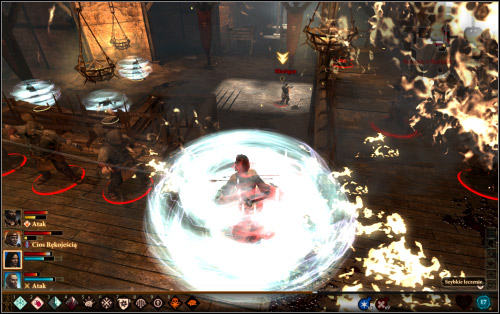
The Carta's hideout is close but it doesn't mean the thugs will stop attacking you. When you open the gate two snipers will shoot at you. Before you reach them, deactivate the trap under the stairs (6). There are two more so be careful. The main entrance is guarded by the bunch of warriors.
You are in the bandits' hideout. One of them sleeps in the start locations but he will wake up when you come closer. Try to kill him immediately so he won't activate (1) the trap (blades flying across the room).
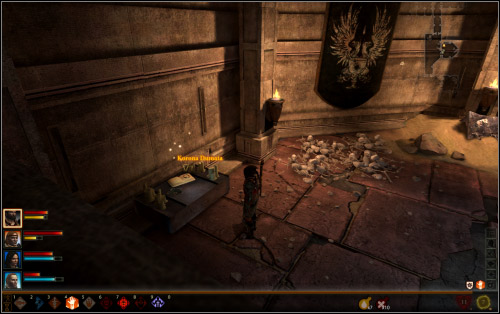
In the next room you will find a note about the case relating to the Hawke's family's blood. It seems that the man behind it is called Corypheus. Open the door and listen to the dwarves talking. Then attack them.
The fight won't be easy not only because of the wandering thugs but because of the archers standing up. If you don't have a good range weapon you need to go around to break their bows. Take a good look of the note lying at the table in the place where you have eliminated the archers. You will find something more about the mystery kept by the dwarves.
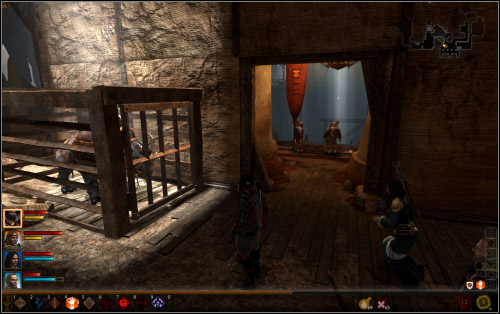
Move on and you will notice the bronto locked in the cage. Don't release it unless you want some bruises and few experience points. Anyway you'll be attacked in a moment. Eliminate the enemies but don't take the main path.
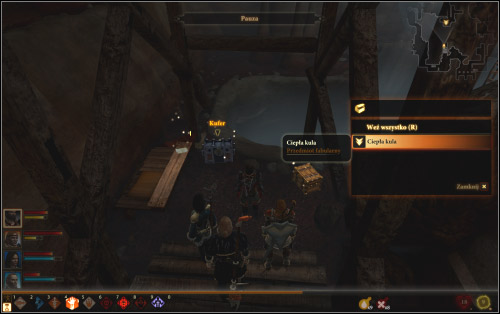
Above the chasm you'll find stairs leading to the hidden location (2). You'll find there a letter, items and the mysterious object described as the warm orb. This is the item that triggers the fight with the additional boss - Malvernis.

Fighting Malvernis
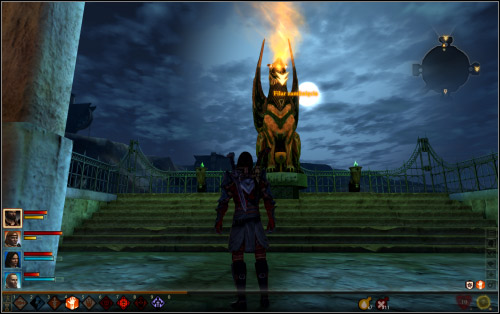
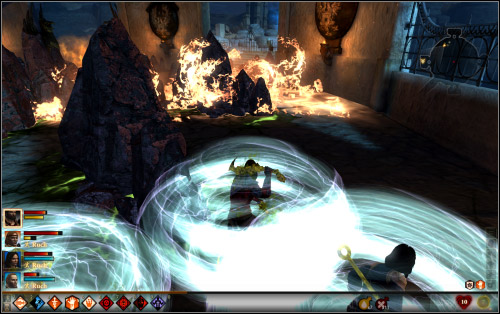
The fight will start when you return to the Vimmark Wasteland with the orb - to the arena behind the first gate. Now you'll notice a pulsating obelisk. Touch it and you'll fight Malvernis.
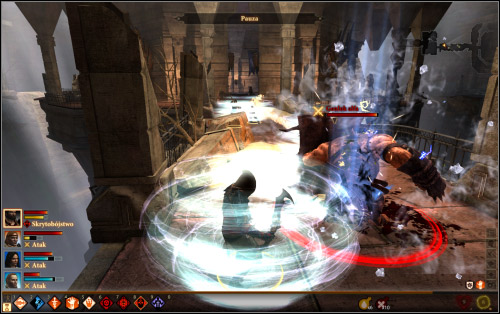
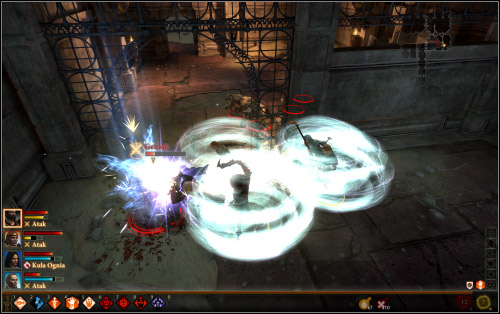
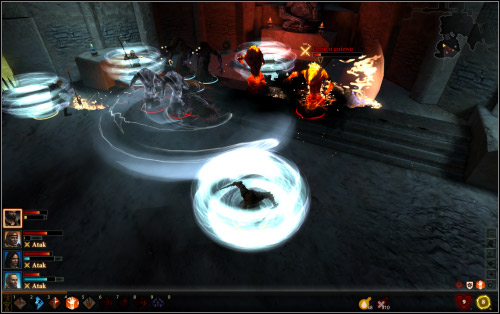
The duel is very demanding and is divided into three phases. In the first one you'll fight with the archers' ghosts which aren't very tough but there are plenty of them. The problem is they will appear on the both sides so you should attack them simultaneously. The active pause should help you do that. At this point Malvernis is beyond your reach.
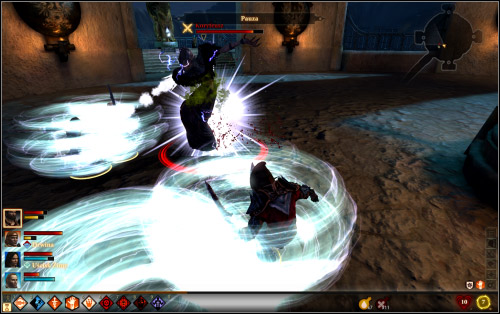
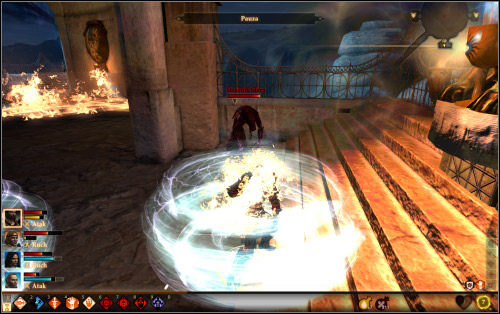
It'll change when you eliminate his "guards". When the last archer is dead the boss will attack you. Counter his magical attacks depleting his life level. In the meantime he will send other ghosts to the attack but they aren't a big threat.
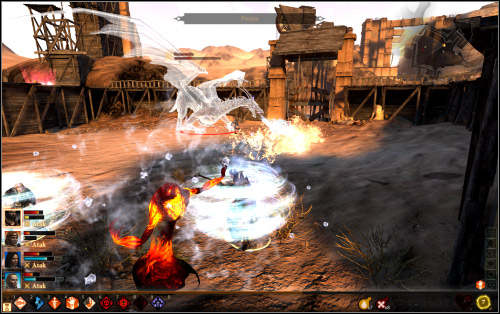
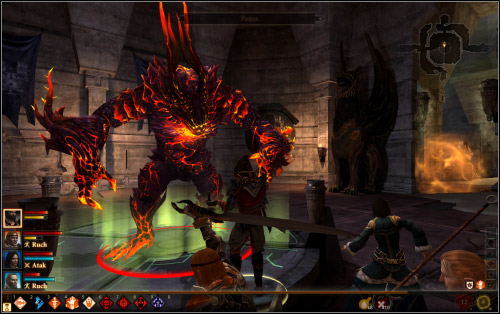
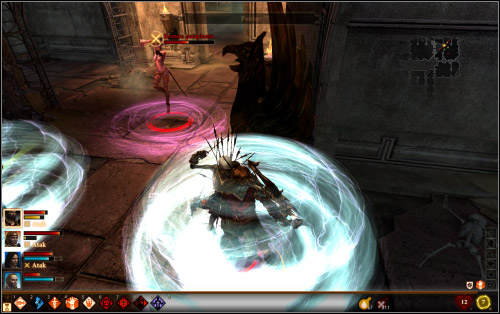
When the Malvernis's life level hits about 2/3 he will transform into a gigantic dragon. A fireballs will fall down from the sky and the dragon will attack your group. In order to survive make it busy with a tank and attack it with all the best stuff you have. In that form the boss will often kick moving the opponents back, jump and spit with fire. It may happen he'll summon some demons. For defeating him you will get two valuable items - Smite and Ichor.
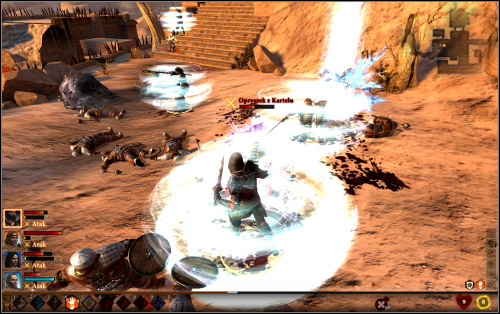
When you eliminate (or ignore) Malvernis move on. Suddenly Gerav altogether with his palls will attack you (3). Gerav is only a bit stronger than his companions. When you eliminate him check his pockets and you'll find an interesting letter.
Before you reach the stone made stairs (4) where you'll find a group of dwarves, their overlord and Coterie's alchemist. If your team is experienced enough you won't have any problems with them. But you will have them when you lift the bars and enter the next location. Notice that here is the passage leading to Kirkwall.
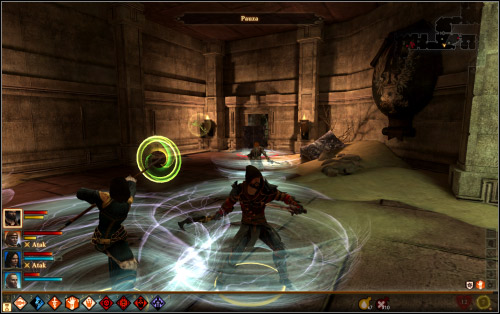
You'll meet the Carta's leader - Rhatigan (5). He'll be very pleased to see you but don't count on him becoming your best pal. The mysterious Corypheus wants your blood and the dwarves are going to give it to him. Rhatigan is difficult to kill as he use the help of Wanka, armed bronto which can knock out less resistant character with a single charge. Be careful at the beginning of the fight when the animal attacks.
Rhatigan is very tough himself and he can move quickly. What's even worse he has the support of the archers hidden behind the barricade who can activate traps. It won't be easy. First try to eliminate Wanka and then the rest of the company.
You will gain a certain weapon-key and find yourself in the location's part without the way out - the Corypheus's prison.
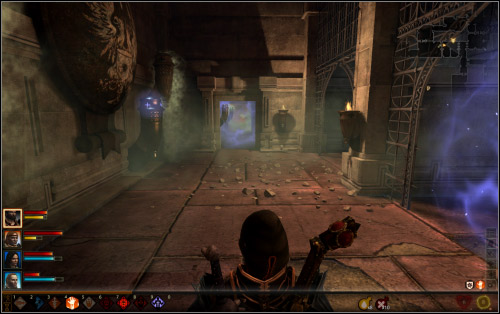
Now you just can't go back to the previous locations. You need to move on. Have a look and you'll notice the darkspawn and a mysterious man. In the next room you'll be able to gather your team and leave some items in the chest (1).
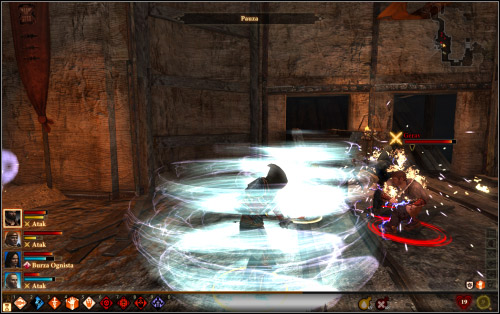
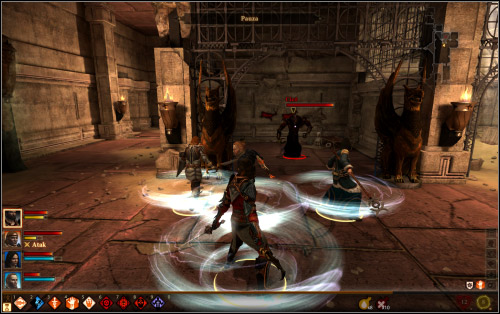
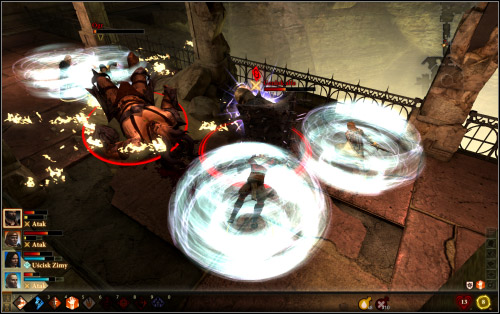
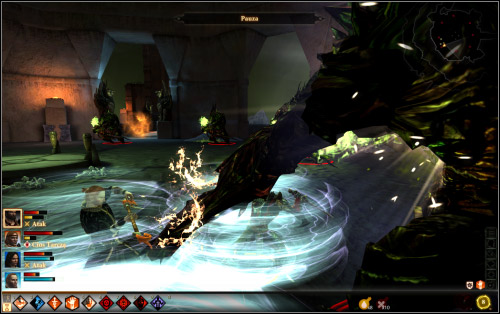
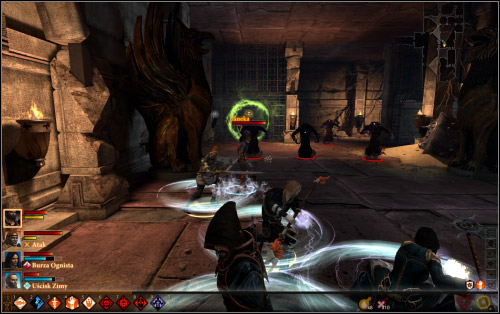
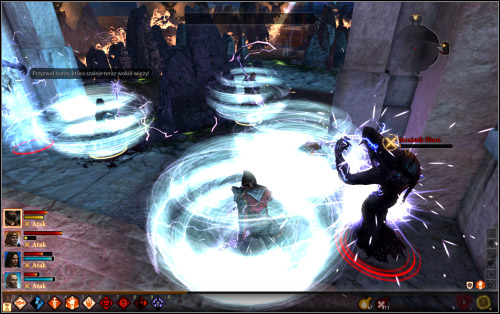
Eventually you'll get to the room full of genlocks and hurlocks. Their biggest asset is their number as there will be even more of them. Luckily besides physical strength they won't surprise you with anything else.
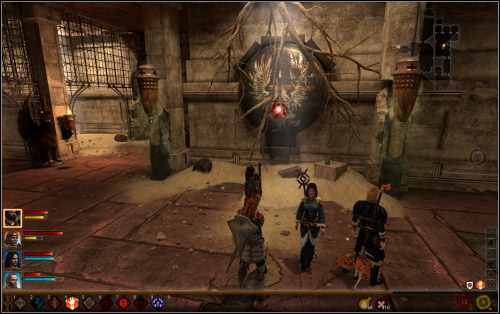
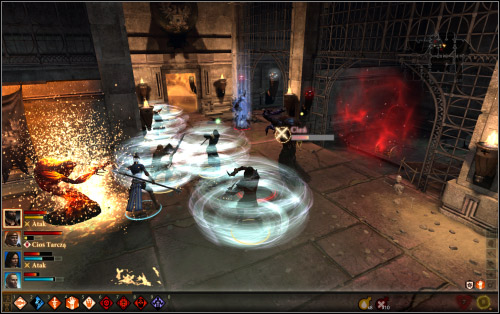
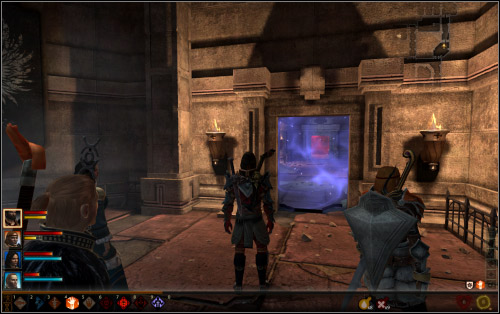
After the fight you'll hear the voice coming from the blue glow. Next to it you'll see a magic barrier (2) blocking your way to the shadow and if you get interested in the location you'll activate new task. To do so take the glowing signs from the decoration (3). A magic passage will open where you need to fight.
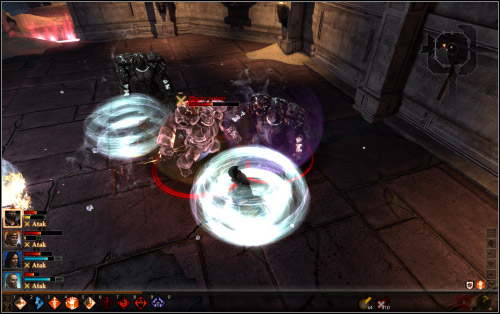
The opponent is no match to your team but it will summon help. Shadows will appear, luckily less resistant than the main one. When the fight is over you'll learn that the voice you have heard belongs to your father and you'll activate the Malcolm's Will task. To finish it you need to get rid of the demons. This walkthrough will help you find them. Now move on.
When you approach the chest in the location 4 a small group of the genlocks will attack you. Eventually you'll get to the bridge where you'll meet an insane warrior. He'll tell you that the only way out is to reach the center of the prison and break the ancient seals. The Rhatigan's key and Hawke's blood will help.
The first seal can be broken in the spacious room (5) with a glowing pedestal in the center. When you touch it with the key a guard will show up. No sophisticated powers apart from strength (it can hit you really hard). It can teleport from time to time.
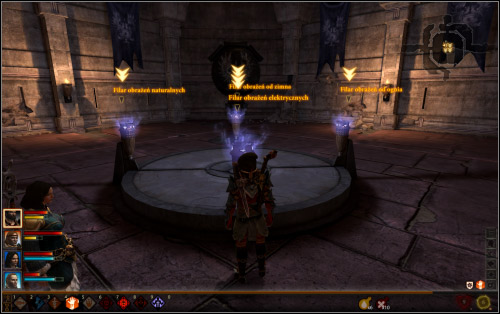
After the fight the insane warrior will come back. He'll explain that you can absorb the power of one of the four pillars surrounding the seal. Each gives different bonus to the weapon-key held by Hawke. Here is the list of those powers:
The pillar of nature damage
+ 5 nature damage
The pillar of electricity damage
+ 5 electricity damage
The pillar of fire damage
+ 5 fire damage
The pillar of cold damage
+ 5 cold damage
On your way to another floor you need to solve one more problem - the alpha genlock that appears on the bridge (6). Its stronger than its ordinary version and has a mighty cover. If you hit it you won't do it any harm. The best way is to focus the beast's attention on the tank and attack it from behind. It also likes to charge knocking down everyone on its way.
You start your trip here fighting with a demon sealed by Hawke's father. It's an abomination (1) but to release it and fight it you need to find two seals (2). Finding one of them requires a short walk.
When you come closer to the passage (3) you'll see it's blocked and living corpses will appear. When the path opens the undead will attack once again this time with an emissary leading them.
When you activate the other seal go back to the cage with the abomination or take the main path continuing the main mission. If you choose the first option remember that the opponent will act identically as the previous one and will summon help. This time the profane. After the fight you'll hear the Malcolm Hawke's voice.
The room 4 is guarded by the group of hurlocks with one alpha. That one is definitely stronger than the other one and killing it is not easy. It is a tank so you need to hit it hard.
When you deal with it go to the next room (5). You'll find the note about the Dumat's Crown which will trigger next quest. To do it follow the Corypheus's trail. All information you need you'll find here later.
Move on, read an interesting note and find a chest in one of the rooms (6). It's a trap - get closer to the chest and the genlocks will appear. There won't be many of them so you can easily handle them.
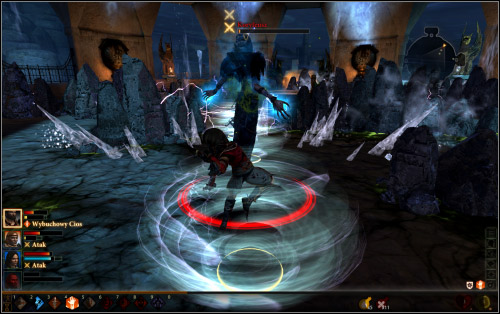
In a moment you'll finish the quest with Malcolm Hawke's demons. The last one focuses on desire (7) which is easy to notice by looking at its clothing. After releasing it (the seals - 8) it will summon corpses and skeletons but it'll fight as well. When you defeat it you'll get an award (which may vary according to the team) and the Malcolm's Will shall be fulfilled.
When you enter the chamber with a sight on the outside (9) you'll be attacked from both sides. Genlock alpha altogether with hurlock and the rest of a company. When you eliminate the opponents have a look at the room that is nearby where you'll find the Dumat's Sacrificial Dagger (the Altar of Dumat quest) (10). You need to find two more items.
Your team will get to the bridge (11) guarded by a genlock with a cover and a mighty ogre. Besides strength they don't have any extra talents. But it doesn't mean you can underestimate them. Remember not to attack the genlock frontally and beware of its sprints.
You'll get to the room with another seal (12). When you use the key a guard will show up, stronger than the previous one. It can teleport and create its own clones. I propose to focus on the "original one" because the moment it dies, the clones die as well. Then you can choose the pillar which adds special power to your weapon:
The pillar of the mana/stamina drain
5% chance of 1% mana/stamina regeneration
The pillar of the life drain
5% chance to regenerate 1% of life
The pillar of the fast attack
+2% to increase the speed of attack
The pillar of armor crushing
The attacks ignore the enemy's armor
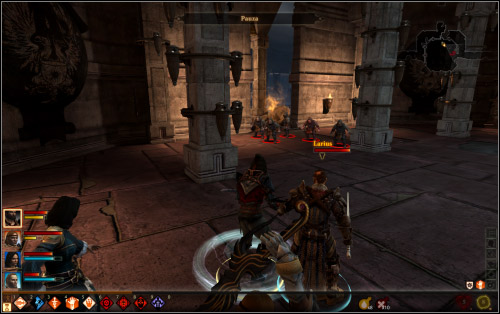
Near the bridge you'll meet Larius. During the conversation you'll learn something more about Corypheus.
Leave the narrow corridors of the prison to find yourself in a bit wider environment. On your way to the Corypheus's Tower you will find new quest and make a moral choice which will influence the ending.

Move along till the horde of the deep stalkers attacks you. It's not a difficult opponent they rather rely on their number. They also like to spit so when they focus on one character things may get messy.
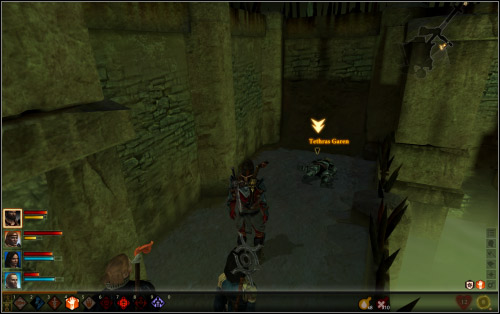
The path leads to the left but it's worth to wander a bit and check the other side. You'll find there a page from the journal (1) describing the story of Tethras Garen. This will trigger the Paragon's Heir quest which you will finish before leaving this level.
You can find the notes of another legionnaire in the ruins of the nearby building (2). The note will reveal something more about the Garen's case. You'll encounter a group of genlocks and hurlocks with few alphas (stronger ones). First of all try to eliminate the tank with the cover which charges can change the result of the fight. Don't let the crossbowmen shoot at you for too long.
Eventually you'll reach the stairs leading to Dumat's Ritual Scroll (3). It's the third item out of four to complete the Dumat's Altar quest. Moving on that rocky path you'll enter the mausoleum with a sarcophagus (4). To reveal its secret you have to light all torches. If you light those marked on the screen (with the description "torch") the sarcophagus will open and you'll find the gloves inside.
The place of Dumat's worship is quite close (5). You can get there easily but you need one more item required for the ritual. If you don't bother you can profane the altar ("profane altar" when you have a close look at it) but the shadows and demons will attack you. When you defeat them you will find some interesting items. If you look for the fourth object you will receive the Chain of the Penitent. The choice is up to you.
You need the urn (6) to finish the ritual. The deep stalkers guard the passage to it altogether with huge spiders. When you notice them... wait. You'll see they fight each other so wait till they're weakened. You can take the urn and go back to the altar if you wish so.
Finishing the quest Paragon's Heir won't require any fight. You need to read the third legionnaire's journal (7) and pray upon the Tethras's body (8). The award is the amulet. This is the last side quest in Legacy.
When you enter the bridge the alpha genlock will try to surprise you (9) altogether with some hurlocks carrying crossbows. Then go left towards the next seal's guard (if you have Anders in your team he will be possessed) or go right and find out some interesting speculations about Kirkwall (10). Gaining this knowledge will cost you fight genlocks, hurlocks and emissary (also some alphas).
The next fight with the guardian (11) isn't much different than the previous ones. This guard also teleports and creates clones (not so strong as they seem) but they are difficult to differentiate. But this guardian won't die fast so take your time. It can also paralyze and drain life. Once more you can pick weapon bonus:
The pillar of reduced speed
25% chance of reducing the speed of the attack and movement
The pillar of knockdown
5% chance for knockdown
The pillar of critical damage
+5% extra damage for the critical hit
The pillar of critical hit
+2% chance for the critical hit
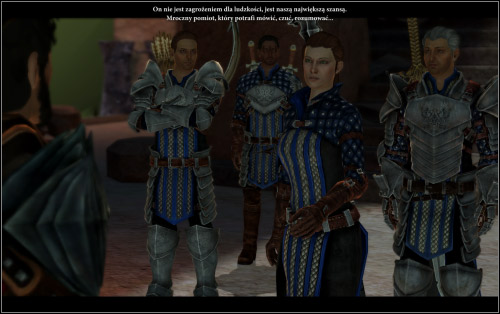
At the end you'll meet Larius and a group of the Grey Wardens led by Janeka. They will quarrel and then you'll have to choose which side to take. It doesn't influence the ending, only the way to get there. These are your options:
If you decide to go with Janeka you'll get to the Daneken's Floor. Larius is somewhere close and he wants to stop the Warden and her allies. You'll learn that when you enter the location 1. You'll meet three dwarves from Carta that work for Janeka. Larius will activate the magic barriers blocking the passages.
Janeka can eliminate the shield unfortunately one in the given color. It won't be a problem if you want to leave the map. But it'll take some effort to search it for the hidden items.
The order of clicking the controls you can see on the map - switching off the controls 2-6 will open the path to the bridge. From the sight point you'll see Larius and his companions going on the other side. Only one fight awaits you in the corridors. It will start when you show to Janeka the penultimate (5) control. A group of shadows will attack you. You can fight once again but its optional (you can head to the bridge now).
In the northern part of the labyrinth there is a chest with a rare item inside (helm or cap). Counting from the location with the dwarf, the access to it is guarded by the orange barrier and to deactivate it you need to switch off the 7-15 controls. Be careful with 12 when shadows and demon will surround you. Pay attention to the notes which inform you about the events that took place here. In order to return to the bridge you need to deactivate the 4-6 controls once more.
When you enter the room with Larius (16) he will activate the three stone giants and escape. The first golem that attacks you is rather strong one. Then the golem that is resistant to magic will wake up, the third one can regenerate. Each one will attack after shutting down its predecessor.

When the third one shuts down the remaining two will wake up simultaneously. If you fight for a long time you will have to face three of them at once. If that happens focus on one of them. When you defeat them you will get to the prison's tower.
You will see this floor if you agree with Larius. The insane warrior will lead you to Corypheus but first you'll have to deal with the opponents and other obstacles.
In the first room Larius will tell you about the old security systems in the prison like the magic barrier blocking the passage. To deactivate it get interested in the energy source placed on the wall (1).
Move on and before entering the square room (2) have a look at the sight - you'll see Janeka. Inside dwarves that activate the security systems will attack you. They'll do it although they know it's suicidal.
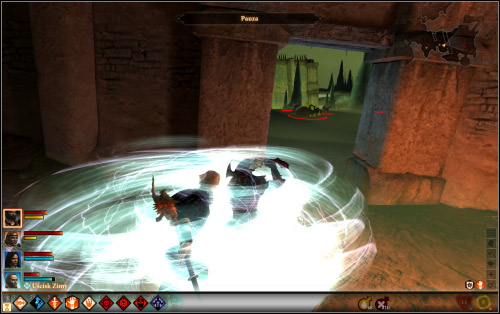
Two blocked passages will be a problem. Luckily Larius remembers that you need to connect two streams of magic and the barrier will disappear. The task is not difficult you only need to move pillars in the right direction. The movie above shows how to do it.
When you leave the trap you will get to the chamber surrounded by Carta's members (3). Among them you'll find some thugs but also snipers and assassins. Eliminate them and take a closer look at the door. Behind it you will find two interesting notes and the source of energy (4).
That object on the wall is connected with the hidden locations. If you don't want to trouble yourself with it skip this and next paragraph. Otherwise go to the point 5. You'll find a corridor blocked by the colorful barriers. To deactivate them you need to find sources of energy. You can find their locations on the map (4). This part of the floor is clear. The fight awaits you in the location 6.
When you activate all sources it's time for the hardest part of the quest. You need to go back to the room (2) where you have connected the orange stream. Now you need to do the same with the rest of them. The trick is when you move one pillar you may influence few streams.
Above you can see the film how to do it (it doesn't show how to manipulate the orange stream - that has been shown in the previous movie). When all streams become white the passage to the northern part of the level will be open. You'll find there a chest with a valuable item (cap or helm).
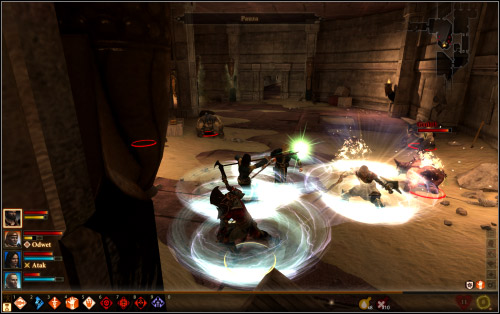
Continuing the main mission you'll face Janeka (6). She will summon a mighty mage Kel-Sarag who will be supported by four others standing in the corners (the defender, healer, blade master, destroyer). I propose to eliminate them at first but don't forget the main opponent. Focus his attention on the tank. Without his supporters Kel-Serag will loose quickly. Go to the Corypheus's Tower.
One more turn and Corypheus will be yours. Here Legacy will come to an end but first you need to deal with Janeka or Liarus. You have made that choice after defeating the third guard.
Your opponent will appear in front of the prison and you'll get you last chance to change your mind. If you don't a battle will start. Both Janeka and Larius are not the masters of might and magic so treat them rather as a warm up before the main fight. Doesn't matter who you fight but that person will have the support of the Grey Warden's group.
If you change your mind your opponent will attack your ally. The attack (presented as a cut-scene) will be so effective that the person will die. Get inside and pay attention to the four statues standing around (1).
The fight with the last boss is divided into few parts. Doesn't matter whether you wake Corypheus up with Janeka or Liarus (they won't be involved in the fight) he will attack with a fury. At the beginning you will fight the traditional way but the Magister is to proud for that.
When he gets hurt he will teleport to the center of the arena and will start absorbing the energy from the pillar. Then he will attack you with the walls of fire. Avoid them as hard as you can. You need to get to each statue, touch it and eliminate the shadows. Each statue will give you two enemies of that kind. If you can't defeat them before the next wave of fire, hide near the statue - that will save you from receiving bigger damage.
After you get rid of the pillars' guards Corypheus will step down from the platform to continue the fight. Because he has absorbed some power he will get stronger therefore listen to what your friends say about his behavior. This scheme will repeat. The ancient Magister will stand in the center of the room, cumulating the energy and will attack you with fire. To stop him you need to run from statue to statue and kill the shadows. It'll be more difficult now because Corypheus will make the arena full with various obstacles.
He will fight again but after few hits he will ask Dumat for the support. Again you have to avoid the flames, touch the statues and attack the shadows. To make your task even more difficult a falling icicles will appear and the rocky barricades will have an electric cover (better don't touch it).
Annoyed Corypheus will eventually take the risk. He will simply attack you. Destroy him. Then search his corpse and talk to Janeka or Liarus.
NAME
AWARD X360
AWARD PS3
HOW TO ACHIVE IT
Conductor
30
silver
Defeat the ancient evil in the Vimmark Mountains (the main boss).
Deep Roads Safari
15
bronze
Kill genlock, alpha genlock, alpha hurlock, bronto and deep stalker in the Vimmark Mountains. You can meet plenty of them on your way.
Family Legacy
30
silver
Enchant the Hawke's key three times. You can achieve it after defeating the third guard and touching the chosen pillar.
Family Outing
15
bronze
Finish the mission having Bethany or Carver in the team.
Tower Sweeper
30
silver
Finish all side quest in the prison tower - Malcolm's Will, Altar of Dumat and Patron's Heir


 Devil May Cry 4 Game Guide & Walkthrough
 Dracula: Origin Game Guide & Walkthrough
 Drakensang: The Dark Eye Game Guide & Walkthrough
 Dust: An Elysian Tail Game Guide & Walkthrough
 Dead Rising 2 Game Guide & Walkthrough