


v1.2
So you've got the 3DS system update and want to know exactly what's new? We've got you covered.
Here you'll find a regularly updated account of how to get the most from your system's new features. If you have any questions, use the Contact form and we'll do our best to address them.
Page 1: 3D Video Recording
Page 2: StreetPass Mii Plaza
Page 3: Nintendo eShop updates
Page 4: 3DS System Transfer Tool
Page 5: Your 3DS Update Questions Answered
How to Update your Nintendo 3DS explains the whole process.
One of the biggest updates is the ability to record 3D video on your 3DS. There are a few more options than just point-and-shoot though: here's what you can do and how.
Open the 3DS camera function
You'll see along the top of the touch screen your camera icon is joined by a video camera icon; unsurprisingly this opens up the world of video recording.
Select the video camera icon and use L or R to start shooting. You can record up to ten minutes of 3D video at any one time — the total amount of video you can shoot is determined by the amount of free space on the SD memory card.
Your videos are saved in .AVI format which means you can view them on a computer — in 2D of course.
Let's have some fun
Like the camera function, your 3D video isn't just limited to point and shoot. Tap the red lever at the bottom: this opens up the following extra menu options:
Camera Mode
Normal just uses default settings and is ideal for video in bright conditions. If things are a little darker, use the Low-Light setting.

At last - cats in 3D!
Manual Controls
Want more control over your shooting? The Manual Controls option is for you, letting you change a number of settings:
Film: Normal, B/W (black & white), Sepia Negative, Solarise.
Sharpness, Contrast, Brightness
Shooting Stop-Motion
As well as constant video you can also try out the Trick Shot modes that let you create stop motion video and other quirky effects. Here's how they work:
Interval Shot
This mode takes a photo at specified intervals: 0.5 seconds, 2 seconds, 5, 15 and 30 seconds. No need to hold the shoot button down: just line up your shot in time. An on-screen countdown shows when your next shot is about to be taken, so be quick! You can use this feature to create impressive time-lapse videos.
Frame Pick
This is the more traditional stop-motion method, with one shot for every shutter click. Look closely and you'll notice a slight ghosting of your previous frame, letting you line up your shots precisely.
Clip Link
Fairly self-explanatory really: link regular video clips together.
Some of you may be wondering how big these videos can get so you can decide whether or not to buy a new SD card. While the resolution of these videos isn't likely to cause you any serious problems right out the gate — 480 x 240 isn't enormous — if you plan on shooting long movies a larger SD card might be a good purchase.
1 minute of 3D video recording takes up around 28MB of space on your SD card.
If you plan on taking a lot of long videos, it might be wise to get a spare SD card: if you take a great video and then discover there's no space for it to save, you're plum out of luck.
Q: Does this mean I can play videos on my 3DS now?
A: Yes you can, but it can be a bit of a fiddly process.
Your 3DS will play .AVI files only that meet the following specifications:
Filetype: .AVI
Encoding: MJPEG
Resolution: 480 x 240
Frames per second: 20
Aspect ratio: 4:3
You will probably need to use a video converter programme to get your video to meet these requirements. Once done, the file must be saved in the SD Card's DCIM folder using the name HNI_00XX.AVI where XX is any number.
Coming up: StreetPass Mii Plaza, eShop and System Transfer

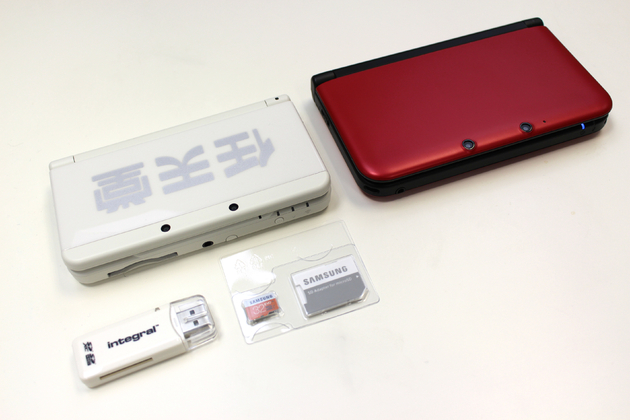 Guide: How to Complete a System Transfer from a 3DS to a New Nintendo 3DS / XL
 Child of Light – Diary Pages Guide
 A Link to the Past Walkthrough – Gargoyle’s Domain –
  Majora’s Mask Walkthrough – Woodfall Temple –
  The Wind Waker Walkthrough – Nayru’s Pearl –