

PlayStation Move has now seen its controls implemented into a few FPS games such as MAG and Modern Combat: Domination (ModComDom) with good overall results. The Killzone 3 Beta is available now through the PlayStation Store with spot-on Move integration, and we at Movemodo want to help our readers out with our very own pro-tip guide to put DualShock users at the bottom of the leaderboards.
Calibration in Killzone 3 is quick and easy. Simply hold the Move controller toward the camera and press the Move button. Once this is achieved a target will appear in the corner of the screen that needs to be shot, quickly followed by a second target on the opposite side of the screen.
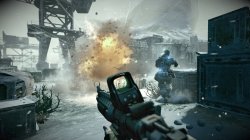
Gunned down with extreme accuracy
For optimal calibration with Move make sure the camera is directly in line with the Move controller and that the Move controller is in playing position when calibrating. When firing at the two targets on-screen, make sure that the Move controller is moved naturally to the target, and again in playing position for perfect calibration.
Finding the right control customisation to fit one's preferred play style may seem like a daunting task at first, but with a little knowledge and tweaking, finding the perfect settings is actually quite easy. Taking the game into Botzone (offline AI opponents) grants the ability to pause the game for tweaking controls on the fly, and is a great place to warm-up to the controls before going head-to-head with tough human opponents.
Deadzone Width
This is the invisible horizontal zone in the centre of the screen that the on-screen cursor can move around in without turning the screen. 0% is the smallest deadzone available and allows the camera to start turning horizontally, with basically any movement outside the centre of the screen. With 100% deadzone, to move the camera horizontally, the cursor must move much farther to the sides of the screen to turn the camera. With the high need for the camera to be turned horizontally in FPS games, a lower percentage here allows for quick camera turns, and will probably be preferred by most.
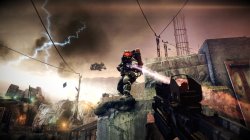
See you on Helghan, soldier
Deadzone Height
This is the opposite as Deadzone Width, as it’s the vertical deadzone that moves the camera up and down. As the camera isn’t moved vertically as much as it is horizontally, a mid-level Deadzone Height is appropriate here.
Crosshair Sensitivity
This setting adjust how quickly the on-screen cursor moves on-screen. A lower setting here allows for easy aiming and larger movements to move the onscreen cursor, and will be most likely preferred by most. A high setting allows little room for mistakes, and we recommend starting out with the lowest setting until comfortable with the controls.
Turn Speed
This setting adjust how fast the camera moves once the cursor is moved outside the deadzone. Once again here, the camera will need to be moved quickly to play at a high level, and a higher turn speed is recommended.
Lock Assist
Three types of Lock Assist are available here.
Zoom
When the Lock Assist is turned off, the Zoom setting becomes available, and has three available settings.
Crouch
Two settings are available, Hold and Toggle, and work the same as in Zoom settings.
Movemodo's Preferred Settings
Playing to Move's strengths is vital to trumping the DualShock in Killzone 3. Camera movement isn’t as natural as it is with the DualShock, but Move allows for fast and precise aiming across the screen. Moving slower in corridors and crowded areas allows for better camera control, and gives Move the advantage when the enemy comes on-screen as the camera is already in place and Move's speed and precision makes quick work of the enemies. Practice and skill are needed of course, but this one simple strategy seems to be the most effective bit of advice we can give to playing Killzone 3 with Move.
Can Move trump Dualshock in Killzone 3? Yes, judging by our experiences so far. Our kill-to-death ratio is now sitting at 1.87, and we have no doubt it will eventually be over 2.0 in the future. Player skill and play style will always be a factor, but with the correct set-up and practice, we believe Move users will find their names sitting at the top of the leaderboards more often than DualShock users.
Have you picked up any ideas you want to share with our readers? Perhaps a set-up that works best for you, or how to pull off those brutal melee kills with deadly accuracy? Leave us a comment below and we'll see you on the battlefield.

 Guide: How To Start The Witcher 3s New Game Plus on PS4
 Guide: No Heroes Allowed: No Puzzles Either PS Vita Trophy Guide & Road Map
 Guide: How to Use Your 10 Per Cent Off PSN Voucher on PS4, PS3, and PlayStation Vita
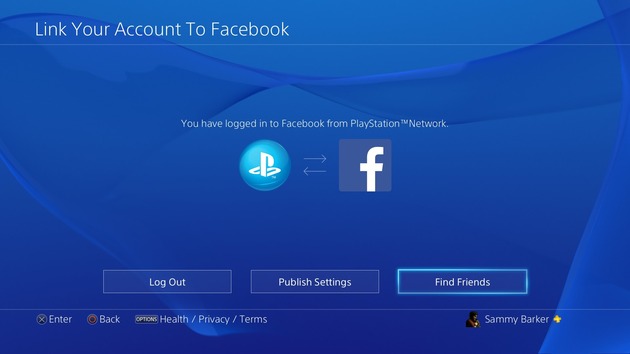 Guide: How to Find Your Facebook Friends on PS4
 Guide: How to Save the Humans and Stave Off the Keepers in Resogun on PS4