

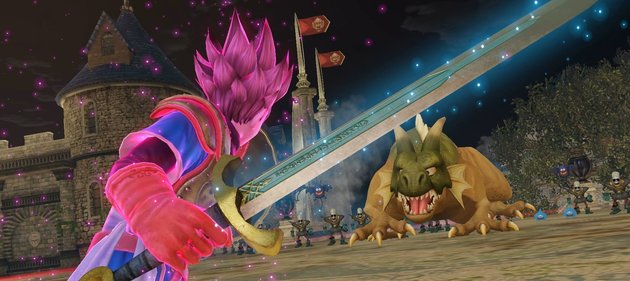
Dragon Quest Heroes: The World Tree's Woe and the Blight Below isn't the most difficult game in the world – it's actually pretty accessible – but there are a few intricacies that you'll want to master if you're gunning for 100 per cent completion. As such, we've gone ahead and scribbled down a handful of useful hints and tips for all of you wannabe heroes out there, which will hopefully help you mash the most fiendish of monsters and get the best out of your ragtag party. Without further ado, let's get cracking and save this blighted kingdom once and for all.
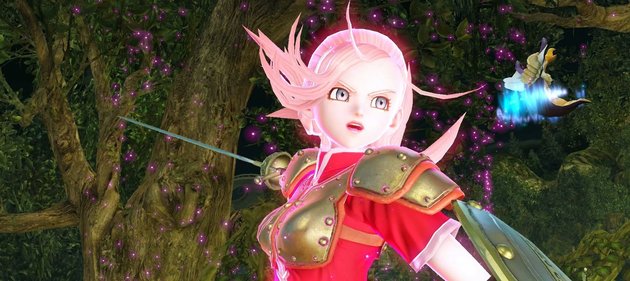
Dragon Quest Heroes can be a surprisingly unforgiving game if you're caught on the end of a powerful attack, as unlike various Warriors titles, your health bar really doesn't last very long if you keep getting hit. That's why you need to master the art of evading. Your dodge roll, which is mapped to R2, is an incredibly handy technique that just about every playable character has access to, and you'll need to make full use of it against bosses and other bulky foes.
Bigger enemies tend to show deliberate signs of an incoming attack, so always keep an eye on their movement. If a golem begins pulling back its right arm then you'll soon learn, one way or another, that it's winding up for a devastating punch, so give that R2 trigger a smack and get out of there.
The dodge roll itself has invincibility frames, which means that during certain parts of the animation, nothing will be able to do damage to you. You can make full use of this period by purchasing skills and accessories that increase the duration of your invincibility, meaning that eventually, you won't have to be so careful with the timing of your evasive manoeuvres.
It's worth noting, though, that you can't simply cancel out of attacks and combos by hitting R2, and there's a very, very slight delay to the roll itself. As with all things, practice makes perfect, but just make sure that you're not mashing buttons and leaving yourself unable to roll at a moment's notice.
Okay, so generally speaking, allies in games that are controlled by the artificial intelligence sometimes aren't the most reliable, but thankfully, that's not the case in Dragon Quest Heroes. You can take on missions with up to three companions, and whoever you aren't in control of, the AI will handle until you decide to switch characters with a push of L2.
Your CPU buddies certainly won't attack as often as you do when you're busy pumping out combo after combo, but they're actually very competent at staying alive – as long as you're not fighting against a foe that's far more powerful than your current party. Take a look around now and again, and you'll see your pals rolling away and blocking attacks quite frequently – and you can take advantage of this.
When your own character is running a little low on health, feel free to swap to a different party member and have the AI take control. In some cases, the AI may well do a better job at avoiding enemy attacks and therefore keeping your team safe – just be careful not to switch when you're just about to be finished off by an incoming assault.

Being part role-playing game, you're able to heal your party's health when things are looking bleak in Dragon Quest Heroes – but during the first few hours of your adventure, you won't have access to many ways of doing so. When you're just starting out, you'll mostly be relying on herbs that are dropped randomly by defeated monsters, but if you're severely injured, these medicinal plants won't do much to help.
Have no fear, though, as you'll soon be granted a wealth of healing options as your party grows and you advance through the story. Several hours in, you'll nab healing stones, which you can use at any time during battle. These little rocks will restore specific amounts of your party's health, and their potency can be amplified – for a price. Just be mindful that each healing stone can only be used once per mission, and you'll have to spend some gold to re-energise them.
However, the most reliable methods of healing come courtesy of certain playable characters. For example, once you're recruited Jessica, you can unlock the 'hustle dance' skill from her skill page. We'd recommend grabbing this particular technique as soon as possible, because it restores a very reasonable amount of hit points to everyone in your party – the only downside being that it costs a somewhat hefty 25 magic points to cast.
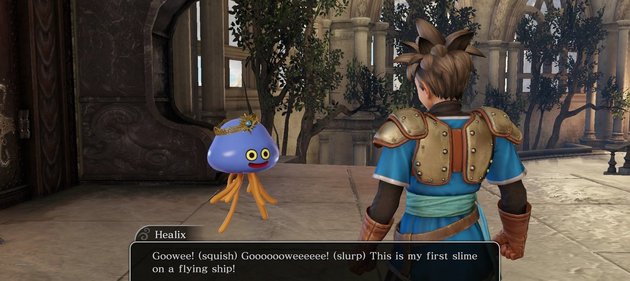
Funnily enough, monsters can also help you to get back on your feet, despite the fact that their mates have been busy clobbering you. Healix, the non-playable healslime, has a chance to pop up during combat and restore some health if you're running low, while various monster medals can be used to heal, too – although, with the latter, it's usually best to hang on to them until you really need them.
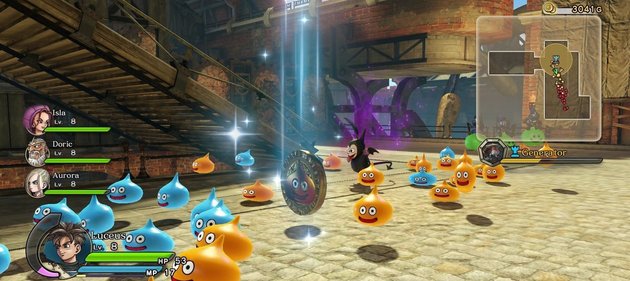
Monster medals are crucial to success during some particularly tricky missions, as your allied monsters can help you defend choke points from the enemy hordes. Many objectives see you and your party protecting places of importance – but you can't be everywhere at once. Most of these locations are surrounded by multiple access points, which means that more often than not, you'll need to correctly halt the advance of a force that's split into two or three platoons.
Summoning a monster from your list of collected monster coins is easily done, and once a sentry type critter is on the field, they'll hold their position and attempt to fight off any baddies that come their way. However, just throwing your monsters around the map with no real strategy isn't going to help in the long run.
For starters, make sure that your summoned monster isn't going to be attacked from different directions. If at all possible, it's always best to summon them so that they're facing the threat while the item that you're trying to defend is sitting behind them. Monster allies are most effective when you position them at the entrance or exit if narrow spaces, as this means that the enemy won't be able to stomp past them quite so easily.
Slimes, skeletons, and other relatively weak monsters aren't the greatest when it comes to staying alive very long, especially if they're overwhelmed by numbers. As such, it's sometimes a good idea to group a couple of beasts together and have them fight as a team in close proximity.
That said, with brutish monsters such as golems or sabercats, you won't have to worry about grouping them together as they should be able to hold their own for extended amounts of time. With that in mind, it may be worth considering sticking one of these more powerful creatures in or around the area that you're trying to defend, so that if any enemy monsters do make it through, they'll have to contend with your beefiest buddies.
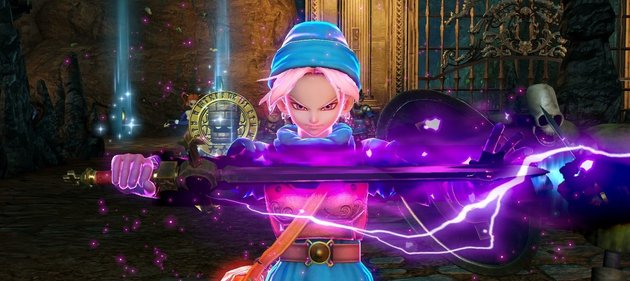
Magic points are an important asset to any member of your party, and you'll want to make good use of them, especially when the going gets tough. MP can be expended in order to use powerful techniques, and while it's best not to exhaust it by spamming certain attacks, you certainly shouldn't be afraid of using it up when the situation calls for action.
MP recharges slowly over time, but since you'll be using plenty of normal combos in between magical abilities, the regeneration rate isn't too much of a big deal. Plus, much like HP restoring herbs, magic potions will also drop randomly from defeated monsters, and when picked up, they instantly replenish some of your MP.
Against stronger foes who don't necessarily flinch from standard attacks, it may be worth whipping out a magic onslaught and dishing out some meaty damage. Similarly, magic techniques can be a lifesaver when you're close to defeat and you're desperate to finish off a boss with one last assault. An effective method of doing a lot of damage quickly is to rapidly switch between characters while popping off one MP-draining attack after another – just be careful that you haven't expended all of your reserves by that point.
It's also worth mentioning that during a state of high tension, you won't use up any MP at all, no matter how many magical abilities you make use of over its duration. The obvious benefits of high tension are that you're immune to damage while it's active, and you'll always finish off with a super strong special move when it ends, so it can be easy to forget that you've got infinite MP to work with as well. It goes without saying that you should definitely be using high tension to deal as much damage as you possibly can before it runs out – even if that means looking uncool and spamming your most deadly ability over and over again.
Do you have any heroic tips that you'd like to share? Feel free to talk like King Doric and tutor your friends in the comments section below.



 Guide: What Time Are Sony, EA, and Ubisofts E3 Press Conferences?
 Guide: How to Escape Bloodbornes Death Dealer Prison in Yahargul, Unseen Village
 Guide: Fallout 4 PS4 Character Builds That Will Keep You Alive and Kicking
 Guide: Quick Tips for Call of Duty: Black Ops IIIs Multiplayer Mode
 Guide: How to Earn Millions of Gran Turismo 6 Credits in Minutes