Dead Rising 3 was developed by Capcom Vancouver on an open world action survival horror genre, it is published by Microsoft Studios. It was released on 22th November 2013, with a launch title of Xbox One platform and a PC port released on 5th September 2014. The game was announced as an Xbox One exclusive during Microsoft's E3 2013 press conference on 10th June 2013.
If you feel that your copy of Dead Rising 3 is not sharper or clear enough, then here is a way to get those crystal clear graphics by removing the HUD of Dead Rising 3, for which PC's are famous for. But every deed has its own cost, you have to be very careful while making the following changes.

*Remember: Have a back up of original files, removal or misplacing of this HUD files can require repair or reinstallation. Also removing the HUD will make Dead Rising 3 difficult and this will disable on-the-fly crafting as "Inventory Radial" will be removed. Don't forget to use safehouse instead.
Having said that, it will make the game a lot more enjoyable as there will be zombies in a mankini or even a knight with a lightsaber.
If you are a Steam user
If you are NOT a Steam user
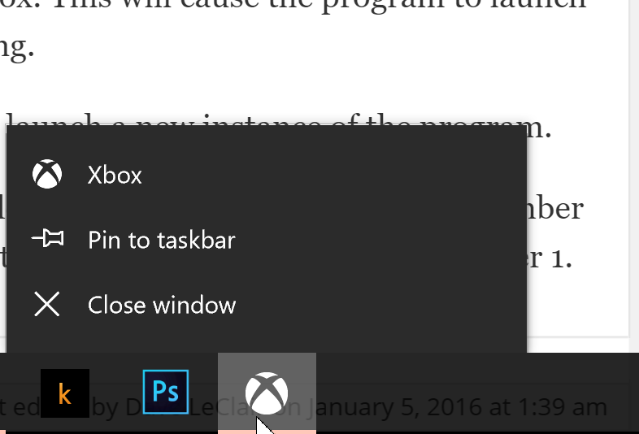
Search for "Deadrising3"
Now create a file named "HUD" or "Backup", you need to add the following list of files in this folder.
If for some reason you feel the need to undo the above changes, just replace the HUD files back into the "Screen" folder.
Dont forget to tell us in the comment section, how amazing Dead Rising 3 felt after removing HUD from Dead Rising 3.


 Five RPG Remakes We Want To See On PS3
 The Last of Us Remastered Artifacts Guide
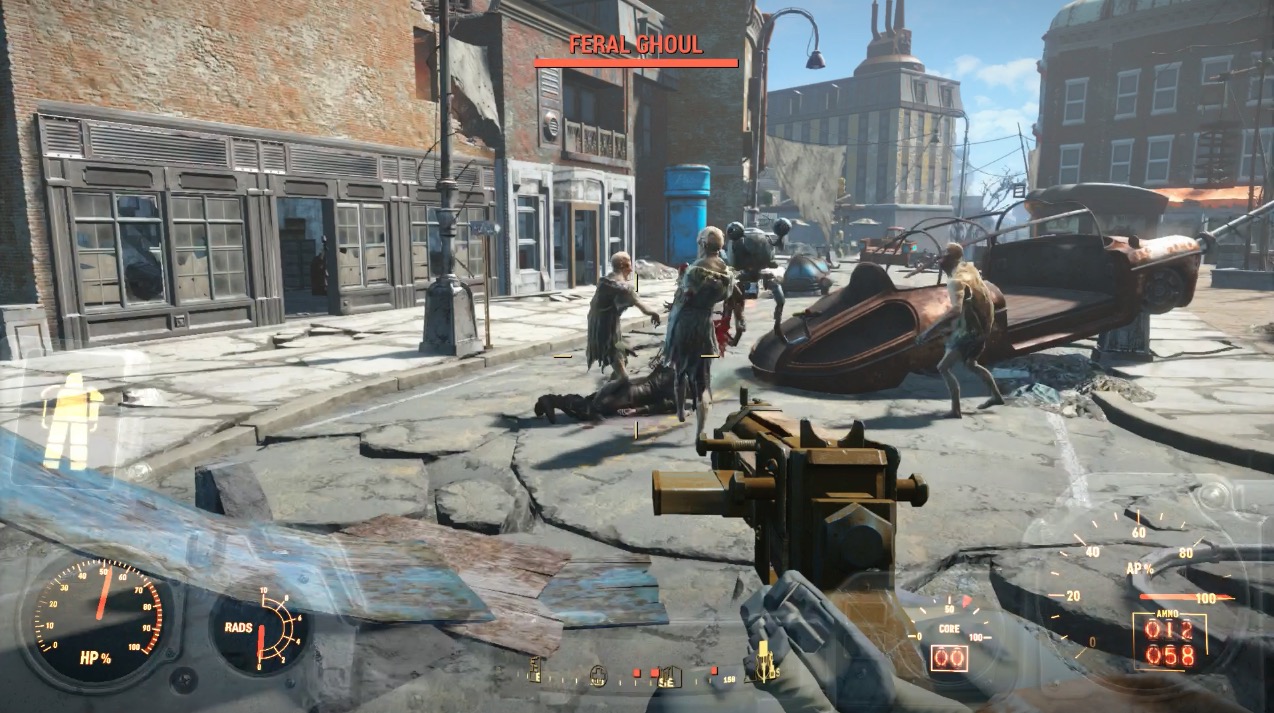 Fallout 4: Fire Support walkthrough
 Weapons Guide for Watch Dogs
 Sequence 7 - Unbreaking the Bank: Assassin's Creed: Syndicate Walkthrough