Once you have completed Drangleic Castle and made your way through the Dragon Aerie & Dragon Shrine, you will eventually encounter one of the most fearsome bosses in Dark Souls 2: The Ancient Dragon. Actually fighting the Ancient Dragon is optional, however, as the item you require – the Ashen Mist Heart – will be freely given and the Ancient Dragon can simply be left alone. If you choose to attack him, however, prepare yourself for an intense and thoroughly difficult battle. Many players will inevitably find themselves a little lost after getting the Ashen Mist Heart, which is why we decided to put together a complete walkthrough on where to go and how to complete the Memories of the Ancients in Dark Souls 2.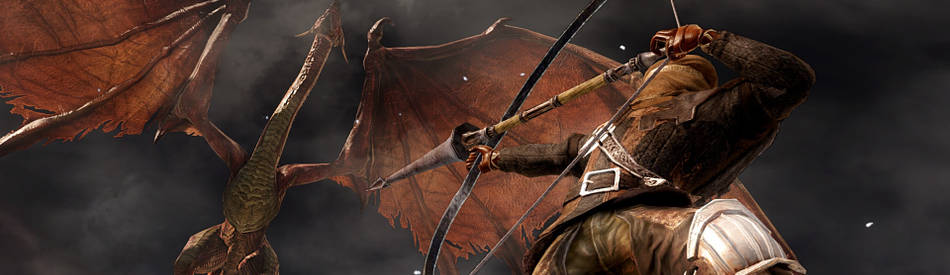
Once you have obtained the Ashen Mist Heart, you will thereafter be able to enter the Memories of the Ancients: the penultimate challenge before heading onwards to discover your ultimate fate in the endgame. The Ashen Mist Heart is an item containing the power of the Ancient Dragon, and will allow you to delve into the memories of those long since vanquished from the world.
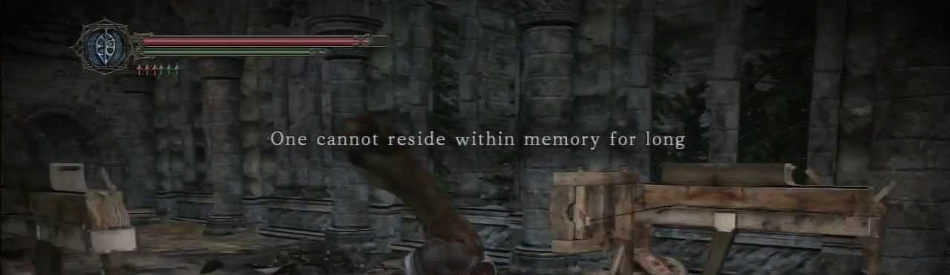
You won’t have unlimited time to explore these memories at your leisure, however. The Ashen Mist Heart will give you a total of five minutes each time you wish to explore the memories, though thankfully they can be explored numerous times, so if you miss something the first time you can always head back to the memory again to retrieve all that you possibly can from them.
Without further ado, here are all of the Ashen Mist Heart memories, locations, and walkthroughs!
Dark Souls 2 – Memories of the Ancients: Dragon Memories
The Dragon Memories should be your first stop after obtaining the Ashen Mist Heart. To get to these memories, you’ll have to head back over to Brightstone Cove Tseldora, to the area in which you fought The Duke’s Dear Freja. Now that you have returned with the Ashen Mist Heart, you will notice a large purple crystal formation near the edge of the arena: inspect it in order to get to the Dragon Memories.
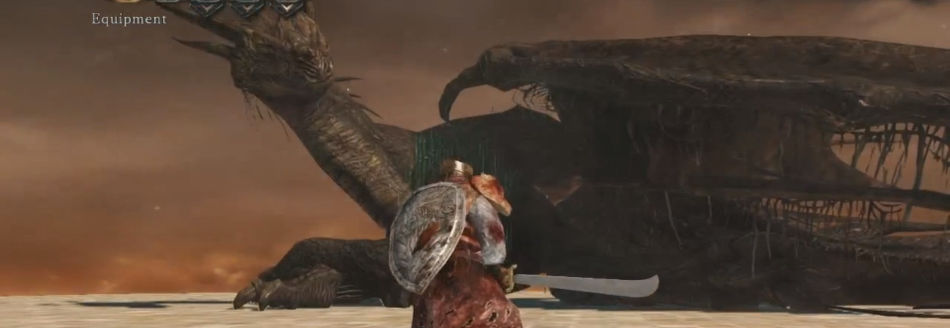
This is undoubtedly the easiest Memory of the Ancients, as no enemies will attack you and you only have to find one item. Entering into the wide area, you will see the enormous corpse of a Dragon. Approach its head and examine it once to receive an Ancient Dragon Great Soul, and interact a second time to return to Brightstone Cove Tseldora.
Dark Souls 2 – Memories of the Ancients: Giant Memories

Memory 1: Memory of Vammar
How to get to the Memory of Vammar
Go to the Cardinal Tower bonfire in the Forest of Fallen Giants, and make your way towards the area in which you first met Pate. For those with short memories or who missed Pate entirely, if you’ve opened up the secret shortcut through the destructible wall in the bonfire room, you can simply take a left from there and climb down the ladder. If not, head towards the outdoors area with the fallen tree trunk ramp, go up the ramp and turn left at the top. Straight ahead is the shortcut to the bonfire: if you throw a firebomb at the barrels next to the wall, it will explode, revealing the bonfire room you just came from. Take a right at the corner and head down the steps towards the ladder.
Once down the ladder, face down the pathway and take the first left into the courtyard, then an immediate right. Ahead will be a Withered Giant; examine him to enter the Memory of Vammar.
Memory of Vammar walkthrough
Once in the memory, head forwards and talk to Captain Drummond. Exhaust his dialogue and all the Royal Soldiers will thereafter be friendly to you in this area. Bear in mind, however, that if you hit one with an attack, they will all turn hostile, so be very careful with your aim.
Head onwards and be wary of a Giant crashing through the wall from your left as the path begins to turn. Pyromancers will benefit from the Fire Seed at the end of the pathway, before heading back and going through the hole the Giant created. Two more Giants will attack you here, but you can always retreat into the passageway to avoid becoming surrounded.
Once they are defeated head onwards and you will stumble into the middle of a great battle between Royal Soldiers and Giants. Be wary of the Flame Giants on a rooftop to the left: if you wander too close they will rain gargantuan fireballs down upon you. Try to lure the Giants on the ground towards you and take them out before focussing on the Flame Giants above. If you have no ranged attack, hug the wall to the left and sprint through.
At the end of the area is a wooden door, through which you can climb a ladder to access the rooftop and kill the Flame Giants if you haven’t already. If you have, head straight through the door at the back of the room and follow the path. You will soon come up against an Elite Giant: try to stick close to the bottom of the stairs so that you can dart back inside the small room for cover if necessary. Once you have vanquished him, carry on to find the body of a fallen Giant sitting on some steps. Examine him once to get the Soul of a Giant, and a second time to travel back to the present.

Memory 2: Memory of Orro
How to get to the Memory of Orro
The Memory of Orro is accessed near the are where you fought The Pursuer and found the Drangleic Armour. Straight ahead at the back of this area is another withered Giant that you should examine to enter the Memory of Orro. Before you do so, speak to Benhart of Jugo – who should be sat nearby – and he will appear in the memory with you.
Memory of Orro walkthrough
Once in the memory, advance forwards and speak with Benhart again. The initial rooms in this memory contains a lot of items, including four Souls of a Hero (netting you 40,000 souls), so it’s worth exploring even if it means you have to come back a number of times. There are two Pharros Contraptions in this area: the first leads to a chest containing both a trap and three Souls of a Hero. The second Pharros Contraption activates a spike trap, so avoid it and instead interact with the hidden wall to the right of it to discover two more chests. Remember that all the Royal Soldiers will be friendly if you spoke to Captain Drummond in the Memory of Vammar.
Once you reach the roof, another battle will be taking place between the Royal Soldiers and the Giants. There are also two wooden wheels held in place by destructible beams, which, if destroyed, will cause platforms to lower that open up an alternative path down with more items. Again, explore at your leisure, but keep an eye on the clock.
Once the Giants are defeated, hop down through the gap in the wall to the left before the first wooden wheel, aiming to land on the archway below. There is an item on this archway, so retrieve it and hop down to interect with the fallen Giant and return to the present once again.


Memory 3: Memory of Jeigh
How to get to the Memory of Jeigh
To find the Memory of Jeigh, go down the ladder from the Cardinal Tower bonfire room and go across the bridge at the bottom, following the path around towards the area where you obtained the Ring of Restoration. The path leading left will take you up to the King’s Door and you will need to have the King’s Ring equipped in order to pass through. Beyond the door is a bonfire and the final withered Giant: interact with him to access the Memory of Jeigh.
Memory of Jeigh walkthrough
At the start of the memory you’ll see summon signs for Benhart of Jugo and Captain Drummond. You can only summon one of them, however, so choose your preferred ally and head up through the fog gate to witness the final battle between the Royals and the Giants. The battleground is absolute chaos, which fiery mortars constantly being fired onto the platform you are on, so it’s advisable to keep one eye turned upwards to give yourself time to dodge out of the way of incoming projectiles.
When you enter the area a pair of Elite Giants will confront you. You can either engage them in combat or run straight past to give yourself more time with the Giant Lord, who is up ahead. If you choose to run straight on, be wary of a huge stone head that will tumble down into your pathway, so be wary of being crushed and stick to the right hand side of the path. Beyond is the memory boss: The Giant Lord.
The Giant Lord has three main attacks: horizontal sweeps with his greatsword that can be blocked, vertical strikes that must be evaded, and a stomp attack with his feet if you get too close, and also must be evaded rather than blocked. For a full guide on defeating him, take a look at our walkthrough guide.
Did you find this guide helpful? What other Dark Souls 2 hints tips and guides would you find beneficial? Let us know in the comments section below!
If you found this walkthrough guide helpful, here are a few more that you may also like:


 Super Smash Bros. for 3DS and Wii U Unlockable Stages walkthrough and Wiki guide
 Mortal Kombat X Guide: How to Play Mileena
 How to Read Newspaper Comics Online Now for Free
 Start the Year Off Right with a Personal Security Audit
 An Ode To Training Mode