There are 6 Places of Power within the area of White Orchard, some easier to find than others. For those who are unaware, Places of Power are rather significant in helping you progress through the game. Not only do they give one of your signs a power boost (hence the name) but they also each have one skill point. A quick hold of a button and you’ve harvested it for your skill tree. So let’s get finding the 6 Places of Power in White Orchard.
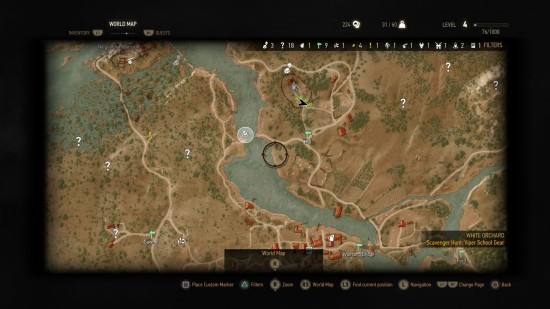
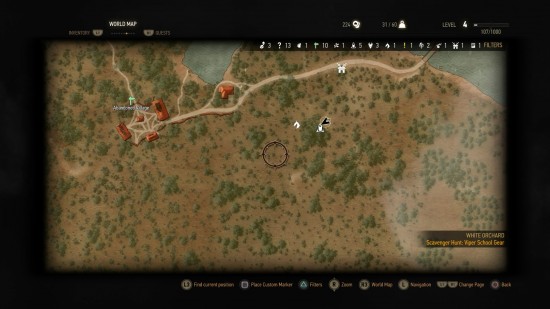
This is one of the more straightforward ones to find. You’re going to want to set a custom waypoint to the signpost for the mill. Once there, head north along a path and reach the cemetery. You’ll see it glowing away in front of the door to the crypt. Be warned there is a rather tricky level 7 Wraith pretty much guarding this Place of Power, so be prepared. Get some specter oil on your blades, equip your Yrden sign, and be ready to get nasty!
On a side note, after a few hits, the Wraith will disappear into the crypt and this then leads you to the Viper School Gear Scavenger Hunt. Anyway, onward to the next Place of Power!
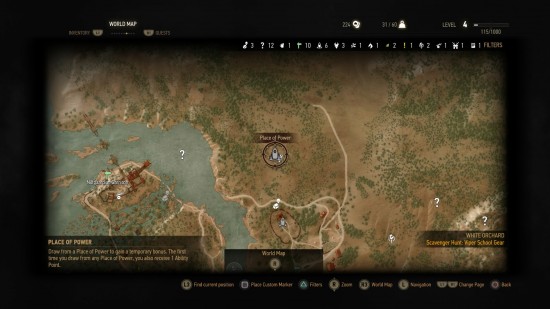
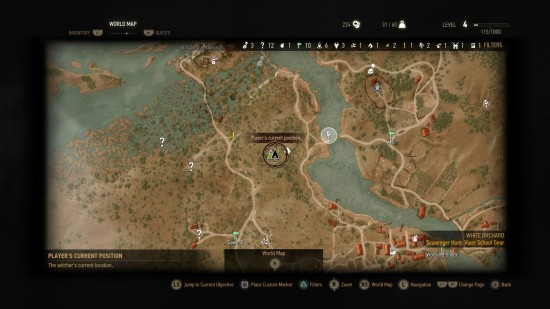
From the cemetery, the easiest Place of Power to reach next is the one directly north. Seriously, just keep heading north and a tiny bit to the west and you should walk straight into it. Here’s a screenshot of the location on the map:
Once here, you’ll be greeted with a couple of low level ghouls, nice and easy to take down. Once you’ve maneuvered and slashed your way through, you’ll find a nest nearby. If you’ve got them, use your bombs and destroy that nest to stop more from spawning. Other than that, hold that button and extract that skill point!
From that northern most Place of Power, you’re going to head southeast on your map, or just fast travel to the Cackler Bridge signpost. From here, head east and follow the path for a few seconds. To your left, you’ll see the Place of Power surrounded again by some level two ghouls. Kick their asses and extract that skill point. Again, there is a nest here so destroy it if you’ve got the items.
This one is a little bit trickier. You’re going to want to fast travel to the abandoned village signpost and then head southeast into the woods. If you’re having trouble finding it that way, make your way back to the road and look for a shrine, head into the woods behind it in a southwestern direction and you should spot the giant bear guarding the Place of Power.
Dodge the bear’s big pounce attacks and slash him from behind. The Igni sign was particularly effective in an offensive manner, but if you’d rather guard from his powerful attacks Quen is also advised. Once he’s defeated, extract the skill point from the Place of Power.
Next up, head back to the abandoned village and go southwest. This may already be marked on your map as it is right by the old griffin nest that you went searching for right at the start of the game. Simply head over to it and keep going south and you’ll spot its yellow glow. Done and dusted. NEXT!
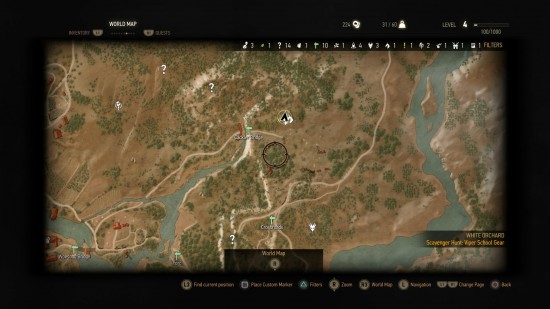
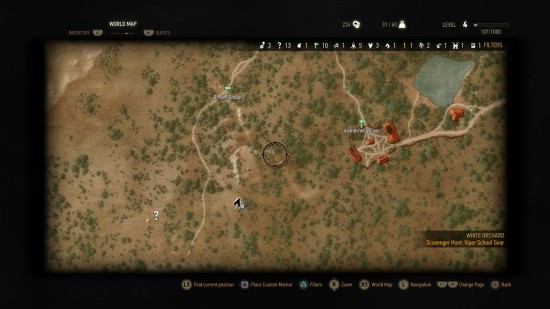
For this last one, fast travel to the Sawmill signpost and you want to just follow the path north for a bit. Keep going past the abandoned cart and just before you come across the campfire to your right, start heading into the forest on your right-hand side. You should be able to pinpoint the location in the woods from the map below.
Once you get there, you’ll be greeted with a level six wraith. Fantastic! Get your Yrden sign at the ready, some specter oil, and slash and dodge your way to victory! Extract the Place of Power and celebrate because you’ve just grabbed all the Places of Power in White Orchard!
Check out our ever expanding wiki for more The Witcher 3: Wild Hunt guides!


 Wolfenstein: The New Order PC Guide to fix Graphics, SLI, Windows 8, White Screen, lower FPS and Crashes
 Destiny The Taken King: How to Prepare for King's Fall Raid
 Star Wars Battlefront: How to Use the Ion Torpedo
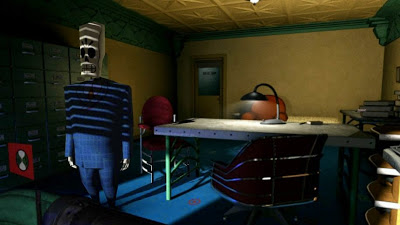 Grim Fandango Remastered review
 Yakuza 4 Trophies List