Unofficial Prototype 2 Guide by vhayste for
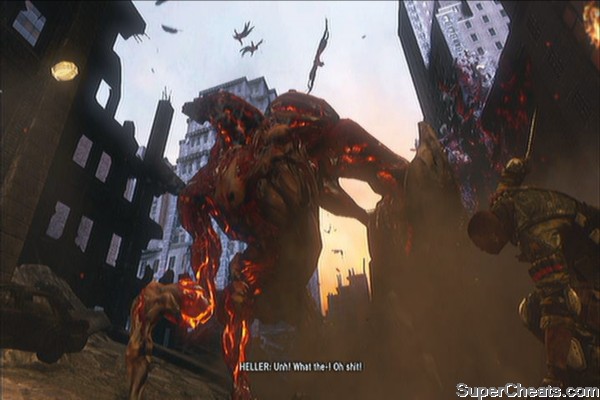
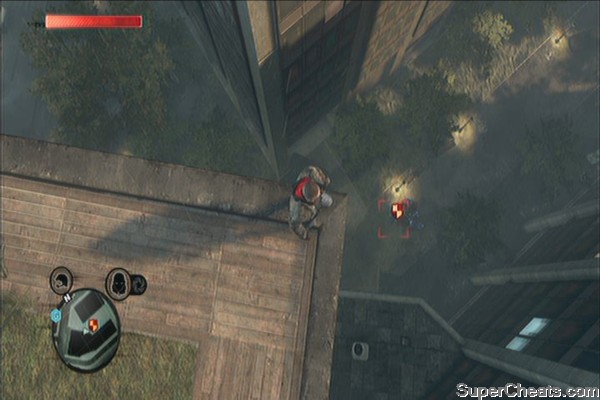
This guide features screenshots and videos covering the complete story walkthrough, guide to all \\Blacknet Missions, a Trophy Guide, as well as maps and screenshots in finding all Blackboxes, Field Ops and Lairs. Once in control, you have to follow Mercer. This is a tutorial so just follow the instructions for now. Keep following Mercer until he brings down a helicopter. A large mutant will appear so just hold R2 and sprint to escape it. After that sequence, another mutant will attack you. Keep attacking it until it is killed. Watch the following scenes.
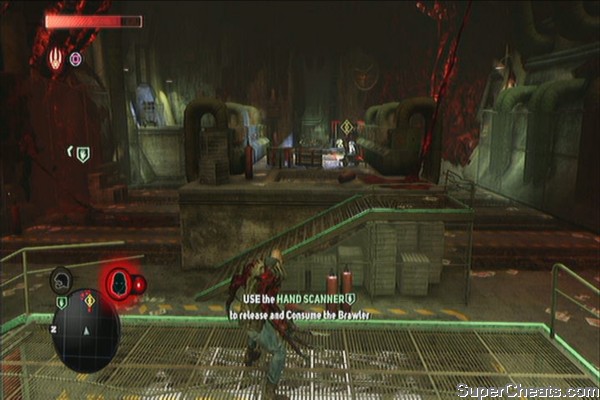
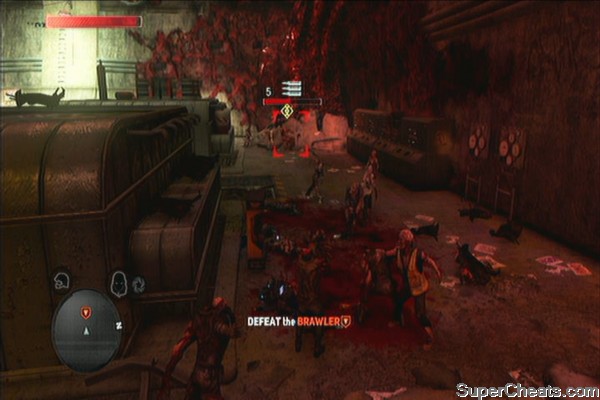
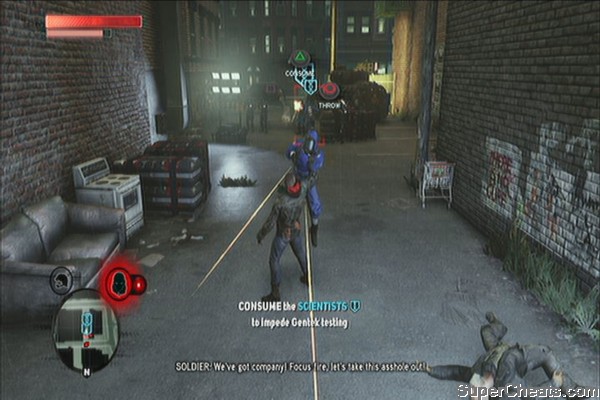
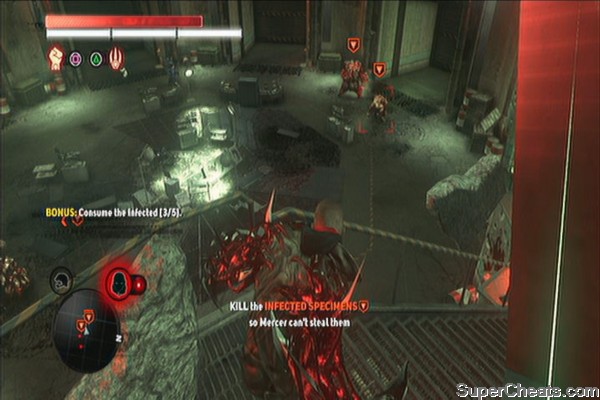
Once you're inside the lab, you have to defeat the first wave of infected using light and heavy attacks. Next, recover your HP by grabbing and consuming the infected. After the explosion, grab the table in the middle, target the observation glass then throw it there. Hold X to high jump and escape the containment room.
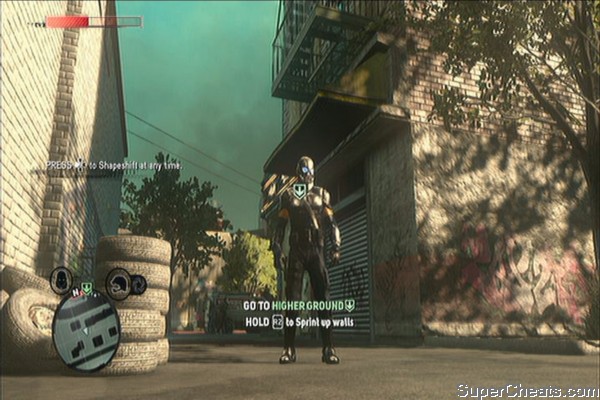
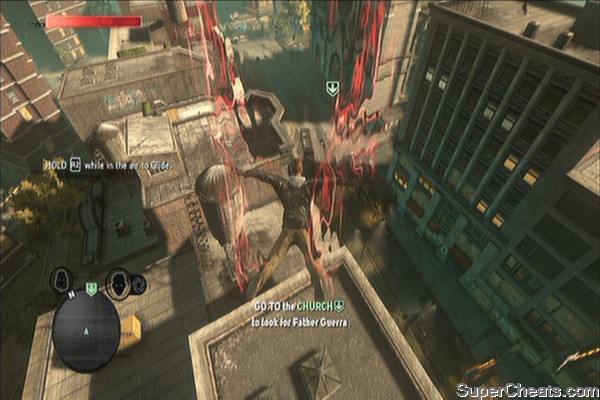
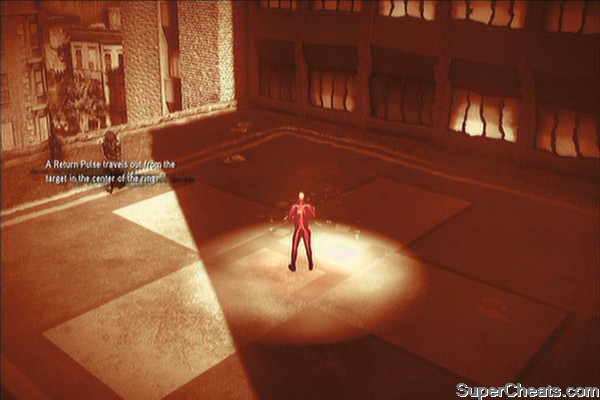
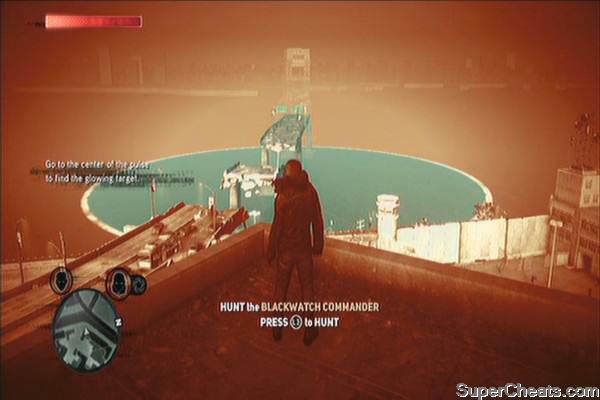
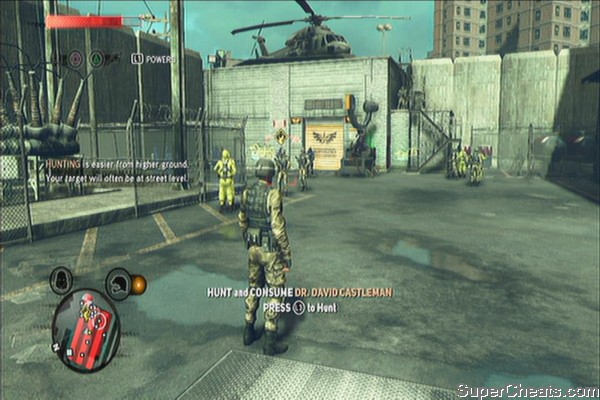
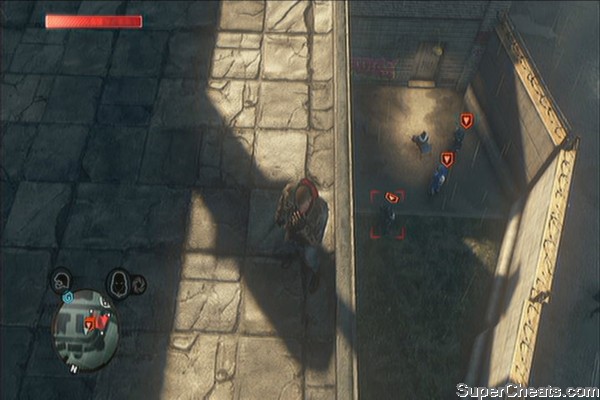
Once you're out in the city, attack the Blackwatch Commander as instructed. Consume him then escape the red-alert area. Just keep holding R2 to sprint and Heller will do the scaling and jumping automatically. After breaking Blackwatch's line of sight, change to your other form. Consume some civilians to boost your HP then head to the building marked in your map. Scale the wall and step on the blue marker to check the area. Head to the church next and air glide to reach it quicker. Approach the marker for a scene. Head to the hospital rooftop and step on the blue marker to acquire your Hunting Ability. Press L3 to hunt the commander. Once you have acquired the target just glide to his position and consume him immediately. Escape the alert by killing all the guards and shapeshifting to your other form. Once done, jump to the ground and step on the marker. Send out a hunting pulse as instructed, then go to higher ground. Send out another hunting pulse and take note of the direction of the return pulse. Rotate your camera to the direction of the pulse then send out another pulse to determine your target's exact location. Your target should be in the middle of the return pulse. Spring, jump then glide to cross the broken bridge and find your next target. Consume him then escape the alert afterward to complete this mission. Head to Test Site Washington to stop Blackwatch's Specimen release. Defeat the Brawler by evading its attacks and landing some quick hits on it. After defeating it, you'll acquire claws, making your melee attack even more damaging.

Intro

Yellow Zone - Resurrection
Survival Stimulus
The Strong Survive

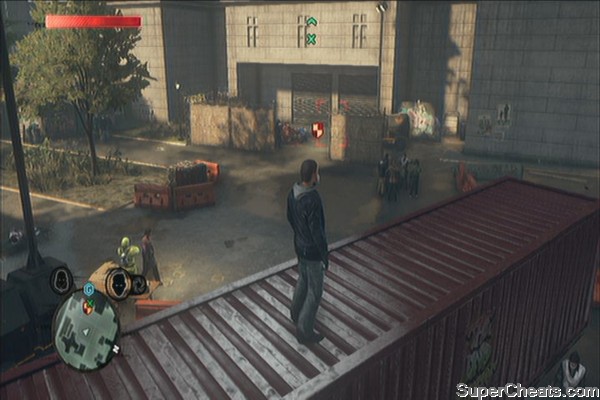
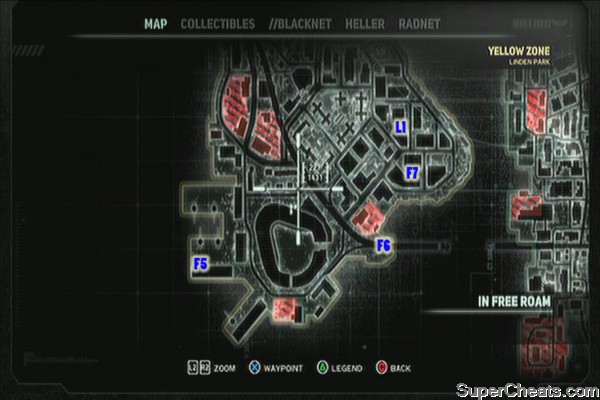
From hereon you'll be in free roam. I suggest taking this time to find and locate all collectibles in the current zone you're in as they'll help unlock new skills and abilities needed to improve your chances against Blackwatch. For the exact locations of the collectibles, please refer to the collectibles section of this guide.
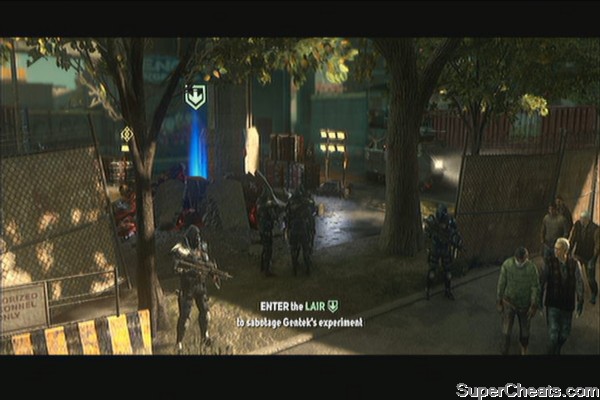
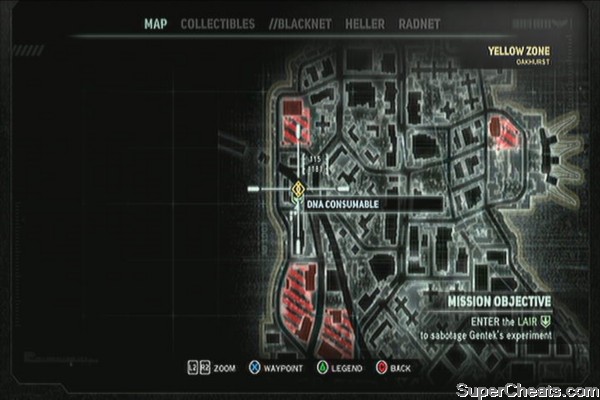
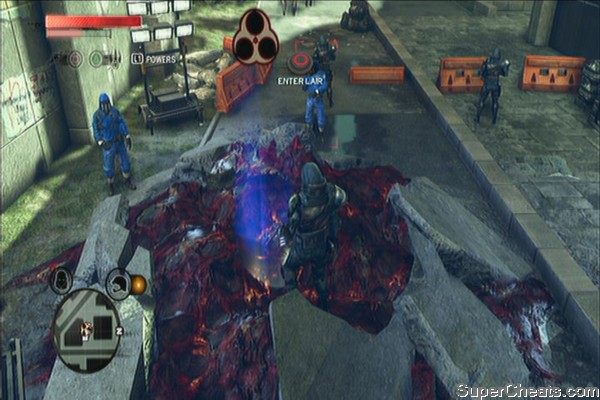
For now, you can collect all Blackboxes and destroy all Field Ops to get some new mutations. There's a lair in Linden Park but you can't destroy it at the moment so ignore it for now. Once ready, head to the next mission marker to start the mission.
Operation Flytrap
Specimen is down!
Kill the next brawler to continue. After defeating it, you'll get a bonus objective. Perform a Claw Pounce attack to the enemy soldier to earn bonus EP. Kill the next waves of Blackwatch footsoldiers until you get the prompt to pick up rocket launchers. 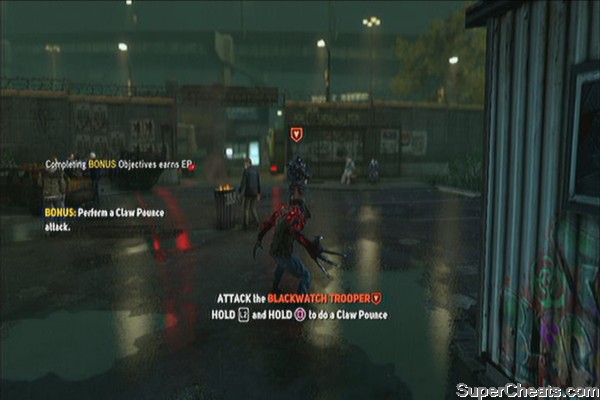
Pick one up and destroy the enemy vehicle. Once done, return to the church and talk to Father Guerra to complete the mission. 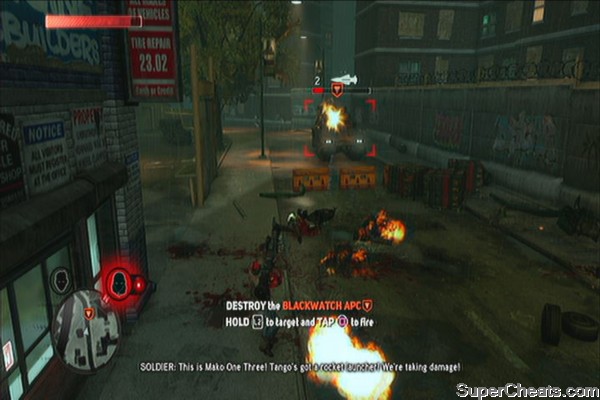
Stronghold 4D
Mutation Reward: Offensive
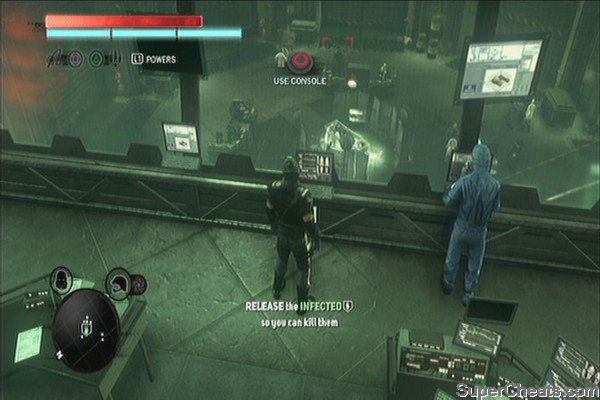
Father Guerra will instruct you to use //Blacknet Terminals. One is nearby and marked in your map so you shouldn't have problems locating it. To use it, you need to assume a military, blackwatch or scientist form. Find one nearby and consume him. Use the terminal afterward. 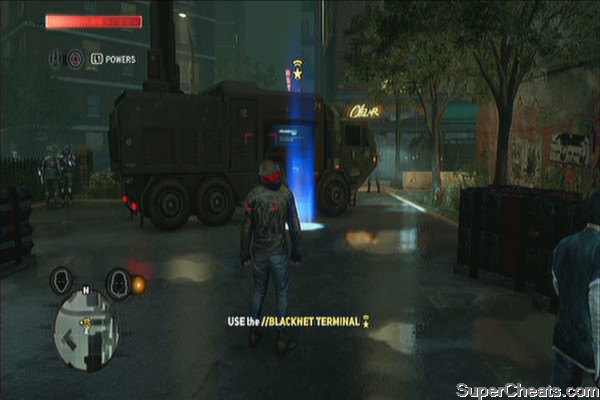
After getting the information about Dr. Samuel Billingsley, go to higher ground and start sending out hunting pulses to find his location. Once you located him, consume him to start a \\Blacknet mission. 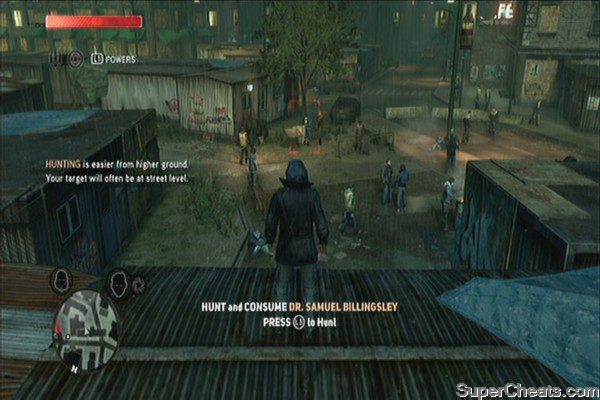
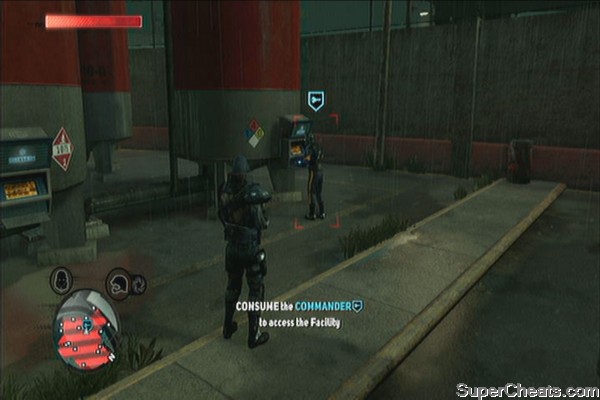
Head to the Gentek Facility marked in your map then assume a military form to use the scanner and safely enter the facility. Once done, enter the facility and find the commander. It is also marked as a blue key so just locate him and consume him silently. Just don't take too long since he will get suspicious and raise and alarm. Head to the yellow door next and use the scanner to access the facility. 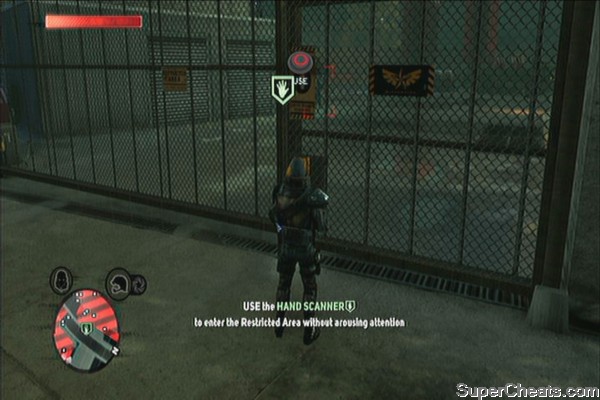
Head to the next room and you'll find the next commander there. You need to stealth consume him but since he is being watched by another soldier behind him, you need to take the soldier out first before you can safely consume the commander. 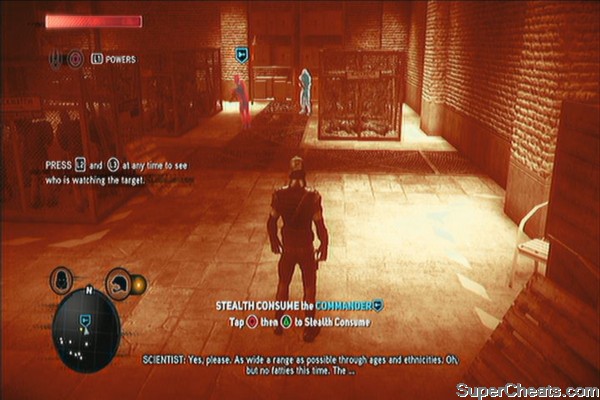
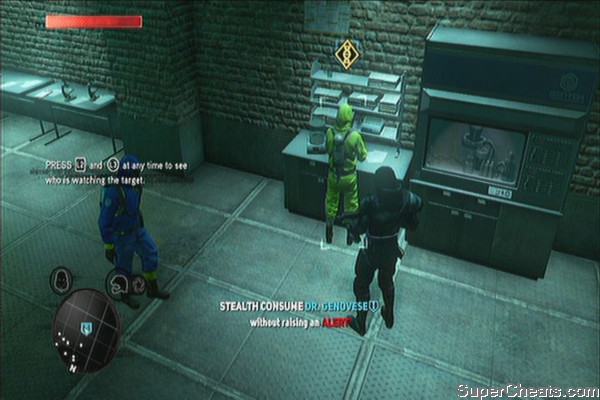
Now head upstairs and access the next room to find Dr. Genovese. There are two soldiers watching over him so stealth consume them to complete the bonus objective. Use the terminal next then exit the facility to complete this mission.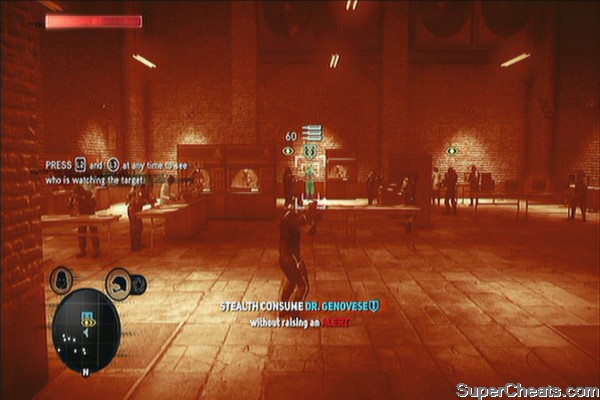
From hereon, \\Blacknet Missions are now available. It is worth doing these as they will award you with very helpful mutations and extra EP. Check the guide's \\Blacknet section of this guide for complete walkthroughs for these optional operations.
There's also an optional Claw Upgrade available nearby, as well as a new Blacknet Operation. (Black Tulip) To get the upgrade, you'll have to sneak inside the base, release the brawler inside the container, bring its HP down to critical then consume it. Exit the base afterward.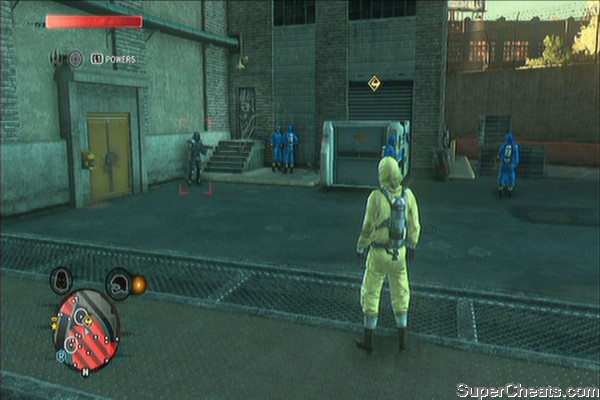
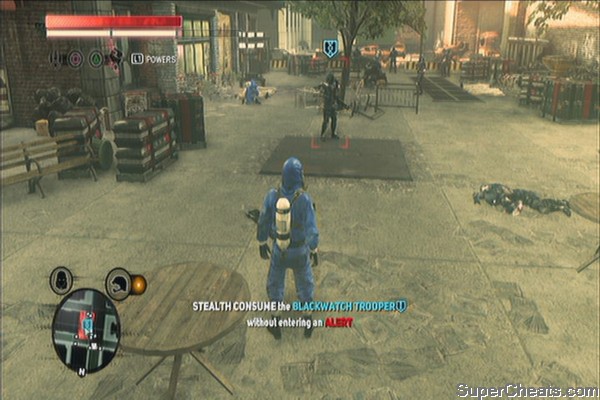
Consume the nearby soldier to get his form then enter the base. Next, you have to consume the blackwatch trooper but be careful of the nearby detector as it can see through your disguise. After consuming the trooper, enter the briefing room for a scene. 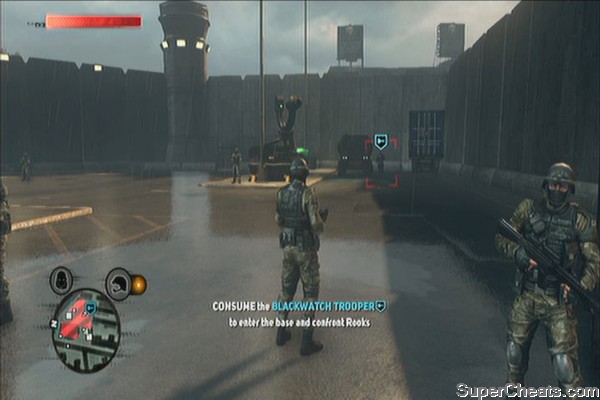
Once in control, jump and press circle to pounce at one of the scientists and consume him. Chase the other three scientists to consume them as well.
Pounce and consume
After viewing the memory, you have to hunt for Dr. Shaffeld next. Once you've reached him, he will board an APC. Kill one of the soldiers carrying a rocket launcher then destroy the APC with it to complete the bonus objective. After destroying the APC, Dr. Shaffeld will escape. Chase him down and consume him to get his memory. Escape the alert to complete the mission.
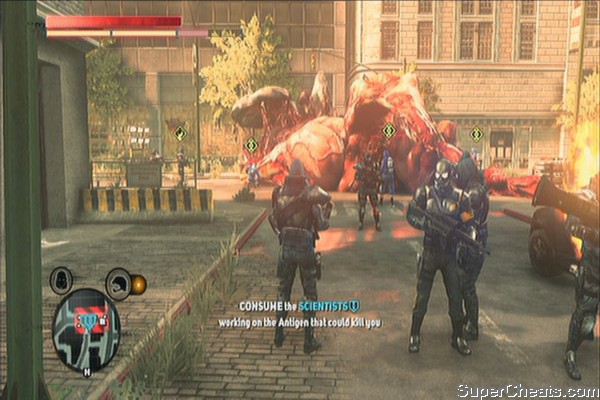
Head to the Research Post Long Shadow and investigate the facility. There are two consumable DNAs here so you can wreck some havoc then consume them, escape the alert then return to infiltrate the facility. 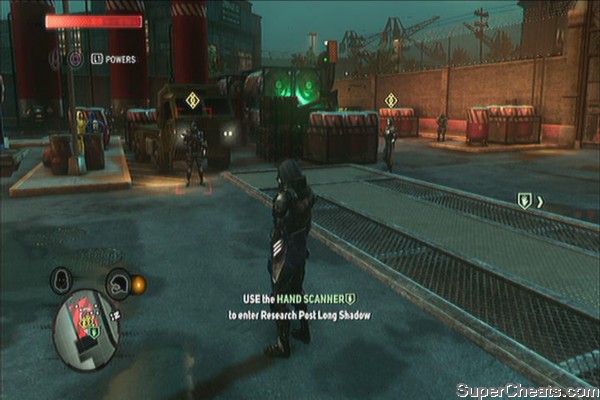
Once inside, you have to defeat the hydra. There are explosive containers scattered as well as rocket launchers so use these to your advantage. Heal yourself by consuming the soldiers nearby then continue attacking the hydra until its defeated.
Tendril action
You'll acquire the tendrils ability after defeating the hydra. Test it on the unfortunate troopers who entered the area. After clearing them out, fight your way out of the facility. Escape the alert to complete the mission. 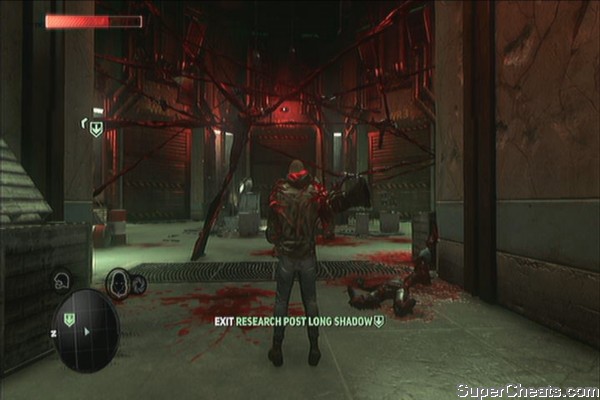
After this mission, two missions will be available, as well as another Blacknet operation. (Operation: Manticore)
Once the mission has started , head to Test Site Jefferson. Approach the mission marker on top of the building to update the mission. Next, head to the site and take out the blackwatch defenders. 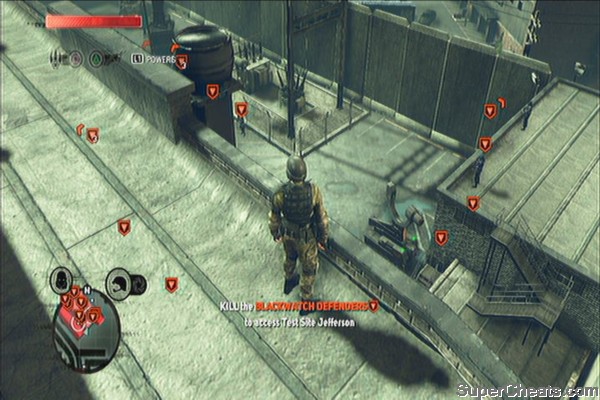
After clearing the area, enter the building next. Consume the senior scientist then clear the room. Open the next room to find the Juggernaut. It deflects attacks and the best way to defeat it is to grab a rocket launcher, wait for it to pick up a debris that it will throw at you or when it raises its arms to smash, this shoot it while its vulnerable. This enemy requires timing to defeat as its not that hardy compared to the brawler.
After defeating it, you'll obtain its shields. To complete the bonus objective, raise your shield before the enemy rockets hit you to deflect it back to them. Once done, exit the test site and escape the alert to complete the mission.
Organic shield
Head to the church and take out the first wave of rocket troopers. After clearing it out, enemy TOW vehicles will arrive. Hop on top of them then take out their launchers. Use it against them. More enemies will appear. Just continue clearing them out until the assault team is deployed. Start by weaponizing their TOW launchers and clear up the rest of the opposition before the church takes further damage. Return to the church to complete this mission.
Heller against hell
After completing this mission, a new Blacknet mission will become available. (Operation Clean Sweep)
Attack the helicopter before it reaches Belamy. For the bonus objective, you have to use Black Hole to attack the helicopter. Scale the walls, jump then target the helicopter before holding the attack button and release your black hole. Keep doing this until the chopper is destroyed.
Next, you'll have to intercept the APCs before they reach the Airbridge. This is a bit easier. Just spam using Tendrils to destroy the APCs. Once the target is out, smack him down and consume him. Escape the alert afterward. 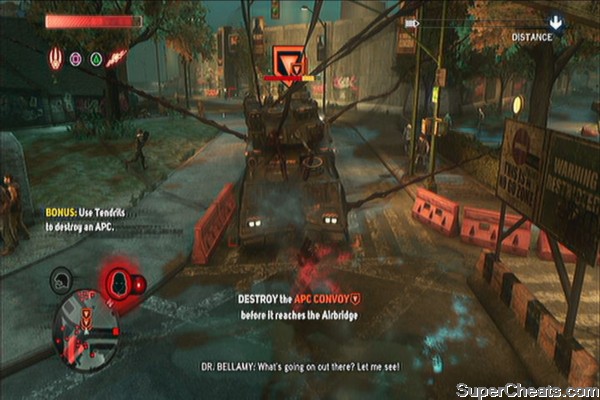
Head to Koenig's facility as marked in the map. Do the same drill; find the commander, consume him and use his identity to sneak inside the facility. For the bonus objective, you need to consume the Blackwatch Guard without alerting the area. There are also brawlers in the containers which you can release and consume for some bonus DNA. Exit the building afterward. 
Next, you have to go to the Project Orion Depot. No need to go stealth here. Just destroy the communication devices and detectors. Once done, a Project Orion supersoldier will appear. You have to face him in battle. Wait for him to attack then raise your shield to perform a shield-bash right before his attack lands. After knocking him down, attack with your claws until he stands up. Keep doing this until you can finish him off. 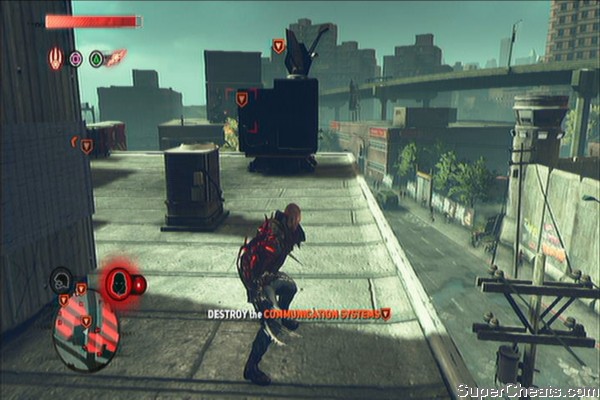
Next, destroy all the substations. After that more Project Orion soldiers will appear. Defeat them in battle to complete the mission. 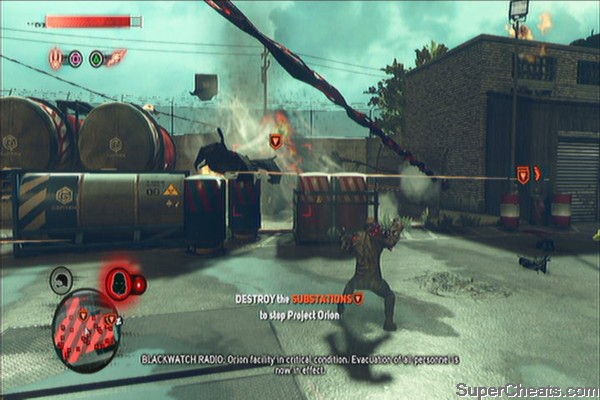
Destroying Project Orion
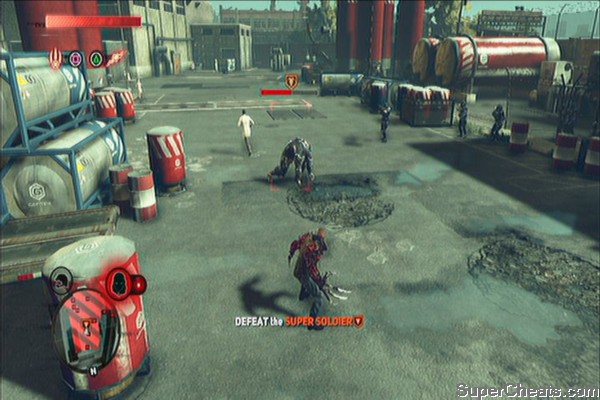
Head to the stadium to engage and defeat the Phase Two Super Soldier. Your Bonus Objective is counter the Super Soldier's attacks using your shield at least once. Once you alerted the entire area, a key scientist will appear. Absorbing him will allow you to release two brawlers from different containers. This will provide a great distraction from you and will ease off the enemy's attention. Don't forget to finish off the brawlers yourself to get their DNA.
Project Orion Phase Two
After defeating the P2 S.Soldier, you'll unlock the Devastator ability. To unleash it, press and hold triangle and circle at the same time when the Mass gauge is full. Defeat the last batch of super soldiers and brawlers then finally chase down and consume Dr. Burk to get his memory. Escape the alert to complete the mission. 
Defeat the initial wave of choppers that Koenig sent you. Next, you have to do the same to the APCs to flush the commander out and learn Koenig's position.
Everything gets FUBAR if you mess with Heller
Escape the alert or clear the area out then head to Base Seven to find Koenig. Destroy the fuel tanks to end the lockdown. Koenig will then board an attack chopper and fight you. Destroy the chopper using your tendrils or using the rocket launchers from the dead troopers. Once that's done, you'll have to fight Koenig this time. 
The trick in defeating Koenig is simple. Wait for him to attack, evade his attack then press square or triangle to counter. Continue doing this until you defeat him completely.
Don't beg; just shut up and die
Head to the nearby base and consume a vehicle commander. Escape the alert and take care not to destroy the helicopter or the mission will end up in failure. Once you've consumed the target, step on the marker and press circle to use the airbridge. From the map, select the helipad in the Green Zone to travel there. 
Exit the base and go to Father Guerra's position.
Head back to the base and head to the mission marker. Enter the APC this time and drive your tank to the marked locations. The bonus objective just simply requires you to run over 60 infected. Head to the park and deal with the brawlers there. Next, head to the next location and destroy the hydras. Finally, drive the APC back to base to finally gain the vehicle hijacking ability.
Mowing them down
Two new missions and a Blacknet mission (Operation Keyhole) will become available. You can now use the Airbridge to fly between the zones to collect any collectibles you left or missions you haven't finished yet.
After finishing the mission, there are two soldiers nearby with an optional upgrade and blacknet memory (Operation Keyhole: Stronghold 7-H) Consume them first.

Go to the mission marker to start the mission objective. Stealth consume a marked extraction soldier without entering alert status. Send your hunting pulses then consume those targets colored white. (Means they're not being watched)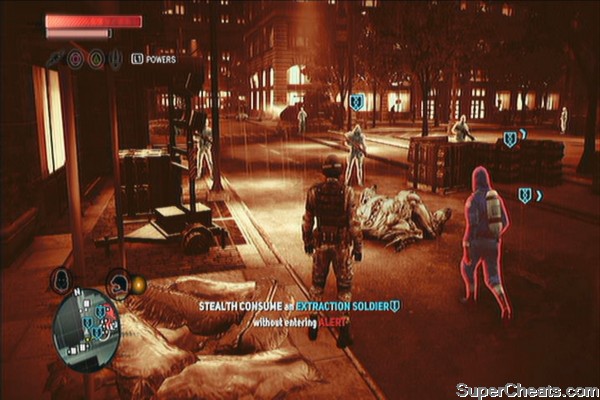
After consuming one of the extraction soldiers, follow the squad to Roland's position. You have to use your guns to take out the infected along the way. Just pick up new ones if you need fresh ammo. 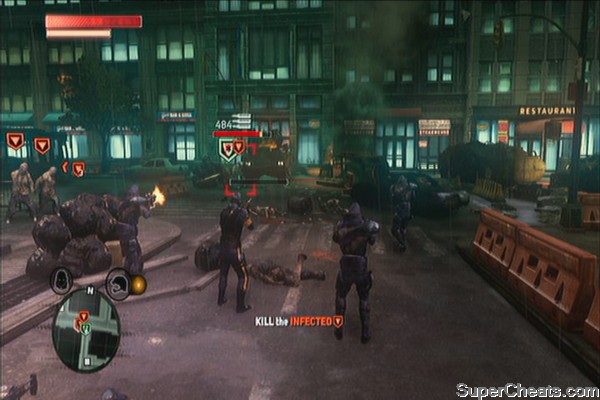
Pick up a grenade launcher on the ground. As bonus objective, you need to kill at least 3 infected with one shot. There are many grenade launchers lying around so you don't have to worry about ammo. Take out the infected and the brawler. After that, follow the squad then pick up the rocket launcher when prompted. A hydra will appear shortly so take care not to get damaged too much since you can't absorb civilians to restore your HP. Regeneration is a very helpful skill to have in this mission. Use your heavy weapons to destroy it. 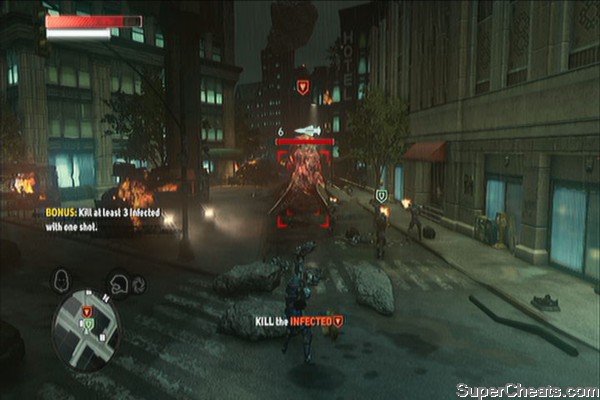
After destroying the hydra, two brawlers and a wave of infected will appear. This is the best chance to complete the bonus objective as they're clumped together. Use the grenade or rocket launcher to kill several of them at the same time.
Continue following the squad leader and pick up the heavy weapons, (preferably the rocket pods so you can fire several rockets rapidly) lying nearby as you'll need it to defeat the hydras and brawlers. After taking them out, go to the extraction point to start the next part of the mission. You can now remove your disguise and kill all the scientists to flush out Roland. Attack Roland and after escaping, the mission will be now complete. 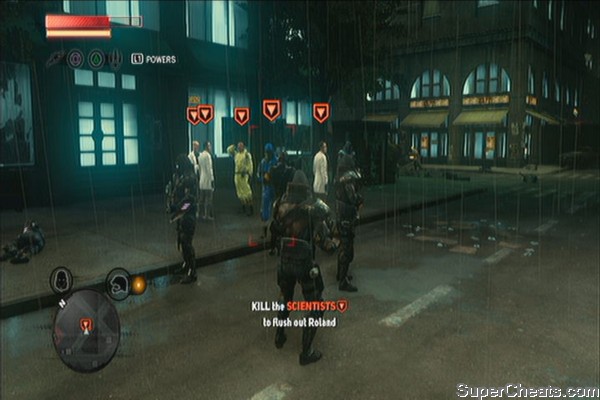
Note: You must complete the White Light before doing A Nest of Vipers as this mission will disappear after that.
Hunt Commander Gallegher and attempt to consume him. Chase him until you automatically reach him. 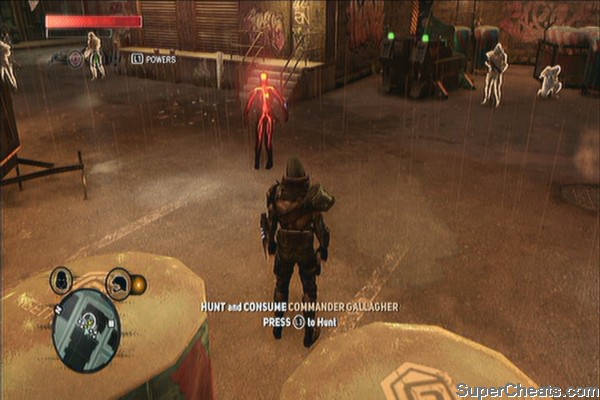
Next, defeat him in battle. The same tactic applies; evade his attacks and counterattack. Be careful of his tornado attack as it does serious damage.
Time to do some real damage
You'll obtain the Blade Ability after this. Kill the remaining enemy troops to complete the mission. A story mission (Taking the Castle) and two new Blacknet missions will be available as well. (Operation: Jack-of-all-Trades and Operation: Red Glacier)
Find a Blackwatch Trooper and consume him to get his form. Next, head to the mission marker next. After the scene, head to Gentek's R&D office. Step on the mission marker to update your mission. Head to the top of the building and consume the scientists, including some high-DNA targets. 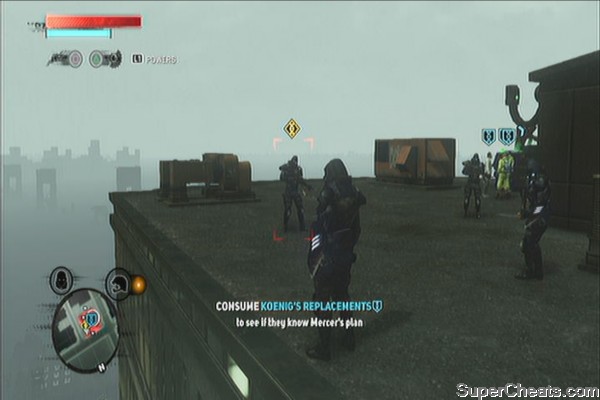
After that, you have to hijack one of Riley's tanks and use it to destroy at least one of his other marked tanks to complete the bonus objective. Continue destroying the marked tanks until you flush Riley out. Consume him then escape the alert to complete the mission.
Not if he thinks I am you
A new story mission and Blacknet mission will become available after this mission. (Operation: Vivid Future)
Head to the mission marker and hunt the bio-bomber. Once you found him, grab and fight him to acquire the Bio-bomb ability. Head to the next mission marker then hunt Archer's next contact.
Bio-bomber alert
Once you found the contact, plant a bio-bomb to a commander as instructed and your real target will reveal himself. For your bonus objective, grab one of the soldiers, plant a bio-bomb, target the evolved and throw it at him. The bonus objective will be completed once the bio-bomb detonates on him and he's in the center of the tendrils. 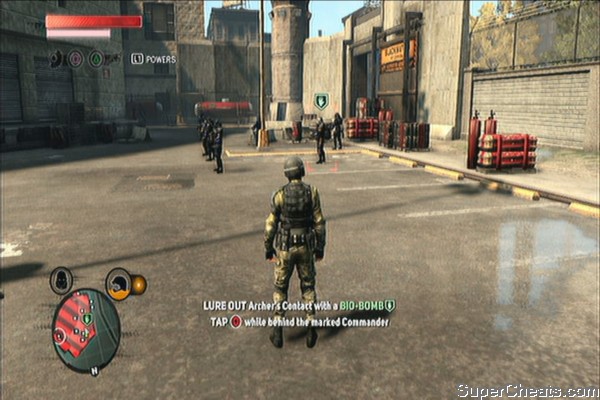
Bio-bombing like a boss
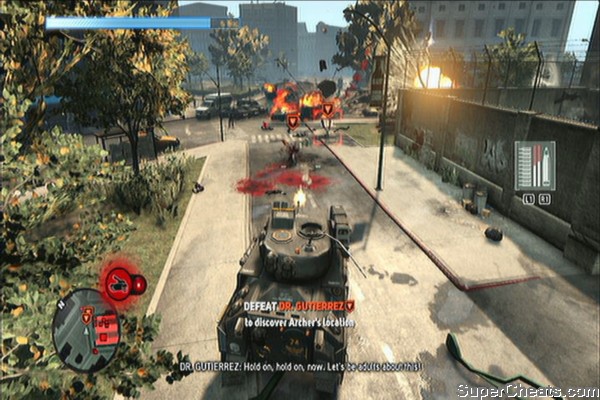
Next, hunt Dr. Gutierrez. Defeat him and other two evolved then consume him to get his memory. Escape the alert to complete the mission.
Head to the mission marker inside the depot. Next, consume the marked scientist so you can infiltrate the facility. For your bonus objective, sneak and plant two stealth bio-bombs to any unwary soldiers. Once you're done with the bonus objective, wreck the place and destroy the chemical storage tanks. Make sure that you stay in your masked form to avoid breathing the deadly fumes. 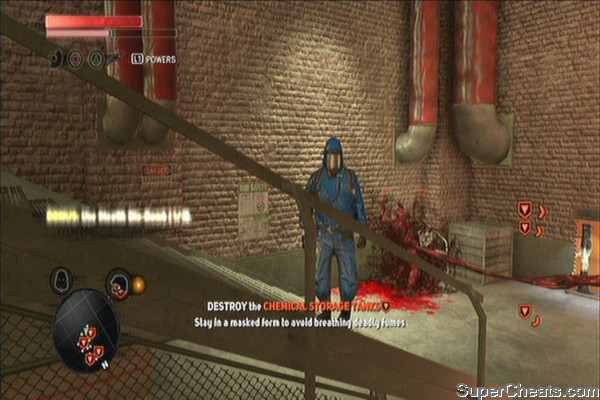
Once done, Archer will reveal her Evolved form. It is now safe to return to your normal form and fight her. She will call forth 2 brawlers first then 4. Use your Devastator attack to take them out simultaenously. Otherwise, you have to evade and attack with your blade to kill them quickly. After getting rid of her brawlers, defeat her to obtain the Pack Leader ability.
The Alpha of the Pack
Summon your brawler pack and follow the tutorial on how to use them. Leave the base to complete the mission.
Head to the mission marker and defeat the hydra so you can enter the lair. You can hijack one of the nearby tanks to quickly destroy the hydra or use heavy weapons to do it yourself. Once killed, enter the lair. 
Inside, find Roland. Next, you have to defeat the juggernaut to learn its Hammerfist skill. There will be brawlers joining the fray so be careful. Your tendrils should be especially effective against the juggernaut. After learning the Hammerfist, destroy 30 infected using it to complete the bonus objective. Exit the lair next. 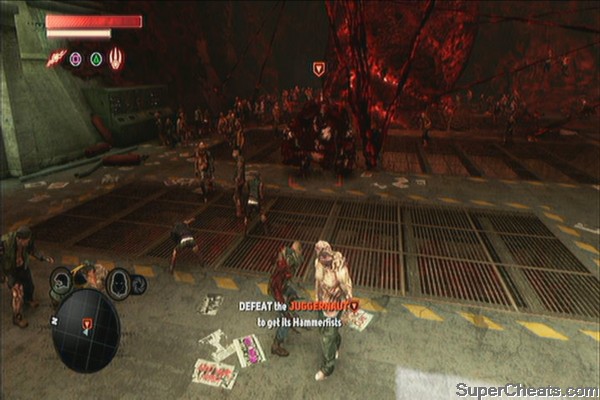
Once outside, kill all enemies as instructed then destroy the tanks using hammerfist attacks to complete the bonus objective. Finally, you'll be facing Roland himself. Remember to dodge often and use counterattacks after evading to kill him quickly. Your hammerfist's charged attack is powerful enough to push him back and deal a bit of damage as well. Your shield will be complete after defeating him. Escape the alert to complete the mission.
Check out my new trick
After the scenes, defeat the evolved soldiers to complete the bonus objective, summon your brawler pack to help you with the battle. Head to the whitelight depot mission marker for a scene. You need to defeat the Goliath next. Just evade it and attack the marked parts of its body whenever you have the chance. You should have plenty of abilities to your disposal now; use it to your advantage.
The Alpha of the Pack
After defeating the goliath, escape the alert to get your mission update. Head to Father Guerra's location next. The mission is completed after the scene.
Head to the mission marker to start the mission. Head to the base and consume a helicopter pilot. Escape the alert then head back to the base to use the Airbridge. You'll be piloting the helicopter now.
Head to the park where the telemetry truck is located. Defend it against waves of infected. For the bonus objective, you have to look out for the prompt to use triangle to shoot down thrown projectiles heading towards you. Do it twice to complete the bonus objective. Keep shooting them down until a goliath appears. Land on the blue marker to pick up the engineer.
Helos to the rescue
Fly to the Base Hotel Two Seven next and land on the helipad. After learning Dana's location, head there to warn her. Land the chopper there and disembark to complete the mission. You'll also obtain the helicopter hijacking ability now.
Before heading to meet with Dana Mercer, I suggest collecting the last batch of collectibles in this area. Refer to the Blackboxes and Field Ops / Lairs sections of the guide to learn their exact locations and bonuses they provide. There's also a lot of upgrade carriers here so you can roam the area using a chopper if you want. Once ready, head to Dana's meet up point to continue with the story.
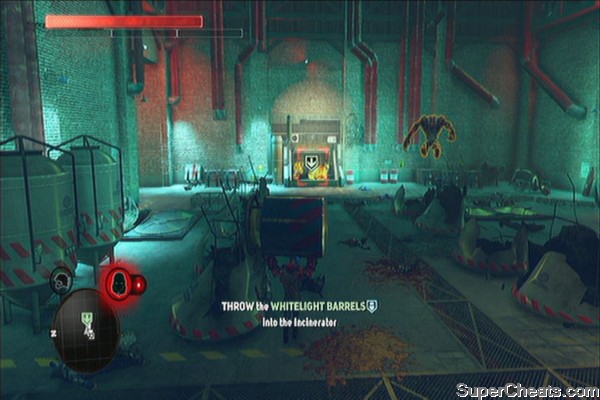
Head to the blackwatch hot zone when ready. You need to pick up the whitelight barrel and throw it in the incinerator. Kill the remaining brawlers in the area afterward. 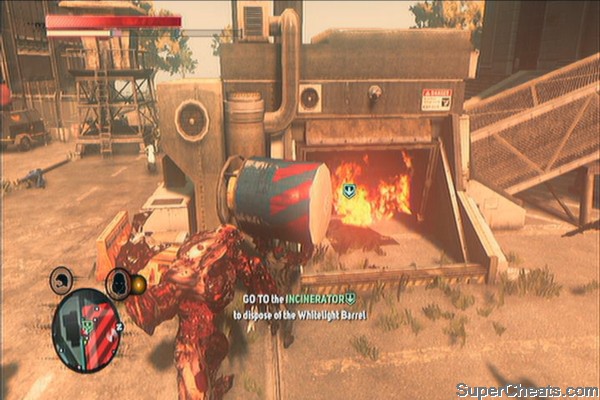
In this part of the mission, you have to do the same thing with the scattered barrels away from the base. You have to pick them up one by one then throw them in the incinerator to destroy them. As a bonus objective, you can summon a Brawler pack to assist you. Leave the base area and lose the Alert to complete the mission.
Brawler Pack
This mission unlocks the story mission (Last Resort) and Blacknet mission Operation: Spotted Cat
Next, head to Cantrell's base. As a bonus objective, you have to destroy the fuel storage tanks using explosive weapons. You can just pick up a grenade or rocket launcher to destroy the fuel tanks. After that, kill all troopers to update the mission.
After the scene, head to the crash site. Defend the crashed chopper from brawlers and a juggernaut until the mission updates. Another Evolved will appear. Defeat her to get the Whipfist ability.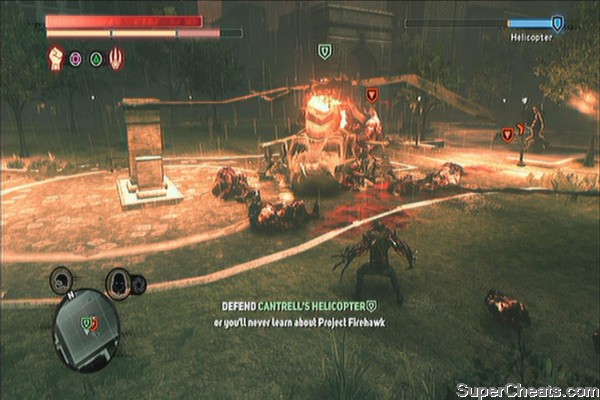
For the bonus objective, you simply need to kill 20 infected using the Whipfist. Just ignore the choppers for now and start whipping like crazy. Once you get the bonus EP, destroy the rescue helicopters.
Now this makes things easy
You once the commander is out, target him then press circle to pull him towards you. Consume him to get his memory and complete the mission.
This also unlocks two story missions: Fly in the Ointment and Divine Intervention. Three \\Blacknet missions will be available as well. (Operation Long Horizon, Stun Circuit and Clockwork)
Hunt and consume Agent Griffin to discovery Maya's location. Follow the helicopter until the VIP arrives. After the scene, chase the Evolved until you get to fight them. 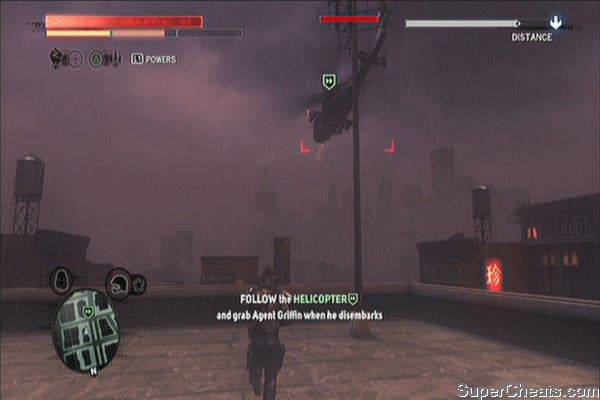
For the bonus objective, you have to defeat the Evolved in 6 different ways. Switch between your powers to until you defeat them. Consume Agent Griffin to complete the mission.
Unlocks “Lost in the System” mission.
Hunt the target then board the attack helicopter when ready. Escort the commander's chopper and kill the flyers. When you get the order, head back to the base and assist in defending it. Next, you need to escort the tank and destroy any marked infected that will attack it. Keep doing this until you reach the next base. Land the chopper for the next part of this mission.
The knack to blow things up
Consume all the commanders amidst the commotion. Escape the base and lose your Alert status to complete the mission.
Unlocks “Operation Firehawk” mission.
Head to the base to get the intel from Rooks. Once done, proceed to Base India Niner Six. Head to the entrance. Just move quickly to avoid getting detected by the nearby viral detector. Once inside, you have to stay out of Alert to complete the bonus objective. Enter the target's room then consume him afterward. 
Exit the base next, then you have to defeat the goliath. If you want to score the bonus objective, you have to prevent yourself from taking any damage from it. This can be a little tricky as there's a lot of factors involved that can make you fail the bonus objective. Clear any remaining marked infected then exit your Alert status. Head to the landing pad next. 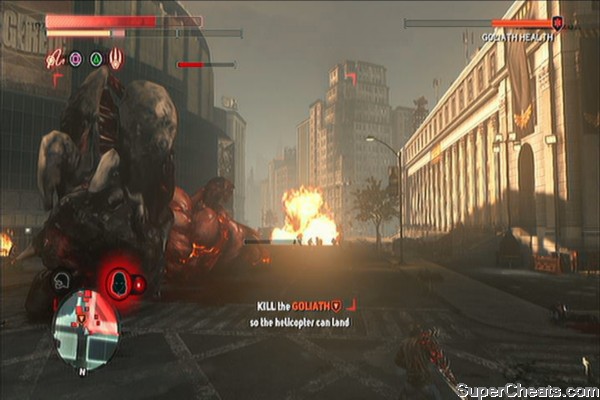
After the scene, you have to defeat and consume all Evolved to proceed with the story. A well-placed LV3 Devastator should be enough to fatally wound them and be ready for consumption. Mission will be completed afterward.
Go to the staging area. For the bonus objective, you have to hijack a Thermobaric helicopter. Simply pilot of the parked helicopters and use the same helicopter to wreck the others. Proceed to the park and destroy the marked targets. Once done, head to the mission marker to meet up with Galloway.
Putting the Firehawk down
Head to the base and hit the heavily reinforced door with the hammerfist. After that scene, defend the juggernaut pack as the smash the door open. Protect them by defeating all enemy forces. An upgraded whipfist should be able to easily take out the opposition. Once open, enter the base to complete the mission.
A labor of love
This battle is about timing and using the proper weapons against Mercer. Your shield will play a great role in surviving this battle as well. When you're in the final phase of the battle, you'll just have to press the correct buttons when prompted and you should win the battle automatically. Watch the video below to get a general idea about the battle.
Murder your maker
After completing the game, you can start New Game on the INSANE difficulty level. You can also continue exploring the open world and try getting the newly unlocked Platinum medals for RADNET events.
You'll unlock these optional missions after completing the first Blacknet mission (Operation: Orion) as part of the story. To start, you always need to assume a military, blackwatch or scientist form to use the blacknet terminal marked in the map.
Operation: Black Tulip
Available: After completing Operation Orion
Reward: Predator Mutation
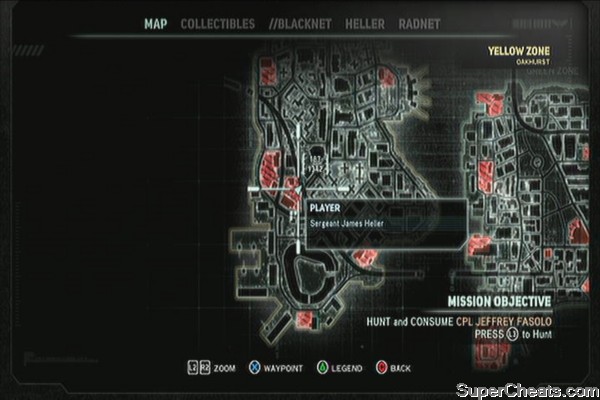
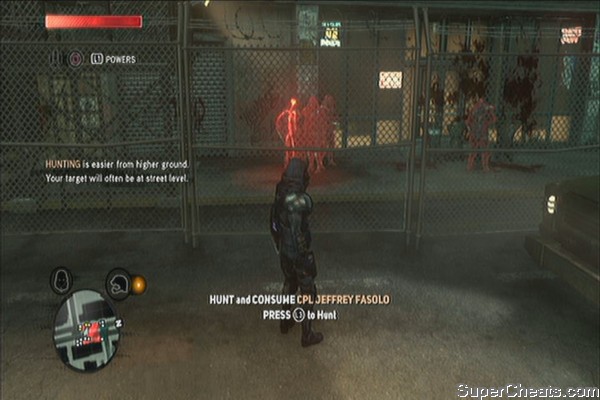
Hunt and consume Cpl Jeffrey Fasolo. He is located at the blackwatch checkpoint to the northeast. There's no need to stealth consume him; just attack him and consume him the violent way. After viewing his memory, the blacknet operation will be updated.
Infected Salvage 1-D
Head to the Capture Site and sabotage the infected specimen. There's also a Blacknet memory you can consume from a nearby soldier that will unlock the second part of the mission. Unlock the container to release the brawler, then chase after it to defeat it. After defeating it, make your run and escape the alert.
The first part of the mission will be completed.
Destroying the infected salvage
Infected Salvage 1-E
You may want to access the terminal again to proceed with the second part of the mission. Head to the Lair next and enter it. There's also a soldier with consumable DNA outside so make sure to get it before entering.
Once inside, there's another consumable DNA from a personnel there. Find the brawler container and release it once ready. Weaken the brawler by using the grenade launcher and causing an explosion damage to it to complete the bonus objective. Consume it once critically injured then exit the lair.
Once outside, escape the alert to complete this mission and get your reward.
Operation: Manticore
Available: After completing Project Long Shadow
Reward: Locomotion Mutation
Examine the terminal to learn about David Castleman. There's also a soldier with a blacknet memory nearby. Consume him to unlock the second part of the operation. (Suppression 1-F)
Gentek Support 2-C
This part of the mission will be available after consuming Dr. Castleman. Once you get the mission update, you'll have to find the scientists and consume them. You can also try stealth consuming at least two scientists without raising an alarm. Some of them also carry bonus DNA which is worth more EP. Like before, send a pulse to determine who's safe to stealth consume and who's not.
Stealth consuming without the alert
After completing the bonus objective, find the other scientists and consume them. Escape the alert to complete this portion of the mission.
Suppression 1-F
Head back to the terminal and examine to start this second part of the mission. Head to the Spawning Hive J-10 to scout the operation. Take out the guards outside and enter the lair then kill all the scientists and troopers inside. Exit once done.
Heavy patrols will arrive. Switch to your tendrils and use your heavy attacks to take the tanks and APCs out with ease. Force the commander out of the marked APC and consume him. Escape the alert to complete the mission and get your reward.
Operation: Clean Sweep
Available: After completing Salvation
Reward: Defensive Mutation
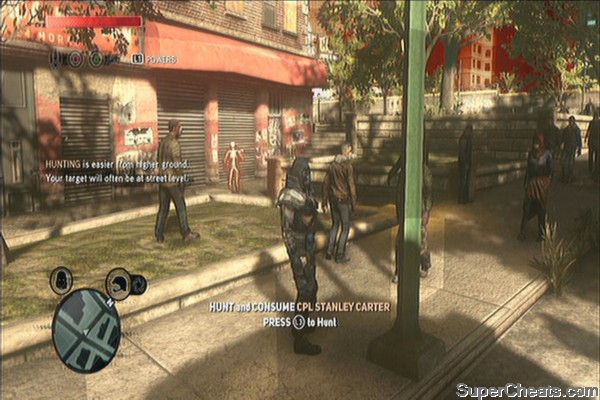
Hunt Cpl Stanley Carter. He's walking alone so you shouldn't have problems consuming him.
Cargo Delivery 12-B
Head to the crashed chopper on the rooftop of the marked building. You need to collect the scattered cargo before time runs out. If you have acquired locomotion mutations and bought some movement upgrades from your evolution points, this task should be a lot easier. Mission completes after getting the last package.
Runner
Operation: Keyhole
Available: After completing Enemies and Allies
Reward: Predator Mutation
Cargo Delivery 15-G
Hunt Marcella Walsh to view his memory. Next, head to the mission marker to start the next part of this mission. This is the same as the same cargo delivery mission where you need to collect the scattered cargo before the time runs out. Again, having your locomotion and movement upgraded will prove beneficial to this mission.
Mutant parkour
Stronghold 7-H
The soldier who has the blacknet memory is located near the base where you rode the APC for the first time. You can consume him immediately after completing the first Green Zone mission, Enemies and Allies.
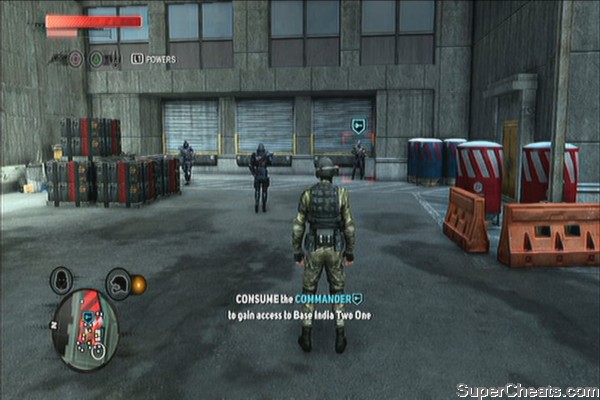
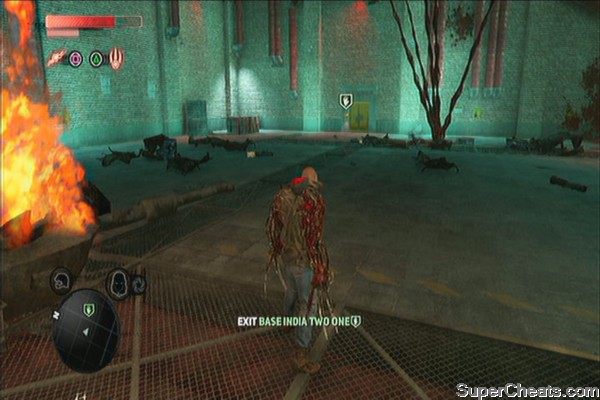
Next, head to Base India Two One and consume a base commander. Do the same drill; assume its identity and infiltrate the base.
For the bonus objective, you need to hijack a tank then use it to destroy another tank. There are two high DNA targets here; consume them first then hijack a tank and wreck havoc inside. Kill all the remaining targets and exit the base.
Operation: Jack-Of-All-Trades
Available: After completing The White Light
Reward: Power Specialist Mutation
Suppression 5-E
Hunt Lt. Barry Pollock to get his memory. Next, destroy the marked helicopters and finally, consume the commander once he gets thrown out. Escape the alert to complete the mission.

Cargo Delivery 18-A
Find Dane Fontenot and consume him to get his memory. Access the terminal to start the mission. Head to the mission marker to intercept the chopper. Like before, you need to collect the intel before time runs out. Before you're able to collect the last intel, an Evolved thief will get the last intel and make a run for it. Chase him down until you get the prompt to defeat him. Kill the bastard and retrieve the intel to complete this part of the operation.
Evolved Thief
Stronghold 7-1
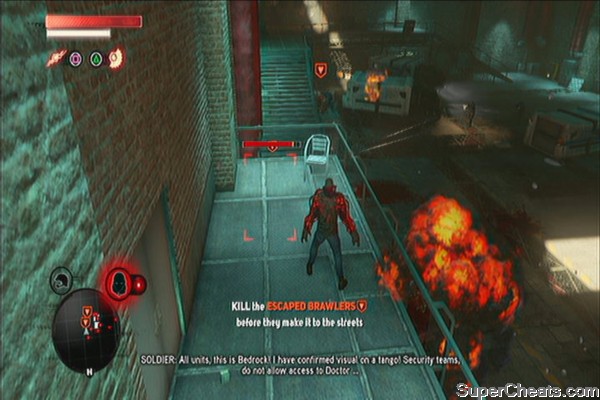
Hunt and consume Edward Carolino. Next, head to Base Juliet Seven Three. The base is under attack so just head to the door and use the hand scanner to get inside. You need to kill the escaped brawlers next. After that, the doctor will just run away. Capture and consume him, then clear the room. Exit the base and escape the alert if there's any to complete this section of the mission.
Operation: Red Glacier
Available: After completing The White Light
Reward: Offensive Mutation
Infected Salvage 4-B
Hunt Ben Langham and consume him. Head to the marked base and infiltrate it to release the brawlers in captivity. Chase down the brawlers and defeat them to complete this objective.
Suppression 6-D
Hunt and consume Sgt. Lance Bertham. Next, head to the location of APCs carrying Biomass Scanners. You need to destroy one of the marked vehicles with a Devastator to complete the bonus objective. Consume enemies until you get your Mass gauge full, then damage an APC until its health is low then unleash a devastator at close range to destroy it.
Quit staring
Next, destroy the helicopters to flush out the engineer. Consume the engineer then escape the alert to complete this objective.
Operation: Vivid Future
Available: After completing Taking the Castle
Reward: Defensive Mutation
Cargo Delivery 16-D
Hunt and consume Dennis Wayne. This particular target is an evolved so expect a fight before you can consume him. Head to the mission marker to start the next part of the mission. You need to collect the parcels but this time, it will be a lot harder since there will be enemies hunting you at the same thing. Your movement and locomotion upgrades will play a great role here, as well as your timing.
Running through hell and back
Gentek Support 12-C
Hunt and consume Dr. Soren Donnell. After getting the mission update, head to the location of the first two scientists and consume them. Head to the third scientist and attempt to consume him to discover that he's an Evolved. Destroy him and the other two evolved within 90 seconds to complete the bonus objective.
Operation: Spotted Cat
Available: After completing Burned from Memory
Reward: Offensive Mutation
Gentek Support 14-A
Hunt and consume Dr. Rajiv Kureshi. You need to stealth consume a blackwatch trooper without entering alert. Once done, join the patrol.
Keep walking until you encounter some brawlers and some flying infected birds. Kill them all. The rocket launchers are very effective against brawlers while the machine guns are deadly against the birds. Keep following the patrol. You'll encounter another infected wave. For the bonus objective, you have to kill 5 infected without taking damage.
Welcoming party
Once you've reached the scientists, you can consume them. There's also another soldier carrying a blacknet memory so you can consume him as well. Exit the alert after consuming the scientists to complete this objective.
Stronghold 9-B
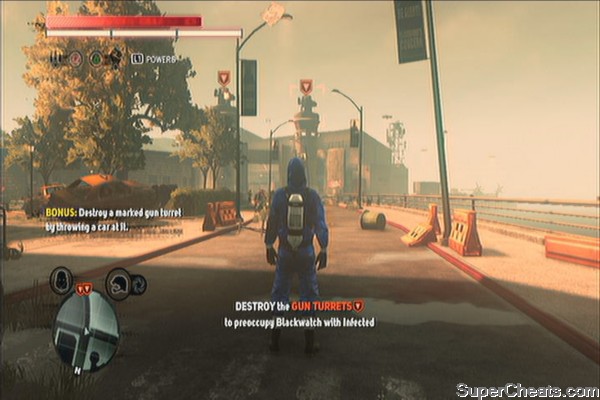
Consume Sgt. Raoul Whitehead. Next, head to the Whitelight Facility. When you're near it, you'll have to destroy the marked turrets by throwing cars at them. Once done, enter the facility.
Once inside, stealth kill one of the high-DNA targets there then throw all the barrels to the incinerator. Some of the personnel here are evolved as well so you may want to summon your brawler pack to help you out a bit. Exit the facility after destroying all whitelight barrels. Escape the Alert to complete this objective.
Suppression 12-F
Hunt and consume Lt. Sanjay McElroy. Next, head to Base India Six Niner to find Rottweiler. Kill all the enemies in the base until their reinforcements arrive.
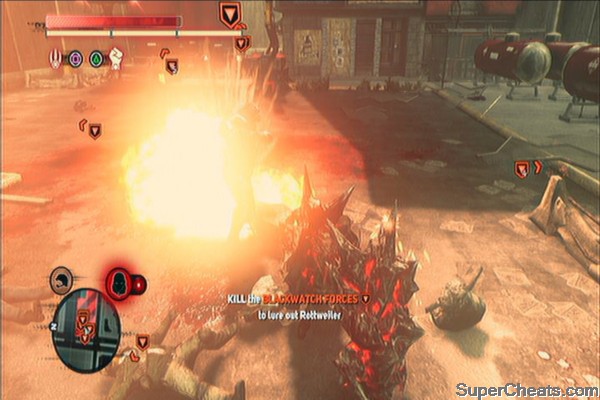
For your bonus objective, you have to summon your brawler pack and order them to attack the marked vehicles. Keep doing this until you find Rottweiler. Consume him to complete this objective.
Flushing the dog out
Operation: Long Horizon
Available: After completing Last Resort
Reward: Power Specialist Mutation
Cargo Delivery 24-K
Find and consume Lindsay Benhurst. After that, you have to find and destroy the marked helicopters while retrieving the cargo they'll drop after getting destroyed within the time limit. After destroying the two helicopters, you need to destroy the third and defeat the Evolved that hijacked it. The objective is completed after killing the Evolved.
Please, I want you to try
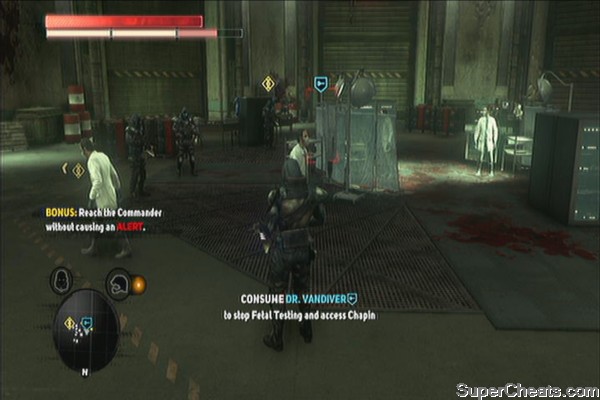
Stronghold 9-D
Hunt and consume Dr. Lawrence Foster. You'll find him on a rooftop surrounded by three brawlers. If you attempt to consume him, he will turn out to be another Evolved. Defeat him and the three brawlers (a Devastator in the middle of them should do the trick) then consume him to update this objective. Go to Base Hotel Two Seven next.
Once there, the base will be swarming with infected. Just waltz right in. For the bonus objective, you have to reach the Commander without raising an alert. There's also a soldier with a Blacknet memory you can consume nearby. (Sgt. Vernon Mcnabb)
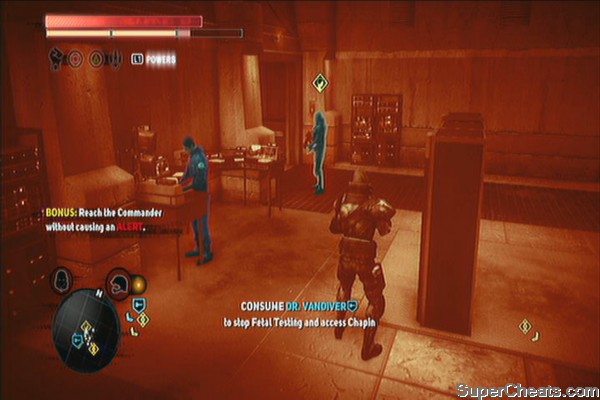
There are also high DNA targets here so time your stealth consumes to maximize your EP gain. You can stealth kill some of the doctors and soldiers to lessen the attention or just plant a bio-bomb to an unlucky soul to divert their attention. Consume the key target once ready. The bonus objective will be completed once you open the next door using the scanner.
Next, you can now go loud and grab the commander. He's an Evolved so you have to defeat him first to update the mission. Exit the base afterward.
Once outside, you'll have a new bonus objective. You have to kill 8 troopers who saw you. Just stay put for now and kill them all to get this objective. Lose your Alert status to complete the mission.
Operation: Stun Circuit
Available: After completing Last Resort
Reward: Predator Mutation
Cargo Delivery 25-D
Hunt and consume Lt. Garrison Pugh. Like before, you have to collect all the packages while evading heavy enemy fire. You should be upgraded at this point so you can just ignore the small arms fire. Raising your shield will slow you down so try evading incoming enemy missiles using your air dash. After collecting the last package, escape the alert to complete this objective.
Running through Hell and back... again
Suppression 13-C
You need to find and consume Sgt. Vernon Mcnabb. After getting the mission update, find the three marked tanks and destroy them to smoke out Commander Collins. Attempt to consume him to reveal his identity as an Evolved then chase him down. Next, destroy the helicopter he hijacked so you can fight him.
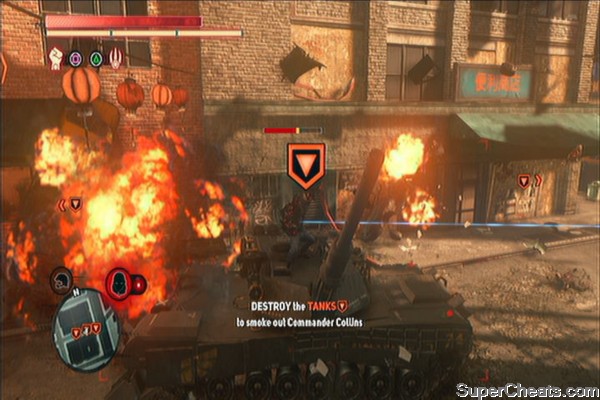
For the bonus objective, you have to defeat Collins using Claws and Hammerfist. Change your power assignment then fight him as you normally do against the Evolved. Defeat him to complete the objective.
Who's the obsolete one now, b*tch?
Operation: Clockwork
Available: After completing Last Resort
Reward: Offensive Mutation
Gentek Support 15-G
Find and consume Dr. Alexander Murray. Hijack the helicopter to kidnap and consume the Gentek VIPs. Clear out the infected flyers above the first scientist, then pick him up. Find the second scientist and defeat all enemies before picking him up. The third scientist is the same though to complete the bonus objective, you have to defeat the two hydras without taking any damage.
This is a bit tricky since there are flyers as well. Just move away from the heat of the battle and take the flyers out first. The hydras do move underground and will lob debris or cars at you. Keep an eye to your defend button (triangle) Once you see it, press it immediately. Take note that if the two hydras throw heavy debris at you, your defense system might not be that quick enough to react. When that happens, evade like crazy.
After rescuing all scientists, fly back to the base and attempt to land. Once you get the prompt, fly to the maximum altitude then bail out be holding the circle button. This objective will be complete afterward.
I should get a medal for this
Infected Salvage 8-D
Find and consume Cpl Kevin Duke. Head to the containment site next. You have to defeat the Goliath again to complete this objective.
...this, I gotta see.
Infected Salvage 8-A
Find and consume Elwood Pine. Head to the base and find the commander. Consume him to get access inside. Once inside, find the console and release the brawlers to kill them. For your bonus objective, you have to consume five of them. Claws will work very well against brawlers while the charged attack from hammerfists will work wonders against the pesky juggernauts. Exit the facility once done.
When you're near a blackbox, you'll be notified and its relative distance is displayed in the screen.
Yellow Zone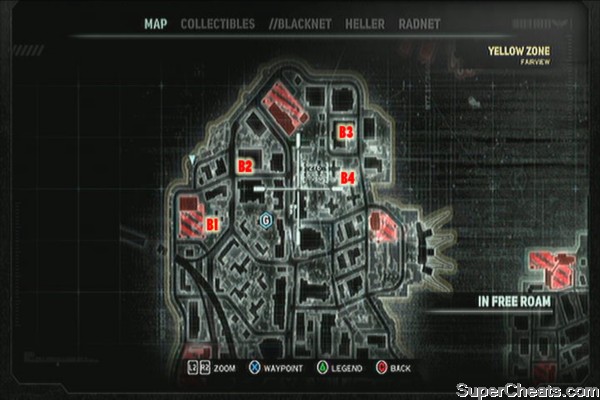
Fairview
Refer to the map for the exact locations and markers.
Blackboxes: 4
Mutation Reward: Locomotion
B1 - On the ground, in the southwest corner of the cross-shaped building. 
B2 – On the ledge above the blackwatch outpost. 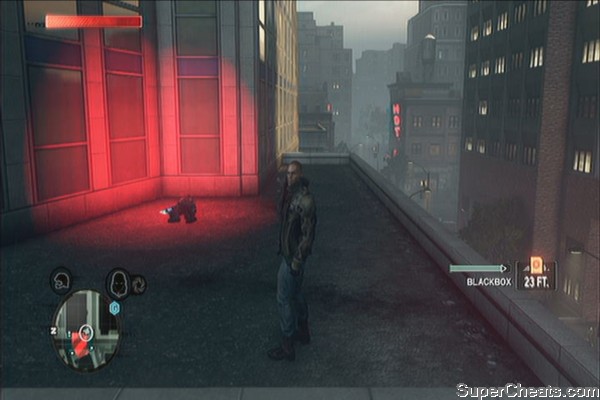
B3 – Ground floor, in the southwest corner of the L-shaped building.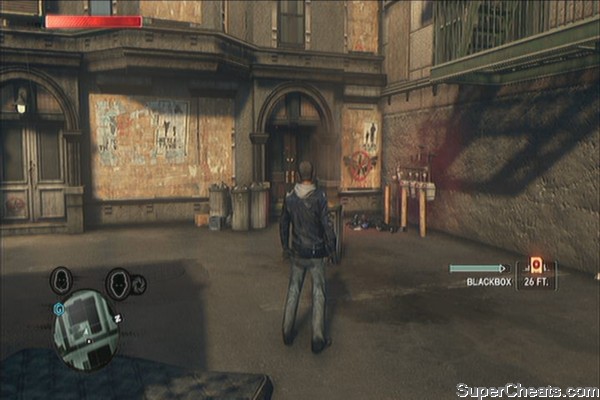
B4 – On a ledge in the northwest corner of the apartment complex. 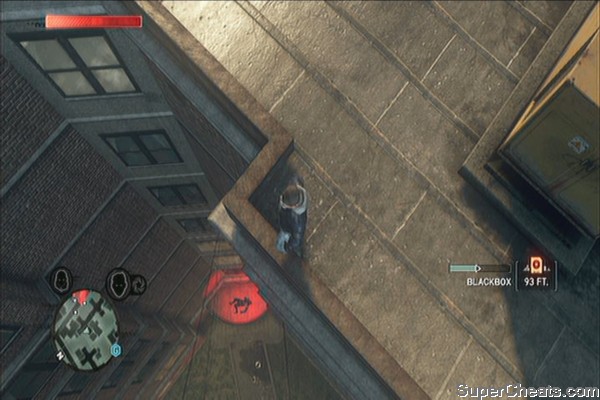
Oakhurst
Refer to the map for the exact locations and markers.
Blackboxes: 5
Mutation Reward: Offensive
B5 – On a ledge in the eastern side of the building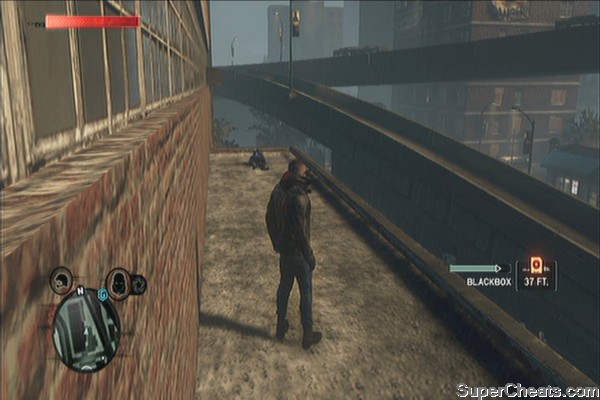
B6 – Rooftop of the building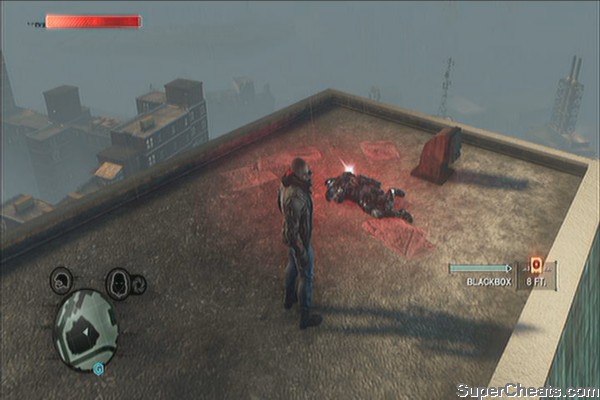
B7 – Ground floor, beside a shack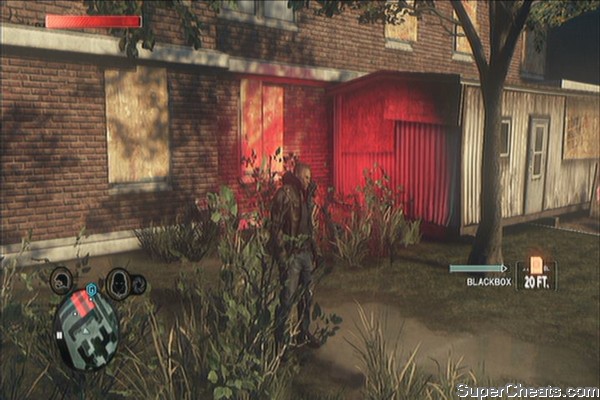
B8 – Ledge near the roof, northern side of the church building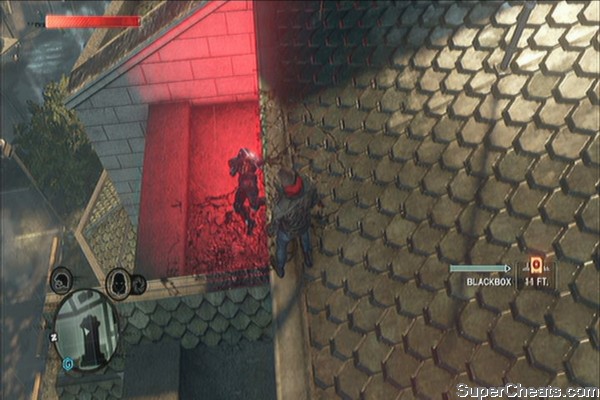
B9 – Roof of the building east of a Blackwatch outpost. Beside the generator. 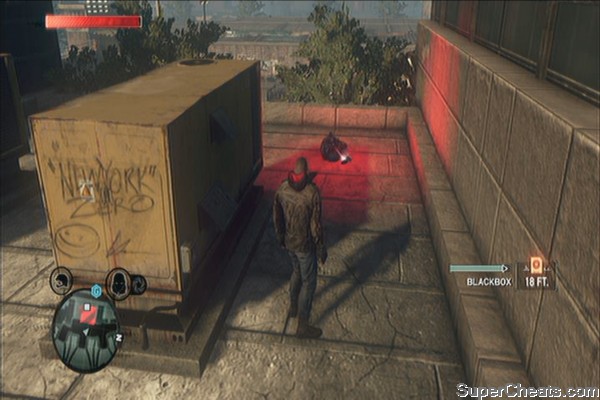
Linden Park
Refer to the map for the exact locations and markers.
Blackboxes: 4
Mutation Reward: Offensive
B10 – Rooftop of the glass building, to the east. Beside the generator. 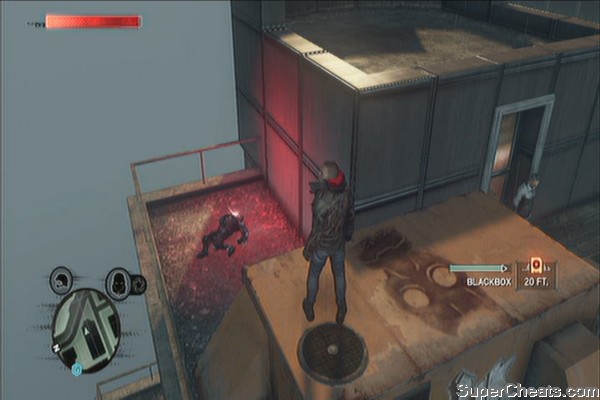
B11 – Ledge of the building, to the northeast. 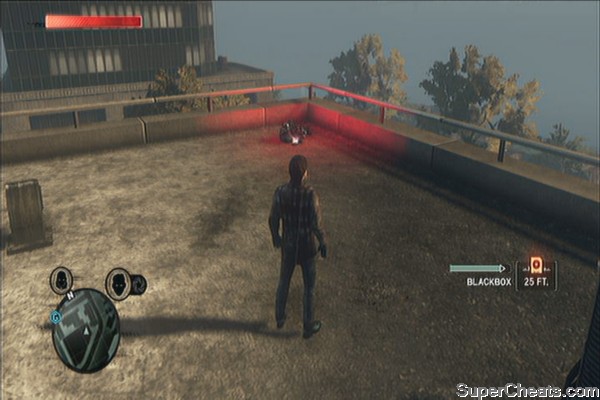
B12 – Ledge of the stadium to the northwest. Under the stadium's sign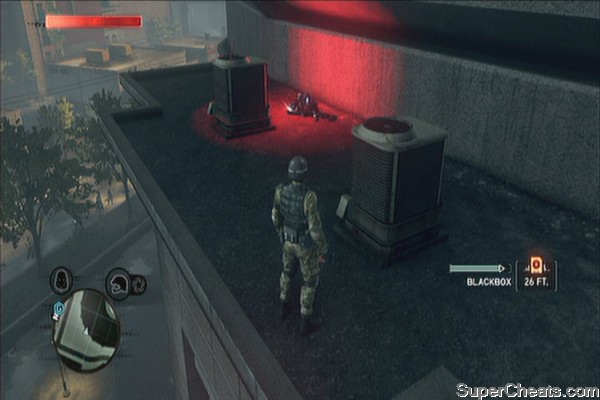
B13 – Upper crane platform 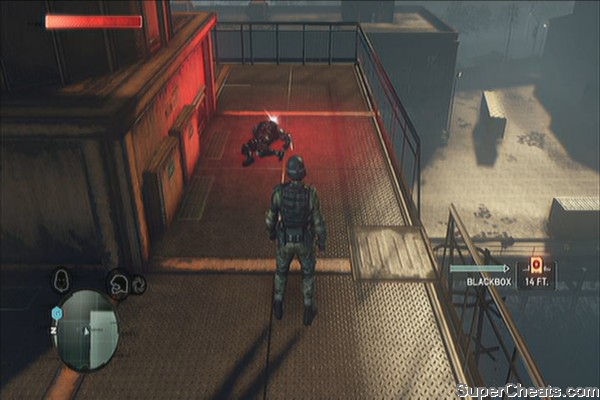
Green Zone
Fulton
Refer to the map for the exact locations and markers.
Blackboxes: 5
Mutation Reward: Predator
B1 – On the roof, beside the airvent. 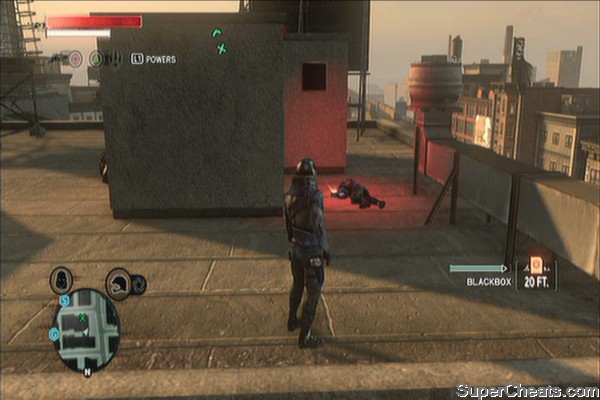
B2 – On the roof, in front of the signboard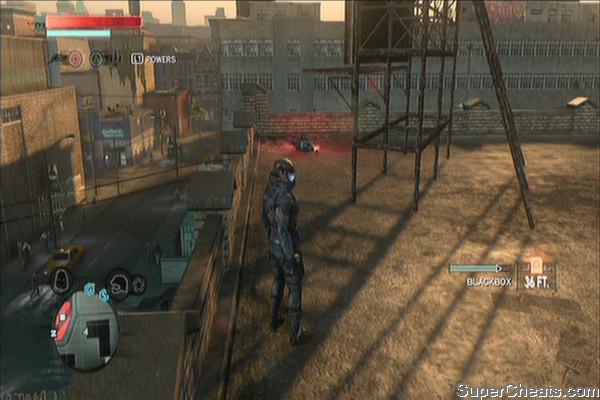
B3 – On the roof, near a water tank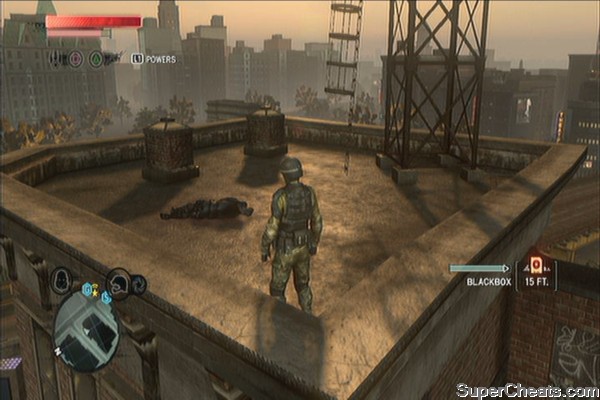
B4 – On the roof, in the middle 
B5 – On the ground, under the bridge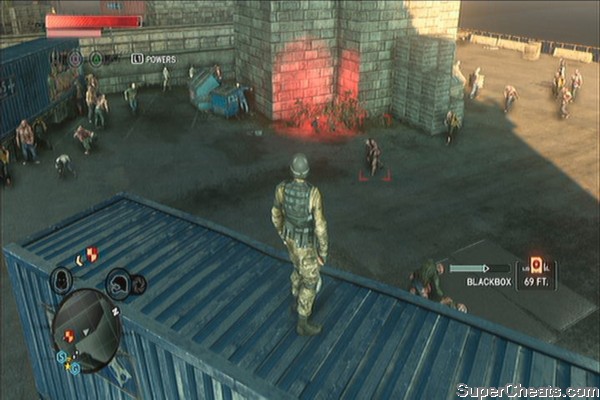
Lincoln Meadows
Refer to the map for the exact locations and markers.
Blackboxes: 5
Mutation Reward: Defensive
B6 – Rooftop
B7 – Under a signboard, in front of a military watchtower
B8 – Street level, behind the hedges
B9 – Rooftop, northwest corner
B10 – Rooftop, beside a water tank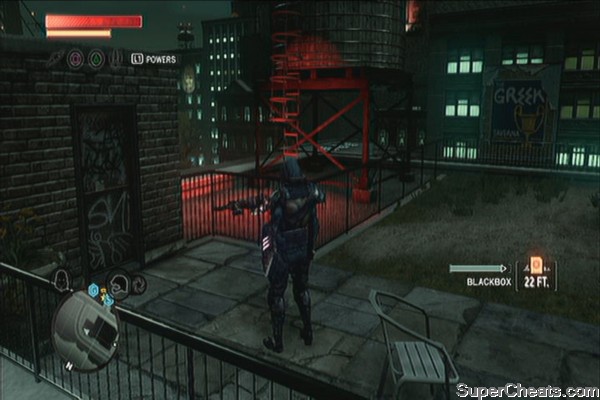
Salt Yard Plains
Refer to the map for the exact locations and markers.
Blackboxes: 4
Mutation Reward: Offensive
B11 – Beside a rooftop shed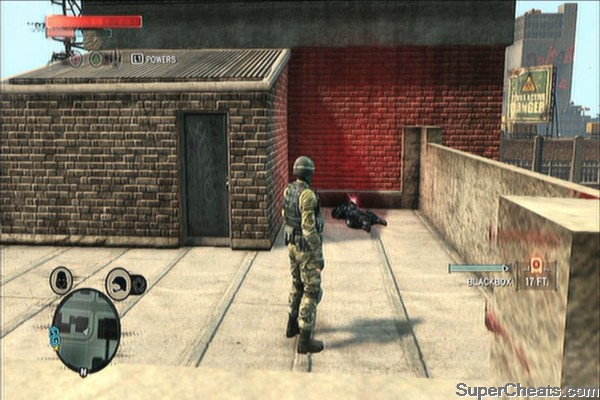
B12 – Parking lot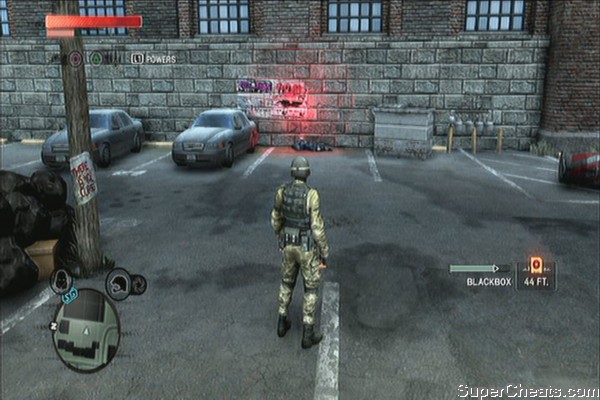
B13 – Rooftop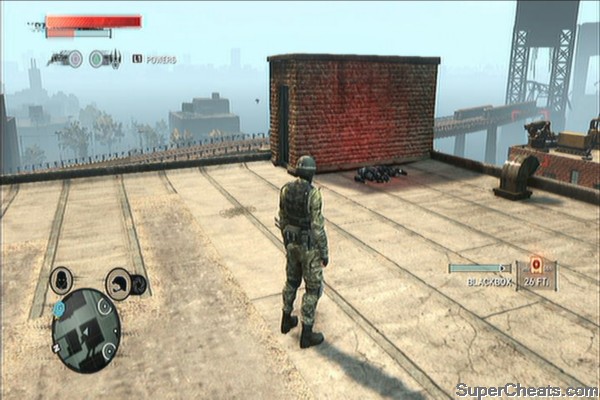
B14 – Between the two chimneys inside the military base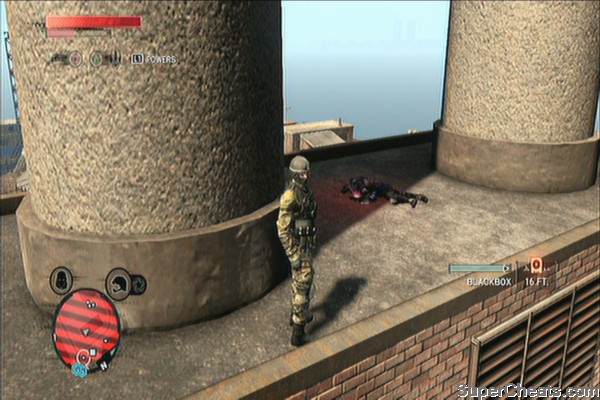
Red Zone
Times Square
Refer to the map for the exact locations and markers.
Blackboxes: 7
Mutation Reward: Power Specialist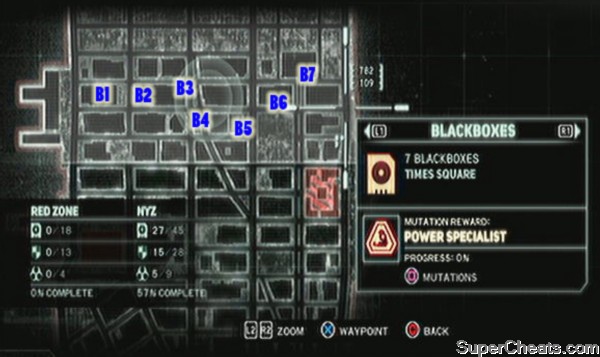
B1 – Rooftop of the tall building, inside the enclosure
B2 – Roof, beside a water tank 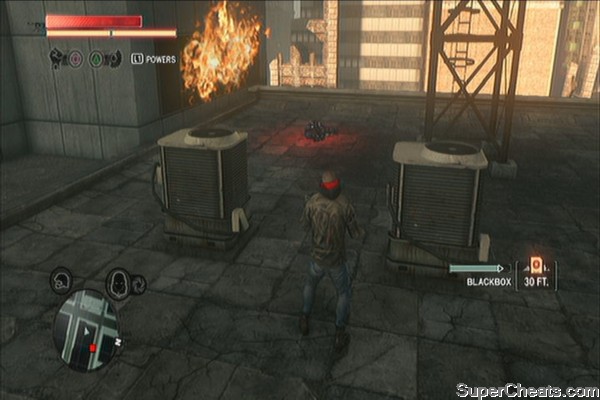
B3 – Building ledge, north side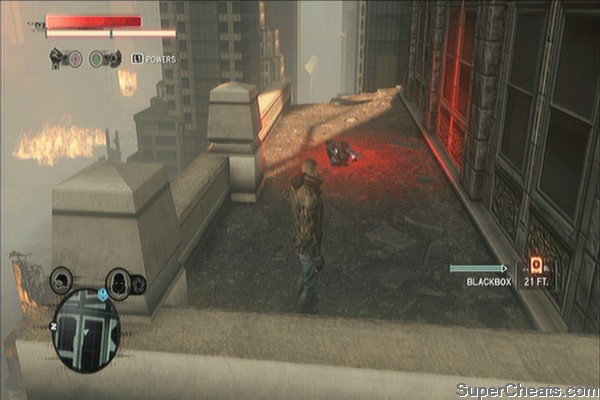
B4 – Ledge of the gore covered building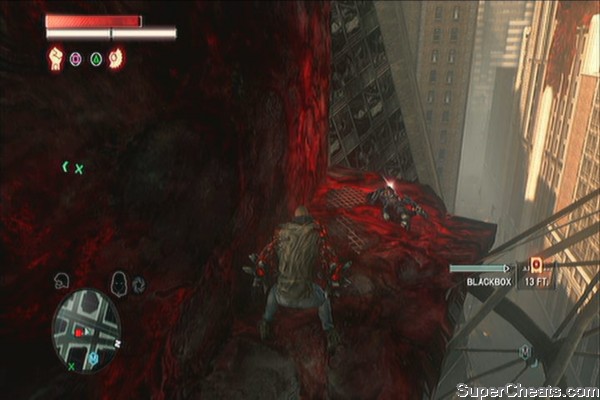
B5 – Inside the upper floors of the building, east side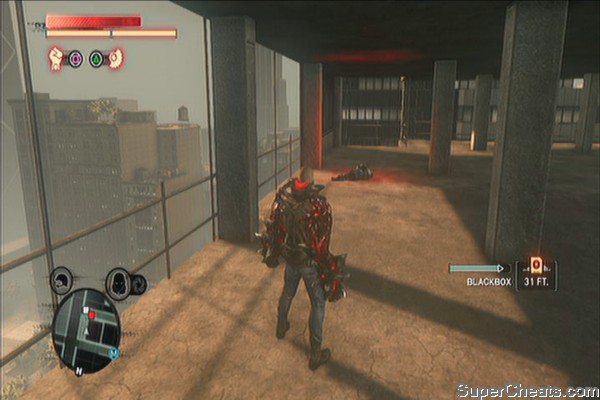
B6 – Rooftop, beside generator
B7 – Rooftop, beside generators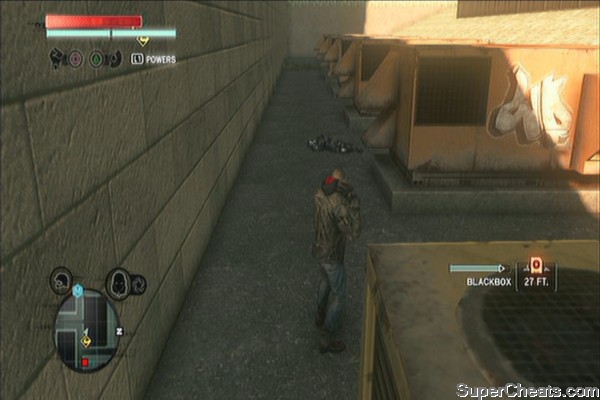
Midtown
Refer to the map for the exact locations and markers.
Blackboxes: 6
Mutation Reward: Predator
B8 – Rooftop near the skylights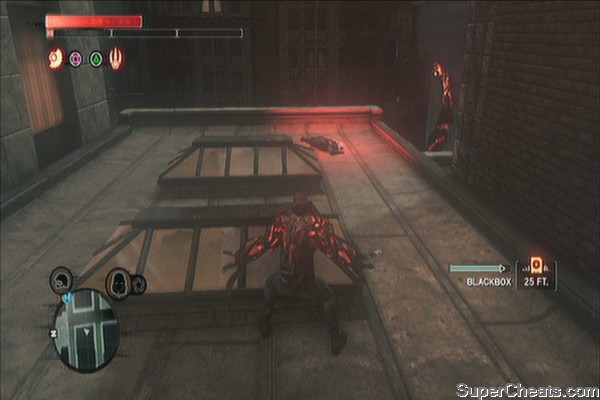
B9 – Inside the broken room northeastern corner of the building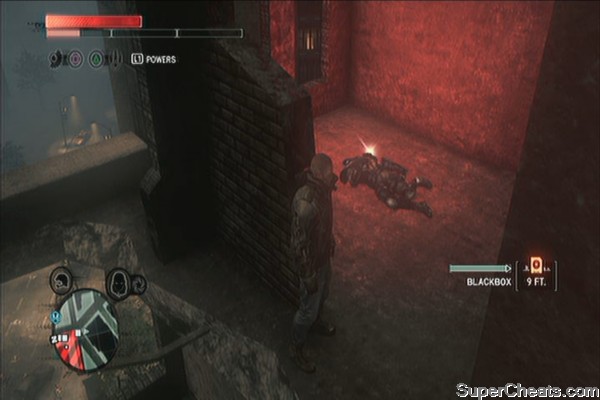
B10 – In one of the ledges in the broken building, north side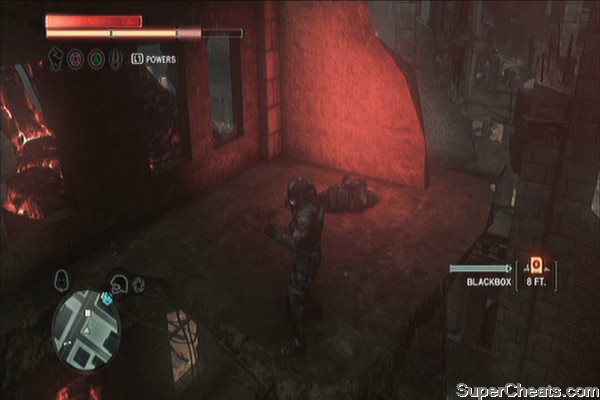
B11 – On the roof near the air-conditioning unit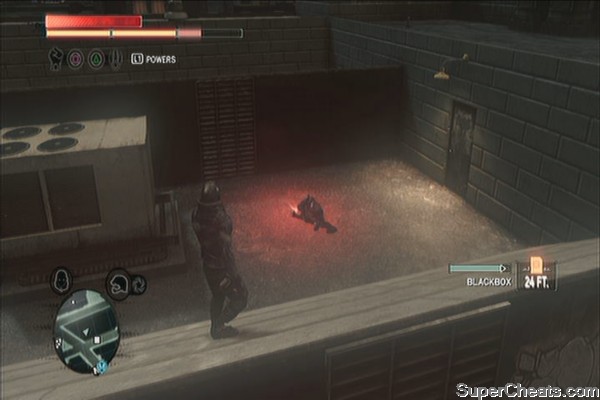
B12 – On the roof, in the grassy patch. 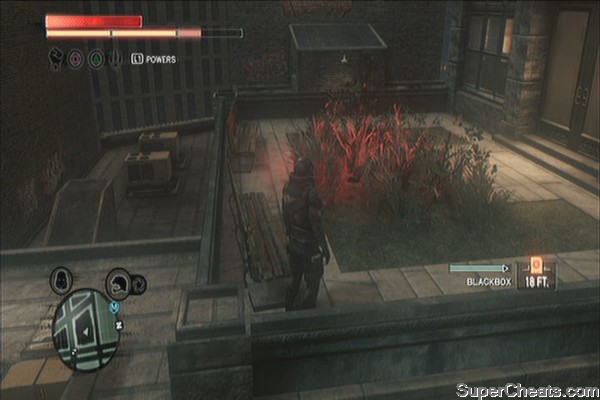
B13 – On the topmost part of the building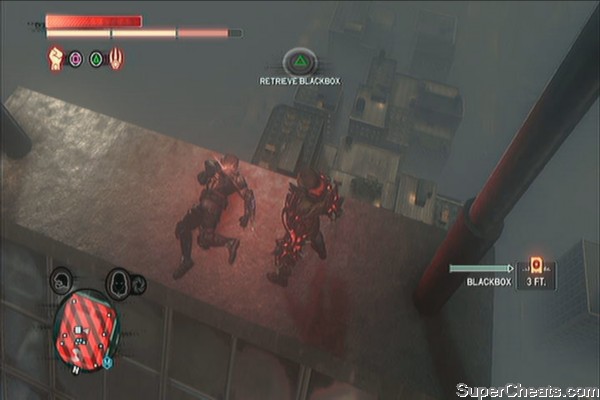
Chinatown
Refer to the map for the exact locations and markers.
Blackboxes: 5
Mutation Reward: Defensive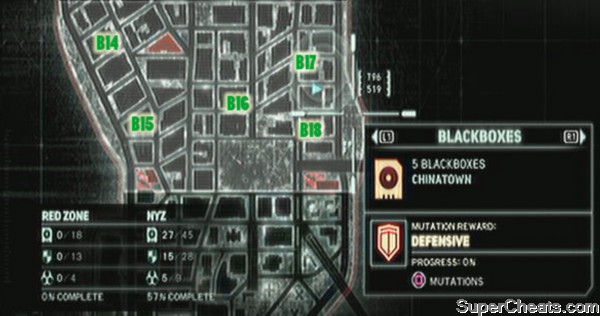
B14 – Roof, behind a large air-conditioning unit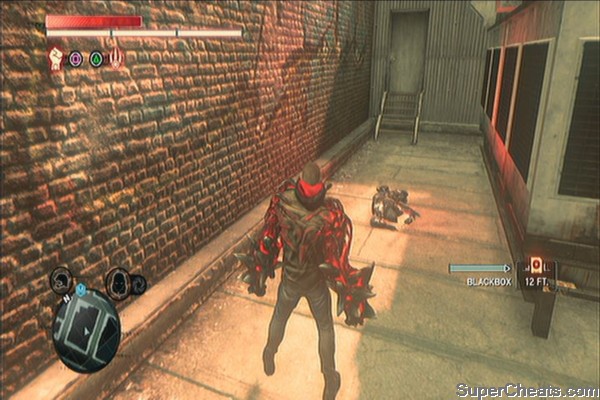
B15 – Rooftop, southwest edge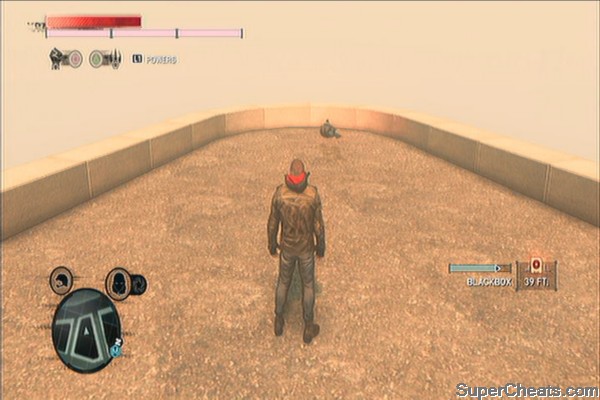
B16 – Rooftop, beside chimneys eastern side.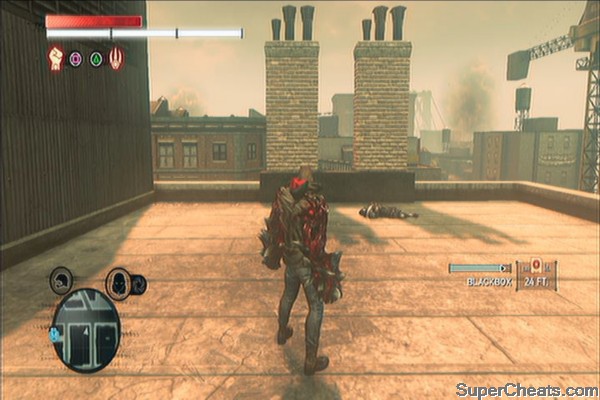
B17 – Rooftop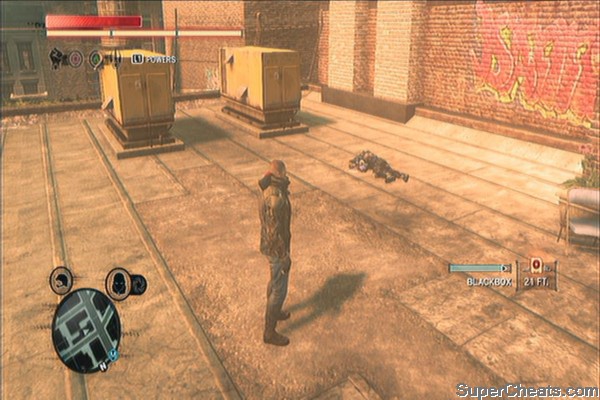
B18 – Roof near the air vent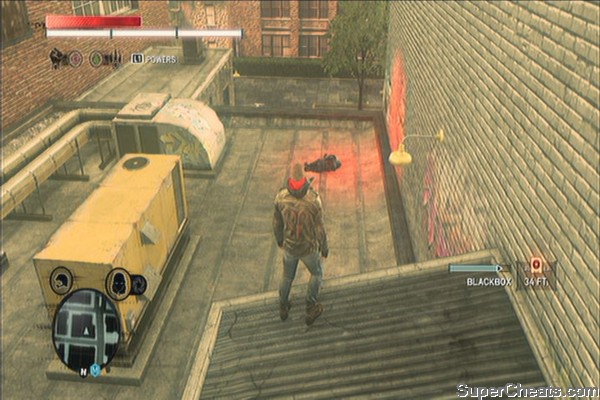
Yellow Zone
Fairview
Refer to the map for the exact locations and markers.
Field Ops: 4
Mutation Reward: Offensive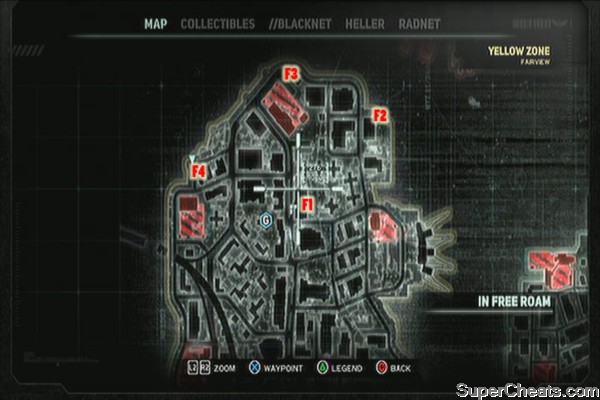
F1 – Inside the quarantine zone
F2 – Northeast Fairview, seaside
F3 – Northernmost Fairview, enclosed area near the street
F4 – Western Fairview, enclosed area near the street
Linden Park
Refer to the map for the exact locations and markers.
Field Ops: 3
Lairs: 1
Mutation Reward (Field Ops): Defensive
Mutation Reward (Lair): Predator
F5 – Docks, southwest corner of Linden Park
F6 – Under the broken bridge, southeastern side of Linden Park
F7 – Between the two buildings, eastern side
L1 – Between two buildings, northeast of Linden Park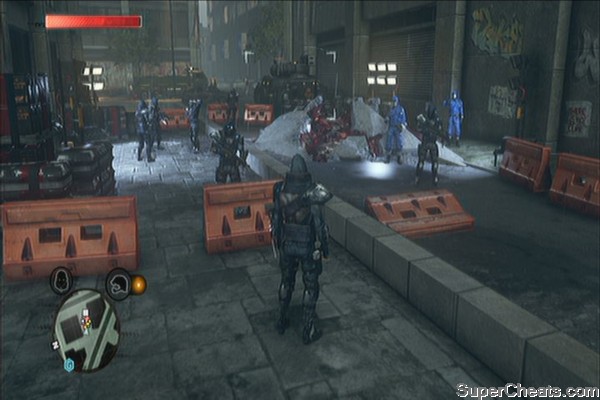
Take note that this lair can only be destroyed after getting the Vehicle Hijack Ability as part of the story, after finishing the first mission in the Green Zone.
Green Zone
Fulton
Refer to the map for the exact locations and markers.
Field Ops: 4
Lairs: 2
Mutation Reward (Field Ops): Locomotion
Mutation Reward (Lair): Power Specialist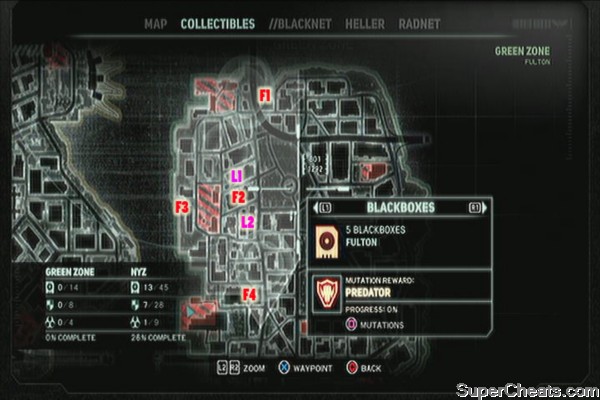
F1 – Beside the bridge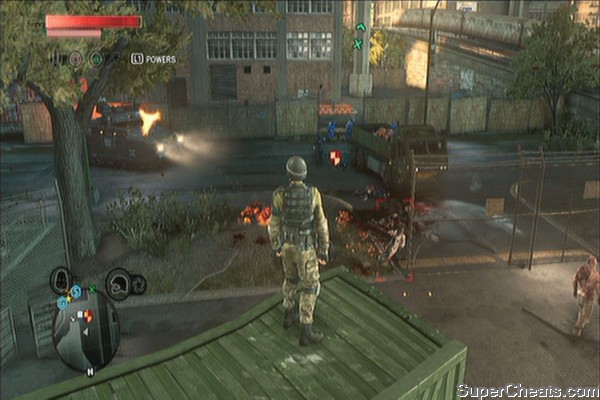
F2 – In the small alley
F3 – Seaside
F4 – In the parking lot
L1 – In a small alley between the apartments
(This lair contains upgraded brawlers)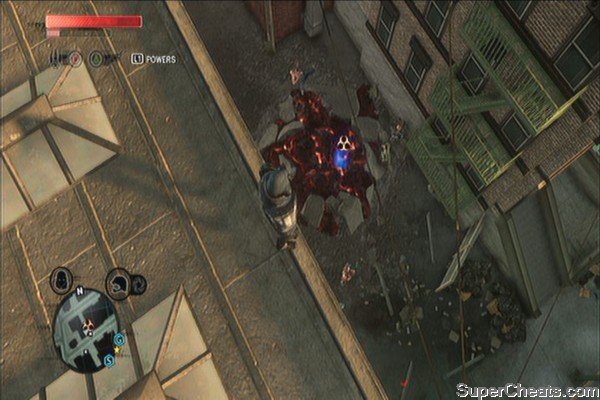
L2 – In an enclosed alley
Lincoln Meadows
Refer to the map for the exact locations and markers.
Field Ops: 4
Lairs: 2
Mutation Reward (Field Ops): Predator
Mutation Reward (Lair): Locomotion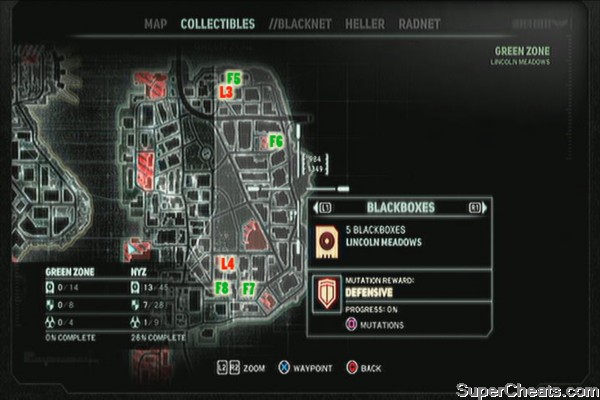
F5 – in the small plaza
F6 – Roof of the second airbridge (helipad) base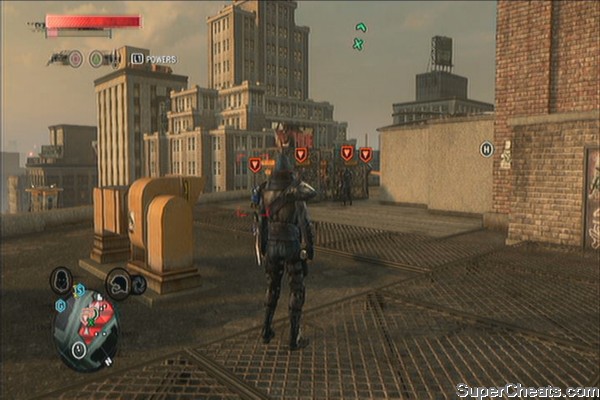
F7 – Street level, in an enclosed area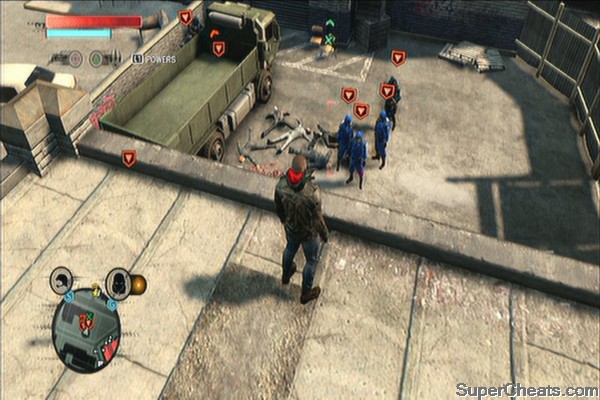
F8 – Street level, behind some container vans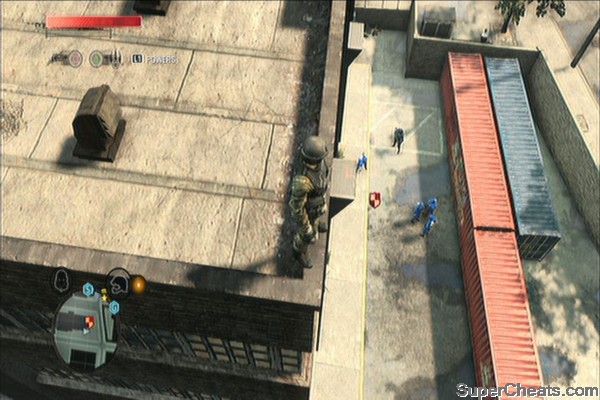
L3 – beside a residential building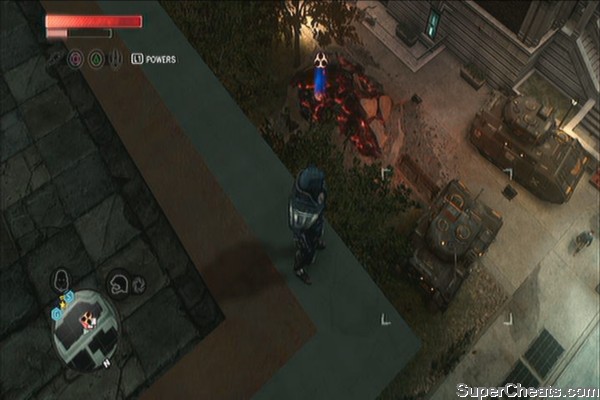
L4 – in an enclosed alley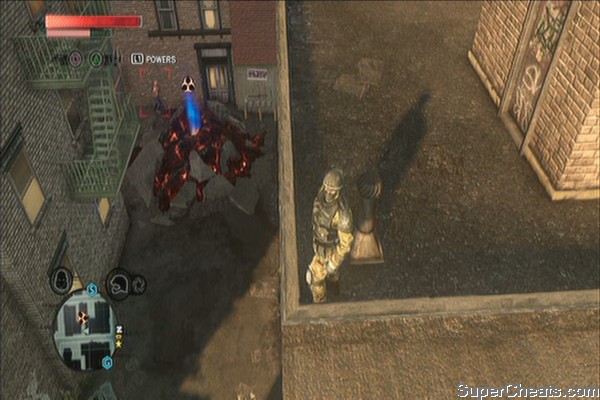
Red Zone
Times Square
Refer to the map for the exact locations and markers.
Lairs: 2
Mutation Reward: Power Specialist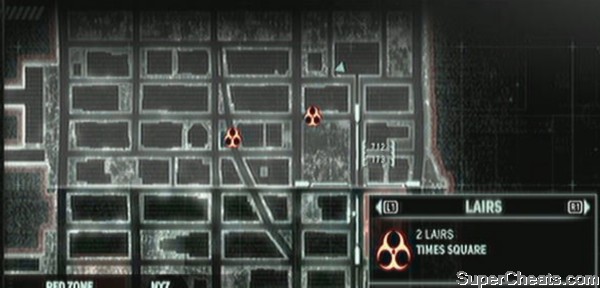
Midtown
Refer to the map for the exact locations and markers.
Field Ops: 4
Lairs: 2
Mutation Reward (Field Ops) : Offensive
Mutation Reward (Lair) : Locomotion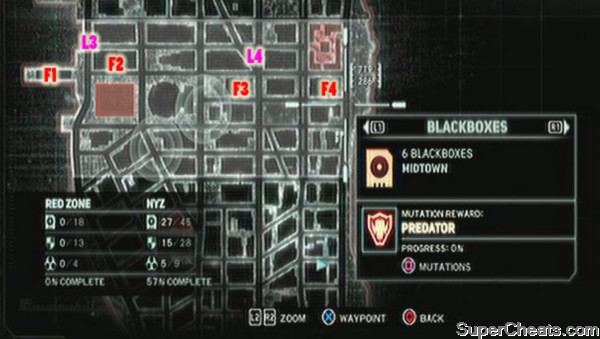
F1 – By the docks
F2 – Rooftop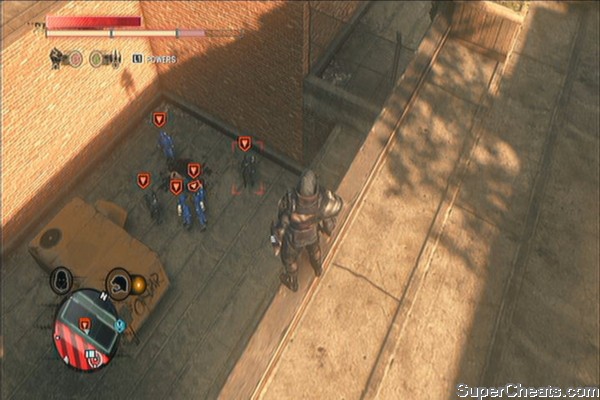
F3 – Rooftop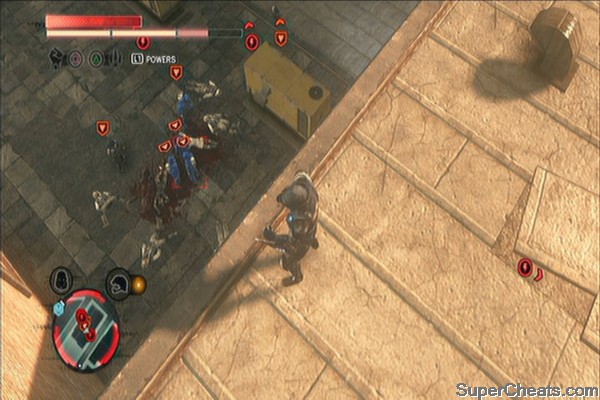
F4 – Rooftop
Chinatown
Refer to the map for the exact locations and markers.
Field Ops: 4
Mutation Reward: Defensive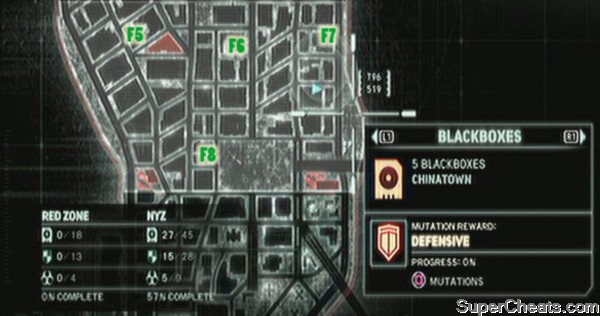
F5 – Rooftop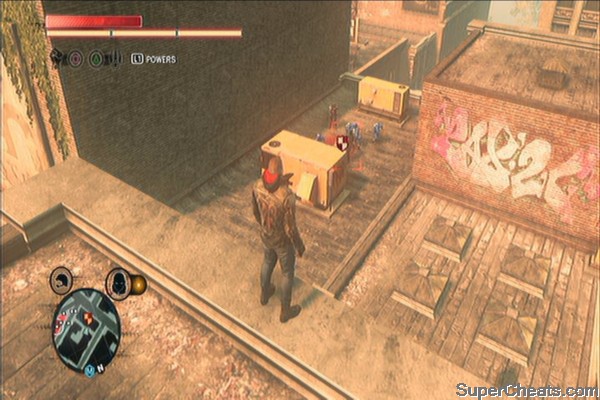
F6 – Rooftop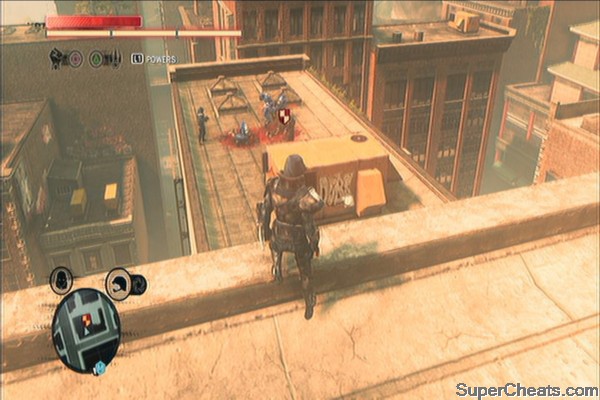
F7 – Rooftop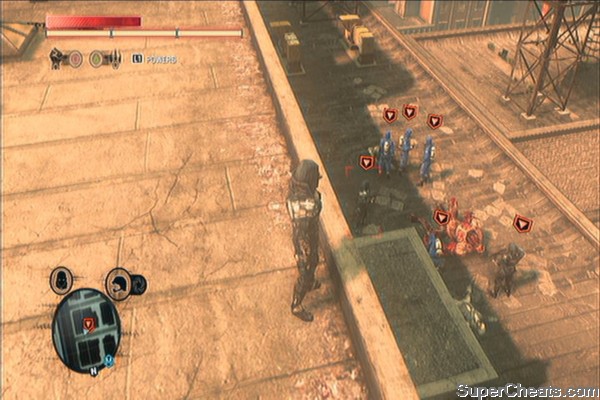
F8 – Rooftop
Downtown
Refer to the map for the exact locations and markers.
Field Ops: 5
Mutation Reward: Locomotion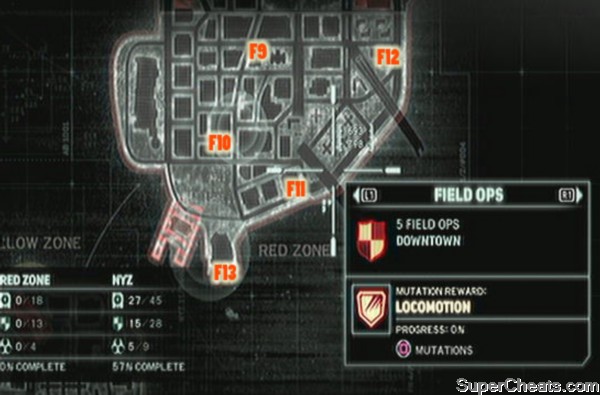
F9 – Rooftop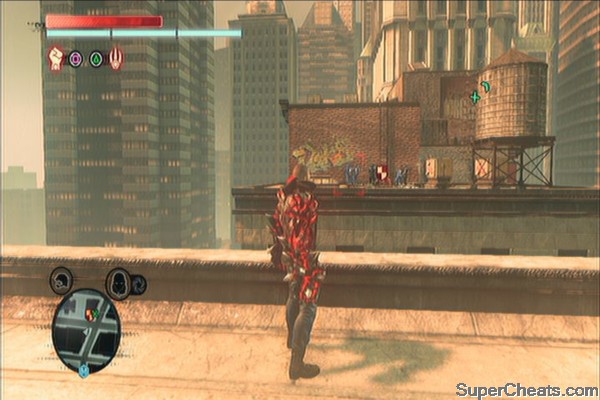
F10 – Rooftop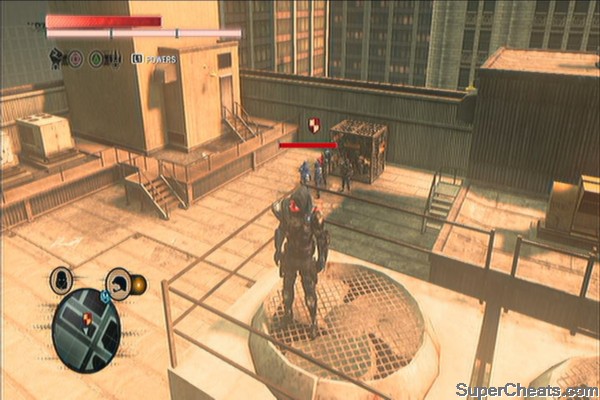
F11 – Rooftop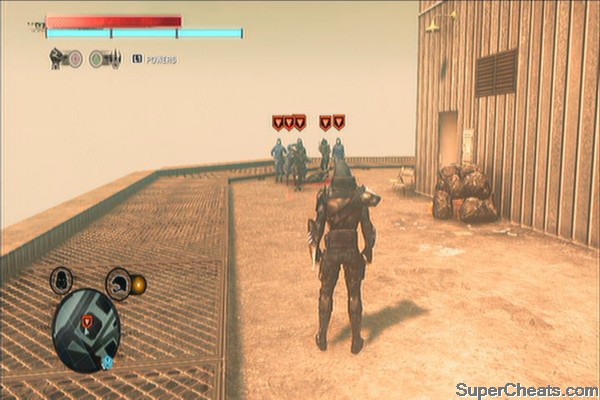
F12 – Rooftop
F13 – Docks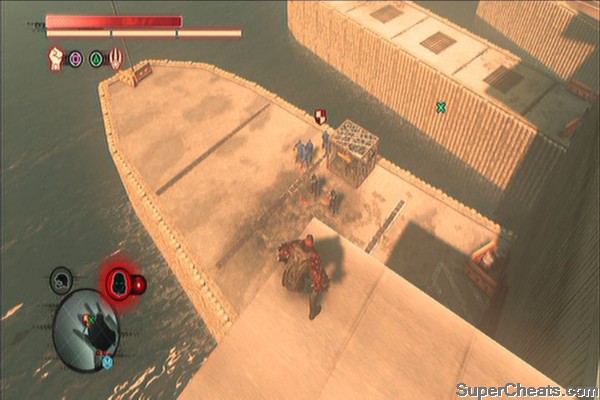
The following trophies are acquired automatically through the story. Refer to the main walkthrough if you need help with the story missions. Most of the videos in this section were taken after the trophy is unlocked. However, please do use them for reference.
Platinum Trophy (Platinum)
Unlock all Trophies.
It's an Epidemic (Bronze)
Complete MEET YOUR MAKER.
I Want Some More (Bronze)
Complete RESURRECTION.
Religious Experience (Bronze)
Meet Father Guerra.
This is a Knife (Bronze)
Acquire a Prototype Power.
Project Closed (Bronze)
Complete a //BLACKNET operation.
The Mad Scientist (Silver)
Complete NATURAL SELECTION.
Something to Live For (Silver)
Complete FALL FROM GRACE.
What a Bitch (Silver)
Complete LABOR OF LOVE.
Murder your Maker? (Gold)
Complete the game.
Follow Your Nose (Silver)
Find all BlackBoxes.
Refer to this guide's Blackboxes section
Up to No Good (Silver)
Defeat all Field Ops teams.
Refer to this guide's Field Ops section
Strike, You're Out. (Bronze)
Destroy a Strike Team in 15 seconds or less.
This is easier done in the Yellow Zone where the Strike Team is comprised only of one helicopter. You can hijack an APC or better yet another helicopter then wreck havoc to trigger a full Alert and call in a Strike Team. Or, if you have the LV2 finisher upgrade purchased, pounce on a helicopter and destroy instantly.
Sssstrriiiiiiike!!!
Compulsive Eater (Bronze)
5 consumes in 10 seconds or less.
Easier done in a location where there are several civilians, soldiers or infected. Grab and consume five targets as fast as you can.
Do the Evolution (Bronze)
Acquire 5 Mutations.
Mutations are awarded by finding Blackbox sets, destroying Field Ops, Lairs and completing \\Blacknet missions.
Just a Flesh Wound (Bronze)
Dismember a Brawler.
Equip the Claw once you have it. Critically injure a Brawler so you can dismember it before finishing it.
Just a Flesh Wound
All Together Now (Bronze)
10 or more kills with a single Black Hole attack.
Equip your Tendrils and find a densely populated area, press and hold square to perform a black hole attack. This is easier in the streets of Red Zone or inside lairs since there are a lot of enemies inside.
Meat party
Back Atcha! (Bronze)
Deflect 5 missiles at enemies using Shield Block.
Once you have the Shield, cause an Alert to have enemy forces attack you. Once you see a blue targeting line, stand still and wait for the prompt to block appears. With the right timing, you can deflect the incoming missile. Do this five times to get the achievement.
Right back at ya!
Two for the Price of One (Bronze)
Simultaneously kill 2 Brawlers using a single Devastator.
Easier done with an upgraded Devastator and within Lairs (or in the streets of Red Zone). Wait for the two Brawlers to converge in your position (make sure to have high HP as you can still take damage while charging) then use your Devastator
Two brawlers, one Heller
Lair to Rest (Bronze)
Destroy a single Lair.
The first lair can be found in the Yellow Zone but you won't be able to destroy it immediately until you reach the Green Zone. To destroy a lair, complete all objectives inside and it will be destroyed automatically.
Hijack Be Nimble (Bronze)
Stealth hijack 5 tanks or APCs.
You'll acquire this ability automatically after a story mission in the Green Zone. Take note that you won't be able to enter vehicles prior to that. Consume a military, scientist or blackwatch personnel and sneak inside a base to hijack the vehicles. Do this five times for the trophy.
Taking in for a ride
Road Rage (Silver)
Destroy 10 Blackwatch tanks, APCs or helicopters using a single hijacked tank or APC.
You need to use the same vehicle or helicopter to destroy 10 enemy vehicle/ helicopters. The Blackwatch forces in the Red Zone employ heavy tanks which will prove effective in this task. Gunships are also a good choice in attempting this. Remember that all kills must be done by the same vehicle/chopper. The counter will get reset if its destroyed.
Who Watches the Watchers? (Silver)
Consume 10 //BLACKNET targets.
The targets with the Blacknet memory icons and the ones you manually hunt after checking a \\Blacknet terminal counts towards this trophy.
Hard to Please (Silver)
Acquire a Mutation in each of the 5 categories.
Mutations are awarded by finding Blackbox sets, destroying Field Ops, Lairs and completing \\Blacknet missions.
The Floor is Lava (Bronze)
Travel a half mile using only Wall Run, Glide, Jump and Air Dash.
This is easily done by running, gliding, dashing and jumping between buildings. You must keep doing this without stopping until you get this trophy.
Who needs the ground?
Cannonball! (Bronze)
20 or more kills with a single Hammerfist dive attack.
Once you have the hammerfist ability, find a densely populated area, jump then press and hold square to perform a dive attack. Best done inside a lair or in the streets of Red Zone.
You're the Bomb (Bronze)
10 or more kills using a single Bio-Bomb.
This is easier done with an upgraded Bio-bomb. Like before, find a densely populated area, grab a target and plant a bio-bomb, then throw it in the middle of the crowd. Best done inside a lair or in the streets of Red Zone.
Organic bombing done right
Sic 'em! (Bronze)
Destroy 5 helicopters using Pack Leader.
Easier done with a fully upgraded Mass (increases your Mass gauge and gives you four brawlers) Press and hold L2 to target a helicopter and press R3 to order your pack to attack them.
Sic em!
Over-Equipped (Bronze)
Weaponize 10 vehicles.
Mount a vehicle or helicopter then press square to remove the target's weapons. Do this 10 times to get the trophy.
The Best Offense (Bronze)
Counter enemy attacks 20 times using Shield.
You can usually counter aggressive melee enemies such as Orion supersoldiers and Brawlers. Wait for them to attack then time your block to perform a counter. You'll also get 50% time to block through a mutation upgrade. Do this 20 times on separate occasions to get this trophy.
Best defense, is the best offense
Arcade Action (Bronze)
Karate kick a helicopter.
Equip only your fist and find a helicopter. Just jump as high as you can, then press and hold the square button to kick the helicopter. You can do this on a flying one or on a parked one.
Demonstration
I Caught a Big One! (Bronze)
Mount a helicopter using Whipfist.
After getting the whipfist, get near a helicopter, press and hold L2 to target it, then press circle to “grab” it
I caught a big one
Anger Management (Silver)
Destroy 5 vehicles using a Finisher.Once you have acquired the finisher upgrade, find tanks or APCs then mount them. Press triangle to perform a finisher.
Sorry for breaking your toys
So Above It All (Silver)
Spend at least 25 consecutive seconds in the air (helicopters don't count).
This can be done in the Red Zone. Fully upgrading Heller's movement and locomotion powers / mutations is necessary. Find the tallest building in the red zone and get to the top. Once there, jump as high as you can then keep tapping R2 to avoid falling too quickly. Once you see that you're starting to fall very fast, perform an Air Dash to break the fall and start another glide sequence. You have to stay airborne using this method for 25 seconds to get this trophy.
I believe I can fly... a bit
Vitamin B-rains (Bronze)
Acquire 10 upgrades through Consumes.
Look for the optional upgrade icons which will appear randomly while you explore the world. You must kill and consume these targets to get the upgrades and to count towards this trophy. If you kill the target accidentally or if the military finishes it off, it will still appear randomly but not in the same location. 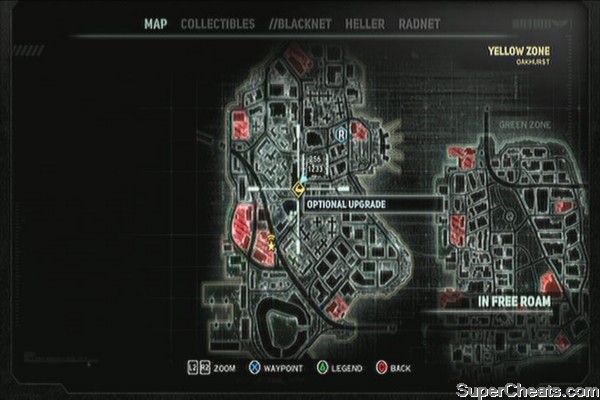
Eating Your Way to the Top (Silver)
Acquire 30 upgrades through Consumes.
See Vitamin B-Rains.
Finally Full (Gold)
Acquire all 46 upgrades through Consumes.
See Vitamin B-Rains.
Icarus (Bronze)
Reach the highest point in the world.
The tallest building in the game is located in the Midtown district of the Red Zone. Climb up its peak to get this trophy. You can also attempt to “So Above It All” trophy. See the video below for the details.
Tallest
Spindler's Search (Silver)
Destroy all Lairs.
Refer to this guide's Field Ops / Lairs section.
//BLACKNET Hacker (Silver)
Complete all //BLACKNET dossiers.
Refer to this guide's //Blacknet section for the complete walkthrough of Blacknet operations.
One by One (Bronze)
Stealth Consume 50 Blackwatch troopers.
When disguised and when inside a base, release a hunting pulse to find red and white targets. The white targets can be stealth consumed. There's a lot of Blackwatch troopers in the Red Zone. Do this 50 times to get the trophy.
Like in a thriller B-movie
Wanted Man (Bronze)
Trigger 50 alerts.
Wreck havoc in military checkpoints and bases to trigger an alert. Break their line of sight then switch to your other disguise to lose your alert status and repeat again.
All Growed Up (Silver)
Fully upgrade Heller.
You'll evolve after earning enough EP. Sadly, you can't fully upgrade Heller during your first play through. Continue to New Game and complete missions again to earn EP.
Master Prototype (Silver)
Complete the game on HARD difficulty.
This must be attempted in New Game so you can have your upgrades and current EP carried over, as well as making things a lot easier.


 Pokemon Ruby and Sapphire Gameboy Advance Video Game Walkthrough
 Borderlands 2 Guide: The Best Skill Tree & Character Builds
 Jurassic World: The Game (iPhone / iPad) review
 The Witcher 3 Troubleshoot (PC) crashes and errors
 How to make Unlimited Money in Watch Dogs