Unofficial inFamous 2 Guide by vhayste for
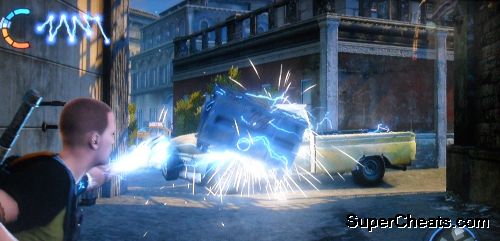
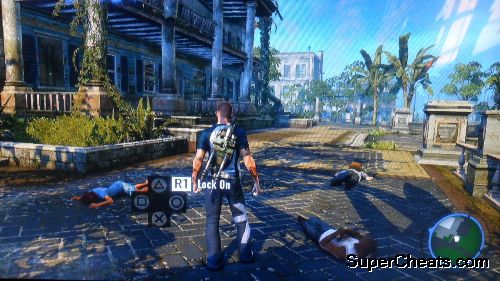
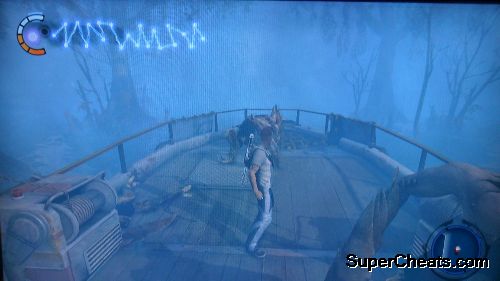
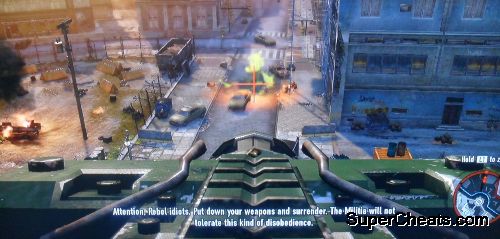
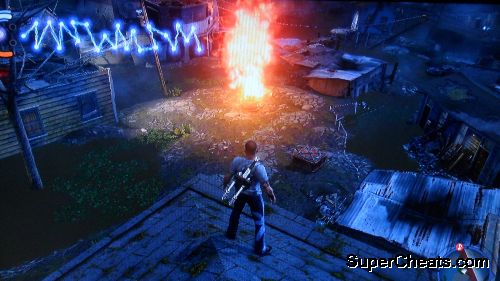
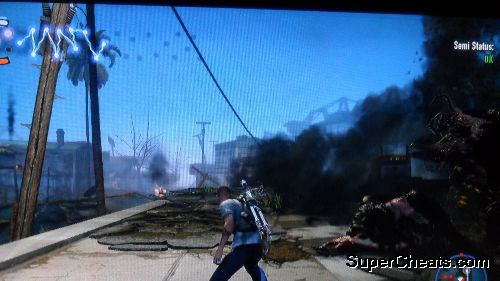
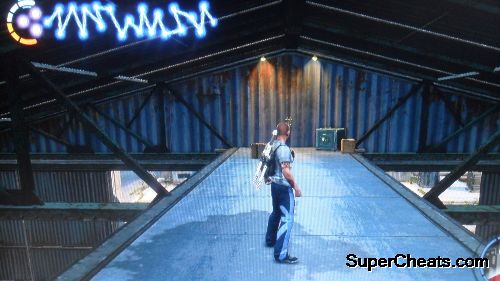
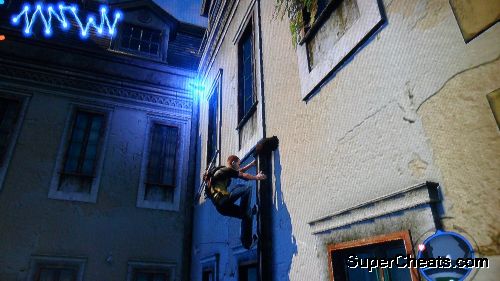
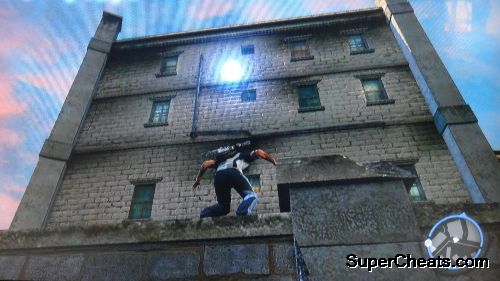
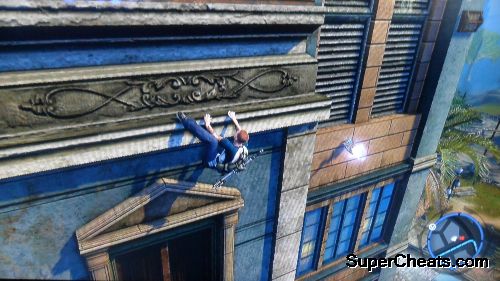
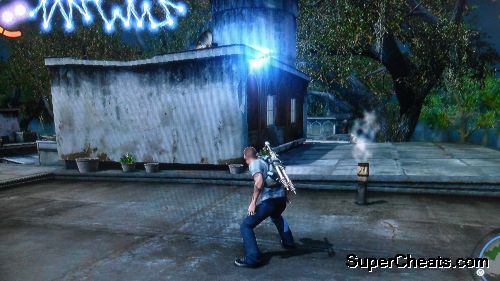
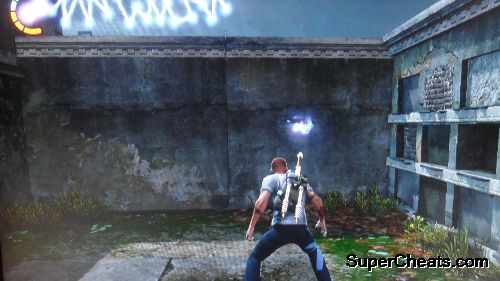
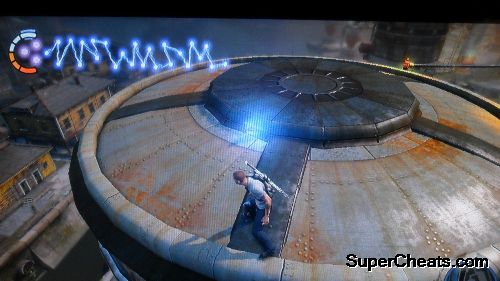
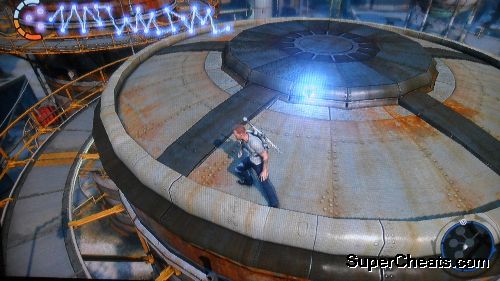
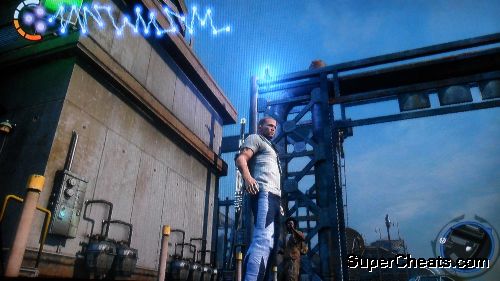
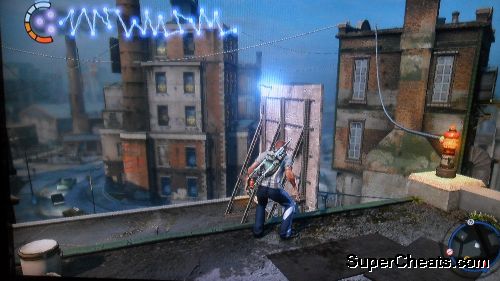
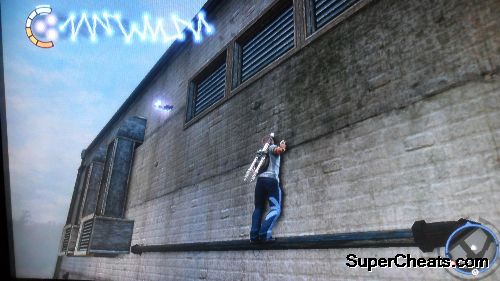
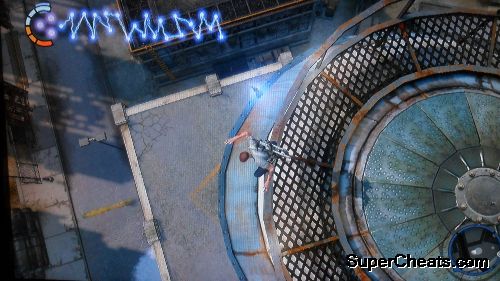
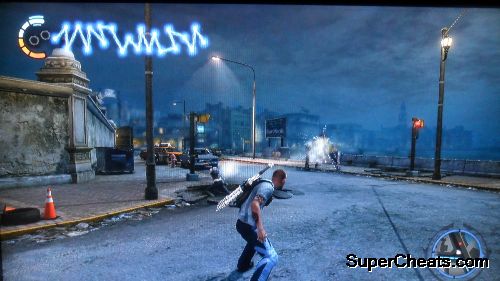
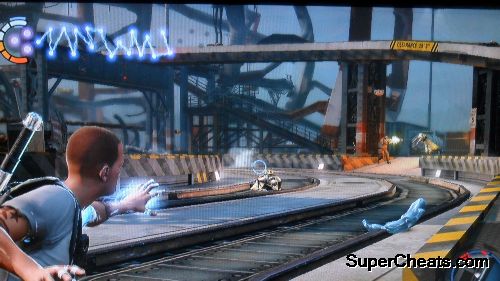
Welcome to SuperCheats.com's unofficial game guide to inFamous 2. We'll take you through the complete single player game and show you where to find all the Blast Shards with a cool map and tons of images. In the guide you also find quite a few videos where you can watch to see how to get past a tricky area as well as read how to do it. So there you have it... Get stuck in guys and good luck, this guide should help you get this game done 100%. You can load your completed inFamous 1 story or start a new game. By loading an inFamous 1 game save, you'll unlock various bonuses depending on the trophies and moral standing you have. • Good or Evil Trophies from Infamous 1 (even when the karma meter is not full) – Start the game with LV1 Good or Evil Karma Take note that some of the dialogues and side missions may be altered depending on the past decisions you've made with the original game. After the initial scene and a little backdrop of the story, you'll be back in your feet. At this point, just follow the tutorials. The controls are pretty much identical to the first game (with just some minor tweaks) so returning players should be able immediately comfortable with controlling Cole. For newbies, you can just press Start and view the layout of the buttons. Continue forth and shoot the gate open. Continue forward and aim at the “disturbance”. Shoot a bolt at it to start the first boss battle of the game. You are only armed with your trusty lightning bolt so just aim and keep shooting. Watch out from the stuff The Beast throws and continue shooting until it staggers. Next is when you'll be fighting in mid-air. This time, it'll be using its vacuum orb so make sure to fly away from it. Once it stops, continue your barrage of lighting bolt until a part of its head is destroyed. When you're back on the ground, keep shooting at it and activate your Ionic storm by pressing the down arrow key as soon as it is ready. Run back to the ship. Jump as soon as you reach the end of the pier and you'll be grabbed by the Beast. Again, keep shooting at it then use your Ionic Storm once prompted.
Getting Started
• At least 25% blast shards collected – Start the game with a free energy core
• At least 50% blast shards collected – Start the game with two free energy cores
• Completing the game on any karma – Gain 1000 exp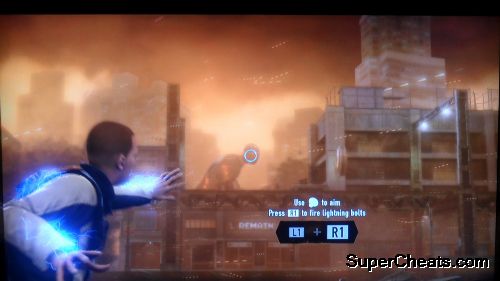
First encounter with the Beast
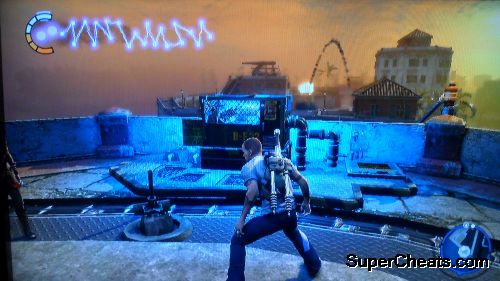
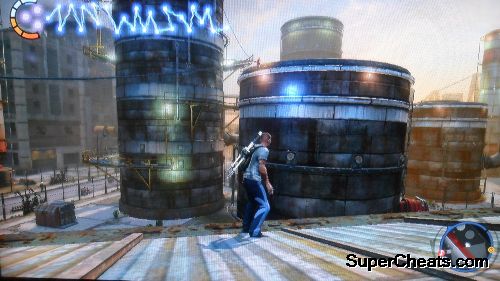
Watch a few more scenes and you'll be back on the ground. You'll get the Amp as your melee weapon. Like before, Cole is still vulnerable against water so stay on dry ground. Next, use your Pulse to identify energy sources on the radar.

If you want to see the whole map, just press SELECT. Also, aside from your Alpha bolt, you also have access to your Alpha Blast and Alpha Grenade. Both are pretty convenient and invaluable powers so use them in situations you see fit.
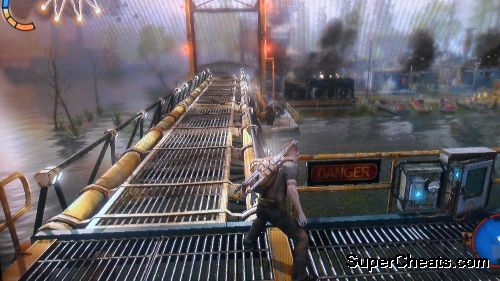
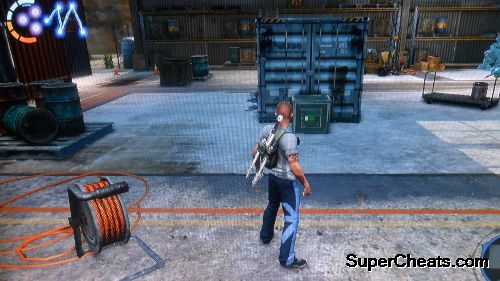
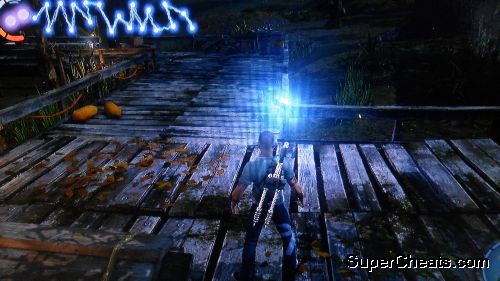
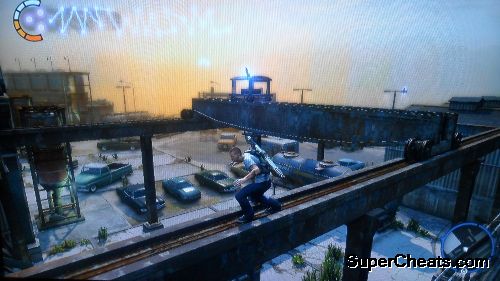
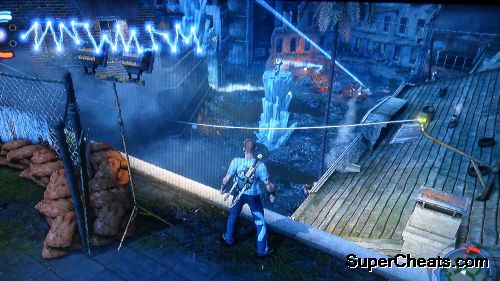
Continue heading south until you reach a wooden bridge. The path will be destroyed as you move. And since the gaps are too wide for you to jump, use your Static Thrusters by pressing R1 in the middle of the jump.
After crossing the bridge, you'll be discovered by guards. Defeat them then continue forth. Defeat more guards.
You need to power up the generator across the swamp to lower the walkway so you can cross. The generator will have color indicators showing its power level.
• Powering up the generator to its normal level won't harm the civilians but you need to fight off more enemies
• Overloading the generator will burn the entire village, killing all the guards and civilians (and pets).
Choosing the first option will unlock the Guardian Karma Rank and will grant you the Civilian Safety skill as soon as you cross the bridge. Otherwise, you'll unlock the Thug Karma Rank instantly and unlock the Bystander Bonus power. To know the details of these powers, press START and select Powers from the menu.
Good Karma
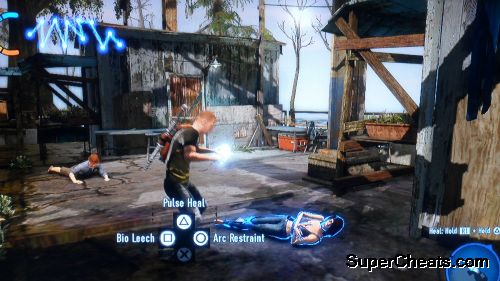
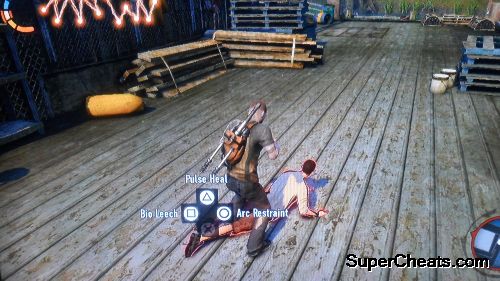
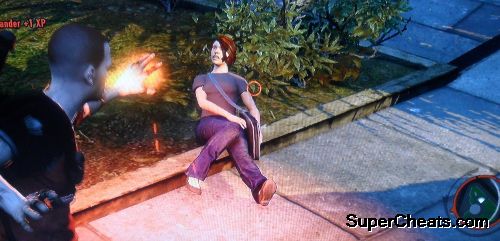
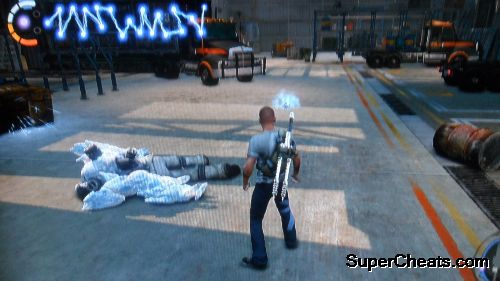
Shoot the generator until its green and wait for the walkway to lower down the walkway. Defeat the enemies nearby then proceed to the wounded civilians to heal them. You can also gain good karma by restraining your enemies instead of finishing or bio-leeching them.
Bad Karma
Continue powering up the generator to overcharge it and blow up everything. This will also unlock your LV Karma Rank (Thug) This will make things easier for you since most of the enemies in the immediate area will be gone and you don't have to worry about collateral damage. You can also bio-leech enemies to fully recover your energy and gain bad karma exp at the same time. Continue to emplacement and destroy it.
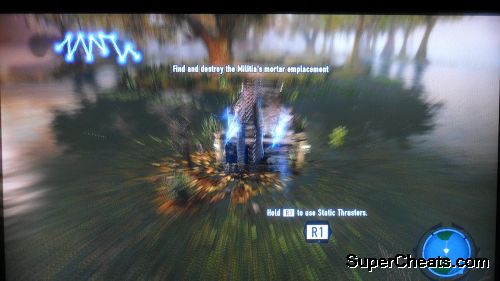
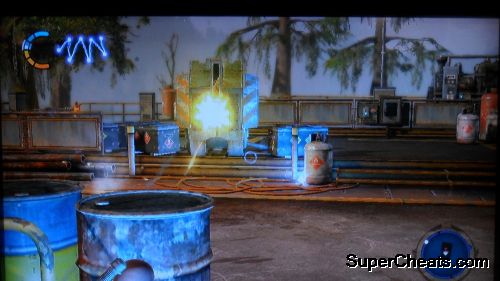
Continue forth and fight off the militia members. Halfway to the artillery emplacements, an artillery barrage will welcome you. Quickly move to the other side and shoot the large gas tank to destroy the emplacement and create a walkway for you.
Quick run through the fireworks
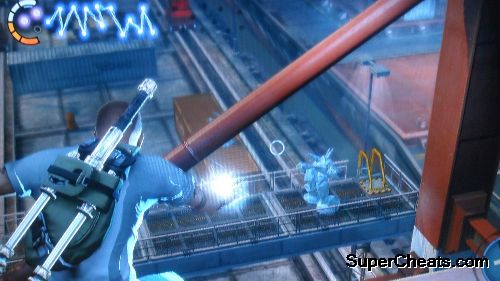
Continue along the path and jump on the debris and platforms to make it across the other side. There will be a turret waiting so stay behind cover and use your grenades to take out the gunner. Disable the turret to earn experience as well.
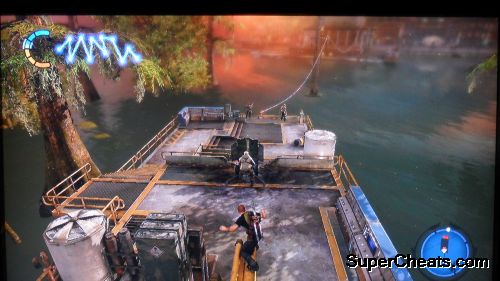
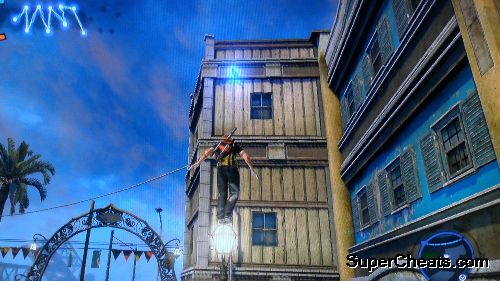
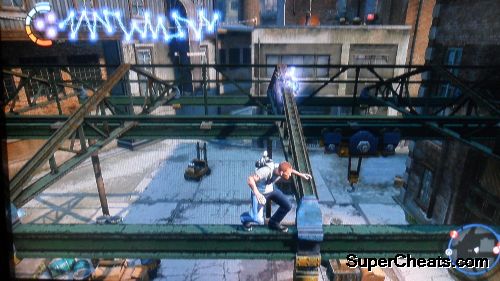
Jump on the wires to dash across them. Just remember to immediately use your static thruster so you won't fall short to the water. Cross the metal pipes until you reach another platform with some militia. Clear the platform out and continue forward until you reach the dock.
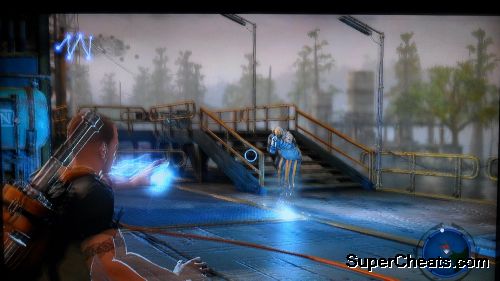
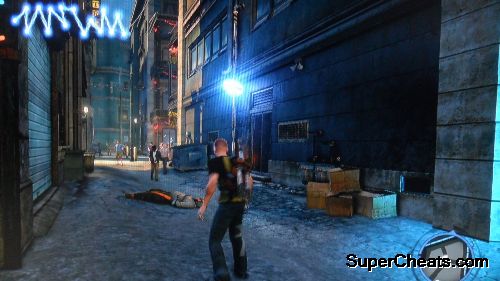
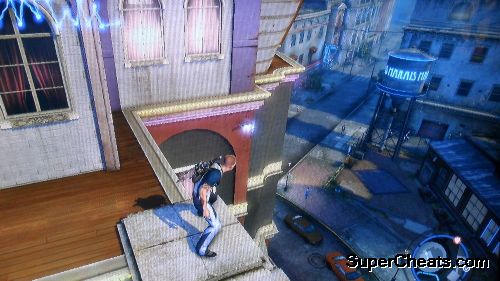
You'll be in New Marais at last. There's nothing much to explore for now so follow Kuo for the meantime. You'll encounter some militias along the way; just destroy them and follow Kuo to the alley. Clear the path using your Alpha Blast.
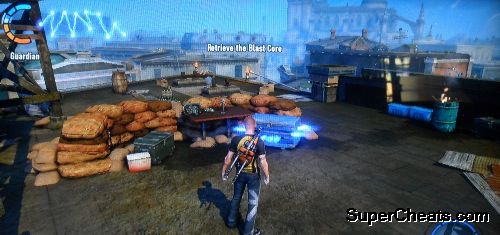
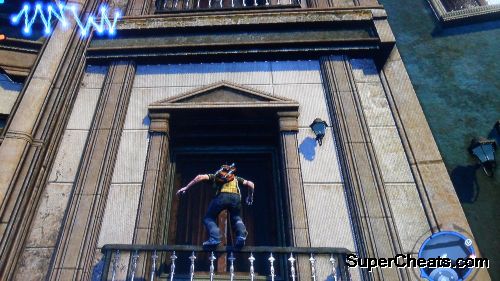
Continue following Kuo until more militias show up. Climb up the buildings and clear them out. You'll also have a Good Karma opportunity here by rescuing a civilian being mugged on the ground. Rush to the civy's aid to gain a good karma boost. Climb back up to retrieve the blast core.
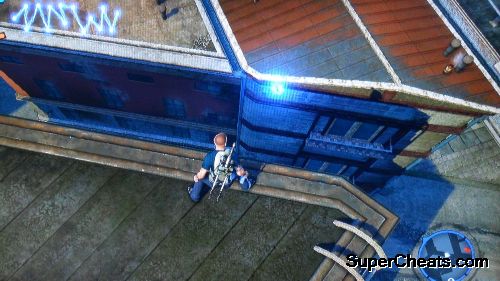
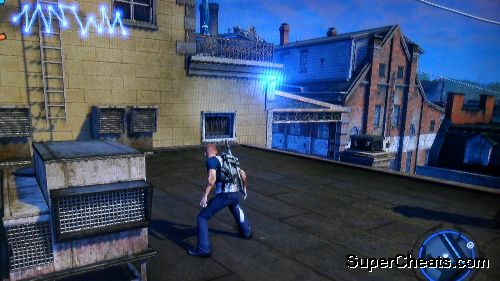
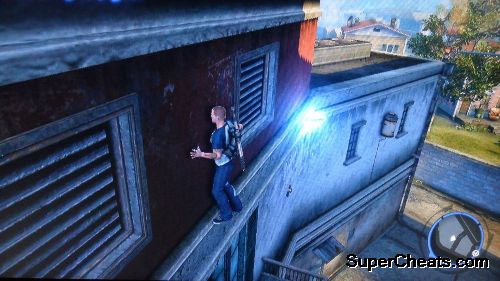
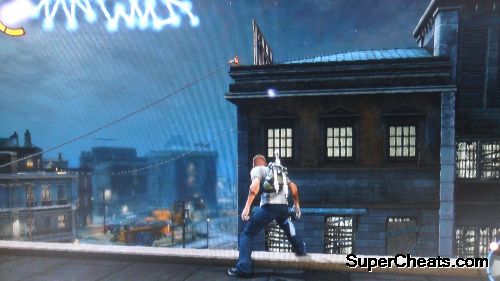
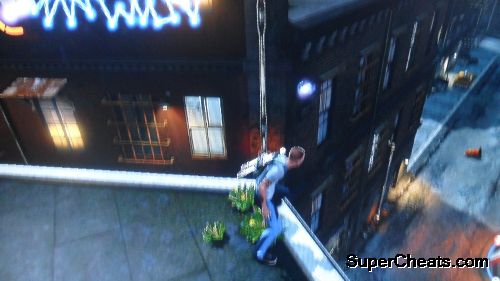
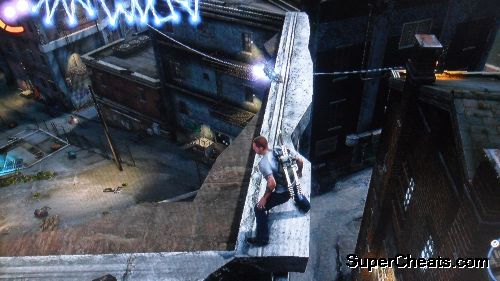
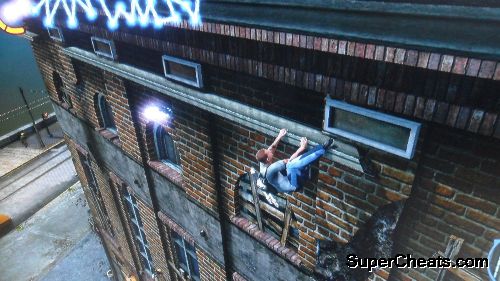
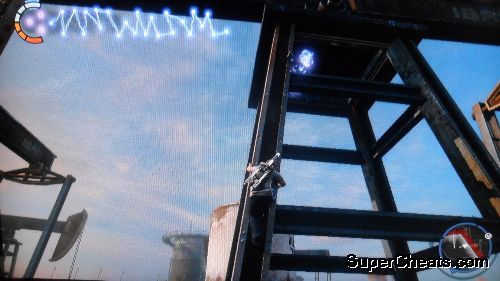
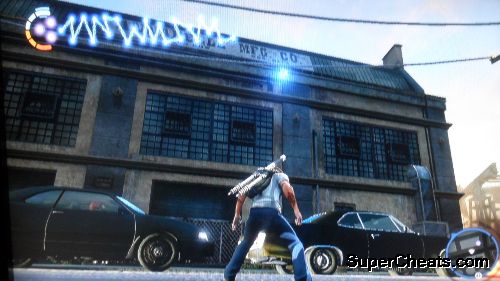
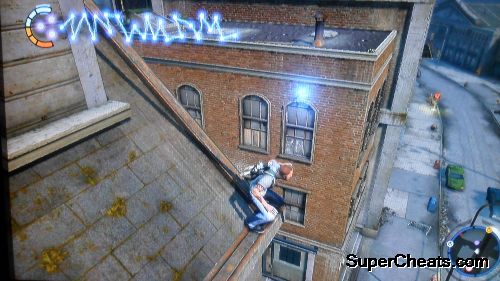
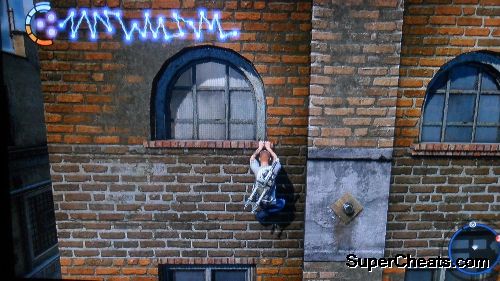
Next, you need to head to Wolfe's laboratory. The objective point will be marked in your map so use the buildings and grindwires to get across quickly. There are also some militias along the way; feel free to take them out. Continue to Wolfe's rooftop and watch the scene.
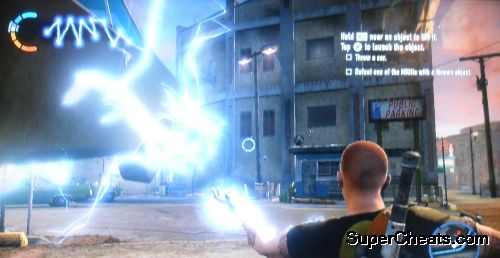
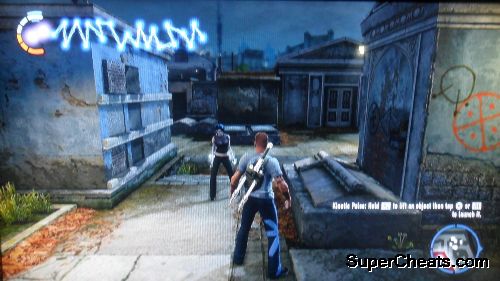
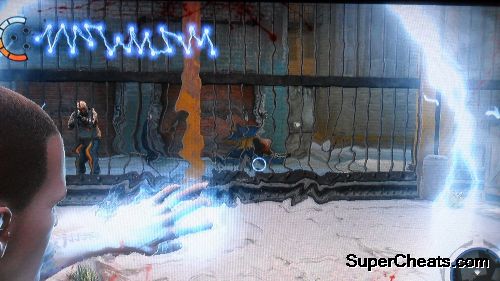
You'll acquire the Kinetic Pulse ability by activating the Blast Core you acquired earlier. And to activate the RFI, you need to find six more. After acquiring the Kinetic Pulse, you need to practice using it by throwing a car and defeating a Militia with a thrown object. Pick up an item with R2, then throw it by using X. There also some wounded civilians on the ground that needs some attention. Defeat the nearest militia using your ability to complete the mission. There are also cops looking for you; defeating them will increase your evil karma so leave the area to avoid encountering them if you're playing as the good guy.
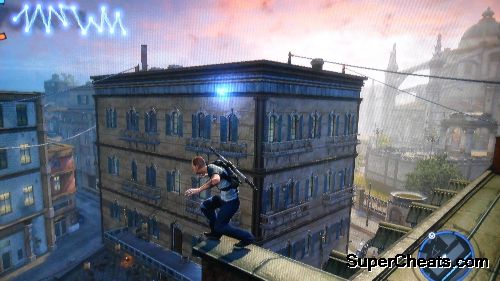
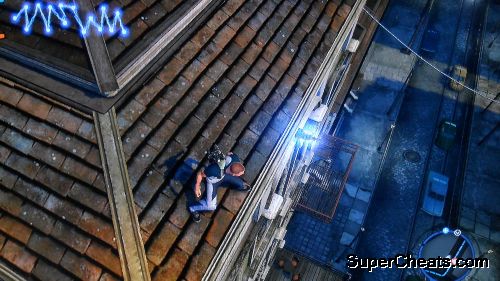
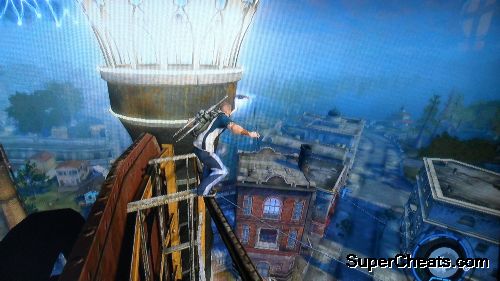
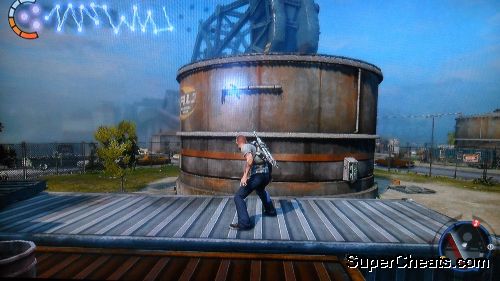
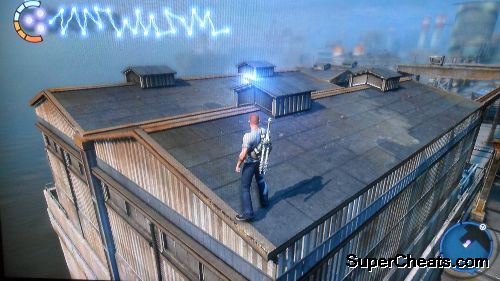
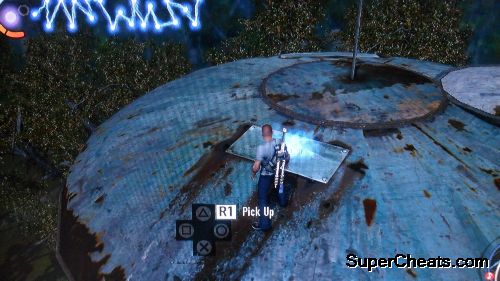
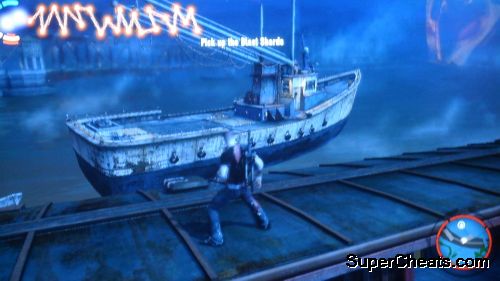
Head to the next mission marker. You need to climb to tower to find the carrier pigeon Kuo asked you to recover. Use your Alpha Blast to knock it on the ground, then jump down to retrieve your first Dead Drop. Your mission objective will also update and you should be able to collect Blast Shards now. Press L3 to scan the area for nearby blast shards; they will appear as blue dots in your radar.

You just need to collect three blast shards. There are some nearby so you won't miss them. Complete all the objectives and collect them all to complete the mission.
Collect 'em all!
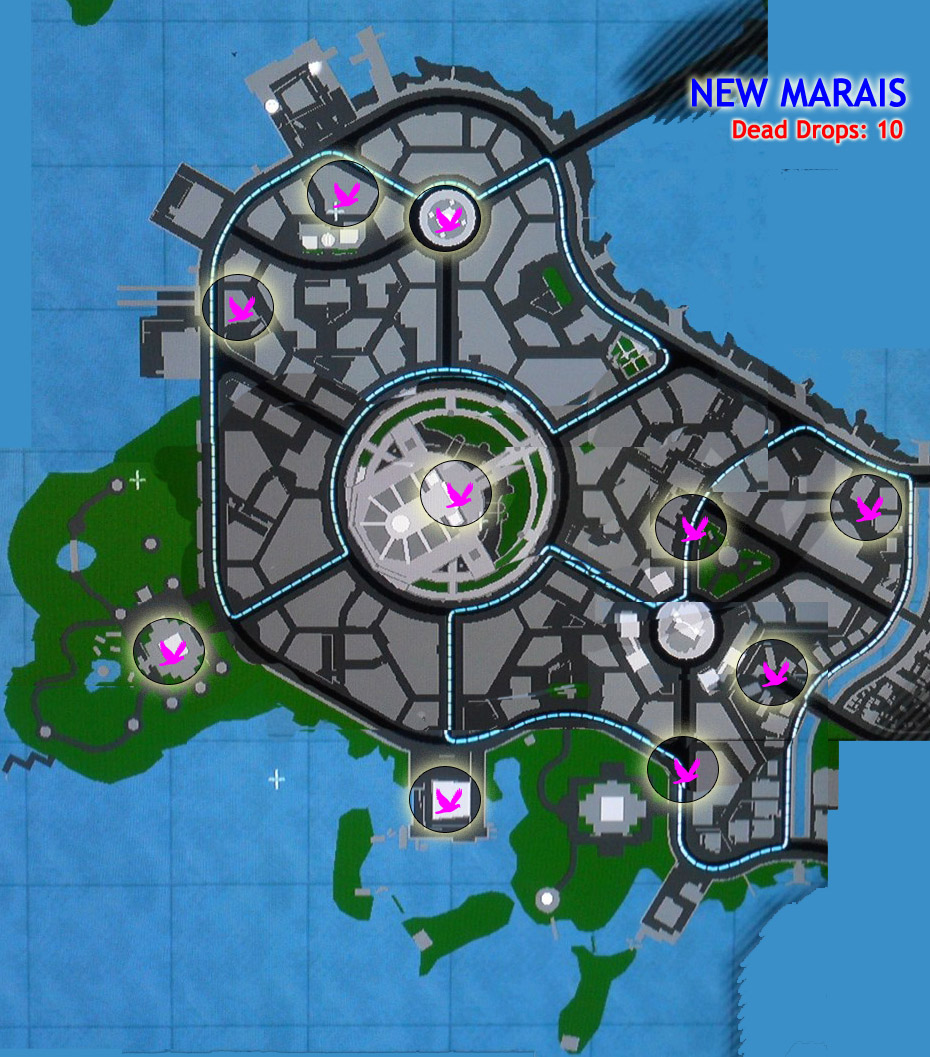
You can now freely explore and collect blast shards before moving to the next mission. Please refer to the Blast Shards Locations map included in this guide for the marked locations and individual screenshots of the shards in New Marais.
Head to the objective point and start the mission. After the conversation with Zeke, there will be two side missions available: the blue one is a good/ heroic mission (Good Samaritan) and the red one is the “evil” mission (Taking out the Trash). You can only choose one.
Follow the waypoints and heal the wounded. After healing the group of people near the mansion, the rednecks will appear. Get rid of them. Head back to the police officer that gave you the mission and take down the attacking Militia. Make sure to capture one alive to complete the mission.
Head to the back of the building to find the first brother and bio-leech him. Go to the swamp this time and defeat the militia. Find the second brother and do the same thing to complete the mission.

If you're connected to PSN, UGC (user generated content) will become available. Since these are shared by other players, UGC missions won't be covered by this guide. However, they're good if you want extra EXP. Sidequests will also become available. The next story mission is marked by a white exclamation point. I recommend doing side missions first to boost your experience.
Side missions available:
• Going Overboard
• Overcharge
• Tourist Trap
• New Marais Tea Party
• Hidden Package
We cover all the side missions seperately in-depth at the end of this guide.
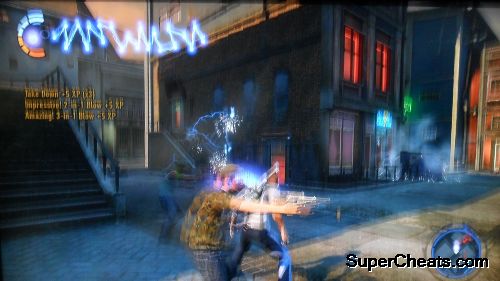
You need to defeat 6 enemies to unlock the Pincer Bolt ability. Just head to the objective point and keep defeating militiamen until you unlock the skill. Buy it for 400 exp . Next, follow the instructions to swap between Alpha Shot and Pincer Bolt to complete the mission. Other abilities will become available as well. You need to meet their requirements to unlock them and experience points to purchase them.
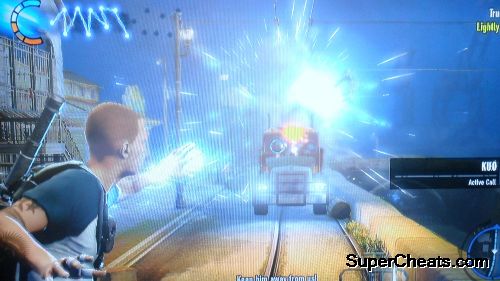
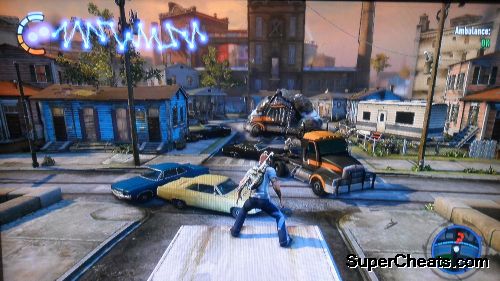
After the scene, use the AMP to defeat the freaks. After that, use the grindwires to catch up with his limo. Just jump on the limo and watch the scene. An attack helicopter will engage you; just use your Kinectic Pulse to lift one of the cars and throw it to the helicopter to finish it.
Hit me in the head again!
Side missions available:
• The Sidekick
• Gunboat Diplomacy
• Masquerade
• Field Medicine
All side missions are covered in-depth at the end of this guide.
Investigate the bomb on the wall. Drain the energy of the bomb to defuse it. Approach the next bomb and quickly defuse it. Retrieve the blast shard inside to complete the mission.

This also unlocks a good and evil karma opportunities. You can defuse bombs and retrieve the shards inside or simply steal them from people that were carrying them. When playing as a good guy, it won't hurt your karma that much by picking easy shards from civilians. As long as you perform good actions and help people through good karma opportunities, your karma rank will still go up.
Head to the marker on the rooftop to start the mission. Track the interrogator and stick to the rooftops while following him. You don't need to keep your eyes on him always; just use your mini-map to stick close without blowing your cover. Finally, he will stop at a townhouse. Stay put until Kuo tells you to take out the roadblocks.

Take out the militia in the nearest roadblock then head to the other marker. Here you'll encounter a Ravager. Your bolts will be ineffective but thankfully, you have grenades. Sticky grenades will do the trick here. Use your mini-map to anticipate where the ravager will resurface and quickly lob grenades toward it. Just roll to evade its attacks and charges to avoid getting damaged.
And Cole thought he was the biggest freak in town...
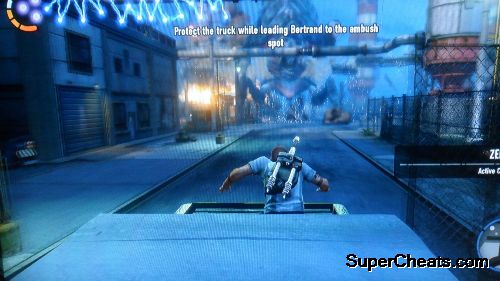
After the battle, recharge your powers and head to the townhouse to find Kuo and Wolfe inside a pickup. Ride on it and protect it against the militia pursuers and patrols. Your sticky grenades will be very useful here. Don't worry about recharging since there's a battery in the pickup just for your use. Keep protecting the truck the best you can and watch the following scenes.
Side Missions Available:
• Past Decisions
• Those Who Trespass Against Us
• Hidden Package
• Changing the Channel
• Trick Photography
Side missions are covered in-depth at the end of this guide.
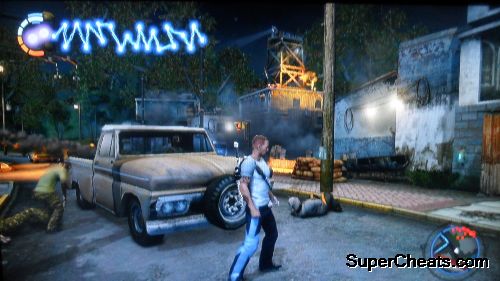
Check the first shack marked in the map. New mutant types will start to appear as well. Continue to the next shack and defeat the militia and monsters along the way. After checking the third shack, you'll hear some explosions. Use the logs and boats to traverse the water and head to the next objective point to meet Nix.

Follow her and help her clear out the enemies. Continue to the rooftops and clear it. Don't forget to dump the oil banners by examining the oil drums. Dump all four drums and set them afire. Finally take out a few enemies on the ground to complete the mission.

Side Missions Available:
• Crossfire
• Tough Critic
• Triage
• Jail Break (G)
• Flying Cars (E)
Side missions are covered in-depth at the end of this guide.
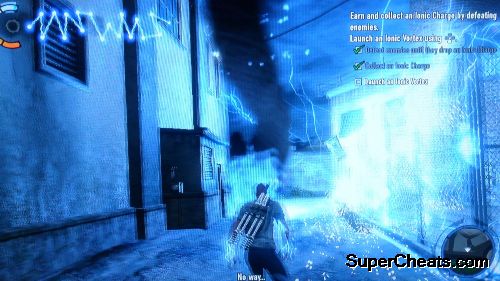
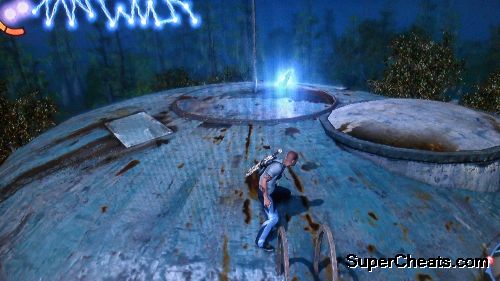
Head to the objective point and Cole will activate his blast shard. Now you need to complete some tasks to unlock another useful power. Jump down and take out the enemies there. One of them should have a purple glowing orb. Approach it to collect an Ionic Charge.
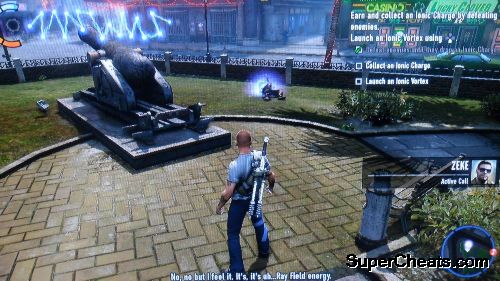
When playing as the good guy, avoid using it recklessly. Find a vacant alley or lot then use it to avoid great karma loss. More powers will be unlocked as well.
Side Missions Available:
• Malpractice
For this mission you have to choose the starting missions. If you're playing as the good guy, then head to the blue marker (Leading the Charge). Otherwise, select red. (Boom!)
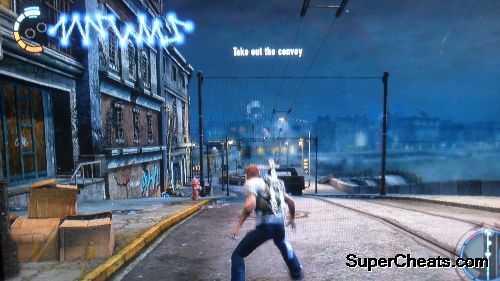
Defeat the militia guarding the cops. Just kill all militia riding the trucks and the one driving the van behind the convoy to stop the it. Free the cops then continue to the plantation. Clear out the enemies then head to the warehouse where Kuo is kept.
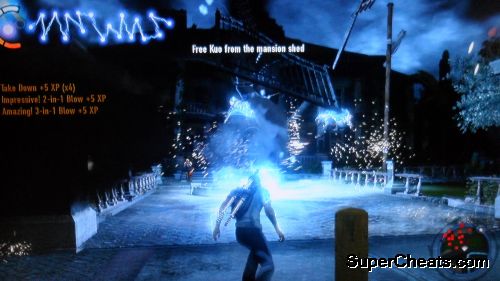
After getting hit by a mortar, clear the first mortar by the hill then the other two behind the mansion. Go to the warehouse again to find Kuo. Finally, protect her as she drags herself back to the escape vehicle.
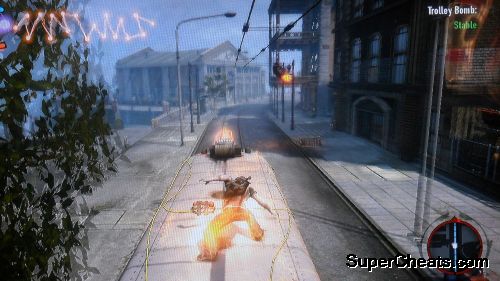
Ride the trolley and power it by shooting the power panel on the roof. Try not to overcharge it or the explosives will become very stable. There will be a lot of militia along the path so it will be a good idea to make the trolley run slowly then take out the militia soldiers on foot – but not that far away from the trolley. You also need to remove any cars blocking the path as they can also considerable damage.

After crashing the trolley to the mansion, take out all enemies then attempt to open the warehouse where Kuo was kept. After the scene, you'll have to take out all mortars before finally trying to open the warehouse again. Finally, once Kuo is out, stick close to her and eliminate any immediate threats until she makes it to Zeke's truck.
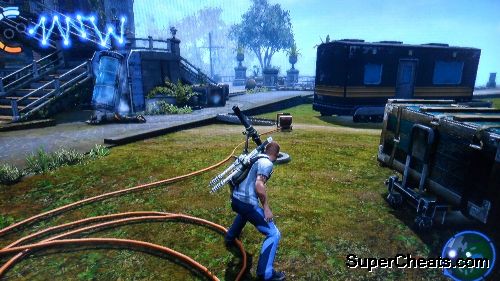
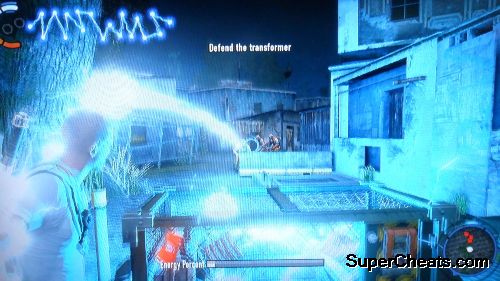
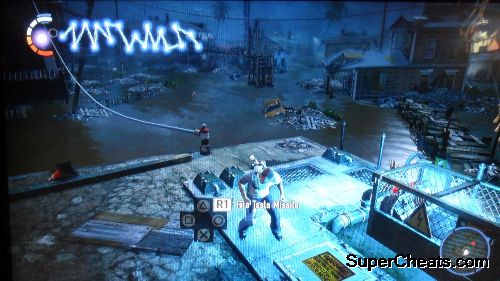
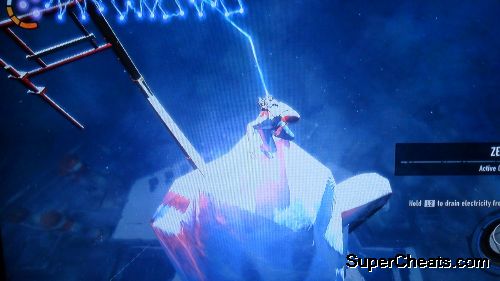
Head to the first transformer and fire a tesla missile. Steer the rocket towards the next transformer to power it up. Head to the next transformer.
Tesla Missile
Stick close to the transformer as it powers up. Go to the rooftops and defend yourself against the militia assault. Remember that as it powers up, you can absorb some of its power to health yourself and replenish your powers. Sticky grenade, graviton blast and bolt stream will help a lot in controlling the advancing militia.
Once fully activated, stick close to the transformer and fire another tesla missile. Quickly steer the missile up to avoid obstacles and keep a straight trajectory until you reach the transformer.
Tesla Missile 2
Continue to the next transformer. Avoid battles as much as possible and use the rooftops. Like before, defend the transformer from the enemy assault and wait until it is fully activated. Fire another tesla missile to activate the third transformer. Go there, activate it and defend it to complete the mission. Ascension Parish is now powered up so you can freely explore the area for additional Blast Shards.
Side Missions Available
• Convoy (must be triggered from defeated militia)
• Convoy (must be triggered from defeated militia)
• Hidden Package (must be triggered from defeated militia)
• Chopper vs Monsters
• Police Parade (G)
• The Hunt (E)
Side missions are covered in-depth at the end of this guide.
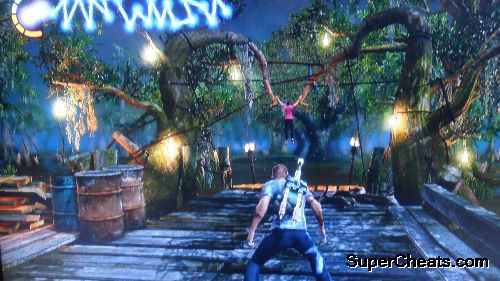
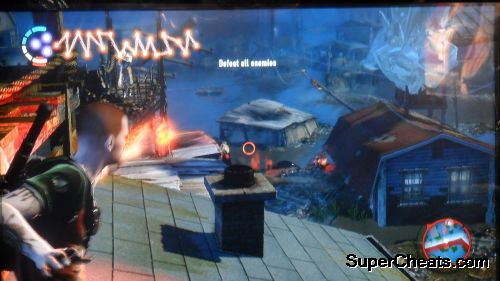
Head to the marker and defeat all monsters that you encounter. Free the victim by shooting the rope on her wrists. Next, follow her and defeat any militia and/or mutant that will come your way. Keep following her to the plaza and watch the scene.
The devourer will appear. This big guy also shoots explosive projectiles which you can easily evade. Your bolts will bounce off from its armor so don't waste your energy using that. Sticky grenades will do the trick again in this battle. Just wait for it to open its mouth and lob a few of your grenades. If ever you get caught by its tongue, shoot bolts to its mouth to escape. Use the plaza's walls to limit its movements as you search for electric sources to restore your energy or to heal.
The bigger they are...
Side Missions Available
• In the Name of Science
• Stronghold
• Firing Squad (G)
• King of the Hill (E)
Side missions are covered at the end of this guide.
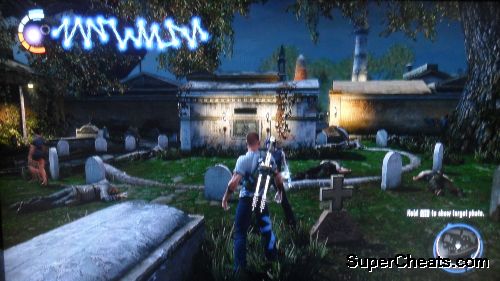
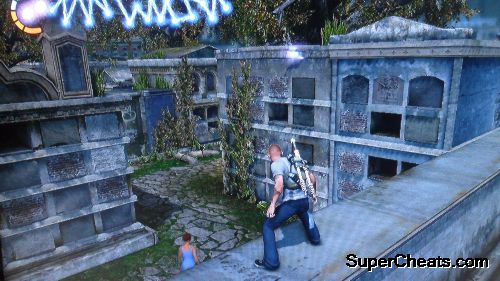
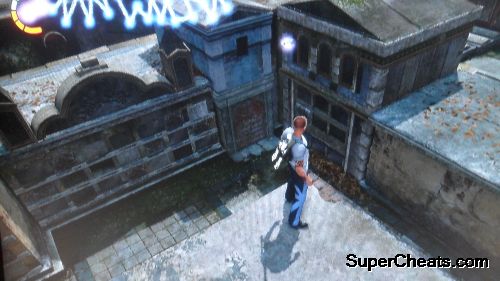
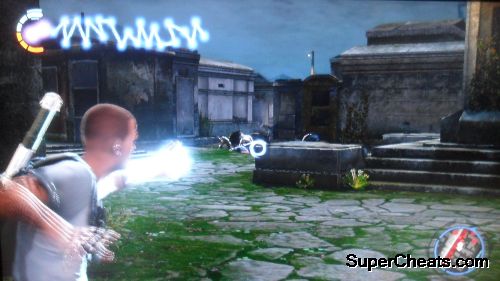
Just follow Kuo as she demonstrates her powers and defeat two militia patrols with her help. She will then mention about a hidden blast core in the graveyard. You'll receive the photo where it is located. Head to the target area and lift the cover of the tomb with the large cross in it to find another photo.

Defeat the monsters and militia that will appear then head to the next target area. The tombs you're looking for are near the western wall so it shouldn't be that hard to find. You'll find yet another photo which leads you to another target area. Head there.
Defeat more militia along the way then check the vault in the photo. A Ravager Hive Lord and Spikers will appear so deal with them. The Hive Lord has the same attack patterns as a normal Ravager but this one can spawn Spikers. It will take a few seconds before they hatch so you must destroy the pods before they do so. Your Sticky Grenades and Bolt Stream will help a lot. When dealing with those pesky Spikers, your Alpha Blast should be enough to destroy them. Kuo will make the battle a lot easier. Just run around and stick some grenades with the hive lord surfaces to deal damage to it.
Graveyard battle
After defeating the Hive Lord, check the vault to find the Blast Core. Mission complete.
Side Missions Available:
• Life Insurance
• Good Deed (G)
• Revenge (E)
Your static thrusters will now be improved. Just float for more than 2 seconds and farther than 5 meters to obtain this ability. (This will allow you to finally get the blast shard that's stuck on the New Marais billboard off shore - #53 in this guide's map) Next, do a car jump. Just step on a car then jump. Then, enter precision mode and fire bolts while in that mode. This make your shots incredibly accurate and powerful at a cost of some energy. A couple of new skills will be unlocked as well.

Side Missions Available:
• Overcharge (2)
• Grave Danger
• Enemy Surveillance
• Enemy Surveillance (2)
Meet up with Nix and defeat all militia in the mansion. Continue clearing the path until you reach the boat. Ride the boat until you find some militia guard towers. Take them out and as you reach dry ground, you can dismount and clear them on foot. You can continue on foot until you reach the end of the island where Nix will wait for you to jump back to the boat.
Next, monsters will start jumping on the boat. Defeat them with your amp as you get near another island. Check the island on foot and disable some turrets for some extra exp. Continue forth as you find more bodies of militia soldiers. Follow the marker and hop to the next island. Go to the marker and defeat the hive lord. Get back on the boat and stay put. Watch the following scenes.
Side Missions Available
• Enduring Freedom (G)
• The Third Degree (E)
This is another mission where you need to decide between the good mission or the evil mission. Head to the blue marker to start the good mission (Hearts and Minds Campaign) or the red for the evil. (Fooling the Rebels)
Hop on the ambulance and defeat all militia soldiers on the way. When you make a detour to the alleys, you'll also need to clear the path using your Kinetic Pulse.

Keep doing this until you finally encounter a devourer. Kill it quickly before it smashes the ambulance. After defeating it, remove any obstacles and continue forth, clearing the path of enemies.
After reaching the rebel hideout, help them repel the militia attack. Use your Ionic Vortex to clear the attacking force quickly – just be careful not to sweep up your own allies along with it. Your Precision Shots should be very helpful in taking out the soldiers on the rooftops. Keep doing this until you successfully repel the attack.
Head to the fort and destroy the two communications equipment marked in your map. Next, light up the two propane tanks to get the rebels' attention. Keep shooting at them until the militia arrives. Destroy the turret from the ground to impress the rebels. Just keep shooting at it to destroy it. Clear all the remaining forces inside the fort to complete the mission.
Enter the fort and take out the turrets, marked in your map. Continue clearing the enemies and the mission updates. The power will go down and you need to reactivate the transformers to restore power again. Zeke will send the position of the nearest transformer. Like before, fly a Tesla Missile to the next transformer to reactivate it.
Storm the Fort - Tesla 1

Head to the next transformer and do the same thing to reactivate it. Grind your way to where the last transformer is and reactivate it completely. Destroy the mortar set up there. Now, you need to destroy the other two mortars to update the mission.
Storm the Fort - Tesla 2
At this point, you'll need to choose who to swap powers with. Choosing the good side (Kuo) will unlock your Ionic Freeze powers. This will also unlock Ice-based powers and permanently locking the fire-based (evil karma) powers. If you have selected Kuo, perform an Ionic Freeze to complete the mission. Otherwise, perform an Ionic Drain to complete the mission.
Side Missions Available:
• Heavy Weapons
• Ship of Fools
You'll need to defeat the Behemoth by destroying its weak points. Unfortunately, you need to stand in front of it to see and shoot the weak points. Ignore the militia for the duration for the battle since they'll serve their purpose of being cannon fodders and distractions. The weaknesses of the Behemoth include the two purple sacs inside its ribcage, two sacs on its forearms and the one inside its mouth. The first four can be easily destroyed. Destroying these will also stop it from spawning underlings.
Does this remind you of Cloverfield?
As for the mouth, you'll have the wait for it to spray its corrosive liquid so it reveals its weak point. Just make sure you're not too close to get damaged.
Now that's one ugly sonova...
This battle ends your conquest of the area and marks your entry to another territory of the city. Like before, you'll need to restore power to that area before you can freely explore it.
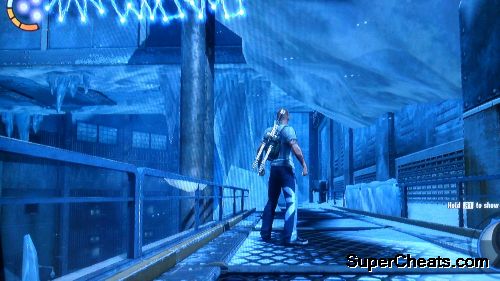
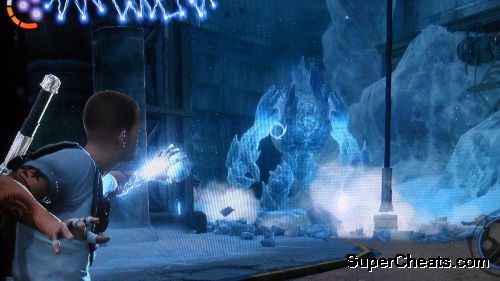
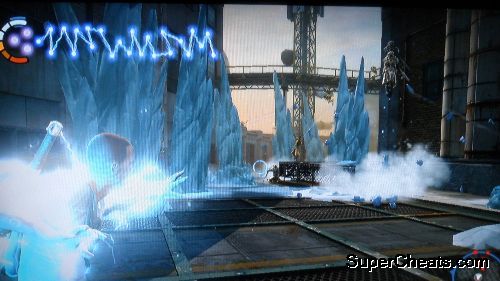
Fire a tesla missile to the transformer on top of the bridge to power it up. That should be pretty easy since there's no obstacles at all. Head to that transformer and reactivate it. Fire another tesla missile to the next transformer. The ice freaks will be your new enemies in this territory so be careful. Your Ice Shield will help a lot in protecting you and recovering your energy so use it to your advantage.

Once you've reached the next transformer, reactivate it and defend it. The flooded terrain will work to your advantage since you can shock enemies wading in the water. Your Ionic Freeze will also stop them at their tracks and provide you with additional cover. Finally your Ice Shield can help keep you alive should things get hairy. Just don't bother shooting enemies in mid-air; wait for them to land before shooting.
Next, you can fire another tesla missile to reactivate yet another transformer. Take note that you can also steer the tesla missile to kill enemy patrols. It seems that they spawn immediately after getting killed which means you can exploit this as means to gain infinite experience.
Infinite Experience - Light 'em up!
Continue doing this until you fire up the last transformer and power up Flood Town completely.
Side Missions Available
• Overcharge (3)
• Prescription Strength
• Hidden Package
• Convoy
• Unlikely Allies (G)
• Assassin's Greed (E)
Head to the first waypoint and use the spotlight. Point it against the monsters to burn them to crisp and reduce civilian casualties. After clearing the first area, head to the next spotlight. For larger enemies, focus the spotlight to kill them faster. Just continue switching between different waypoints until Zeke tells you to fall back to the main camp. Defend it successfully and finally, defeat two more heavy-type freaks to complete the mission.

Side Missions Available:
• Double Whammy
• Emergency Measures
• Best Served Cold
• Enemy Surveillance (3)
First, head to the first waypoint and clear all enemies. Use your Kinetic Pulse to lift the cap and use R3 to place the cap on top of the well. Next, you'll need to use a single cap to put out all the fires in three different directions. It doesn't matter what order you choose. You need to throw the cap in the direction of the waypoint.
If ever the cap is in the water, you can jump on it and use Kinetic Pulse to throw it. Should you encounter enemies along the way, get rid of them first to clear your path and make your job easier.

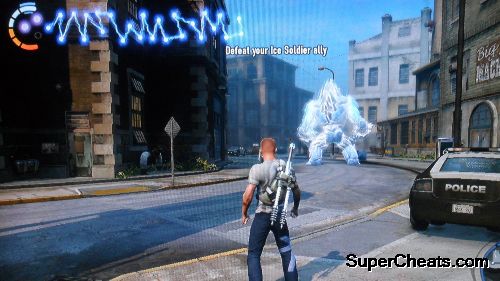
You'll come across a heavy ice soldier that are capable of making ice shards and throwing them to you as projectiles. This guy deals considerable damage, and even critical damage if his melee charge hits you. You'll have a more easier time dealing with him on the rooftops or elevated places and lobbing grenades at him. After getting rid of him, cap the last well to complete the mission.
Ice Freak Evolved
Side Missions Available:
• Overcharge (4)
• Seek and Destroy
Head to waypoint and watch the scenes. Once outside, fire an ice rocket to complete the mission. You'll also unlock new abilities so make sure to get them as well.
Available Side Missions:
• Ice Breaker (G)
• Chipping Away (E)
Watch the scenes. You'll again need to choose which side you'll take and which mission to start. Head to the blue marker to start the heroic mission (Exposing Bertrand) or the red marker for the evil mission (Nix's New Family)
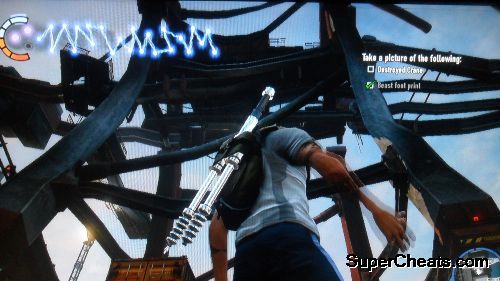
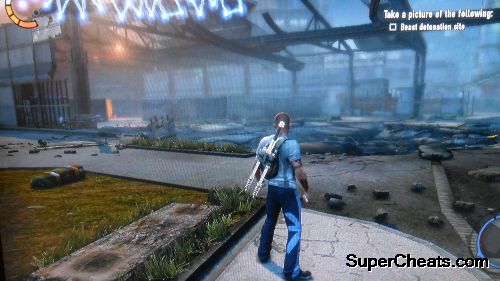
Follow the markers to infiltrate the trainyard. First find the boxcar containing caged civilians. Get near and take a shot. You don't need to take out the guards since they're drugged; just don't get too close to them or they'll notice you. Just head to the markers and take pictures of the monsters.
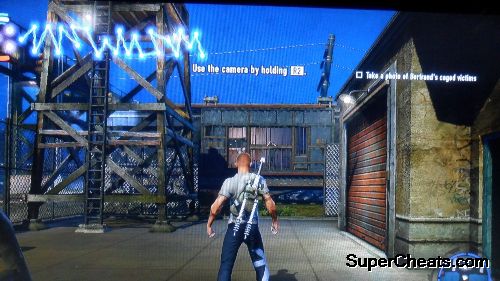

After that, head to the warehouse. Look for the skylight in the picture to get a good view of Bertrand. Take a picture of him before and after the act. Once done, you'll need to free the civilians. Kuo and the rebels will arrive to lend you a hand. Continue freeing up the civilians and Nix will then arrive with her own army of monsters. Continue pushing forward to the last marker. Defeat the devourer then free the civilians to complete the mission.
Available Side Mission:
• Stay Frosty (G)
Follow Nix and get rid of the enemies on the rooftops. After a short while, the power in the area will down so head to the next transformers and reactivate them. In the next transformer, you'll have to use tesla missiles to get rid of the ice freaks and protect Nix as she tames the monsters. Steer the missile towards the enemies to kill them instantly. Do the same on the last transformer and kill a few more enemies to complete the mission.
Nix's New Family
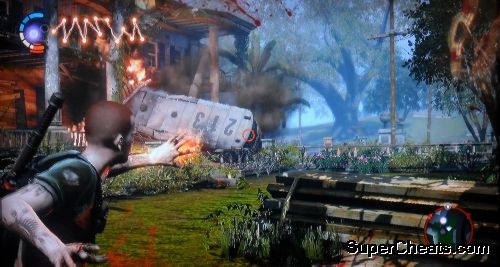
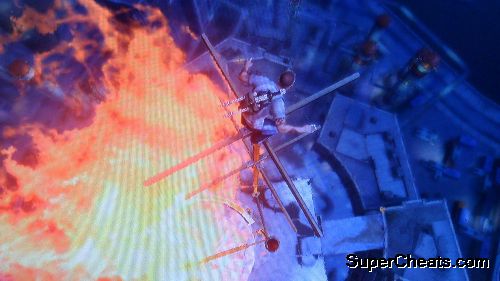
Blast the cover of the cargo behind the truck to reveal a thermonuclear missile. Zeke will move to the harbor area in Flood Town so clear the path of debris, militia and monsters.

Once you've reached your destination, climb up the crane and use the targeting binoculars. Hold the R1 button to paint the Beast. However, the ice gang will appear; take them out first so you can safely use the binoculars.
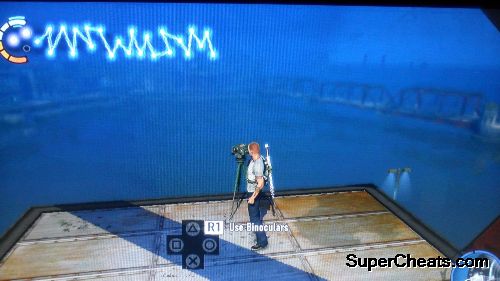
After taking out the enemies, use the binoculars again, paint the Beast and watch the fireworks. Head to Zeke and lift the dumpster off him. Next, lift the next two debris to clear his path. Watch the scenes and the mission will be complete.

Side Missions Available
• Battle by the Bay
• Action Shots
It's time to power up the next part of town. Head to the first transformer and fire a tesla missile. You can take out crushers along the way before finally powering up the target transformer. Once powered up, head to the next transformer, activate it and defend it until it fully charges up. Next, fire a tesla missile and steer it towards the crushers before finally activating the next transformer.
Head there and activate the last transformer. After the short scene, you'll have to survive while being trapped. Use your Frost Shield to defend against the enemy bullets. Just don't move around that much or you'll really get hurt. Wait until Zeke arrives and saves the day. Mission complete.
Available Side Missions:
• Cold Snap
• Overcharge
• The Gauntlet
• Ice Tea Party
• Playing “Hero” (E)
• Pet Project (E)
Head to the warehouse and destroy the objects inside to find a safe. Open it to reveal the location of the other three warehouses.
For the second warehouse, the safe is located on the upper level. Destroy the crate to reveal another safe. Head to the third warehouse and clear the enemies inside.
If ever they'll use a poison gas, quickly climb up to avoid dying. The safe is found in the middle of the warehouse. Head to the fourth and final warehouse next.
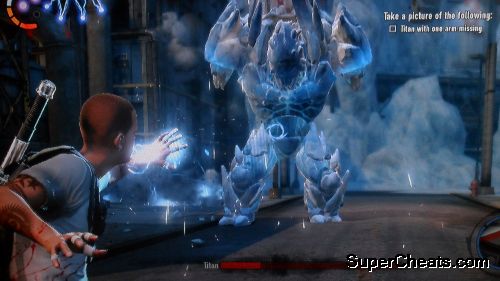
Defeat all the enemies inside and a Titan will appear. Keep throwing everything at him to destroy both his arms. Once he's armless, he'll kneel and a prompt will appear in front of him. Keep mashing the square button to remove his face cover and expose his weakness. Finish him off by throwing cluster grenades at him. Once done, open the safe to get the Blast Core. Watch the next scenes.

The final evolution of an ice freak
Side Missions Available
• The Big Chill (G)
• Mercy Kill (G)
• Special Delivery
• Ice Storm
• The Harder They Fall
• Convoy
Start the mission and watch the scenes. Use your Lightning Tether to complete the mission.

Side Missions Available
• Coast Guard
• Overcharge (6)
• Biohazard
• Proud Warrior
Head to the first ship and defeat all ice gang soldiers in your map. After clearing the area, head to the bow of the ship and press R1 to disable the anchor.

Head to the next ship and do the same thing. Make sure to get rid of the ordinary soldiers and ice heavies first before engaging the titan at the bow of the ship.
Heavy Cargo
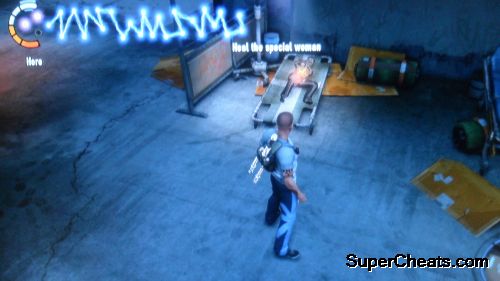
Once all of them are defeated, sabotage the anchor of the ship to trigger the next scene. Head to the plague ward marked in your map next. Find the special woman and attempt to heal her. Watch the next scene to complete the mission.
Side Missions Available
• Photo Finish
After the scene, quickly head to Zeke's truck and protect it while luring Bertrand to the ambush spot. Use your kinetic pulse to deflect any homing projectiles that will Bertrand will shoot at you. You also need to concentrate your fire on his mouth if it turns purple. Continue doing this until you reach the ambush point where Kuo, Nix and Laroche's men are waiting. Pummel a few monsters and once the purple sacs appear on Bertrand's arms concentrate your fire and shoot it. Destroy both sacs to continue forth.
Behemoth Phase 1
While in the helicopter, deflect Bertrand's projectiles using your Kinetic Pulse. Shoot the missiles that will be fired on him to detonate them. When you reach the propane tank blockade, wait for him to break through and destroy his weak spots until he's defeated. Watch the next scenes.
Finishing off the Behemoth
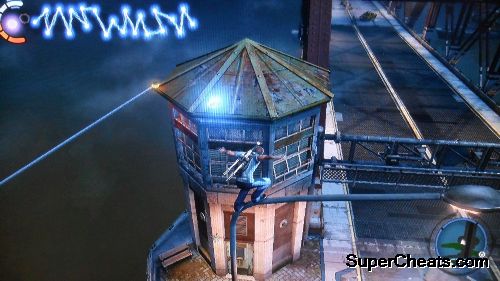
You can now freely absorbed the electrical charges in the air, anytime/anywhere. This should be useful in clearing out the area so don't worry about letting it all out. Next, follow the Ice general to the ice tower. Use your Lightning Tether or Ice Launch skills to chase him. Continue to the top of the tower to find the blast core encased in ice.

Zeke will then send you a photo of the first heating valve's location. Find the first one under the footbridge and activate it.
Find the second one, in the same level but on the other side. Be careful though as a Crusher will appear to stop you. Kill it or drive it away then activate it.

Finally, head to the upper part of the tower to find the next valve. More ice soldiers will appear so take them out and activate the last valve when ready. Go back down and defeat all the enemies guarding the last blast core to complete the mission.
A Death Toll
After the scene, you'll finally be able to unleash an Ionic Storm. Just activate it once to complete the mission.
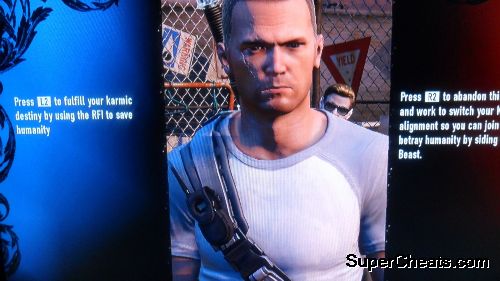
(Good Karma)
This is the final decision you'll need to make. You have to decide whether to you'll fulfill your destiny (good karma) and use the RFI to save humanity.

Head to Laroche's boat and hop on it. After the Beast destroys the substation, quickly get of the of the boat and head to the next waypoint.
After reaching it, you'll have to face the Beast again. Just keep shooting at its body and fly away from its deadly vortex when you're airborne. You'll also be fighting against Kuo but fortunately, its easy to stagger and defeat her with ordinary attacks. Keep shooting those rockets at the Beast since they deal more damage and finally use an Ionic Storm.
Beast Battle 1
Beast Battle 2
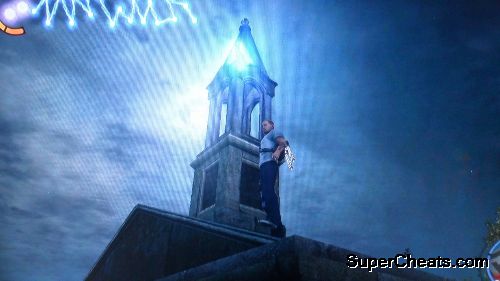
After this phase, head to the church tower to recharge the RFI. Finally, you'll have another battle against the Beast. Just give it everything you got and he'll go down in no time. Activate the RFI and watch the climactic ending scene.

(Bad Karma)
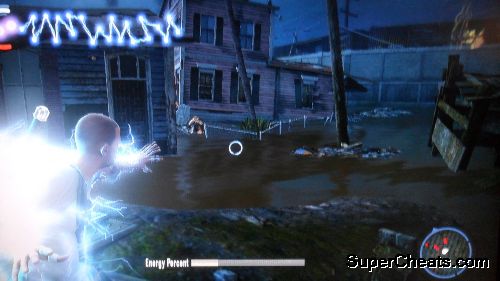
Stick close with John and rampage through the city. Don't worry about your powers since it will be practically limitless. Just kill as many as you want until Nix confronts you and the Beast keels over. Be careful since the area is powered off and you can't recover from your injuries and replenish your energy immediately. Use your Lightning Tether to close the distance quickly or just take cover to avoid soaking the damage from the RFI beam. Keep damaging her until she goes away.
Nix Battle 1
Return to John and continue your rampage to the city. Keep destroying the boats, watchtowers and enemy positions along the way until you reach the plaza. This is where you'll confront Nix and kill her for good. The power in the area is online so feel free to use that to your advantage. Kill any rebels that will get in your way but as much as possible, focus on Nix. She will teleport to different locations after taking some damage. Your cluster grenade and hellfire missiles will work well in stopping her from using the RFI beam at the same time, dealing considerable damage to her. Keep damaging her until she escapes.
Nix Battle 2
Once the Beast is back to his feet, return to him and jump to float. Continue your rampage again until you reach the Cathedral. Head to the rooftop and defeat Nix for good. The battle shouldn't be that hard since there's no more chasing around. Just keep an eye on her location in your radar then throw some cluster grenades for guaranteed hits. Keep doing this until Zeke appears. Just shoot your buddy dead with your bolt and watch the ending scenes.
Nix Battle 3
You should be able to collect Blast Shards after completing the mission “Lost and Found”. There's no particular order in finding so feel free to explore yourself or use the maps provided in the guide. Collecting blast shards increases your battery cores which allows you to use your powers more before recharging.
There are only a total of 305 shards that can be found throughout the world. Though the blast shards you earn from defusing bombs, stolen from civilians and earned from missions do count to your earned cores, the cap will still be 305.
We've broken down the Blast Shards collectibles into sections, as there are so many. Please see the following pages.
Blast Shards: 99
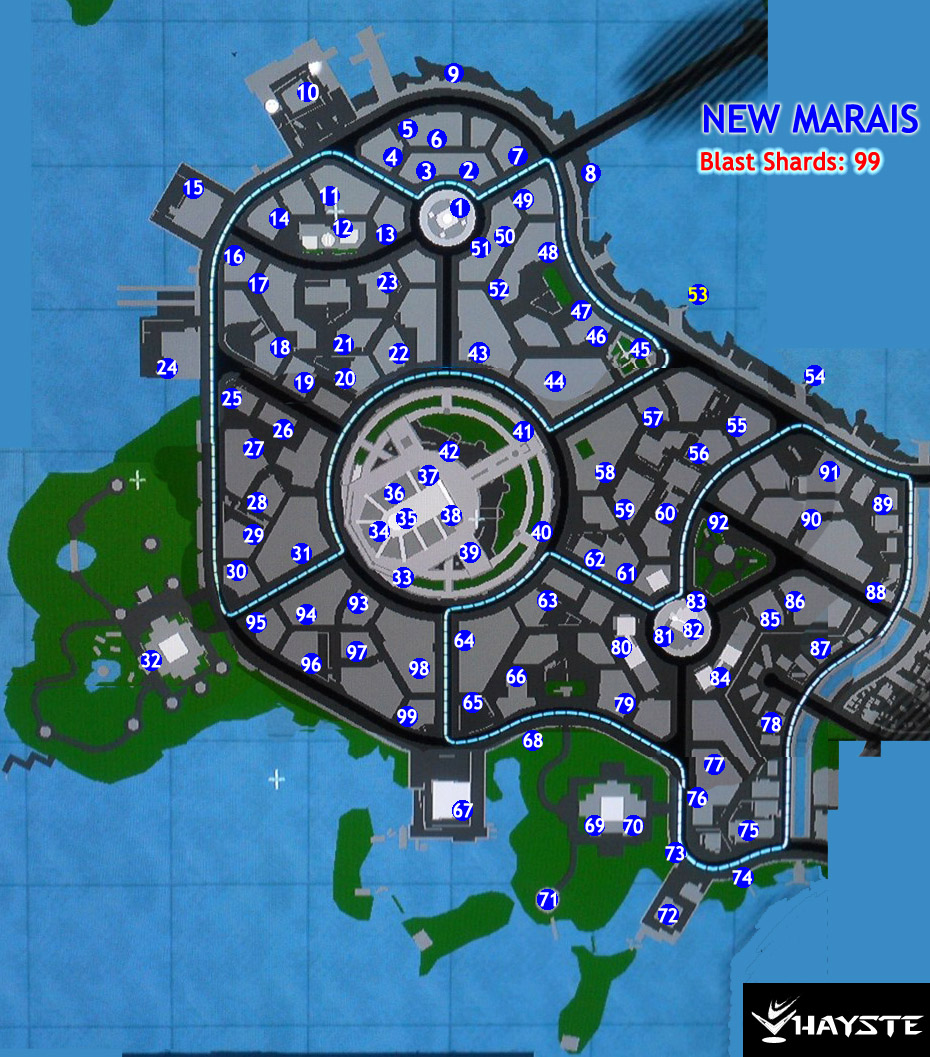
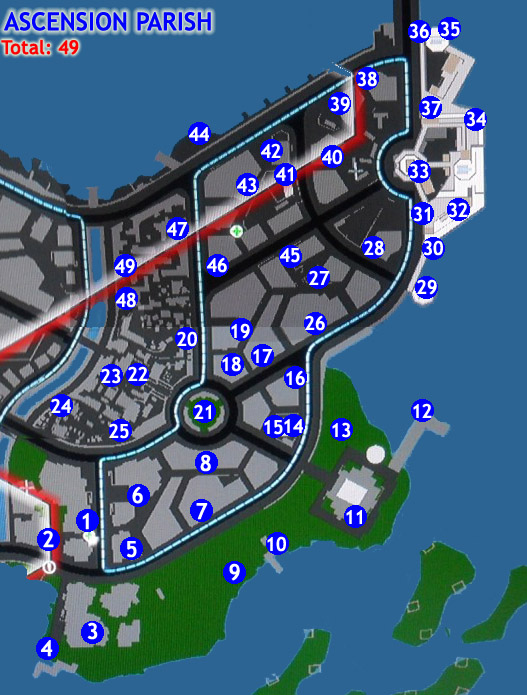
New Marais Blast Shard Map
1
2
3


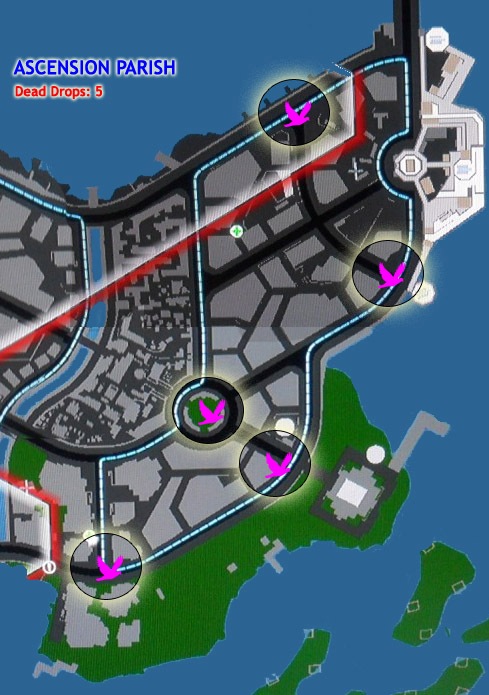
Please refer to the map below to collect all the blast shards in Ascension Parish. Below the map are individual images of the Blast Shard locations to help you see exactly where to look.
Ascension Parish Blast Shard Map
1
2
3

4

5

6
7
8
9
10
11

12
13
14
15
16
17
18
19
20
21
22
23
24
25

26
27
28
29

30
31
32

33

34

35

36
37

38
39
40
41
42

43
44

45

46
47
48
49
Please refer to the map below to collect all the blast shards in Flood Town. Below the map are individual images of the Blast Shard locations to help you see exactly where to look.

Flood Town Blast Shard Map
1
2
3
4
5
6
7
8
9
10
11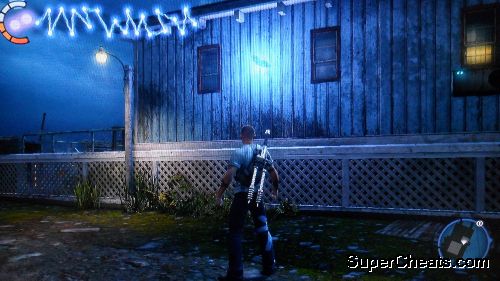
12
13
14
15
16
17
18
19
20
21
22
23
24
25
26
27
28
29
30
31
32
33
34
35
36
37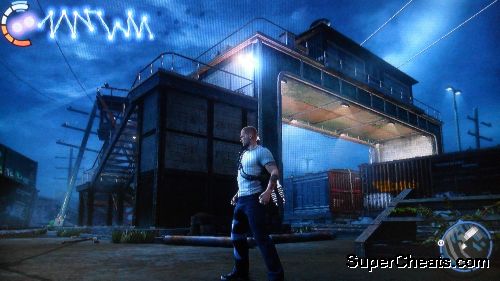
38
39
40
41
42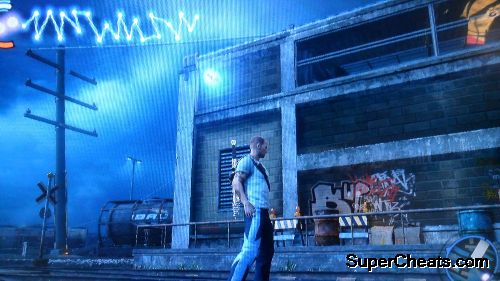
43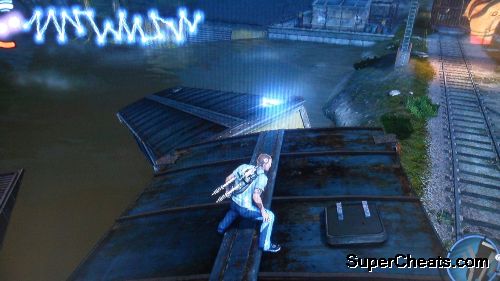
44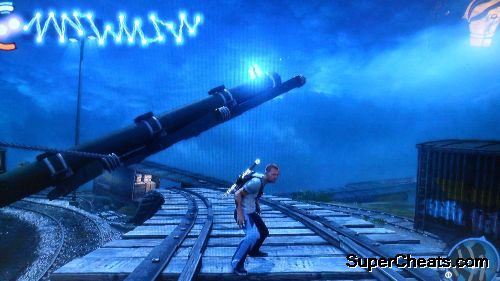
45
46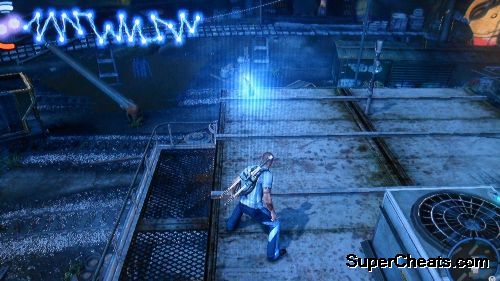
47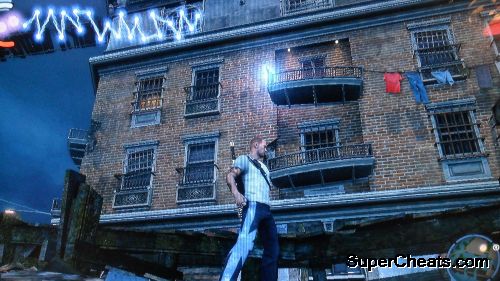
48
49
50
51
52
53
54
55
56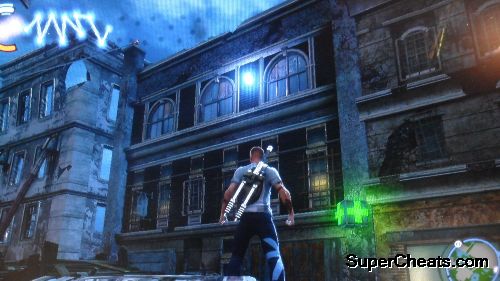
57
58
59
60
61
62
63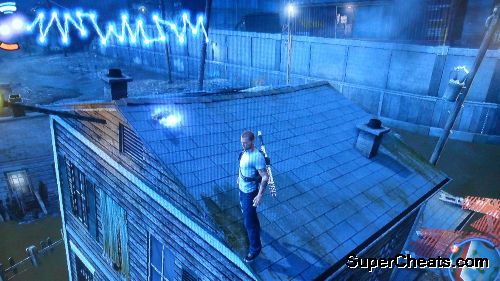
64
65
66
67
68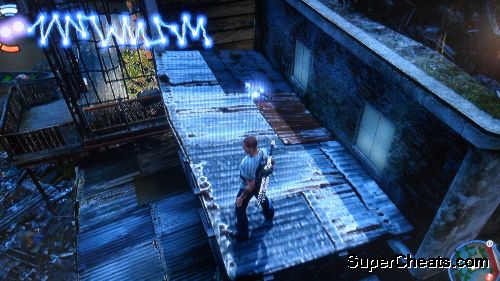
69
70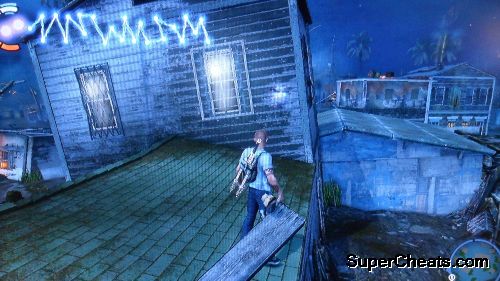
71
72
73
74
Please refer to the map below to collect all the blast shards in the Gas Workd. Below the map are individual images of the Blast Shard locations to help you see exactly where to look.
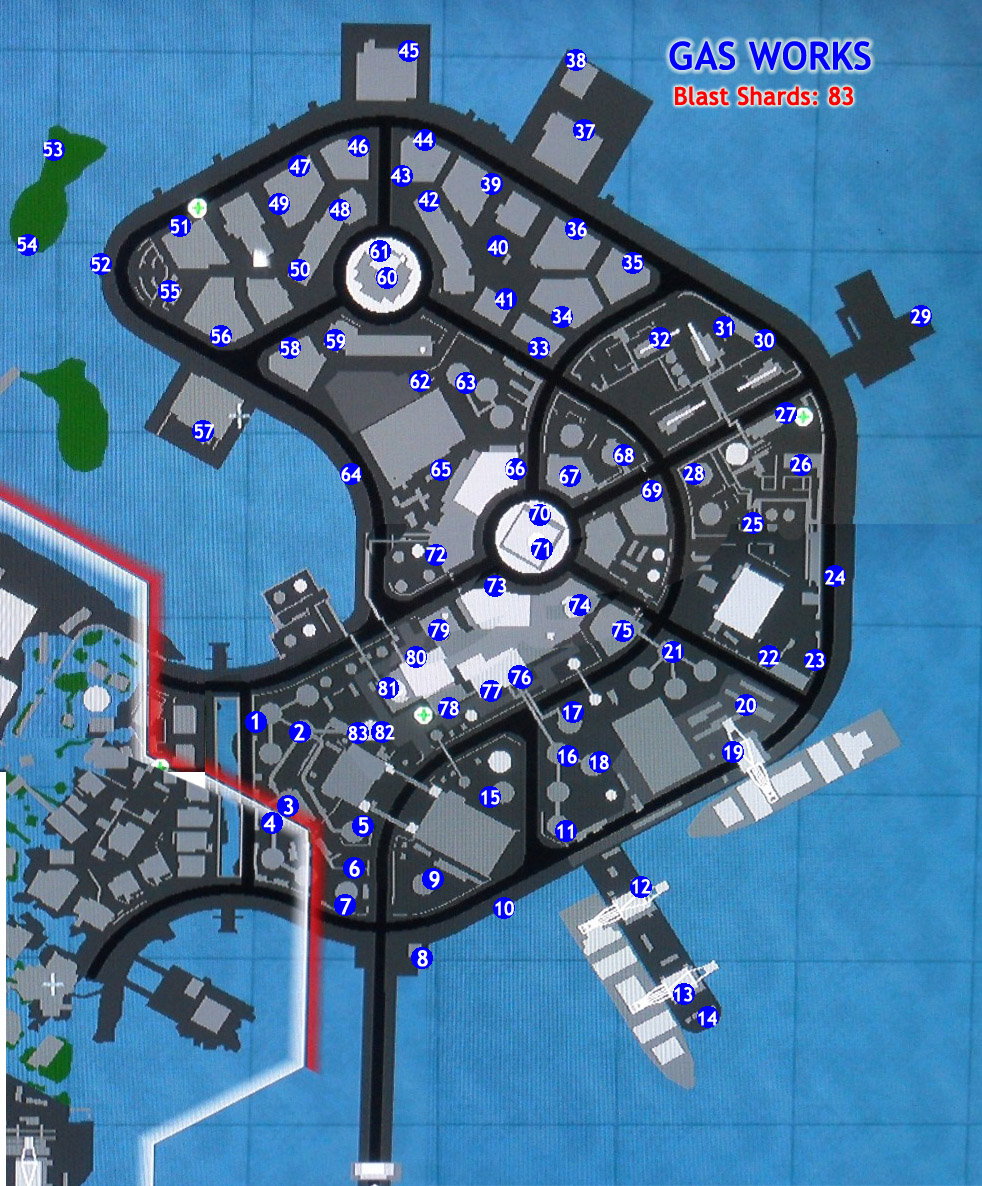
Gas Works Blast Shard Map

1

2
3
4
5
6
7

8
9

10
11

12
13
14
15
16

17
18
19

20
21
22
23

24
25

26
27

28
29

30

31
32
33
34

35
36
37
38
39
40
41
42
43

44

45
46
47
48
49

50
51

52
53
54
55
56
57

58

59
60

61

62

63

64
65

66
67

68

69
70

71
72
73
74
75
76
77

78

79
80

81
82

83
Below you will find maps for all the Dead Drop Locations in inFamous 2. We've created seperate maps for each main area of the game.
New Marais
Ascension Parish

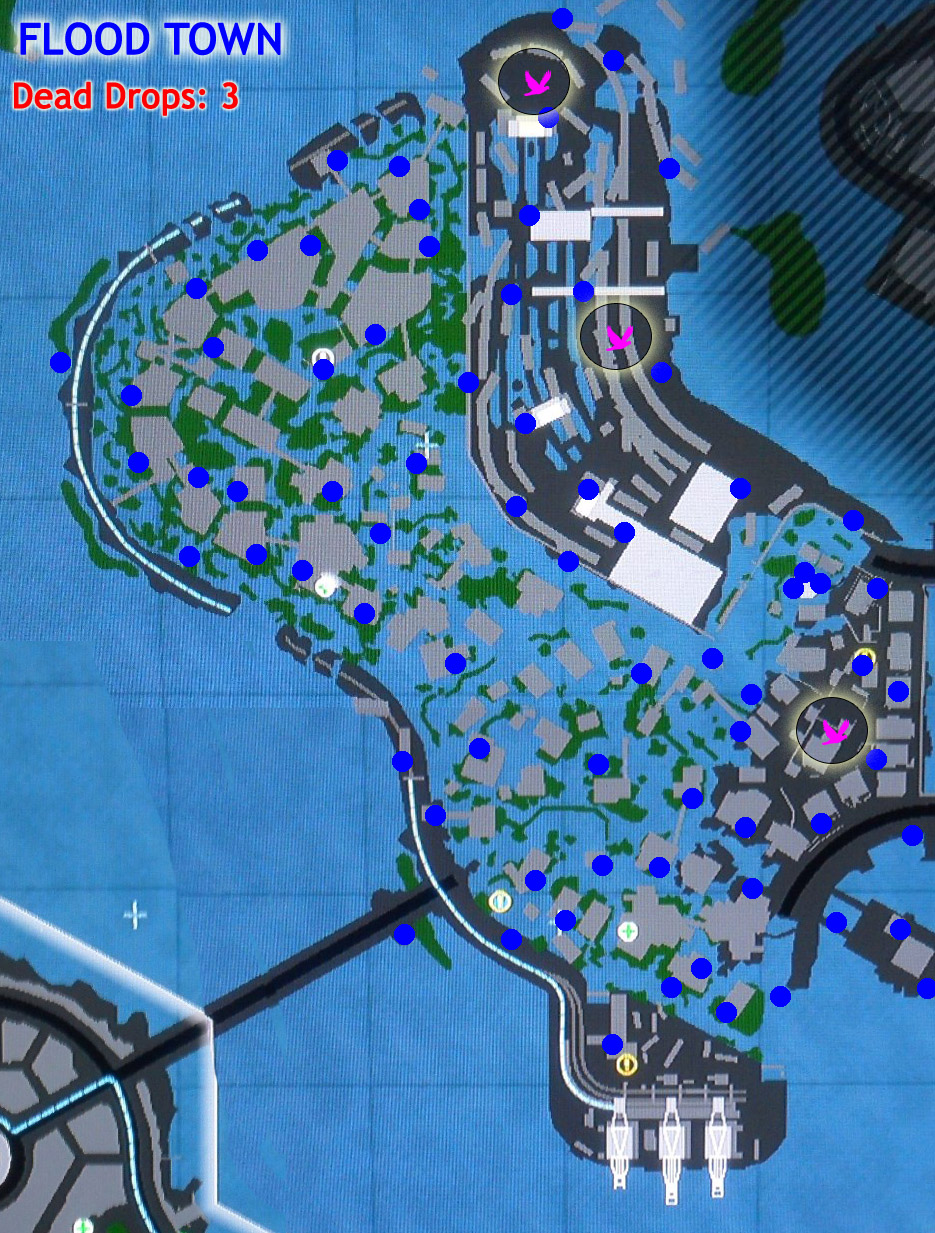
Flood Town
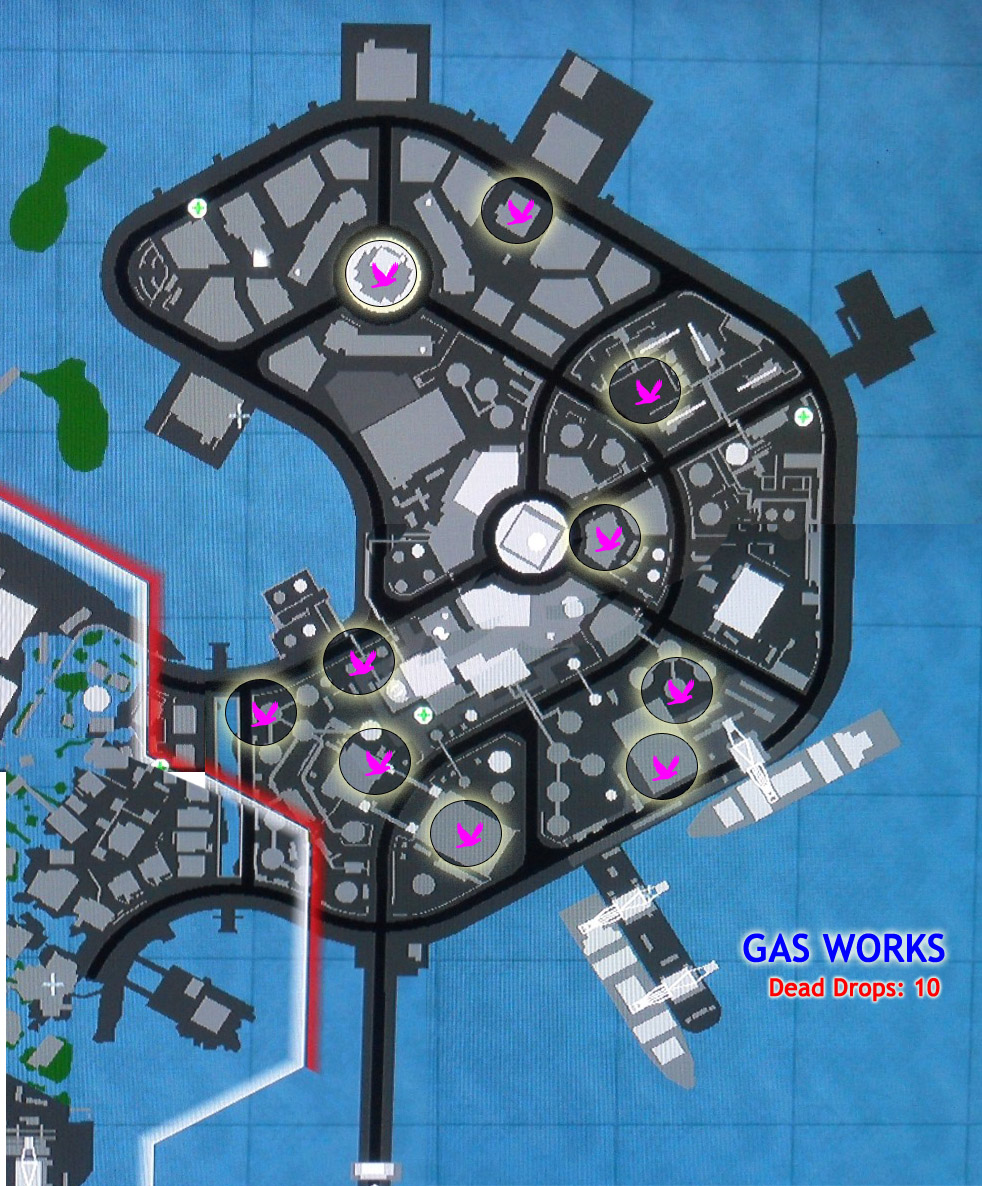
Gas Works
Swamp Blockade

Good Samaritan (G)
Follow the waypoints and heal the wounded. After healing the group of people near the mansion, the rednecks will appear. Get rid of them. Head back to the police officer that gave you the mission and take down the Militia. Make sure to capture one alive to complete the mission.
Taking out the Trash (E)
Head to the back of the building to find the first brother and bio-leech it. Go to the swamp this time and defeat the militia. Find the second brother and do the same thing to complete the mission.
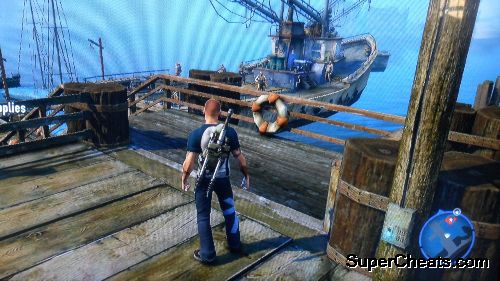
Going Overboard
Approach the ship and just wreck the cargo and defeat the militia. The mission completes once all shipments are destroyed.

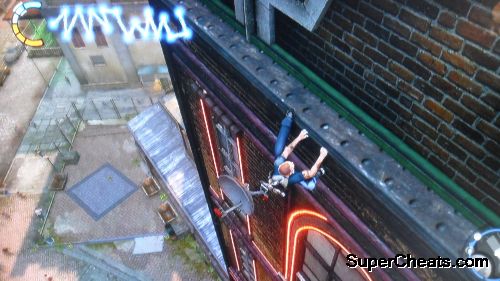
Overcharge
After accepting the mission, meet up with the electrician by following the objective marker. You need to reach the other transformer while grinding and staying in the air to keep yourself from discharging (and killing yourself). Start off by standing on the nearby generator then quickly ride the line. Just keep a straight path and use your Static Thrusters as soon as you launch yourself in mid-air as soon as a grind ends so you can glide farther. Refer to the video below for more information.
Grinding!
Tourist Trap
You need to take pictures of various objects for Zeke. For the first one, you need to find a vertical launch pole. Just press R2 to take out your camera and align the shot so the reticule turns green. Press X to capture the image. Next, you need to sneak behind a mugging situation and take a snapshot of it. Next, you need to take a picture of people being abducted by the militia. After capturing the snapshot, you can take out the militias to help the civilians out.

New Marais Tea Party
Similar to “Overboard”, you just need to destroy all cargo and enemies to complete this mission.
Gunboat Diplomacy
Head to the marker and you should see a gunboat lobbing grenades to the city. You can stand on the wooden poles to get close enough to throw your own grenades and avoid getting damaged by the militia's grenade at the same time. Just time your throws so your grenades reach the middle of the ship. Keep doing this until the ship sinks.
Masquerade
Head to the plaza and defeat all disguised militias.
Field Medicine
Head to the marker and defeat the militia guarding the supplies. Then, use Kinetic Pulse to bring the medical cache back to the indicated area in your mini-map. After dropping off the supplies to the designated drop point, talk to the medic to complete the mission.
Unlocks Medical Clinic
The Sidekick
Just defeat the freaks that will ambush you.
Changing the Channel
Disable the TV dishes marked in your map. After disabling the last dish, approach the jumbo TV to complete the mission.
Trick Photography
First, take a picture of the establishments Zeke marked in your map. If you can't seem to get the perfect shot, try moving Cole farther and adjust accordingly.

After taking those images, you need to take a picture of a charging ravager, a helicopter and a defeated militia. Don't join the fray immediately; just get close enough to take the pictures. If not, try to defeat a few militia and the helicopter if you already finished taking a picture of it to make your job easier. Since you can't use your Kinetic Pulse, use your bolts to destroy the helicopter. Finally, defeat all enemies to complete the mission.
In search for the perfect shot
Those Who Trespass Against Us
Head to the cathedral and defeat all militia in the rooftops. Unlocks Hidden Package mission.

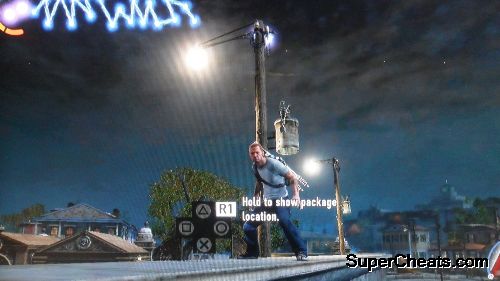
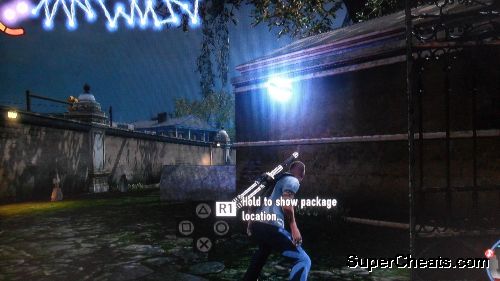
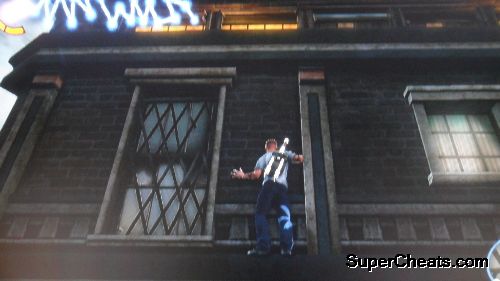
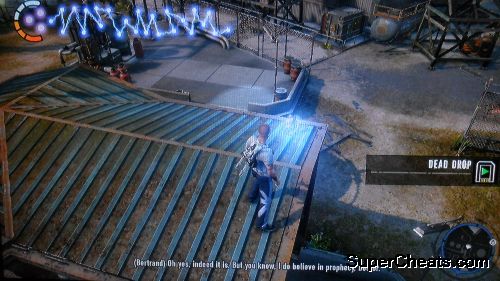
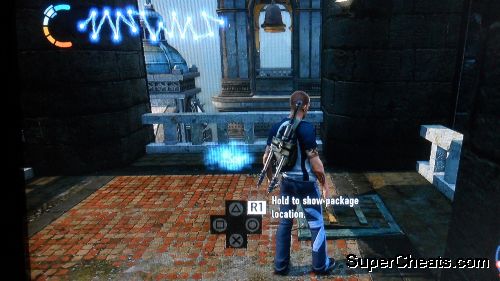
Hidden Package
This side mission will appear after defeating a group of militia soldiers in the cathedral. Approach the glowing yellow body of a defeated militia to start the mission. Check the package's location then head to the exact spot where it is hidden. The good thing is that there's a certain range where the package is approximately located. Take note of the landmarks and other clues in the photo.
Past Decisions
Just meet up with the NPC that will give you the mission to complete it and receive extra exp.
Crossfire
Head to the park and defeat all mutants and militia.
Tough Critic
Follow the cop to the prisoner. You can either kill the guy or simply guard him. Waiting for the cops to arrive will reward you with good karma. Killing the prisoner will also make the cops aggressive towards you. Kill them all to earn evil karma. Mission complete.
Jailbreak (G)
Meet up with the other police officers then take out the militia guards. Once the area is cleared, jump on top of the cage and keep pressing R1 to open the gate.
Flying Cars (E)
Follow Nix and throw cars at her using your Kinetic Pulse. Keep doing this to complete the mission.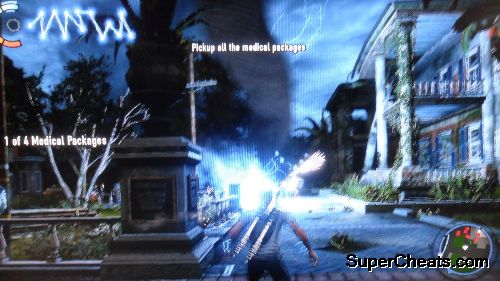
Triage
Defeat all militia soldiers to free the medics. Unlocks medical clinic
Malpractice
You need to collect four medical supplies. Head to the first one and defeat the two militia. Pick it up and more ambushers will appear. Take them out as well then continue to the next marker. The package is in the rooftop so clear all enemies on the ground first before picking it up. Use your Ionic Vortex to help you clear the area quickly and safely. Recover the other two more packages then return to the medic to complete the quest. Unlocks medical clinic.
Convoy
This is activated by examining the dead body of a militia soldier. Found this after defending the third transformer in Ascension Parish. I also got this the second time by just killing a random militia patrol.
The convoy will be marked on the map. You may want to take out turrets first to make your job easier. In any case, just destroy the three pickup trucks and the remaining enemies to complete this mission.
Choppers vs. Monsters
Head to the battle and destroy both mutants and the militia. Take note that you'll face two ravagers in this battle. Defeat the mall to complete the mission.

Police Parade (G)
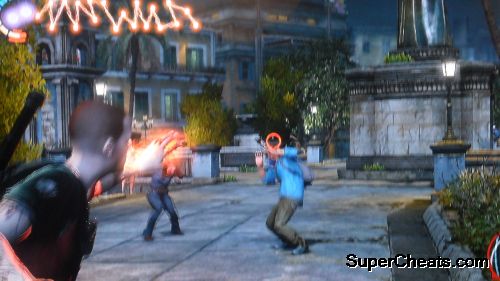
Kill the captors and keep the hostages alive. They should be walking around nearby.
The Hunt (E)
Head to the vicinity and look for the man in the photo that was given to you. Take him out to complete the mission.
Hidden Package (2)
The package is hidden on top of the water tank where you'll find blast shard # 15 (based on this guide's shard locations map)
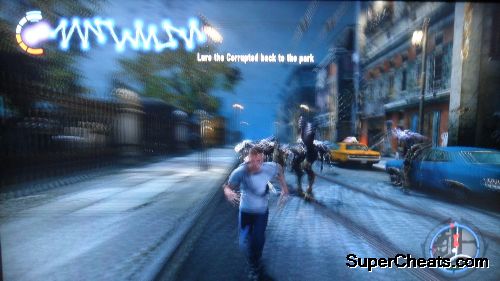
In the Name of Science
Head to the graveyard and look for the monsters. Don't defeat them yet; just approach them and lure them back to the park. Once all of them are within the vicinity, defeat them all to collect their tissue sample to complete the mission. Medical Clinic will be unlocked as well.
Stronghold
Join Laroche's men in assaulting the militia stronghold. Just defeat all the enemies to complete the mission.
Firing Squad (G)
Head to the rooftop where the hostages are taken then blast the executioners to their deaths to rescue the hostages.
King of the Hill (E)
Go to the rooftop and execute the militia prisoners by forcing them off the roof. Next, take out their attack helicopter to complete the mission.

Good Deed (G)
Follow Kuo to the objective point. Defeat the monsters on the roof then follow her to find another group of monsters and a ravager on the ground. Engage and defeat them to complete the mission.
Revenge (E)
Follow Nix and defeat all enemies to complete the mission.

Life Insurance
Defeat the devourer and other basic monsters. Get rid of the smaller ones first by engaging them in the alleys, away from the devourer's range. After that, face the devourer in the streets to have more space to evade and run around.
Insurance? Definitely
Overcharge (2)
Head to the rooftop and do the same thing as the first Overcharged side mission.
Grinding! (Again)
Grave Danger
Head to the graveyard and kill all enemies.
Enemy Surveillance
Find the monster and chase it down to its base. You should be fast enough to catch up with it; just ignore the militia soldiers on your way. After finding the base, engage the monsters and defeat them.
Enemy Surveillance 1
Enemy Surveillance 2
Like before, find the enemy, chase it down and defeat all monsters once you've reached their base.
Enemy Surveillance 2
Enduring Freedom (G)
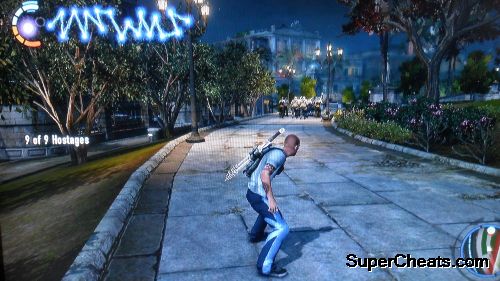
Head to the objective points and defeat the enemies. Rescue the civilians by freeing them from their ropes. After clearing all four points, meet up with Kuo to complete the mission.

The Third Degree (E)
Go to the park and look for the woman in the target photo. Shoot her with a bolt and restrain her. (Finish her off while restrained to get an intolerant exp bonus) Head to the location she told you about and pick up the item. More militia will appear; take them all out to complete the mission.
Heavy Weapons
Defeat the heavy attack helicopter, a devourer and a ravager.
Ship of Fools
There will be a ship that will bombard the streets. Head to the marker and lob some grenades to destroy the boat.
Hidden Package (Flood Town)
Got this side mission by defeating the militia in the train yard area. Head to the vicinity where the package is located then use the photo to determine its exact location.

Unlikely Allies (G)
Meet up with the Ice Soldier defector and follow him. You'll soon be ambushed by monsters; just defeat them all and continue following him. He will then ask you to defeat the soldiers guarding the blast shards. Do so and collect the blast shards as your bounty.

Assassin's Greed (E)
Head to the blast shard location and defeat all enemies with the help of Nix. Finally head to Nix's location and kill the traitor.
Prescription Strength
Use Kinetic Pulse to lift the relief supply cache to the objective point. Remember that you don't need to carry the cache; you can throw it upward so it reaches the other end of the flooded area. Ice soldiers will attack you as you continue forth. Just defeat them so you can move the cache without too much trouble. Drop off the cache to the target area to complete the mission. Medical Clinic unlocked.

Overcharge (3)
Like the other Overcharge side missions, hop on the transformer and grind/glide your way to the next transformer to reactivate it. Just ignore the enemies along the way.
Overcharge (3)
Emergency Measures
You need to recover four medical packages that were stolen by the ice freaks. Head to the marked locations and defeat them to pick up the medical package without too much fuss. Return the packages to the medic to complete the mission. This also unlocks the Medical Clinic nearby and another side mission.

Best Served Cold
Defeat all enemies – both from the militia and ice freaks.
Enemy Surveillance 3
Follow the ice freak to his base and defeat all enemies to complete the mission.

Double Whammy
Head to any of the two locations where you'll find an ice freak patrol with some captured militia thugs. It's better to sneak behind them and use your ionic power to get rid of them all at the same time. Do the same thing to the other group to complete the mission.
Overcharge (4)
Like the other Overcharge side missions, hop on the transformer and grind/glide your way to the next transformer to reactivate it. Just ignore the enemies along the way.
Overcharge (4)
Seek and Destroy
Take out the three runners by shooting them down.

Ice Breaker (G)
Follow Kuo and take out the enemies. This is a good time also to perform some stunts to unlock more abilities. The mission is completed after defeating all of them.

Chipping Away (E)
Follow Nix and defeat all enemy soldiers.
Stay Frosty (G)
Meet up with your ice gang ally and follow him. Defeat all the monsters in the train yard to complete the mission.
Battle by the Bay
There will be monsters, ice freaks and militia duking it out in the harbor. Join the fray and take them all out to complete the mission.
Action Shots
First you'll need to take some easy shots of the Beast's footprint and the destroyed crane. Next, carefully sneak and take a picture of a corrupted feasting on a civilian. Then, you'll need to take a picture of an Ice soldier in mid-air, ice heavy on his tower and a Hive Lord birthing pods.

The easiest one would be the ice heavy soldier on his ice tower. For the ice soldiers, you can force them to jump by shooting at them. Once you see them kneel, take out your camera and snap a picture. For the Hive Lord, you can just face it and attack it until it births pods.
Cold Snap
Head to the waypoint and defeat all the ice soldiers. Finally, defeat two crushers to complete the mission.

Overcharge (5)
Overcharge 5
The Gauntlet
Head to the first marker to find a bomb. Approach it and it will explode. Chase down the bomber and avoid getting hit by the falling debris. Keep following him until you find him in the middle of a crowd. You can shoot him immediately (evil action) to detonate the bomb and kill the civilians or get near him, drain the energy to defuse his bomb before pummeling and restraining him.
The Gauntlet Bomber
Ice Tea Party
Take out the ice gang and the gunboat then throw all the cargo off the two boats to complete the mission.

The Big Chill (G)
Follow your Titan ally and defeat all ice soldiers in the warehouses he'll attack. After clearing the last warehouse, two ice soldiers will attempt to escape. Chase them down and defeat them to complete the mission.

Mercy Kill (G)
Your ice ally will become berserk so you have no choice but to take him out. Use the same tactics you used when you faced the first one before.
Special Delivery
Follow the courier to the warehouse and make sure that you're not seen. Go to the warehouse skylight and look until the courier drops off his package. Jump inside and defeat them all. Retrieve the package to complete the mission.

The Harder They Fall
You'll need to defeat all enemies marked in the map, including a titan and a devourer.
Ice Storm
Meet up with Laroche's men and help them defeat the ice gang. Take them all out to complete the mission.
Convoy
This is dropped by an ice gang patrol you' defeated. You can sneak behind the convoy and use your ionic powers to take the soldiers out so you can concentrate on the titan.
Proud Warrior
Go to the marked locations and drain the tv dishes. Find the nearest TV to watch the amusing advertisement of Zeke.
Biohazard
Just chase down and take out the three ice soldiers to complete the mission. A Medical Clinic will be unlocked as well.
Overcharge (6)
Overcharge #6
Coast Card
Head to the markers and take out the two militia gunboats.
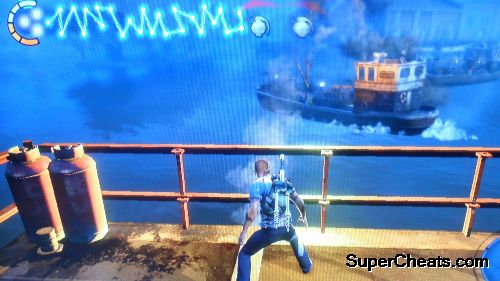
Photo Finish
First head to the plague ward and take a photo of the detonation site.
Next, head to the ice tower and take a photo of it. Then, engage a titan and take a photo of him throwing ice balls, shooting his ice beam and finally with one or both arms missing. Finally take out the titan to complete the mission.
Only the trophies that require further action in unlocking will be explained in this section.
inFAMOUS 2 Platinum Trophy (Platinum)
Collect all other inFAMOUS 2 Trophies
Pain Builds Character (Gold)
Finish the game on hard difficulty.
When starting a new game and before facing the Beast for the first time, you should switch the difficulty to HARD mode and don't change it until you complete the game. If you're playing for your second playthrough (assuming that you completed the first playthrough in normal difficulty), the game will automatically change your difficulty to HARD after finishing a few missions. Take note that if this happened, finishing the game won't unlock the trophy – even if you haven't changed the difficulty manually the entire time.
Just One More (Gold)
Pick up all the blast shards scattered around New Marais.
Refer to the Blast Shard Locations section and check the individual maps to find all 305 blast shards.
With Great Power Comes Greater Power (Silver)
Unlock and purchase all powers.
You can unlock this in a single playthrough as long as you purchase all abilities available for your Karma standing. That means you don't need to purchase the powers locked to the opposite karma to get this trophy.
Shardcore (Silver)
Pick up 50% of blast shards scattered around New Marais.
Refer to the Blast Shard Locations section and check the individual maps to find the blast shards.
Fight the Good Fight (Silver)
Unlock the good ending.
Forging Your Own Path (Silver)
Unlock the evil ending.
Land Lord (Silver)
Take over the first island in New Marais.
Take over a territory by completing all side missions – including the ones dropped by defeated enemies. If you haven't freed an area from the enemy's grasp and you can't find any other side missions anymore, hang around in that area and kill any enemy until they drop a hidden package or convoy mission.
It's My Town, Now (Silver)
Take over the second island in New Marais.
Take over a territory by completing all side missions – including the ones dropped by defeated enemies. If you haven't freed an area from the enemy's grasp and you can't find any other side missions anymore, hang around in that area and kill any enemy until they drop a hidden package or convoy mission.
Well inFORMED (Silver)
Collect all Dead drops.
Refer to the Dead Drop Locations section to find all 29 dead drops in the game.
Arch Villain (Silver)
Earn full negative Karma.
Incorruptible (Silver)
Earn full positive Karma.
Behind the Curtain (Bronze)
Collect 50% of the available Dead Drops.
Refer to the Dead Drop Locations section to find the 29 dead drops in the game.
A Streetcar Named 'Boom!' (Bronze)
Complete BOOM!
Quid Pro Kuo (Bronze)
Complete Leading the Charge.
Playing Both Sides (Bronze)
Complete Fooling the Rebels.
Ambulance Chaser (Bronze)
Complete Hearts and Minds Campaign.
Am I The Daddy? (Bronze)
Complete Nix's New Family.
Exposure (Bronze)
Complete Exposing Bertrand.
The Cleaner (Bronze)
Complete the assassination side missions.
Frozen Asset (Bronze)
Complete the ice Conduit side missions.
Complete all the good karma side missions involving an ice gang defector. In every mission, his appearance changes. Finally he'll go berserk and you'll need to kill him as part of another side mission entitled “Mercy Killing”
Dazed and Defused (Bronze)
Take down the Blast Shard Bomber.
Complete the side mission “The Gauntlet”
Back to the Bayou (Bronze)
Return to the swamp blockade.
This can be done immediately after getting the Lightning Tether. Head to the same spot where you started off and backtrack your way to the swamp. You can also find the last the dead drop here.
Mountaineer (Bronze)
Climb to the top of the 3 tallest buildings in New Marais.
The buildings you must climb are listed below. Take note that you should be standing at their topmost part; if there's an antenna or anything that Cole can hop unto, make sure to step on it. This is easier done by using the lightning tether ability.
1. Cathedral

2. Ice Tower
3. Clock Tower

Extreme Makeover (Bronze)
Destroy 30 verandas or other large objects.
Watch That First Step (Bronze)
Defeat an enemy by destroying the object they stand on.
Easiest done in the first island where militia soldiers are fond of staying in verandas. Just destroy the verandas to make the floor collapse under their feet and defeat them.
Finish What You Started (Bronze)
Perform 100 finishers or ultra melee combos.
Knockout in the Blackout (Bronze)
Defeat 50 enemies in powered down areas while no missions are active.
You need to do this before powering up the last area otherwise you'll miss this trophy. Just sneak in and continue killing a total of 50 enemies while in a powered-down area. I find this easier when following the evil playthrough since you can just bio-leech enemies or siphon dead bodies (shoot a body until it glows with electricity then absorb it immediately).
Go Long! (Bronze)
Hurl 50 objects using the Kinetic Pulse ability.
Cole' Blooded (Bronze)
Defeat 100 civilians.
Army Of Me (Bronze)
Defeat 300 enemies.
Hero to the People (Bronze)
Stop 80 crimes in progress.
This is best done when playing as a good hero since most of these opportunities are beneficial to your karma and experience.
Nothing Can Bring Me Down (Bronze)
Stay off the ground for 130 meters.
Easiest done with improved static thrusters; otherwise, try to jump from a tall building and hover as far as you can. Jumping off from any of the three tallest buildings in the game should do the trick.
Return to Sender (Bronze)
Send a Helicopter's rockets back at it using any Blast ability.
Vehicular Manslaughter (Bronze)
Defeat 25 enemies by throwing cars at them.
Take Them For A Spin (Bronze)
Hit at least 6 cars in a single Ionic Vortex.
Shock and Awe (Bronze)
Thunder drop into a group of 5 or more enemies.
Thunder Flop (Bronze)
Thunder drop from the highest place in New Marais.
Climb on top of the Ice Tower and Thunder Drop from there.
They never knew what hit them
Head Hunter (Bronze)
Use the Precision ability to rack up three head shots in rapid succession.
Discerning Taste (Bronze)
Take down a street performer who is imitating a statue.
I'm As Shocked As You Are (Bronze)
Defeat an enemy or civilian by stepping in water.
Best done in Flood Town where there's water almost everywhere.
Don't Fence Me In (Bronze)
Climb a chain link fence and rejoice.
Express Elevator (Bronze)
Ascend 50 vertical launch poles.
Heavy Hitter (Bronze)
Use your Ionic Powers 30 times.
Matching Set (Bronze)
Unlock and purchase a power of each type by performing stunts.
Level Up (Bronze)
Create a new mission using the UGC level editor.
UGC Curious (Bronze)
Play 10 user-generated missions.
UGC Veteran (Bronze)
Play 25 user-generated missions.
Trail Blazer (Bronze)
Play 5 user-generated missions under the Newest filter.
Closed Casket Affair (Bronze)
Give Bertrand what he wants.
Status Kuo (Bronze)
Choose Kuo in Storm the Fort.
Get Nix'ed (Bronze)
Choose Nix in Storm the Fort.

 Metal Gear Solid V: How to Fast Travel Around Mother Base
 Pac-Man and the Ghostly Adventures 2 – Everything you need to know about the game .
 Being One Part Three - Dark Mater Walkthrough
 Cher Lloyd drops new single What I Like feat. BenJ
 Gold Guide for Repossession Mission in Grand Theft Auto 5 and Walkthrough