

Unofficial Darksiders 2 Guide by vhayste for
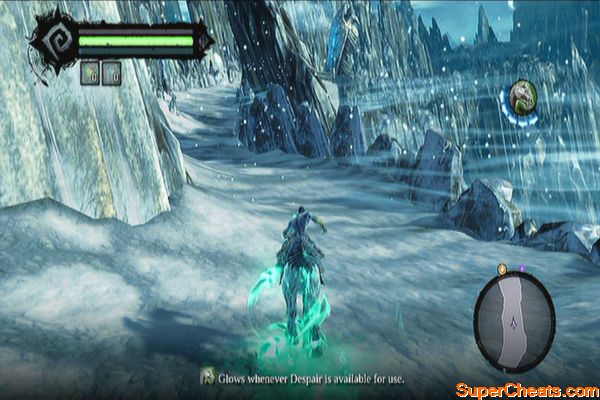
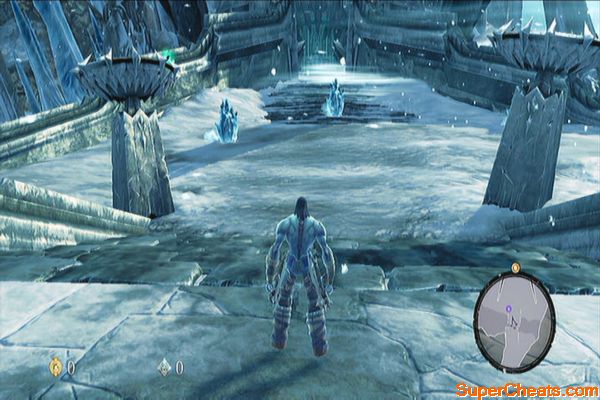
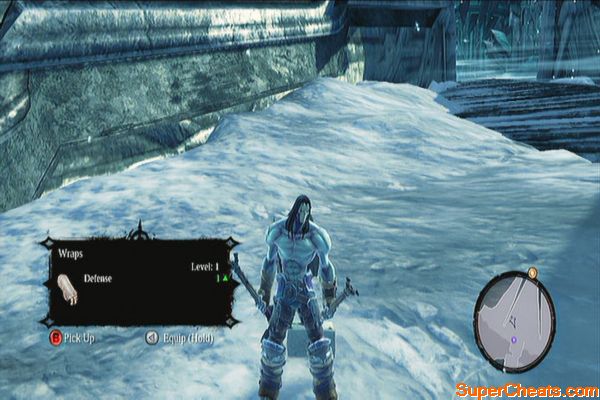
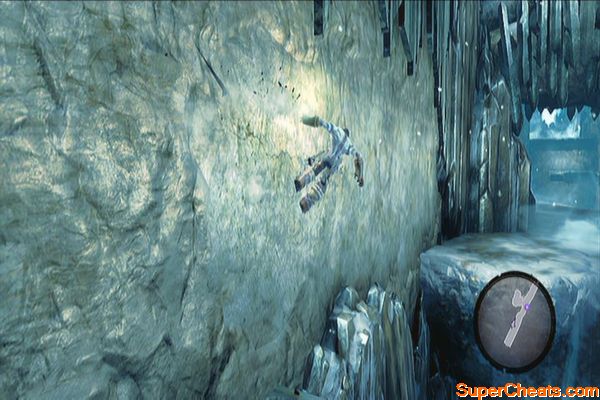
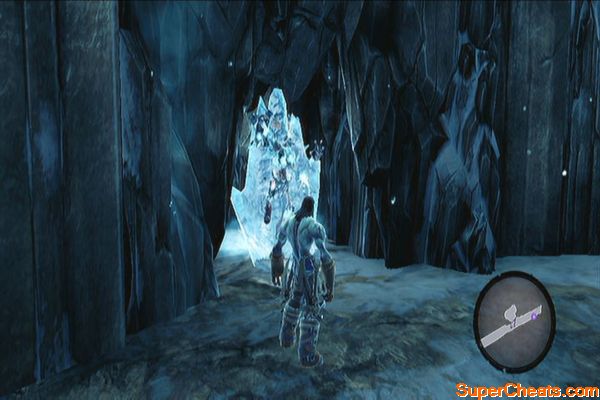
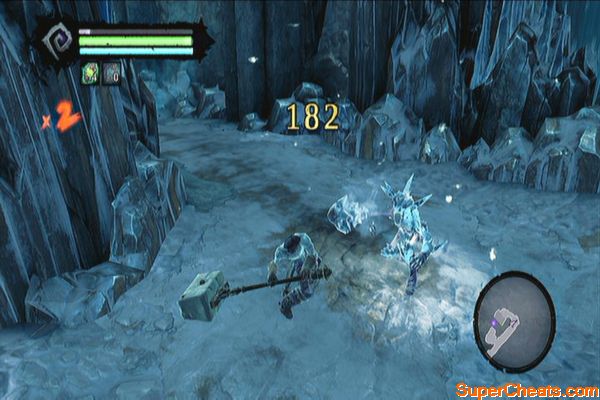
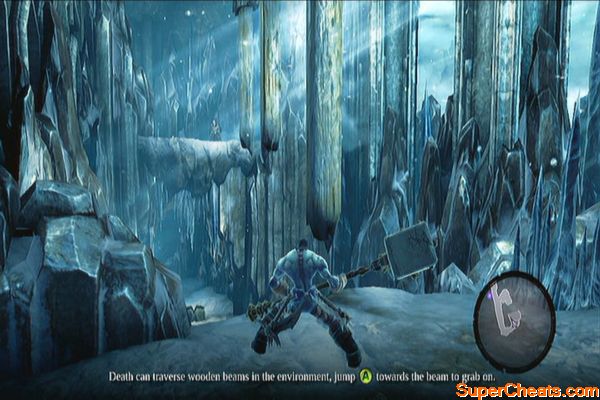
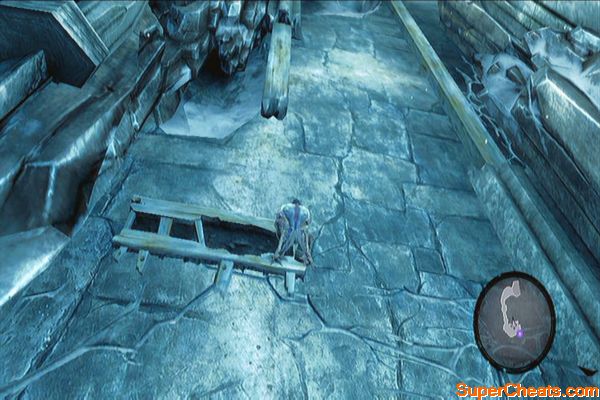
Welcome to our unofficial guide to Darksiders 2. This guide features in depth walkthrough for the main story quests and sidequests. Collect every collectible in the game with this guide's dedicated section for Boatman Coins, Book of the Dead Pages and Stonebites. Get a full score as well with the included Achievement Guide. You'll start off at the back of Despair, your trusted horse. Just simply ride to the next objective point. Charge by pressing RB to charge and make your travel quicker. Once you reach the keep vicinity, Despair will be banished. Climb the stone wall and proceed forth. From here you'll encounter your first enemies called Ice Skeletons. Follow the combat tutorials and take them out. Collect their loot and equip any new weapon or gear as necessary. Continue inside the keep and perform a wall run on the left wall. Walk a bit and you'll find an encased ice skeleton. Attack it and defeat it so you can access the chest behind. Wall-run on the wall to the right then use the wooden hand-holds to get across. Free the encased ice skeletons and defeat them for extra loot and experience. Continue forth until you find some hanging pillars. Jump to grab hold of one then circle around. Press LT to lean forward then jump to grab on to the next pillar. Repeat once more to reach the next ledge. Go head and free the nearby ice skeleton as well. Continue forth and you'll spot more encased ice skeletons. These ones will burst free and ambush you. Defeat them all then scale the stone wall ahead. Once you've reached the two, more enemies will be waiting. Take them all out then climb using the vines to reach the next ledge. Destroy the skeletons then climb up the wall with vines. Hold onto the wooden hand-hold then wall-run to the left to reach an open area. Approach the door to fight the Ice Giant.

Aid Death in his quest to redeem his brother, War through the game's extensive and unforgiving realms
The Keeper of Secrets
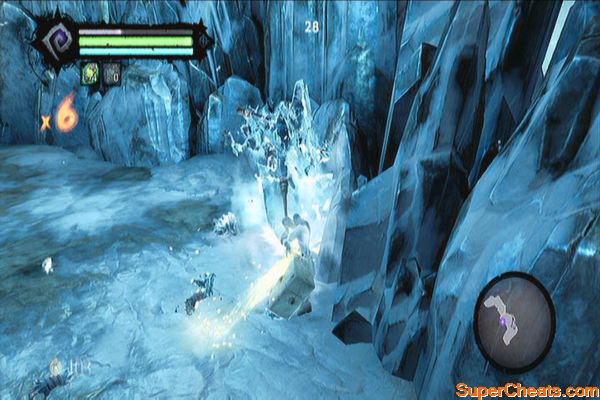
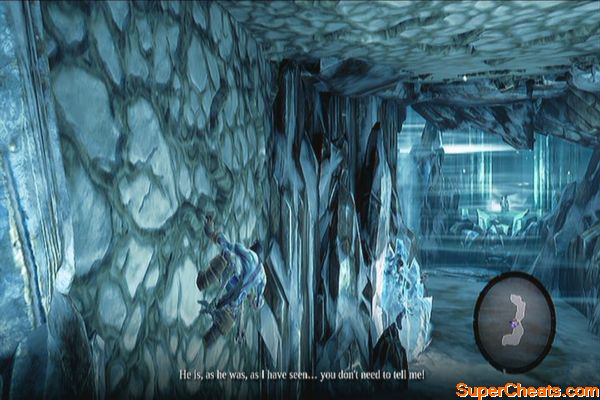
Ice Giant
Enter the pathway that opened upon the Ice Giant's defeat. Perform an extended wall-run to get across the pit. Proceed to the machine ahead and operate it. Once the lift stops, scale the wall and proceed to the right to find a tall, narrow path. Perform a wall run then jump to the other wall and repeat the process again until you reach the top. 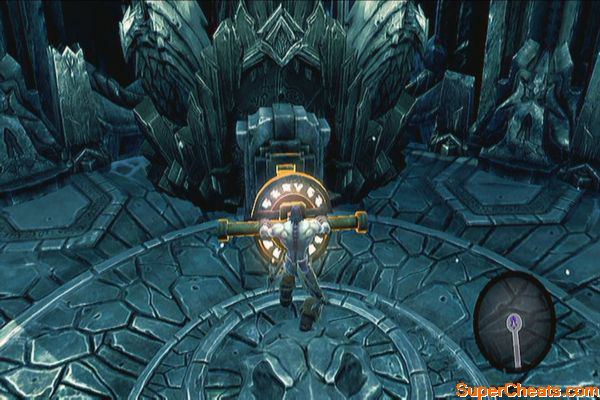
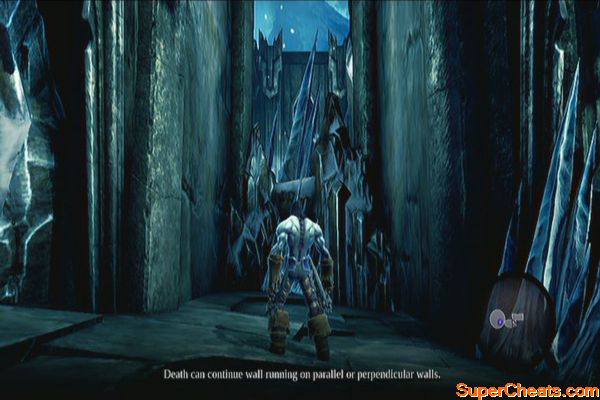
From here, you'll need to perform a series of leaps, grabs and holds so it will be better to watch the video below on how to do it.
Scaling an ancient wall
After reaching the next area, defeat the ice skeletons and enter the cave. Scale the vine wall and follow it down to find a wooden hand-hold. Grab onto it then move on to the next hand-hold. Drop off the next cavern. Follow the path until you find some wooden beams. Hop on them until reach the vine wall. 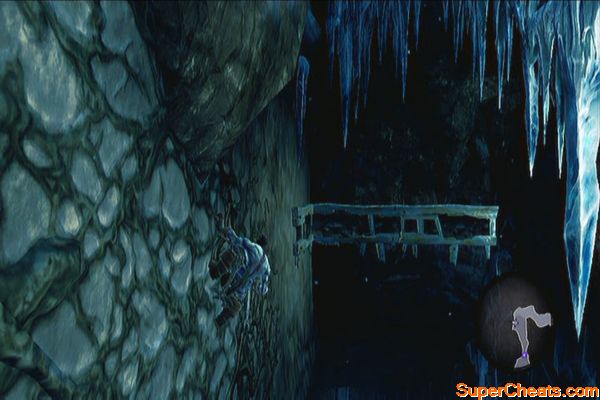
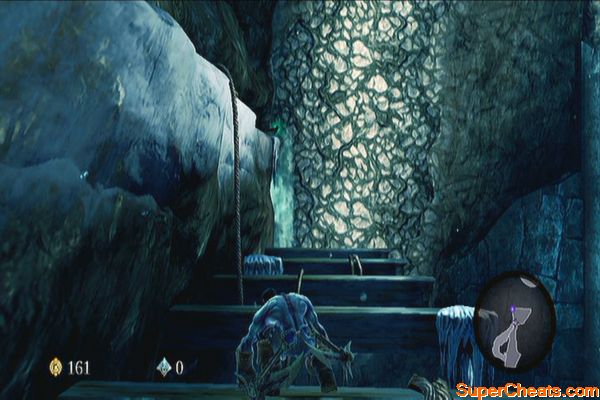
Scale the vine wall until there's a post within wall-run range. Climb up then jump to the next post overhead. Lean to the right and grab onto the next two posts. Lean for the next wooden beam in front then jump to land on it. Hop on the next beam to the left them wall-run up to reach the next ledge. 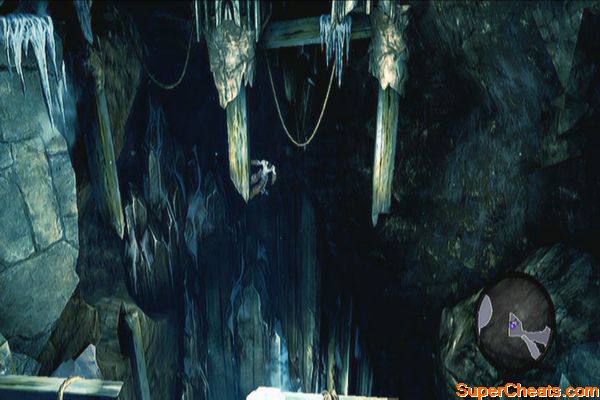
Boss: War's Shade
This battle is rather easy. First, you need to know the boss's attack pattern. He will always attack with three slashes of his sword. Focus and evade so you can easily avoid taking damage and you can quickly launch a counterattack. Be careful of the long streak of spikes from his third strike.
After his third strike, you can still land some hits on the boss before he blocks your attack. Once he does, quickly evade since he will follow up with a ground stomp with spikes sprouting from the ground. Aside from that, he may lock you down in a sword clash. Just press the indicated button to overpower him. Repeat this pattern until he's defeated. Execute the old fool to complete this chapter
Death Against War
After the scene, you'll have to defeat all construct warriors to proceed with the story. You can ask the old maker questions to move on. You should have leveled up at this point. Use your skill point to buy a new skill. Don't forget to assign it to your skill radial by pressing and holding the Down DPAD.
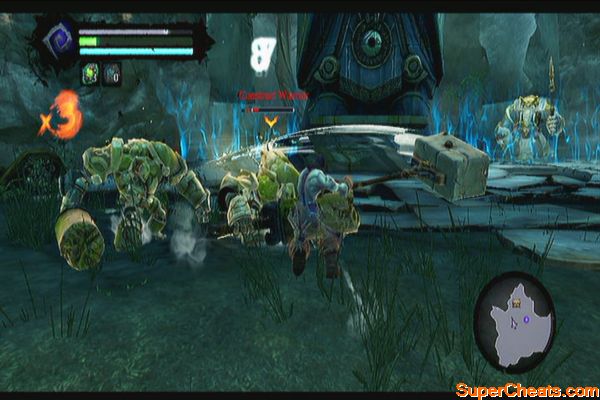
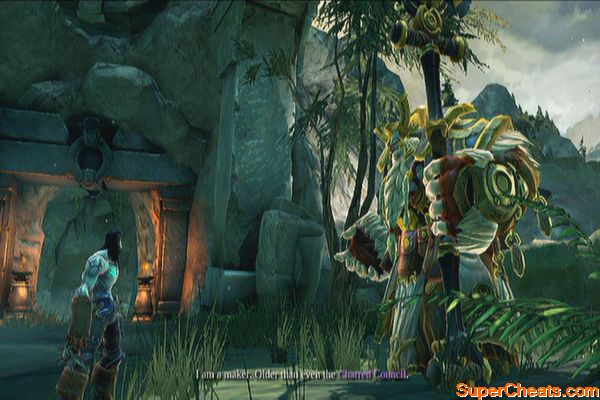
Before leaving, make sure to check the chest behind the statue to grab some random loot. Enter the passage afterward until you reach Tri-stone.
Tri-Stone
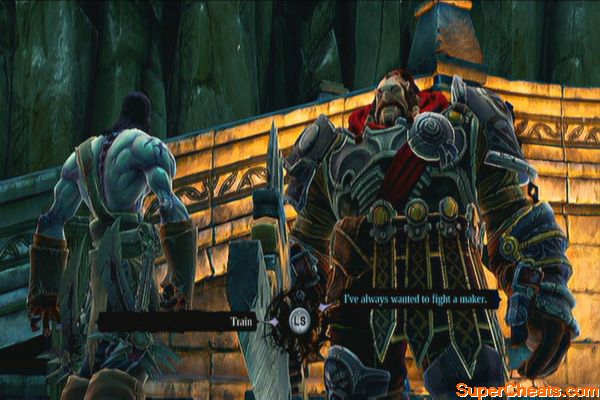
Once there, you'll find a large maker named Thane. Talk to him to get the Harvester Revenge move for free. You can buy the other moves later on but for now, prioritize getting good gears and replenishing your health potions while Death's level is still low.
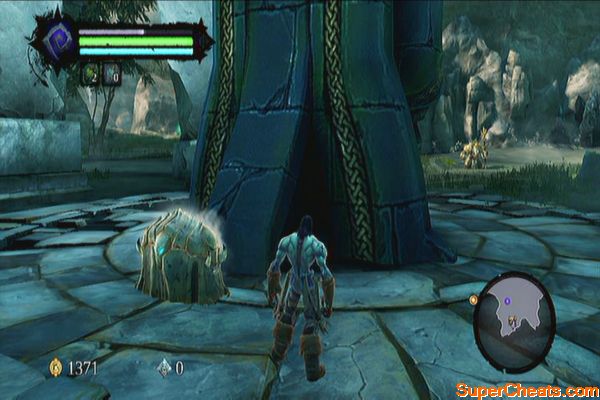
(Sidequest: The Maker Warrior)
You have the option to challenge Thane but I suggest doing this later when you have better gears and higher level.
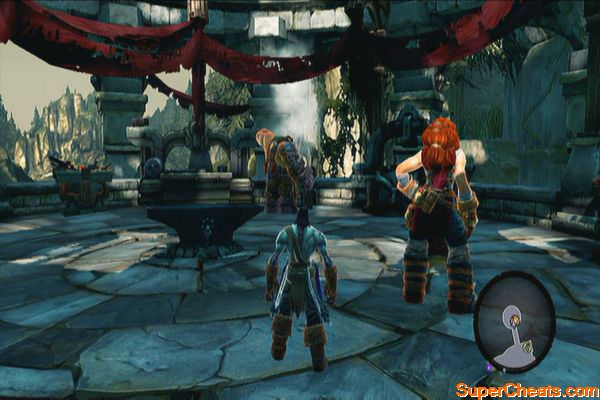
Head south then turn left to find a white-haired maker named Muria. You can buy potions from her and start a new sidequest. Keep talking to her then select the last option to get a free gear and weapon as well. The talismans she sells are also good but too expensive for you for now at this point.
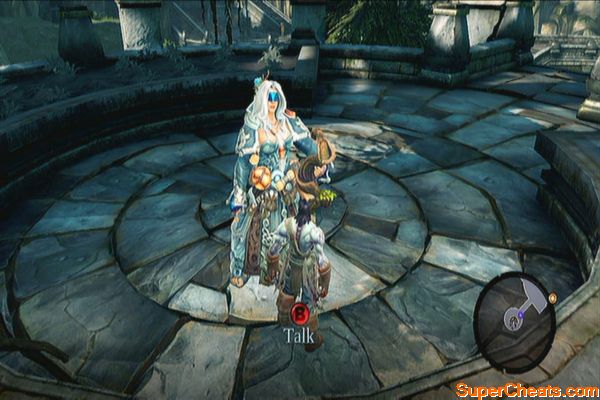
Sidequest (Shaman's Craft)
You don't have to concern yourself too much regarding this quest for now. You'll come across these items while working on your main tasks and objectives. Refer to this guide's Sidequests section for more details.
Next, head to the forge to the east and talk to Alya to update your quest objectives. After that, head back to Thane and talk to him. He will open the gate and it's now alright for you to venture forth.
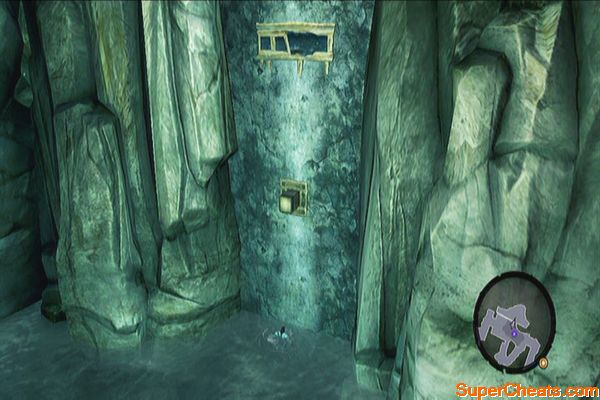
Dive to the water and collect the Boatman Coin underwater. Swim up and perform a wall-run on the vertical wall to reach the upper ledge and return to where you jumped off a short while ago.
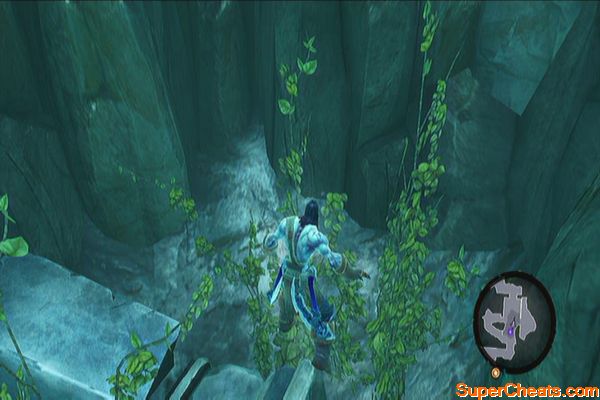
Go up the next ledge to the east and follow the trail to continue forth. You'll eventually reach an open field where you can summon Despair to explore. You need to head east to the Weeping Crag but you can find two valuable items here first.
Stonefather's Vale
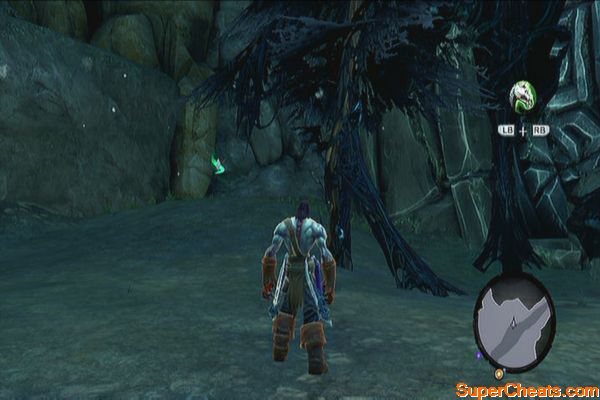
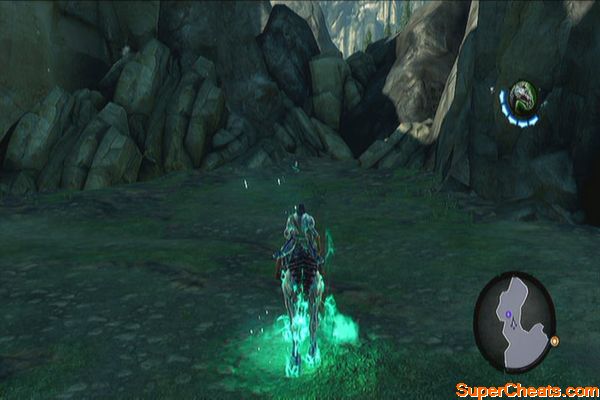
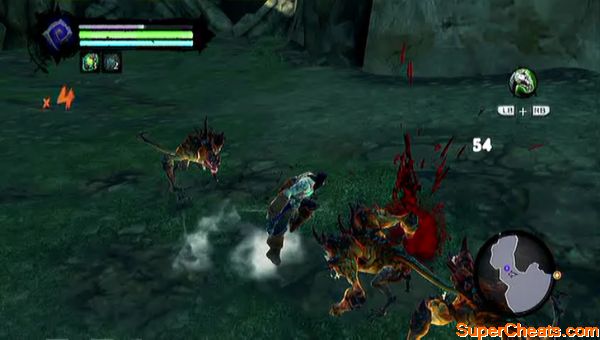
Ride west until you reach the gate. A Boatman Coin should be visible to the left of the gate. Next, ride to the northernmost tip of the Vale to find the first page of the Book of the Dead. Three Prowlers will appear after collecting the page so be prepared.
Weeping Crag
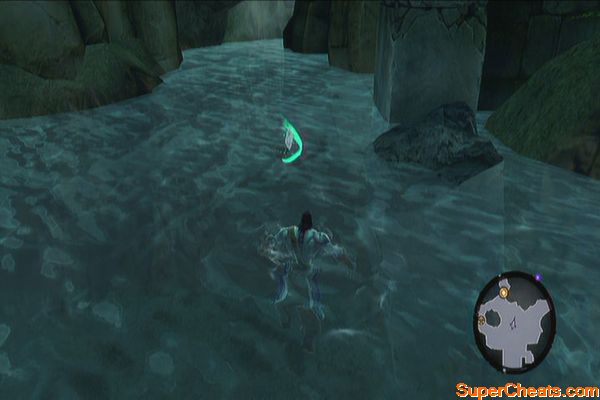
Head west to the Weeping Crag and you should find another Boatman Coin in the water. You can explore this area only to a certain extent so aside from the boatman coin, I suggest leaving this area be for the meantime.
Cross the bridge and follow the trail leading to the merchant symbol. Here you'll find Vulgrim, the demonic merchant. Here you can trade in your boatman coins and Book of the Dead pages. For now, sell your unwanted gear and move on until you reach Baneswood.
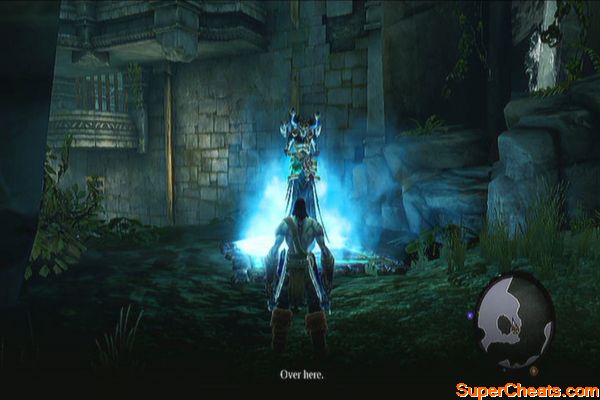
Baneswood
Upon entering the area, turn left and follow the path north to find a small ruin. Destroy the constructs then find a climbable wall inside. You should find a chest containing random loot on the top ledge.
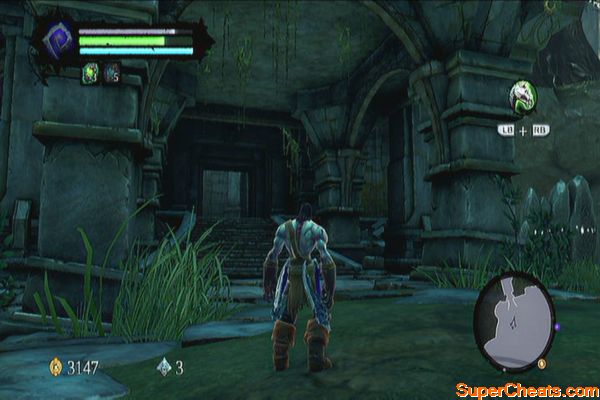
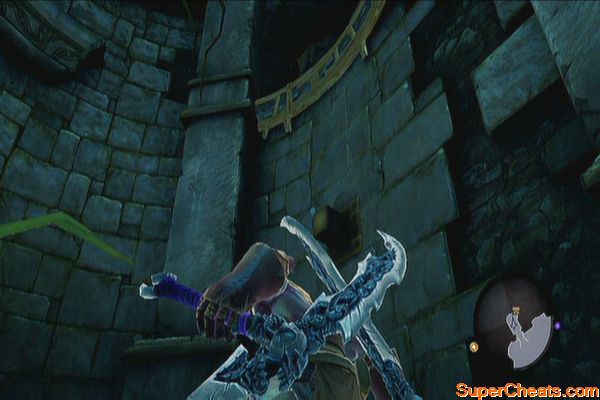
Return to the main path and follow it. You should come across another chest right where the path splits. Turn back a bit and go to the lower left corner of the map. You should find a Boatman Coin there.
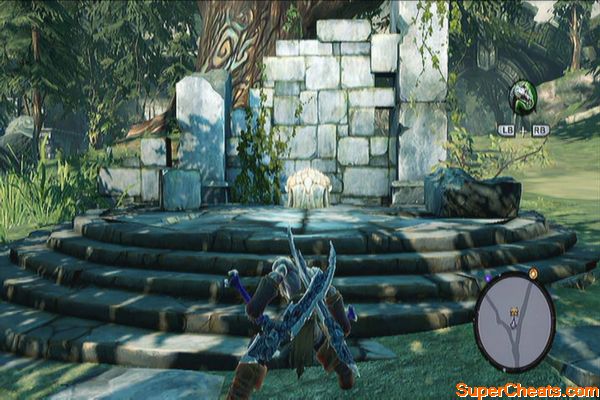
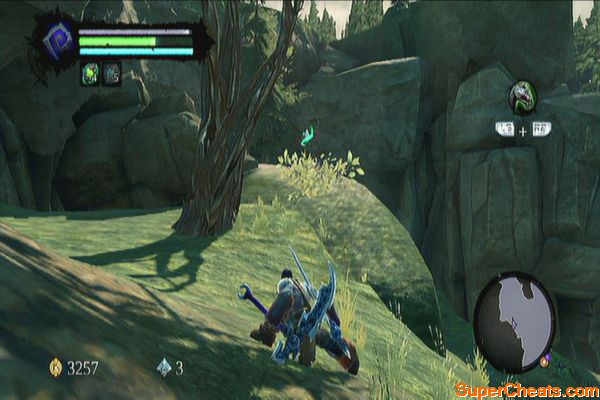
Now ride to the northeasternmost portion of the map to spot another ruin which has an exit that leads to The Nook. Head inside and destroy the barrels and urns after the stairs to find another Boatman Coin and a chest.
You can't do anything else for now so just take the loot and exit the ruins.
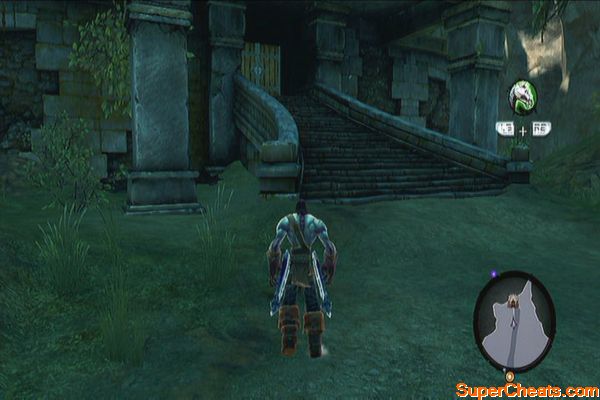
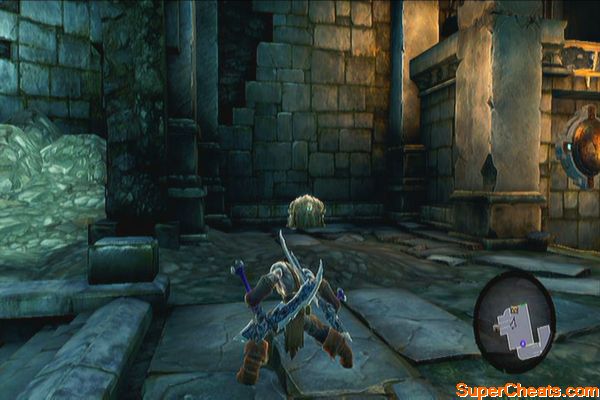
Now look for the square ruins in the map, in the center east to find a statue. There's a Book of the Dead page behind it.
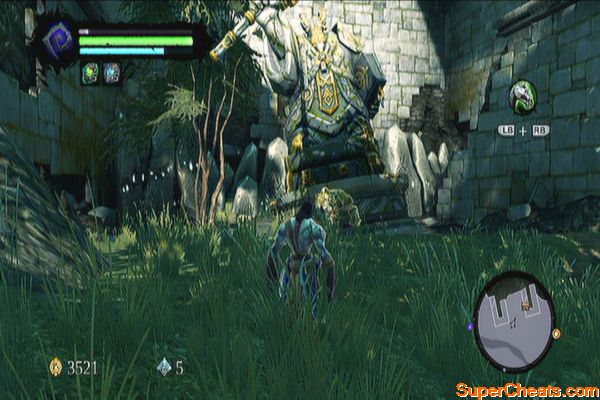
Now ride southeast to reach a trail. A treasure chest should be detected nearby follow the path until you find another uphill path leading to the ruins where it's located. There should be a floating Boatman Coin to the left so don't forget to grab it as well.
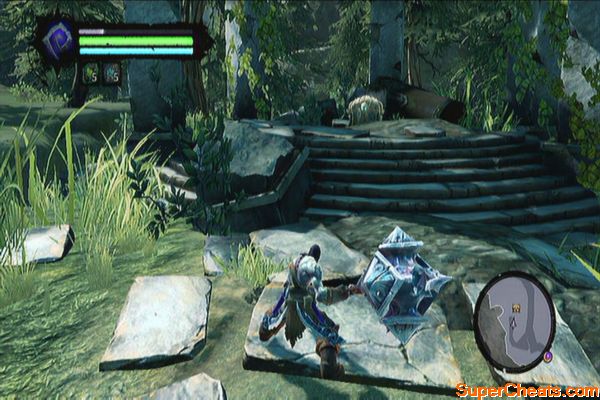
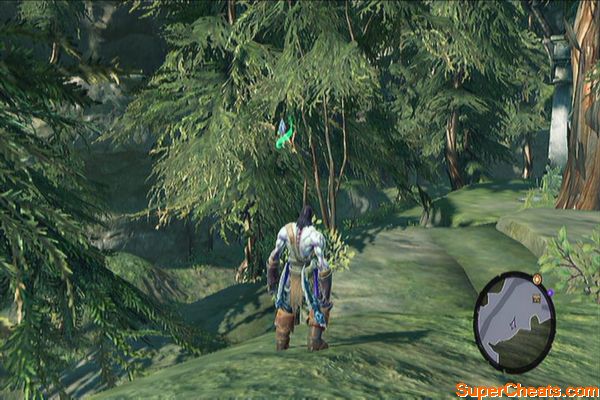
Continue along the path and you'll find another ruin shortly. Head inside and reach for the hand-hold by performing a back leap. Perform a couple of wall runs and you'll finally reach a post. Climb up then perform another wall run to reach the chest. Head out and follow the trail again until you reach the Charred Pass.
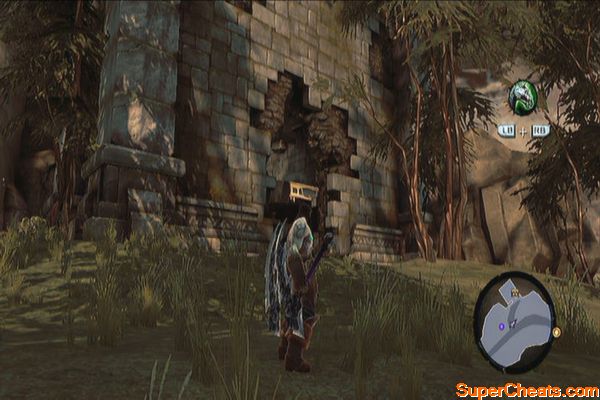
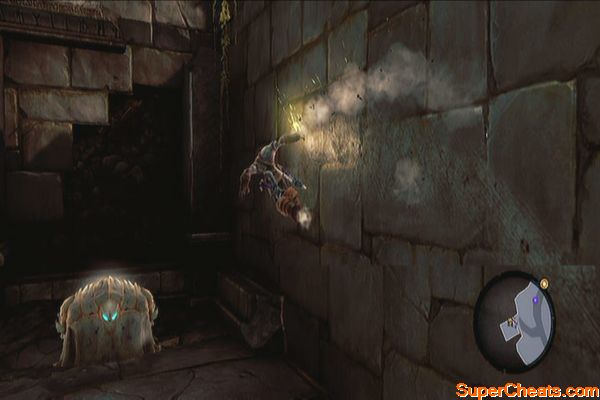
Charred Pass
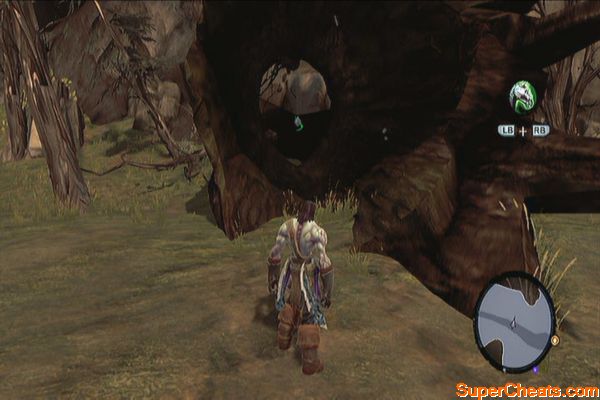
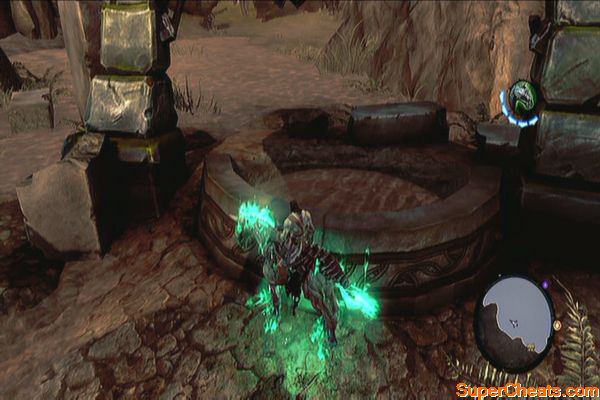
Once you enter the Charred Pass, check the hollow log to the east to find a Boatman Coin. Head west and dive down the well to find another Boatman Coin hiding behind the large pipe.
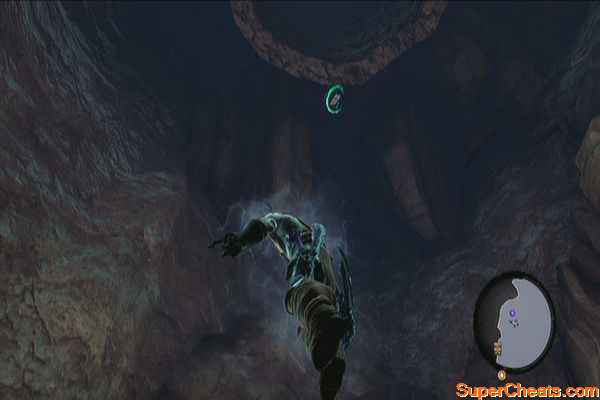
After getting the coin, swim west then up to find a chest up the ledge. Find a climbable wall behind then quickly back leap to grab the hanging post. Back leap again to reach the chest.
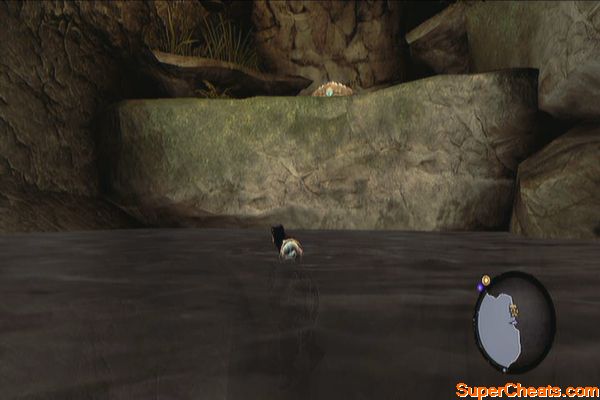
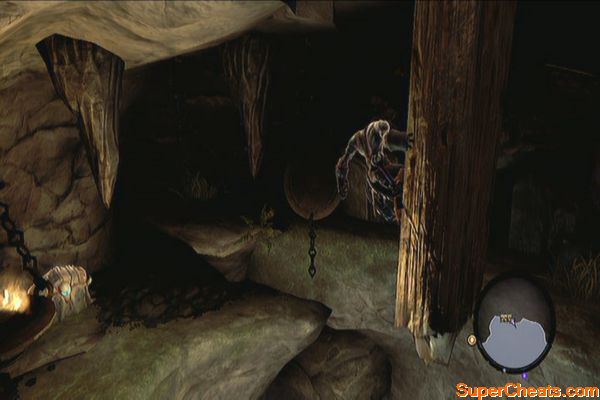
Backtrack to the well entrance and head west to find a chest up the hill. Don't bother exploring the ruins south (The Scar) as you don't have the necessary item to explore it fully yet. Instead, make your way southwest to the Cauldron. You'll eventually reach another small ruin here. Make your way to the upper ledge to find a chest. Continue to the Cauldron next.
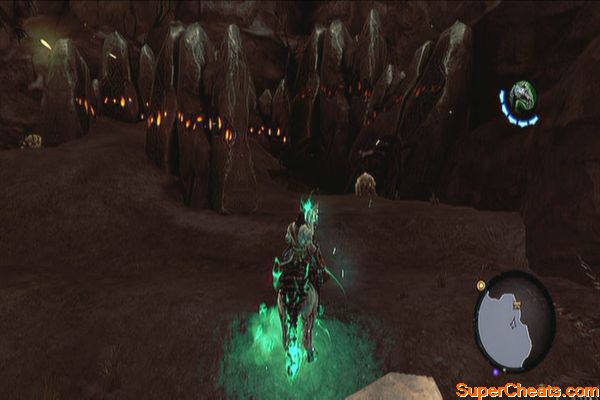
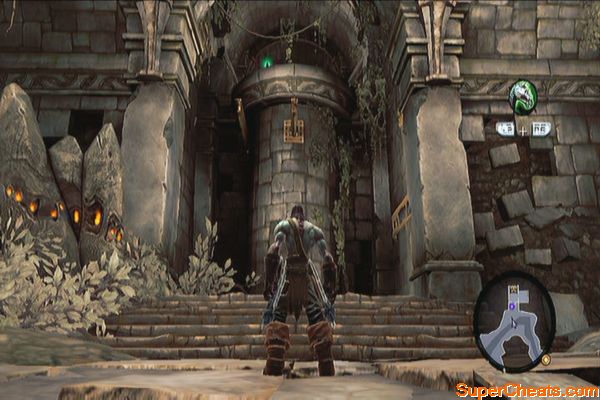
Once you reached the Cauldron's entrance, you'll see a maker fighting some constructs. Join him and dispatch the enemy wave.
Helping Karm
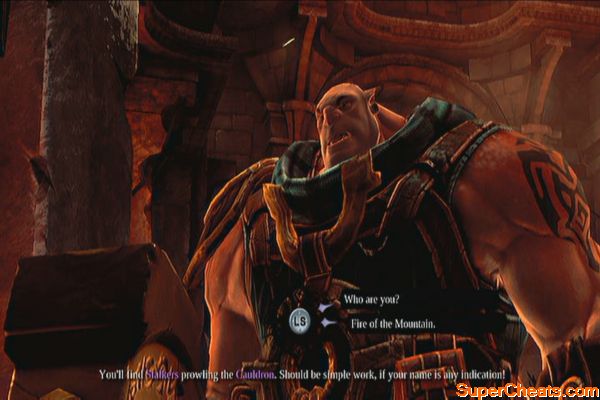
After the battle, you can ask Karm about the “shaman's craft”. He will then inform you that you can get the Stalker's Bone from Stalkers inside the Cauldron. Choose the other conversation options to proceed with the story. After Karm brings down the drawbridge and before entering the dungeon, head to the right to find a chest. Enter the dungeon next.
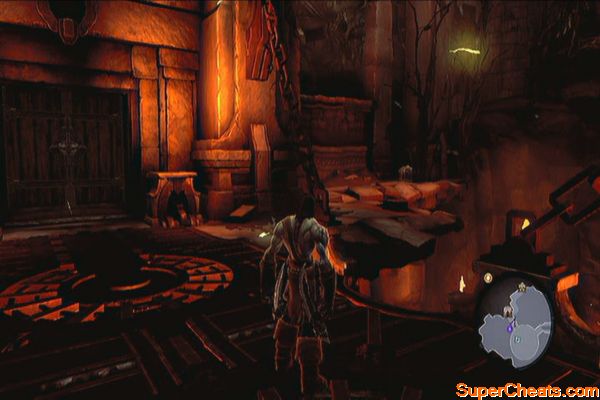
The Cauldron
Start by operating the switch to the right to open the door to the next area. Head to the west and destroy the contructs. Loot the chest afterward.
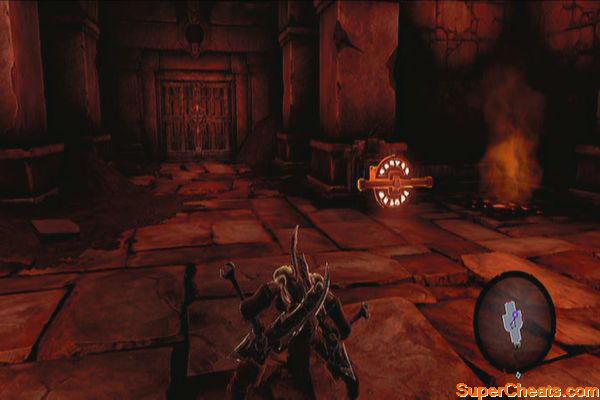
Next, head north and you should find a Shadowbomb. Quickly grab one, aim then throw one at the switch to open the northern door. Before entering the door, pick up a shadowbomb again then run towards the pair of yellow stone spikes and throw a bomb there. This will destroy the spikes and reveal a chest.
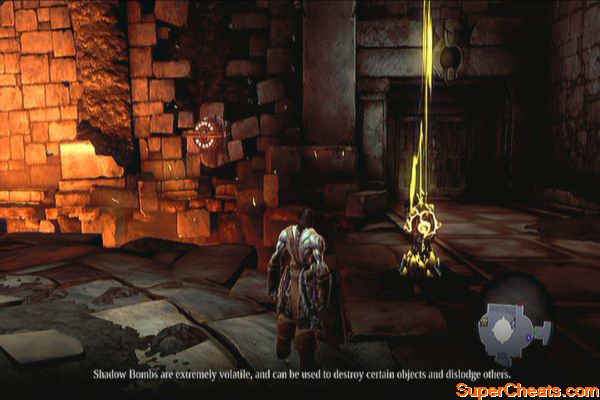
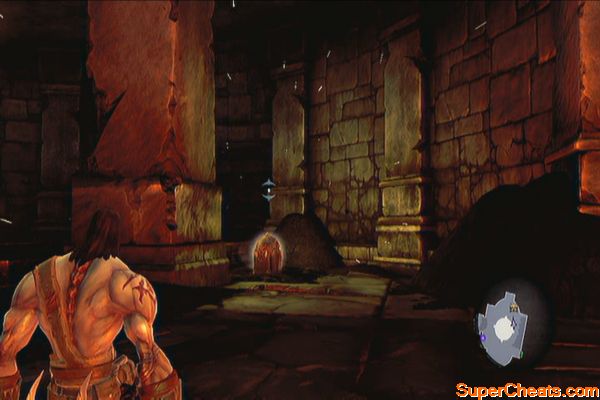
Take the only door north, ignore the purple locked door to the left then proceed north again. You'll find yourself in a fiery chamber. Before heading left, look down the ramp to find a Boatman Coin.
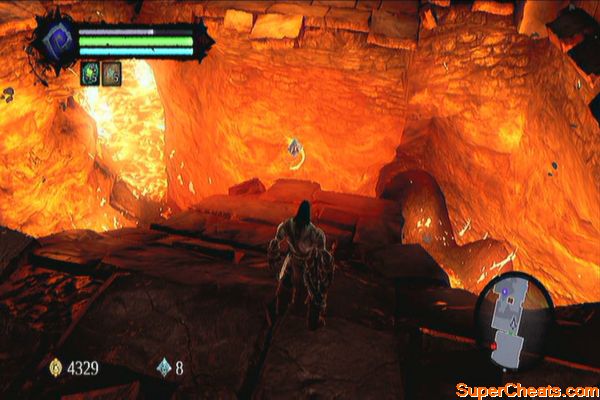
Use the hand-holds to the left then jump to the right. Head to the next portion of the chamber then look to the left to find a scalable wall with posts and wooden beams. Just use these to reach the shadowbomb pod in the middle. Once you do, grab a shadowbomb and throw it at the switch. Once the door is open, jump to the nearby floor and head north.
Lava-filled chamber
Defeat all enemies here to continue to the next door. Open the chest along the way to find the Dungeon Map.
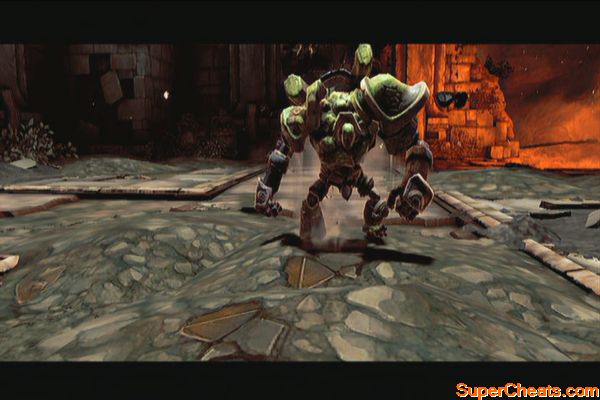
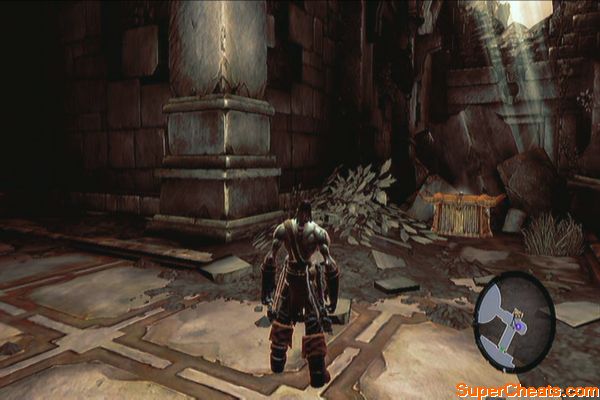
Head west and you should find a Stalker surrounded by constructs. Join in and make sure to attack the Stalker first as it's hardy enough. Once defeated, it will drop the Stalker's Bone quest item.
Hunting Stalker-san
Clear the area then head to the west to open the chest. It contains a Skeleton Key. Destroy the objects in the arena to get some loot. One of them also contains a Boatman Coin. Do a wall-run to the south then make your way back to where the purple door was. Refer to the map and look for the green lock and key icon.
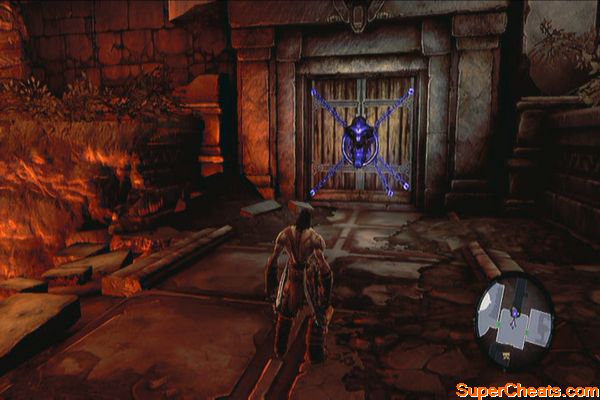
In the next room, find the blue ball and roll it towards the hole. A peg will be revealed on the wall. Wall-run and keep holding on the hand-hold. Press the focus key then jump to reach the floating Boatman Coin.
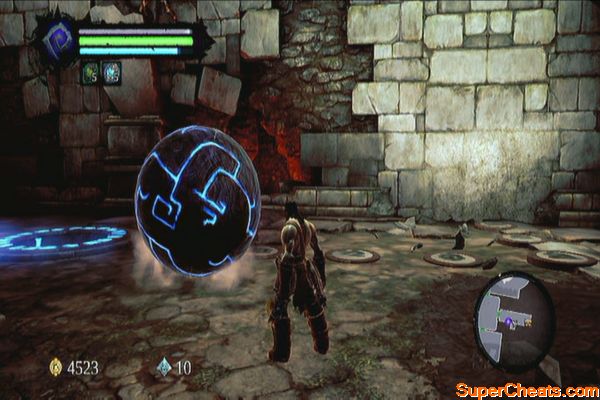
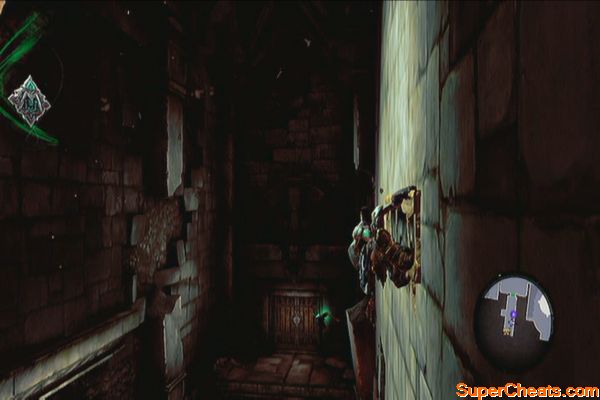
Wall-run again, grab the hand-hold then wall-run to the right to reach the upper ledge and to find another chest behind the statue. Do the same thing this time and wall-run to the left to grab hold of the vine wall. Follow it to reach the Cauldron's next floor.
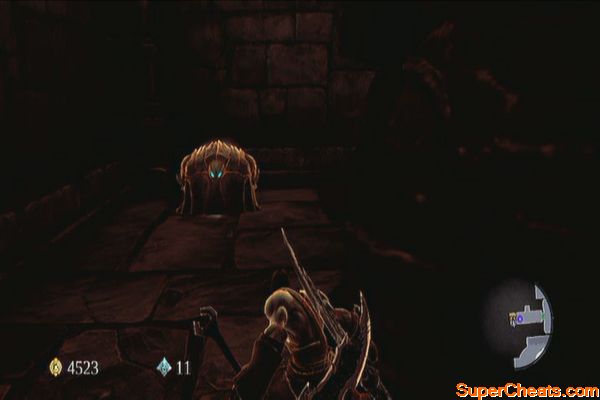
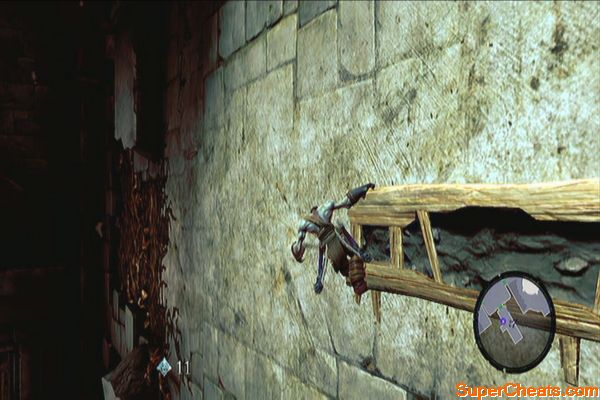
Follow the path and you should find a chest to the right. Loot it and destroy the objects nearby for some minor loot and gold as well. After looting it, proceed to the end of the path, wall-run then before going left, focus to look back then jump to grab onto another ledge, containing a chest.
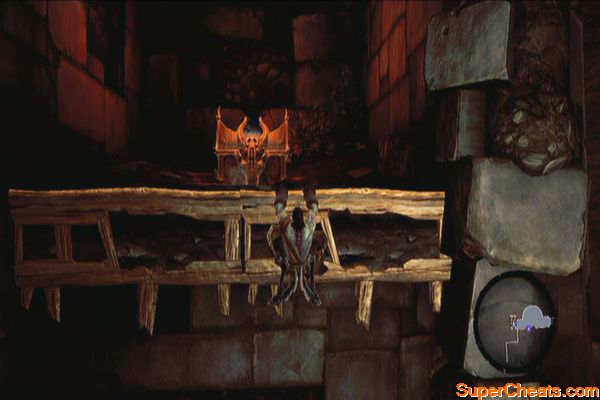
Grab hold of the hand-hold then keep heading left this time until you find a vine wall to grab unto. Climb / drop down from the vine wall and activate the switch ahead. Enter the new area then open the door to the large chamber.
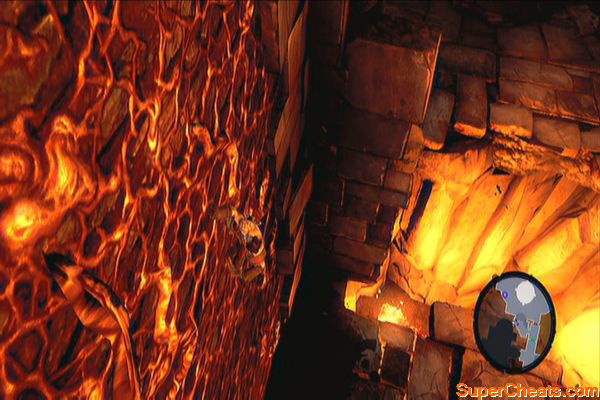
Inside the room, find the shadowbomb pod, grab one and throw it to the yellow crystals. This should free the blue orb. Push it to the farthest hole down south (of the map) so that it frees up another locked blue ball. Don't forget to grab the Book of the Dead page 3, near the second ball's location.
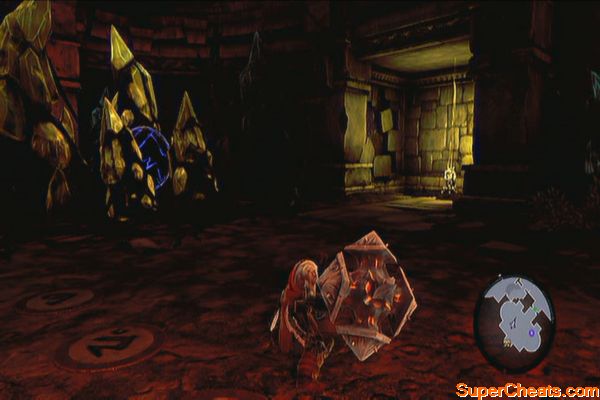
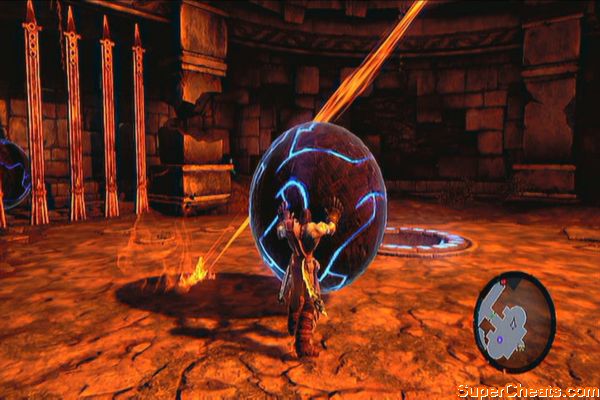
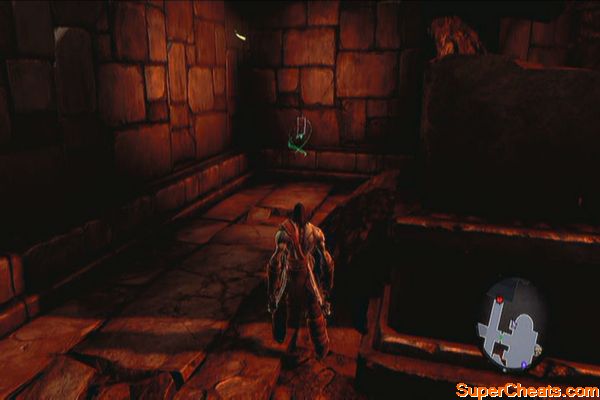
Now, move the second ball to one of the slots near the stairs. Dislodge the other ball by throwing a shadowbomb at it, then place it on another hole. This should bring down the iron gates and open the chest containing another Skeleton Key.
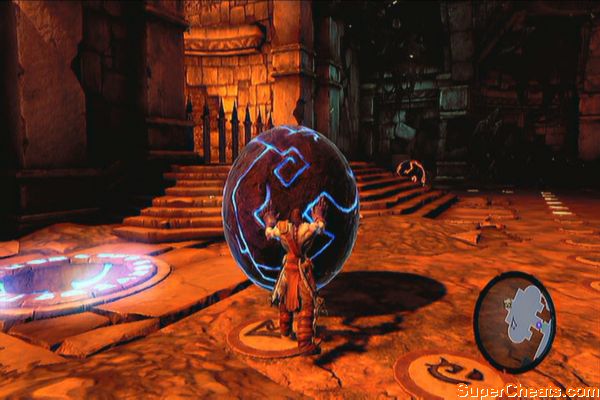
Exit the hall then follow the corridor south to the locked door. Enter the next chamber then immediately turn left to find some destructible objects. Destroy them for another Boatman Coin.
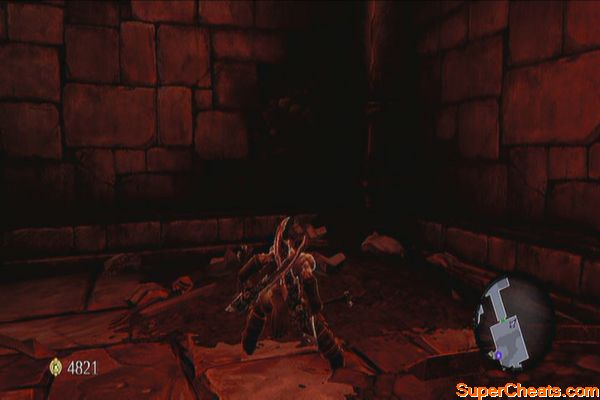
You only have limited time after pushing the switch to quickly get across the area using the cauldron before it lowers back to the lava. Watch the video below for more details.
On the way to the boss chamber
Once you've reached the next chamber, a large construct will burst out from the wall and attack you.
Boss: Gharn
This is a practically easy battle. Focus on him then wait for him to charge. After evading, counterattack quickly and even use Teleport Slash to cancel his normal attacks and deal damage. After dealing enough damage, Gharn will fall down to its knees. Use this time to dish out as much damage as you can, preferably with a heavy weapon. Once you see it recover, evade as far as possible before it erupts and damages you. Repeat the process until it's defeated.
The giant construct
Continue to the next passage and destroy the clutter along the way. Open the chest as well then proceed to the next balcony. You should see a large turning lever. Before interacting with it, destroy the objects in the northwest corner of this area to find another Book of the Dead page (4). Loot the nearby chest as well then push the lever to complete your task in this area.
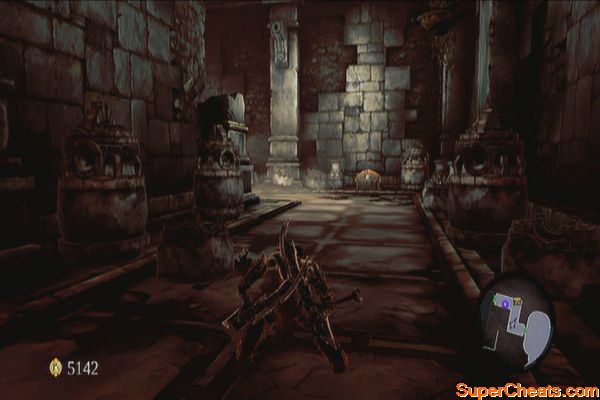
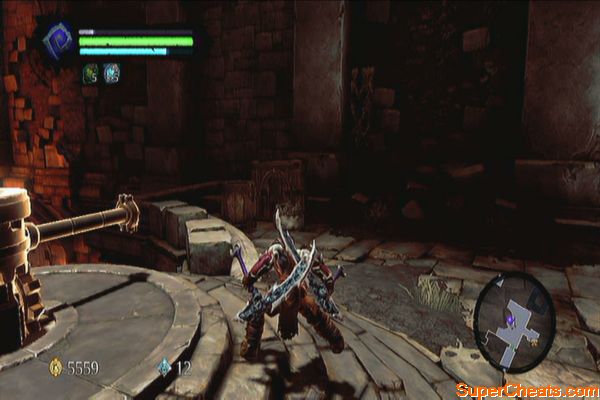
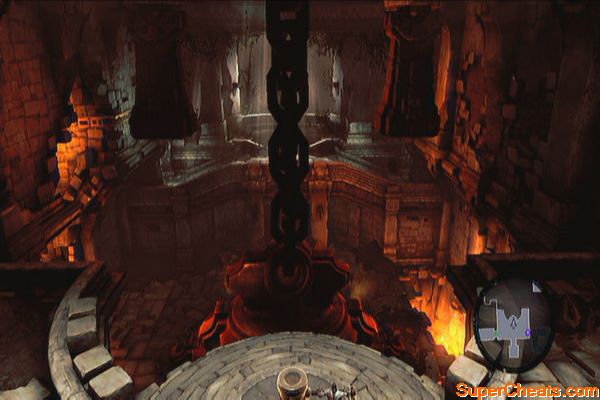
Follow the staircase to find another floating Boatman Coin (13) in the middle. Claim it then open the chest on the lower ground as well. Leave the area afterward.
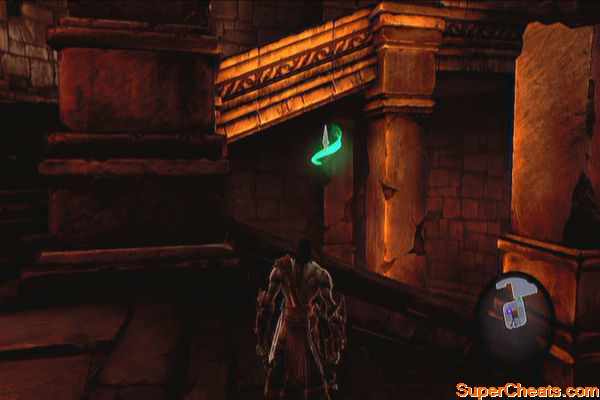
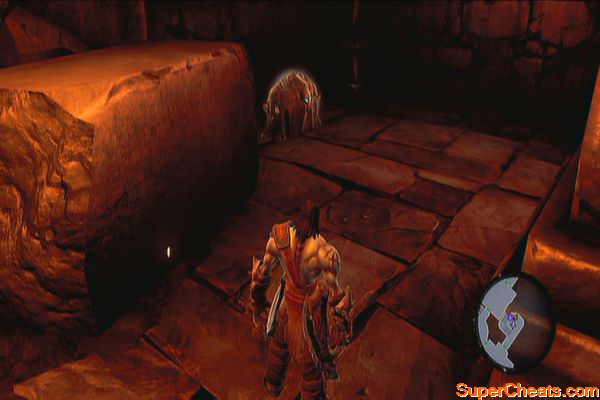
Once you're outside, talk to Karm and select the Mordant Dew option to update the Shaman's Craft sidequest. Open your map, select Tri-Stone and fast travel there.
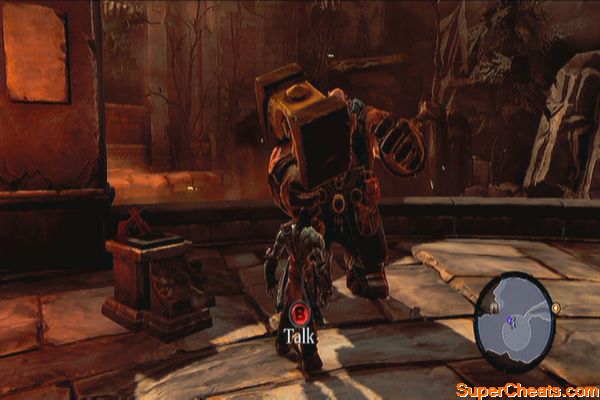
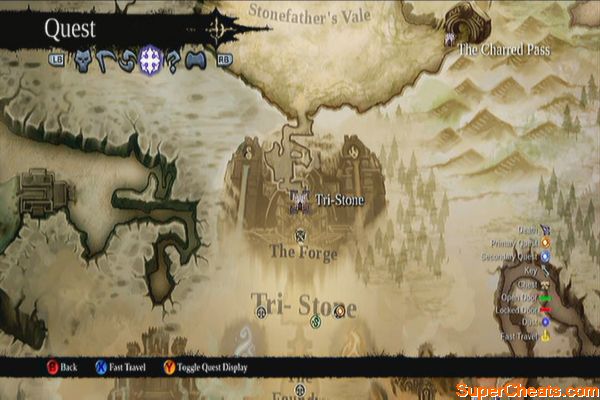
Talk to Alya to complete the quest. You'll also receive Redemption and she'll allow you to trade goods with her.
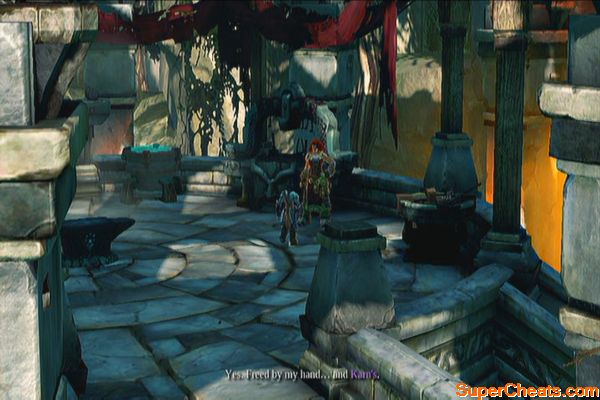
Tri-Stone
At this point, it is safe to challenge Thane. The trick is to evade often as his attacks are pretty slow. You should be able to withstands 3-4 hits from his attacks so just anticipate his moves and you should do well. Don't hesitate to use a health potion if necessary.
Defeating Thane
After defeating Thane, you'll get experience and unlock Death's Reaper form. This will also open three new side quests, each task is to defeat four new bosses: Bheithir, Gorewood, Achidna and Argul. You can ask Thane about your targets.
Once ready, travel to the Stonefather's Vale then ride west to find Karm. Talk to him to update the quest. Enter aim mode then shoot the shadowbombs by the game to clear the path. 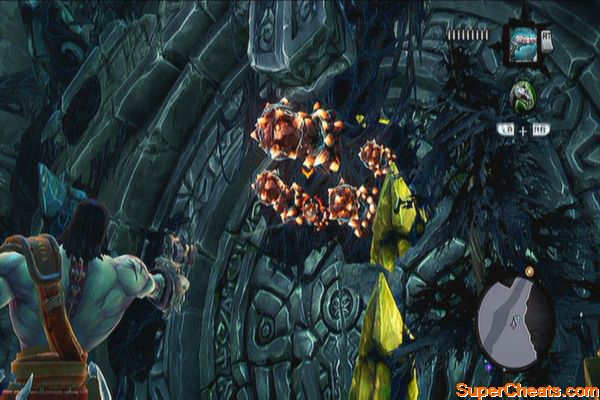
Shadow Gorge
Head west and you'll eventually find some prowlers and bee-like enemies called Stingers. Killing your first stinger will update the Shaman's Craft sidequest. Kill all the enemies and destroy the nest afterward. You may want to return to Karm and talk to him to further advance the Shaman's Craft side quest. 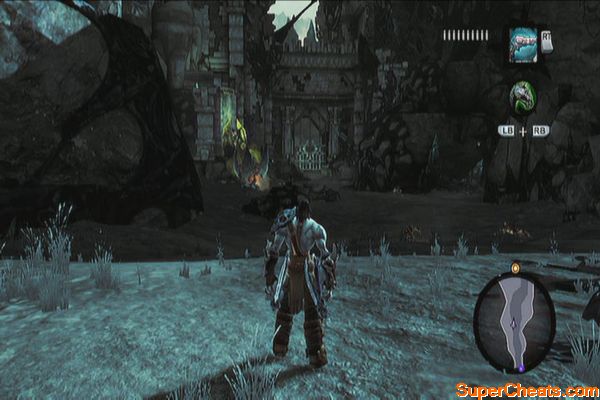
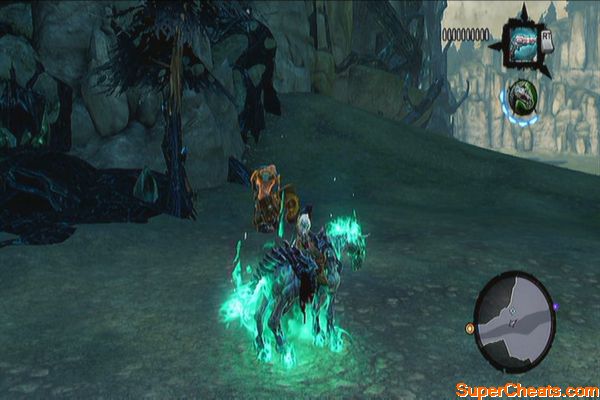
Return to the Shadow Gorge and before checking the gate to the west, you can check out the small ruins north. Once there, jump to the water and look behind the fallen bridge to find a Boatman Token (14). You can explore this optional dungeon, called the Shattered Forge if you want. However, I suggest coming back later. Make sure that this dungeon is registered in your map at least so you can easily fast-travel to it later. 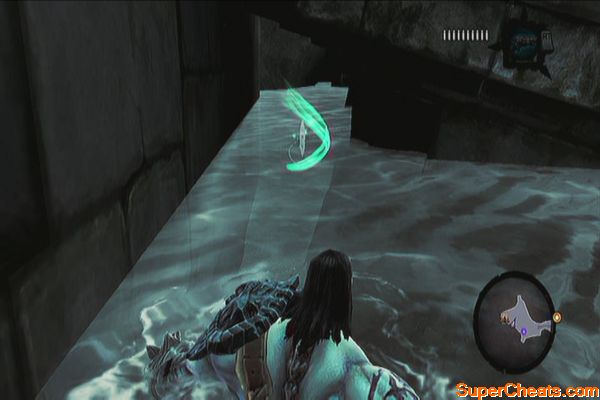
Head to the west gate and detonate the shadowbomb to the left so you can scale the wall. You'll also find a Boatman Coin (15) near the ledge. 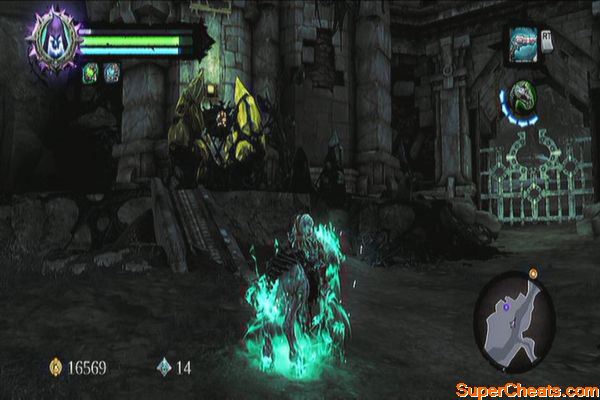
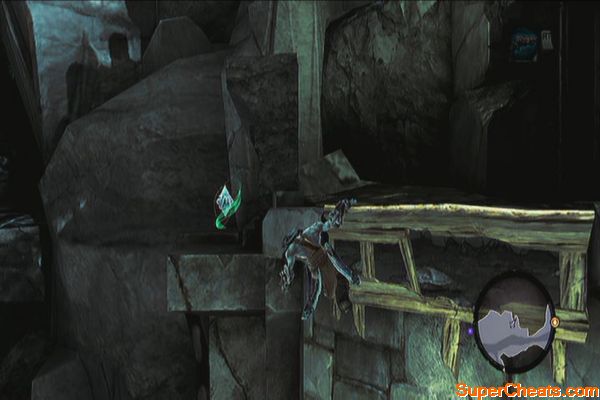
Enter the tower and you'll be locked inside for a bit. Stingers and prowlers will start pouring in so stay put and kill them all. Avoid falling in the chasm in the middle as well.
Tower Ambush
Once cleared, exit to the other doorway and immediately look to the right. You'll find yet another Boatman Coin (16). Drop down then pull the lever to the left to lift the gate. 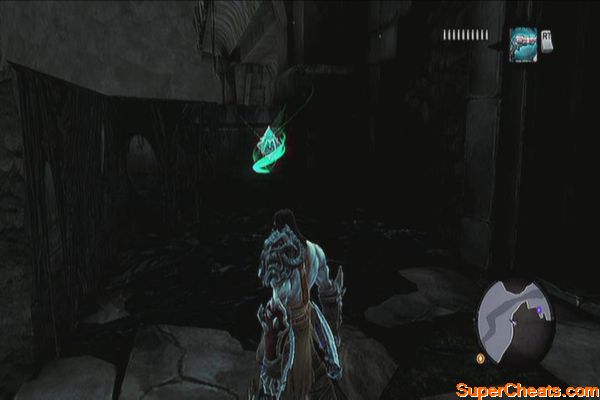
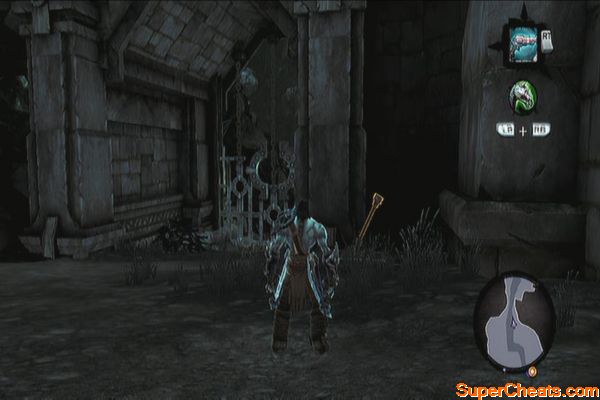
The Fjord
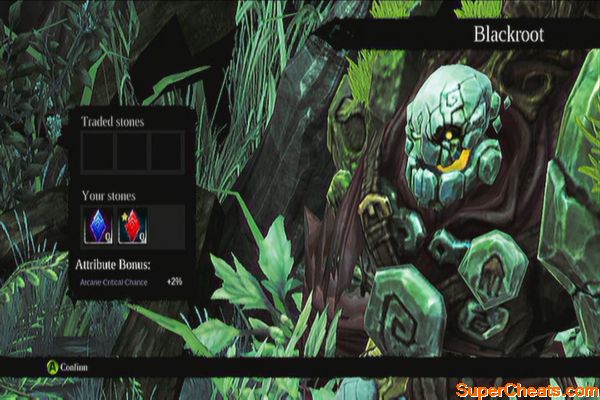
Look for the trader icon to the west and head there to find Blackroot. He'll give you the Lure Stone which allows Redemption to gather the stonebites. The first Mystic Stone is located to the left, just above you. 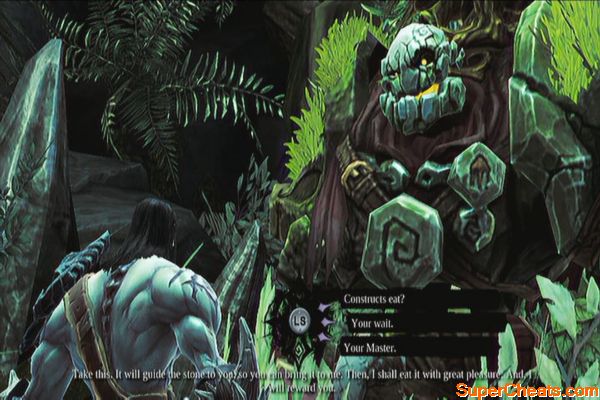
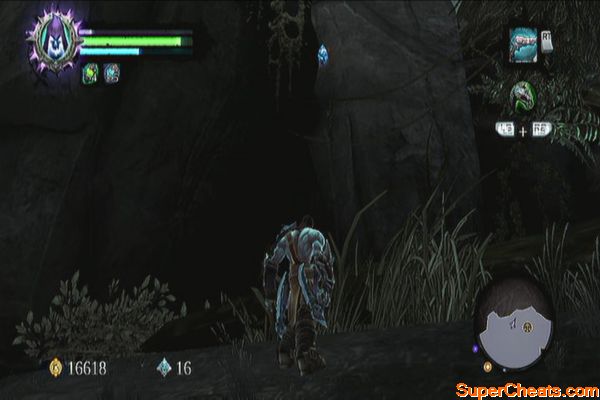
Look around and you should find a Boatman Coin (17) nearby. You need to use Despair's charge then jump to reach it. Now ride east until you unlock the Fjord's waypoint on the map then go south a bit. Go uphill to the right so you can see the pier with some crystals and shadowbombs. Detonate them to clear the path. 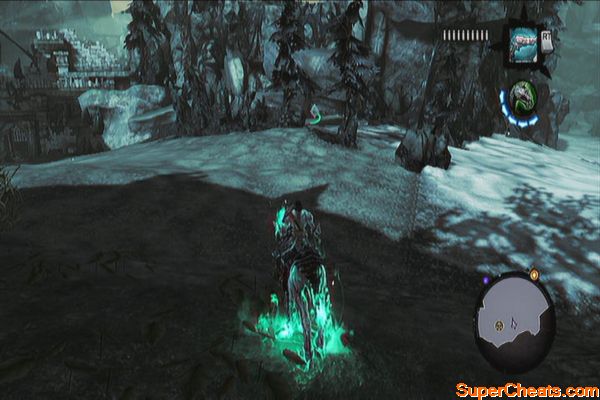
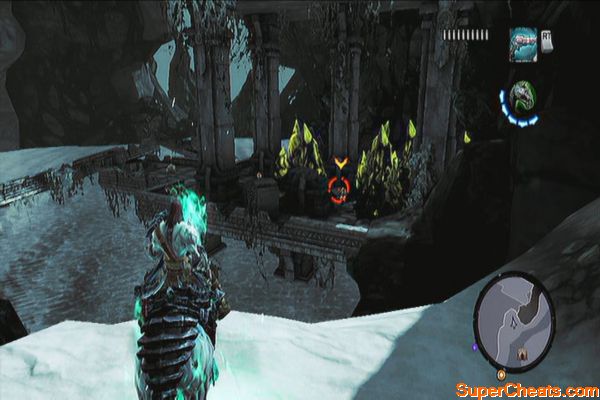
Now jump in the water and swim under the pier to find a scalable wall to the far right. Defeat the prowlers then open the chest for some loot. Now jump to the water and dive down. You should see another Boatman Coin (18) nearby. 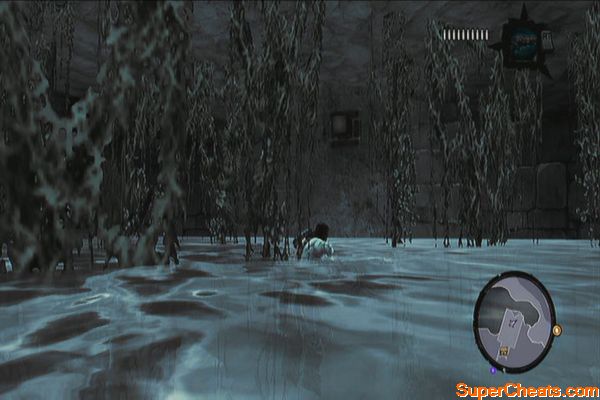
Swim to the southwest to find dry land. Now talk to the sleeping giant to activate a side quest (Silent Stone). You don't have to worry about it for now so swim again and this time, swim to the southeast to find Vulgrim. There are two chests behind and above Vulgrim but you can only reach one at the moment. Make your way to the upper floor to loot the chest there. 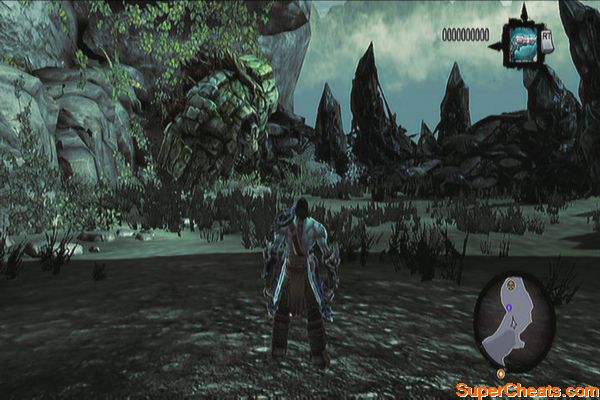
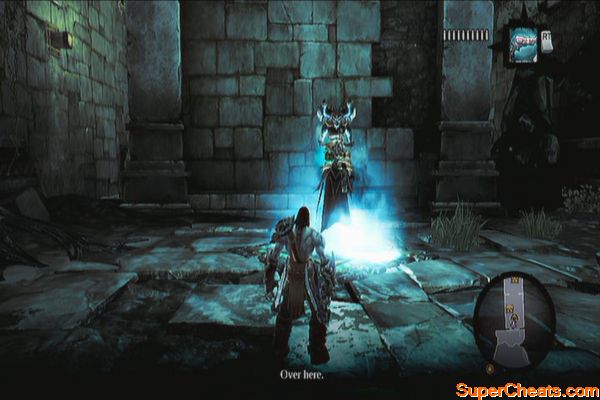
Return to the main land and ignore the two chests in the nearby pier since you don't have the way to reach them yet. Instead, continue east but take the uphill path to the northeast. You should find a door at the end. Enter it to loot the two chests inside. There's also another Boatman Coin (19) hiding at the back of the narrow path to the right. 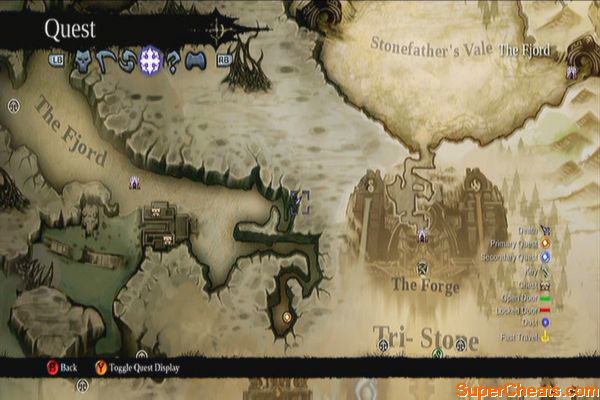
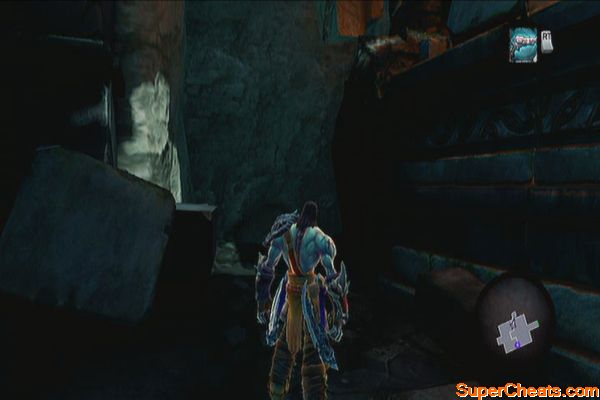
Now turn around and look above the entrance. You should see a Stone of Power (1) above. Shoot it to add it to your collection. Exit the keep then ride southeast. After climbing the uphill path, turn left where the black trees are and peek over the cliff to find a floating Boatman Coin (20). Aim for it and jump to reach it. 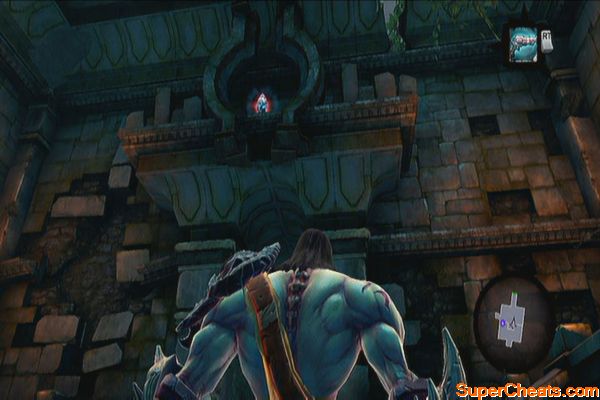
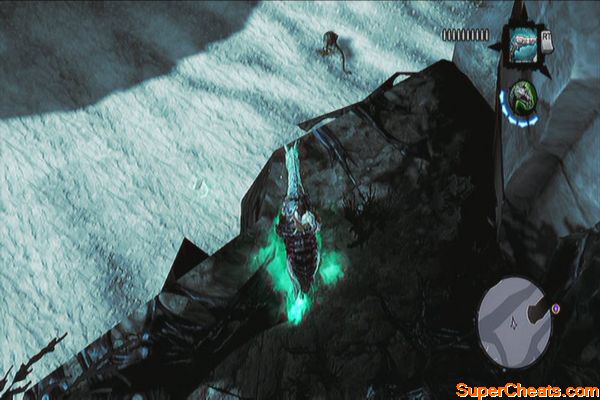
Now follow the trail southeast and look for a Stone of Mystics (2) above along the way. Note that entering this trail or simply fast-traveling using the Fjord's waypoint will reload the enemies, including the Stalkers in the Fjord. You can use this to farm items, gold and experience. Since you have three stones, you can also deliver them back to Blackroot to trade them as well. Once ready, follow the trail until you reach the Drenchfort. 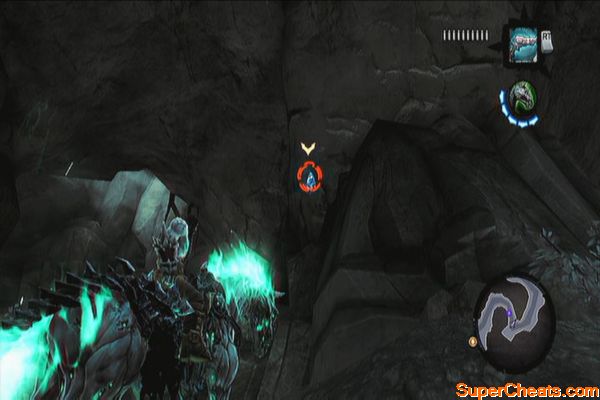
The Drenchfort
Follow the passage until you reach the door guarded by two prowlers. Kill them then climb the wall to the right. Pick up a non-volatile shadowbomb and throw it at the ball across. Shoot it afterward so it falls to the ground. Push it to the hole then enter the door. 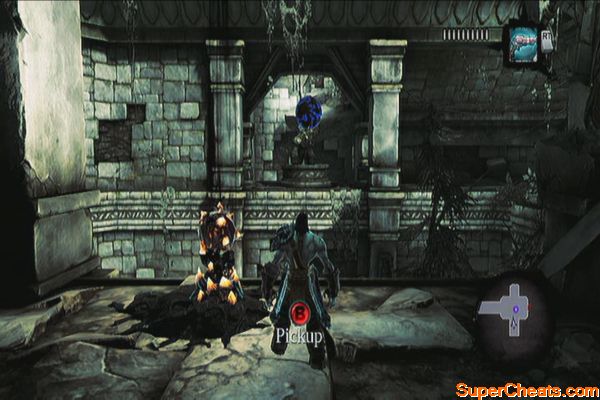
Note: Open your map frequently if you're getting confused about the directions mentioned in this guide.
Head to the right and look down to find a Boatman Coin. Before getting it, you may want to drop down to the hand-hold then shimmy to the right to reach a chest. Once there, you can also face south to find a Stone of Mystics (3) hanging above a doorway.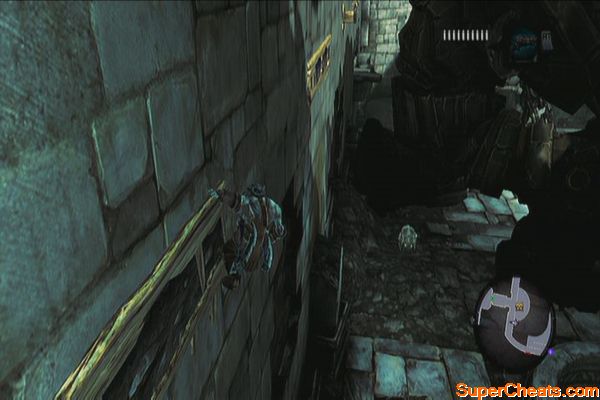
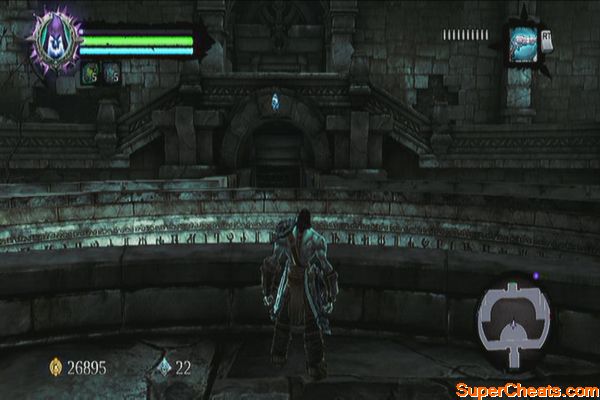
You can now head west and reach the Boatman Coin (21). Now jump to the bottom (B1) and find a tunnel, leading to an open area. You should get another boatman coin after reaching it at the end. (22)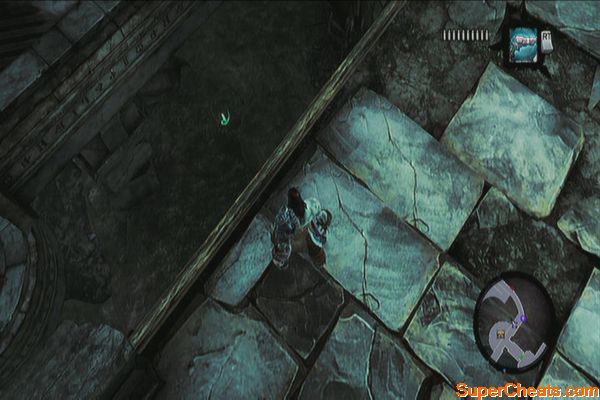
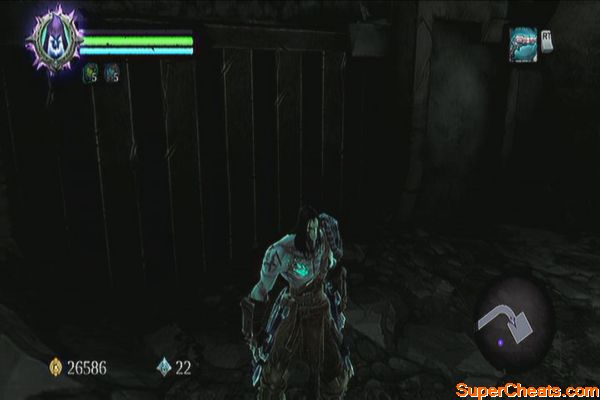
Backtrack to the main area then find the climbable wall and pegs to the east. Reach the upper level, head south a bit then climb the two pegs and make your way further east to reach the chest. 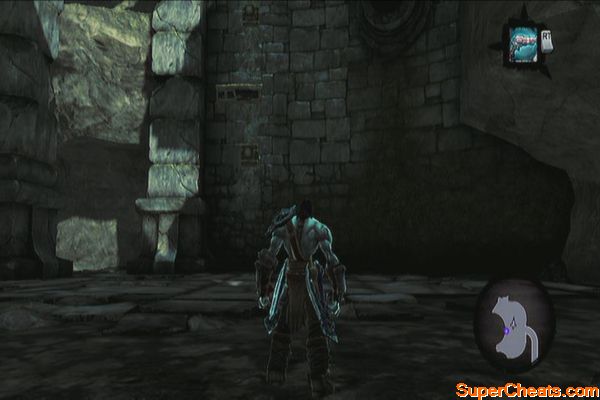
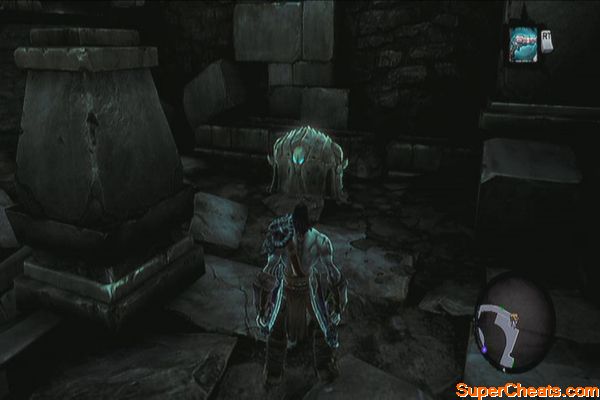
Now backtrack again from the starting point and hang again on the hand-hold to the west. This time, you have to wall-run and move to the far east. You should find a Book of the Dead (5) page there. Once done, make your way to the eastern door. 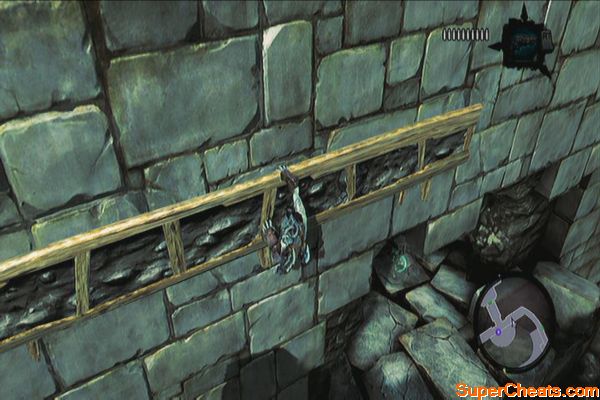
Once there, loot the chest in the middle, then loot the chest to the northeast corner. Don't enter the door to the east; just proceed to the southern door instead. 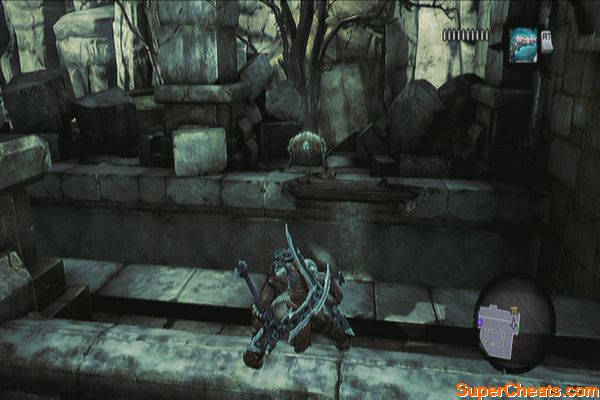
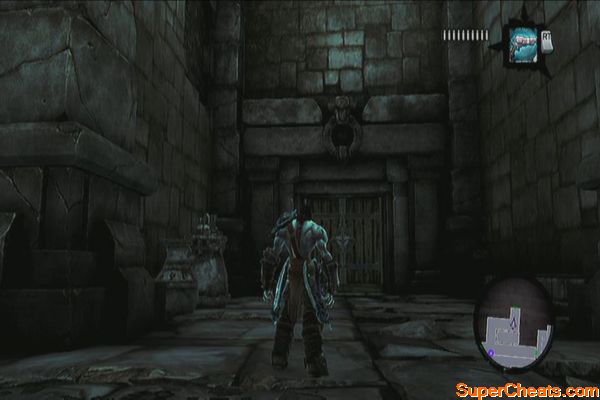
Once inside, clear out the stingers and prowlers that will ambush you. A new enemy called the Earth Crag will appear. You only have to be aware of its charging and jump attacks; other than that, you shouldn't have any problems defeating it. Loot the chest afterward. 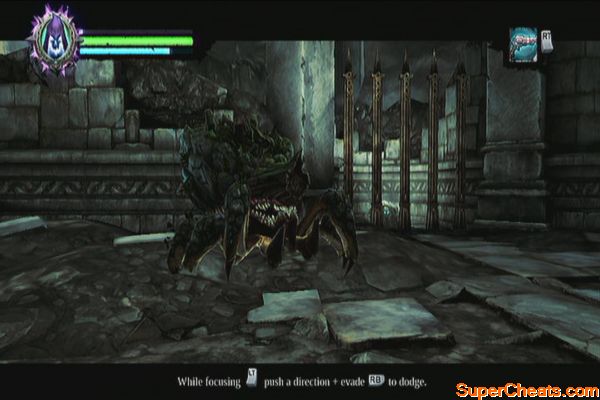
Go back to the previous area and take the eastern door this time. Follow the passage to reach another large area. Your objective here is to get the two blue balls on their respective holes to power up the gates. Start off by going right (south) and dive underwater to loot a chest at the end. 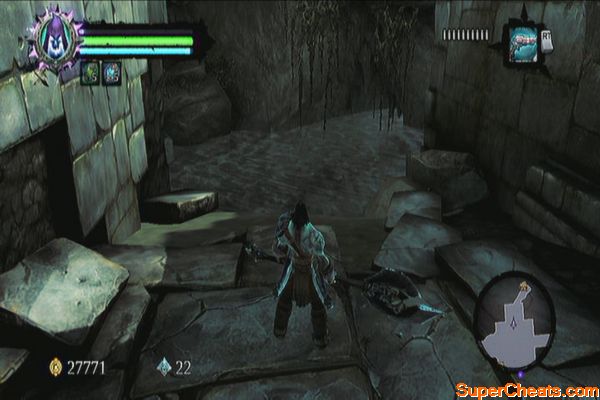
Climb out of the water. Once you reached the ledge, perform wall-runs to reach the blue ball. Place it in the hole then climb the stairs east. Make your way to the northeast corner and loot the chest there to get the dungeon map. 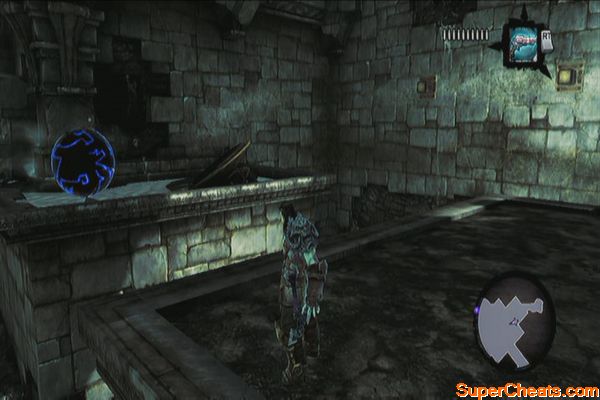
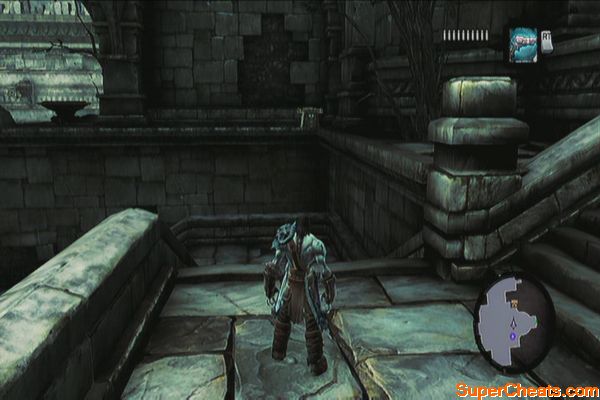
Now follow the corner and get a Boatman Coin. (23) Drop down to the enclosed area behind the raised gate and loot the chest, as indicated in your map. Next, climb the hand-holds on the eastern wall to find a non-volatile shadowbomb. Place it on the crystals and blow it up. 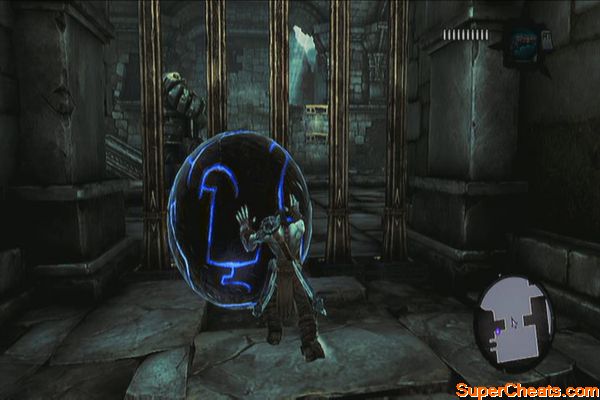
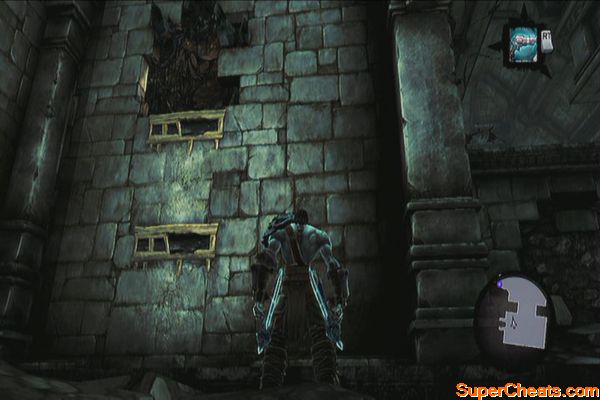
Now, you have to get the ball out while stepping on the pressure plate in the middle since the plate controls the gate. First, place the blue ball as near as the gate as possible. Now retrieve another shadowbomb and place it on the ball. Step on the pressure plate to lower the gate then shoot the shadowbomb to push it out, past the gate. 
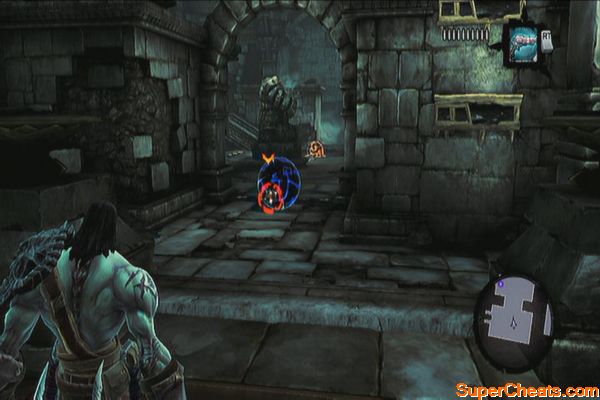
Return to the main area and push the ball to the second hole to fully lower the gate on the eastern door. Go through it and destroy the stinger hive along the way. Head to the next door and use the shadowbomb to blow up the crystals covering the lever. Pull the lever to allow the water to flow in. You can swim along the waterflow. Just remember to climb up the wall to loot a chest along the way. Make your way back to the main basin. 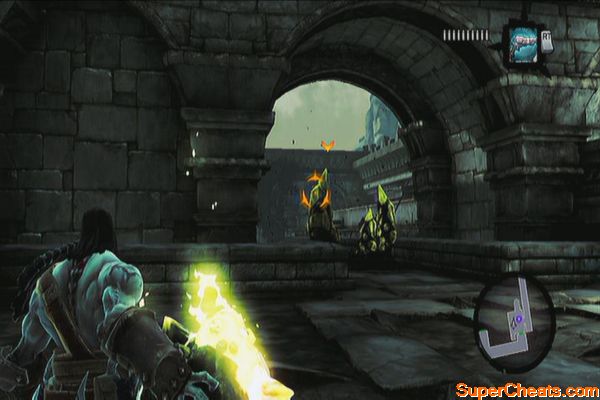
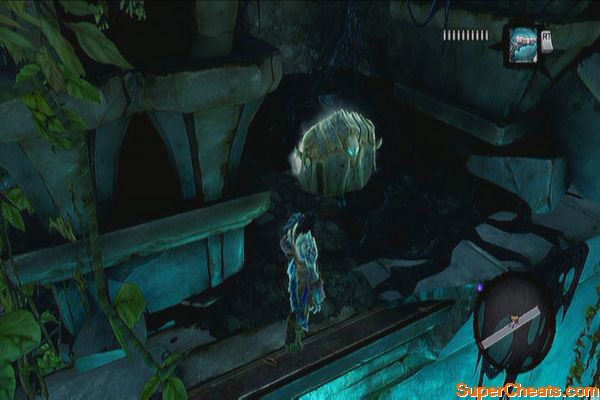
Dive down to the basin and swim along the southern tunnel. If you haven't acquired the Boatman Coin at the end, you should be able to grab it now. Swim up and use the hand-holds and pegs to reach the topmost hand-hold. Wall-run to the left to find a chest to loot. 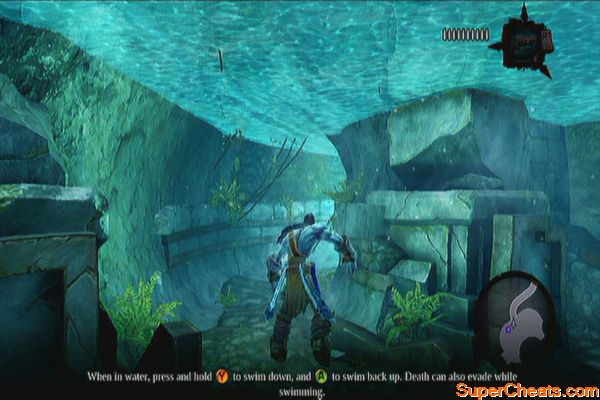
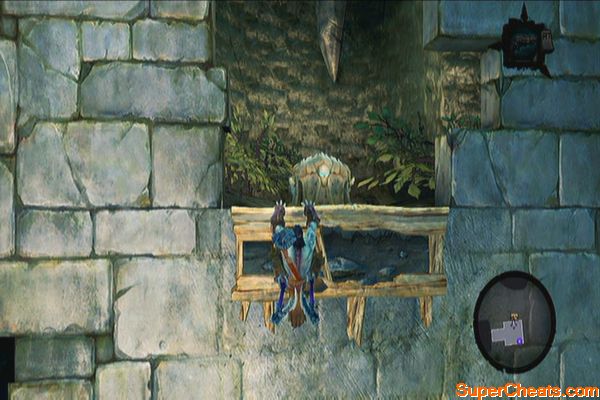
Backtrack or continue to the right this time and use the vine-wall to reach the upper ledge. Continue to the next room. Kill all enemies here then destroy the objects inside to get another Boatman Coin (24).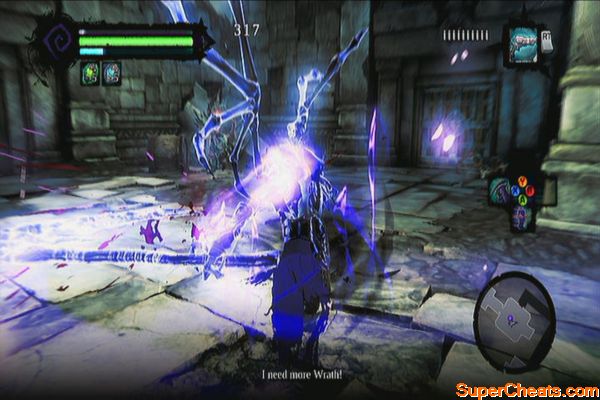
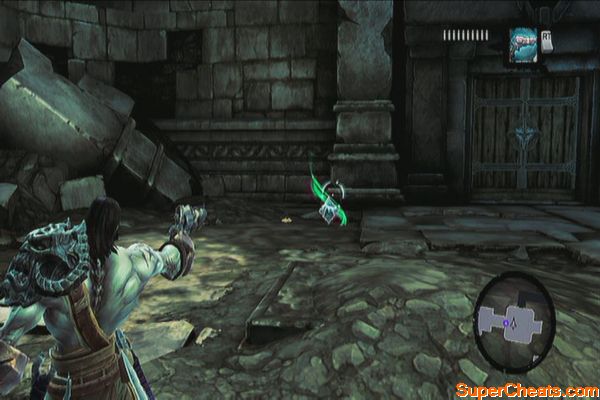
Go through the door and continue north past the aqueducts. Use the hand-holds to the left to reach the northermost portion where a Book of the Dead page is hiding.
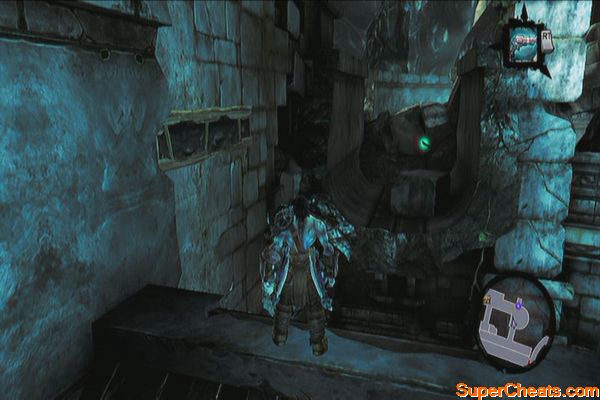
Drop down and clear the prowlers guarding the chest ahead to get the Skeleton Key from it. Now backtrack where the locked door was and enter. Follow the path until it leads you to a large area where you have yet another puzzle to solve.
Getting the ball out is easy so leave it be for now. Instead, go north first then check the northwest corner to find a chest behind a broken wall. Next, climb up the nearby hand-holds and perform extended wall-runs to reach the upper ledge. You'll find a chest at the end. 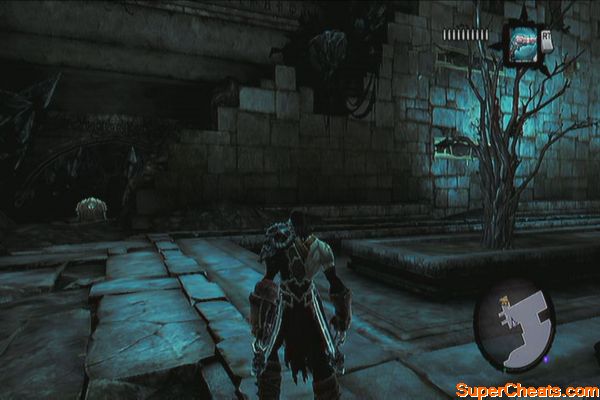
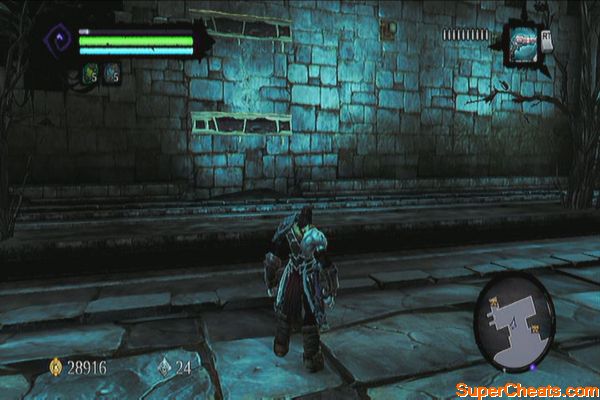
Return to where the crystal is and climb the nearby hand-holds to find a shadowbomb pod. Pick one up and place it on the crystal before blowing it up. Loot the chest nearby then push the ball. It will be a challenge pushing it up so you have to press RT to give it some momentum. Place the ball on the hole to continue. 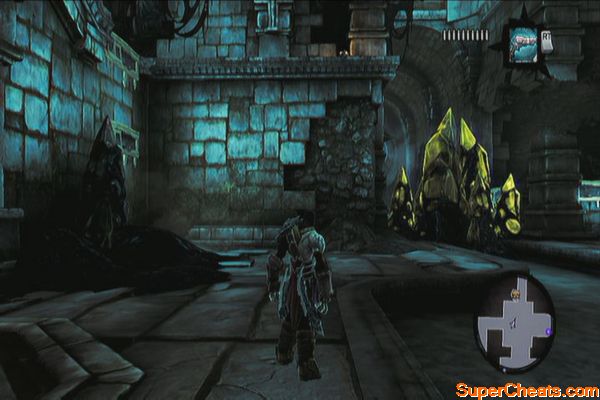
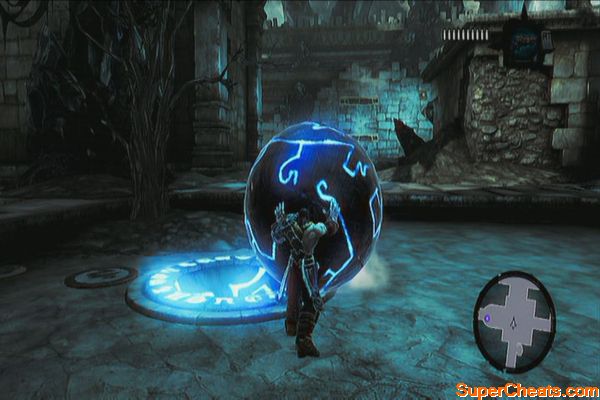
Return to the shadowbomb pod, grab one and place one again on the ball. Stand on the platform that lowered earlier then detonate the shadow bomb to dislodge the ball. The platform should raise up again, giving you access to the next door. 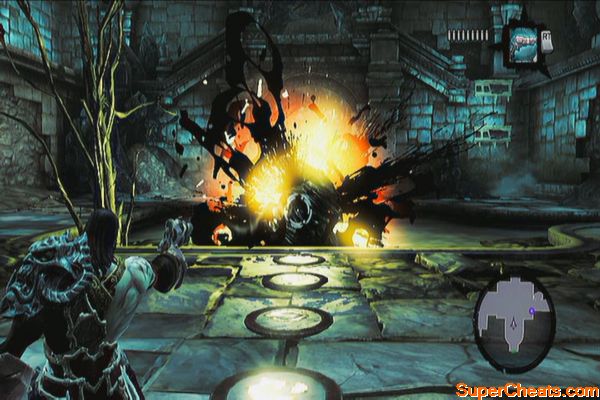
Follow the path and destroy the hive along the way. You'll finally reach the area where there's a lever to open the water flow. Before pulling the lever, detonate the shadowbomb attached on the crystals above the watergate to the left. Activate the lever next. 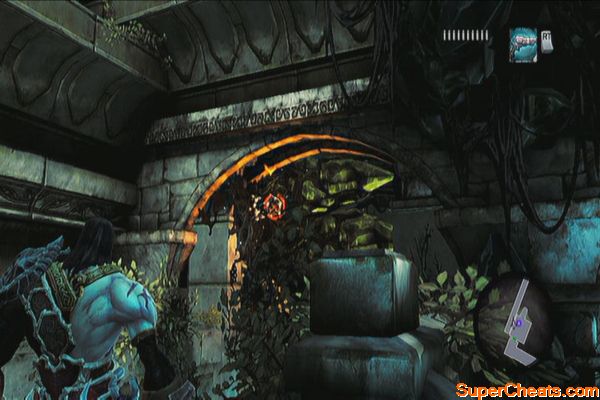
Ride the current until you reach another blocked watergate. Swim to where you got the Skeleton Key earlier and climb the walls. There's another Boatman Coin (25) floating here as well. Continue until you reach the next lever. Pull it to open the watergate and unbar the next door. 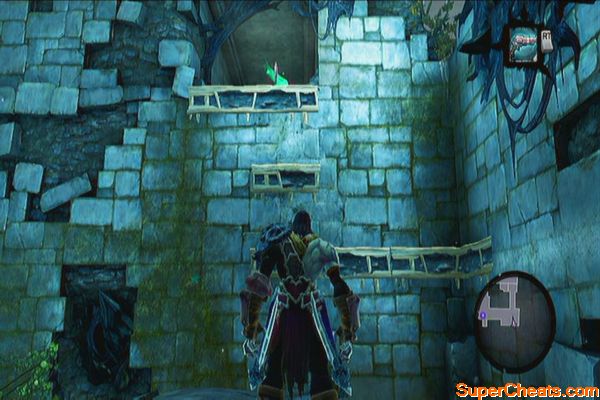
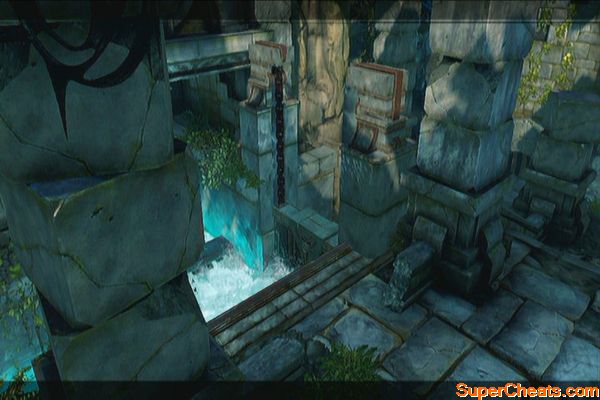
Exit through the door and enter the last area of this dungeon. Once you've reached the boss chamber, grab the ball and press RT to slam it to the curious mound ahead. 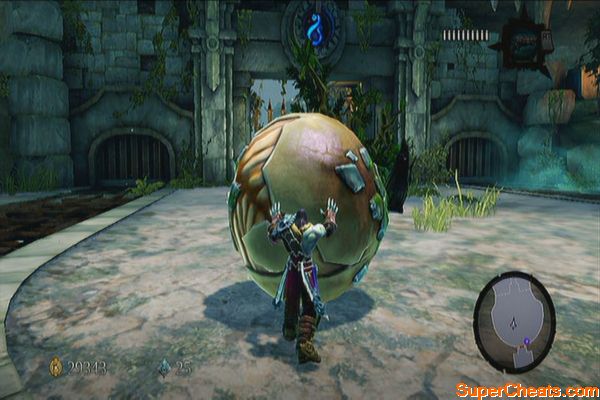
Boss: Karkinos
Reward: Masher of Karkinos
This battle is all about aim and timing. Conventional attacks won't work against this enemy however, the pattern is simple. You just need to wait for it to charge and hit the wall. This will cause it to be dizzy for a few seconds and will cause an egg to drop.
Grab the egg and press RT to slam it to the boss. If you miss however, the egg will instantly hatch. If the egg connects, it will make the boss vulnerable so use your best attacks to deal as much damage as possible. Later in the battle, it will start burrowing and sending homing projectiles. Just evade these and repeat the same pattern until it is defeated.
Bug Soccer
After defeating the boss, make sure to pick up all the loot then pull the lever outside to complete the dungeon. Travel back to Tri-Stone and head to the Maker's Forge to finally complete this mission and start a new one. 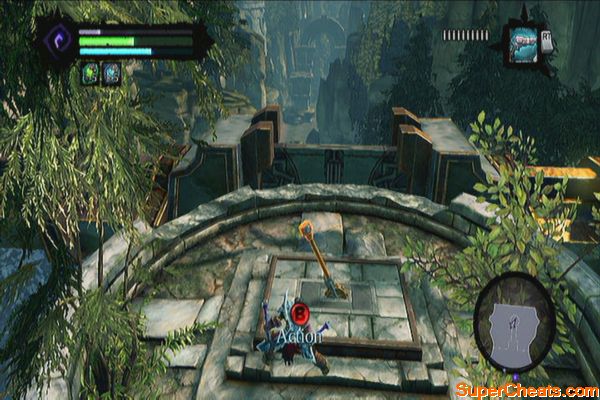
After getting the Maker's Key, the side quest “Silent Stone” will be updated. Talk to Alya as well to start another side quest, “The Hammer's Forge”. To make the most of your adventure, I suggest doing Silent Stone first since it can completed immediately, and will open up a new, easy sidequest that can be completed as well. Refer to the side quests section of this guide to know how to complete these quests.
Take note that you can't complete The Hammer's Forge without a specific special item so don't waste your time doing this for now.
Before leaving, get the Stone of Mystics (4) on top of the furnace's south side. Fast Travel to the Nook to start the main quest. 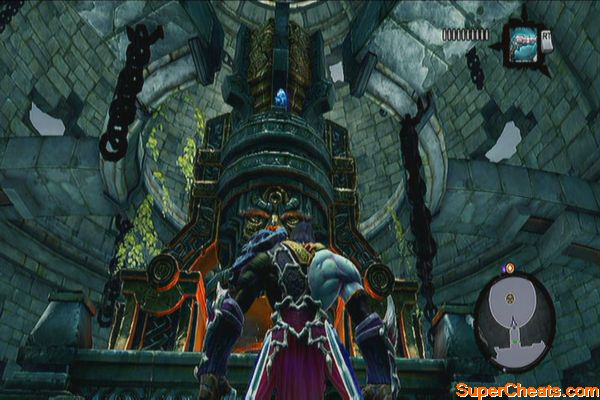
The Nook
Head inside and activate the construct. Roll it to the nearby hole and enter aim mode. Aim for the glowing circle on the wall and press RT to activate it. 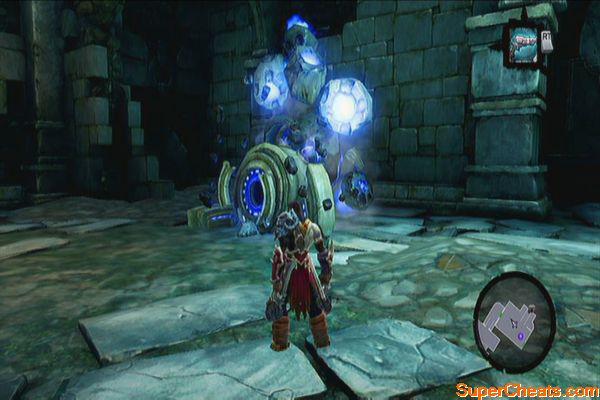
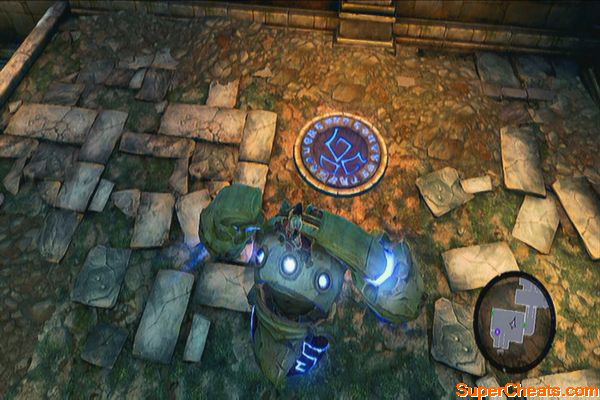
Mount the chain and enter the next door. You'll be ambushed by Tainted Construct Warriors so you have no choice but to defeat them. Once clear, grab the shadowbomb and use it to destroy the crystals in the area, revealing a chest and clearing the handhold as well. 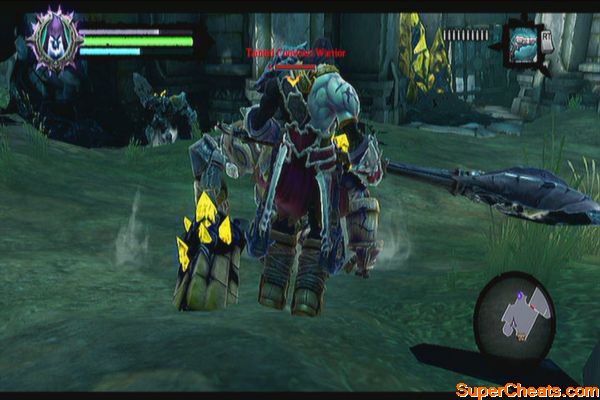
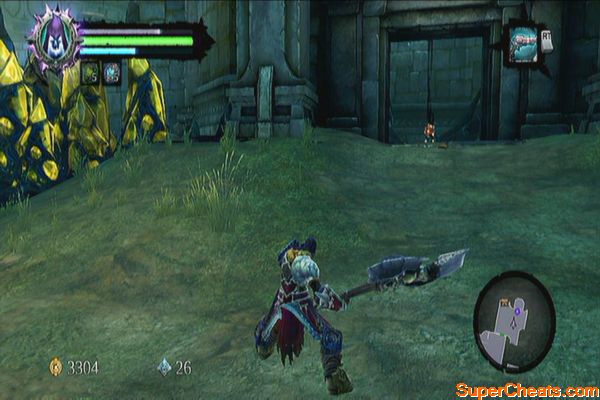
Climb the hand-hold and traverse the posts and pegs to reach the next ledge. Follow the next staircase until you reach a large open area. Destroy the hive and the stingers. Destroy the objects near the well to the northeast for a Boatman Coin (27)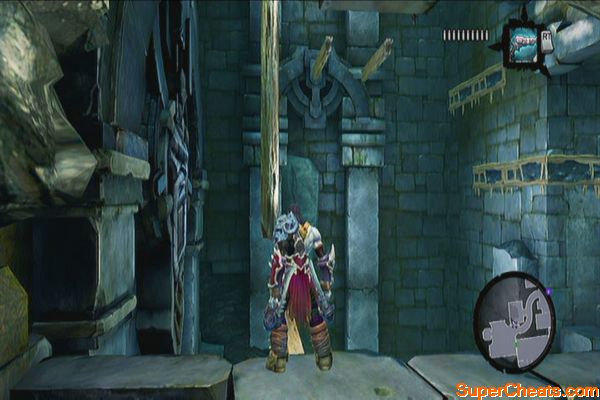
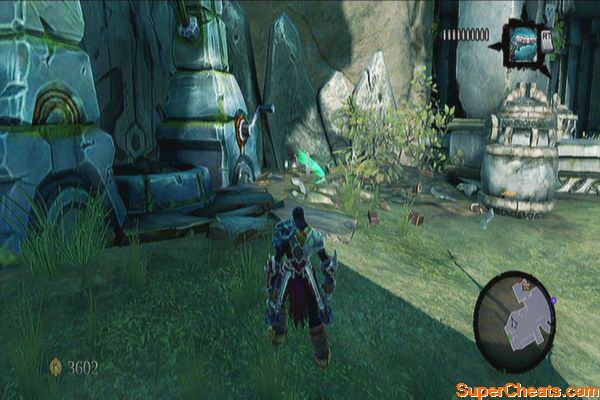
Climb the western wall to find two chests. You can only get one at this point since the other requires a special item. Jump back down and head south. Pull the lever there. The door to the right leads back to the entrance so take the staircase to the left this time. 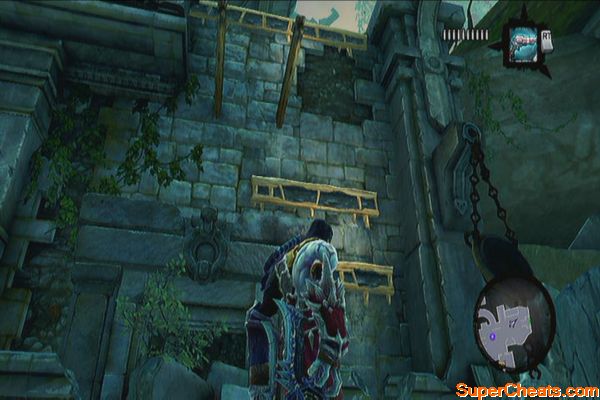
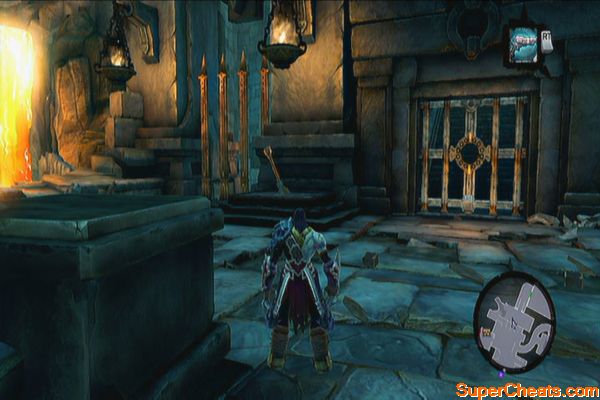
You can't fully explore the area yet so enter the only door to the west. Jump to the middle wooden beam and reach the upper beams. Step on the pressure bar to release the iron poles and allow the ball to roll down. Drop to the second pressure bar below to free the ball. Pull the lever near the door to call the elevator. 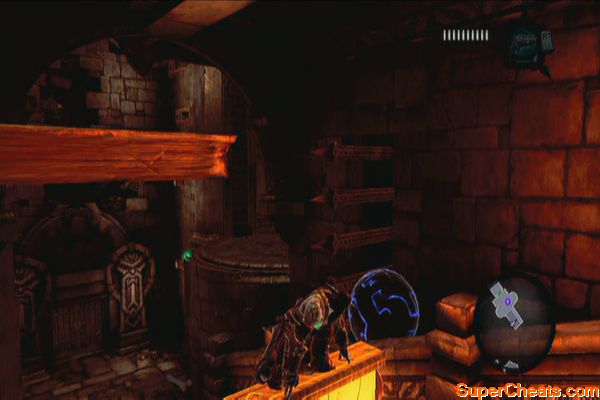
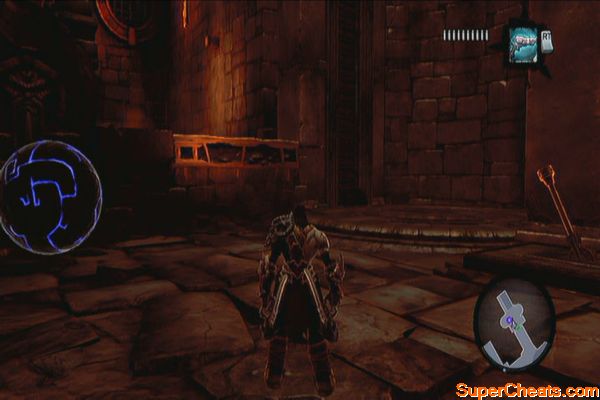
Push the ball to the elevator and pull the lever. Quickly jump unto the elevator as it rises. Now aim for the adjacent elevator and push the ball there using RT. Turn to the right to find a Stone of Mystics (5) in the corner. 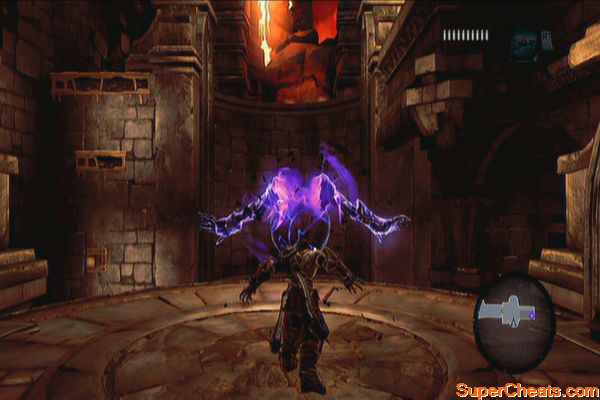
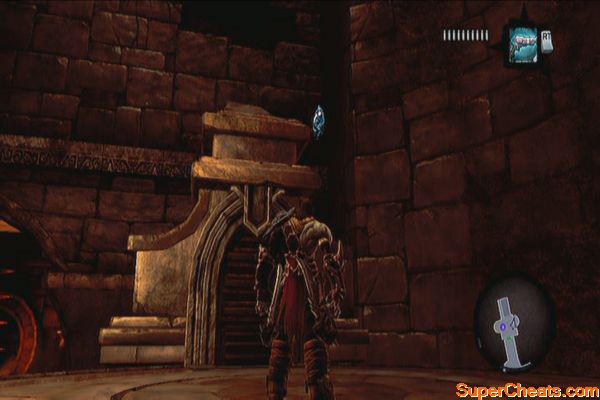
Jump down and climb the wall. Pull the lever there to lift the elevator the ball is currently in. Push the ball to the hole and loot the nearby chest as well.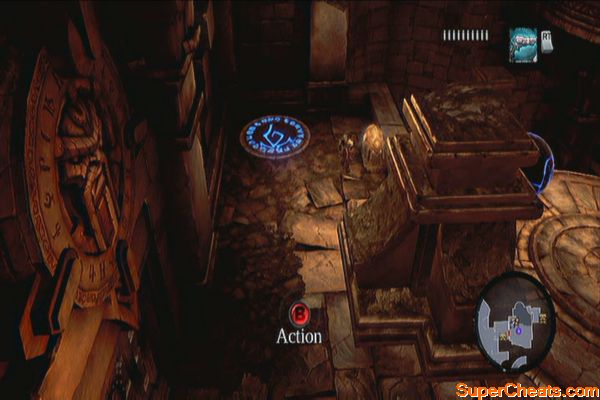
Enter the next chamber and loot the chest. Pull the lever to open the gate and go through the northern door this time. 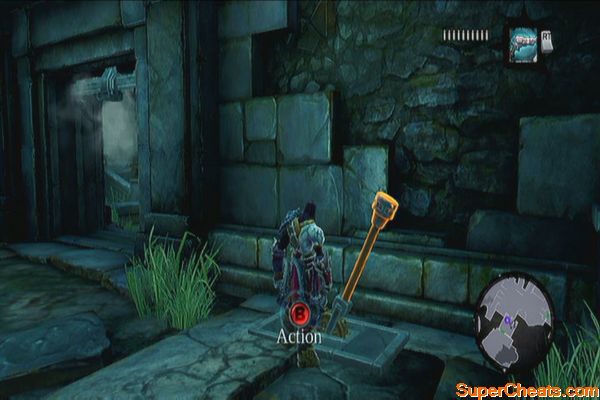
Dive in the water and follow the stairs underwater until you reach a submerged chamber. There's a Boatman Coin there. (28)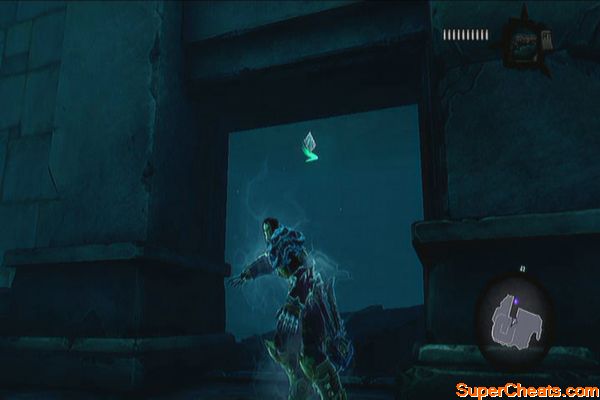
Backtrack to the stairs and follow it up until you find a couple of hand-holds. Grab them and continue forth to exit this dungeon.
The Lost Temple
Follow the path until you find Karm. You can talk to him if you want but first loot the chest to the northwest before entering. Once inside, a pack of prowlers will attack you. Dispatch them and loot the chest to the left side of the stairwell. Continue upstairs to the next room. 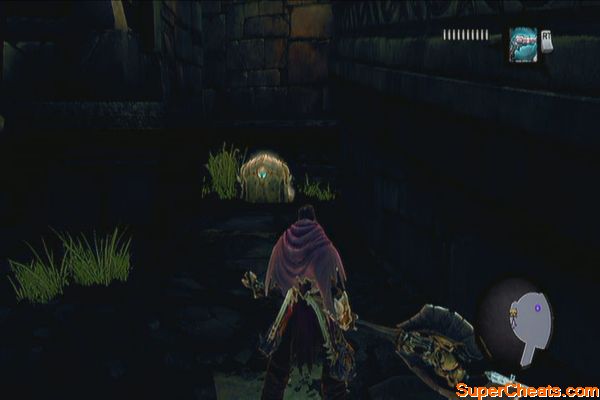
Once there, activate the construct and use it to destroy the crystals ahead. Move the construct on the hole ahead to remove the bar on the door then dismount and exit. 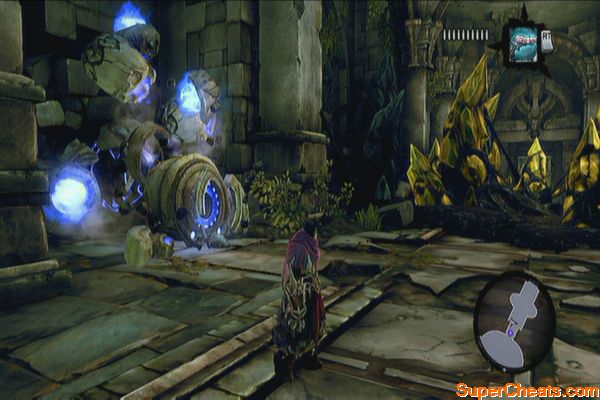
In this area, you'll fight a new enemy called the Construct Sentinel. This enemy has a shield and will always come along with lesser constructs. Defeat the lesser constructs and the Sentinel will attempt to revive them. This will remove its shield, making it vulnerable to attacks.
After defeating it, you'll obtain the Carven Stone, the last material needed for Muria's Shaman's Craft side quest. You can fast-travel and deliver the material to her to complete the side quest if you want.
Construct Sentinel
Destroy all the objects around first to find a boatman coin (29). Wall-run on the peg and shimmy to the other side. Jump off the next passageway. 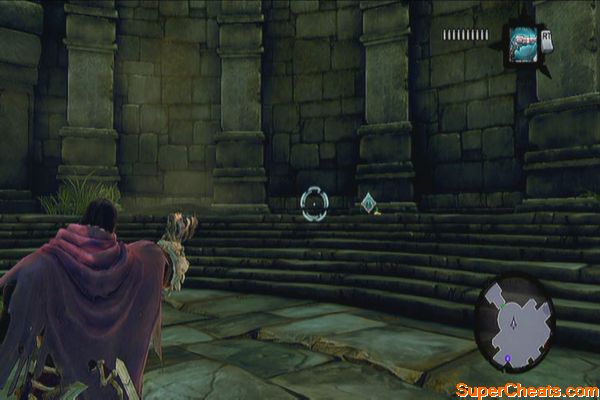
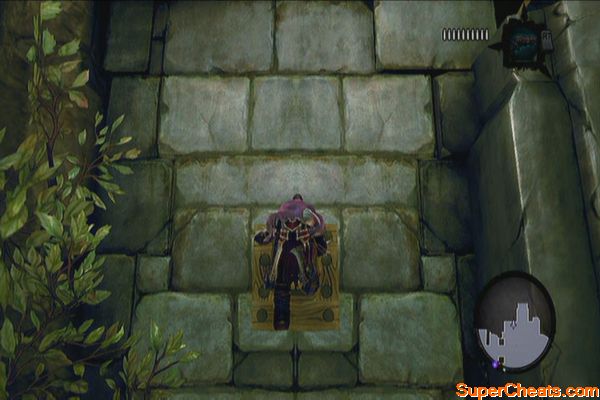
Follow the path until you reach the next area. Jump off the water and dive to find a boatman coin beside the sunken bridge. (30) Before leaving the water, swim to the southwest through the tunnel and you'll find a chest at the end. Loot it then return to high ground. 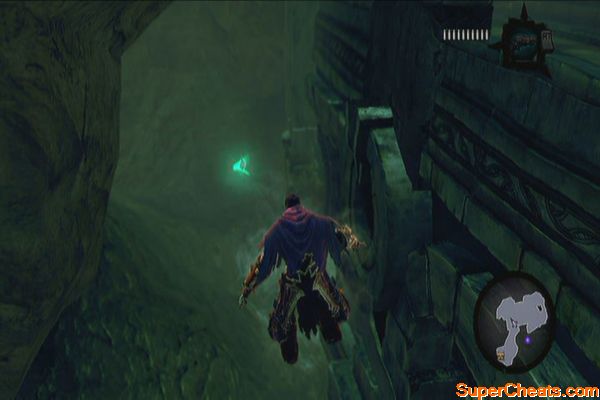
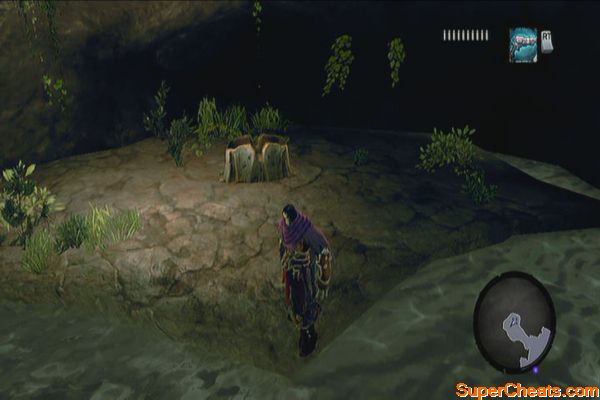
Scale the wall to the left to reach the other side and take out the Tainted Adjuncts. Activate the worker construct. While mounting it, aim for the group of crystals to the left of the bridge and extend its arm to destroy them and reveal a lever. 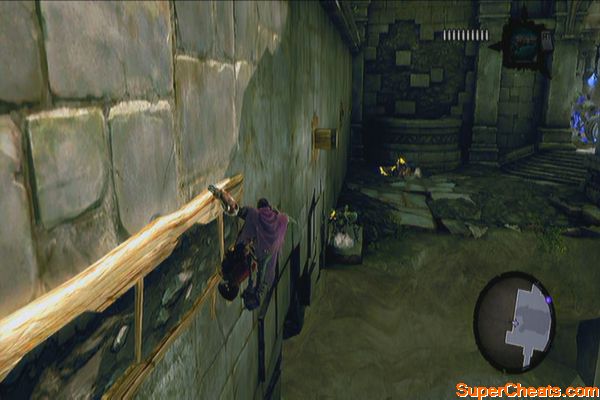
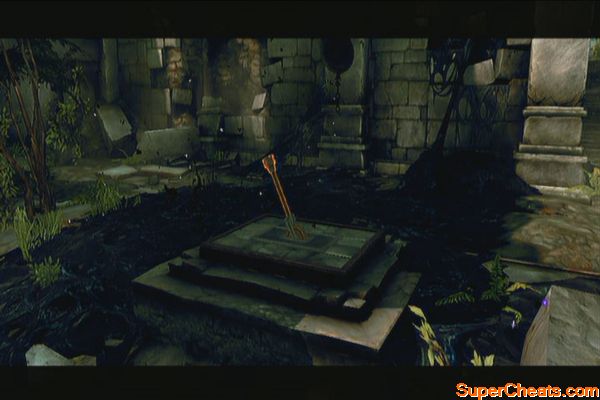
Wall-run using the other wall and pull the lever to raise the bridge. A group of lesser constructs will appera and ambush you. You can fight them on foot or while mounting the worker construct. Ride it back to the passage way and clear the path for you. Don't forget to loot the chest along the way as well.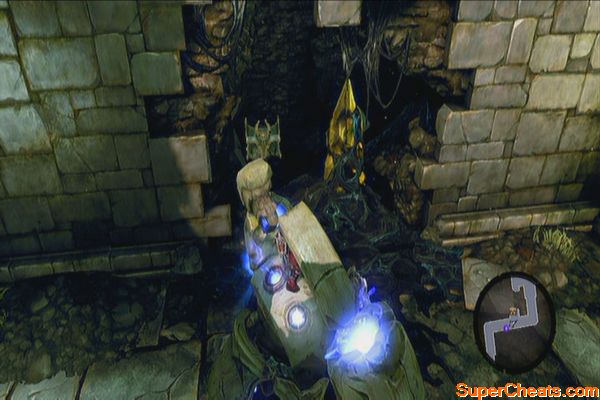
Continue rolling to the main hall where you defeated the construct sentinel and destroy the group of crystals to the south. Approach the hole where the construct must stand on but dismount first and collect the Stone of Mystics (6) below. Jump down to find another chest below. 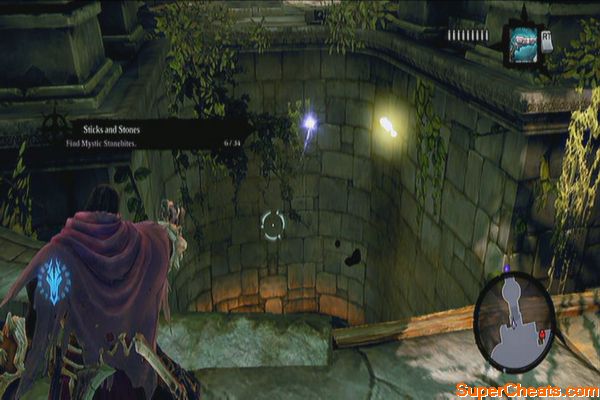
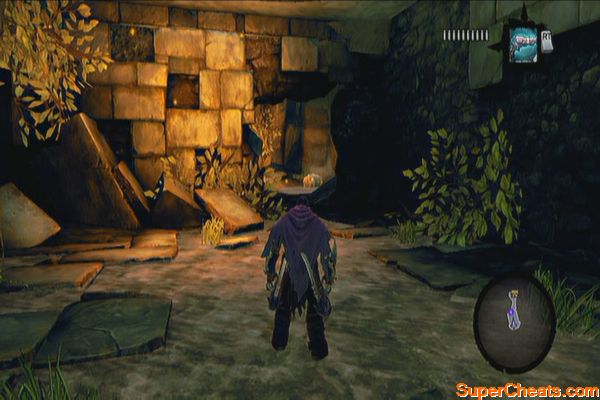
Climb back up and mount the construct again. Position it on the hole and aim for the switch on the other end. Extend its arm and cross the chain to reach the other side. 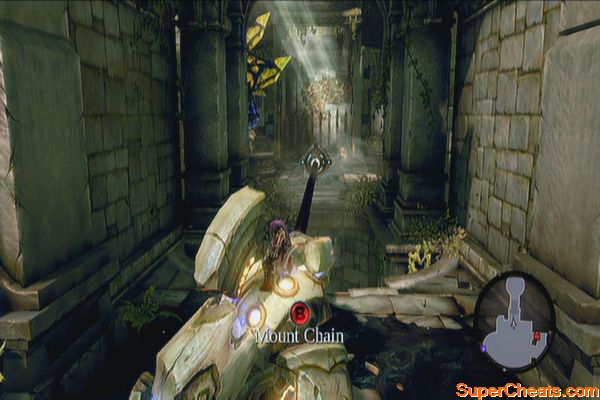
Once there, aim for the shadowbomb above the statue to dislodge the ball. Enemies will appear so take them out and proceed to where the shadowbomb pod is. Grab one and stick it to the ball. Shoot the bomb to dislodge the ball and lower the gate behind you. Collect the skeleton key from the chest. 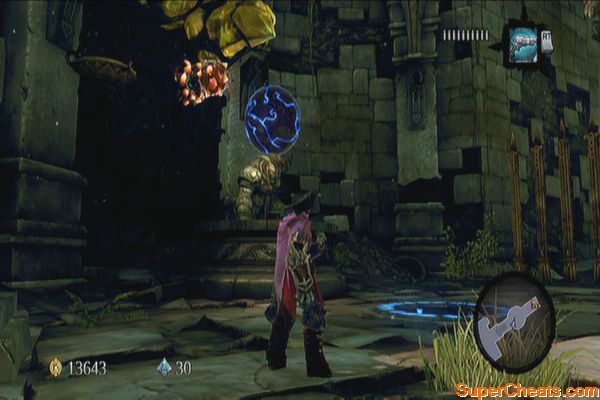
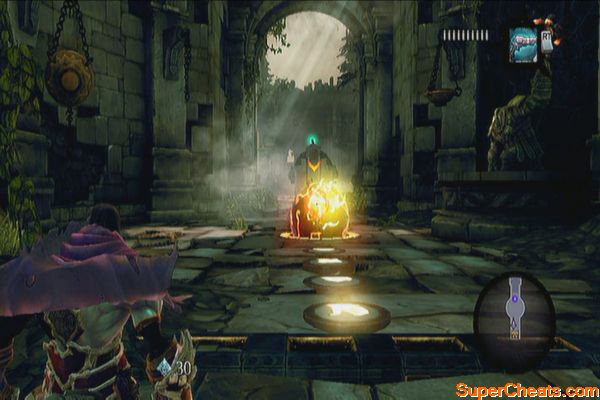
Climb the vines on the wall and wall-run past the gate. Backtrack to the previous area and use the Skeleton Key on the locked door. Use the vine-covered walls and ceilings to reach the lever on the other side. After reaching the lever, a couple of constructs will ambush you; take them out and pull the lever. 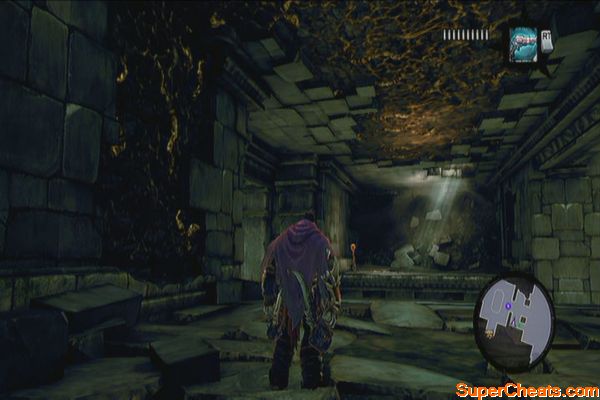
Ride the worker construct again and clear the newly-opened path. Don't forget to clear and loot the chest containing the Dungeon Map as well. Now turn around and head north to find a slot. Park the worker construct there and extend its arm across the gap. Cross the chain to reach the other side and find a chest there. Ride the construct once more and park it in the slot to the west to lower the gate. Dismount and proceed on foot. 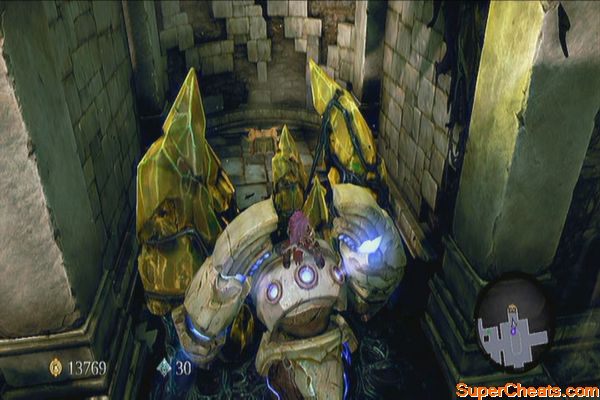
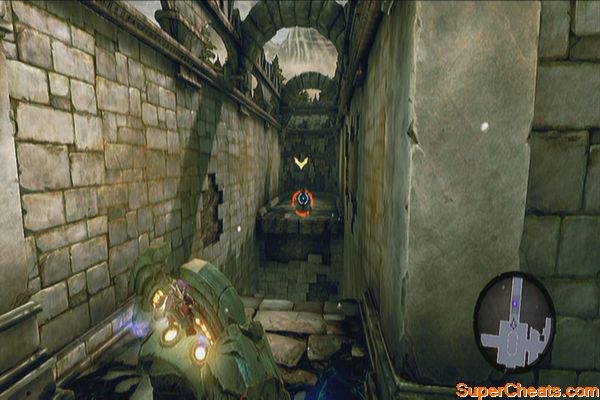
Once you're in the arena, you'll have to fight different waves of enemies – each with a Construct Sentinel. Like before, you can kill the lesser constructs and wait for the sentinel to attempt reviving its allies. The sentinel has surprisingly low HP so a few Redemption shots should be enough to destroy it. Later on you'll have to fight construct champions. Use of powerful attacks such as upgraded Teleport Slash or Harvest should help in keeping you alive throughout the battle.
...anything else?
After the ordeal, the gate will lower and a chest will appear. Loot it and exit through the door. You'll encounter a locked door to the west so go through the southern door this time. In this hallway, you have to perform wall bounce until you reach the next hallway. Look around after landing as there's a Boatman Coin (31) there. 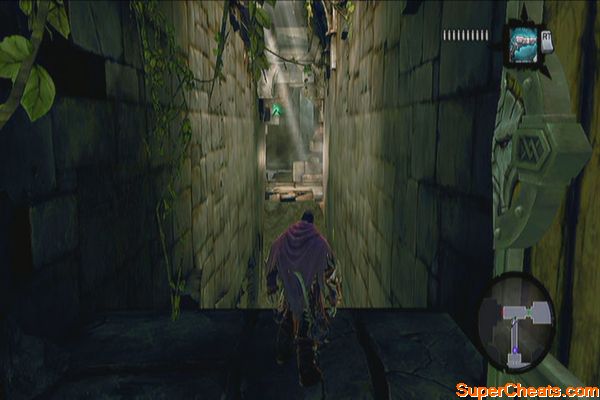
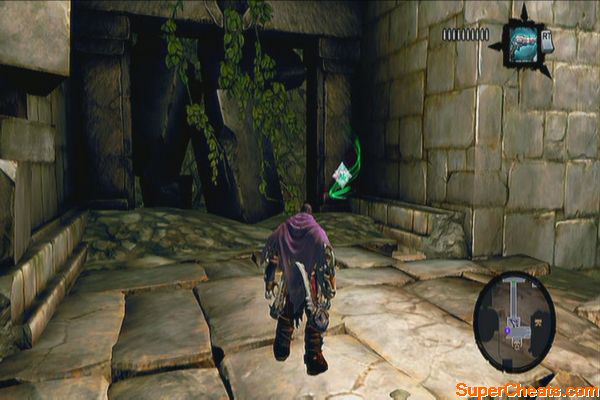
Go down then right and perform a vertical wall-bounce to reach the upper ledge. Don't forget to loot the chest in the southeast ledge. There's another chest to the northwest of the hand-holds. 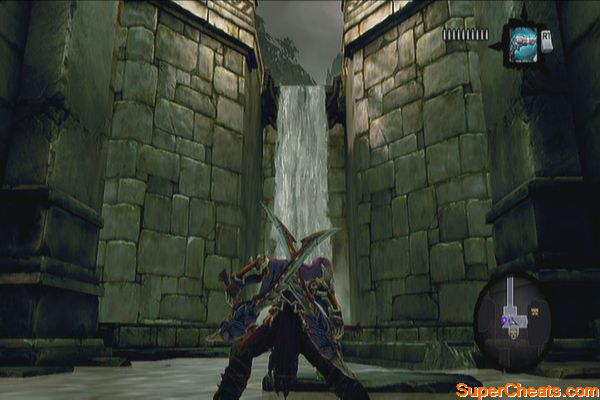
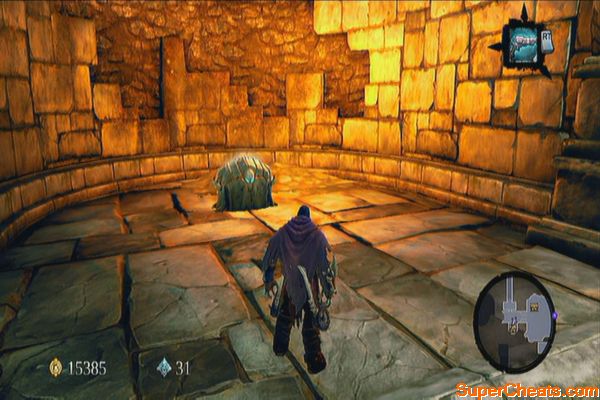
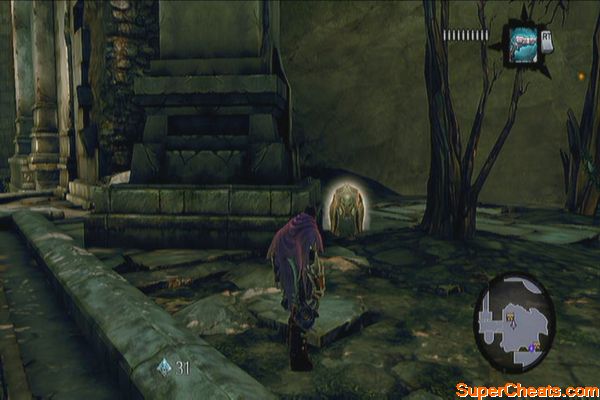
Head east to find another Boatman Coin (32) near by the tree trunk. Loot the chest near the door then exit south next. 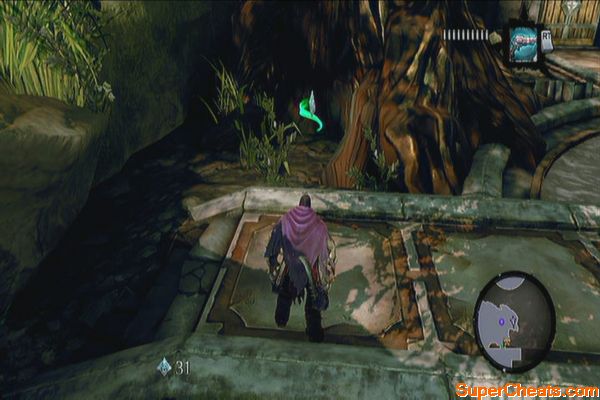
Activate the worker construct next and drive it to the elevator. Dismount and climb the hand-holds to the left. Continue up and use the hand-holds to move left and around the walls, until you reach the next floor. 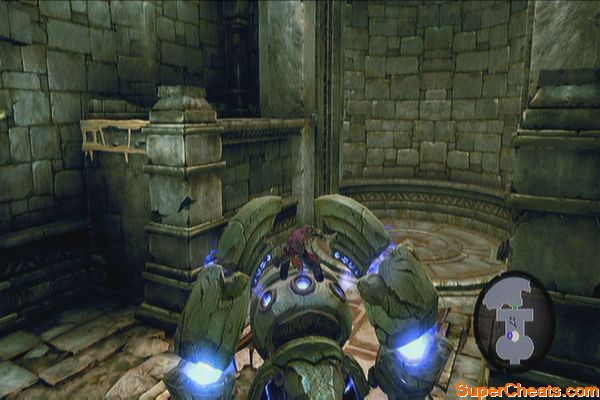
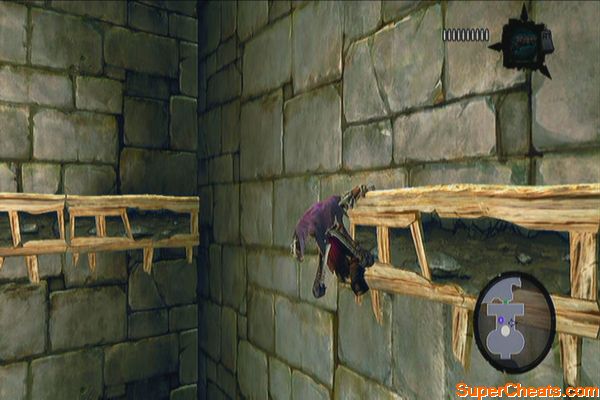
Go upstairs and activate another worker construct. Ride it to the slot near the elevator to lift the other construct up. Dismount and ride the other one to the next hole. Dismount that one and mount the other construct that you used to power up the elevator. 
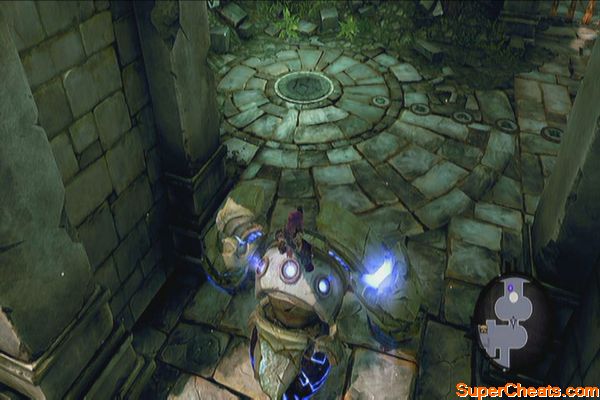
Ride it to the left passage. Before going there however, you can jump down the lower ledge and follow it to find a chest. Now mount the worker construct again and roll around the corridor. Ignore the Book of the Dead page for now but continue to find a hole. Park the construct there are shoot crystals ahead to reveal a grappling plate for the construct. 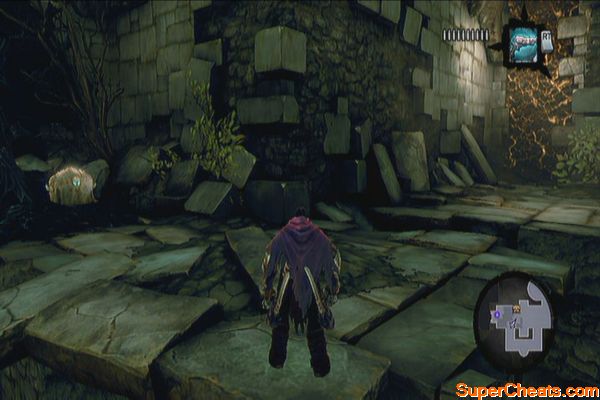
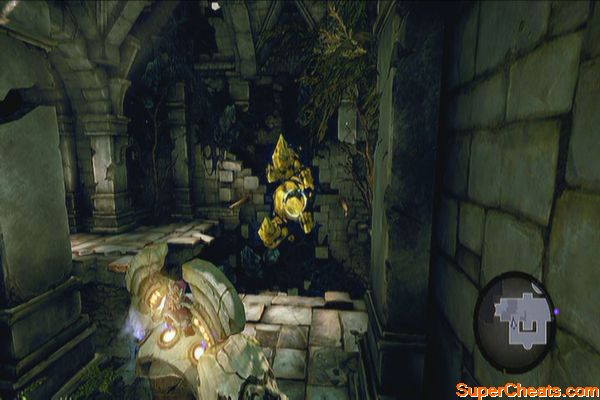
Extend the worker construct's arm and mount the chain. Make your way to the other worker construct and roll it to the hole near the edge of the ledge to unbar the door ahead. Before going straight to the door, mount the chains of the other construct again and return to get the Book of the Dead page (7). Backtrack and exit through the door this time. 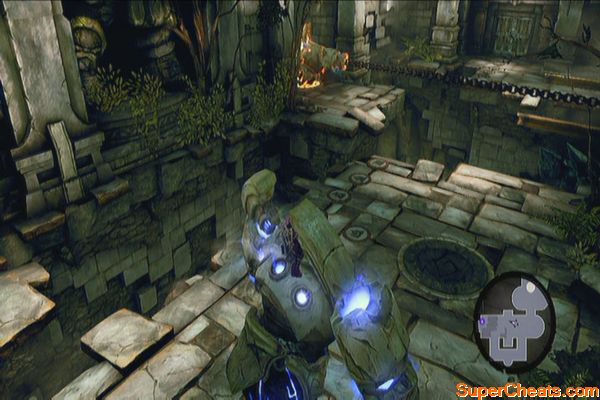
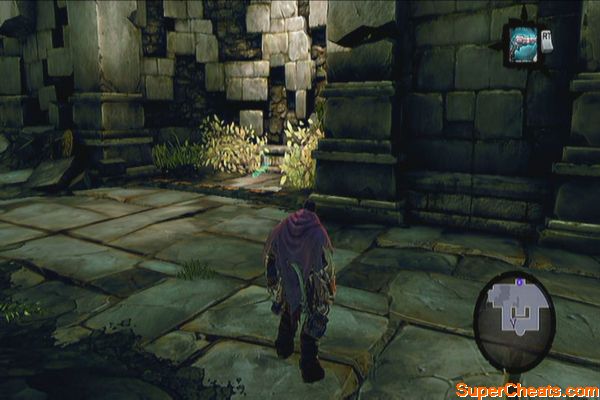
Make your way to the door north, as shown in the cutscene. Upon reaching the large area, a pack of prowlers will ambush you. After dispatching a few of them, a pair of Savage Stalkers will appear. Be careful not to get surrounded as the Savage Stalkers' combos are both damaging and almost unstoppable. Use group skills like Harvest or heavy weapon swings to damage multiple enemies at once. Don't hesitate to use health or wrath potions as necessary. 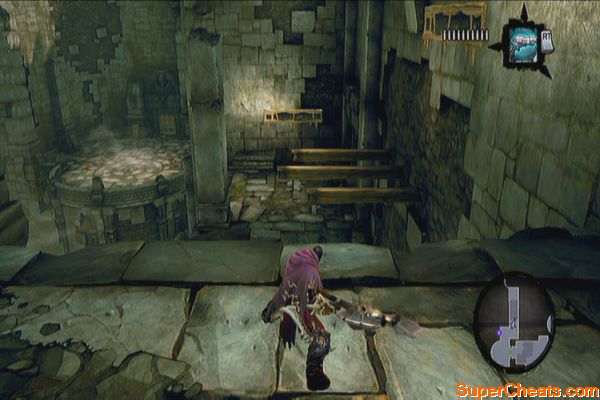
Formidable beasts
Enter the next chamber and defeat the enemies awaiting inside. Both doors are barred at the moment so climb the wall to find a ball there. Shoot the shadowbomb over the statue to dislodge the ball. 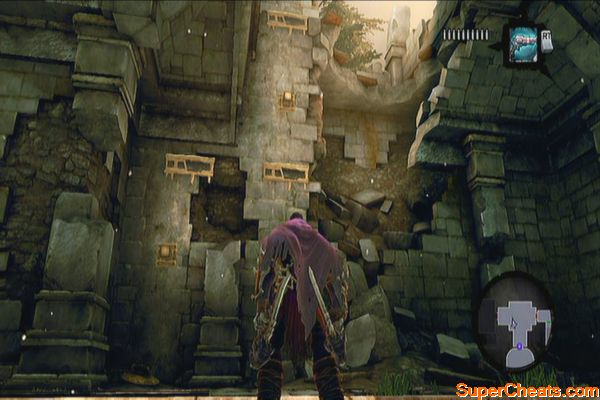
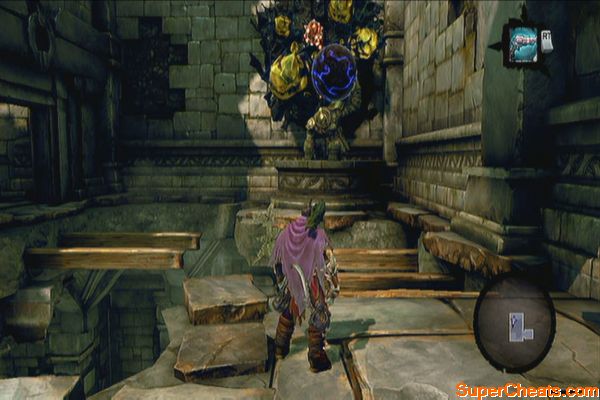
After dislodging the ball, look to the left for a Stone of Power (2). Cross the wooden beams to find a Book of the Dead page (8) to the left. Now jump down and push the ball in the slot to unbar the door to the west. 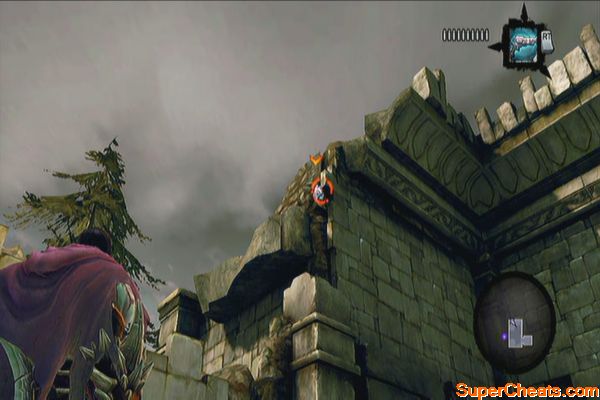
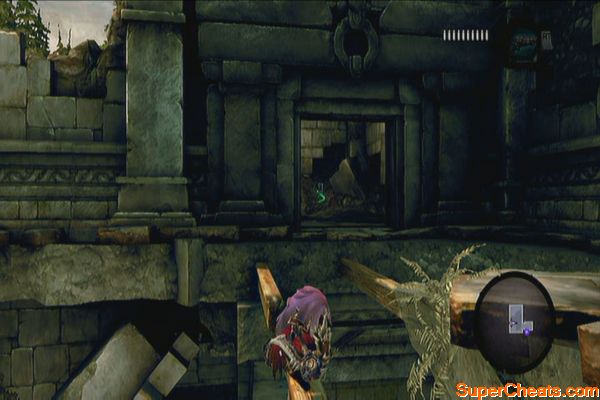
Once you enter the large hall, two Tainted Construct Champions will appear. Evade often and deliver use skills and potions as necessary. After taking out one champion, lesser tainted constructs will join the fray. Avoid getting surrounded and use your skills often until they're all dispatched.
Tainted Constructs
Destroy the clutter in the area as well to find a Boatman Coin (33). Exit and prepare for a boss fight. Continue to the arena to fight the next boss.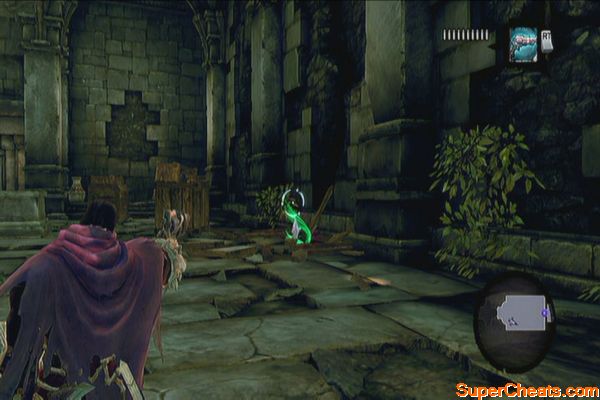
Boss: Construct Hulk
Wait for the boss to smash and the shockwave will release some volatile shadowbombs. Quickly grab one, focus then throw it to the Hulk. The explosion will temporarily dislodge its core, making it vulnerable to attacks. While its core is exposed, lesser constructs will spawn as well. Try to deliver solid skill strikes on the core to avoid getting interrupted by the lesser constructs. Repeat the process until the boss is defeated.
Construct Hulk
Climb the stairs and loot the four chests on both sides. Next, activate the Warden to clear the dungeon. Return to Tri-Stone. 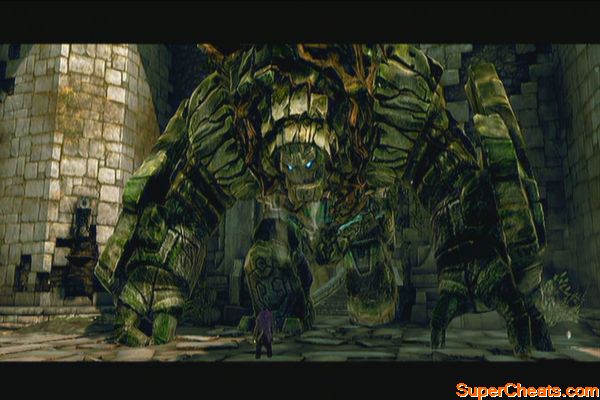
Tri-Stone
Talk to Eideard to complete the quest.
The Foundry
Head south of the Forge to find the Warden outside. Talk to him to create a bridge for you to cross. Karm will accompany you in this dungeon and will help you explore as well as fight enemies. 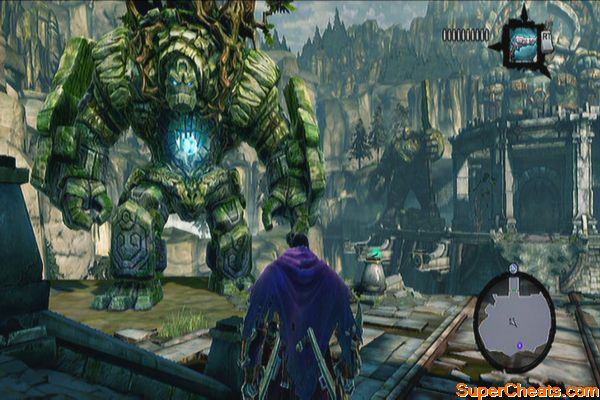
Before entering the Foundry's entrance, head to the left to find a chest behind the statue. Next, head to the other side to find a Boatman Coin (34) behind the statue. Enter the Foundry when ready. 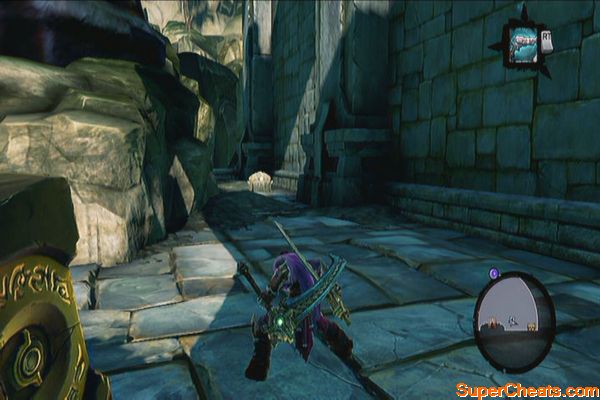
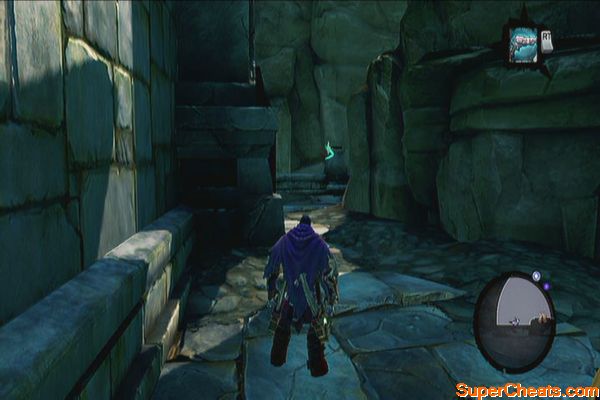
As soon as you enter, stand still first and look at the passing cauldrons. Wait until a stonebite appears in one of the cauldrons and shoot it to collect the Stone of Resistance (1). In case you missed it, you can just wait until the cauldrons recycle and pass by again. Jump to the shallow waters to the east to loot a chest.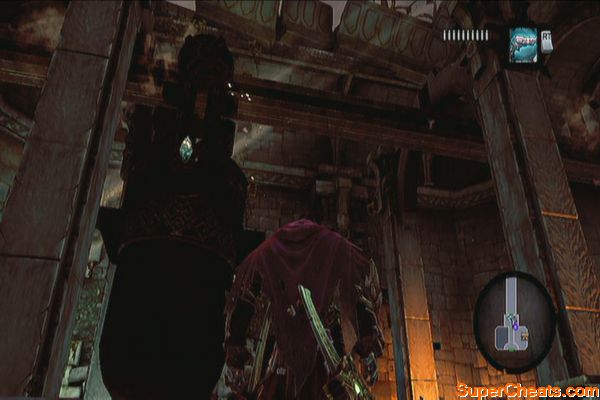
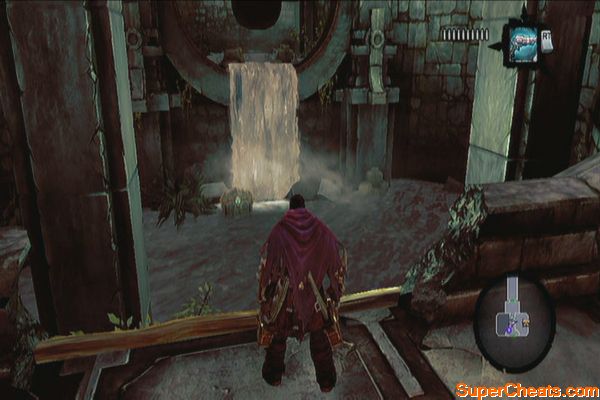
Walk around the circular passage, past the narrow corridor and to the dead-end. Here Karm will offer to toss you over to the other side. Do so in order to proceed. Next, wall-climb via the peg nearby then go around the corner using the hand-hold. Drop down to the wooden beam below and wait for a cauldron to pass. Jump to grab hold of it then face the left side. Wait until you pass the stone pillar then jump to land safely on the ledge. Loot the chest afterward. 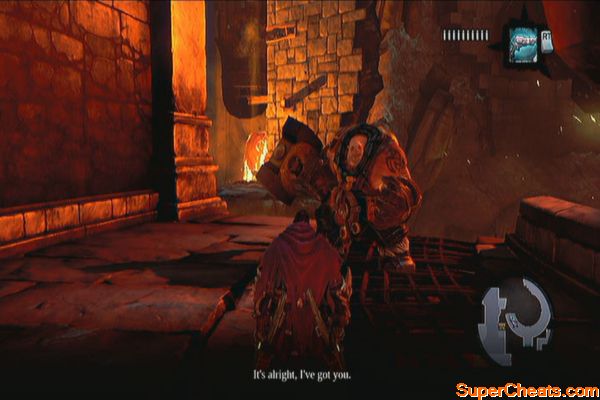
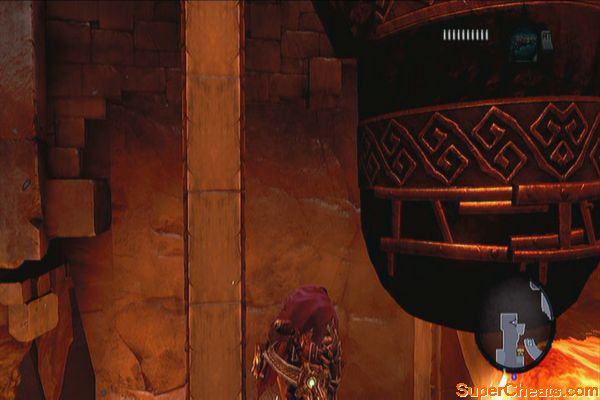
Wall-run to the other side and destroy all constructs. Pull the lever to unbar the door then continue forth. In the next room, find the iron pressure lever and step on it to open the massive metal gate. Wait for Karm to enter and position under the other metal door and jump off the lever. Enter through the door Karm is holding up. 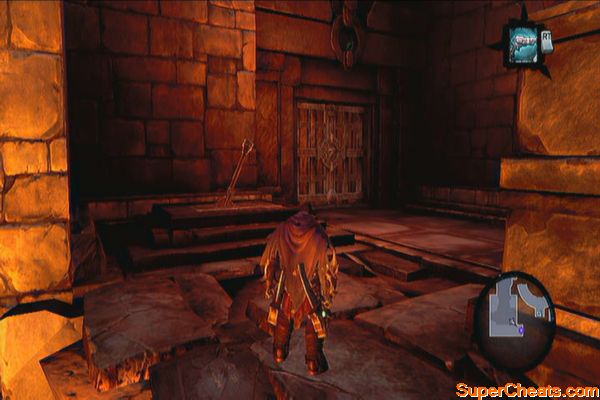

Take the northeast passage and destroy tainted constructs along the way. Continue following the path until you reach a large lift in the middle. Proceed to the room to the east and have Karm heave you over there. Before jumping down, loot the chest near the eastern wall. Jump down the pool in the middle next. Next, swim to the north to find a Boatman Coin (35). Exit the water by swimming up to the northeast. 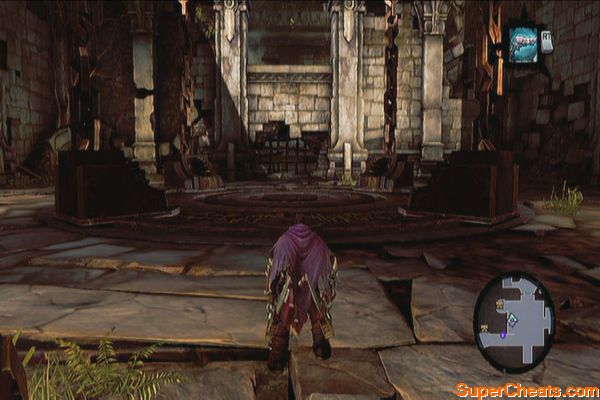
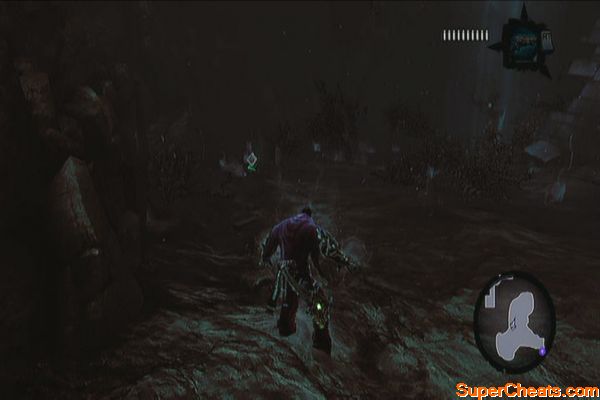
You'll be in a room with a blue ball. Ignore it for now and continue to the other side. Swim again and follow the path until you find two underwater paths; take the northwest path to reach chest. Backtrack and take the other path to exit out of the water back to the room with a pressure plate. Step on it so Karm can hold the door for you, then push the ball out. 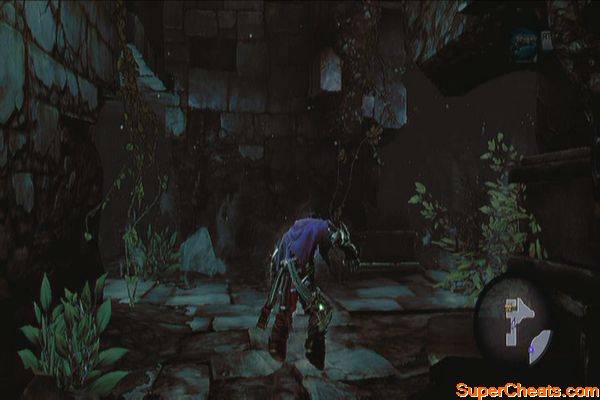
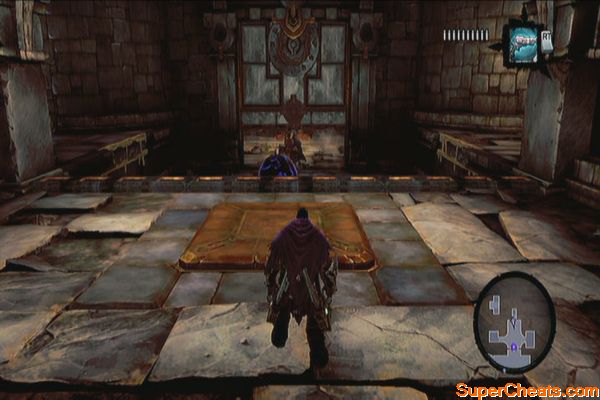
Roll the ball towards the circle on the wall. You need to push the ball towards it and allow it to run over as many glyphs along the way. If done correctly, the circle will glow red-orange and the lift will rise. Otherwise, it will just glow blue for a few moments and will power off completely. When this happens, step back and bit and push it using RT as far as you can. 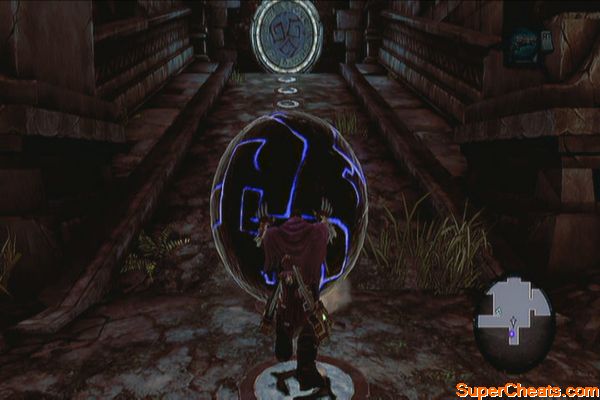
Power up the worker construct and more enemies will appear. Use the powerful attacks of the construct to dispatch all the enemies quickly. Once cleared, aim for the crystals on the northwest ledge so you can reach the chest inside. 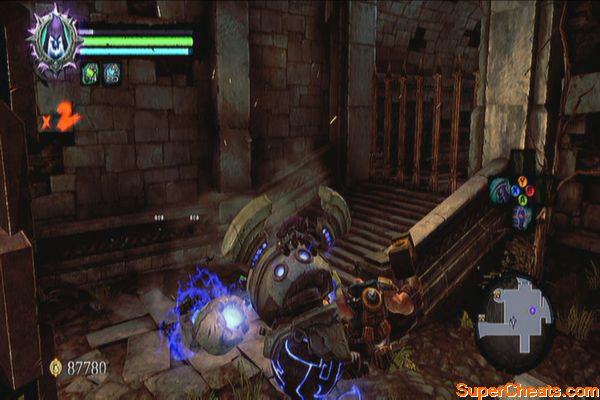
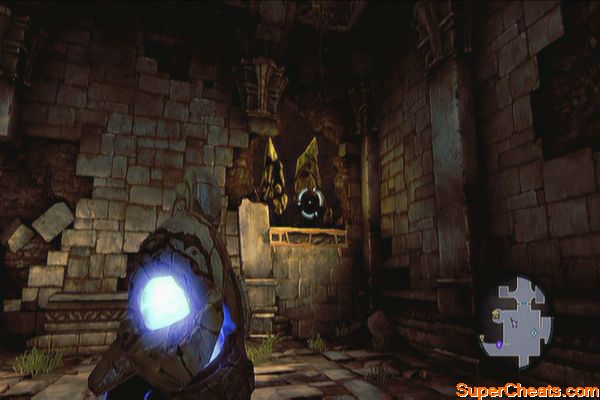
Roll the construct along the crystal-filled cavern and exit to the northwest. Continue heading west so you can park the construct in the hole on the floor. Aim for the plate across and extend its arm so you can mount the chain. Follow the chain until you can jump off the vine-covered wall to the left. (Ignore the chest in the other side for now) Climb up and jump across the hanging posts to reach the next ledge. 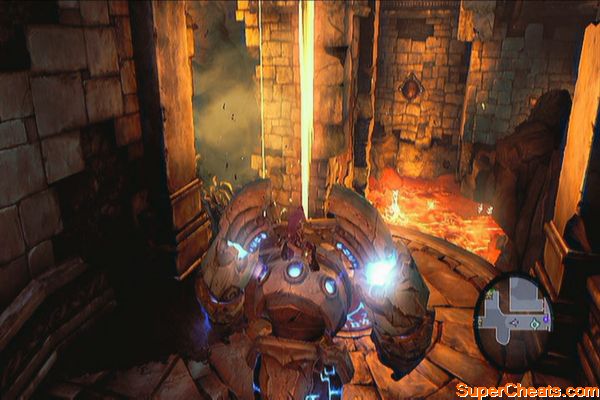
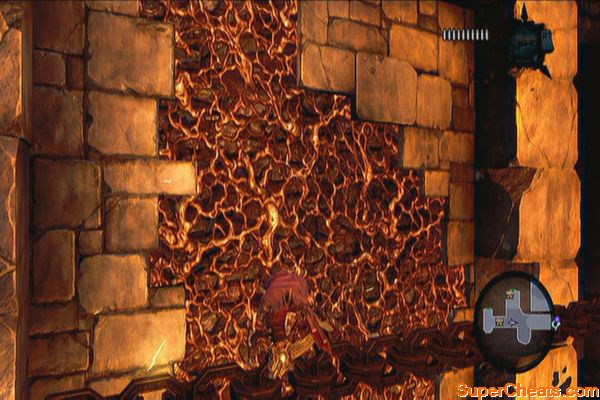
In the next room, wall-run to the corner and stop by the hand-hold. Wait for the lava flow to stop before running across. Enter the next room and prepare to repel the enemy ambush. After dispatching the lesser constructs, you have to defeat a Tainted Construct Champion next.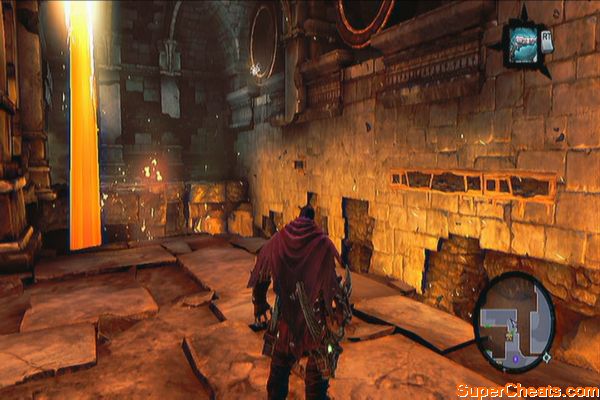
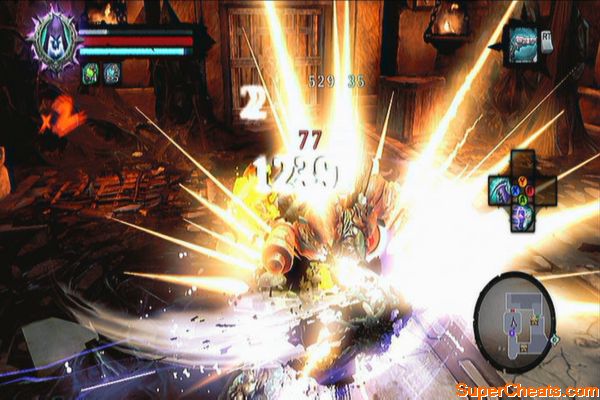

Exit and grab the skeleton key at the end of the path. Jump down the chain and make your way back to the locked door in the previous chamber, leaving the worker construct in its last position. Continue up the staircase until you reach another room. Approach the edge and allow Karm to toss you to the other side. 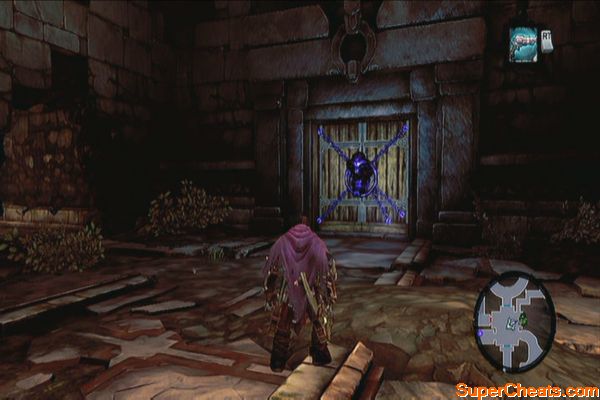

Defeat the two constructs that will attack you then loot the chest to the lower northeast corner for a Dungeon Map. Enter the door and attack the object in the middle to acquire the Deathgrip ability. This skill is similar to a grappling hook; if there are any rings where you can use the Deathgrip, they'll glow purple so you'll know. 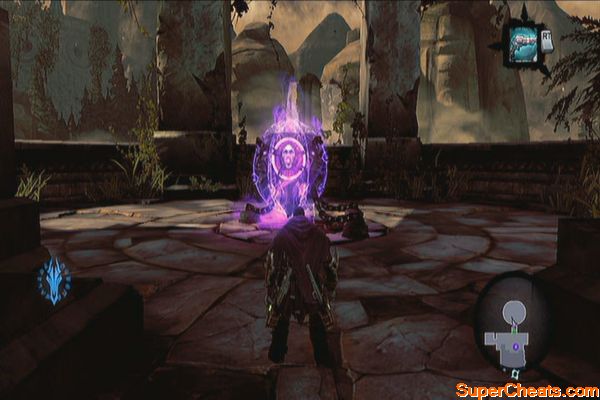
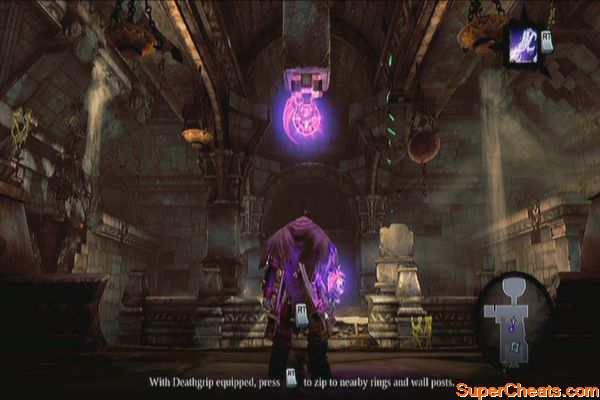
Before leaving the area, peek over the edge to find a purple ring in the lower area, with a hand-hold above it. If you're in Karm's side, you can jump and keep using Deathgrip while falling until it connects. Otherwise, you just have to drop off from the ledge and do the same thing until your Deathgrip connects. Follow the path and destroy the two enemies, then use the deathgrip to scale the wall. You should find another Book of the Dead page (9) here. 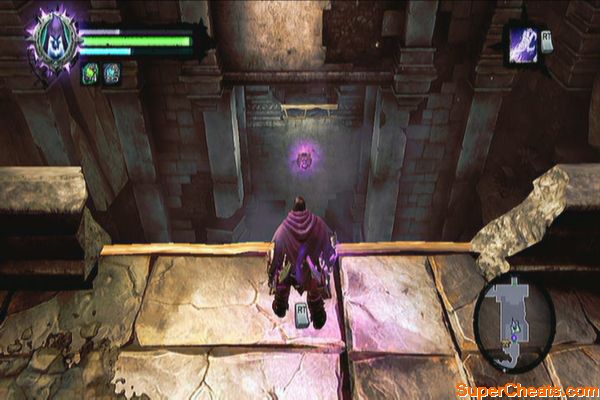
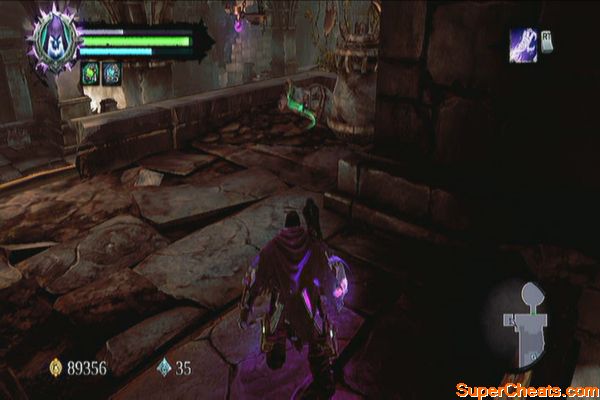
Regroup with Karm and return to the stairwell. Before going downstairs, pull a shadowbomb across the gap to destroy the crystals and for you to loot the chest. 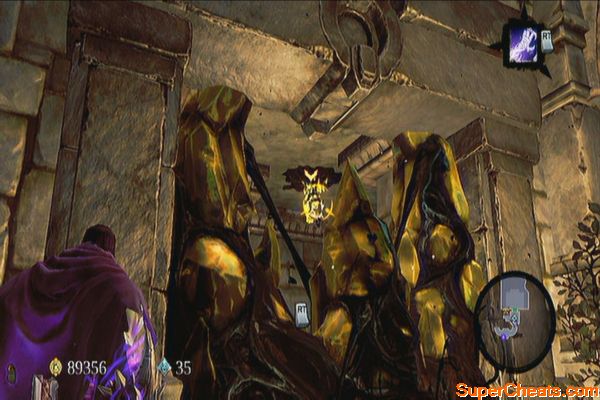
Now you have the Deathgrip, you can now fully explore the area and collect all heartstones. Return to the worker construct and mount its chain again. Turn to the right to find a ring which will glow purple if you have the Deathgrip active. Use it to loot the chest across. 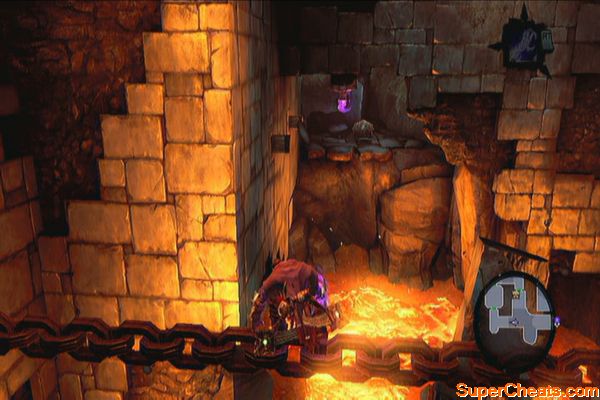
Wall-run and jump to return to the chain then leave the construct behind. Head to where the Guardian is and go to the west. Destroy all enemies then grab a shadowbomb from the wall and throw it to the switch to proceeed.
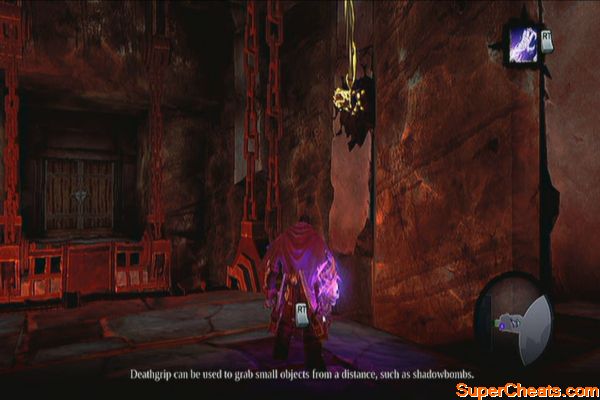
In the next room, turn left and cross the wooden beams to reach a lever. Pull it to raise one half of the drawbridge. Turn around and wall-climb on the wall to hop on a wooden beam. Walk to the tip of it, jump and use the deathgrip to grab on the ring on the ceiling so you'll grab on the vines. 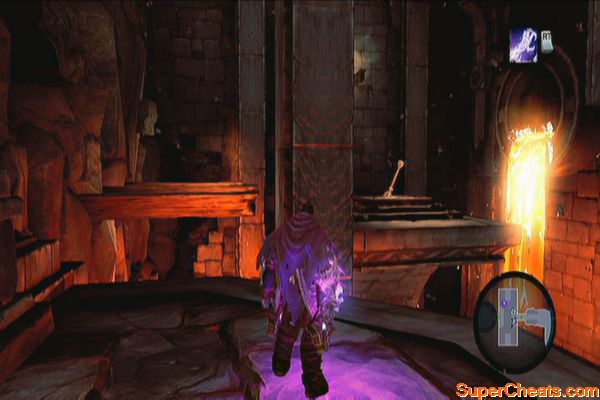
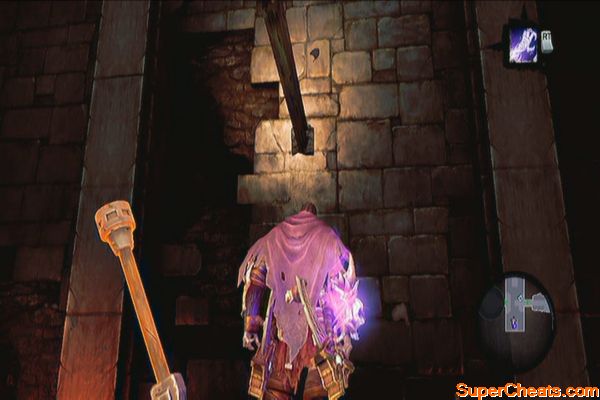
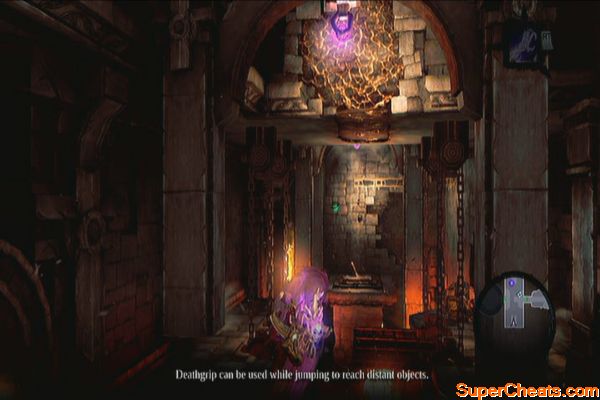
Move at the end of the growth and drop. Immediately press RT to use the deathgrip and reach the second lever. Pull it to complete the drawbridge. Wall-climb on the wall then use the hand-holds to the right to reach the main path. Head to the next room and pull the lever to activate the lift. Exit through the next hallway.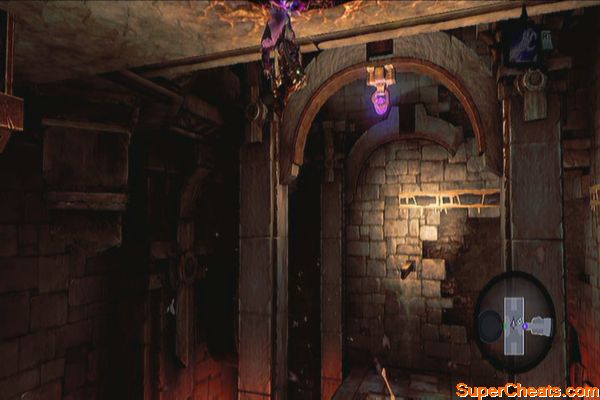
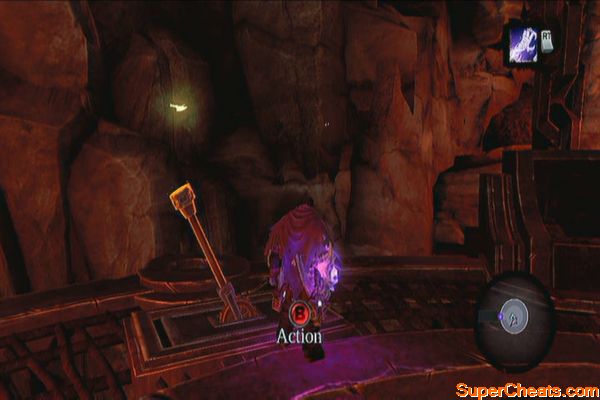
Allow Karm to toss you to the other ledge. Cross the beams and wall run to reach a pressure plate. Before stepping on it, turn around and use the deathgrip on the hook. This will lead you to a hidden chest in a nook. Step on it to lower the gate then press RT again to use the Deathgrip on Karm. He will toss you again to the other side. 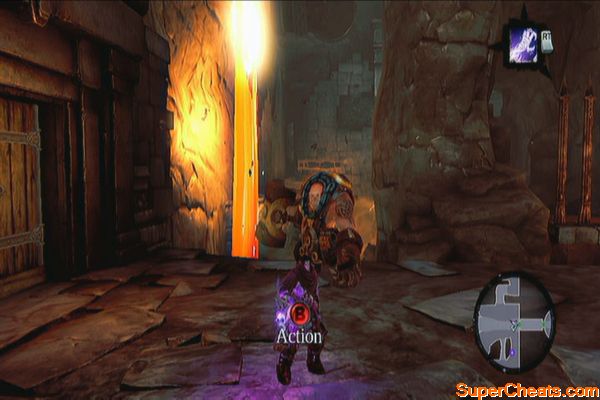
Scale the walls again to the left then jump as soon as you corner. Once your run has been stopped by a hand-hold, climb up another hand-hold to find a chest. 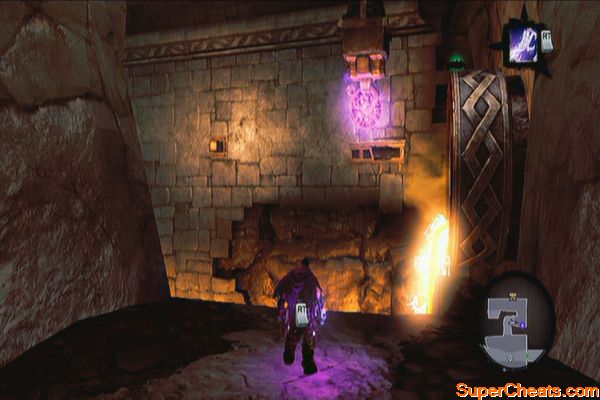
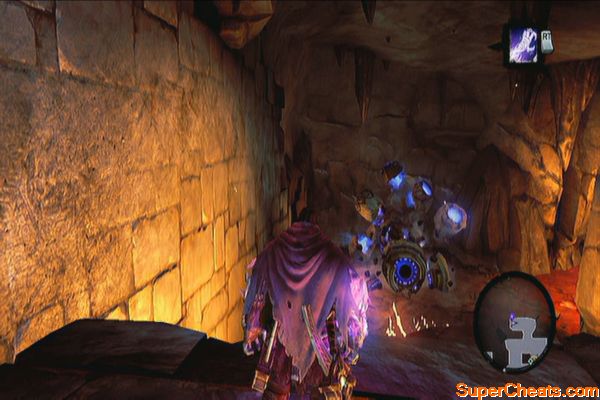
After looting the chest, wall-run again until you grab a post. Back-leap to the nearby posts and drop off to the next ledge. Wall-run again towards an unactivated worker construct then wake it up. Ride the construct across the lava then grab the chest along the way. 
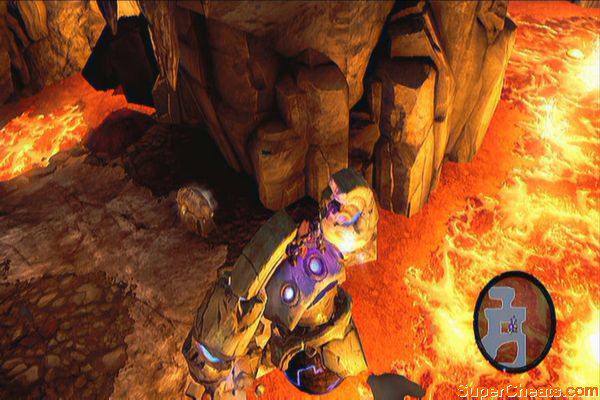
Head southwest to destroy the crystals then continue to the corner until you find a hole where it can park. Aim for the plate and extend its arm so Death can mount the chain. Follow the chain up and use the handholds to reach the upper level. Destroy the clutter if you want then use the Deathgrip on the heartstone.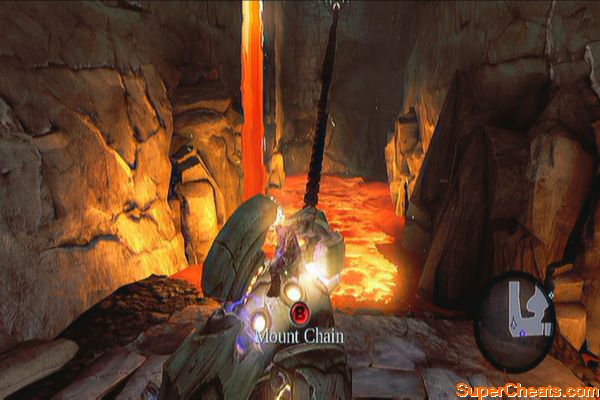
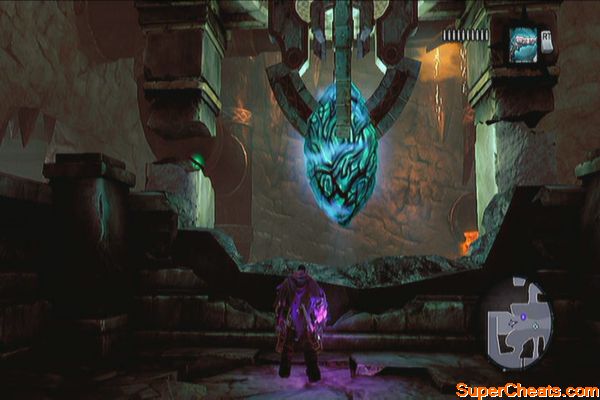
Now return to the lift and pull the lever again. During the ascent, enemy constructs will attack you. Stay close to Karm and he'll use the massive heartstone to create heavy, area-of-effect attacks that can easily crush the opposition. Keep doing this until the lift ride is over. Return to the Guardian and Karm will automatically put the stone back. 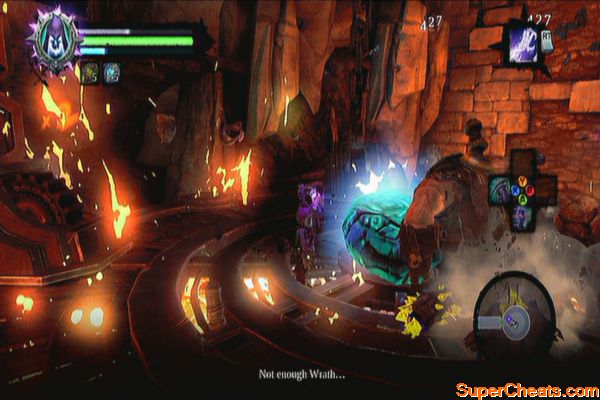
A new path will become available for you. Use the deathgrip on it to reach the other side. Enter the dry tunnel afterward. Follow the tunnel and ignore the Boatman Coin across the gap for the meantime. Follow the next pipe to reach a room with a pressure plate. Step on it and wait until Karm positions himself under the door. Step off the pressure plate and go through the door while Karm is holding it open. 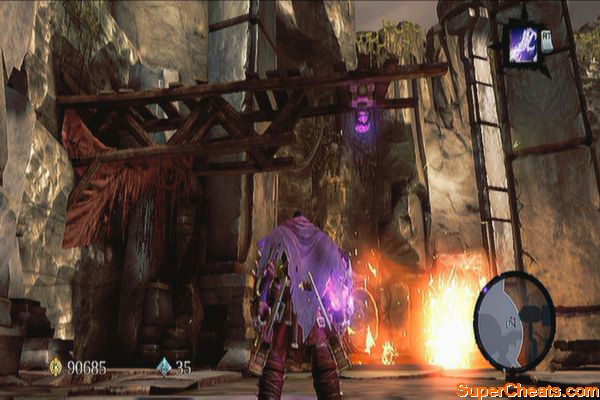
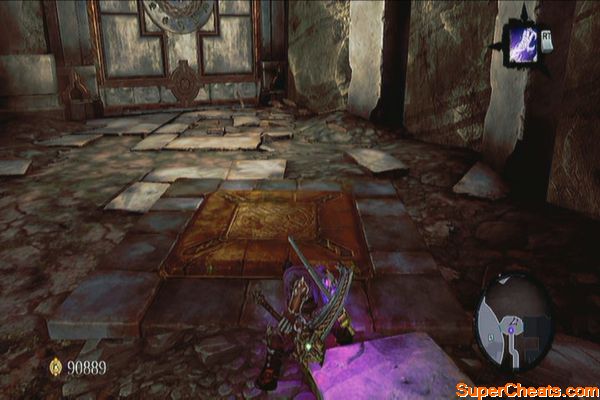
In the large room with water, ignore Karm's offer to toss you for now; jump to the water and swim south a bit. Turn around and you should find a peg on the wall. Wall-run on it and follow the hand-hold around the corner then wall-run to a post and drop to the ledge. Follow the tunnel and you should be back in the same room where the out-of-reach Boatman Coin (36) is. Grab it, return to the previous room and have Karm toss you across. 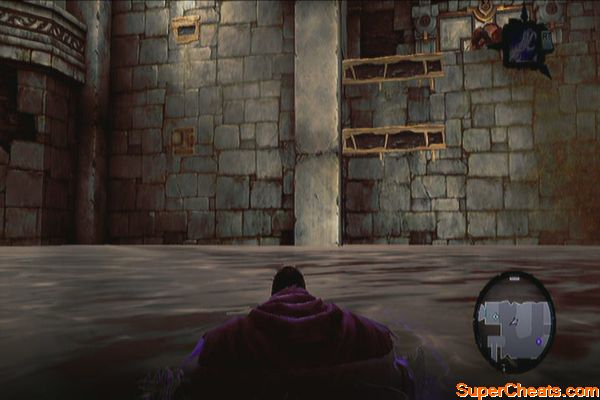
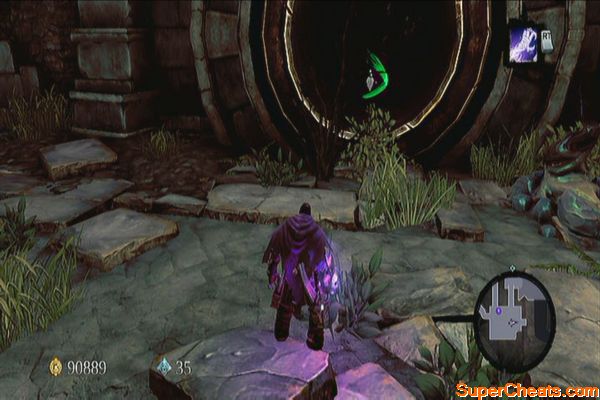
Use deathgrip to get across to the next ledge and follow the path to the wide, open area with a worker construct. Before activating it, check the northeast corner of the room and destroy the objects there to find another Boatman Coin. (37) Activate the construct and park it in the nearby hole. Fire a chain towards the plate across then jump off and turn the nearby lever to raise the construct. 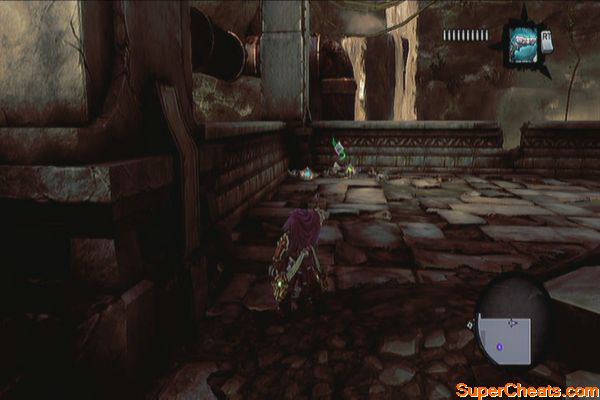
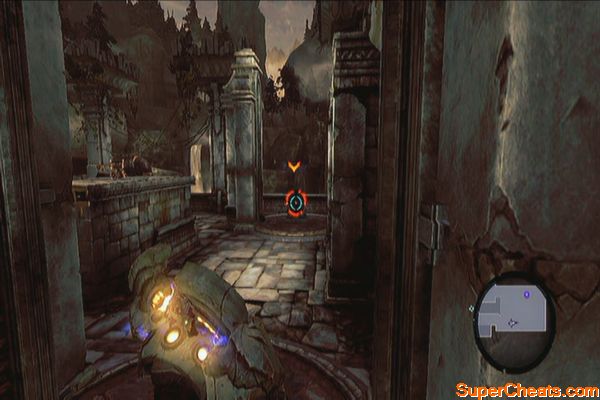
Now release the lever and quickly wall-run on the wall to the left, with the hand-holds. The raised platforms will slowly descend so make your way up then mount the chain. Run to the right then jump to reach the higher hand-hold. Climb the vine, then wall-run to the other side and corner down to the right to reach another vine-covered wall. Drop down and you should be able to access the lever ahead. Pull the lever and it should raise three bridges. 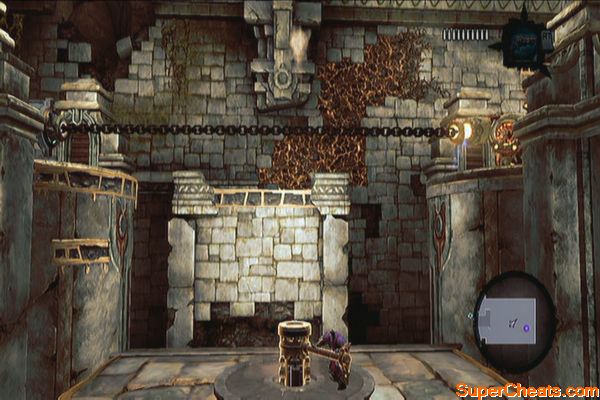
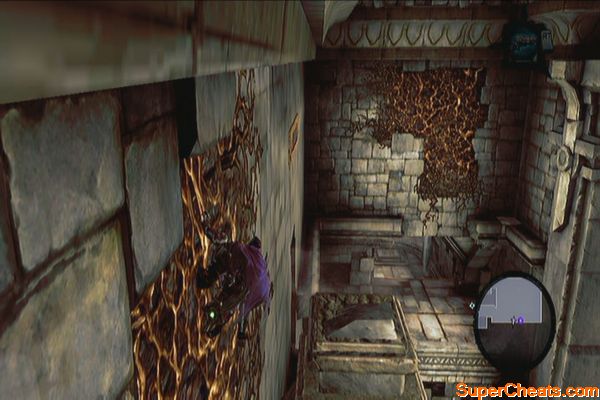
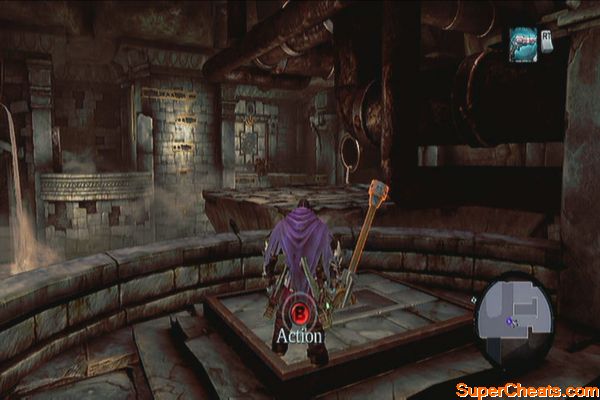
Backtrack and mount the consruct. Detach the chain and ride to the next room. Head south and have it destroy the crystals along the way. Continue clearing the path until you reach the next area where the second heartstone is located. More enemies will attack so take care of them easily with the help of the construct or give them an old-fashioned beating with your own hands. 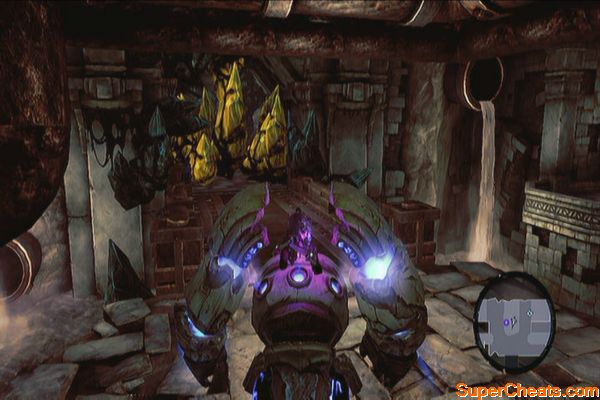
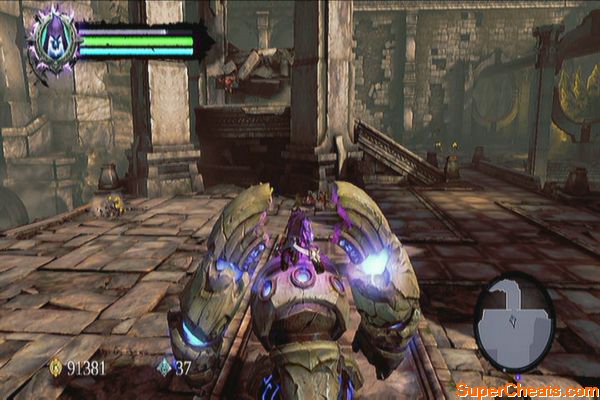
Dismount the construct and ignore the lever for the meantime. Dive to the water past the lever to get a Boatman Coin (38) near the opening of the tunnel. 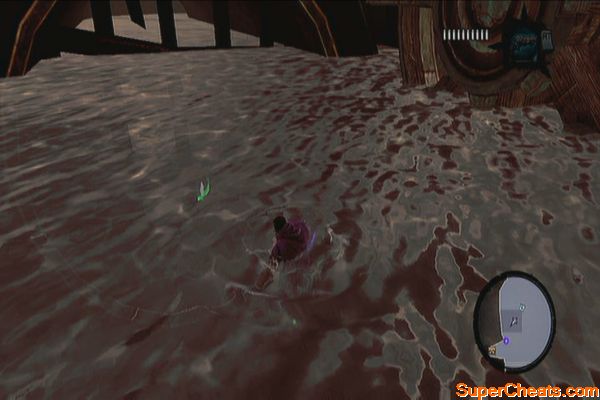
Next, swim to the northeast until you find some vines on the wall. Climb it up then use the hand-holds to go to the right until you can't go any further. Wall-climb then use the deathgrip to reach the higher vines. Continue up to reach the next area. 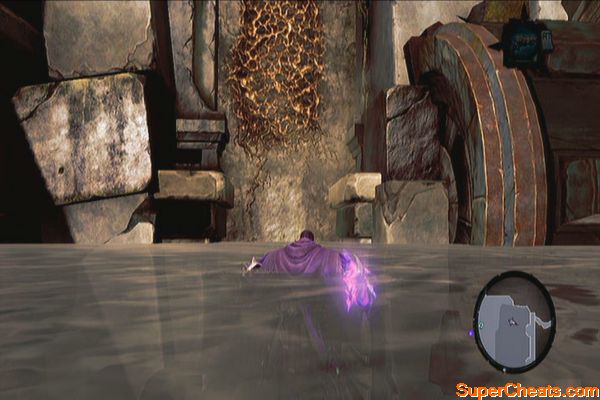
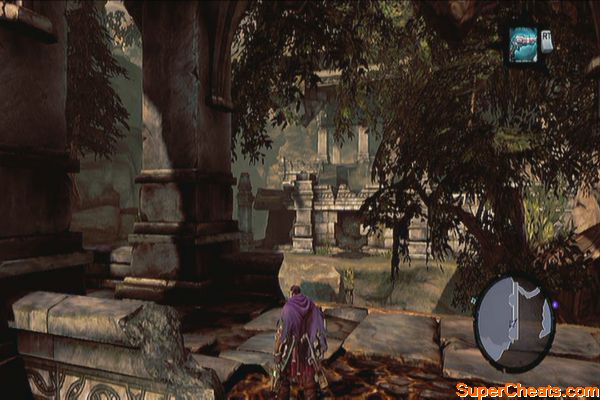
Before jumping off the water, run to the north and follow the trail to the left to find a chest. Now peek over the edge of the cliff and you should immediately see an underwater Boatman Coin (39). Dive down and collect it.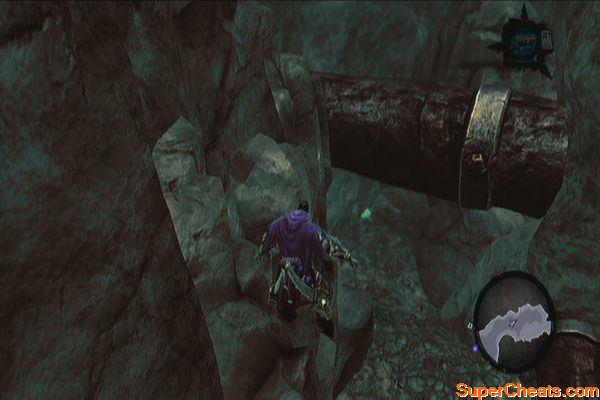
Swim up find a wall with a deathgrip hoop. Jump and scale the wall up until you reach a hand-hold. Now wall-run to the right and back-leap to reach another cliff. 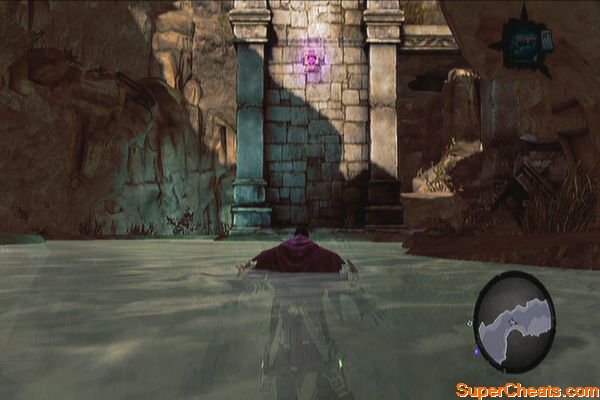
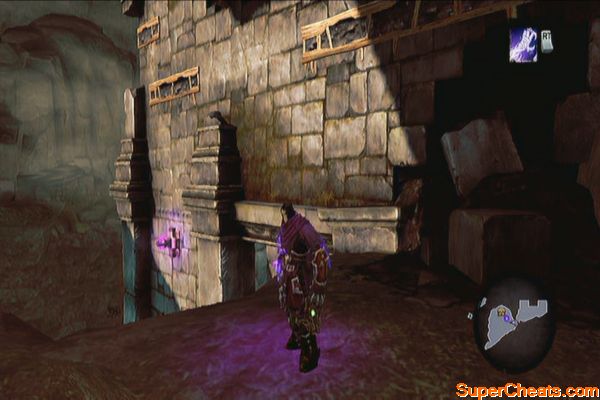
Climb the next platform and defeat the prowlers. Destroy all the objects in this floor to reveal another chest as well. Backtrack to the hand-holds then head to the left this time and go around the corner. Wall-run to the next hand-hold and use the deathgrip to reach the other ledge. 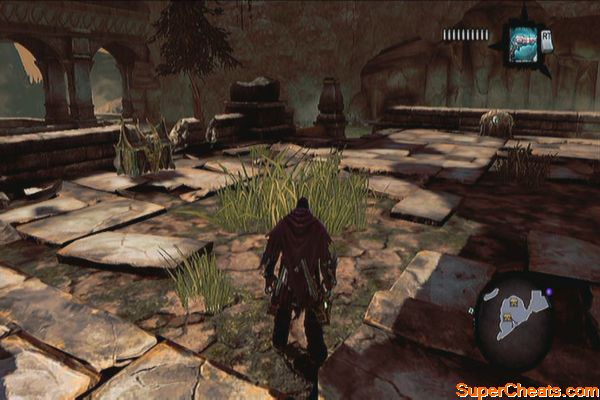
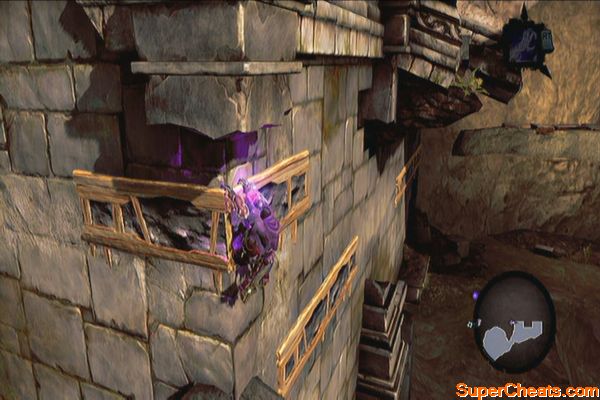
Activate the lever there to release a torrent of water that will run the machines in the previous area. Your task in this area is done so jump in the water and swim back to the west. Use the deathgrip to get out of the water and regroup with Karm.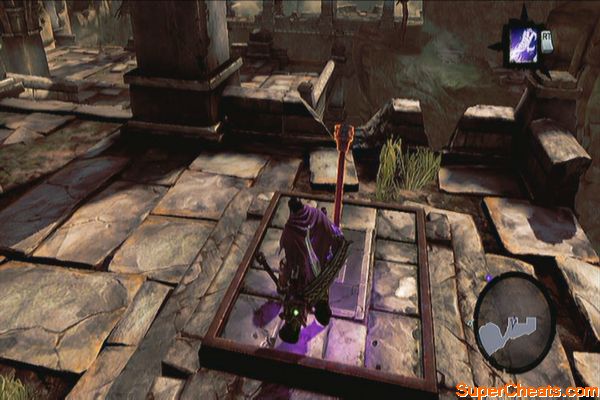
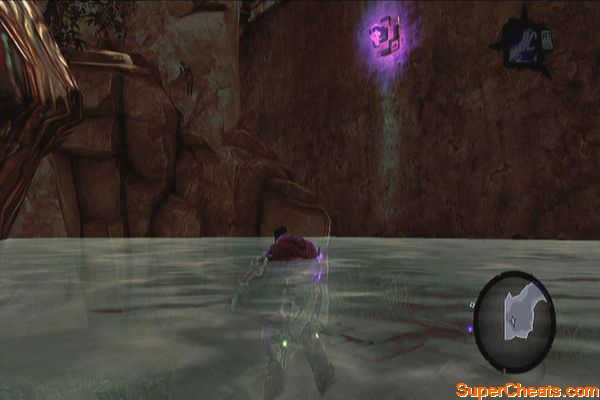
Head to where the cauldons are moving and you should find a group of crystals above a ledge. One of the passing cauldrons should have a shadowbomb latched underneath it. Wait for it, grab it using the deathgrip and throw it at the crystals. Karm will toss you over then open the chest for a skeleton key. 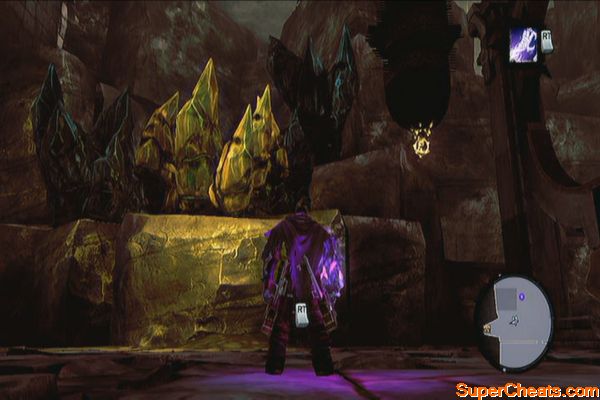
Next, backtrack to the worker construct and mount it. Then, park it in the crusher, then activate the lever to crush it. This will allow you to retrieve the ball that used to move it. Use the skeleton key to open the gate to the south and bring the ball there. 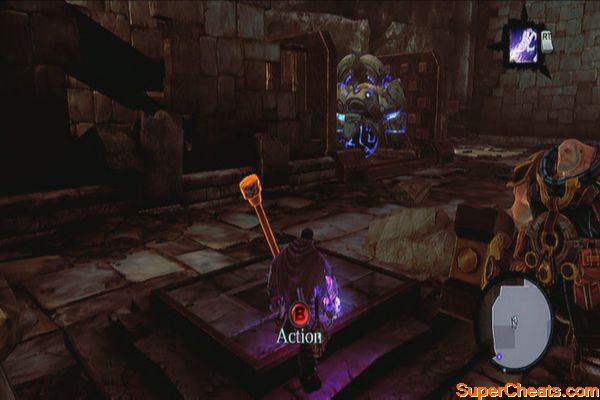
Defeat the Earth Crag that will appear and place the ball in the hall to open the gates. Make sure to destroy the objects in the area as well to retrieve random loot. 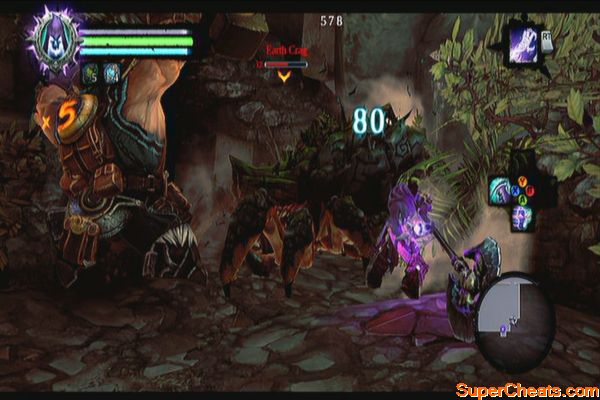
Perform a vertical wall-bounce to reach the top then shimmy around the corner. Drop off then follow the path. Destroy the objects along the way if you want then proceed to the heartstone. Use deathgrip to mount the stone and dislodge it. Karm will pick it up and make your way back to the guardian. 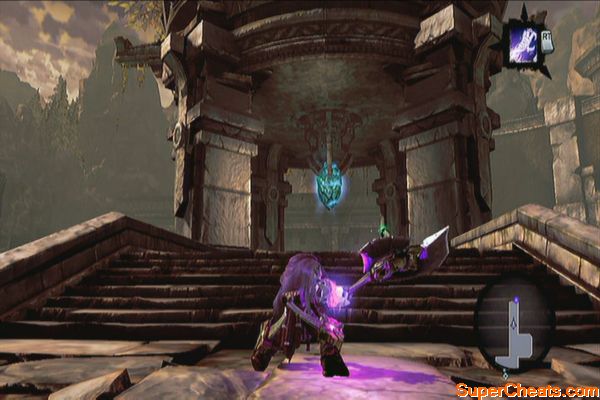
Along the way, you'll encounter Nightmare Prowlers. Take them out until you're back in the large room with interconnected bridges. The large metal door will block your progress so you have to jump to the water and use the hand-holds to the left. Drop off to the other ledge and follow the tunnel. Cross the now flooded canal and enter the next tunnel to reach the pressure plate that will open the large metal door. Let Karm pass then backtrack to the guardian area using the tunnels you first used to get here. 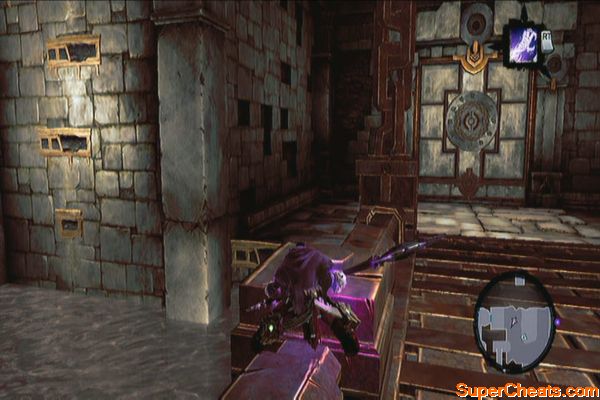
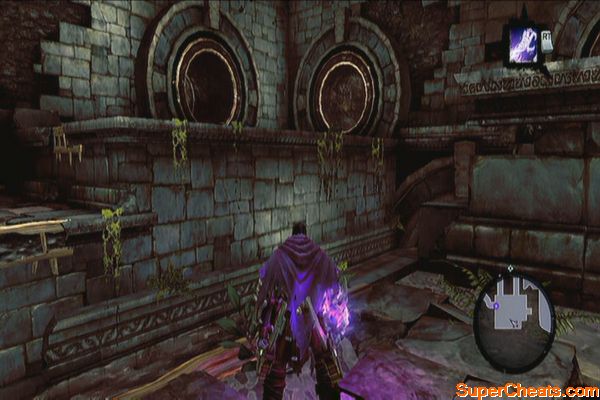
Now head south and allow Karm to toss you over the gate. Find the lever inside and pull it to lower the gate. Head outside next and activate the worker construct. Ride it and clear the path until you reach the third heartstone. Park it in the hole to open the gate in the upper ledge. Wall-run to reach the upper ledge. 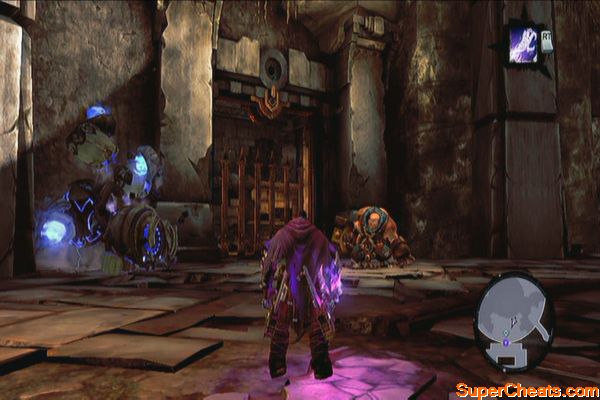
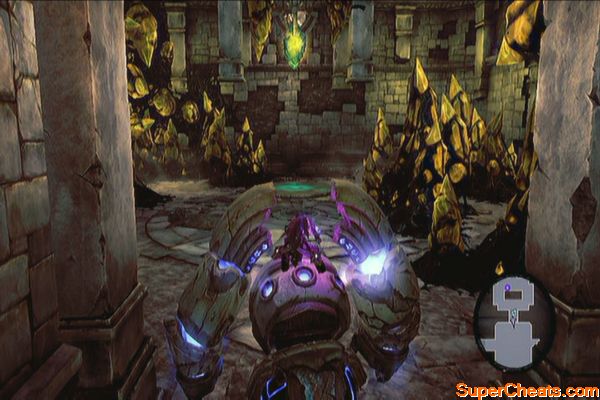
Use the deathgrip to swing to one of the hanging posts. Look to the left then jump to the other post there. Next, jump to the one in the middle, then jump again to reach the other one by the wall. Next, wall-run then use the deathgrip to extend your wall-run. After reaching the ledge, continue forth and the heartstone should be within range. Deathgrip on it and to start the next battle. 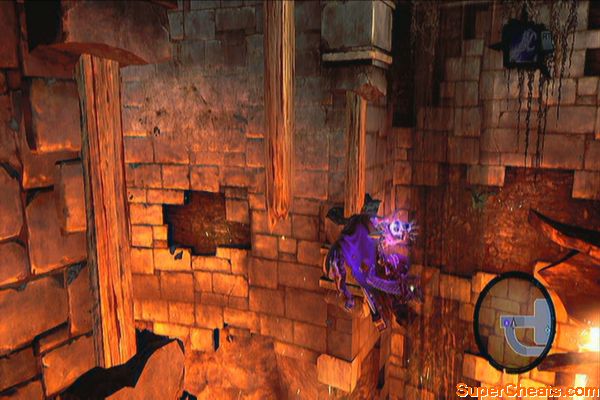
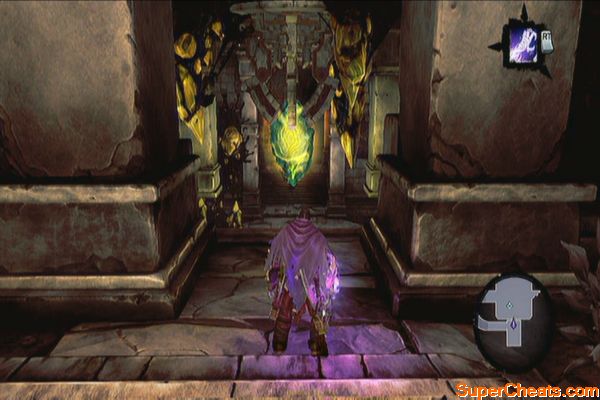
Boss: Corrupted Custodian
This boss's attacks are slow but dreadfully powerful. Evade when you can, then use the deathgrip to pull yourself towards it to quickly close the gap and perform a counterattack. Be careful of its spinning attack as it deals continuous damage when you're caught in the midst of it.
Corrupted Custodian
Head back to the guardian and go in front of it to place the third heartstone. Watch the next scenes. After your quest gets updated, head to the north and use the narrow passageway that exits out to the large circular room where the massive hammer is. Exit the dungeon and make your way to Tri-Stone then to the Stonefather's Vale.
Boss: The Guardian
For the first part of the battle, you'll be riding Despair. Run around and wait for the guardian to smash its hammer down. Before it hits you, charge away to avoid getting damaged. Use this chance to manually aim with Redemption and shoot at the shadowbombs stuck on the Guardian's arm. The explosion will temporarily weaken the guardian and bring one of its heartstones within reach. Switch to Deathgrip and grab the heartstone to pull yourself towards it; attack it like crazy afterward.
Against the towering stone
Once that arm is severed, the Guardian will now shoot a large, homing spike ball. Shoot it with Redemption until its energy bar is down. Once it stops and floats in the air, quickly run towards the Guardian and lure the ball towards the Guardian's legs to weaken him. Look for the reachable heartstone then pull yourself towards it using deathgrip. Repeat the process until the Guardian is weakened. Watch the following scenes, and the mission will be completed after this battle.
Taking down the mountain
Before heading to the Tree of Life, there are a lot of stuff you can do first while you're in the area.
The Crucible
After the scene, you'll receive a new mail. Check it from the tome and you'll find “Gift from Anonymous”. Read it and you'll receive The Fool card. The Crucible appears in the lower left corner of the map. You can fast-travel there and try out the challenges if you want. Take note that you should download or redeem the Crucible Pass in order to use this feature. 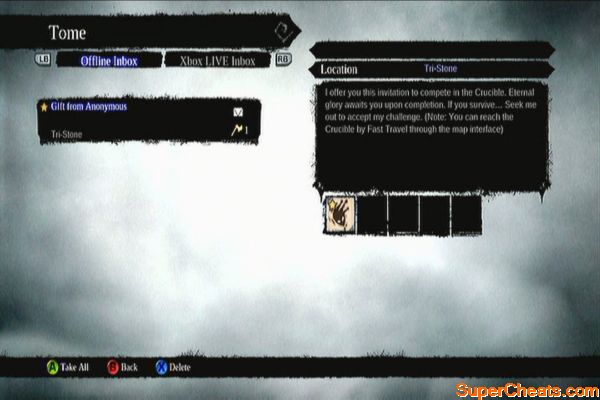
Death Tomb 1
By following this guide, you should have obtained at least 10 pages now. 9 can be acquired through main story missions while 2 can be found in optional areas. One is in the Weeping Crag and one is found in the Shattered Forge.
After getting your 10th page, it will automatically form a chapter. Surrender it to Vulgrim to get a key for the first Death Tomb. Fast-travel to the Lost Temple and look for the colored door there.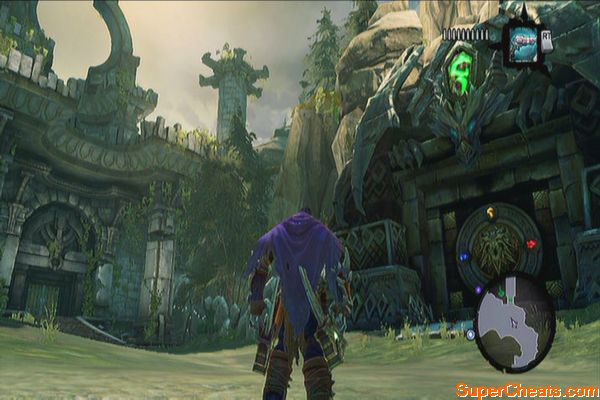
Loot the chests inside. Destroy the weapon racks as well to get more weapons. Finally, drag the stone block in the middle north to get the Blade Master Talisman. 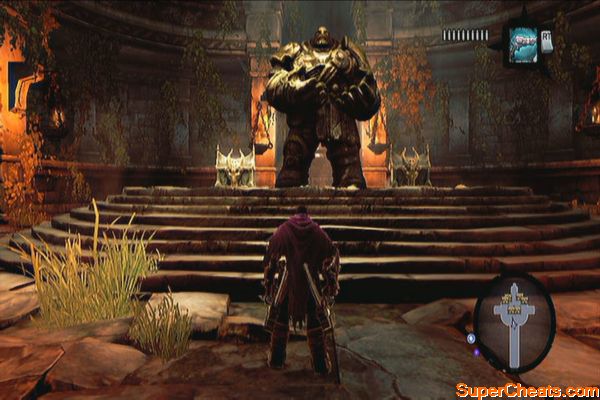
Baneswood Ruin
Head to the ruins in the middle of the map to the east. Climb up the northern half of the ruins then cross the wall in the middle using an extended wall-run with the help of the deathgrip. This will allow you to reach the other half of the ruins. Loot the chest and follow the ledge around to find a Boatman Coin. (40)
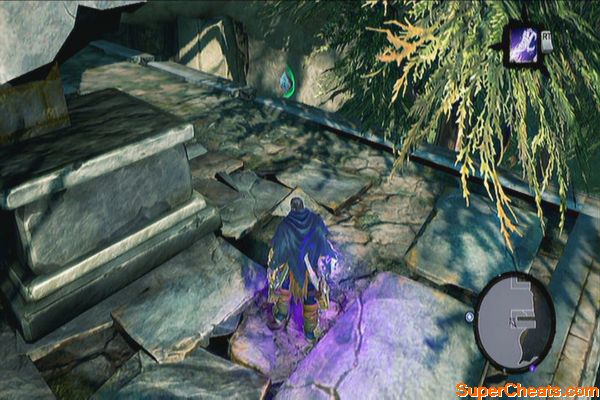
Fjord Chests
Head to the Fjord and go the harbor ruins which you can't explore earlier. Check the eastern side of the ruins and you should find the deathgrip hoops there. Scale the wall to reach the balcony and defeat the prowlers. Peek over the edge to find a Boatman Coin (42)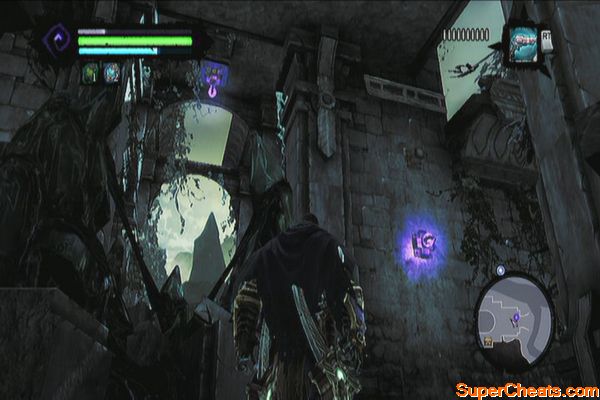
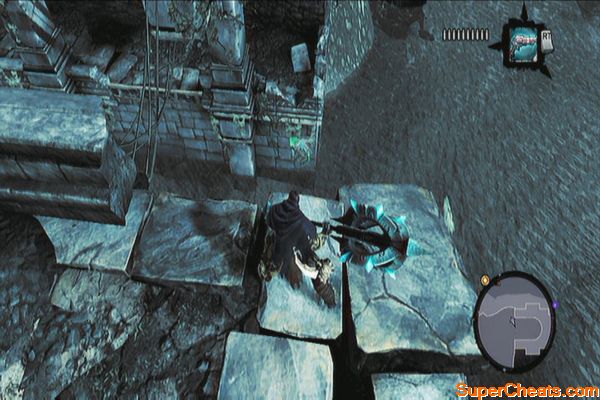
Backtrack and go around the balcony to find another deathgrip hoop in the middle. Cross to the other side and loot the chest to the south. Backtrack to the middle and jump down to ground level to reach another chest. 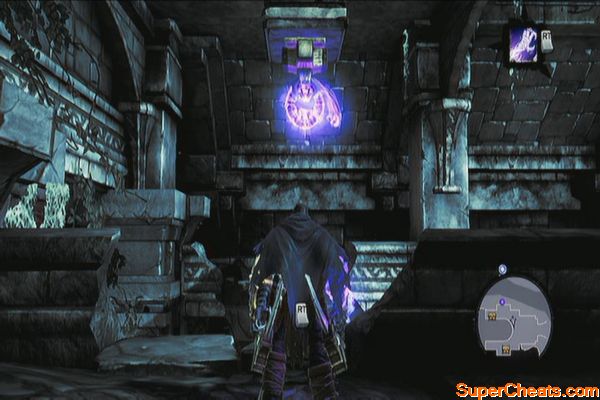
The Weeping Crag – Defeat Gorewood
You can now fully explore the area and defeat Gorewood. Refer to the Side Quests section of this guide for more information.
The Nook – Defeat Bheithir
You have explored most of this dungeon on your way to the Lost Temple. You can get a Book of the Dead page here, a Boatman Coin and fight Bheithir. Refer to the Side Quests section of this guide for more information.
Shattered Forge – The Hammer's Forge quest
Refer to the Side Quests section of this guide for more information.
The Spark of Life quest
Though you can't complete this at the moment, you can start this quest by talking to Muria in Tri-Stone and asking her about constructs. 
At this point, the collectibles in your possession should be:
Stone of Mystics: 15
Stone of Power: 4
Stone of Resistance: 1
Boatman Coins: 42
Book of the Dead pages: 12
When all of that stuff is done, you may now proceed north of the Stonefather's Vale and ride to the Tree of Life. Just follow the straightforward path and the quest will be complete as soon as you reach it. 
Talk to Ostegoth and ask him all the questions to learn more about your current predicament. You can also check his wares and he will give you a new sidequest. (Lost Relics) Head south and summon Despair once you're able. Continue riding south to the Craglands until you reach Leviathan's Gorge. Head to the east first to find an Etu-Goth relic (1) at the end. 
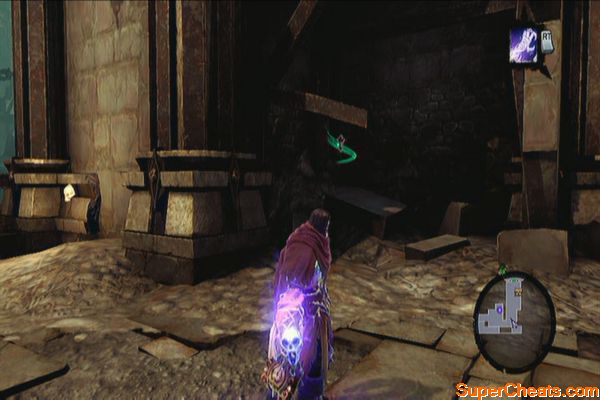
Cross the bridge and ride to the southeast to register the Lair of the Deposed King dungeon in your map. Turn to the west next so we can loot a treasure chest before moving. You should find a hand-hold on the wall. Cling on it and scale the wall down. Once you've reached the bottom, go up the ramp to find some deathgrip hoops under the bridge. 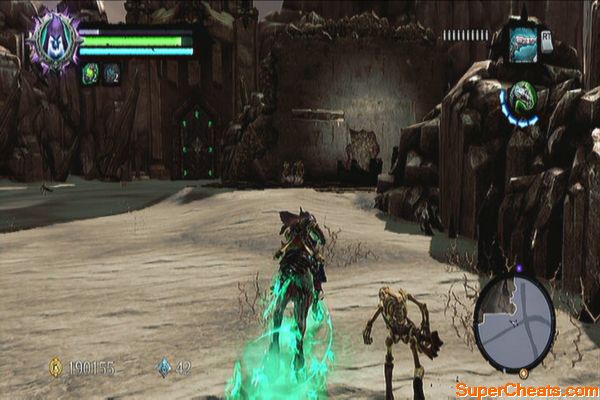
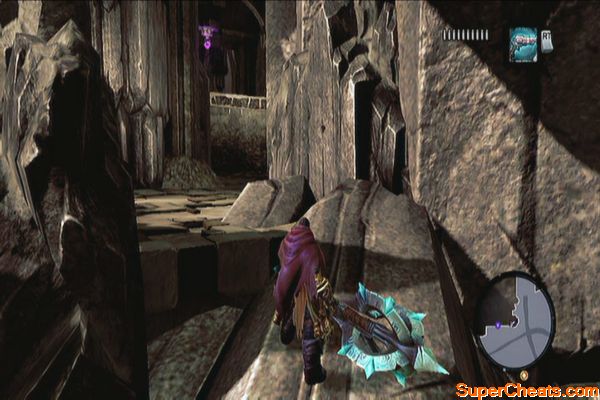
Keep swinging until you reach a post. Don't jump ahead yet; instead, jump to the crystal formation beside you. There's a shadowbomb behind it that you can pull using deathgrip and destroy the crystals. Return to the post and climb up, and use deathgrip to swing to more hoops until you reach the ledge with a treasure chest and pressure plates. You can't do anything with the pressure plates for now so just loot the chest, and fast-travel to the Lair so you don't have to backtrack. 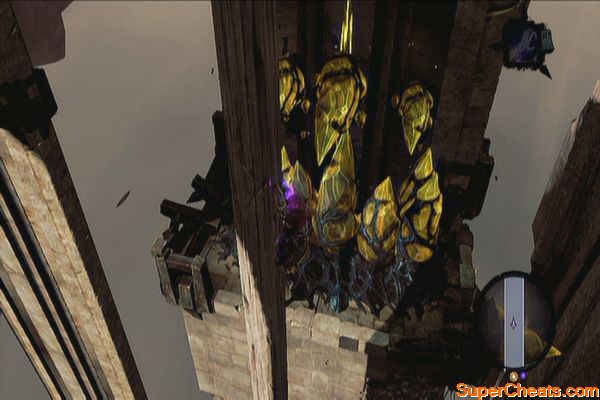
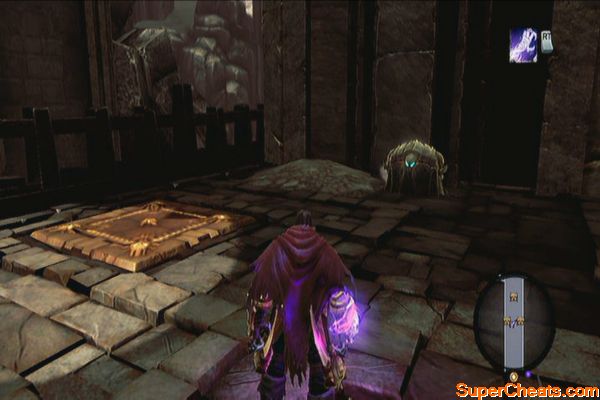
You can explore the Lair of the Deposed King though defeating it's boss, Argul won't be possible at your current level. You can loot the dungeon up to the boss, then just come back later to challenge him again once you're a lot stronger. Refer to the side quests section for the complete walkthrough in exploring the Lair.
The Breach
Head south to reach the Breach. After entering, wall-run until you grab hold of a growth. Instead of moving to the right, press focus then look behind to find a deathgrip hoop. Jump and use deathgrip on it then once again up then press jump to jump backwards and grab hold of the ledge.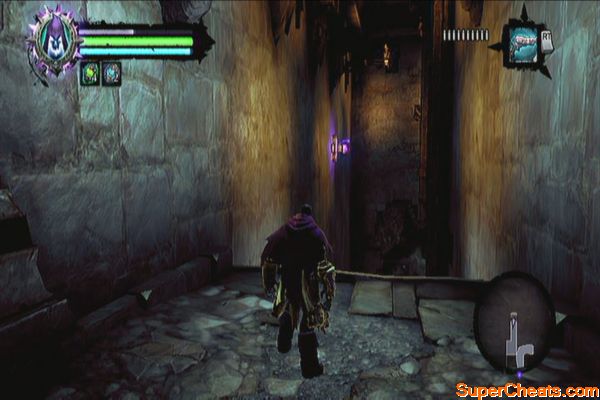
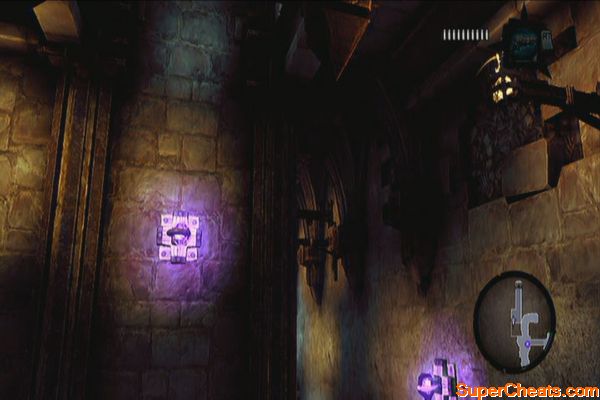
Loot the chest and step on the pressure plate. Immediately get past the gate and loot the second chest around the corner. You can't get the chest with the double gates for now so leave it for the meantime. Drop down the shaft until you reach outside. Jump down below to find more pressure plates. 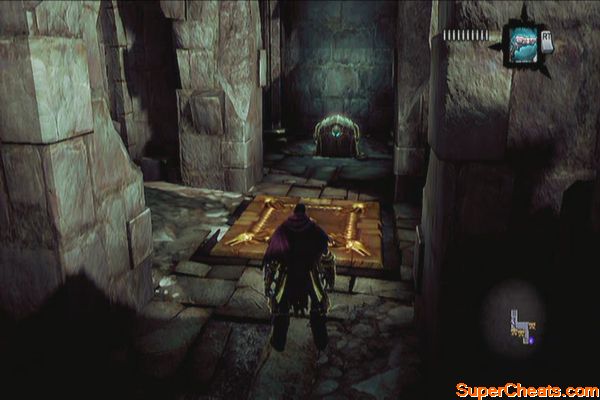
You can't anything for now so step on the pressure plate facing the locked door and allow the gates to retract. Now immediately perform a wall-run, bouncing off the walls until you reach the next ledge. Head to the door north, next. In the next room, defeat the skeletons that will ambush you. Exit to the door to the east afterward.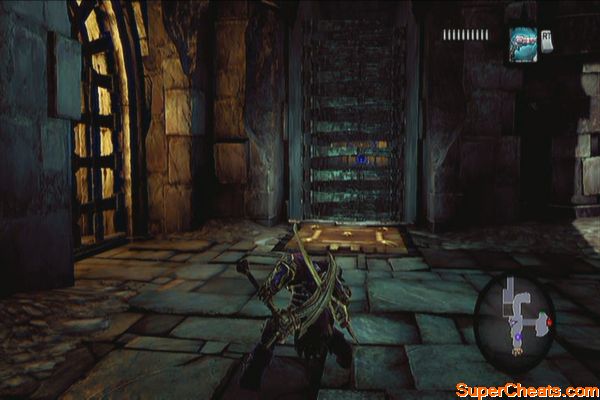
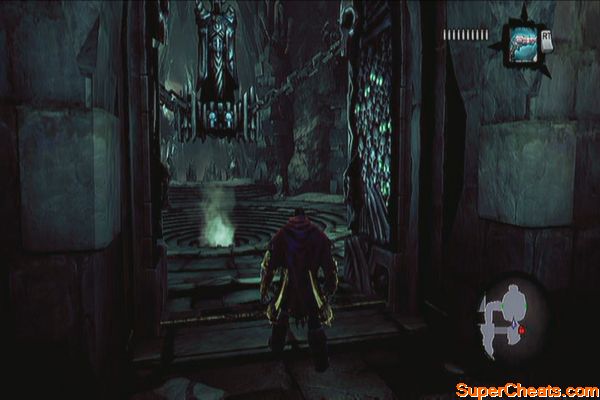
The Skeleton Key is just past the lowered bridge and you need to find a way to raise it. You'll find a switch and a non-volatile shadowbomb pod. Grab shadowbombs and place one near the switch and line up the others so it can form a chain explosion. This should raise the second bridge and lower the first one. Loot the Skeleton Key from the chest. 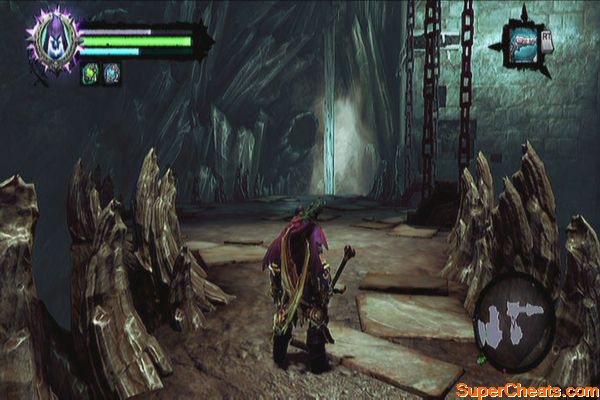
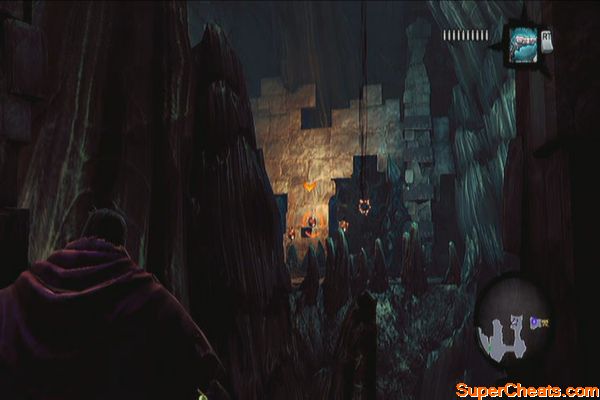
A swarm of scarabs will attack you after getting the key. Defeat them all then backtrack to the first bridge. Jump on the post and climb up. Scale the nearby wall to reach the upper ledge and two chests. Loot the chests then drop off to the lower hand-hold and move around the corner. Wall-run to the next post and back-leap to solid ground. Backtrack to the locked door. 
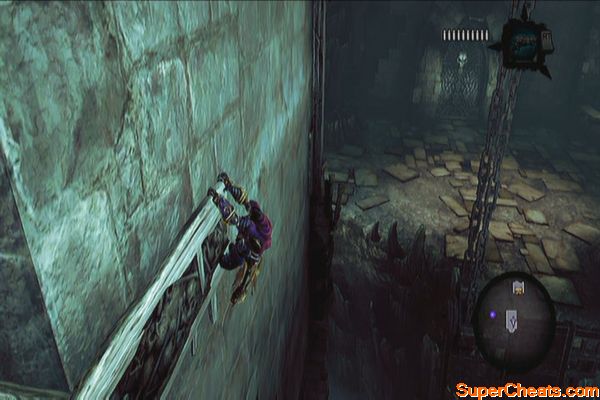
Open the door and follow the path until you reach a cliff. Jump down and take out the skeletons then exit the door. Look immediately behind you to find a boatman coin (45). Continue to the next room and destroy all skeletons. Search the statue to the east to find yet another Boatman Coin (46). 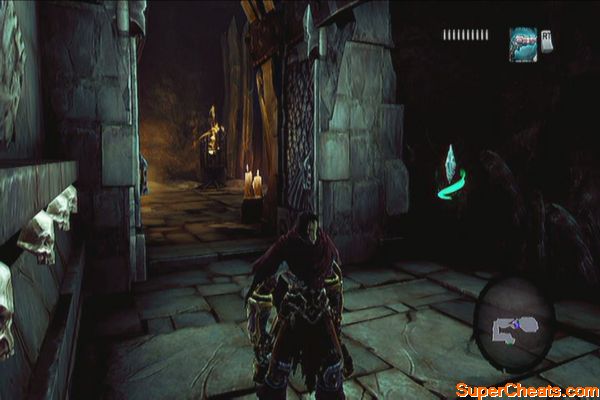
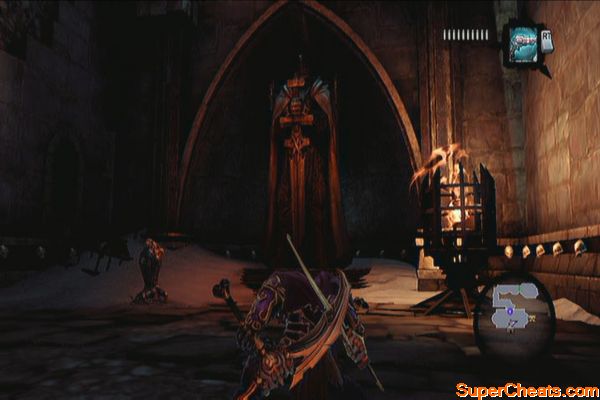
Next, grab a shadowbomb behind the statue to the west and throw it to the crystals in the upper ledge. Climb the wall and make your way to the cleared ledge. Go to the hand-hold then shimmy around the corner. Reach for the hand-hold overhead to reach the roof. Loot the chest there then drop down. Continue to the right then perform a wall-run, jump and deathgrip to reach the last chest. Exit the Breach afterward. 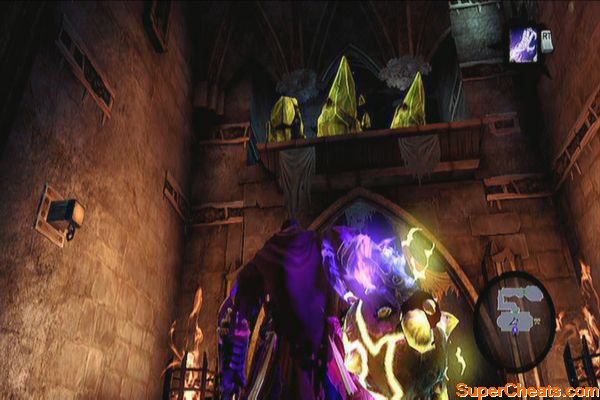
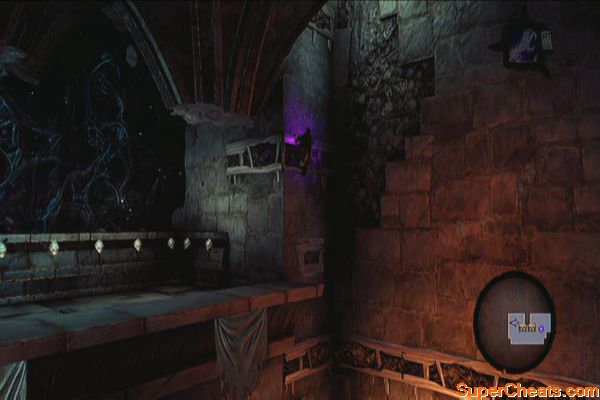

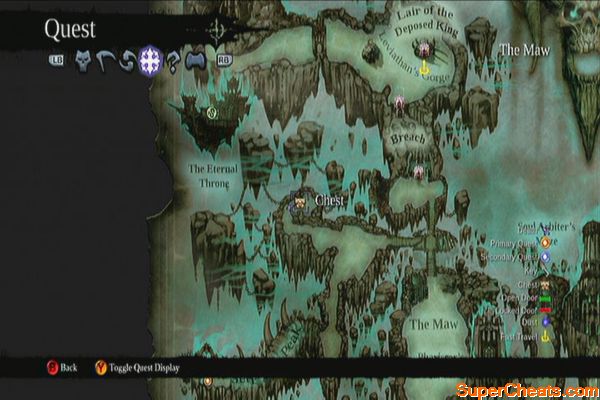
The Maw
Cross the bridge and turn to the east to find a Boatman Coin (47). Ride to the west bridge and head to the northwest to find a small ruin which contains a couple of collectables. 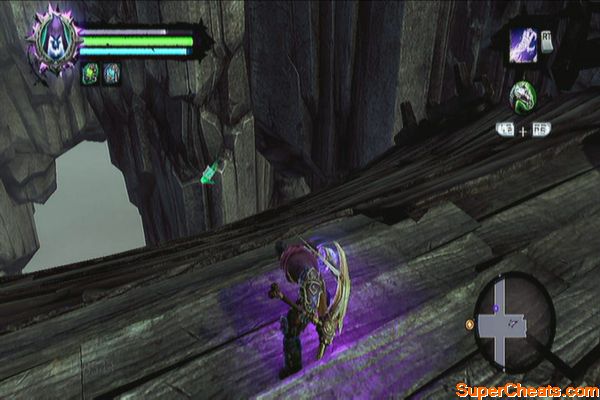
Once inside the ruins, destroy the skeletal enemies inside then destroy the boxes to the northwest corner to find another Boatman Coin (48). Now look overhead to the southwest corner to find a Stone of Power (6). You can't do much since you don't have the necessary abilities yet so leave this ruin and ride towards Serpent's Peak. 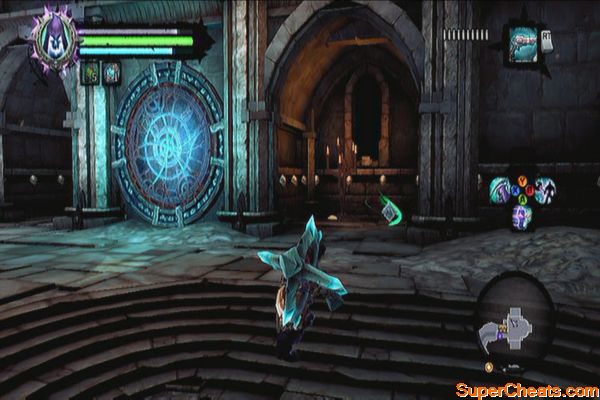
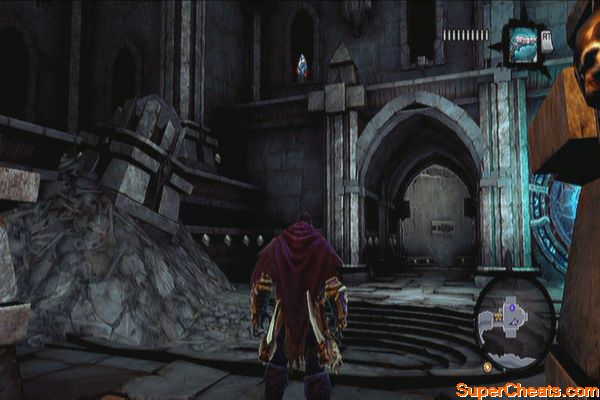
Before passing by the arc, get the Boatman Coin (49) by the southern edge. Follow the trail to the southwest then continue further to the south to find another minor ruin. 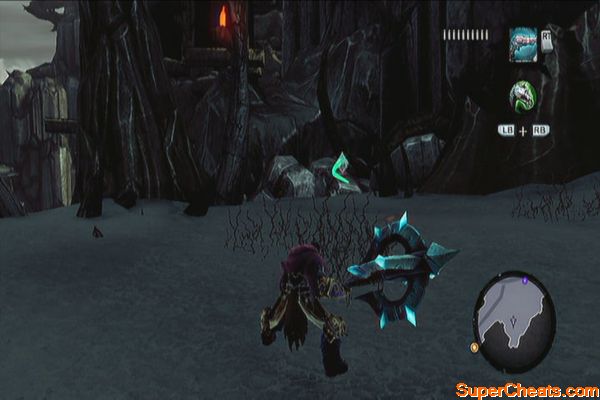
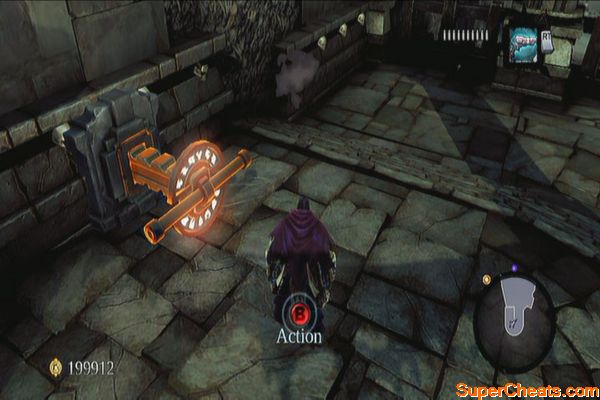
Loot the chest there and push the switch. Immediately scale the wall to reach a Relic of Khagoth (1)
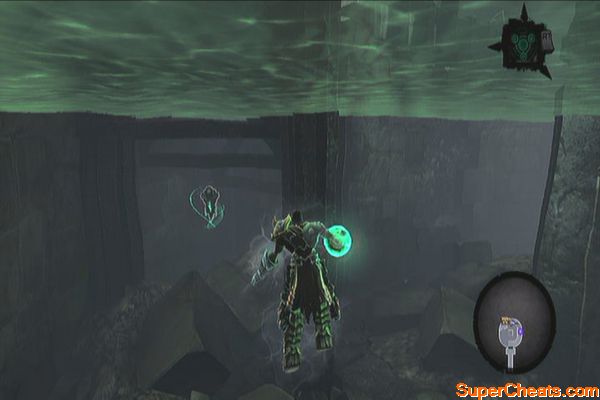
Return to the main path leading to Serpent's Peak and you'll eventually find an off-trail leading to Vulgrim. There's a Stone of Mystics (16) latched in one of the stones overhead. Trade with Vulgrim if you want, then continue along the path. Don't forget to loot the chest along the way as well. 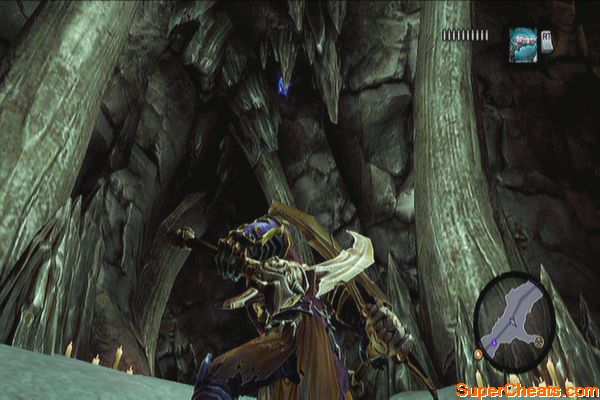
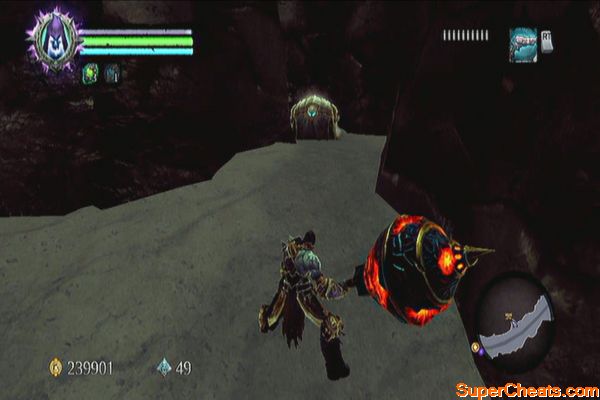
Continue to the peak and approach the bell to a scene. 
Eternal Throne
Once you're on board the Eternal Throne, find a hand-hold and climb using it. Upon reaching the upper ledge, walk a bit then turn to the right to find a chest at the end. 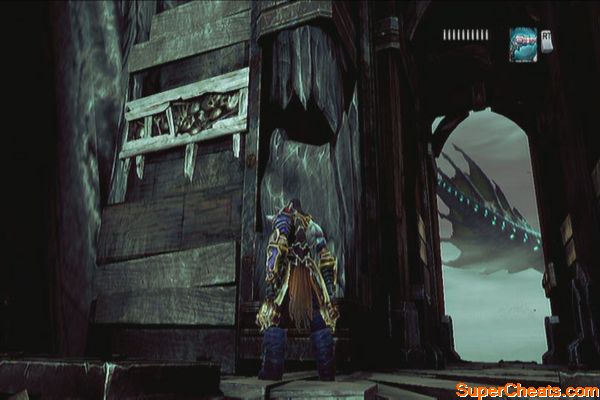
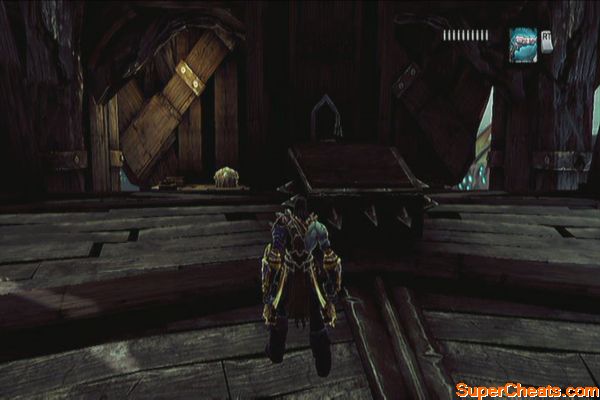
Continue along the path and climb the wall. Use the vines to reach the next ledge. Wait for the anchor to swing to the right then use the deathgrip to swing on it. Upon landing the anchor, wait for it to swing to the left, allowing it to get close then jump to the next platform. 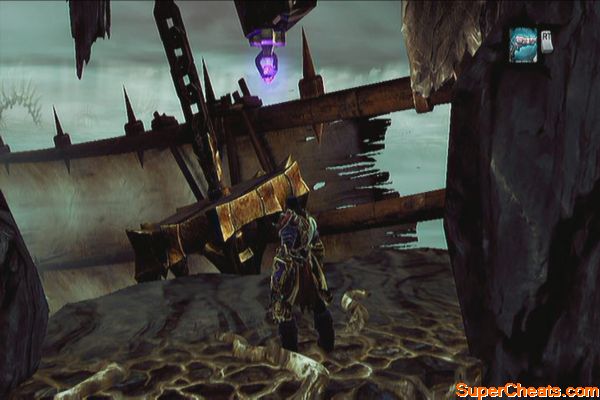
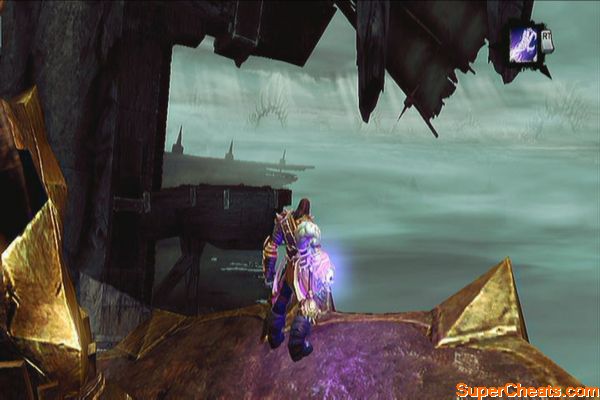
Wait for the next anchor to get close, jump on it then jump on the third one next. Wait for the third anchor to get close to the deathgrip hoop, then use it to swing to the ledge. Turn to the right to find a chest. Loot it then continue to the left this time. Swing to the growth on the hanging pillar then continue heading up, then jump to the next hand-hold. 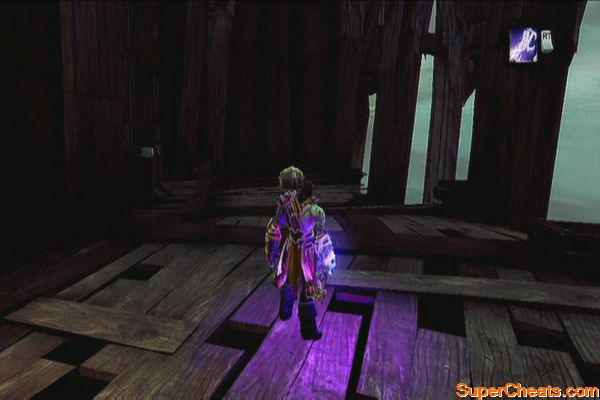
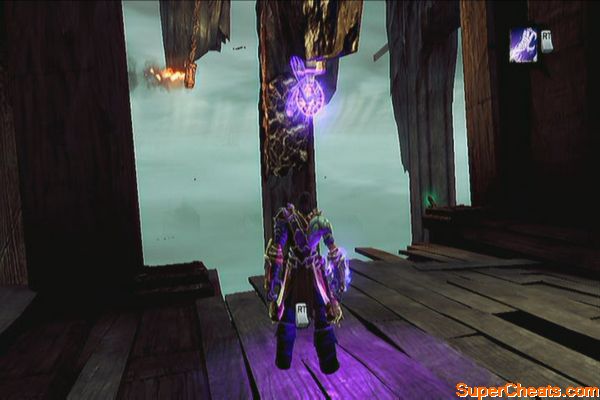
Turn around and backleap to the post where the lamp is hanging. Jump to the next hand-holds and jump again to the right so you can drop down the wooden beam below. 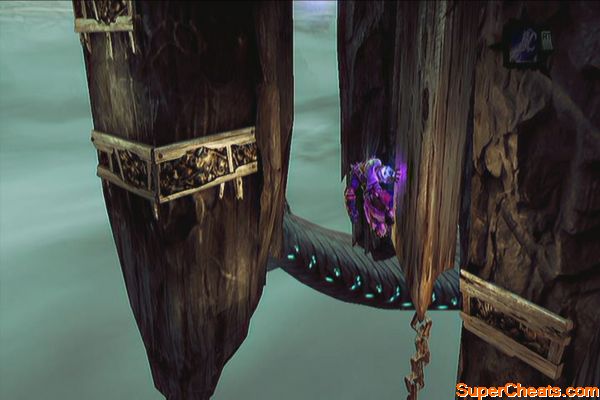
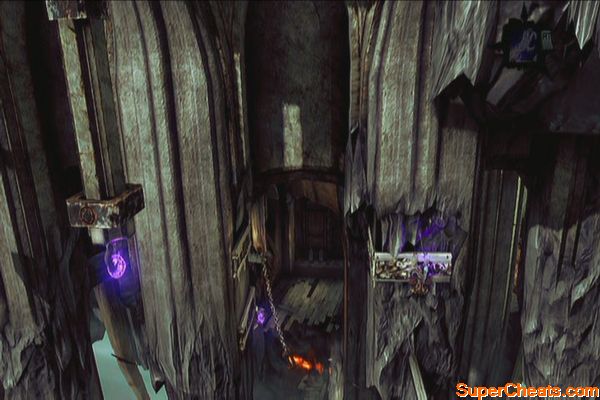
Swing to the next beam using the deathgrip, then jump from hand-hold to hand-hold to the left. Once you see a wooden beam below, drop down on it then swing via deathgrip until you reach the final wooden beam. Grab onto the hand-hold then shimmy around the corner to reach the interior. 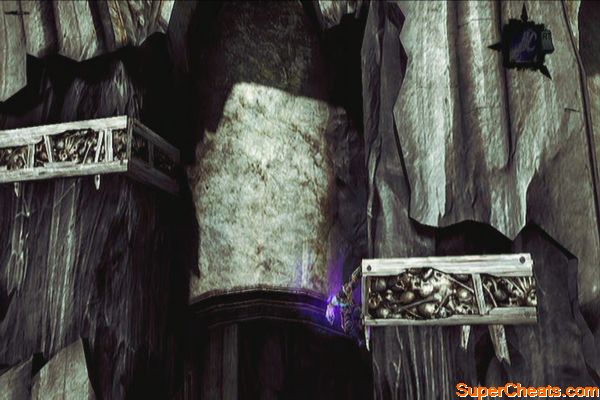
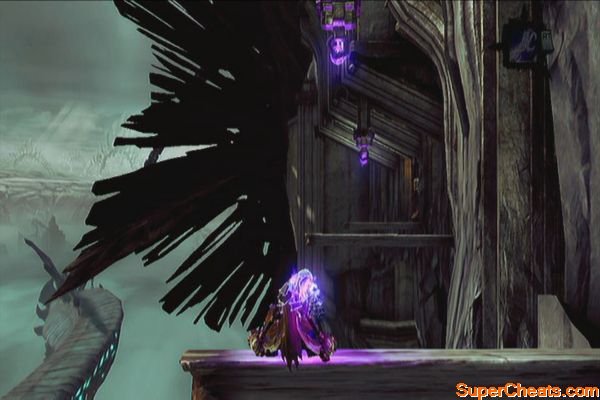
Follow the path then scale the vertical shaft afterward. Jump down the hole then enter the door south to reach the airship's main deck. Talk to Draven afterward. You may wish to purchase new skills from him as well. 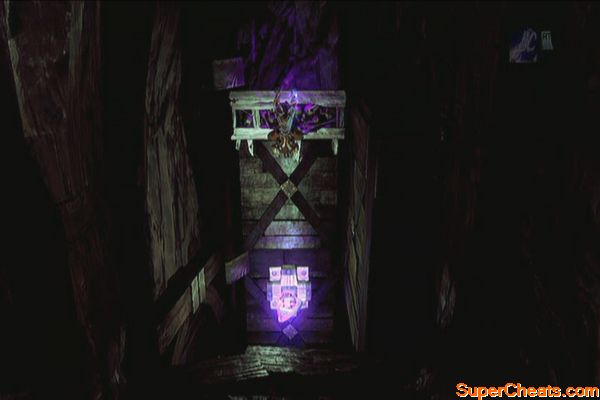
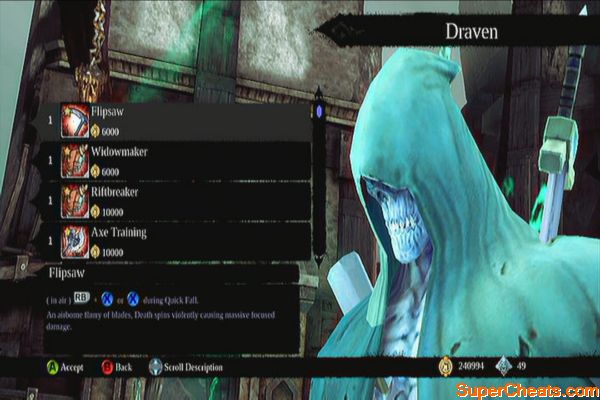
Once done, head downstairs to the cargo hold. Destroy the boxes to earn loot. There's one Boatman Coin (50) there as well. There's also a Stone of Resistance on the wooden post to the right, behind the red curtain. 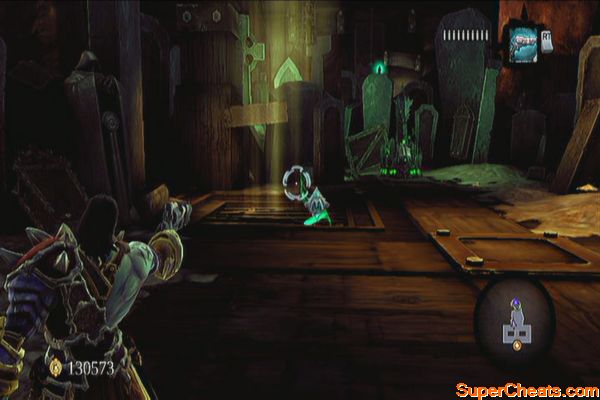
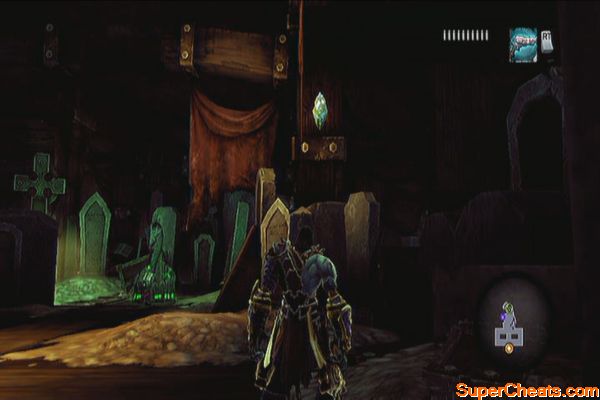
Go upstairs and talk to the guards to make the Chancellor appear. Ask him about more topics if you want and the quest will be complete. 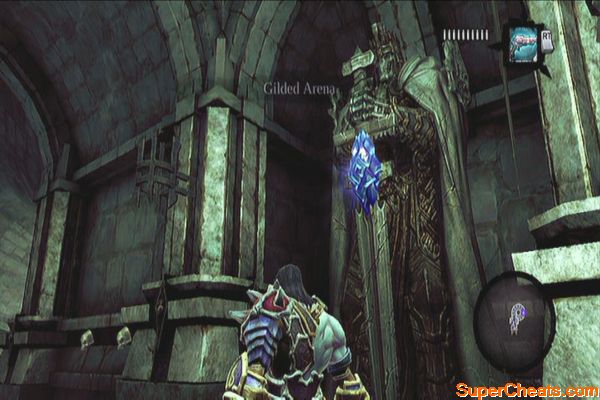
Exit the deck and make your way to the north, past the gap in the hallway. Continue north to find Ostegoth. Trade with him and collect the Book of the Dead page in the corner past the bone formations. Enter and continue to the next door. You should find another Stone of Mystics here. 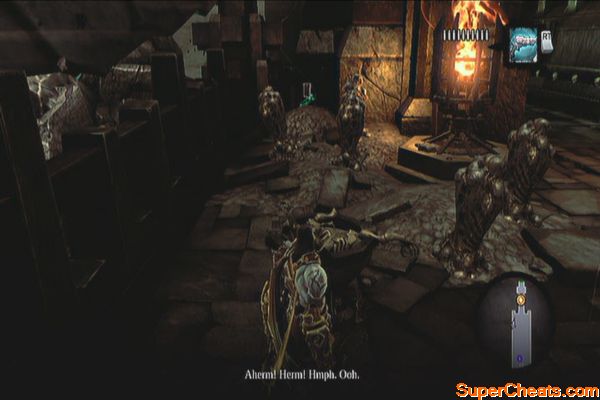

Continue downstairs and enter the first door you encounter. The door at the bottom of the stairwell leads to Leviathan's Gorge so you can just ignore it for now. Interact with the lantern in the middle and rotate it towards the door to the north to unlock it. Before traversing the pit, jump down to find two chests. Climb back up and wall-run to the other ledge. Exit the door that leads to the arena. 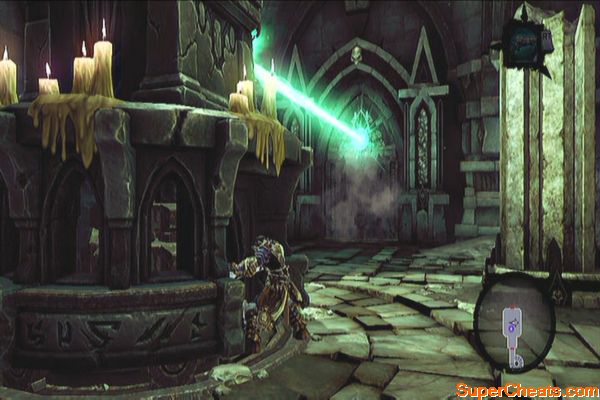
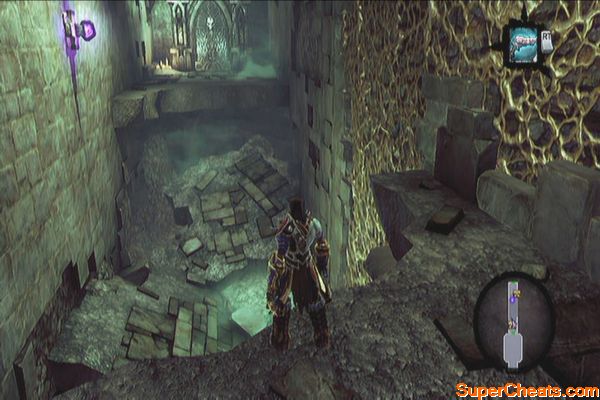
The Gilded Arena
Upon reaching the arena, you'll learn that you need to collect three Animus stones to summon the champion. Next, head to the southeast corner to find a hand-hold. After reaching the second floor, turn to the right to the south to find another hand-hold. Climb on it then run to the north to climb another ledge. Use deathgrip to cross the gap, then wall-run to reach a Relic of Renagoth.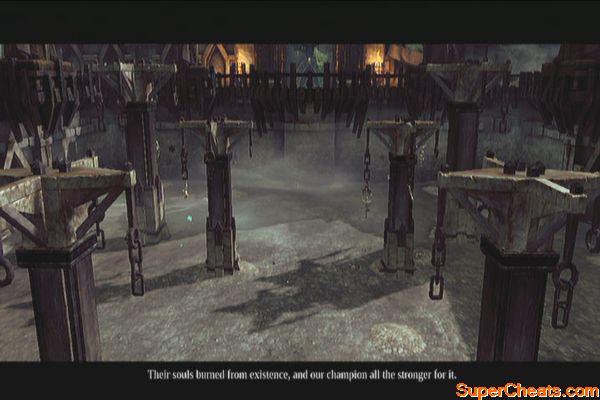


Next, drop down two levels then head north to find another hand-hold. Climb up to loot a chest. Go back down to the lowest balcony then head southwest to find a ramp and a hand-hold. Use either of them to get to the upper balcony then climb the nearby hand-hold to find a chest to the east. Go down and follow the path to reach a chest in the northwest. Now go around to the southeast, climb the wall there and enter the door in the middle to proceed. 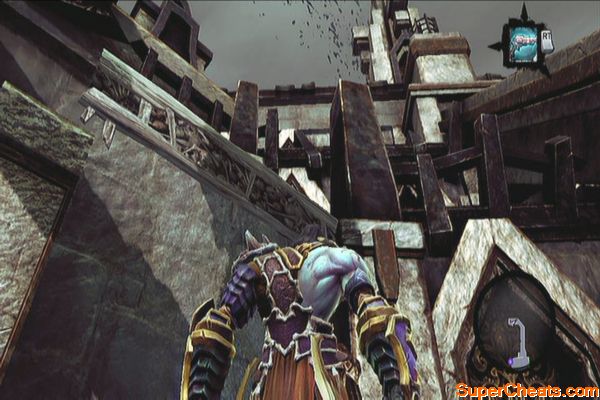
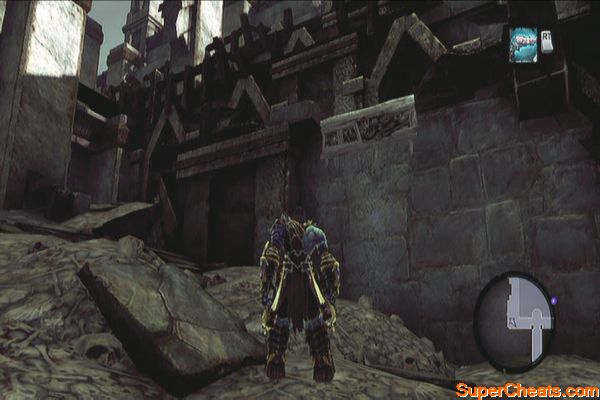
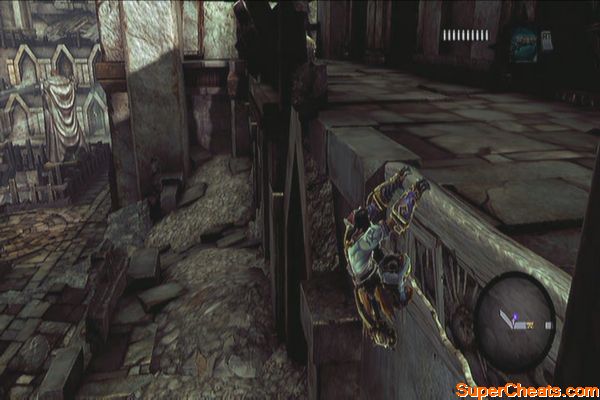
The First Animus Stone
Continue along the stairwell but be careful since there will be a sudden drop along the way. Wall-run to loot the chest then continue to the bottom floor. Follow the path and destroy the objects along the way for some random loot. Continue until you reach a chamber with the walking undead. 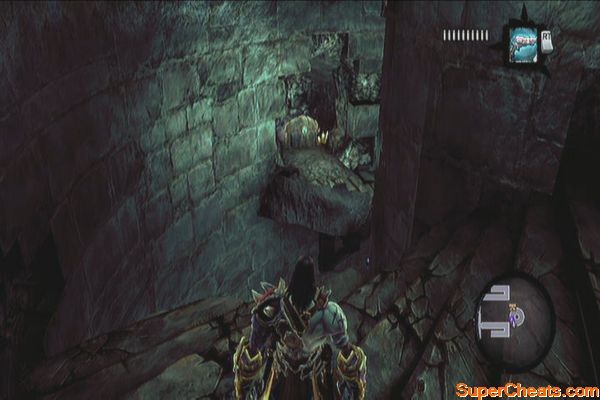
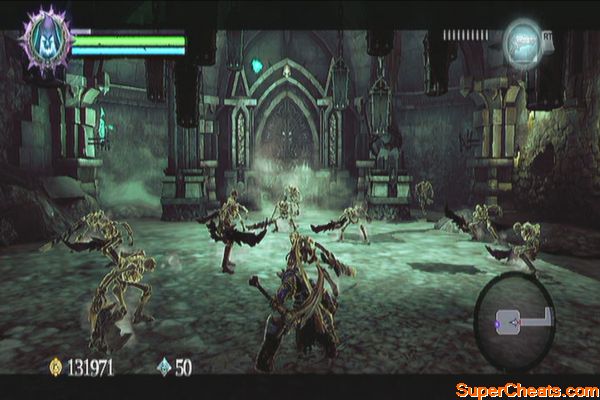
Defeat all enemies there then collect the Stone of Mystics overhead. Exit then continue to the next room to find a Boatman Coin (51) in the corner. 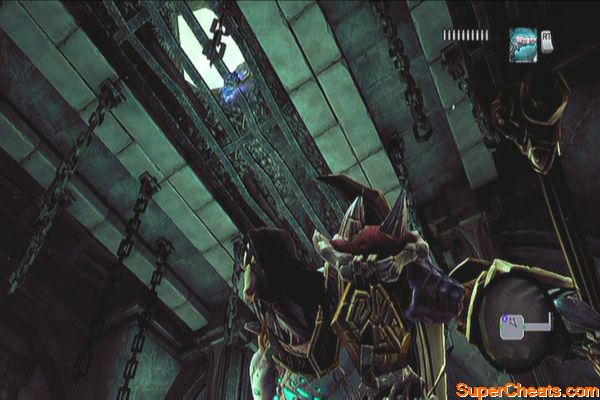
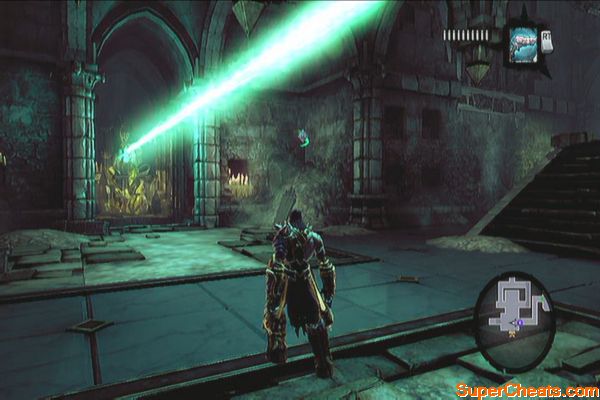
Head north a bit then stand of the pressure plate. Look to the east to find a shadowbomb pod there. Use the deathgrip to grab the shadowbomb then throw it to the south to reveal a chest. 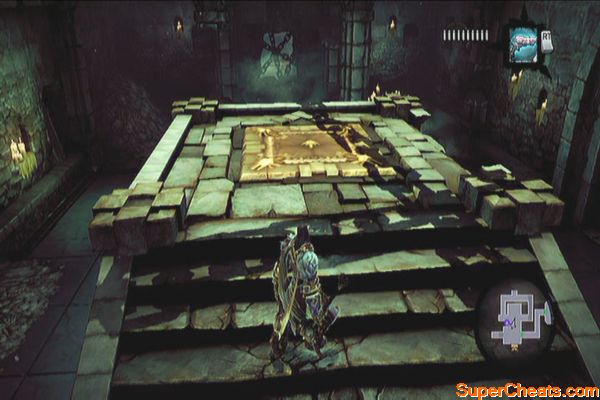
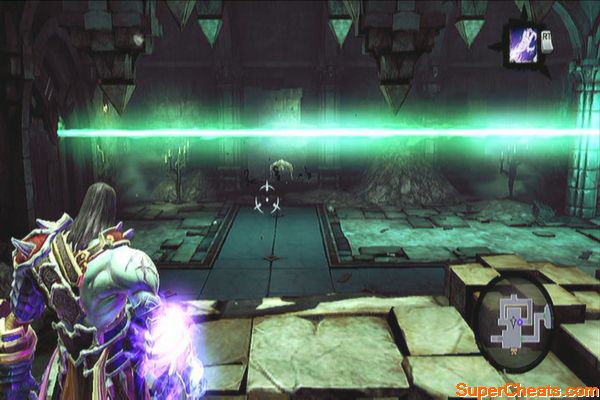
Pick another shadowbomb and throw it to the statue to destroy it and dislodge the lantern. Pull the lantern towards you using deathgrip and place it on top of the pressure plate to keep it depressed. 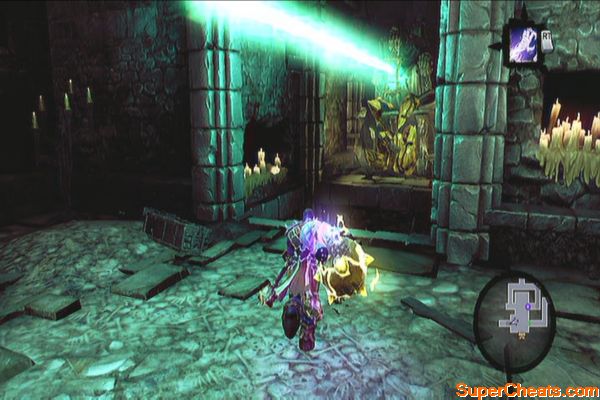
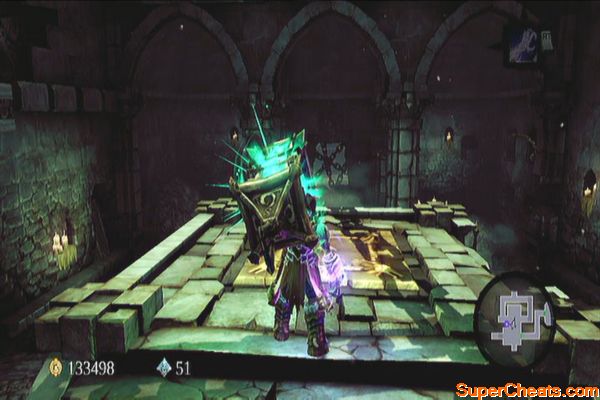
Go to the east and wall-run to go around the passage. Instead of heading up north, continue to the southwest and push the switch there to remove the gates. Use deathgrip to pull the lantern this time. Bring it to the room to the north and place the lantern on the statue. Rotate it to open the gate north. 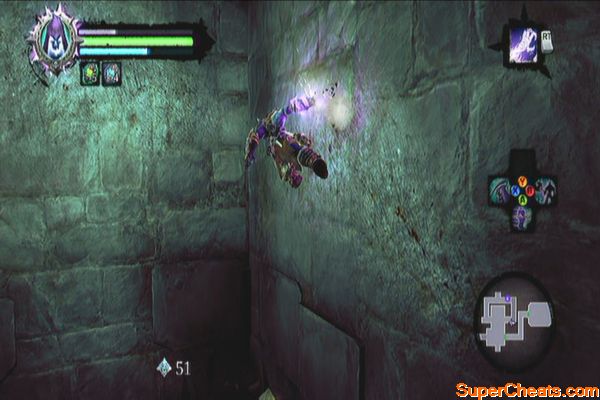
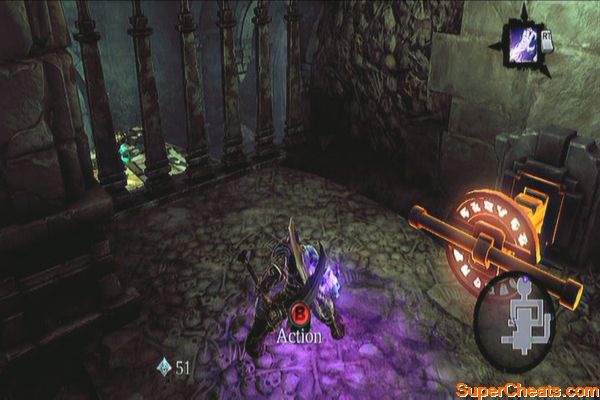
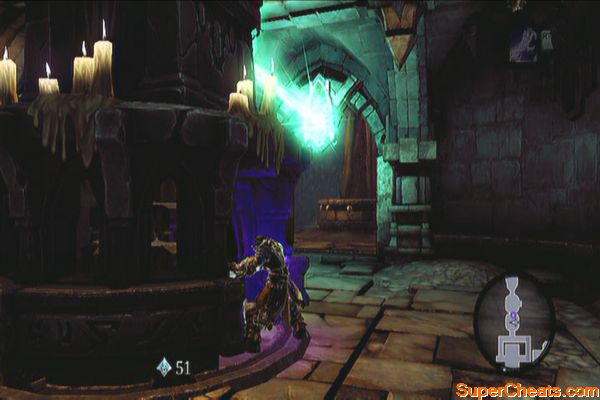
Continue forth until you reach a large cavern. You should find another Stone of Mystics on one of the hanging cages. Go to the stone skull and get the animus stone. 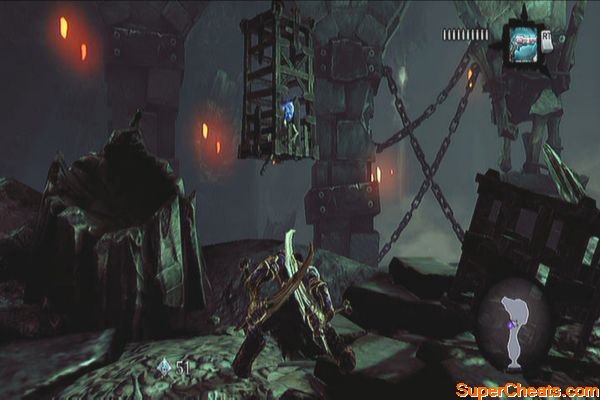
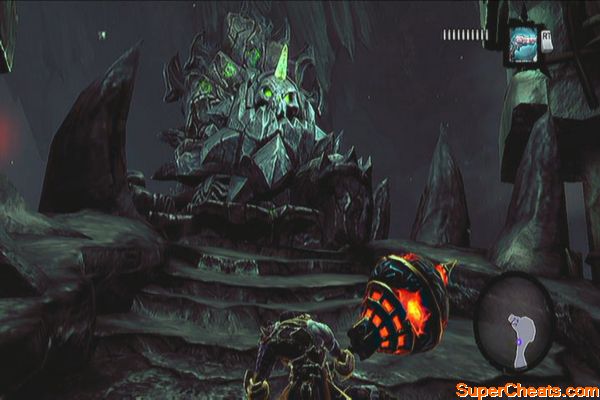
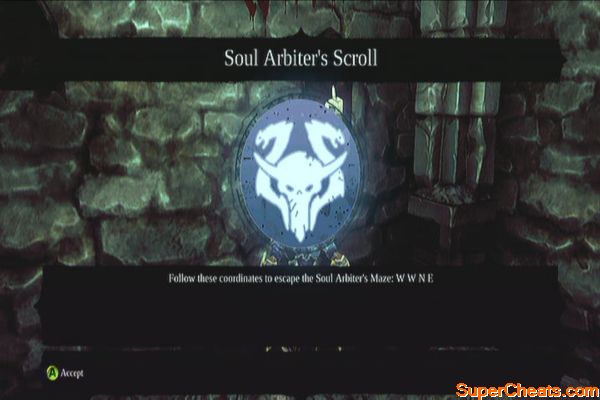
Head out of the cavern and defeat the scarabs that will ambush you. Head back to the statue where you placed the lantern earlier then take the east hallway. Exit through the door and walk a bit to find a nook. Shoot the Stone of Power held by a skeleton on the ceiling. Next, examine the blood writing on the wall in the same nook to get Soul Arbiter's Scroll. 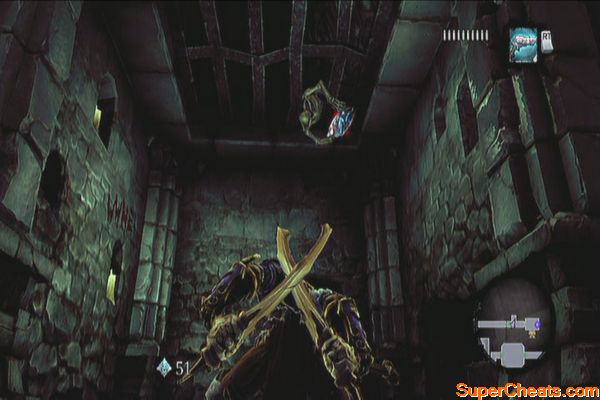
Continue forth and get the Dungeon Map from the nearby chest. Scale the wall then jump to the hanging post to reach the other ledge. Pull the lever to open the door. Head to the giant skull stone and reach it using the deathgrip to place the first stone. 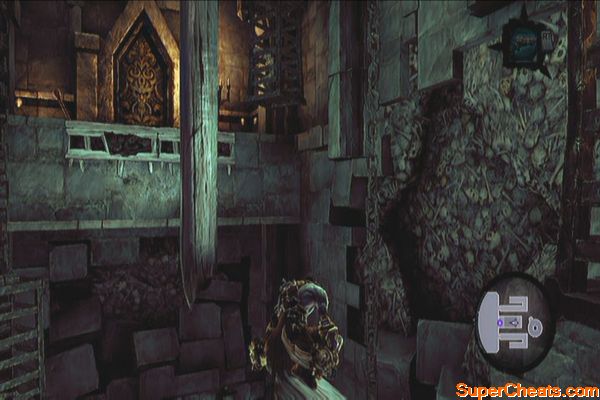
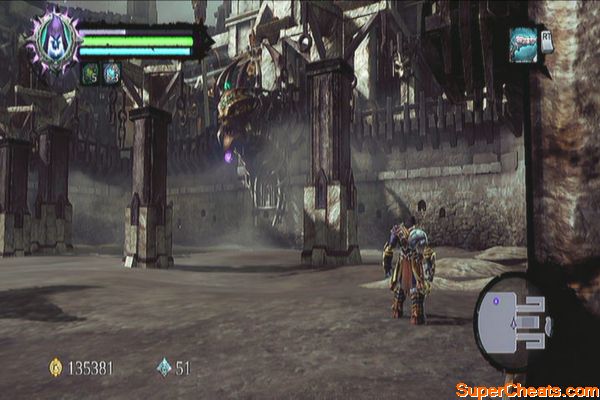
This will open the door ahead. Defeat the enemies and continue along the corridor to reach the next door to the upper balcony west in search of the second Animus Stone. Go up the ramp to the southwest then enter the door to the west to proceed.
The Second Animus Stone
Once there, follow the green light then go upstairs the stairwell. You'll find a statue with no lantern there so ignore it for now. Head to the west to find a shadowbomb pod in the lowered bridge. Pull it then use it to destroy the crystals to the south. 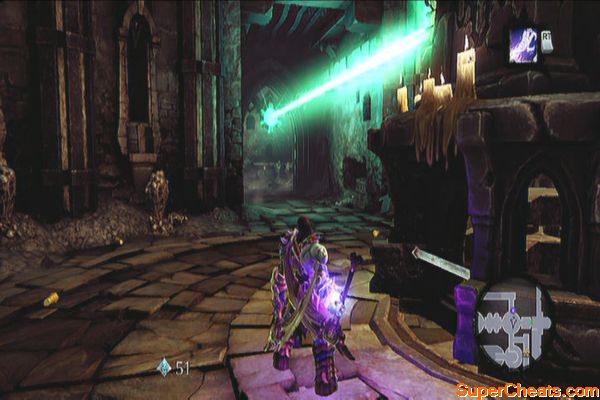
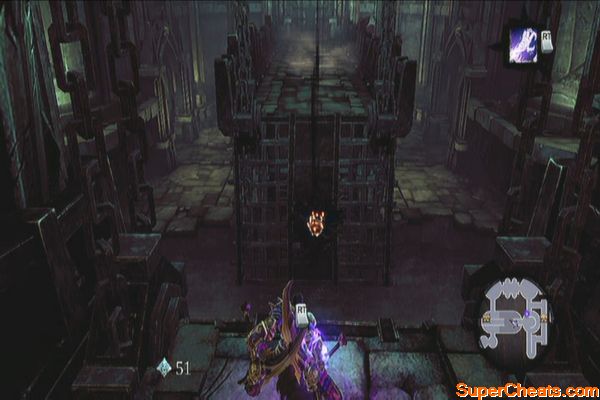
Clearing the southern path will allow you to loot the lone chest at the end. Backtrack and get another shadowbomb and go back to the lower floor. Plant the bomb on the crystals and detonate them to clear the way. 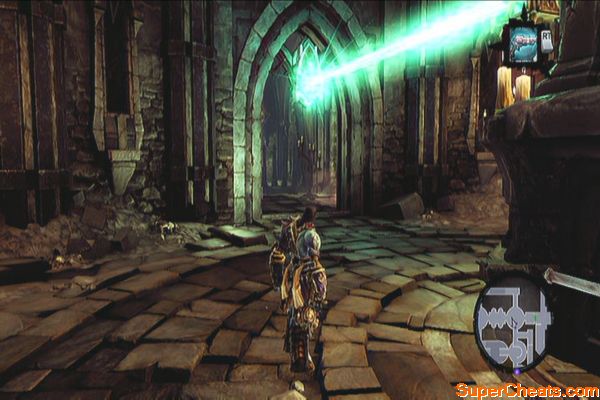
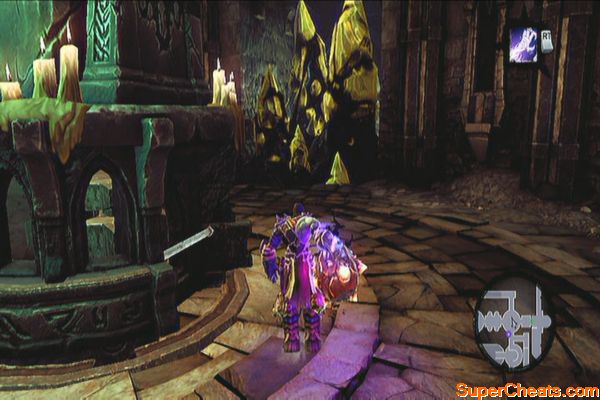
Turn the statue to the west to open the gate. Now pick up another shadowbomb from the northern passage you just cleared and use it to clear the crystals past the western gate. After destroying the crystals, head north and do a wall-run to the west to grab the Boatman Coin along the way. 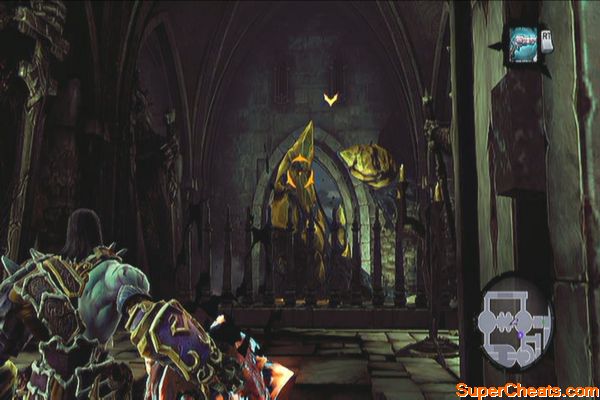
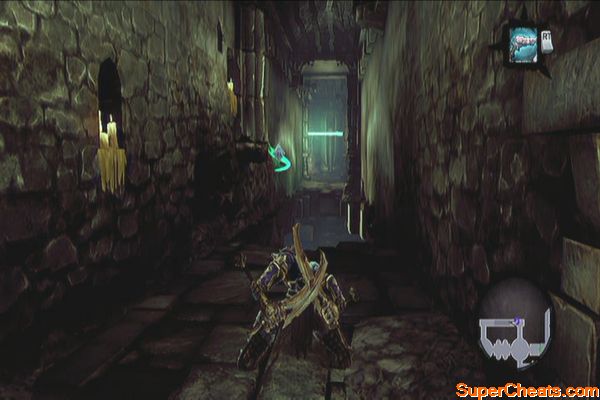
You'll find another lantern statue in the next corner. Turn it to the west to raise the drawbridge and for you to access a Book of the Dead. Turn the statue south to continue. 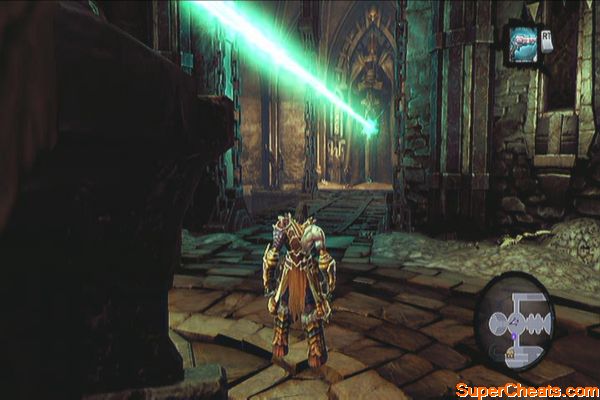
Loot the chest to your immediate right then continue south. Check the southwest alcove to find another Soul Arbiter's Scroll. Head to the small round rooms to the south and pick up the lantern. Be careful since skeletons will ambush you as you leave. Place the lantern down and defeat them. 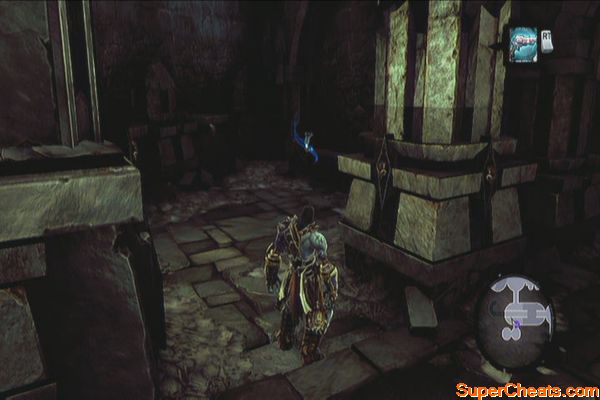
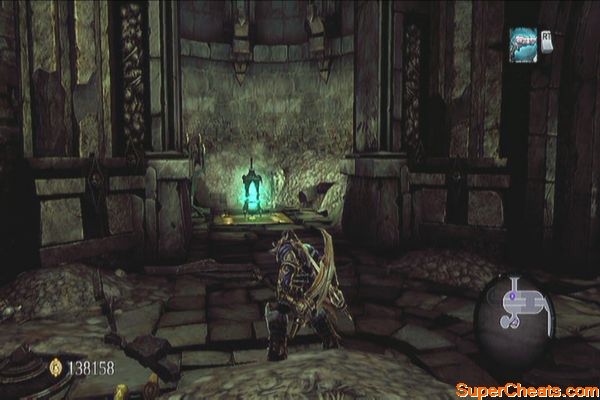
Backtrack to the active lantern statue to the north, then place the lantern you're carrying on the pressure plate to the east. Head north then wall-run again across the gap. Go to the west of the statue and deathgrip the lantern you placed earlier. Place it down first then rotate the nearby statue so the locked door is opened. Carry the lantern again and place it on the inactive statue to raise the drawbridge. 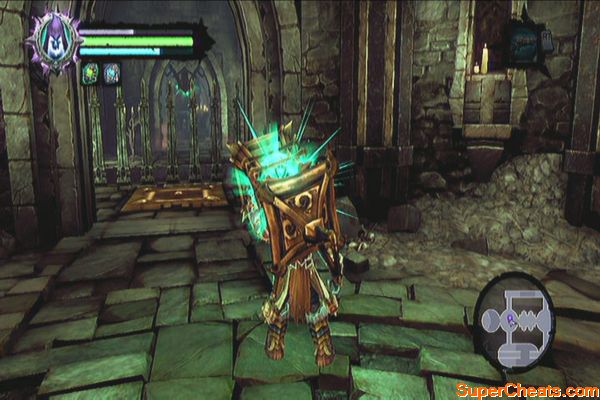
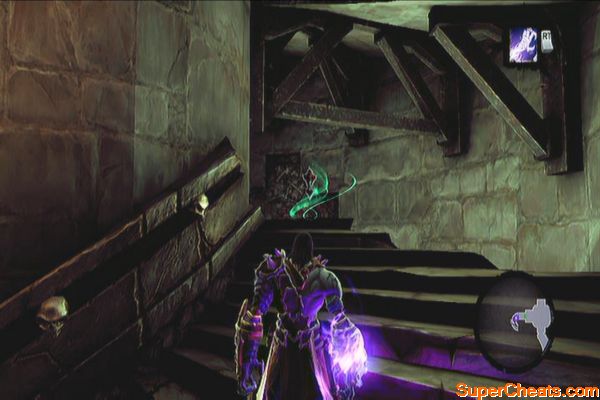
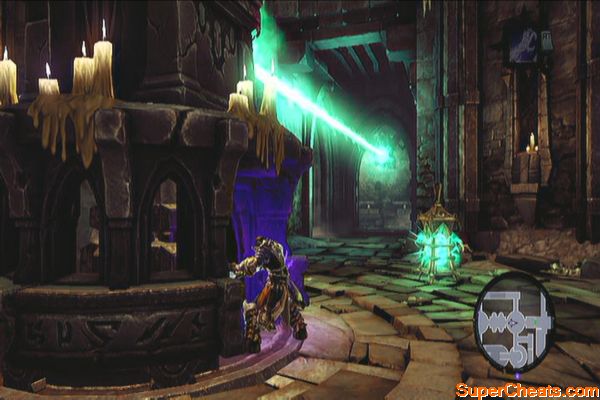
Continue heading west and then exit the door. Continue downstairs until you reach the bottom door. Before going in, go back upstairs and cross the gap to find a Relic of Etu-Goth. Continue to the next room with several destructible objects. Destroy them all and defeat the skeletons that will appear. Once all of the spawning skeletons are defeated (and after destroying the large tombstones), a chest will appear. 
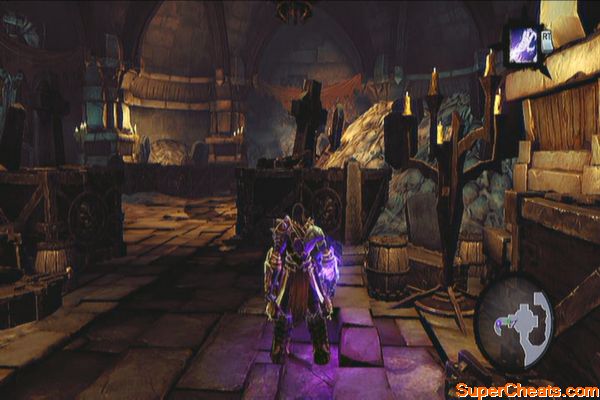
Continue clear the room then head to the animus stone cavern. A group of scarabs and skeleton archers will ambush you. Use Harvest to damage several enemies at once and evade to avoid the fire arrows of the archers. You can also use Deathgrip to pull them and interrupt their attacks. Defeat the two waves of enemies then grab the Animus Stone from the stone skull. 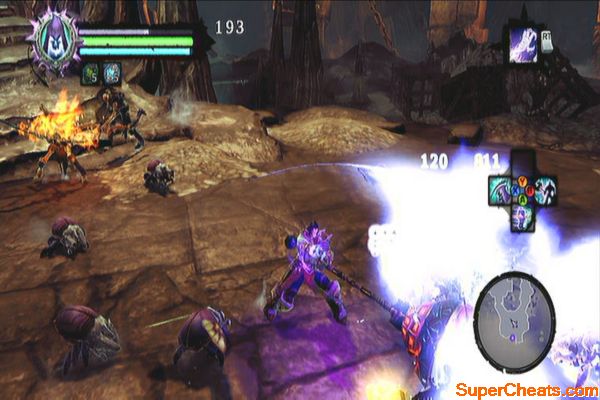
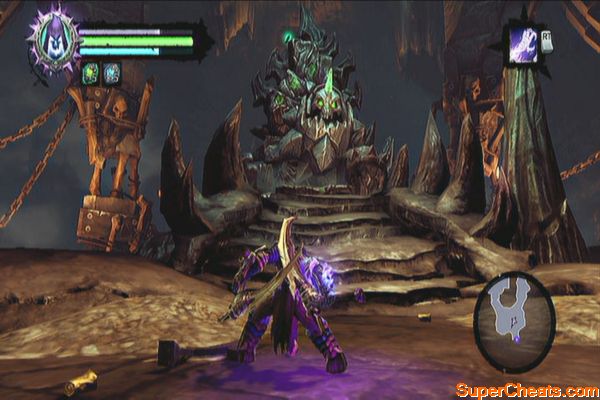
Head to the next room and destroy the weapon racks to gather random weapons. Exit through the door and loot the chest in the small room there. Before climbing the wall in the middle, climb the ledge to the east and destroy the clutter to find a Boatman Coin on the other ledge. Reach it by wall-running on the eastern wall. 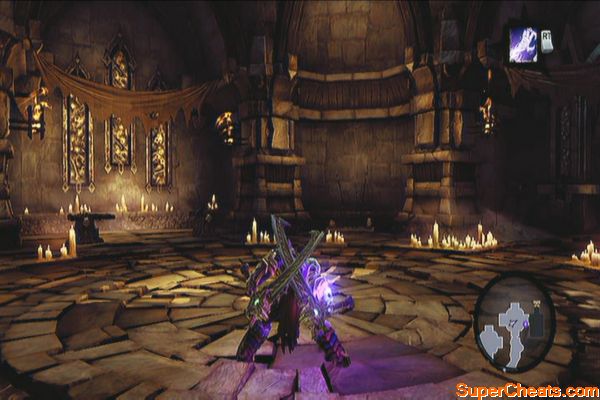
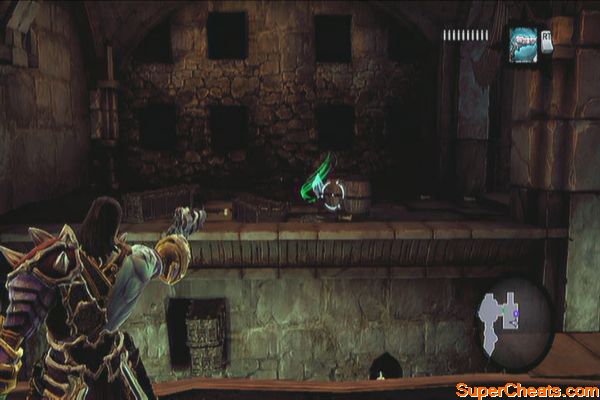
Climb the topmost ledge in the middle. Before leaving, turn around and swing using the deathgrip to reach a chest. Jump back to the other side, pull the lever and return the stone to the large skull statue. 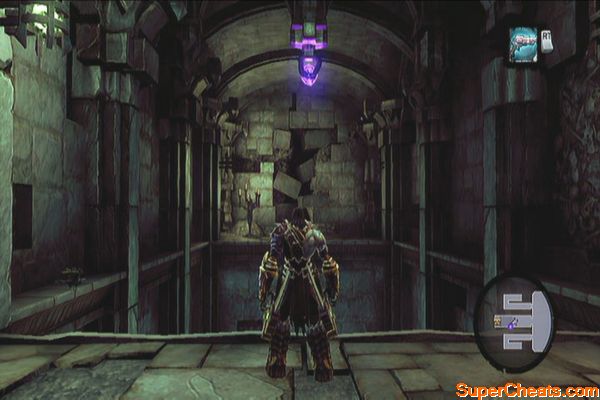
The Third Animus Stone
Go upstairs and head to the northernmost door. Defeat the skeletal champion and its minions then proceed to the next area. Turn to the east this time and explore the roundabout passage. Make your way to the upper chamber, where more skeletal warriors await. 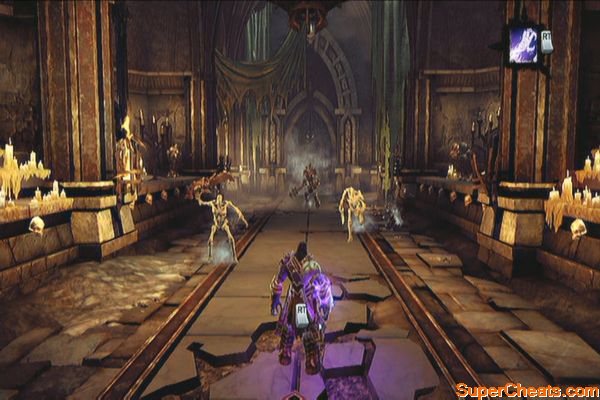
Next, stand on the pressure plate and grab a shadowbomb. Go near the throne and throw the bomb to the switch. Doing this will take your to the cavern behind the throne. 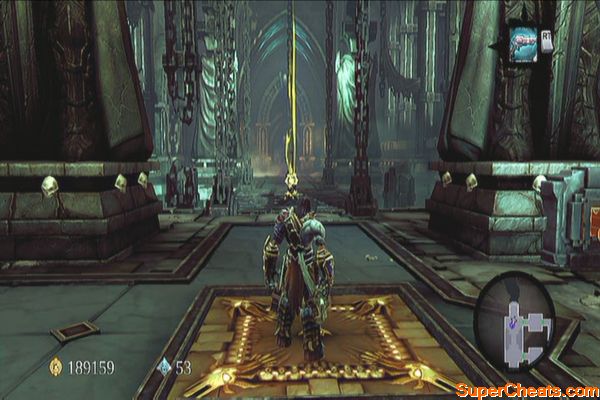
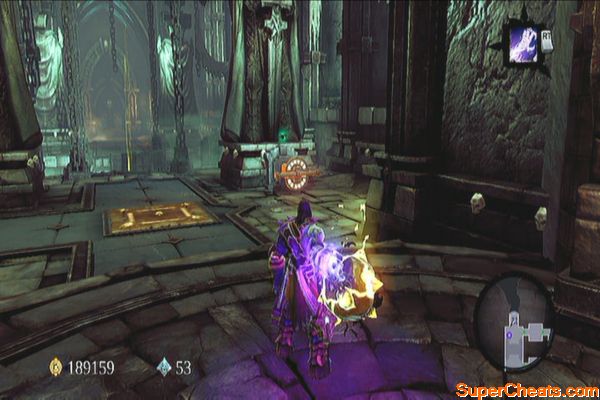
Continue ahead for a mini-boss battle against a Scarab Hulk.
You never seen them grow this big
This enemy has the capability to block your attacks, sending you back for a moment. It's main attacks include generic slashes and assaults. Be careful of its jump attacks; you may need to evade twice to fully avoid getting damaged by the impact.
Grab the last animus stone and make your way back to the arena. Place it on the skull altar to summon the champion.
Boss: Gnashor
For the first phase, concentrate on evading the boss and wait for it to briefly show its head above ground. Once it does, grab it using your deathgrip then attack it. Continue doing this until this pesky spinal skull rejoins with its body.
When fighting its main body, use quick attacks as you evade the boss' slow but damaging attacks. When you dealt heavy damage to it, it will howl. Use this chance to pull the skull out of its body and render it vulnerable to further attacks. The skull may burrow again and attack you from underground. During this phase, concentrate on evading as you don't have any way of attacking it for the meantime. Wait for it to rejoin its main body and repeat the process again until it goes down.
Felling the Gilded Arena's Champion
After the battle, get your prizes and loot the chest then fast-travel back to the Eternal Throne and talk to the Chancellor. The quest will be completed afterward. 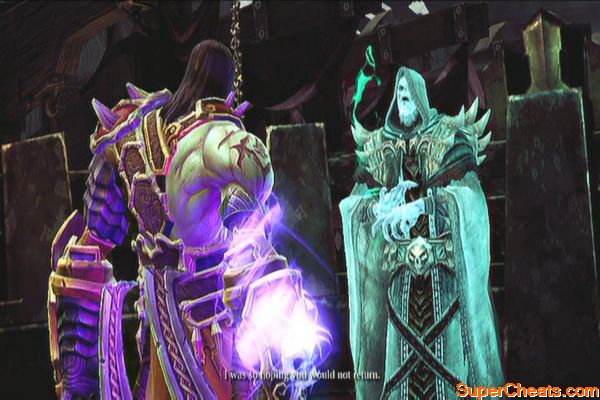
After the scene, you'll receive a new ability called Interdiction. After that, get the Relic of Etu-Goth behind the king's throne. 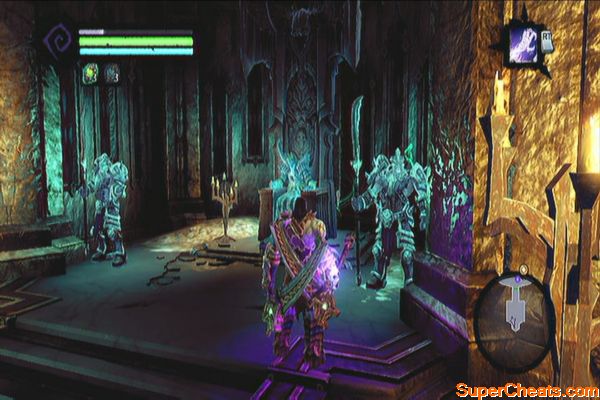
Exit the throne and make your way back to the stairwell. Once you've reached the stairwell, don't enter the first door anymore but continue to the bottom. Go upstairs and pull the lever to open the massive door. 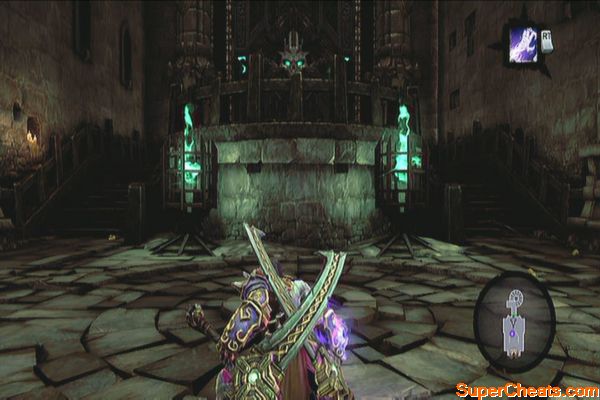
Once outside, ride using Despair and check the edge of the large thorn right after the ruins to find a Relic of Renagoth. This is the only item of interest in this area so just open your map and fast travel to the Breach's southern exit. (The Maw)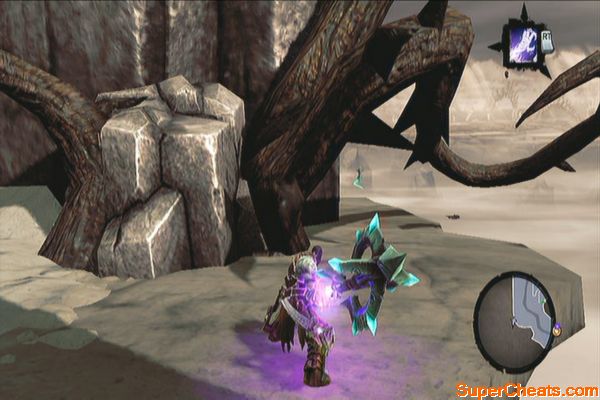
The Maw
Cross the bridge to the south to reach The Maw. Right after crossing the bridge, you'll find two ruins; The Sentinel's Gaze to the east and an unnamed tower to the west. Enter that tower. Turn to the right and go downstairs north then turn to the right again to find a Boatman Coin. 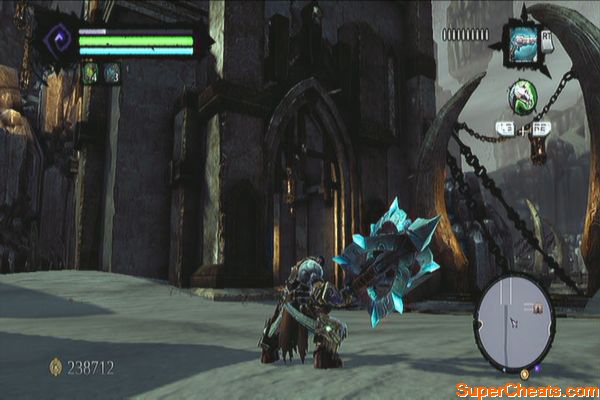
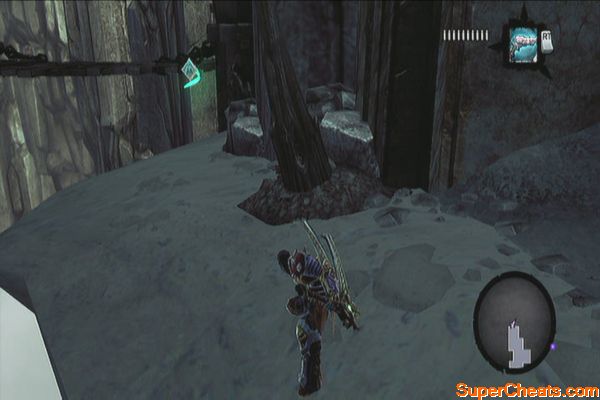
Backtrack a bit then climb the wall to the west. Follow the growth as it goes to the other wall then wall-run using a peg further to reach the balcony. There are two chests here but currently unreachable at this point. Walk around until you find the Soul Arbiter's Sacred Scroll. 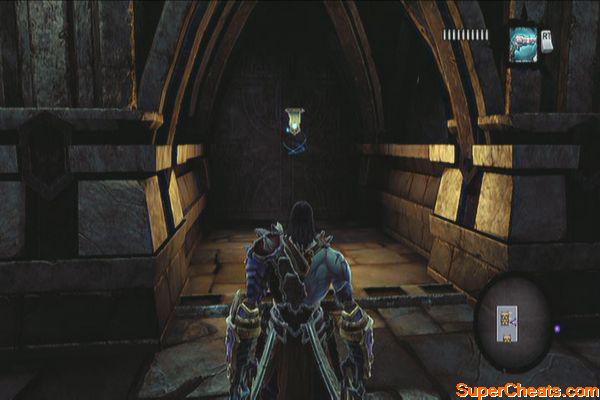
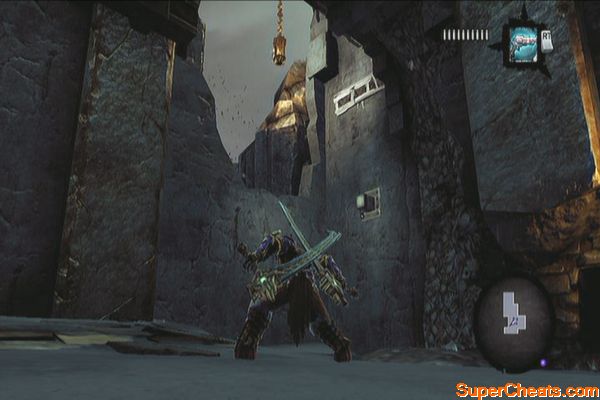
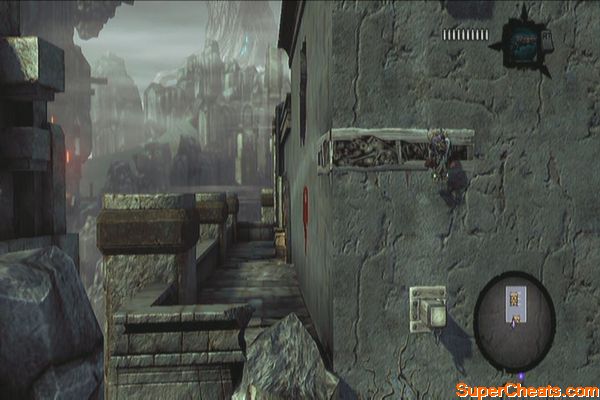
Climb up the tower to find a lantern statue. Rotate it towards the Breach stronghold and the gate there will lower down. Fast-travel to The Maw waypoint in your map. (it will take you to the southern exit of the Breach) Once there, enter the Breach again and make your way to the rooftop climbing the wall to your left and using the hand-holds leading to the upper shaft. 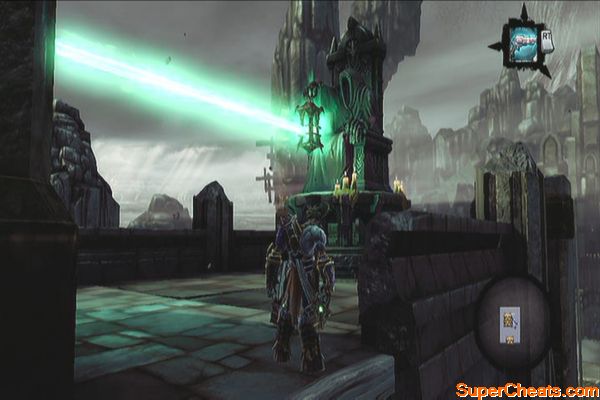
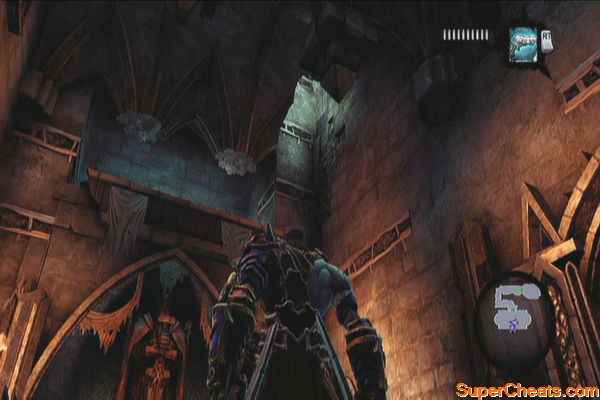
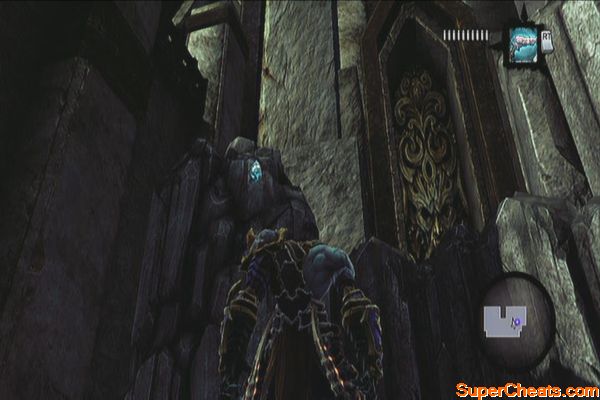
Once you've reached the roof, you can now get past the previously locked portion of the roof and loot the chest there. Now, grab on the lantern statue and rotate it so it beams to the ruins you checked earlier. Before leaving, don't forget to shoot the Stone of Resistance lodged on the rock beside the chest. 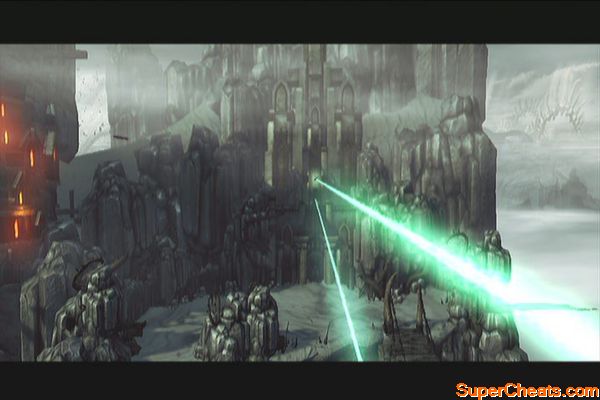

Return to the ruins across the bridge and return to the rooftop. Loot the two chests, then go around the balcony and push the switch. Climb up the ledge and loot the chest in the topmost ledge. Once done, go back to ground level and go ahead and check out Sentinel's Gaze. 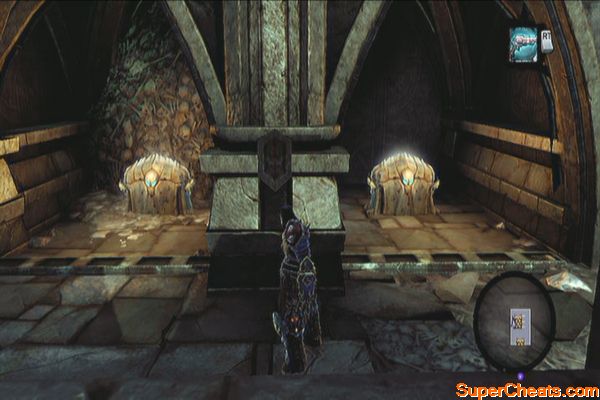
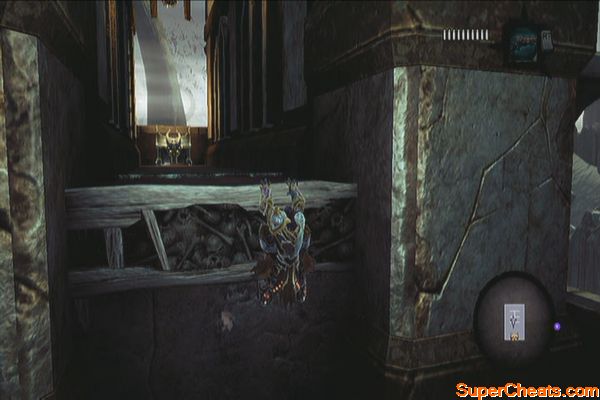
Sentinel's Gaze
Before entering the dungeon, head to the left and find a Boatman Coin near the wall, behind a thorn. Enter the ruins afterward. 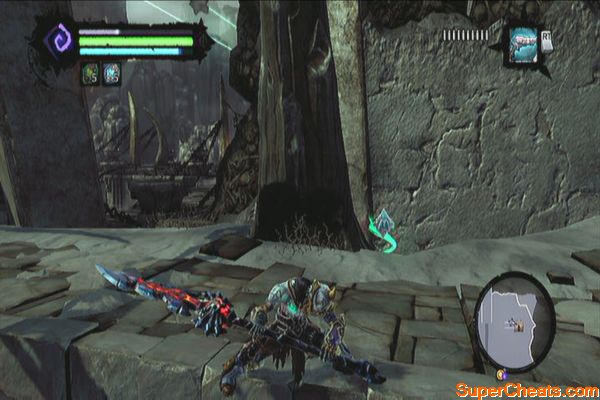
Head downstairs the stairwell and wall-run to reach a post once you see it. Climb down until you see a chest. Loot it then climb up the post and wall-run to the next set of stairs until you reach the door. Continue forth and destroy all enemies. Get the Boatman Coin in the northeast corner. 
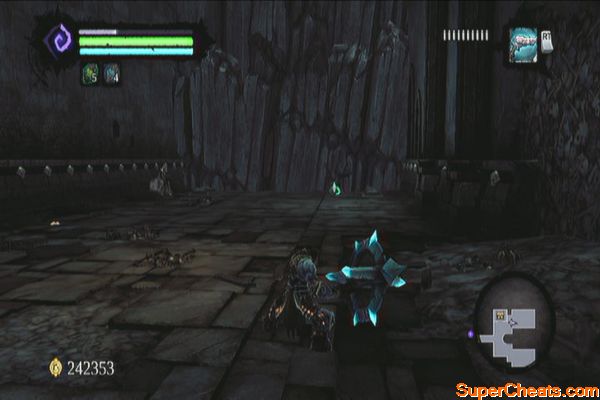
Climb the northwest ledges and check the torch near the edge to find a Relic of Etu-Goth. Grab a shadowbomb from the top then destroy the crystals below. Loot the chest and destroy the weapon racks to get some random weapons. You can check the second floor in the main building but you won't be able to fully explore it just yet. We're done for now so just fast-travel to the exit. 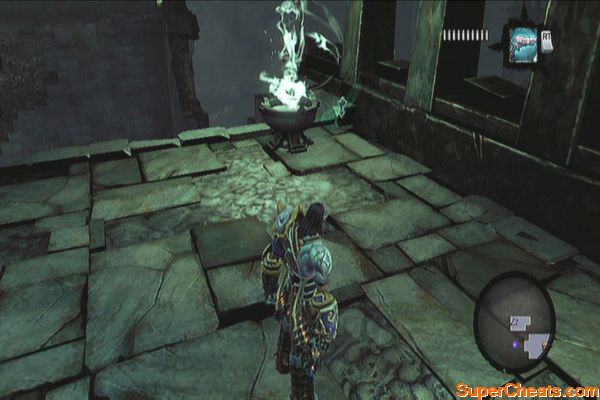
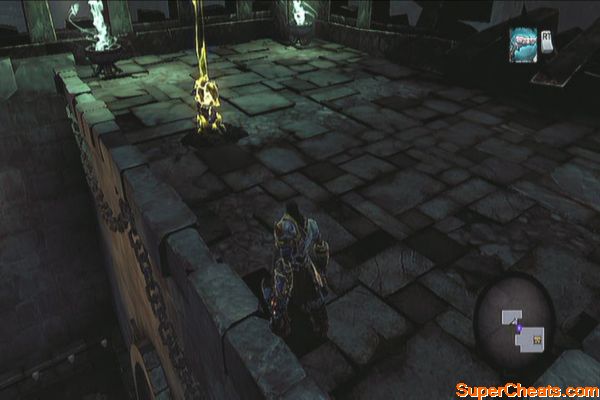
Before entering the Phariseer's Tomb to the east, continue down south to reach the gate. You can't go through yet but you can collect the Stone of Mystic there. Enter the tomb when ready. 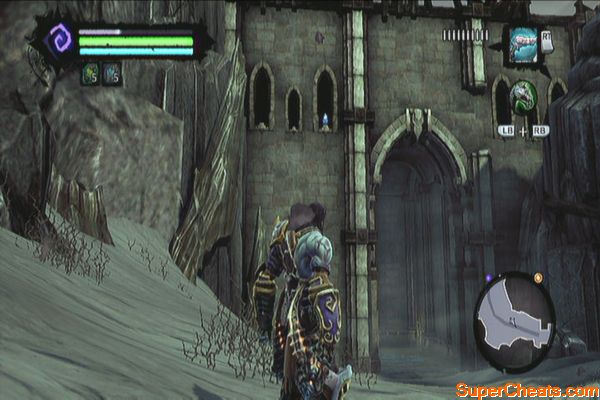
Phariseer's Tomb
Head for the lift and strike the crystal to activate it. Upon reaching the bottom floor, go downstairs and look to the left to find a Boatman Coin. 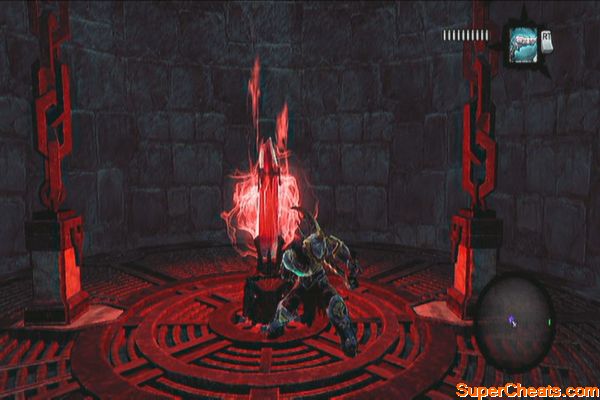
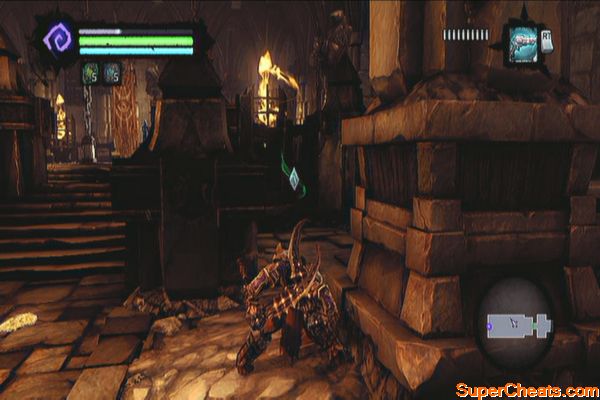
Continue forth until you reach a blocked chamber with a pressure plate. Start off by climbing the ledges to the right and grab a shadowbomb from the pod. Use it to blast away the crystals in the other ledges, revealing a chest, a stone pillar and another shadowbomb pod on the wall. Loot the chest first then use the shadowgrip to pull the pillar towards you. 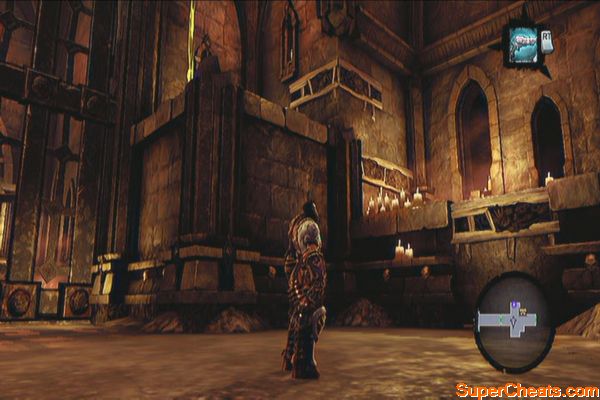
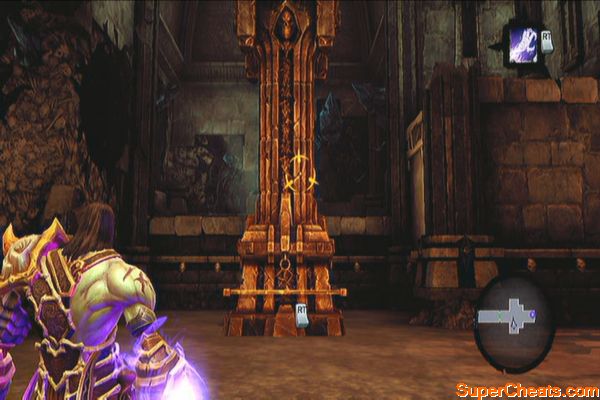
Now place the pillar as near the gate as possible, then step on the pressure plate. Grab the shadowbomb nearby and lob it to the pillar. The explosion should push the pillar to the edge and stop the gate from falling after getting off the pressure plate. 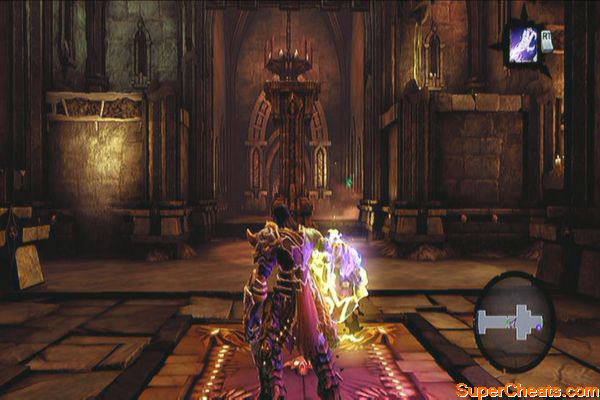
Continue ahead and to the lift and look up to the southeast to find a Stone of Mystic on the wall. Take a look at the numbered plates on the lift; this serves as the controls to the floor you want to go to. Now if you look around, you should see a red number above the doorway and heads of the statues. These indicate the current floor you're in. Just ignore the lift for now and continue to the east. 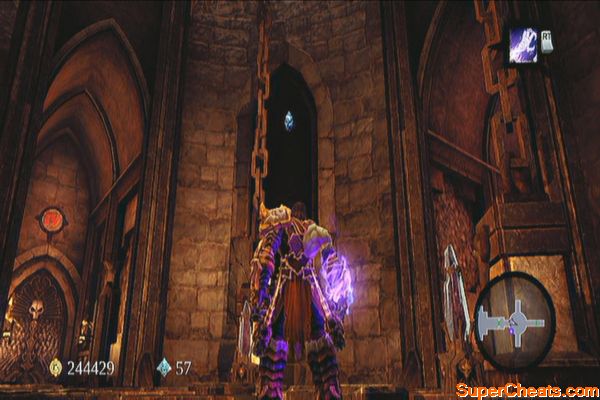
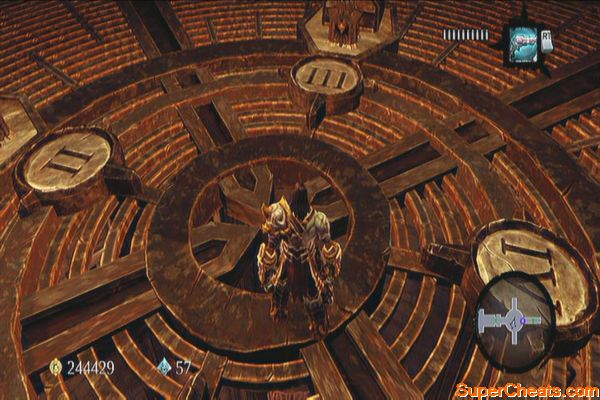
Kill all enemies inside this room and loot the chest. Check behind the statue in the far eastern side to find a Book of the Dead. Return to the lift this time. 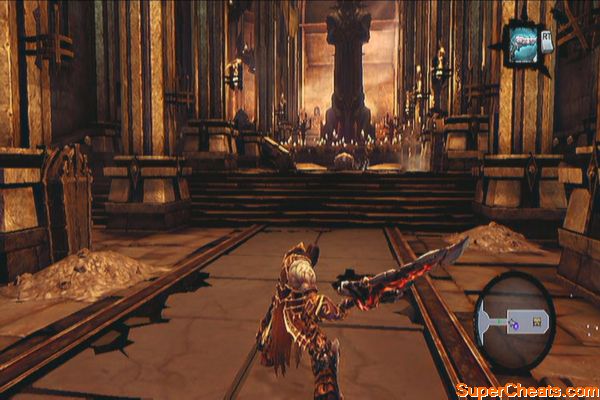
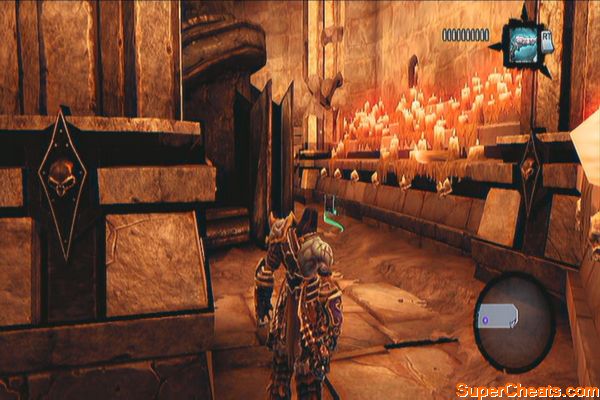
Strike the “II” crystal and the phariseer will sabotage the lift. You'll find yourself in the lowest floor. Head to the east first then climb up the wall to get a Book of the Dead page. 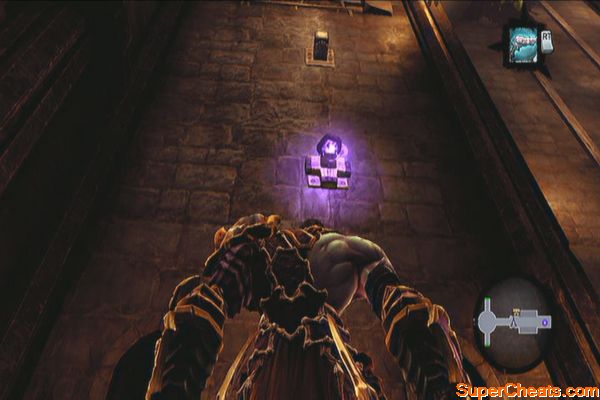

Backtrack and exit to the northern door. Ignore the deathgrip hoop there but instead, go to the left and use the hand-holds to reach the Boatman Coin. Now push the switch where you land and quickly cross the ledge to the east by swinging using the deathgrip hoop. 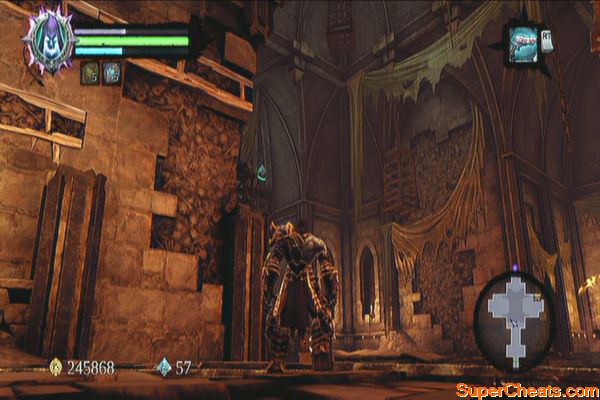
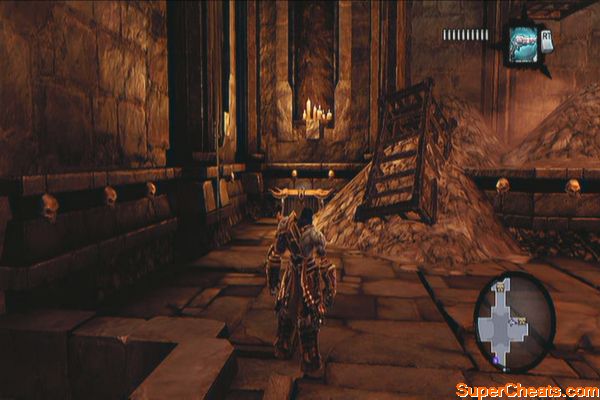
This retracts after a few seconds so make sure to do this as soon as you pushed the switch. Grab the Dungeon Map from the chest in the corner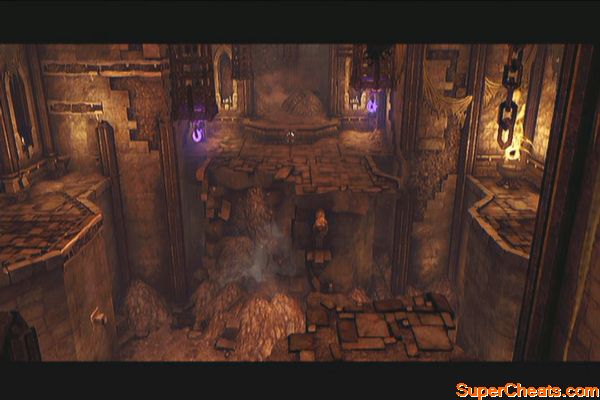

Look up then grab a non-volatile shadowbomb from the hanging cage and throw it to the switch. Next, climb the ledges to the south then shimmy around the corner so you can drop off to the room's starting point. Now switch to Redemption, aim for the bomb you attached to the switch and blow it up. As the hanging cages drop and raise, use your deathgrip and time your swings before their distances get too far. If timed correctly, you should be able to reach the ledge that leads to the chest to the north containing the Skeleton Key. 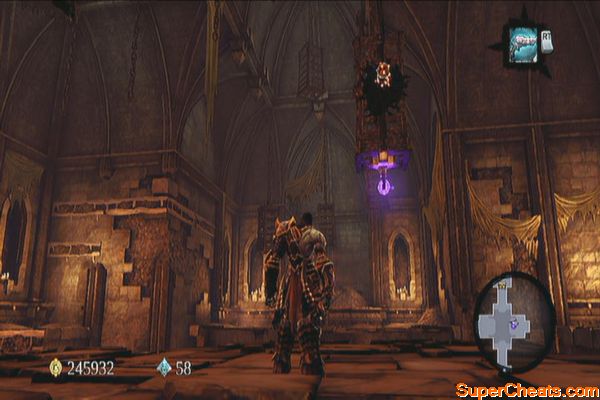
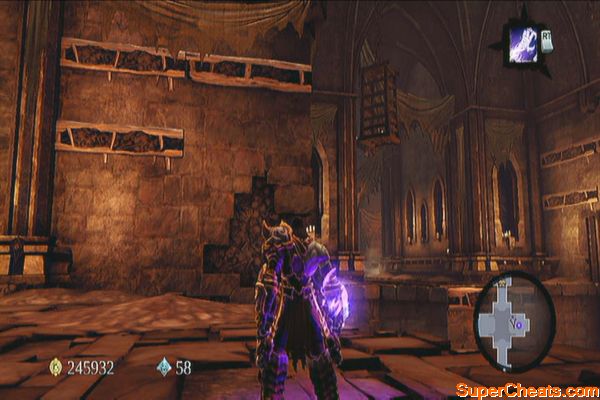
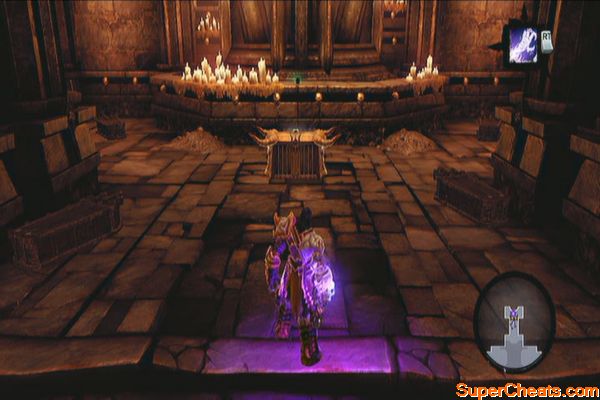
After getting the key, drop down the pit and kill the mummies. Climb up the wall to the south and you'll be ambushed by wraiths. Deal with this enemies by grabbing them with deathgrip when they're moving away or preparing to attack. Evade often as well since their attacks are damaging as well. 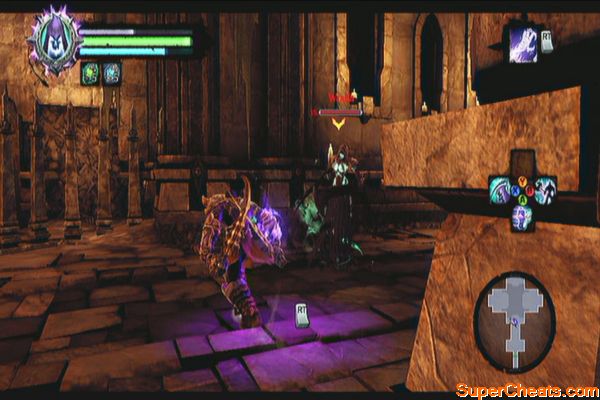
Backtrack to the elevator and attack the “III” crystal then use the skeleton key there. Follow the path and continue to the large hall to the west. Prepare for battle against wraiths and a brute known as the Undead General.
Wraiths and a General
Deal with the wraiths first while keeping an eye to your health. The pillars in the area may work against you as you can't evade that well compared to open spaces. Once the wraiths are taken care of, the undead general will appear.
Don't attack this guy head on as he can protect himself using his shield. Wait for him to attack then launch your counterattack. Again be careful not to get stuck with the pillars and keep the distance from him as soon as he starts his attacks.
Before leaving the area, destroy the crates in the northwest corner to find a Relic of Etu-goth. Now head to the southeast corner to find a Boatman Coin.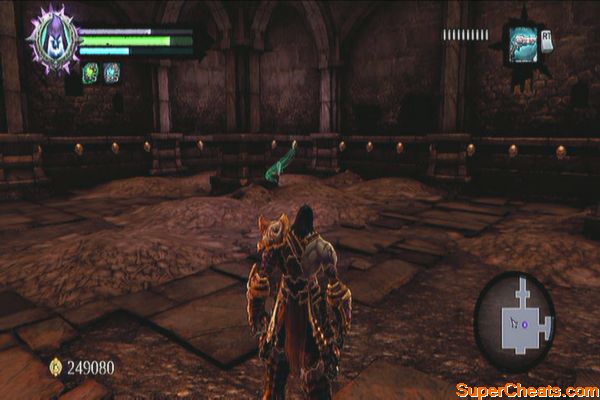
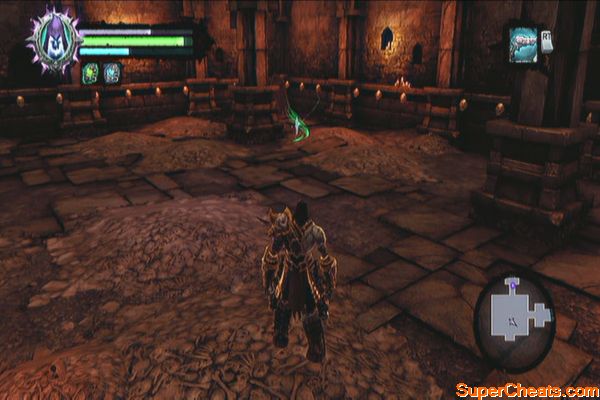
Head north and check the first nook to the west to find another Soul Arbiter's Sacred Scroll. Continue until you reach the elevator shaft. 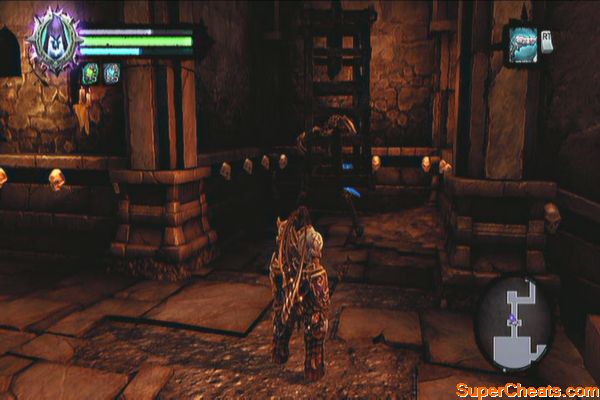
Don't drop down; instead climb the wall to the left, shimmy around the corner and wall-run to the right. Leap to the next hand-hold. Work your way to the right until you land on the next ledge leading to a room. 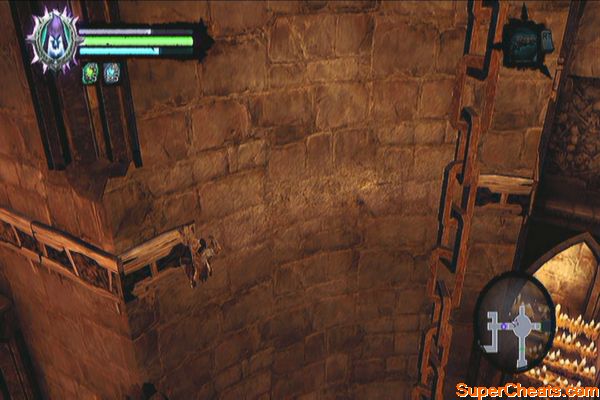
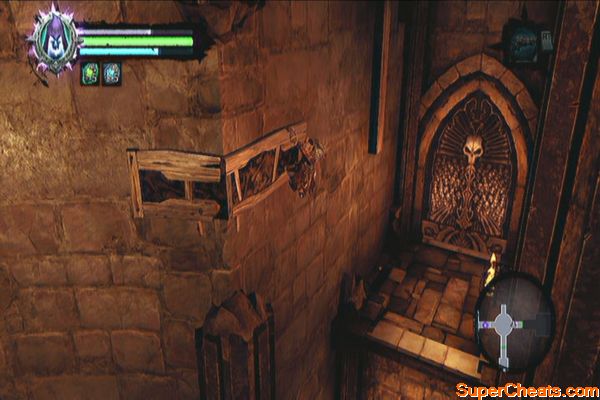
In this room, collect the Stone of Power by shooting it on the head of the statue. Next, shoot the shadowbomb nearby and to destroy the crystals on the wall. Wall-run to the post, climb down and wall-run again to another post to reach the chest on the small ledge. 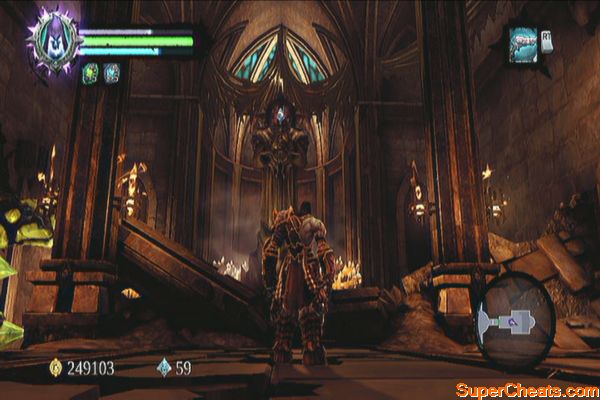
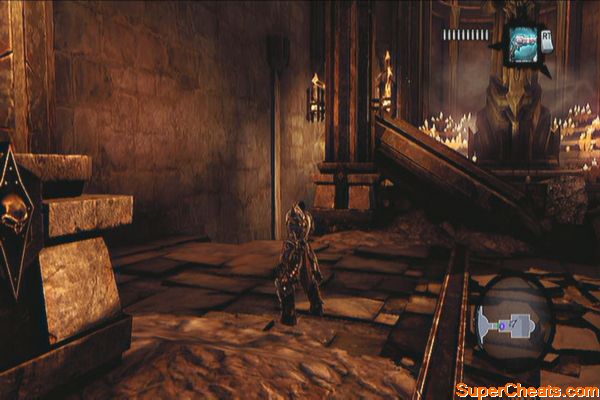
After looting the chest, grab the hand-hold then wall-run again to the next post. Wall-run again to the next post and climb down a bit. Leap back to the nearby post then do it again to reach the next one to the right. Continue to reach some growth and climb up to reach a ledge with a lever. Pull it to raise a bridge. 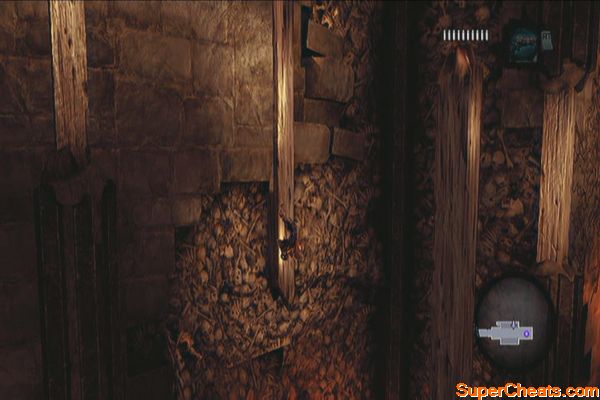
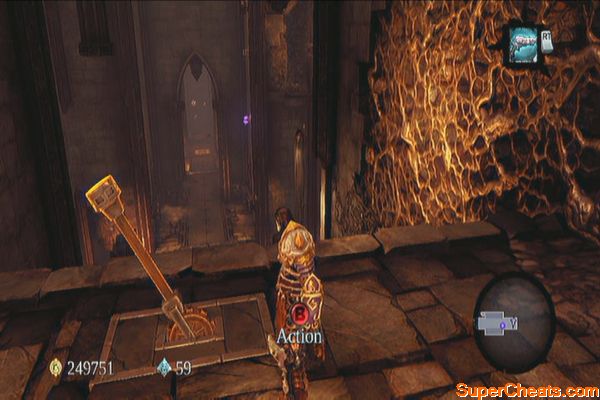
Kill the mummies below then pull the stone pillar off the ledge. Push it to the central lift's pressure plate. Now backtrack where the pillar is originally placed then use the wall-posts again to make your way back to the upper floor. Now drop down to the elevator. Now hit “II” to reach the last unexplored floor in the dungeon and to reach the boss. 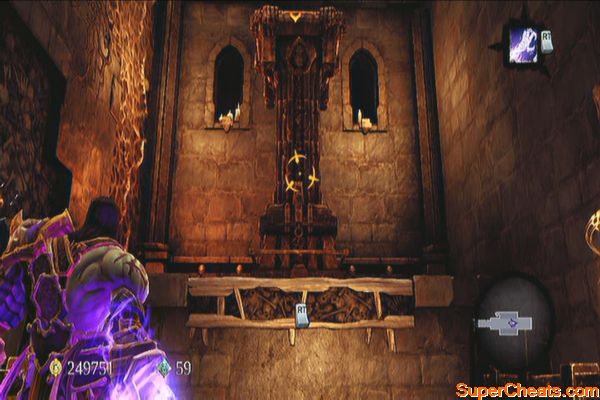
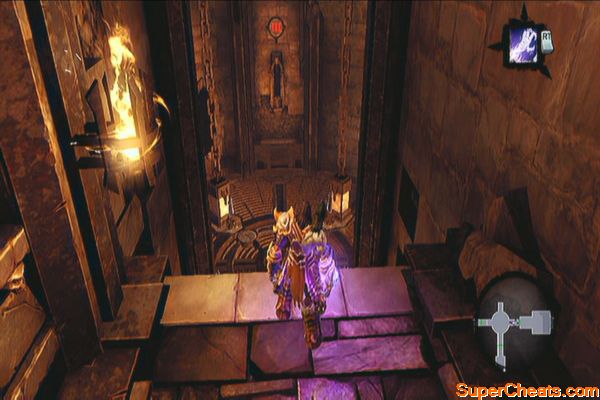
Continue downstairs and step on the pressure plate to enter the combat area. 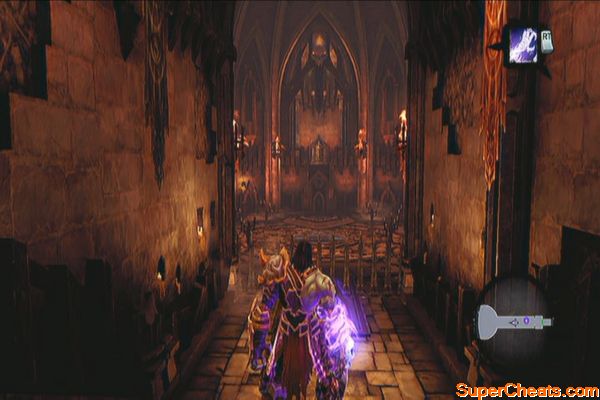
Boss: Phariseer
There is really no particular patterns in the Phariseer's attacks. Just evade when he starts his combos, then unleash your own combos once you get an opening. Once dealt with enough damage, he will summon a large group of skeleton warriors. Use your skills to give you enough breathing space and if you're using a heavy weapon, use its wide arc of attack to keep your enemies at bay.
And first dead lord yields.
You'll know be able to use Interdiction. While on this quest to get the other dead lords, you can summon one to fight on your side or act as weights in pressure plates. Step on the summoning circle and summon the dead lord. Aim for the pressure plate and order him to step on it so you can pass. 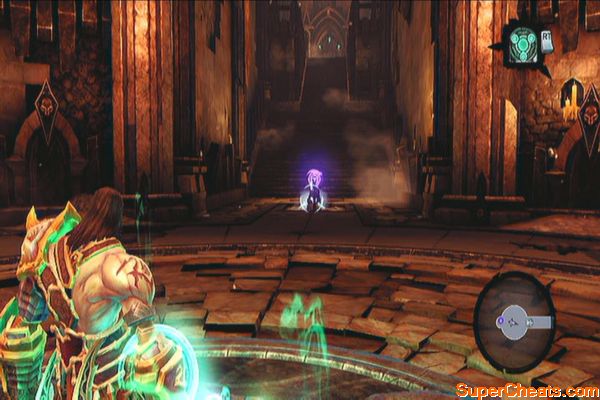
Exit to the elevator shaft then drop down to the first floor. Head to the south to find another summoning circle. Summon the Phariseer then order him to step on the pressure plate ahead. Continue forth to reach the next room and kill the mummies inside. Destroy all weapon racks to gather various weapons then get a shadowbomb to the left and destroy the crystals up north. 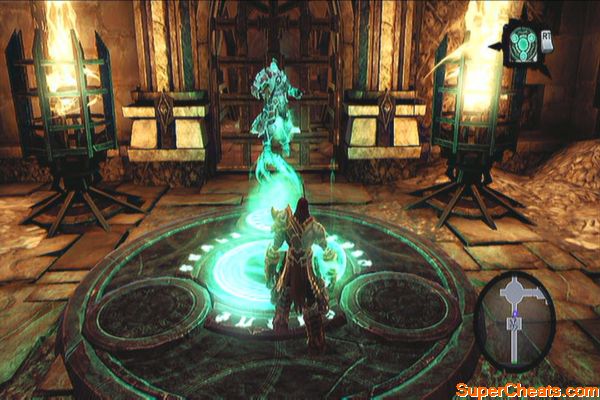
Drop down and summon the Phariseer again. Order him to stand on the pressure plate and start looting the chest. During this time, two undead generals, several wraiths and mummies will appear. The dead lord will prove its worth as it is invulnerable and enemies turn their attention to him even while immobile. Burn some potions if you need; just keep mobile and avoid getting close with your ally to prevent getting enemy aggro. 
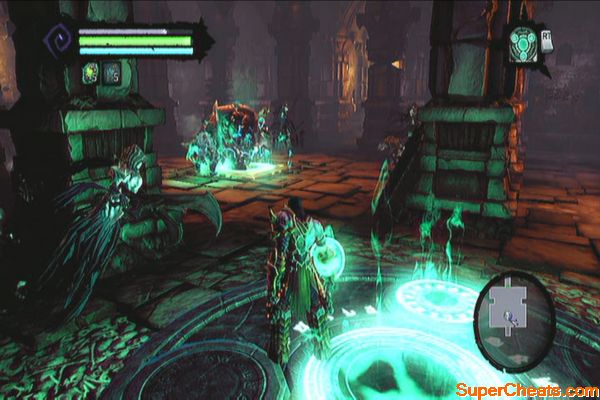
Before leaving, check the dark corner in the northeast to get a Soul Arbiter's Sacred Scroll. After that, your job here is done. You can now head to the next dead lord's location.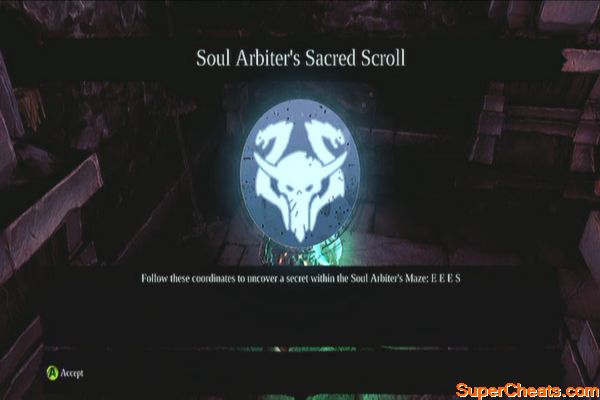
You may return to Ostegoth to trade the relics you found and to upgrade your equipment as well. Fast-travel outside the Phariseer's Tomb then ride to the southern gate. Step on the summoning circle and summon the Phariseer. Send him to pull the lever to the north. 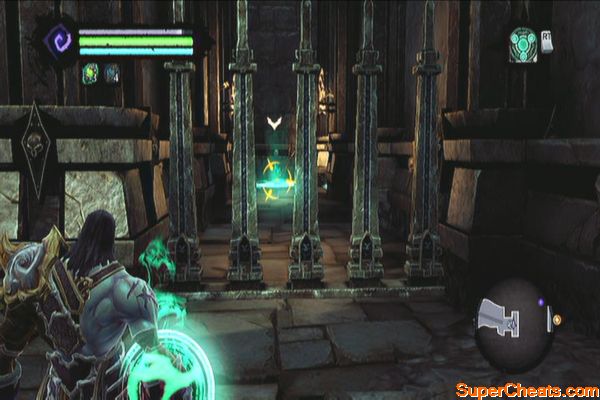
Once the gates are gone, head south first the climb the wall. Turn around to find a Boatman Coin. Climb the wall back again and follow the path until you find a hand-hold. Shimmy around the corner to reach the chest in the other ledge. 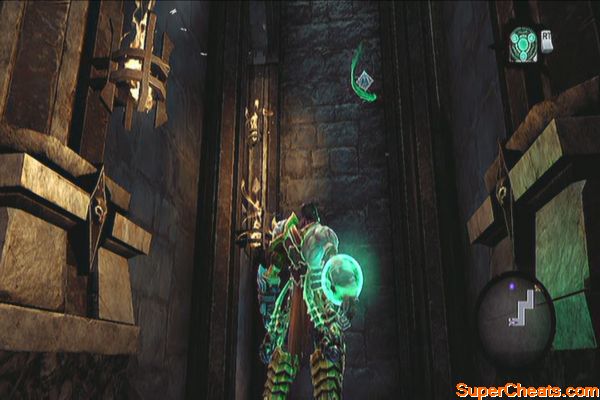
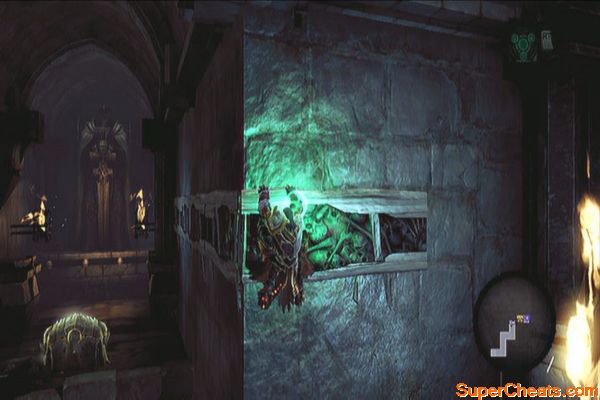
Drop down and follow the path to find a Soul Arbiter's Scroll in the nook along the way. Exit to the Spine and turn to the right to find a climbable wall. Climb the wall to find a chest on top. There's also a Stone of Power located above the hand-hold you used to climb.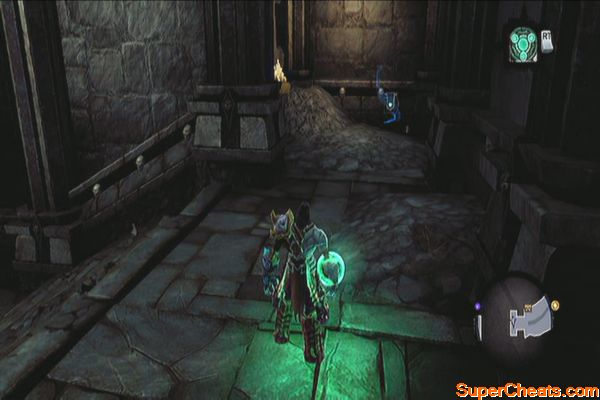
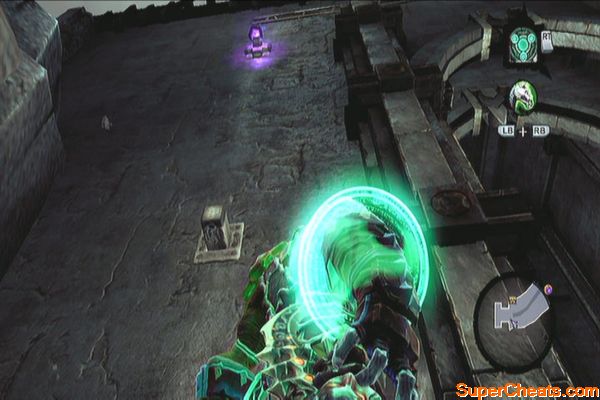
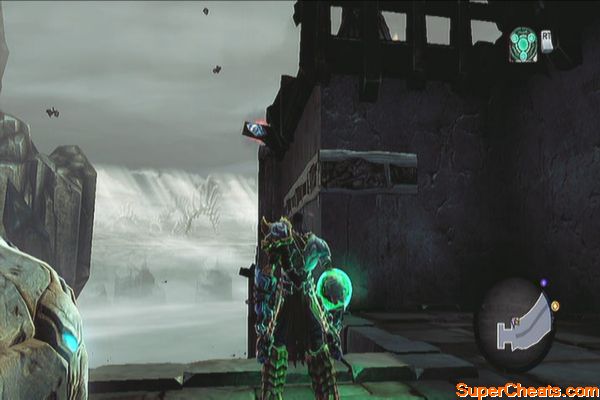
The Spine
Summon Despair and ride north to register the Soul Arbiter's Maze to your map. You don't have to attempt this optional dungeon unless you collected all Soul Arbiter's scrolls so just turn around and look for the Relic of Etu-goth at the edge of the eastern cliff near the Maze's entrance. Ride to the southeast this time and cross the bridge. Continue to the easternmost deck to find a Book of the Dead Page. 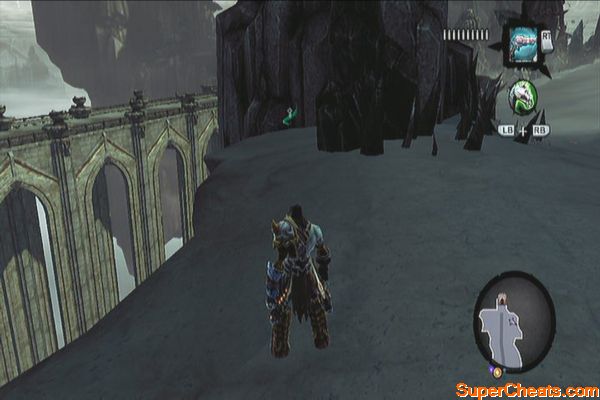
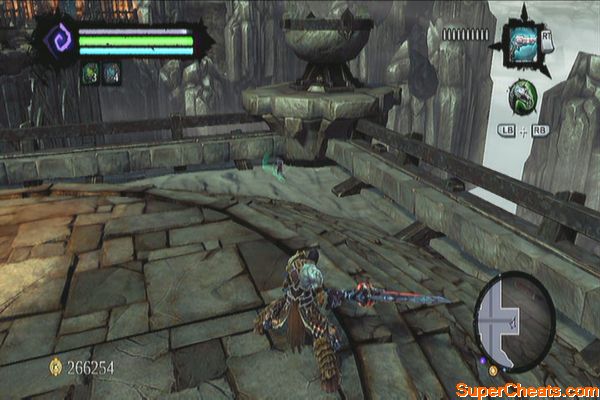
You can find the City of the Dead to the north but you don't have any business there at the moment. You can however, head there are register it on your map so you can fast-travel to it later on. Head south to the Judicator's Tomb. Before entering the place, search the rock cluster to the northwest to find a Boatman Coin. 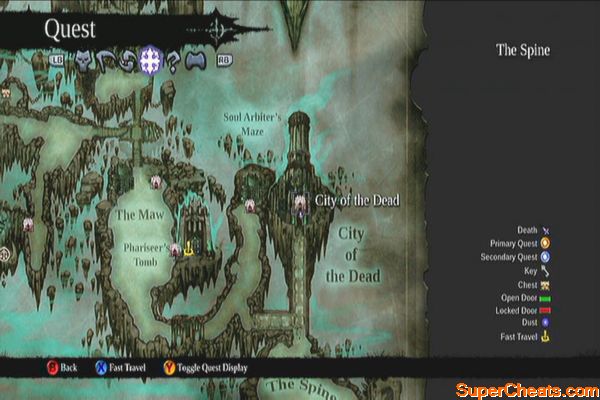
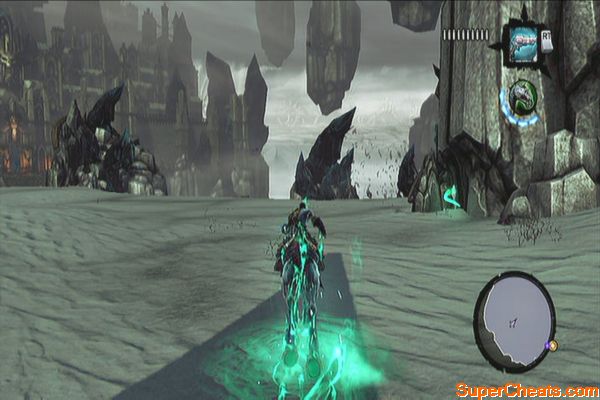
There's also a ruins to the east. Ride there and take the uphill path once you've reached the fork. Disembark from Despair and look for the Relic of Renagoth in the corner near the edge of the cliff. Climb the wall in the southern side of the ruins and follow hand-holds and growth until you reach the interior. Wall-run to reach a chest in the first ledge.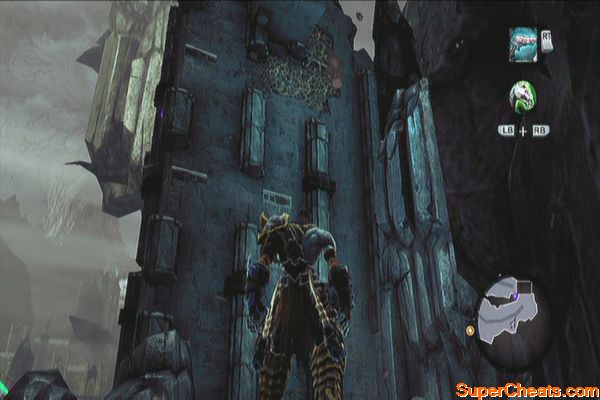

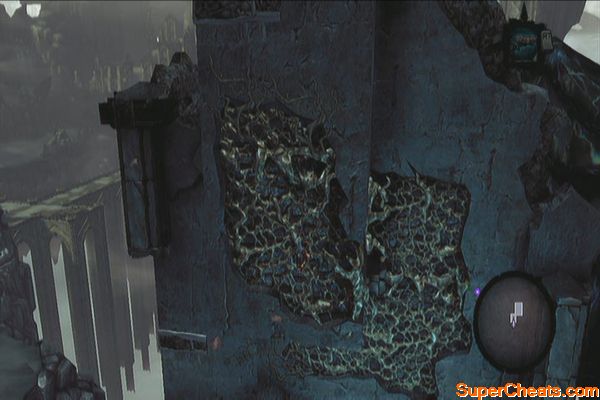
Now turn around to find a Stone of Power in the opposite wall. Drop down to the hole and you should see the Boatman Coin ahead. Grab it using your deathgrip. Make your way to the Judicator's Tomb once done. 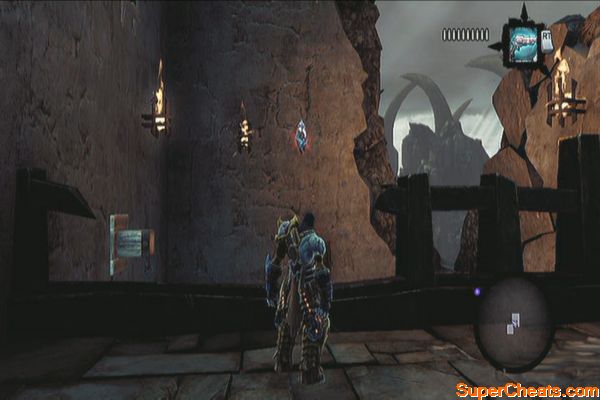
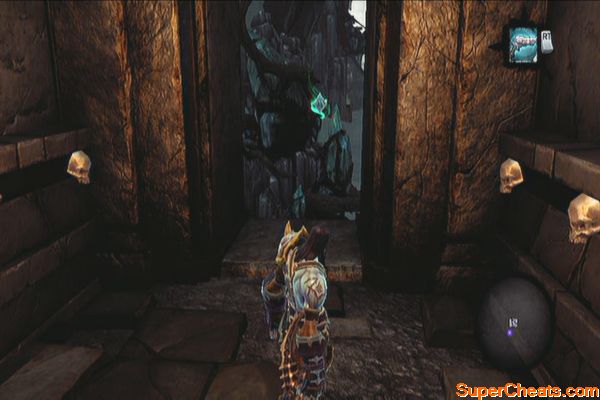
Judicator's Tomb
Head inside until you find a caged lever. Enter the alcove to the west and summon Phariseer there. Order him to pull the lever and unbar the southern door. Enter the next chamber then look up to find a Stone of Power on the hanging cage. 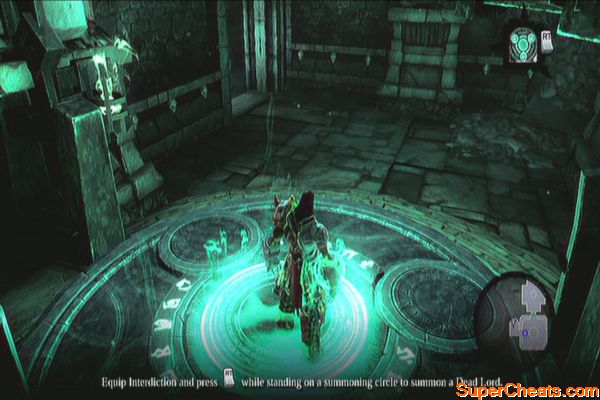
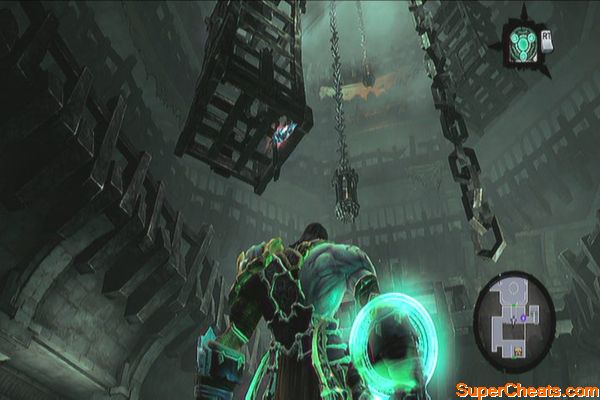
Head to the west and destroy the weapon racks to loot some weapons. You'll encounter undead prowlers as well. Take them out and pull the lever. Order the Phariseer to trigger the pressure plate in the southern ledge to raise the platform. Next, go to the main pit and pull the pillar and place it in the middle of the two platforms. Climb back up and head to the southern ledge. 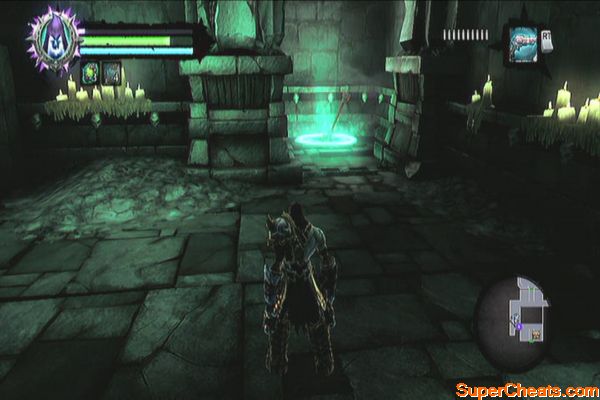
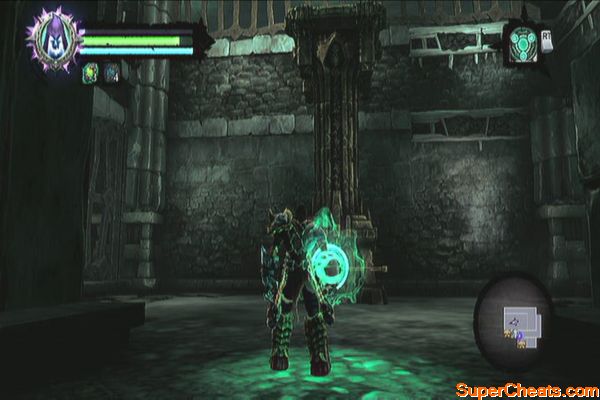
Go behind the pillar to the right to find a Soul Arbiter's Scroll, then loot the chest on the other side. Don't worry about the two chests in the pit for the meantime then continue through the south door. Approach the Judicator and he'll ask you to find three lost souls before he agrees to hear the pleas of his lord. 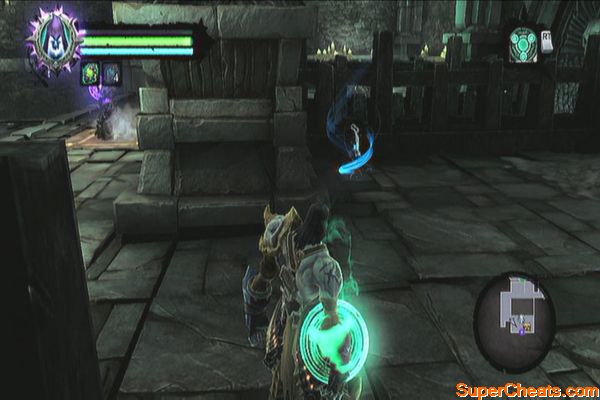
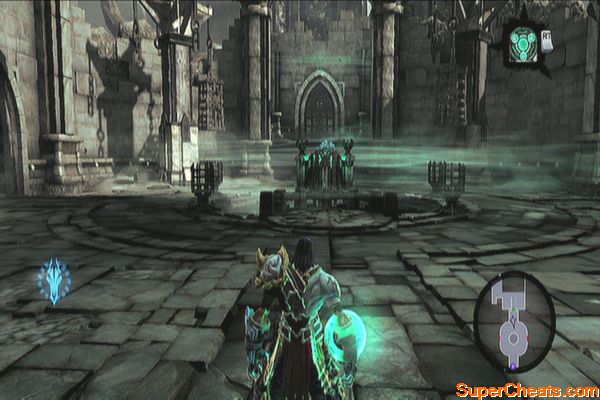
The First Soul
Go through the door to the west, cross the bridge and continue to the next chamber to fight the Lich and his hosts.
Lich
After defeating the Lich, exit through the next door and follow the path. Use the summoning circle then enter the next door. Order Phariseer to step on the pressure plate across. Cross the bridge then order Phariseer to trigger the pressure plate to the east this time. Only half of the bridge will be raised, due to the obstruction caused by the crystals. Switch to deathgrip and use it on Phariseer to pull yourself towards him. 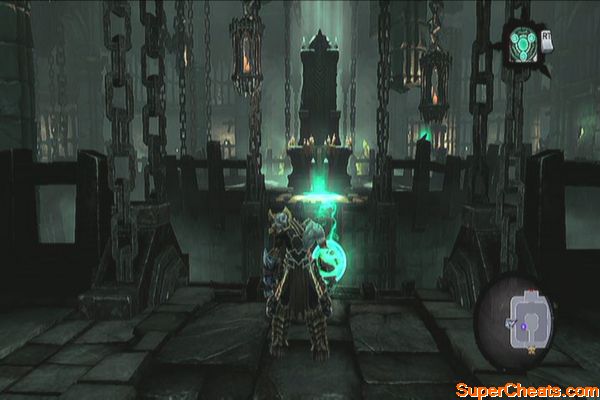
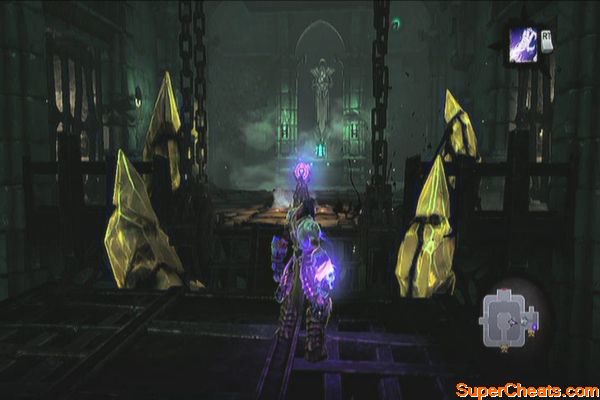
Look to the left to find a shadowbomb inside the crevice on the wall. Use it to destroy the crystals. Look to the south to find a chest containing a Dungeon Map as well. Now grab the lantern nearby and place it on the statue in the middle. 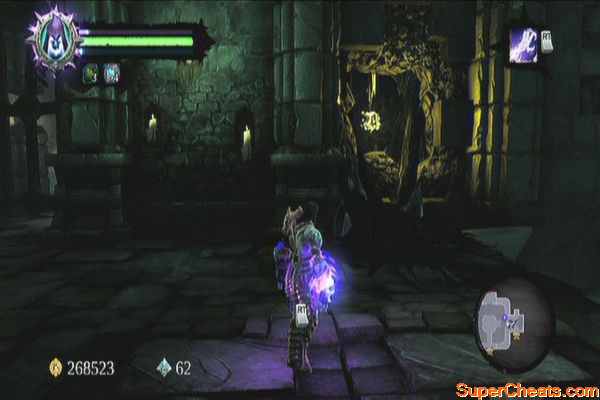
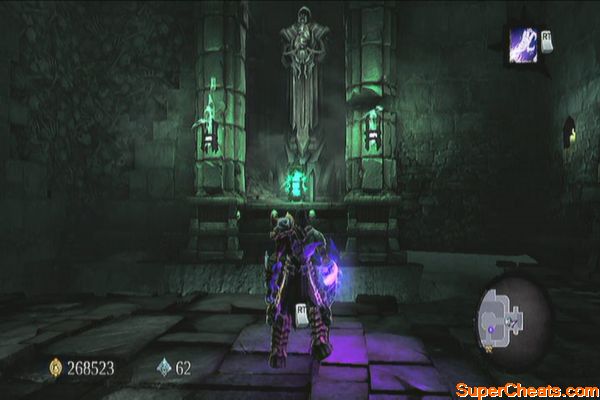
Rotate the statue to the south to loot the chest there. Now rotate the statue to the north and order Phariseer to step on the pressure plate so you can pass through. Exit the door next. 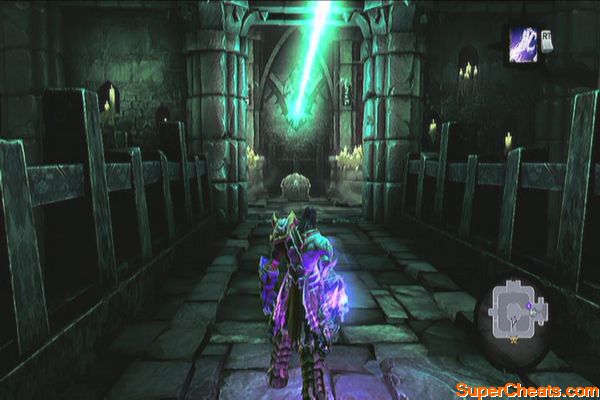
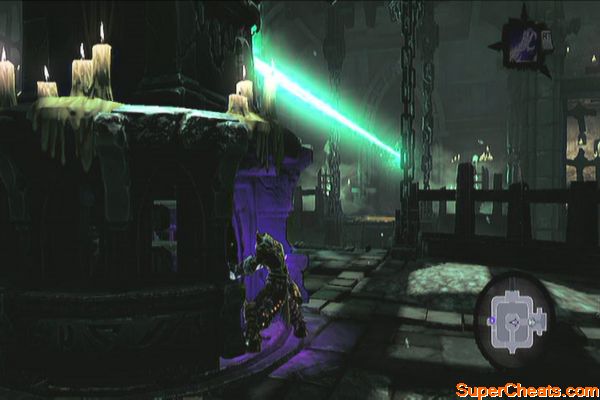
Continue to the next tower. Before ascending, dive in the water to discover a Relic of Khagoth. Climb the wall next then ready your deathgrip. 
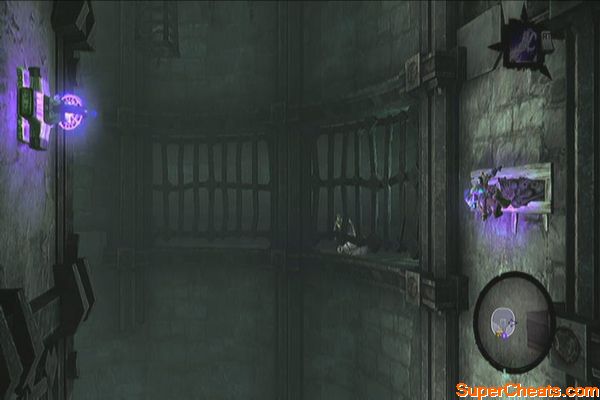
Use it to reach the tower, then go around the corner and jump down to reach a ledge with a chest. Loot it then look behind you to find another chest on a lower ledge. Jump down to reach it. 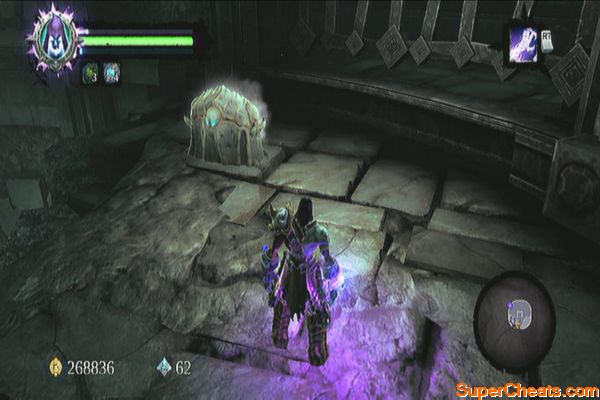
Jump down to the bottom and climb the tower again and make your way to the top. Collect the first soul and you'll have to fight a Lich, 2 undead champions and some lesser minions. Defeat them all then exit the tower. Jump from the broken railing in the bridge to return to the Judicator. 
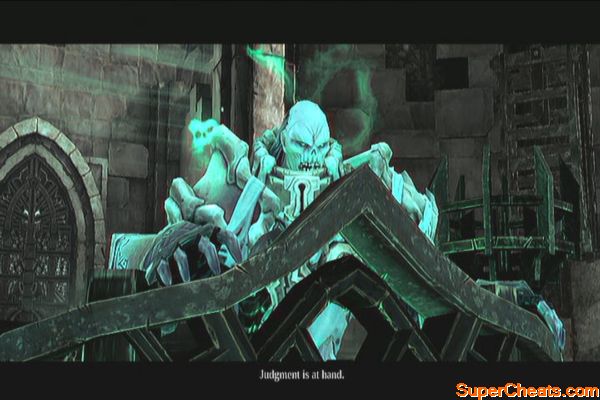
The Second Soul
The eastern door opens up this time. Go there and head to the open area. A group of undead prowlers and Skeletal Champions. Get rid of them and a large powerful enemy called the Tormentor will appear.
Battle to reach the second soul
This enemy is very slow and you can quickly defeat it by using a combination of fast scythe, heavy weapon hits and skill attacks, like a fully upgraded Teleport Slash.
After killing the tormentor, destroy the crates to the northeast to find a Boatman Coin. Enter the alcove to the southeast and check the blood writing on the wall to get a Soul Arbiter's Scroll. Loot the chest in the area then proceed north. 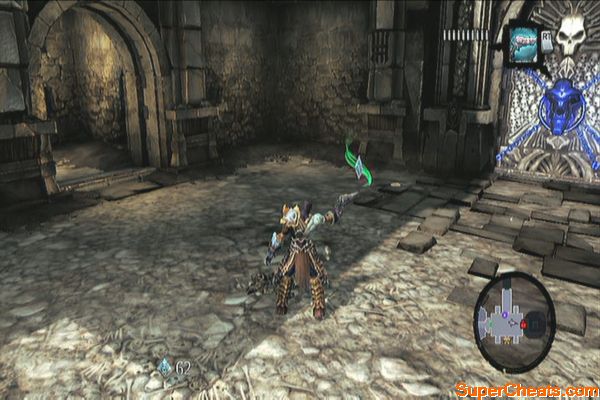
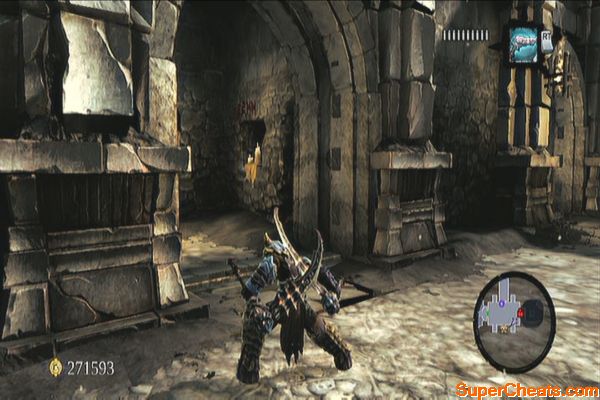
Summon Phariseer and order him to stand on the pressure plate to the northeast. Wall run from the southwestern wall to reach the ledge with the chest. 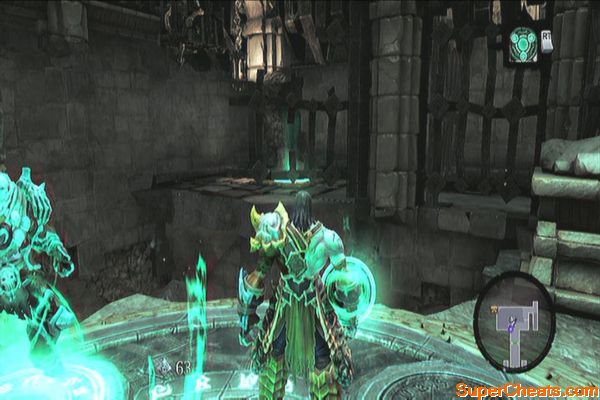
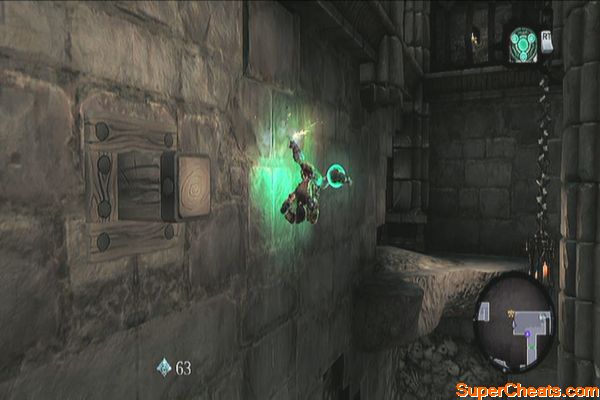
Prepare your deathgrip then wall-run. As soon as you cross the wooden peg, use the deathgrip to grab the Phariseer and pull yourself towards him. Enter the narrow corridor behind then turn to the left to find a Book of the Dead. 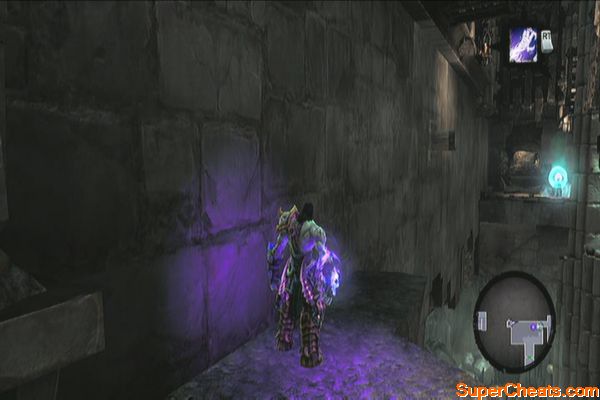
Next, jump to the pit and quickly use deathgrip to grab the deathgrip hoop. Head to the lever and pull it to reveal a deathgrip hoop in an enclosed corridor. Backtrack and you should see some hand-holds on the wall to the left. Climb up and go around the corner to reach the inner corridor. 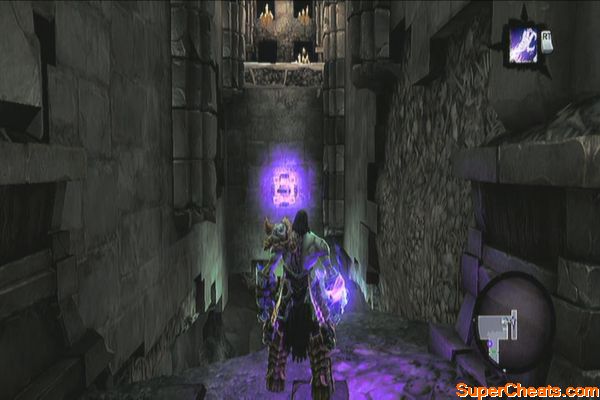
Loot the chest the drop down to find a Relic of Etu-goth. Drop-down through the hole, then climb up with the help of deathgrip to grab the hand-hold above. Return to the main path and exit to the western door this time. A bunch of skeletons will ambush you; get rid of them and enter the next chamber.
Loot the chest to the south to get the skeleton key then loot the one to the north as well. Backtrack to the previous area and drop through the hole in front of the lever. 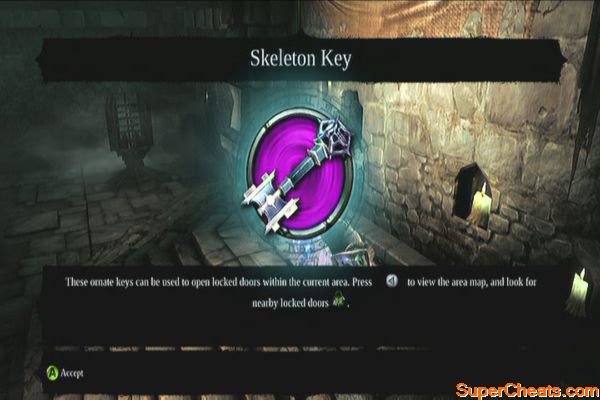
Head back to the area where you fought the Tormentor and get rid of the enemies roaming there then open the door to the east. Dive in the water to get a Boatman Coin. Make your way up and collect the second soul. After getting it, you'll have to defeat two skeletal champions and an undead stalker.
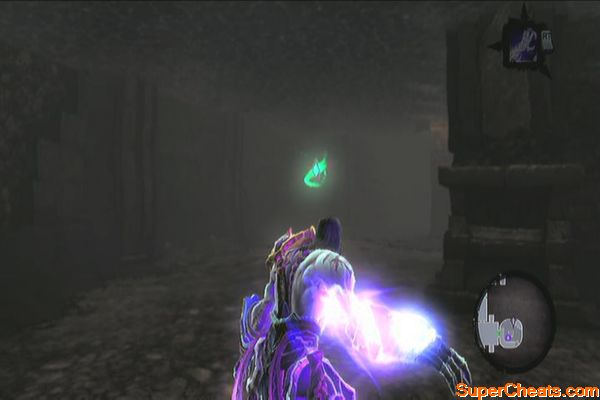
Undead Stalker
Jump to the southeast to land on a ledge containing a chest. You can look down and jump to the next ledge to get a Book of the Dead page. In case you miss the landing, make your way to the central tower, then shadowgrip the hoop north until Death hangs on the hand-hold. Instead of jumping backwards, tilt your controller to the right and jump from there to land on the ledge with the Book of the Dead. Return the soul to the Judicator. 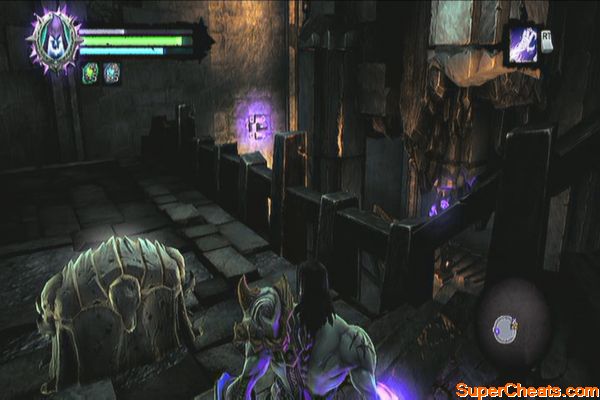
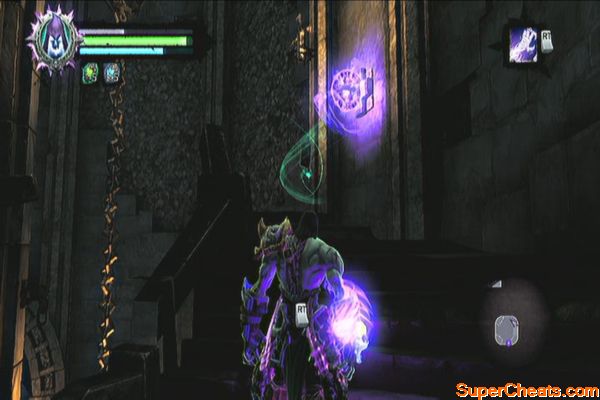
The Third Soul
Take the southern door this time and wall run to reach a summoning circle. Summon the Phariseer then head to the lift and defeat the Undead General there. 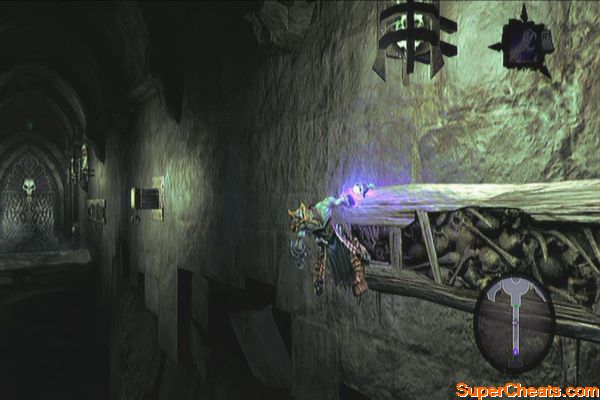
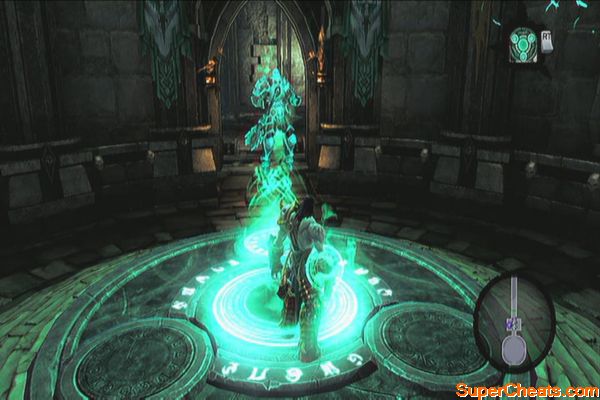
Lift Battle
Next hit the crystal marked “II” to ascend. However, a large block of crystals will halt the lift. Have Phariseer step on the western pressure plate then climb the wall to the east, ignoring its pressure plate. Go up the ledge and then wall run to the left until you reach the western ledge. Now order Phariseer to step on the eastern pressure plate this time. 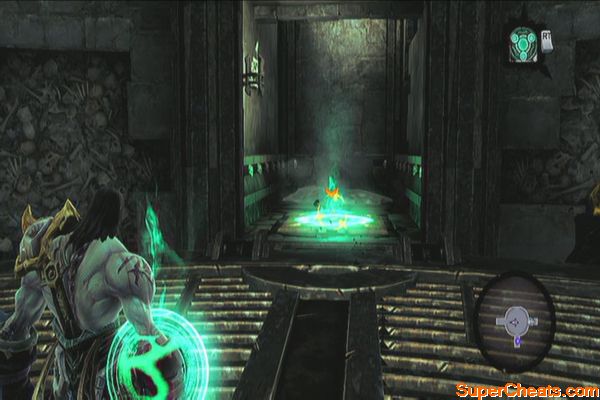
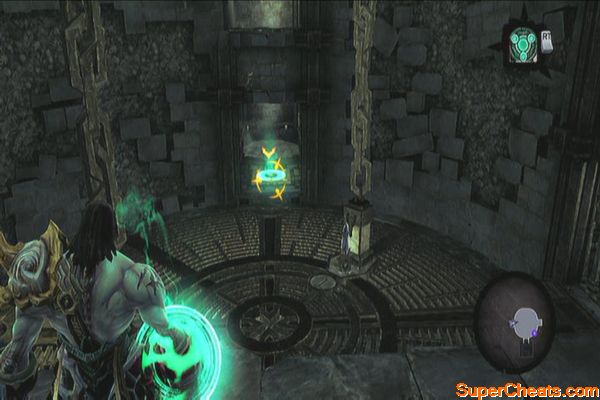
Grab hold of the hand-hold next and continue up where you need to wall-run again to the east. Upon reaching the eastern ledge, grab hold of the shadowbomb and blast the crystal below. Once the elevator stops, exit to the southern door. 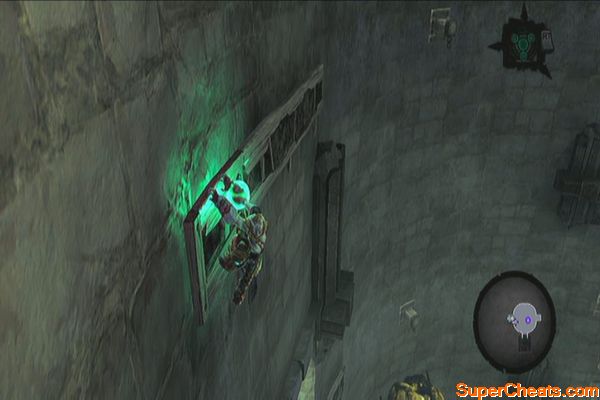
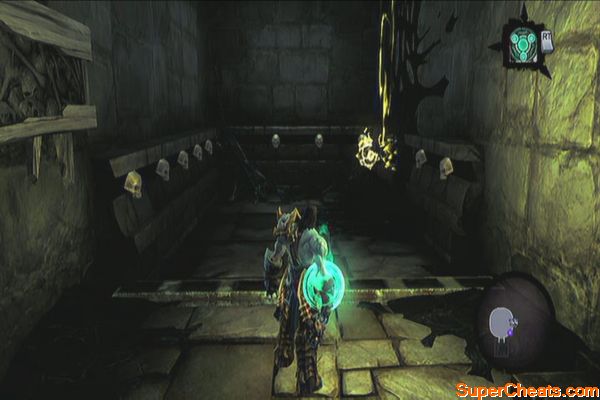
Now dive down the water to find a Boatman Coin. Go upstairs and climb the ledge using the deathgrip. Turn around and find a Book of the Dead page here. If you've been following the guide, this should be your 20th. You can take a quick detour to visit Vulgrim and sell the chapter, then visit the Death Tomb at the bottom of the Lair of the Deposed King to get your loot. 

When ready, head to the chamber and collect the third soul. As you leave, the skeleton in the middle will writhe and call forth a lot of skeletons. You can focus and attack the skeleton in the middle directly as the spawn of enemies won't stop until you do so. Destroying it will summon the Bone Giant. 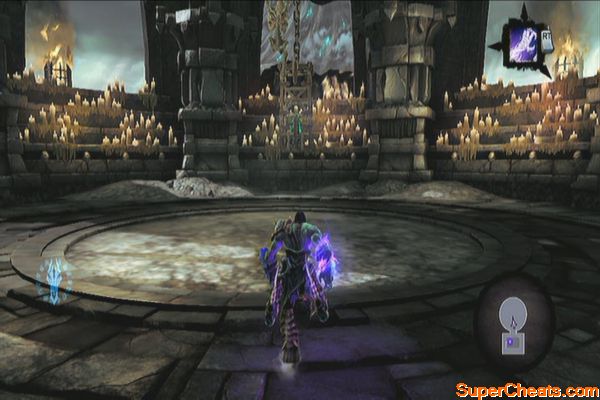
Bone Giant
After defeating it, look up before leaving the chamber to find a Stone of Mystic. Return to the elevator and hit “I”. Head back to the Judicator to deliver the last soul and complete the tomb.
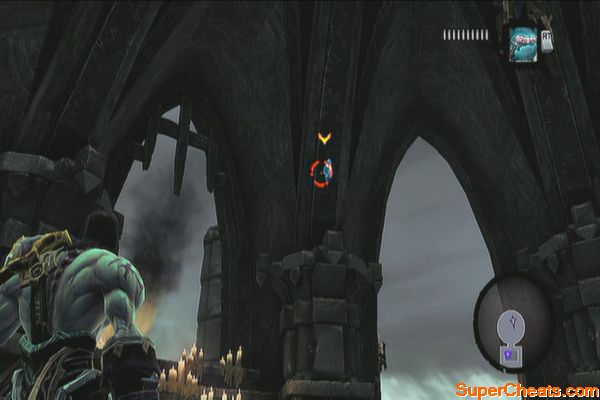
Your next destination is the Gilded Arena but before going there, we can now loot the two chests we ignored earlier in the main pit, near the tomb's entrance. Head to the summoning circle and summon the two dead lords. Go downstairs to the east and have them step on both pressure plates. In case they get stuck or they can't follow you, return to the summoning circle and summon them again. 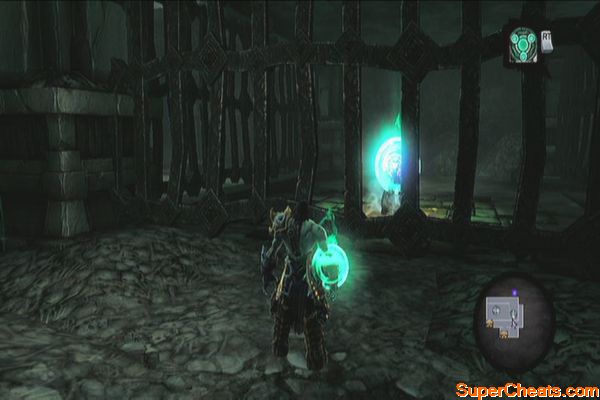
Fast-travel to the Gilded Arena and enter the door in the stairwell. Don't worry if it's marked red or inaccessible; just approach it and the lantern statue will rotate and enable the door. Return to the Arena itself and you'll enter the portal after the scene. 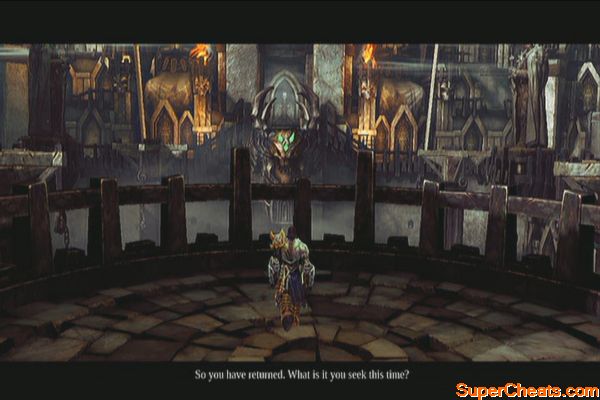
Psychameron
As soon as you arrive, you'll have to fight two undead stalkers. Once the first stalker falls, undead prowlers will spawn to join the fray. Take them out while evading often. Once defeated, the path will be cleared. Go upstairs and enter the door.
A pleasant welcome
Summon your dead lords. Before ordering them to step on the pressure plates, climb the ledge to the south to find a chest. Now step on the platform to the east and order your dead lords to step on the pressure plates. Enter the next door. 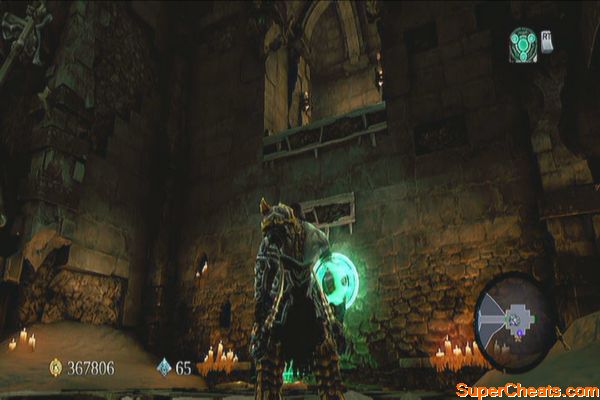
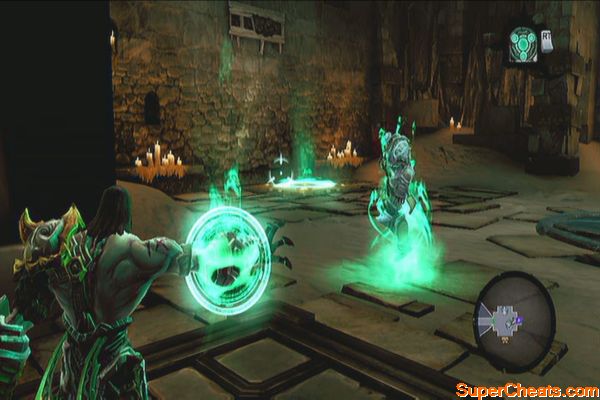
Summon your dead lords again and order one to step on the pressure plate to the north. Cross that bridge then order the other dead lord to step on the pressure plate behind the gate. 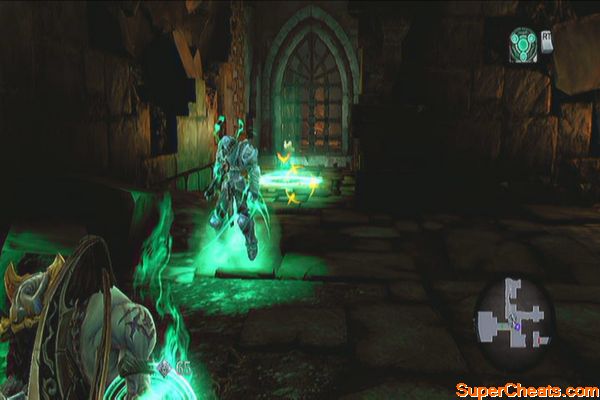
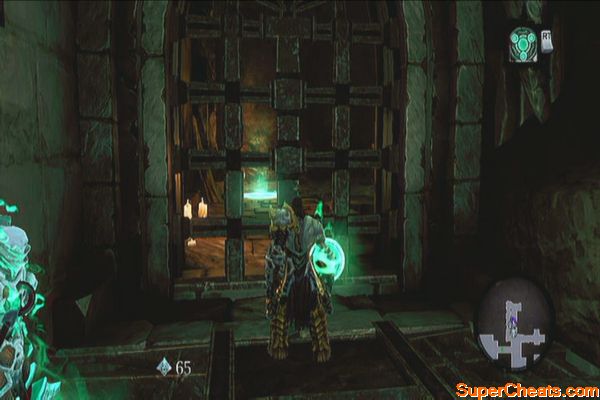
Continue forth and go near the locked door. Call your dead lords and order one of them to trigger the plate across the chasm. Now ready your deathgrip and jump to the chasm. Use the deathgrip to grab onto the deadlord and pull yourself towards him. Loot the chest afterward. 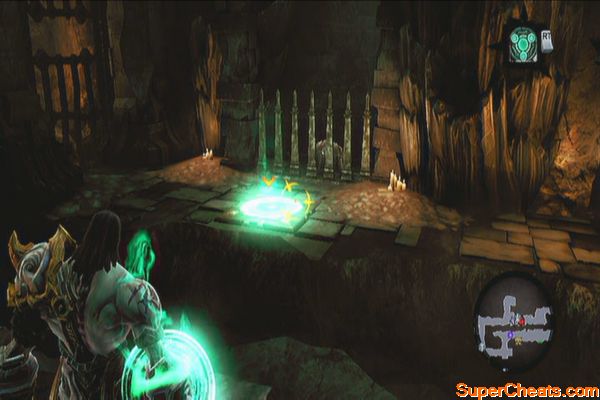
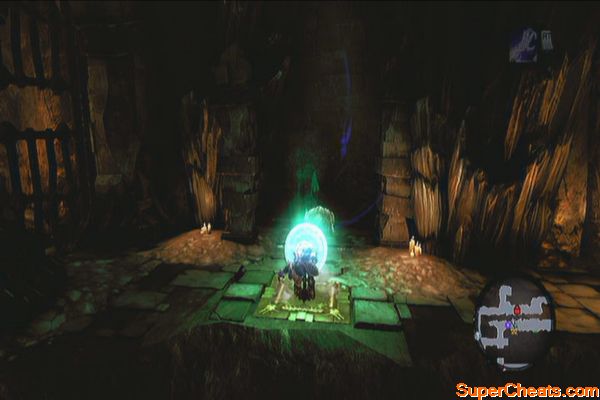
Turn around and look down the chasm to find another pressure plate below. Order your dead lord again to step on it. Once done, switch again to Deathgrip then jump again to the chasm and pull yourself toward him. Before heading south, turn to the left passage and push the switch to open the gate. Backtrack and cross the banishing field and jump down the shaft. Enter the room next. 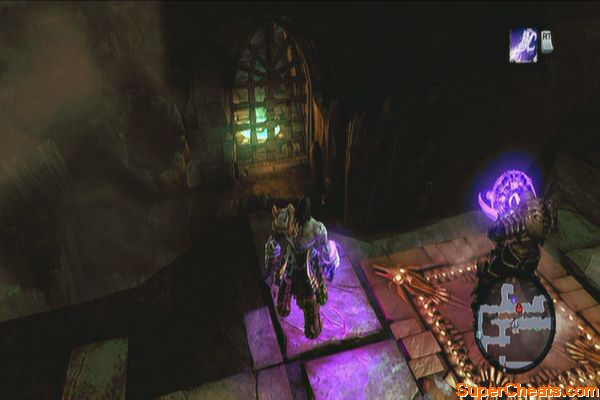
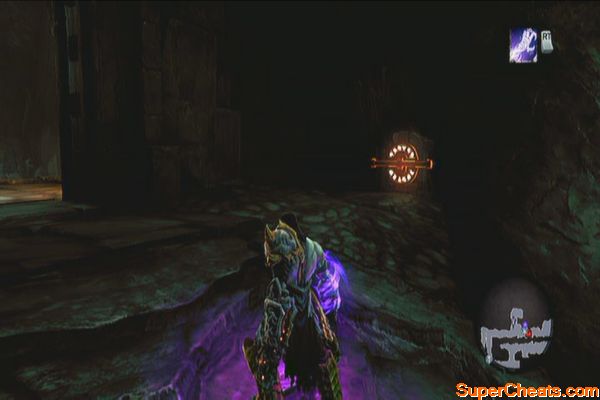
In the next room, summon your dead lords again. You need to trigger the push-switches on the upper ledge in a correct order; otherwise skeletal enemies will spawn. Ignore the two chests for now since you don't have the ability to reach them just yet. Push the switches in the middle, right then left. Collect the skeleton key from the chest. 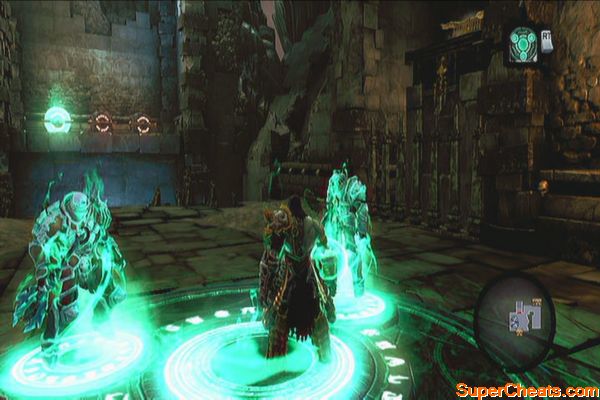
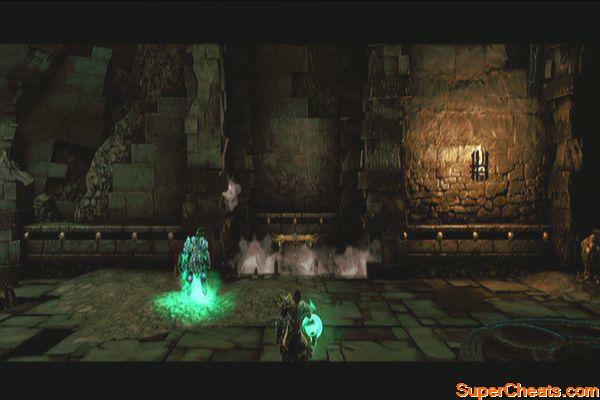
After getting the key, climb the wall post and return to the upper ledge. As soon as you exit, look up to find a deathgrip hoop on the wall. Use it to go up and reach a Relic of Renagoth. 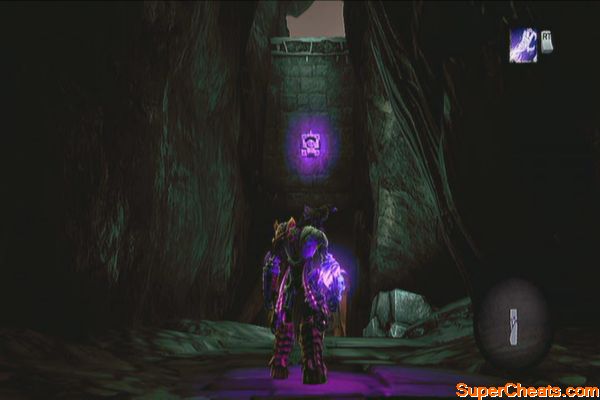
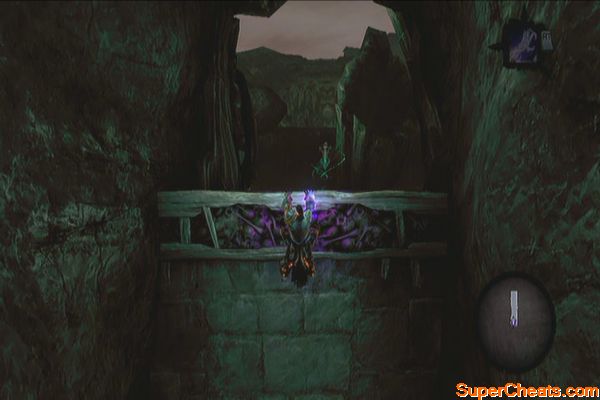
Jump down and open the locked door. Continue following the path for a scene. Now step on the summoning stone and call forth your dead lords again. Have one step on the nearby pressure plate to raise the bridge. Before crossing it, look to the southeast to find a pressure plate across the large chasm. Order your other lord to step on it. 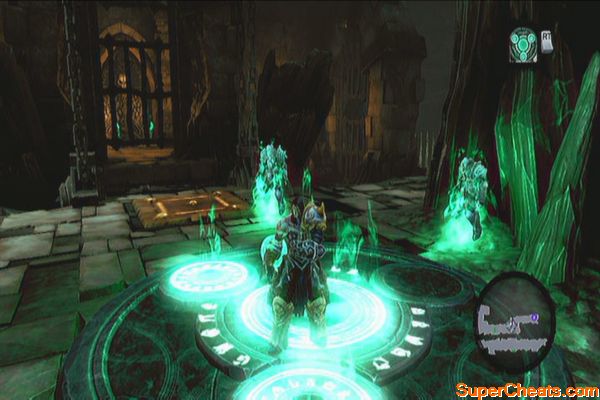
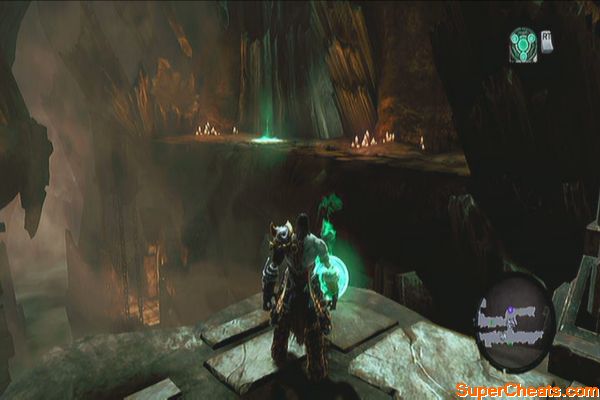
Before heading to the newly-opened gate to the northwest, order the first lord to step off the pressure plate. Go through the gate and order the current lord to step on the pressure switch in the lower ledge. Now wall-run and make your way to the right side. Hop onto the hanging post and climb down. Finally leap towards the dead lord and use deathgrip to pull towards him. 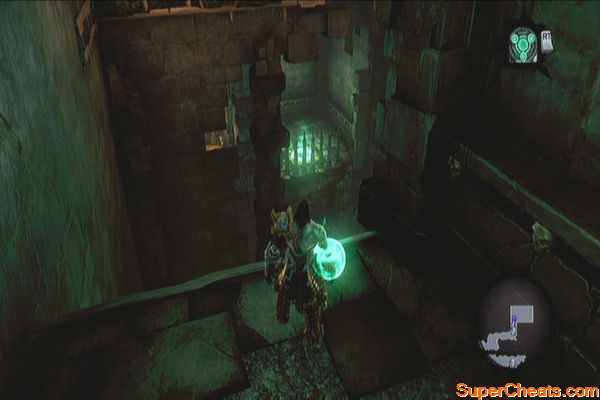
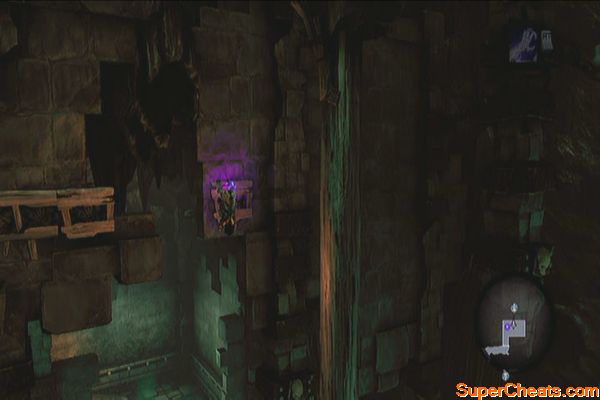
Order the dead lord to step off the plate and follow the path. Loot the two chests along the way and turn to the right upstairs to find a push-switch. Push that to remove the gate then backtrack and head southeast. Order your dead lord to step on the next plate. Go past that plate and push the switch to the left to raise a bridge. 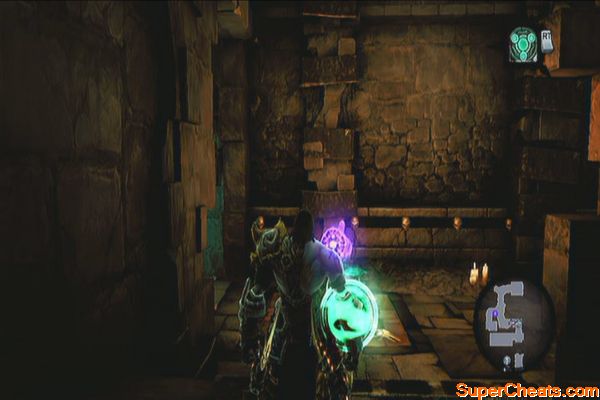
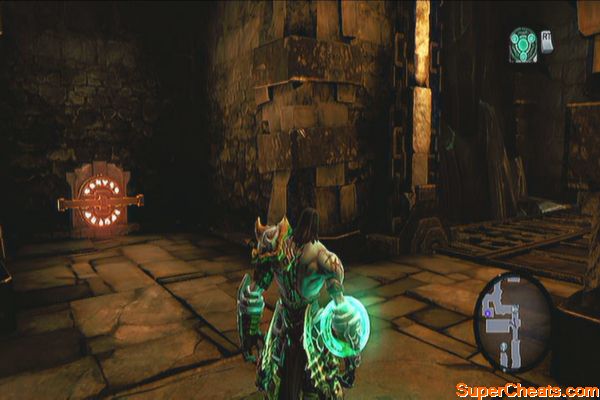
Cross the bridge next and get rid of the scarabs along the way. Continue upstairs past the other lord you ordered earlier. Enter the door to the west next and continue to the square chamber. Summon your two dead lords here. 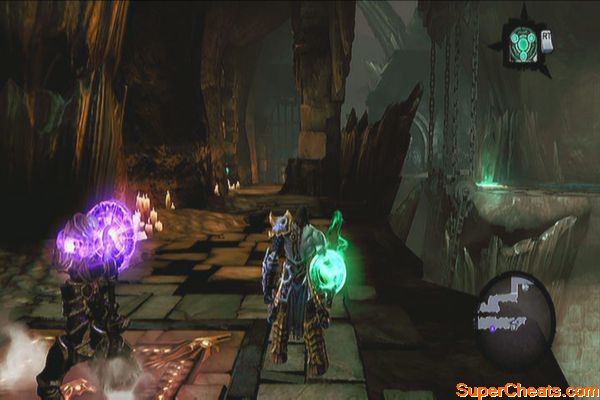
After summoning your lords, a group of skeletal champions will appear. This will be followed by a Bone Giant and finally two Undead Scarab Hulks. Evade often and let your dead lords take the aggro. Attack when clear and use skills as necessary.
Deadly Ambush
Exit through the western door and wall run to reach the push-switch. Push it to enable unbar the door nearby and raise the bridge. Don't cross the bridge anymore since it only leads back to the entrance. Exit through the eastern door next. Follow the path until you exit the door. Turn around and you should find a Stone of Mystics above the doorway. 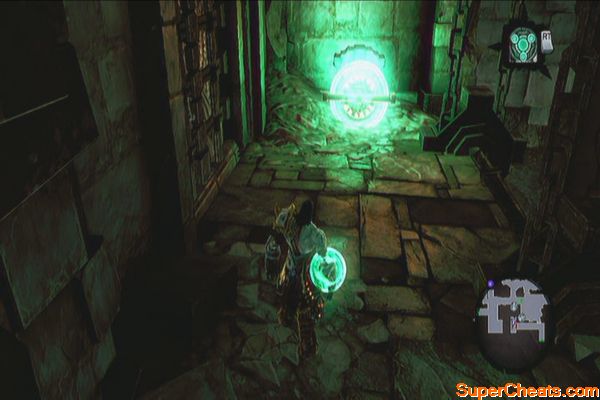
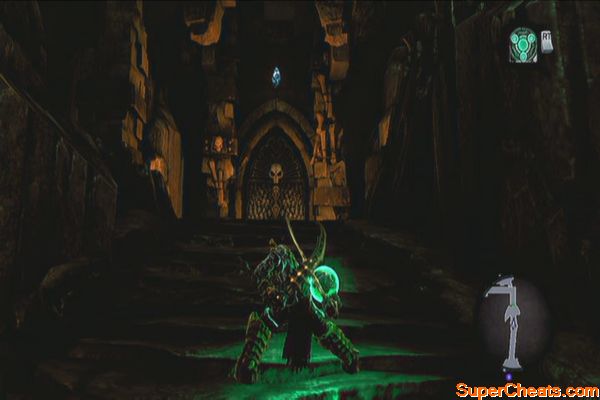
Cross the bridge to reach a rugged terrain with some scarabs. Get rid of them then collect Relic of Etu-goth to the southwest. Continue along the straightforward path until you reach the dark cavern where Basileus and Achidna awaits. 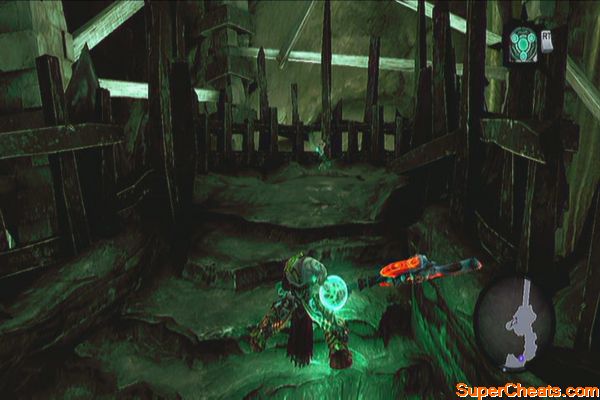
Boss: Basileus & Achidna
For this battle, you need to perform some quick attacks and evade often, as Basileus also has his own version of your Teleport Slash skill. After evading, quickly close the distance and land some fast attacks yourself. After suffering some damage, he will then ride Achidna which will jump and stomp you (perform a double-evasion to get out of the damage area) then quickly counterattack. Repeat the process until both of them are downed.
Basileus and Achidna Boss Battle
Tip: Killing Achidna also completes the Thane's side quest, “Find and Kill Achidna”. You can return later to the Forge Lands to get your reward.
After defeating the two, you don't have anything to do here anymore. Simply fast-travel back to the Eternal Throne and talk to the King to complete the quest. 
Your Interdiction ability will be replaced by Soul Splitter, which allows Death to split his spirit into two; basically performing the same functions as the dead lords. Before exploring the City of the Dead, you can now use this newfound ability to collect some previously unreachable chests and locations.
Breach
Head to the upper floor where there are two pressure plates. Stand on one of the plates, activate soul splitter then step on the other one. Switch to the other soul and loot the chest. 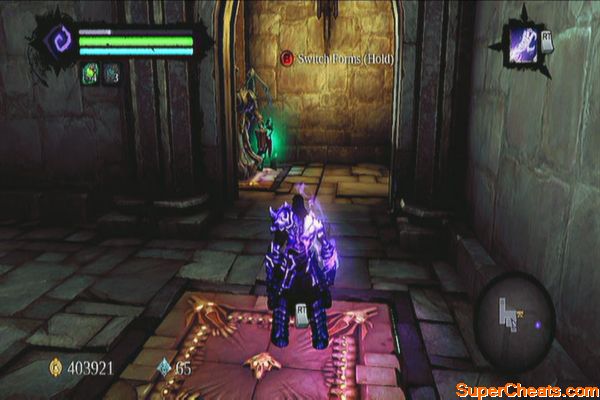
Underbridge Chests
Return to the underside of the bridge to and swing to the last ledge. Stand in one plate then soul split. Stand on the other one, cross the beam to reach the other side and use the shadowbomb pod there to destroy the crystals and enable you to loot the chests. 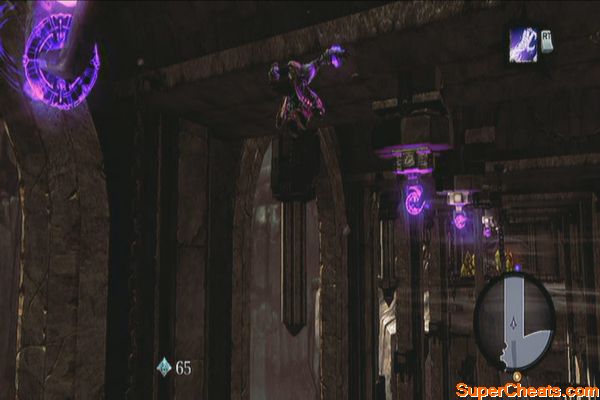
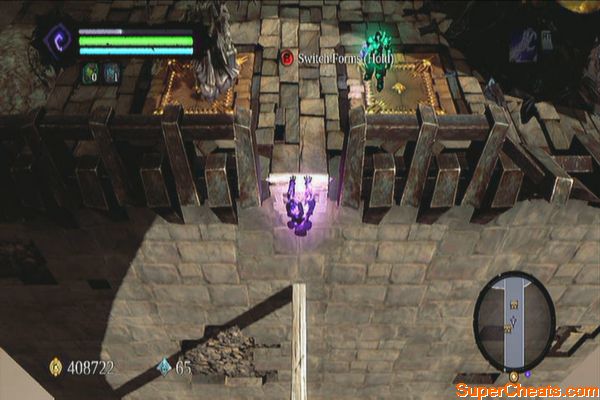
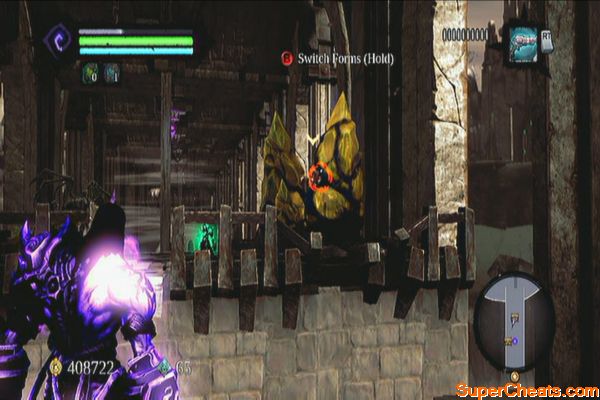
Challenging the Deposed King – It is already possible for you to fight and defeat the Deposed King though it will still be tough and you'll probably burn your stock of health and wrath potions.
Defeating the Deposed King
Deliver Forge Land quests and extras
You can feed the stonebites you have collected so far to Blackroot and also report to Thane to clear the quests for killing Achidna and the Deposed King.
Fjord Eastern Keep chest and Book of the Dead
Move your physical body in the central platform, soul split then move the two souls on the pressure plates to raise the platform. Quickly deactivate soul split to return to your physical form then quickly jump off the platform to reach the upper ledge.
Step on the pressure plate to the right, then soul split. Have one soul climb the hand-holds to the northwest corner and step on the other pressure plate. Switch to the other soul to collect the Book of the Dead. Destroy the two vases near the caged pressure plate for a secret chest to appear. 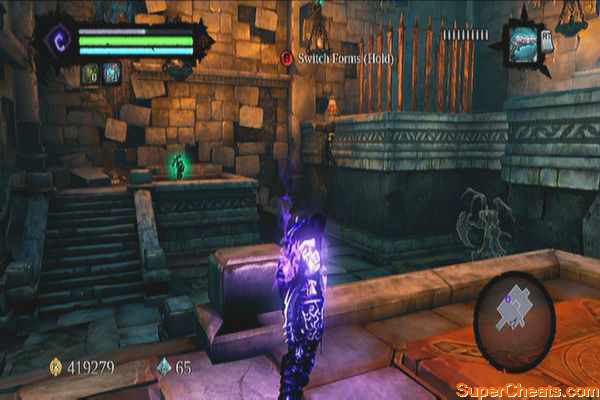
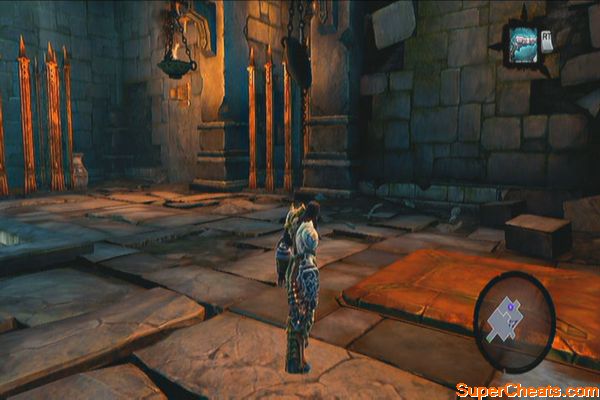
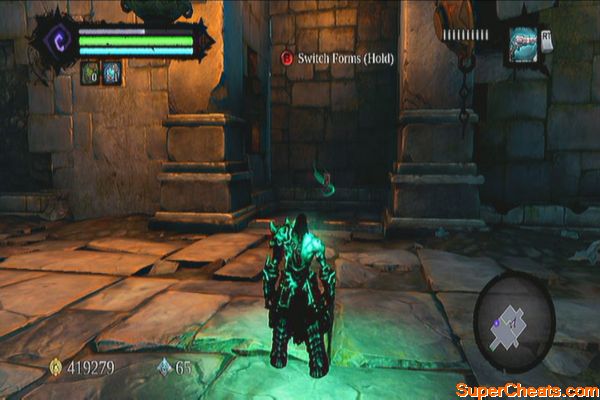
Fully explore the Sentinel's Gaze and the optional dungeon, Boneriven
For the full walkthrough for these dungeons, refer to this guide's Sidequests guide.
City of the Dead
To open the main door, you have to pull the two statues to the side. Soul-split and use your two souls to pull them. Head inside then loot the chest to the northwest. Proceed to the next door. 
Head to the next room and take out the two skeletal champions and an undead general that will appear afterward. After defeating them, grab the Book of the Dead page to the southeast.
City of the Dead's welcoming party
Step on the pressure plate on the northeast then soul-split. Send one soul to the other pressure plate then send the other one to the switch in the upper ledge. Proceed to the next room. 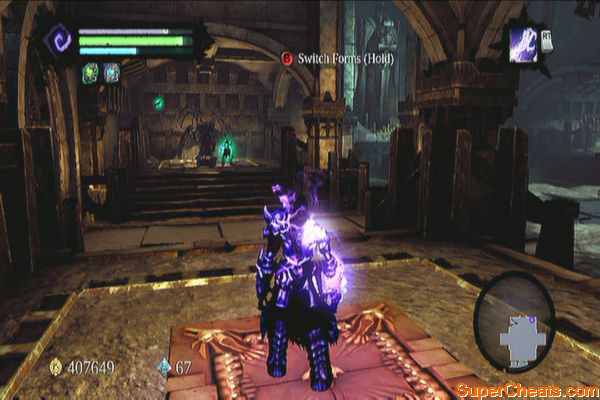
In this area, head north to the locked door. There should be a Relic of Renagoth on the eastern vent. Proceed to the western passage and wall-run across the gap to reach the other side. 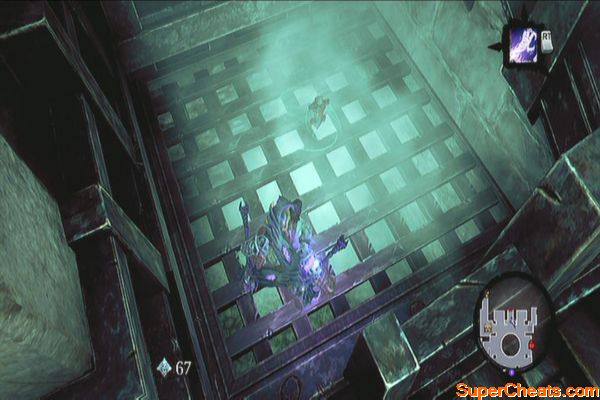
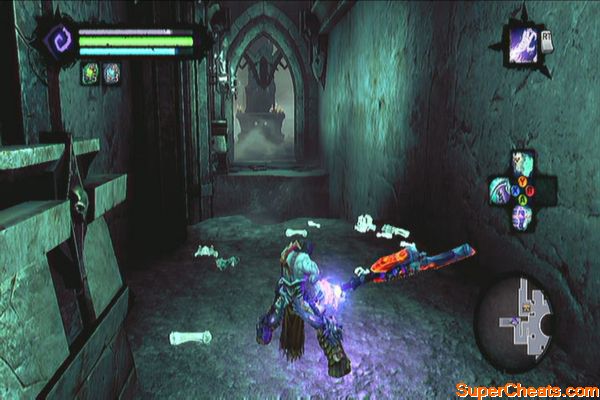
Upon reaching the next area, you'll find one of those rotatable lantern statues. Ignore it for now then proceed to the north. In this passage, look for the hand-holds to the left and scale them. Wall-run to the next post then back-leap to the next post to the right. Wall-run to the broken stairway to reach a unique weapon called Lich Spines. 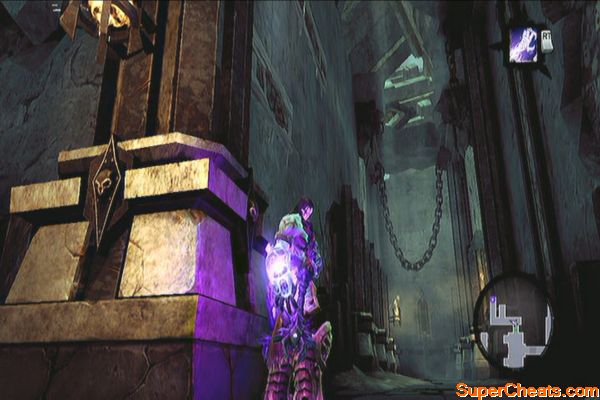
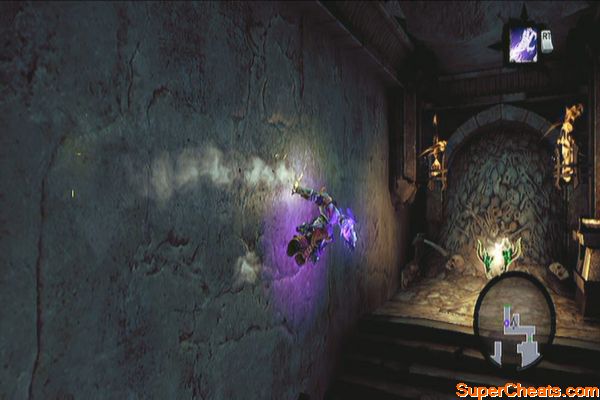
Return to the main path and follow the corridor north. In this area, soul-split and have one soul spin the lever. Hold it and switch to the other soul. Go past the gate and grab a shadowbomb from the pod on the wall. Backtrack and throw that bomb to the switch across the locked floating platform, lowering the gates and allowing you access to it. 
Cancel soul-split and stand on the platform then soul-split again. Have one turn the lever again and the other push the platform past the gate. Cancel soul-split again and you'll be in the next area. 
Stand on the pressure plate next and soul-split again. Step on the other plate and loot the chest. Return to your original form and continue upstairs so you can loot the chest on the balcony. Backtrack and check the hole in the nook to the east. Drop down and loot the chest behind, and the Skeleton Key from the other chest. Push the switch to get out of the room. 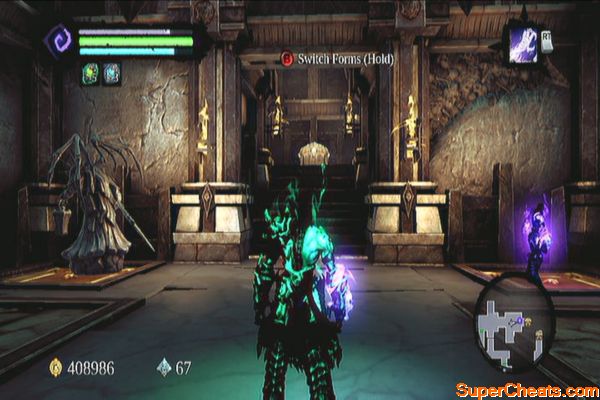
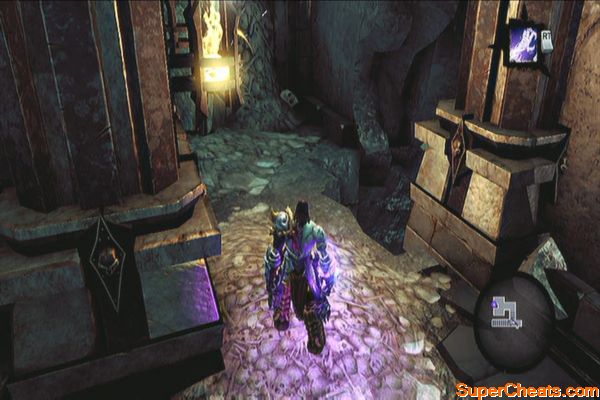
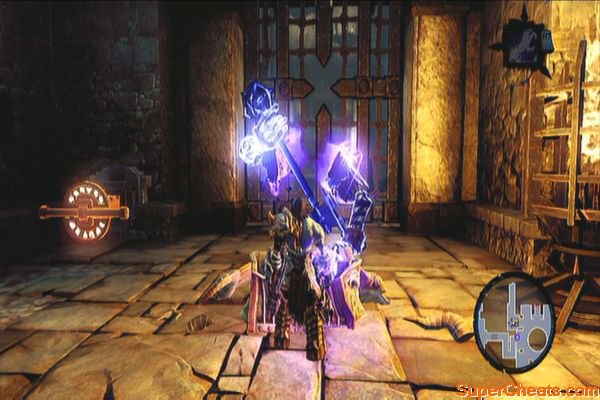
Unlock the door to the east and proceed to the bridge. Soul-split here and deathgrip on the nearby hoop to reach the hand-hold. Continue to the other balcony and check the corner with a writing on it to get a Soul Arbiter's Scroll.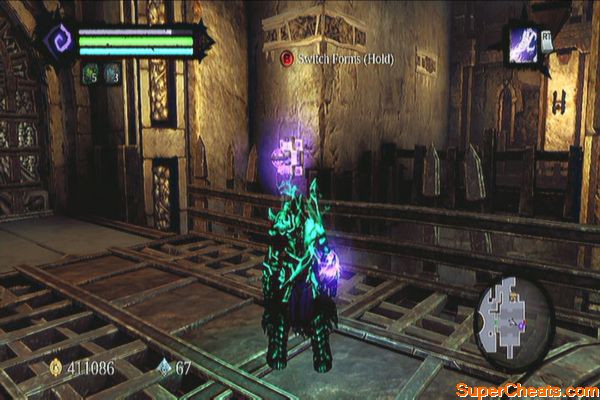
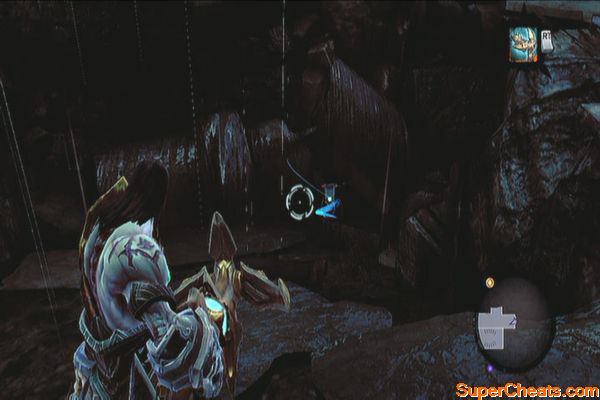
Grab on the hand-hold to the south and do a vertical wall-run, bouncing from wall to wall until you reach the top. Get the Book of the Dead page in the southeast corner then spin the lever in the middle and hold it. 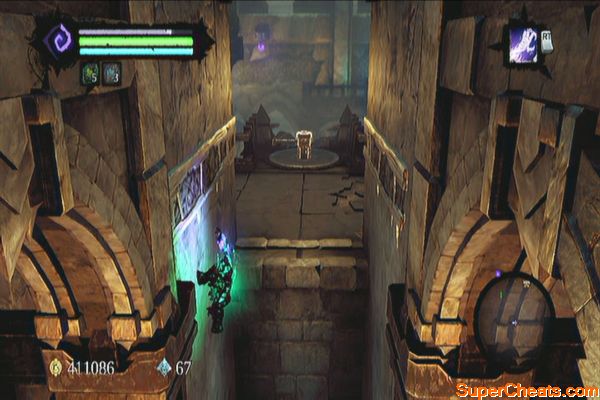
Switch to the other soul and cross the bridge north. Get the boatman coin to the northeast, then climb the growth to the west. Swing across the gap using the deathgrip and loot the chest in the other end. Jump down to ground level and continue north. Loot the chest along the way and go around the corner to find a switch and the lantern. Push the switch then return to your main body. 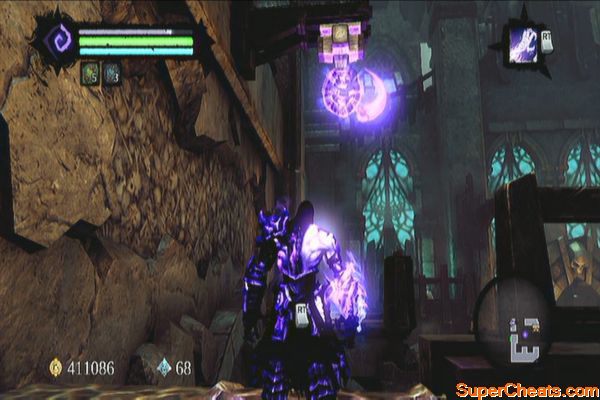
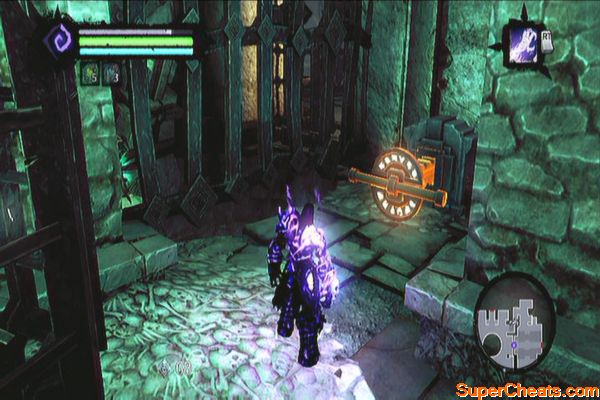
Return to the main hall and check the northeastern alcove to find the lantern. Pull it towards you then make your way back to the lantern statue to the west. When you reach the pit, put the lantern down, wall-run then grab it again using your deathgrip. Place the lantern to statue and rotate it south to open it. Get the Book of the Dead page inside. 
Rotate the statue so it hits the crystal in the central pillar to the left. Cross the platform that will rise and head through the door. Climb the growth and make your way to the upper floor. 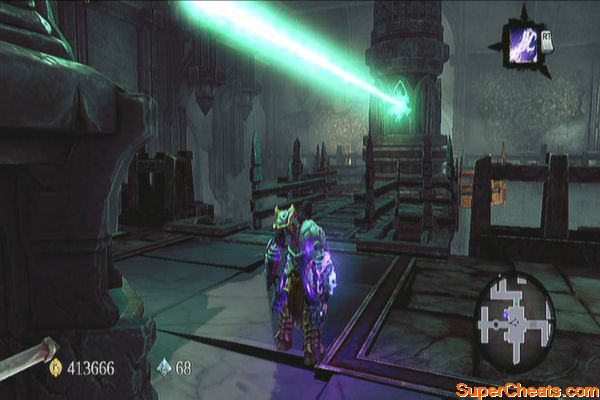
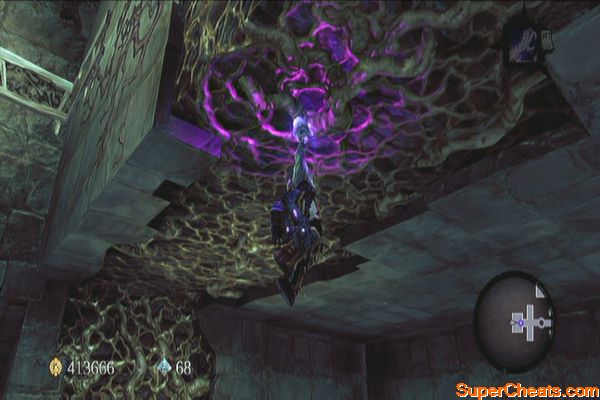
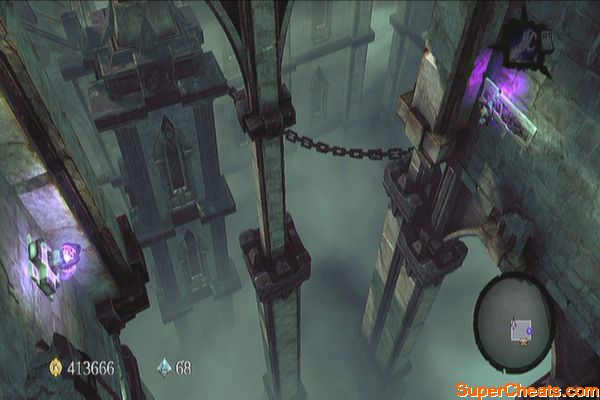
Loot the chest there and proceed through the door. Kill the wraiths then stand by the corner of the walkway. Have one soul step go to the lever on the other side. Before pulling the lever, grab the Relic of Etu-Goth in the corner. 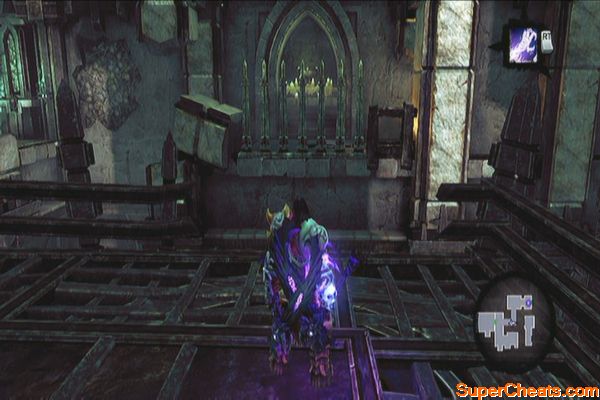

Cancel the soul-split then activate it again. This time, have one soul step on the pressure bar to the northwest then switch to your other soul. Head to the northwest to find a shadowbomb pod there. Grab one bomb and carry it past the gate you lowered. 
Look to the north and throw the bomb on the switch there to open your next path. Before heading back, follow the path and before climbing the growth, check the area to the left to find two wraiths and a chest. 
Kill them and loot the chest. Don't forget to shoot the Stone of Power on the wall to the right. Backtrack and climb the nearby growth and follow it to find a Boatman Coin around the corner. Aim for it and leap to collect
it. Return to your original body afterward. Continue to the northeast passage. 
Wall-bounce until you reach the next switch. Two gates will be opened but ignore the one to the southwest since it just leads you to a drop returning to the main hall. Go through the door next. 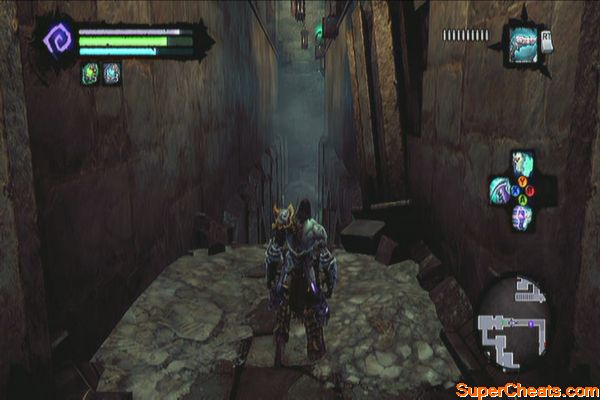
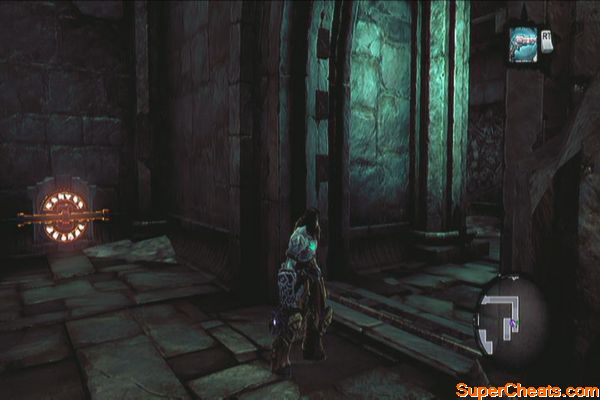
Continue to the next door and destroy the objects along the way. Push the next switch to unblock the path on the rotating bridge. Jump down and continue to the large hallway. You'll have to defeat three wraiths, an undead general and finally three Tormentors to clear this area.
Keep moving and use items as necessary. Just avoid getting cornered as it will be hard for you to recover in case you get hit. Use the battleground's large space to your advantage and to plan your attacks.
The City Arena
Pick up all the loot you have scattered and continue east. Loot the chests then leave the area. In the next area, you have to scale the wall and reach the ledge above before the ascending platform of spikes and rubble reach and kill you. After reaching the safety of the next ledge, pull the lever to open the door and exit.
Time is of the essence
After exiting an Undead Stalker and a couple of undead prowlers will ambush you. Defeat them and before leaving, shoot the Stone of Resistance on the tower to the north. Next wall-run to the south to find the Dungeon Map. 
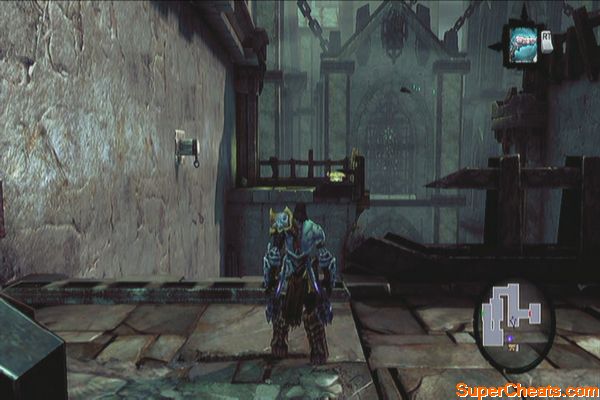
Wall-run baack to the previous ledge and continue forth. You'll be ambushed this time by two new enemies called Abominations. Defeat them quickly as just by staying near them will cause gradual damage already. Continue forth and you'll find yourself ambushed again, this time by three Liches. Defeat them all then continue to the next area. 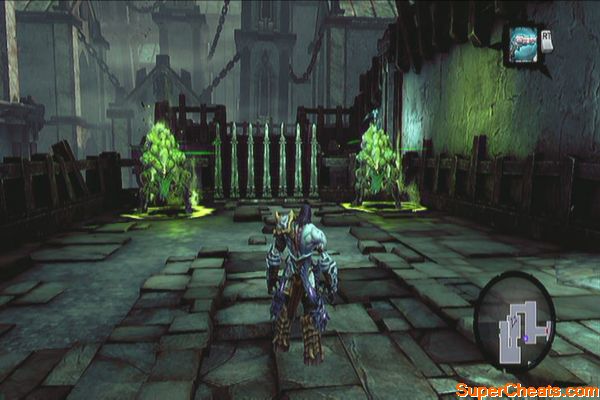
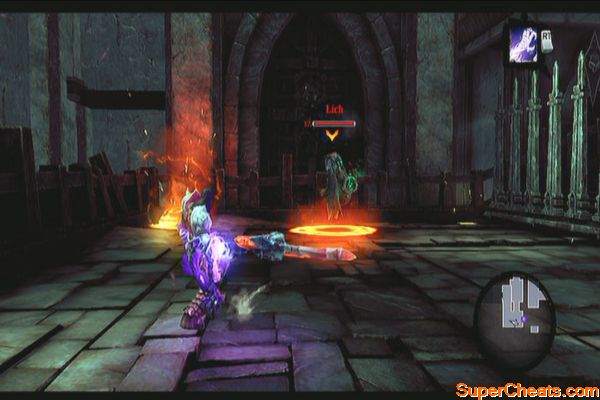
Jump down below and kill the scarabs to loot the chest. Climb back up, wall-run on the wall to the right then use the wooden posts to reach the other side. Exit to the next hall. 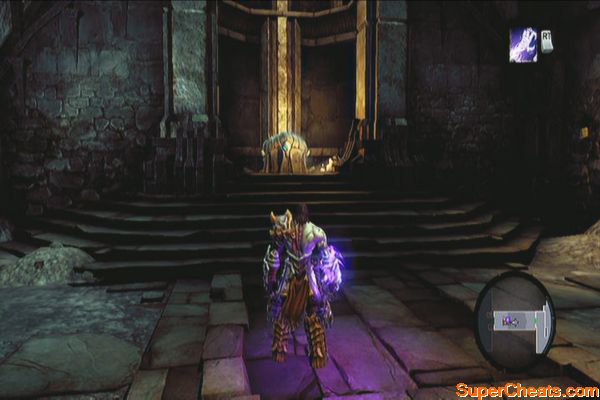
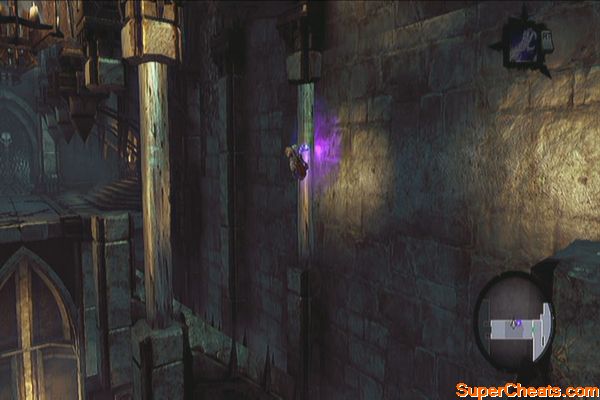
After the scene, continue to the west wall since you can't do anything here at the moment. Continue until you reach the a small room. Deathgrip on the southern wall to boost your wall climb then jump to reach one of the hanging posts. Make your way to the left. In the next balcony, soul split away from the pressure plate and have one soul step on the pressure plate to reveal some hand-holds and hoop. Scale the wall to reach the switch. Push it to unbar the other door. 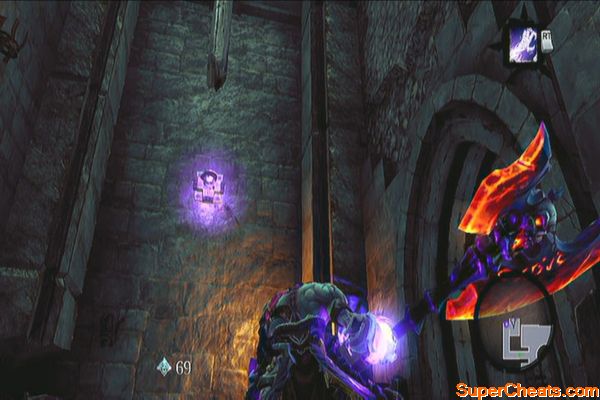
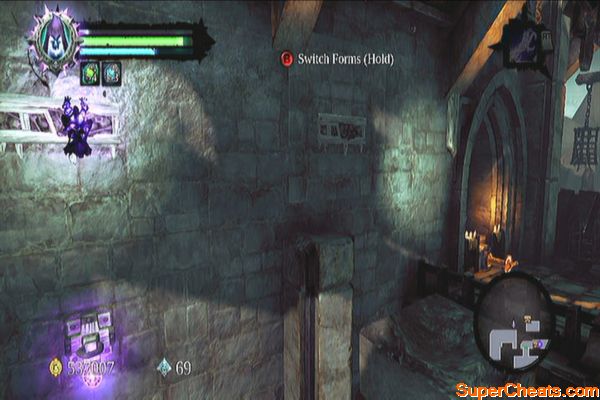
Now climb back to the post then wall-run to the left once. Stay there and switch to your other soul. Step off the pressure plate for that hand-hold to flip. Switch again to your other soul to get inside the secret chamber. Once inside, destroy the crates to the northwest to find a Boatman Coin. Destroy the other crates and weapon racks as well. 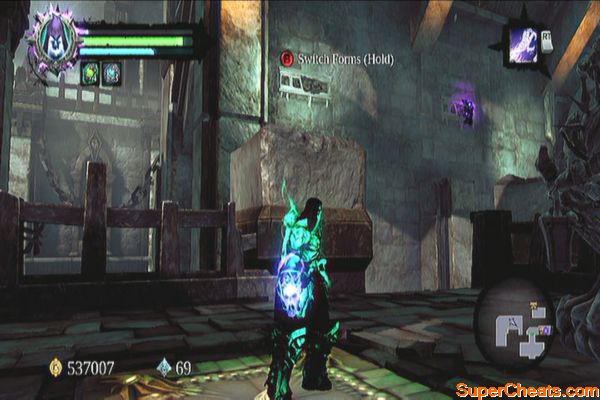
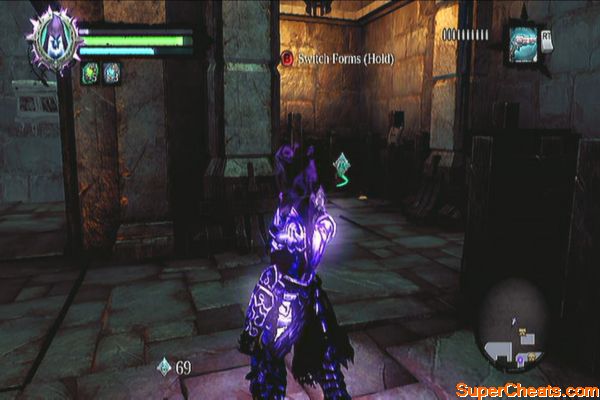
Continue downstairs to find a chest and a floating Gnome. Getting this will start a side quest called “GnoMad's Gnomes”. Loot the chest afterward. Return to your physical body and head to the unbarred door. Soul-split and have one soul step on the previous pressure plate again. Switch to the other soul and loot the chest. Return to your physical body again and exit the door. 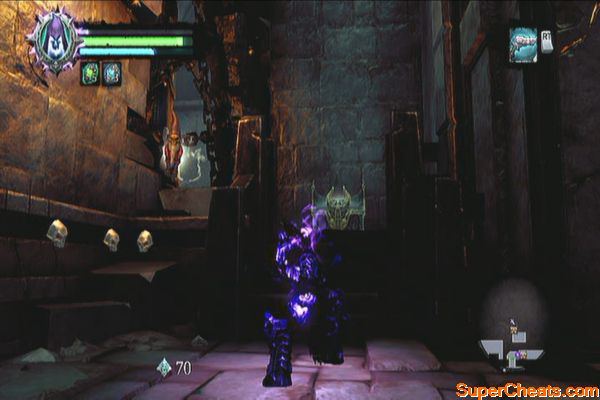
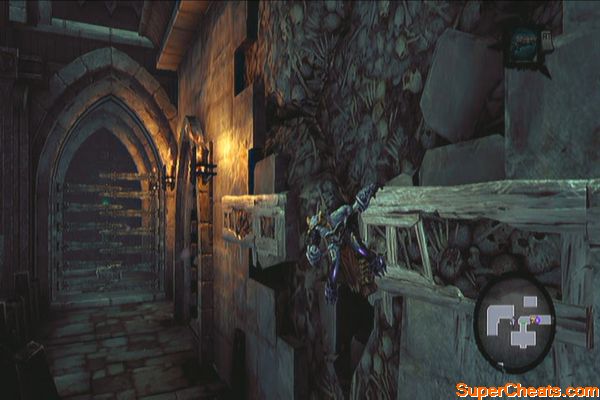
Push the switch in the next room then use the deathgrip to reach the central platform. Grab the hand-hold on the giant lantern then rotate it to the west. Reach that ledge using the deathgrip. 
Enter the next hall where you'll have to defeat scarabs and scarab hulks. Defeat all of them to remove the gate blocking the shadowbomb pod. Grab one and destroy the large crystal formation in this room. Climb the wall until you reach the upper balcony.
Lack of respite
TIP: I have encountered a weird glitch or clipping where I can't climb up the ledge. If ever this happens to you, simply fast-travel out of the dungeon and back again. 
Loot the chest here to get the Skeleton Key. (Be careful of the passing wyrm as it can damage you). Now swing using the deathgrip hoops to reach the chest on the eastern side. Now swing all the way back to get a floating Boatman Coin. In case you didn't catch it, just aim and pull it using your deathgrip. 
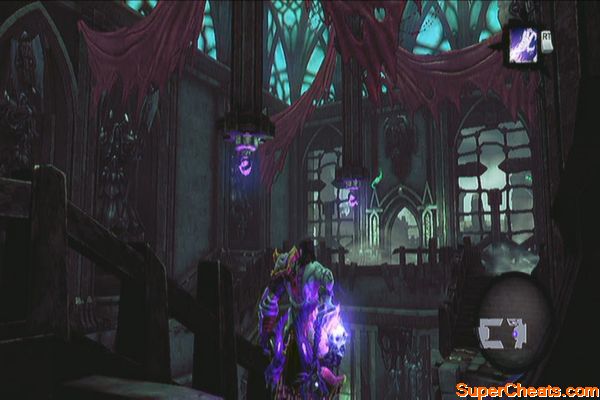

Exit the hall and jump down to the lower level. Head east then use the wooden pegs to climb up the wall and reach the locked door. Enter the door then immediately destroy the crates there to get a Book of the Dead page. 
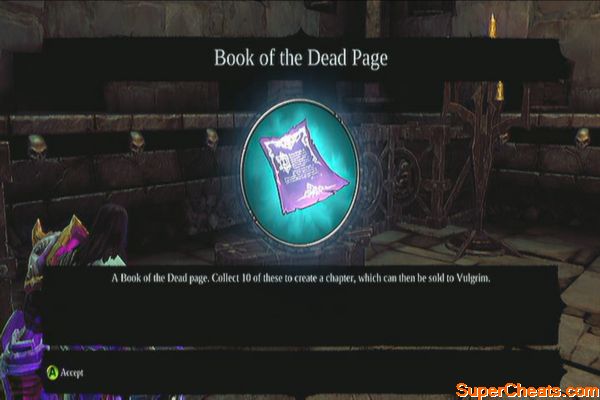
Climb the wall to the right then wall-run to the next ledge. Climb the wall again to the north, then wall-run. After the first corner, wall-run again then jump to reach the next corner. Before heading to the right, wall-run to the left instead and follow the hand-hold to find a chest. 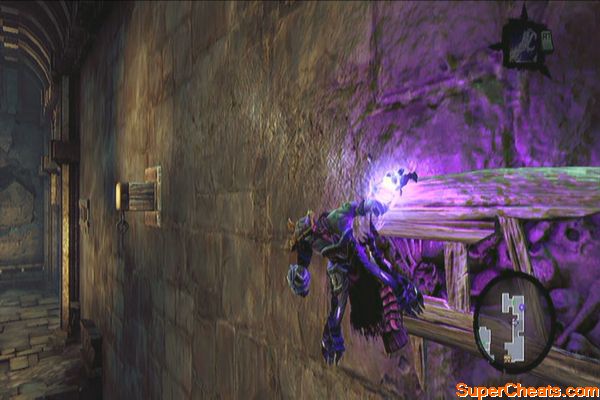
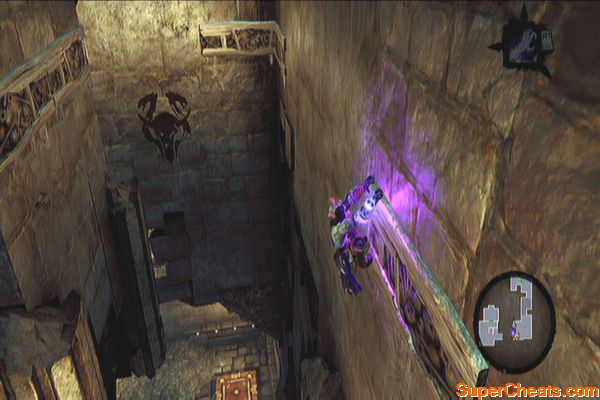
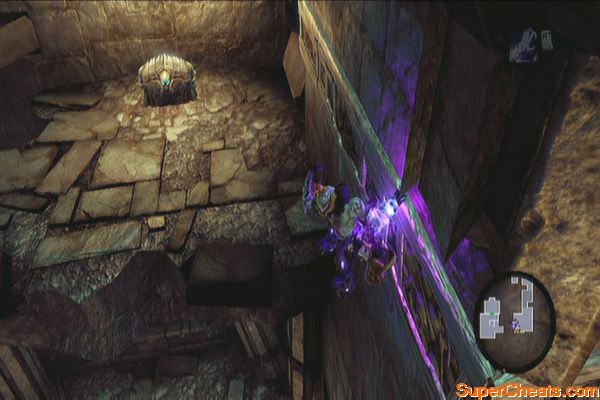
Backtrack and keep heading right to reach the lower balcony below. Step on a pressure plate then do a soul-split. Have one soul step on the other plate then switch to the other and climb up. Head to the floating platform and before touching it, turn around and approach the writing on the wall to get a Soul Arbiter's Sacred Scroll. 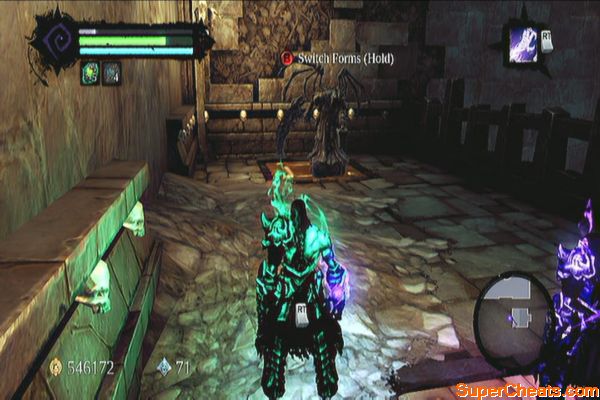
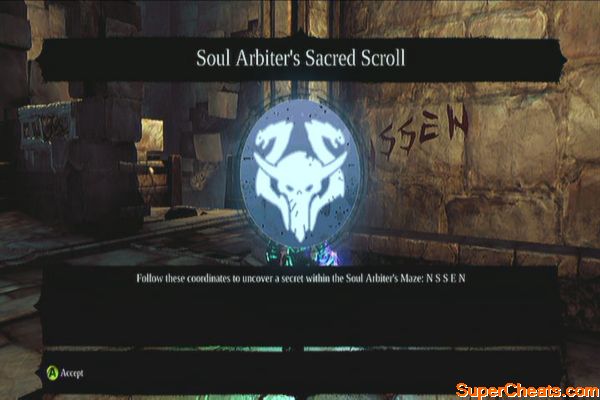
Pull the platform out to the east, return to your original body and climb up the platform. Soul-split again then send one soul to step on the pressure plate to the left. Switch to the other soul and push the platform inside. Switch to the other soul again and have him step on the pressure plate to the right this time. Switch again to the soul pushing the platform and push to the pressure plate in the corner. You can now revert to your original form and exit through the door.
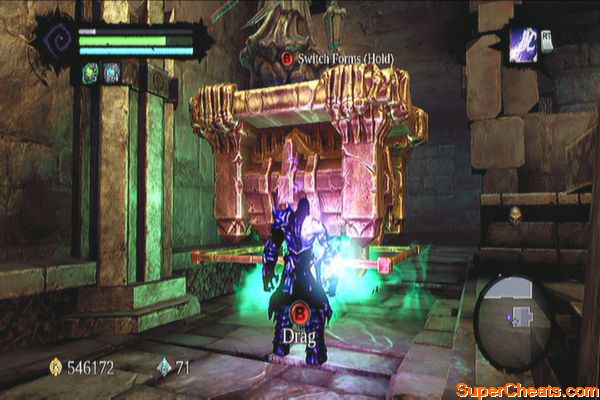
Push the switch to lower the gate, then grab a shadowbomb. You can then throw that bomb to the crystal on the central lantern's push-switch to clear it. Once done, swing back to the central platform. Pushing the button will take you to the boss so take this time to go back to the Eternal Throne to upgrade your equipment, free your inventory and stock up potions. 
Push the switch down and rotate it so the light hits the northern door. This should unbar it; exit through the door and destroy all the objects inside. Continue to the circular room where the boss is waiting.
Boss: The Wailing Host
Watch the video below to learn more how to fight this boss.
The Wailing Host
After defeating the host, head to the next door and continue until you meet the Soul. After the conversation, you can ask further questions. The quest will be complete afterward. You can now head back to the Tree of Death. Once there, talk to the Crowfather once more then use the portal to Lostlight.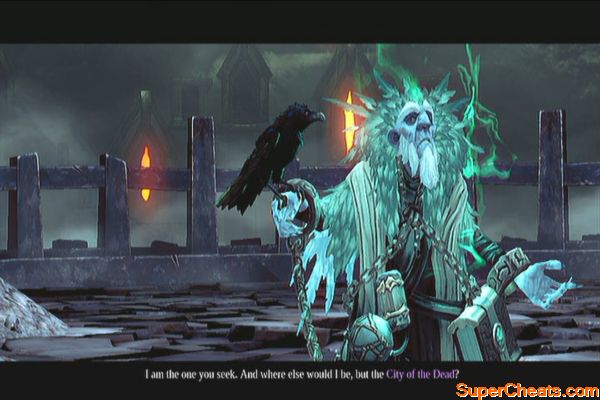
You'll find yourself in Lostlight. Approach the Crowfather for a brief chat. You need to head to the Crystal Spire far north but the path is laden with various collectables, which we will cover along the way. Head north then summon Despair when you can.
Continue riding north until you find a split in the path. Loot the chest along the way then head to the southeast to find Vulgrim. Trade with him if you want. Otherwise, just loot the Relic of Etu-goth behind the bush near the stairs. 

Return to the main path and ride further north. You'll find another chest along the way. Shortly past that is the third Death Tomb. You don't have the key for now so just take note of its location. Get the Boatman Coin to the left of the Tomb's entrance and shoot the Stone of Mytics above the Tomb's dragon statue. 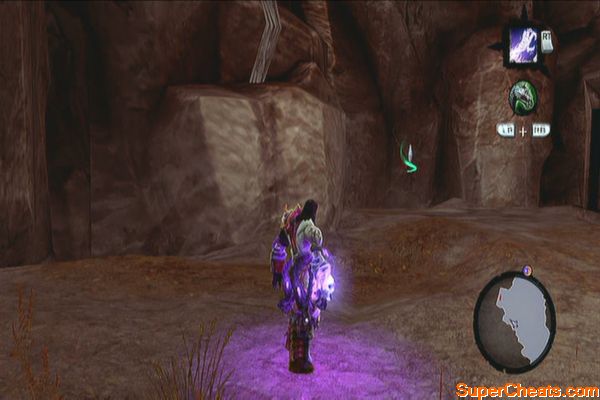
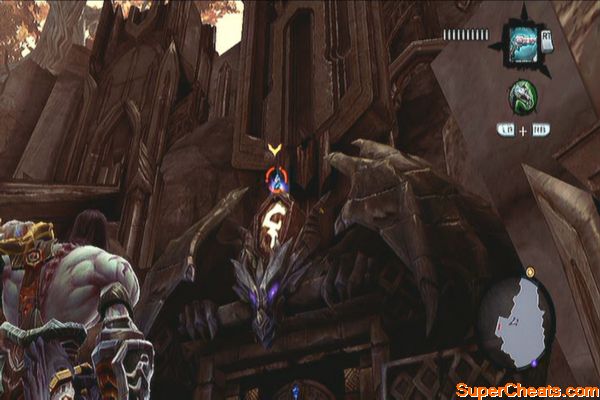
After the two collectables, continue north until you reach the bridge. Don't cross the bridge yet; instead, look for the Book of the Dead page to the southeast of the ruin. Cross the stone bridge afterward.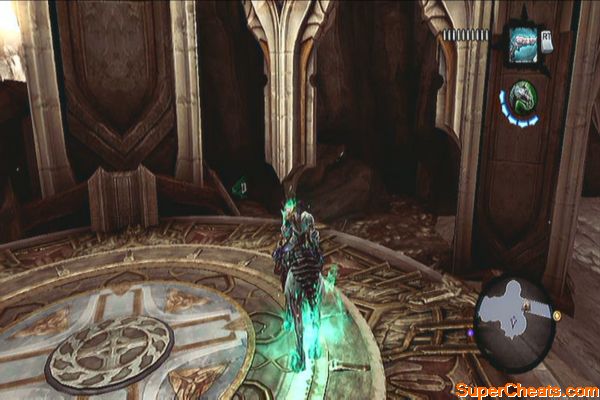
The angels prove to be more annoying since they're flying and they tend to flock together. Use your crowd-control skills and the deathgrip to bring them closer to your weapons' range. After the battle, Nathaniel will talk to you.
Corrupted Angels
While speaking with Nathaniel, you can select the blue conversation option to start a new side quest. (The Lost Soul) You can also trade with him if you like. Otherwise, either ask more questions or proceed with the exploration. Start by getting the Boatman Coin behind him. Next, ride to the southeast to find a Stone of Mystics tucked in the statue's sword. 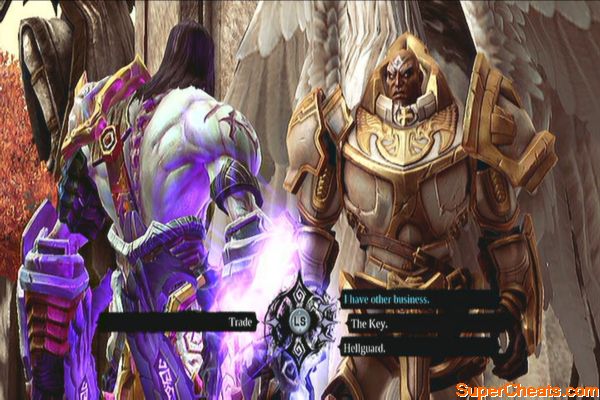
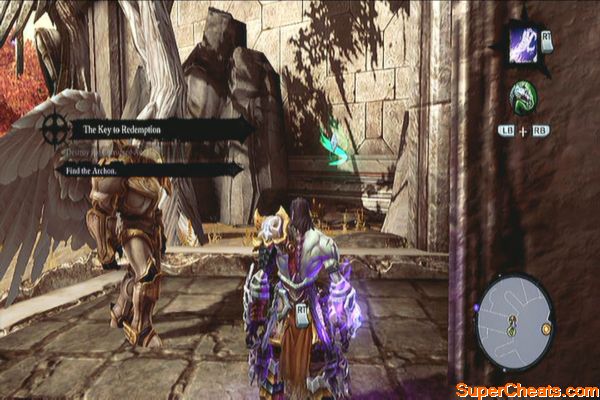
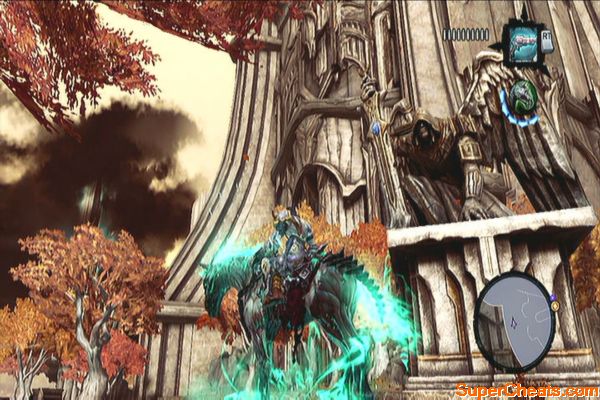
Continue riding to the south. You should find a Relic of Renagoth in the corner dead-end to the southeast. Find a nearby chest up the stairs and loot it. Be careful since an army of vengeful souls will appear and attack. 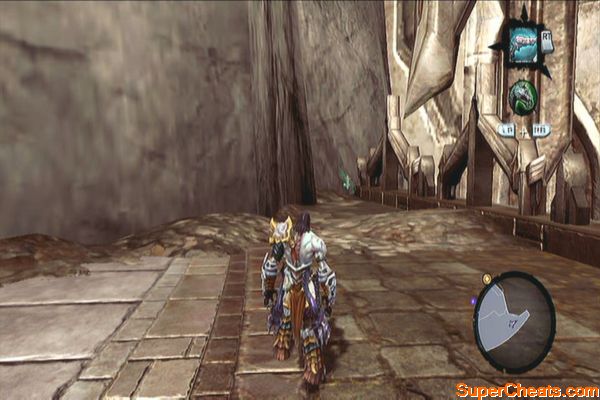


Backtrack to Nathaniel and look for an angel statue to the southwest. If you found it, look for the Stone of Mystic stuck on its sword. After getting all the collectables, enter the Crystal Spire and pull the lever to ascend. 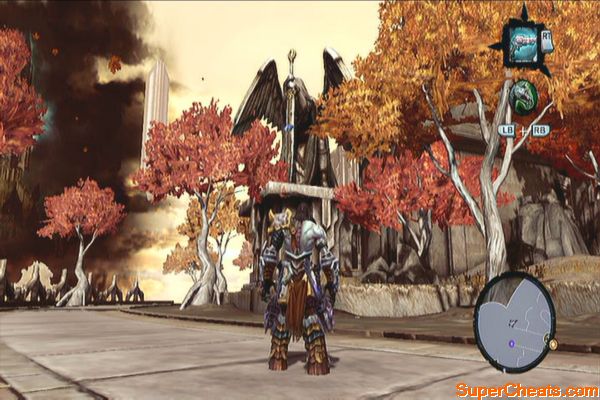

After the elevator stops, exit then circle around to the east to find a shadowbomb pod. Kill all the corrupted angels in the vicinity first, then get the Boatman Coin in the trench. Next, get the Stone of Power on the statue to the north. 

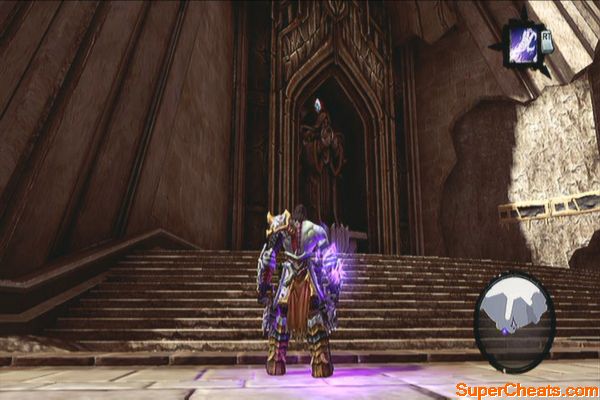
Soul-split then make your way to the other side, using the hand-holds. Grab the bomb and throw it back to the other soul. Switch souls and run north until the crystal formation is visible. Throw it there to clear the wall. Revert to your original form, loot the chest then continue up the spire. 


Continue upstairs and watch the scenes. This completes the mission. Before taking the portal, loot the chest in the opposite plight of stairs. 
You should at least have two non-fetching side quests listed at this point: Lost Soul and Spark of Life. The latter can be done at this point of the game, before heading back to Earth. Should you wish to do it, please refer to the Side Quests section for the complete walkthrough of the dungeon. When ready, enter the portal the Archon has opened to reach Earth.
After reaching earth and the scene, help Uriel fend off the swarm. You can fight the old-fashioned way or pick up the rapid-fire weapon called Salvation nearby. After the battle, you'll also get Salvation. Choose the blue conversation option with Uriel to start a new side quest. (Light of the Fallen)
Standing against the swarm
The Staff of Arafel
After talking to Uriel, scour the area for some chests as marked in the your map. To the northwest corner behind a truck, you'll find a Boatman Coin as well. There's also a Stone of Mystics on the building to the north. 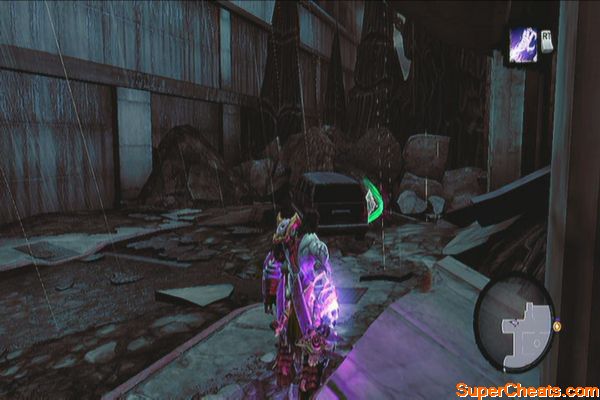
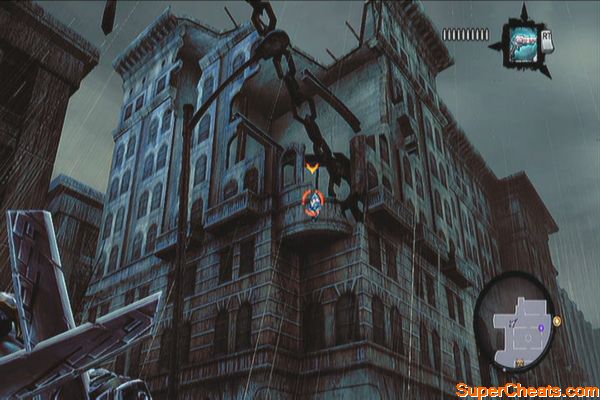
Head south to find another Boatman Coin, beside the room with a chest. Return to the building where the portal is and go to the second floor to find another chest. 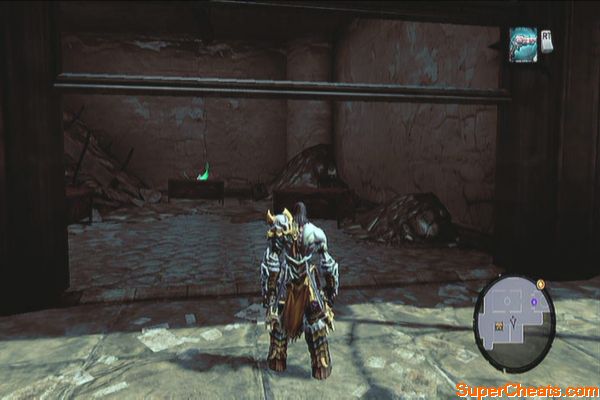
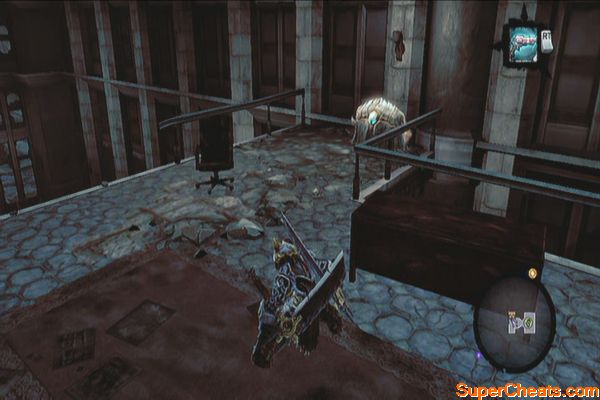
Make your way to the northeast and take out the swarm. Before entering the building, continue to the east to find a Soul Arbiter's Scroll. Backtrack and enter the building. Dispatch more enemies and continue to the east to find the first trapped hellguard. Shoot it to deliver mercy.
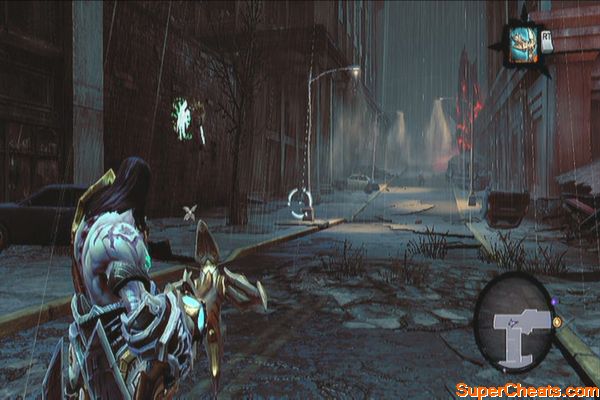
Continue to the open area where a fast, powerful beast called the Suffering will appear. It will be dangerous using melee weapons against it so use Salvation to take it down; evade its rush attacks as well.
Against suffering
Continue to the northeast then find a Book of the Dead page in the southwest corner, near the chest and some red crystals. Loot the chest and continue inside the subway. Kill the rushing wave of swarms then check the southwest nook to find a second Trapped Hellguard. 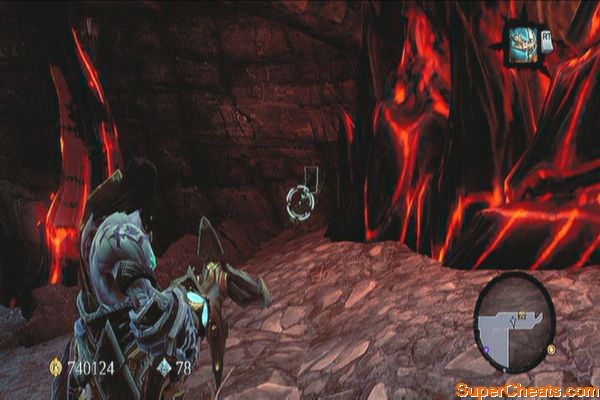
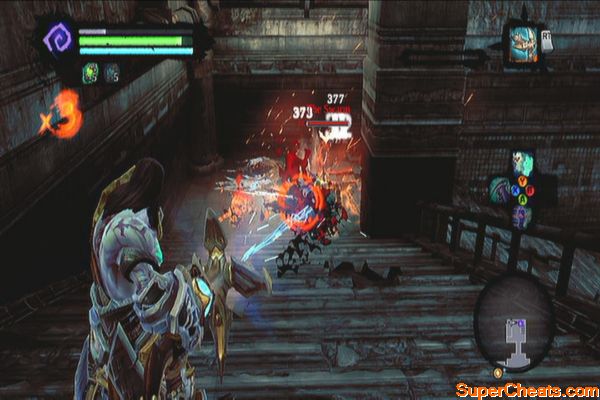
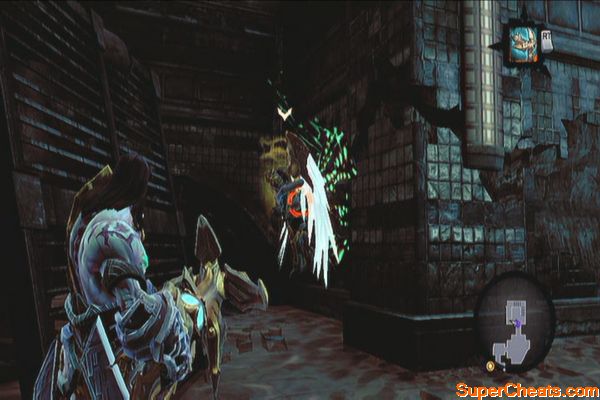
Continue forth and make your way to the stairs southwest. Once there, head east to the dead-end corridor and find another trapped hellguard in one of the nooks there. Continue to the west and dispatch more swarm, and another hulking Suffering. 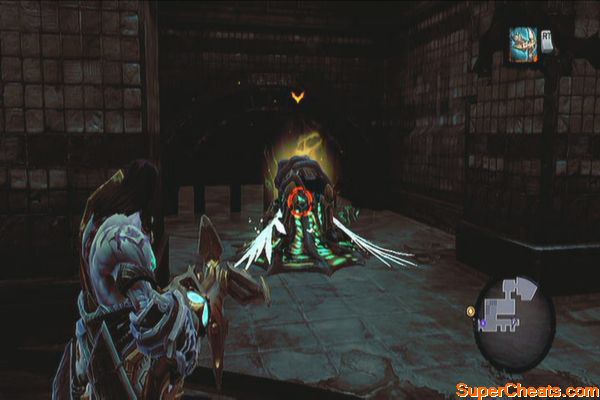
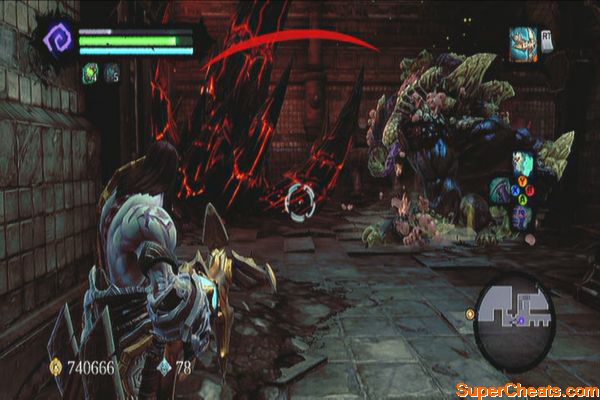
Continue west and look up the ceiling in front of the large demonic growth on the western wall. Shoot it to get a Stone of Mystics. Enter the small room to the north to find two chests. After looting them, make your way to the northwest corner of the area to find a Relic of Renagoth behind some red crystals. 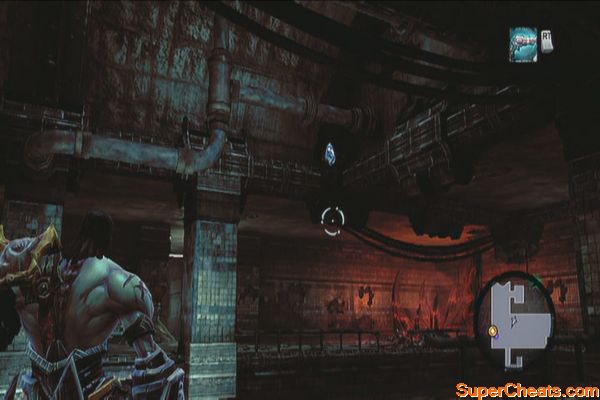
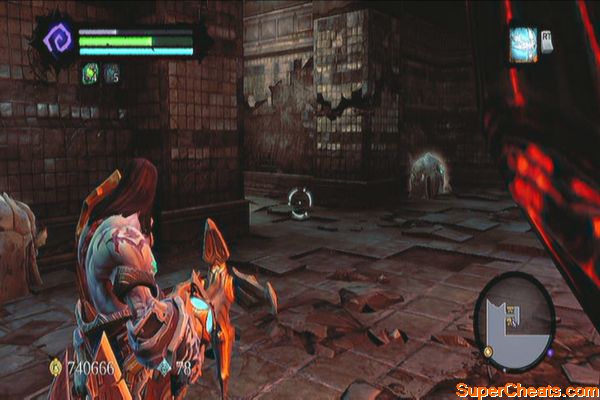
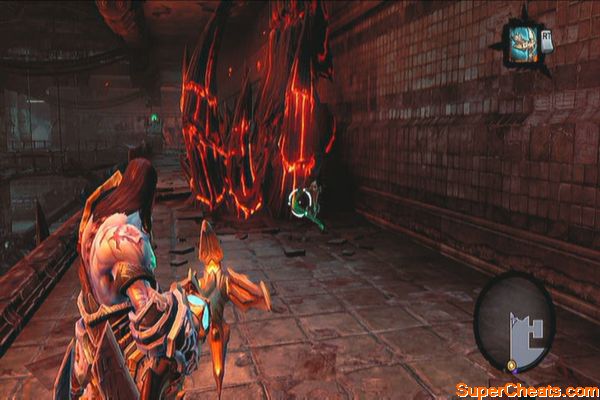
Next, shoot the large demonic growth and retrieve the Staff of Arafel from there. Take the stairs and grab the Book of the Dead page along the way. Continue following the stairs until you reach outside. Regroup with Uriel to update the quest. 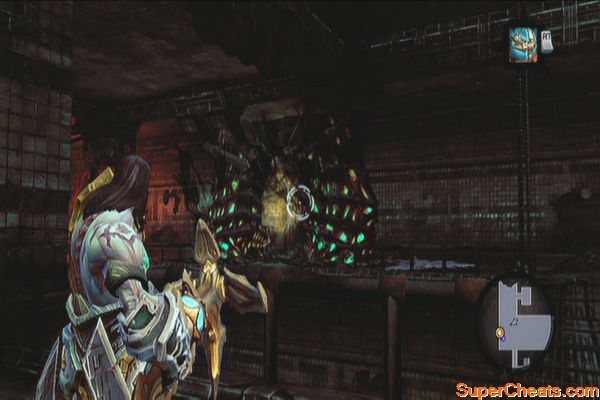
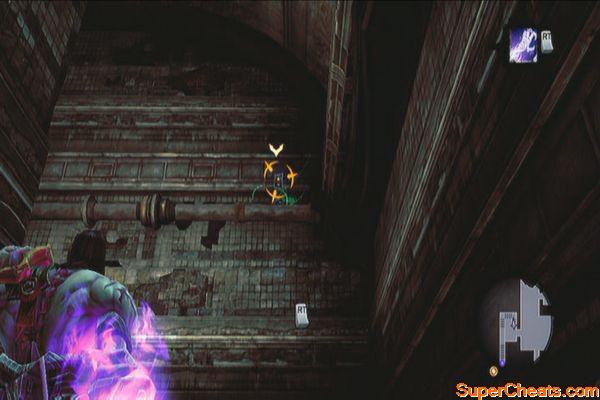
The Eye of Arafel
After Uriel opens the gate, follow the path until you reach a tunnel. You should see another Book of the Dead page there. If you've been following this guide, this should be your 30th. You can fast-travel to Vulgrim in Lostlight to get the key and loot the Death Tomb in the same location. The Tomb's main treasure is the Hoardseeker Talisman and two Boatman Coins. 
Continue outside the tunnel when you're ready. Outside the tunnel lies a slow but powerful weapon that launches explosives slugs. Take note that you can detonate these slugs prematurely by pressing LT, even in mid-air to deal massive splash damage – which is very effective against the swarm. As you make your way to the bridge, a Suffering will attack. Take it out then collect the Stone of Mystics inside the second level room to the west, near the window.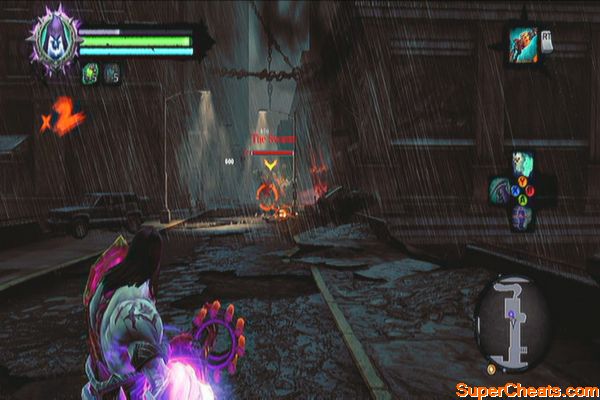
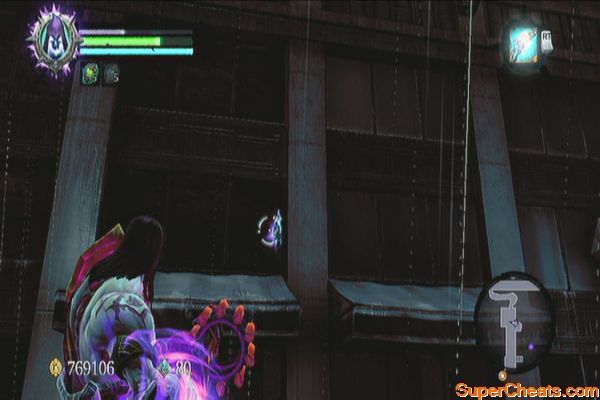
Continue past the bridge and head south to loot a chest. Continue to the west this time and loot the chest containing the Dungeon Map behind the pillar. After looting it, make your way to the northwest to find a Relic of Renagoth. Backtrack and as you turn around, you should see a trapped hellguard on the building wall. Kill him to free him. 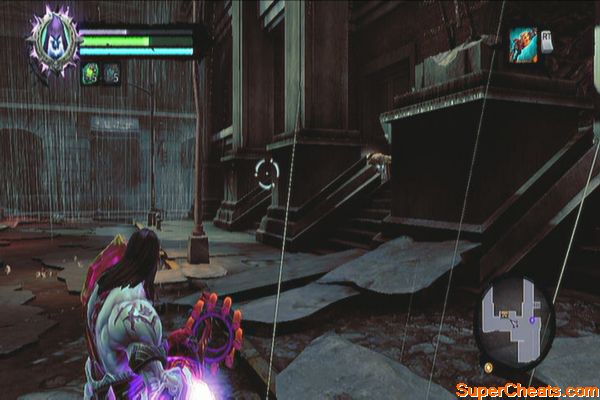
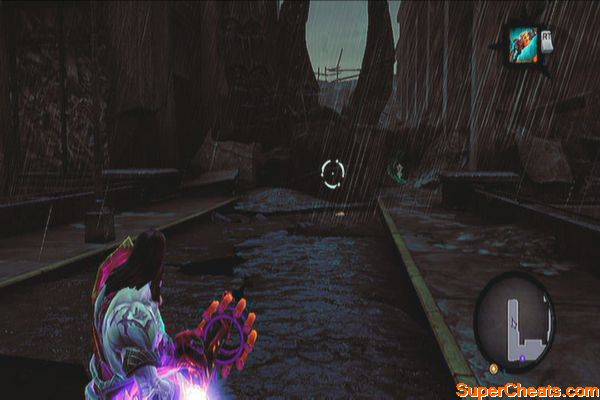
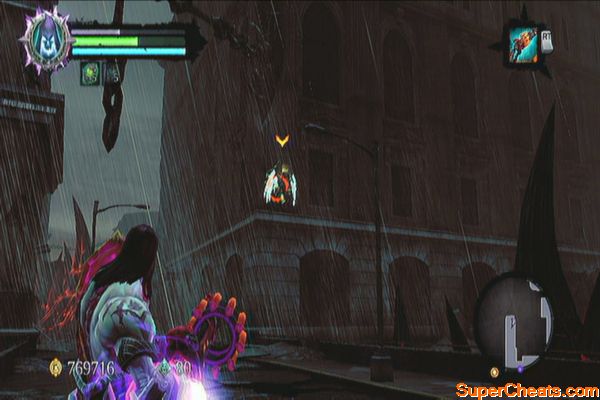
Continue south this time inside the building and blast through more enemies. Once you reached the streets to the southwest, enter the nearest building to the west to find a Book of the Dead page inside. As you exit the building, look up to find a trapped hellguard on the building to the far southeast. 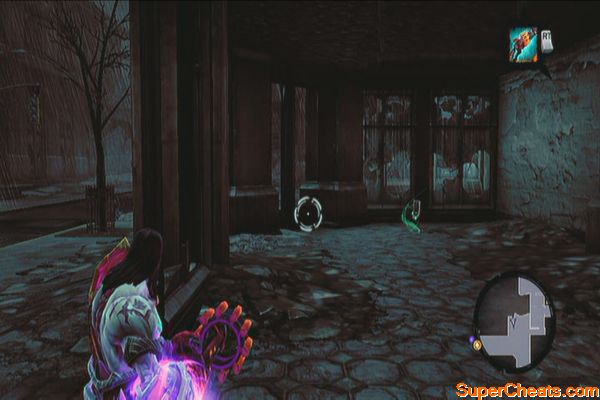
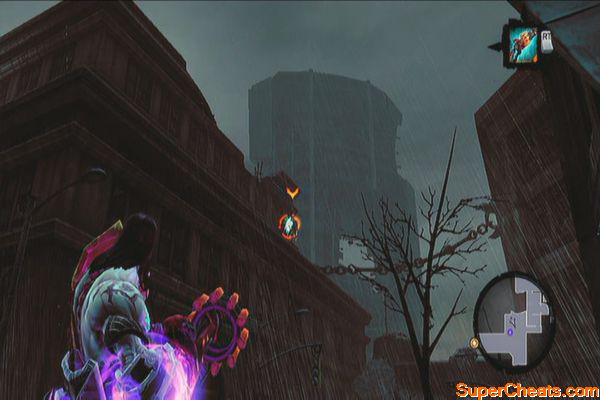
Continue along the path this time, until you encounter The Noss. This battle will be a lot easier with the slug-launcher; otherwise, Salvation will do. The boss will regularly release stingers; however, you can ignore them and just concentrate your fire against it.
The bigger they are...
Before leaving, turn around to find a Stone of Resistance on the building wall to the north. There's also a Boatman Coin to the southwest corner, behind some cars. 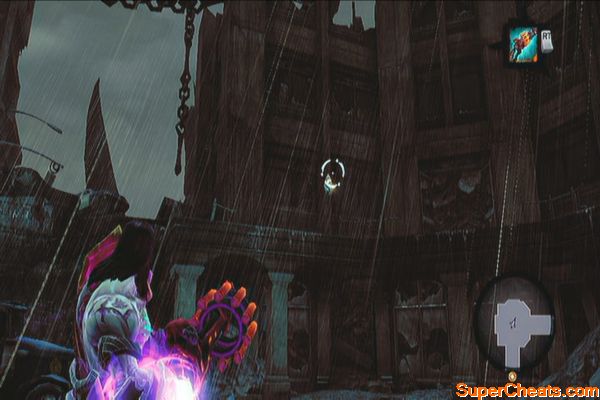
Continue to the car tunnel and follow it until you find an alcove that has a chest. Loot it then look at the ceiling to find a Stone of Power. After getting them, climb the walkway and blast the enemy rush. Before giong through the northern tunnel, look to the southeast corner to find a trapped hellguard. 
Continue along the tunnel then loot the chest from the small alcove to the north. Continue to the car tunnel and destroy all enemies, including a Suffering. Once cleared, enter the small room to the south to find another trapped hellguard. 
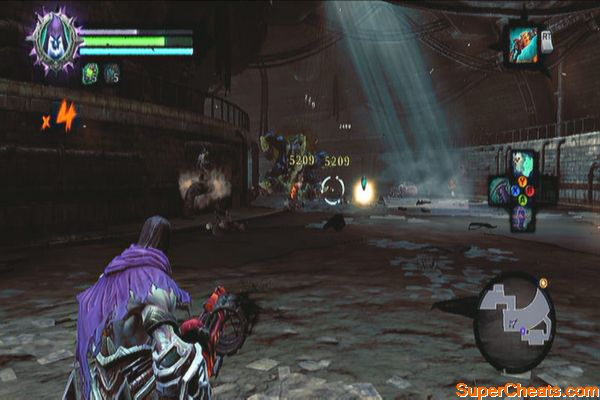
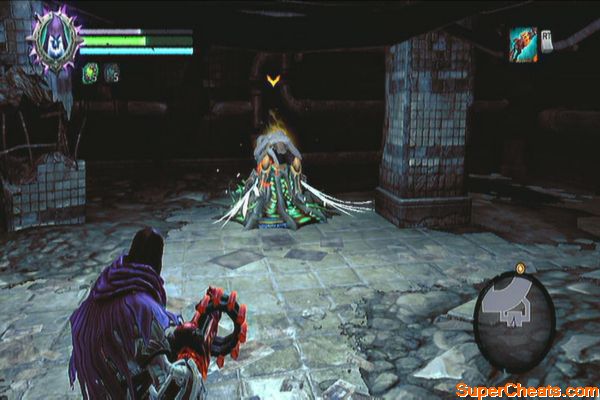
Continue to the sewer tunnel to the north and follow the path, blasting the opposition away. Before going up the ramp, look behind to find a Boatman Coin. Go up the ramp and destroy more enemies, including a Suffering. 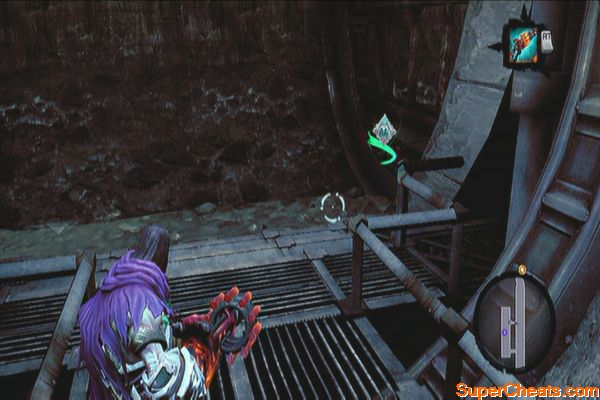
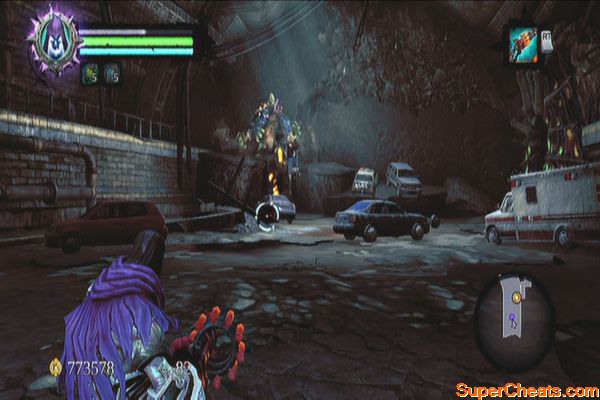
Before destroying the giant growth, check the alcove to the west to find a Soul Arbiter's Sacred Scroll. Destroy the growth to receive the Eye of Arafel. Follow the path outside and meet up with Uriel. 
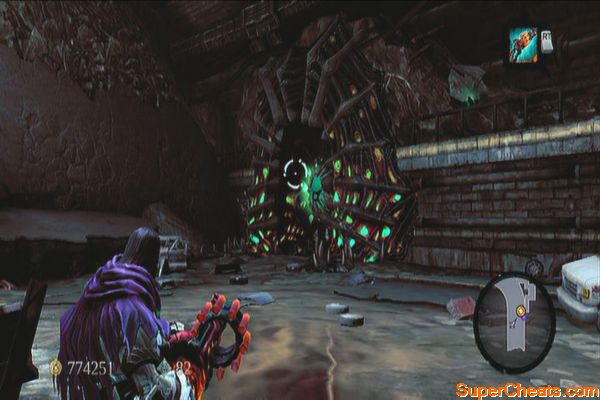
Before leaving through the gate, grab the Boatman Coin in the northwest corner and the Book of the Dead page to the south, behind a vehicle. 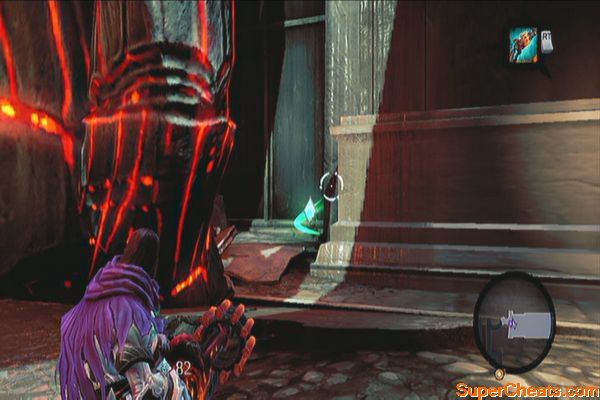
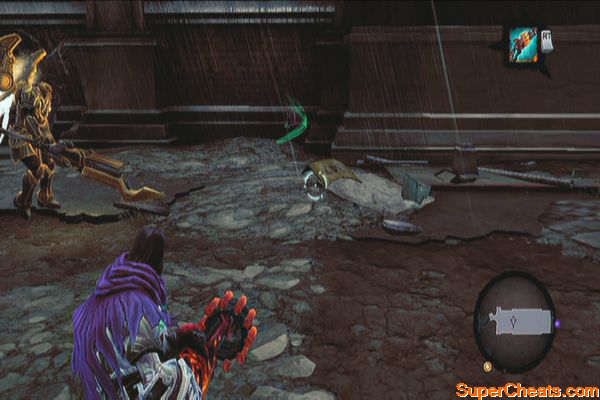
Continue following the path until you reach a portion of the subway. There's no points of interest here so you can just continue to reach the street outside. Once there, a Noss will ambush you. Take it out using the weapons provided on the ground.
Still coming back for more
After clearing the area, destroy all four postboxes to reveal a secret chest. If you can't find all postboxes, there's a chance that you've destroyed them already by chance so just find any postboxes in the area and destroy them. The chest should appear in the western edge of the road. After looting the chest, peek over the edge to find another trapped hellguard. 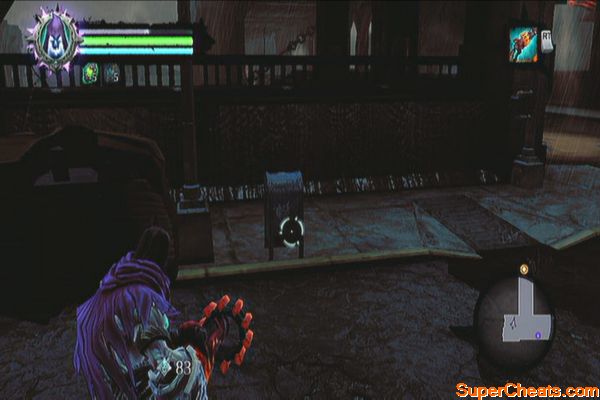
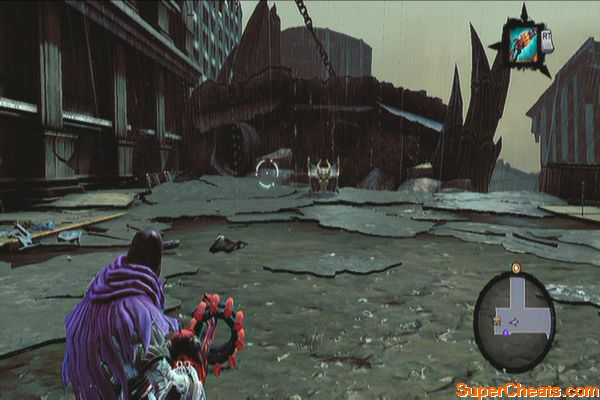
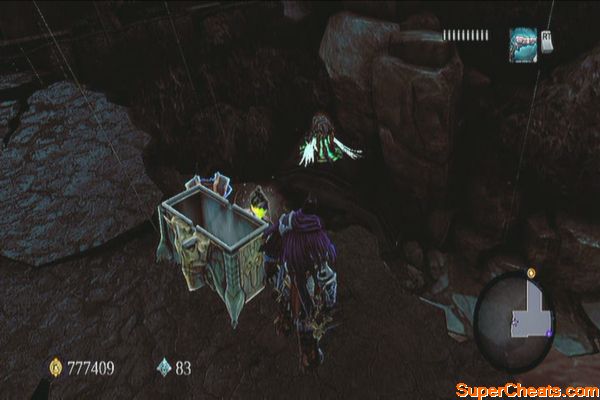
Continue north along the bridge and defeat more enemies coming towards you. Continue until you reach the hole in the road. Check the support beam to find a Stone of Mystics there. Move on and continue destroying the enemies along the way. Check the small room to the west along the way to get the Boatman Coin. 
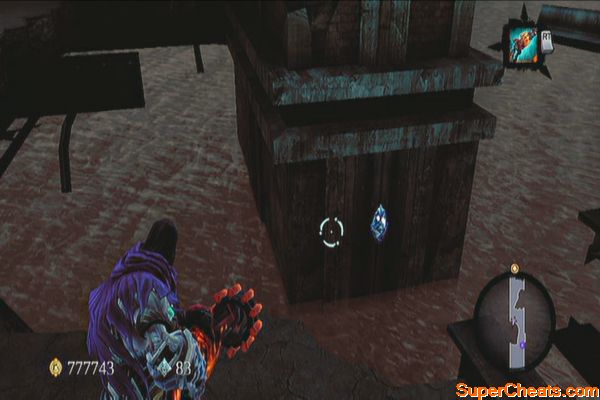
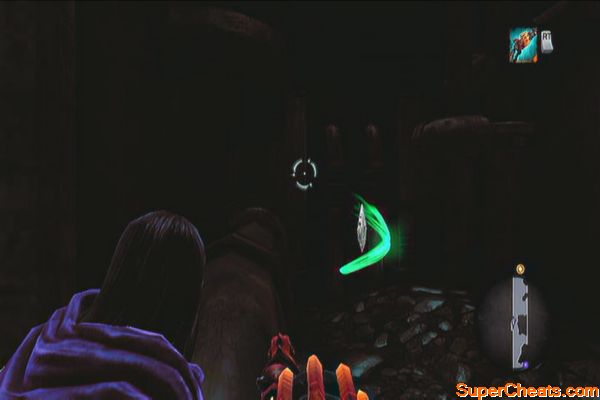
Continue until you reach the northernmost end then use the ramp to go south to the bridge's upper level. Here, more enemies will attack, including yet another towering Noss. Get rid of them and continue south. After passing the arch, turn around to find a trapped hellguard on the arc. Follow the path and you'll eventually reach the growth. Destroy it to restore the Rod of Arafel.
Bridge clearing
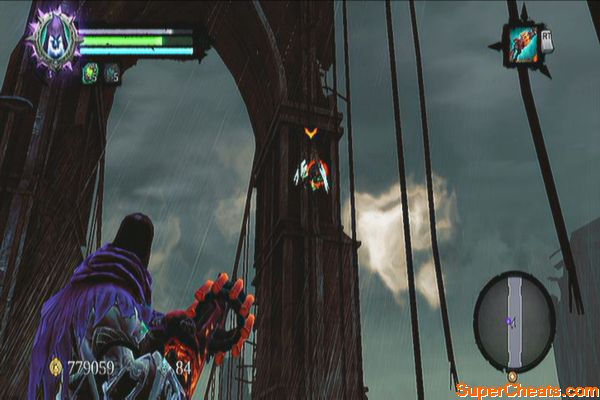
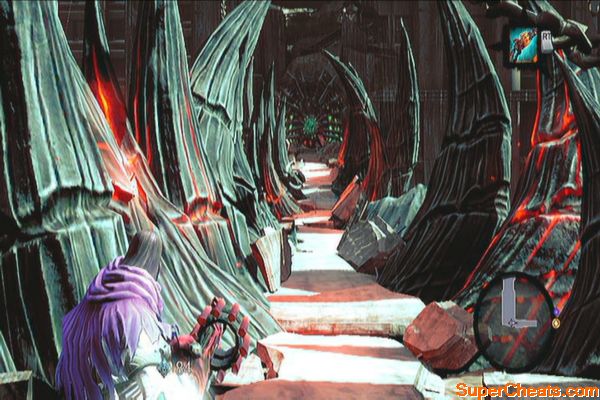
Continue through the ruined hotel then loot the chest along the way. Turn around afterward to find a Relic of Etu-goth. Continue until you reach a large room with a slope. Go down and look for the Stone of Power in the northwest corner. Now to the south ledge is a unique secondary weapon called the Fists of Elhazar. Get it then proceed forth. 
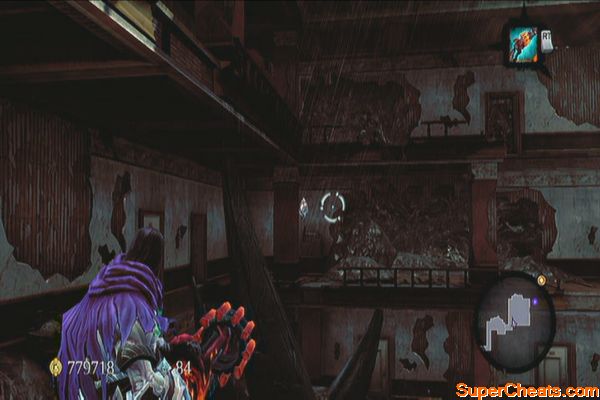
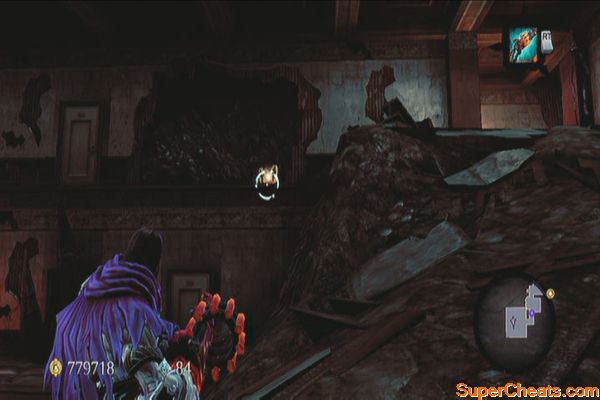
After reaching the next room, search for the Boatman Coin in the broken wall then shortly you'll find the last trapped hell-guard. Grant it mercy then go out and meet up with Uriel. 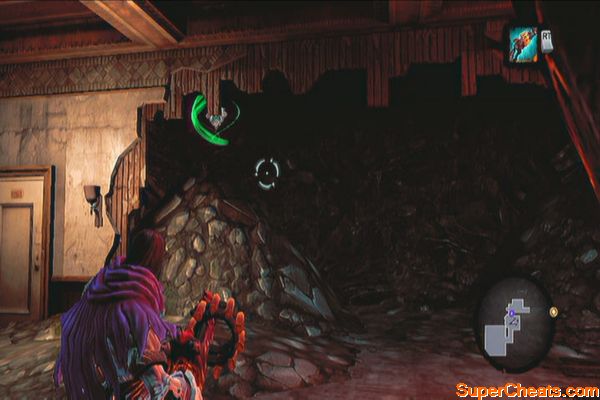
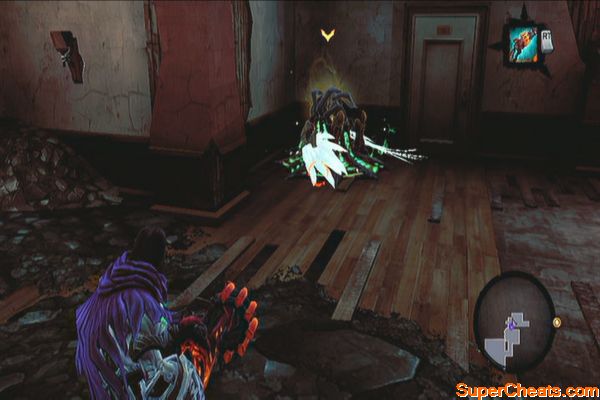
During the conversation, select the option to close the sidequest to receive your reward. Next return to the portal to deliver the Rod to the Archon.
After landing, enter the building. Avoid the murky ooze as it will drain your health significantly. Climb the wall to reach the upper floor. Spin the lever there to lower the glowing pedestal. This will trigger the other pedestal in the lower floor, cleansing the corruption. Jump down and enter the next door. 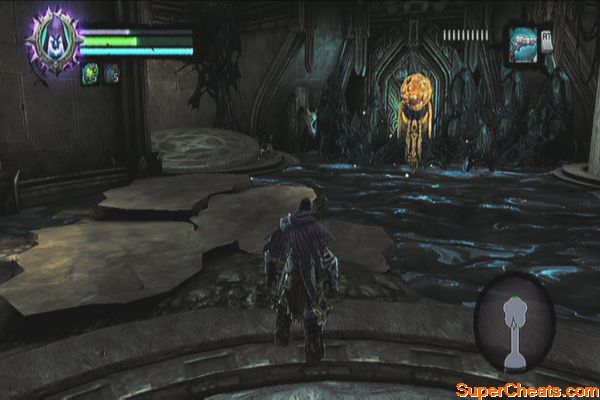
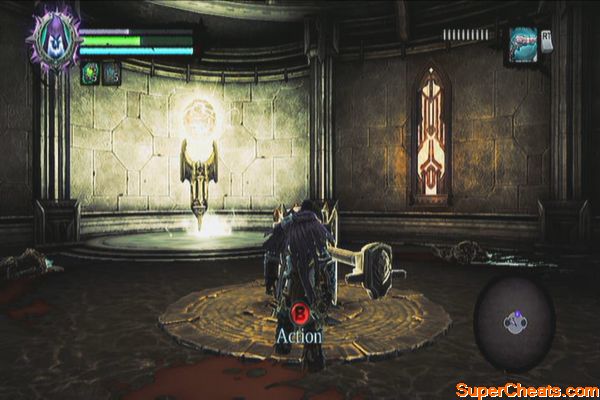
Follow the path then check the nook to the right to find a Boatman Coin. There's a climbable wall nearby but just ignore it for now since it is blocked by a crystal. Return to the main path and head to the north, past a gap. 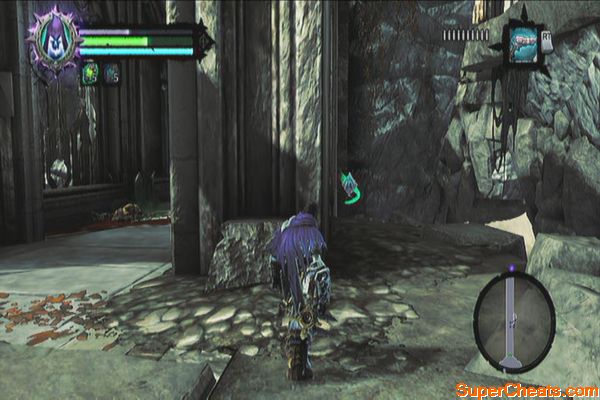
Continue until you reach a room with three doors and some murky waterfalls. Enter the door to the east and follow the corridor outside. Loot the chest beside the stairs to the south then go upstairs to find a passage. Continue to the end of the passage then scale the wall. 
Before moving forth, wall-run to the wall behind you to find a chest and a Stone of Mystic. Cross the gap again then follow the hallway to reach outside. Cross the gap by using the deathgrip. 
Defeat the enemies then get the Boatman Coin to the east, behind a broken wall. Before wall-running to the northeast, drop down the hand-hold to loot the chest containing the Dungeon Map. Climb back up and wall-run to the next ledge. 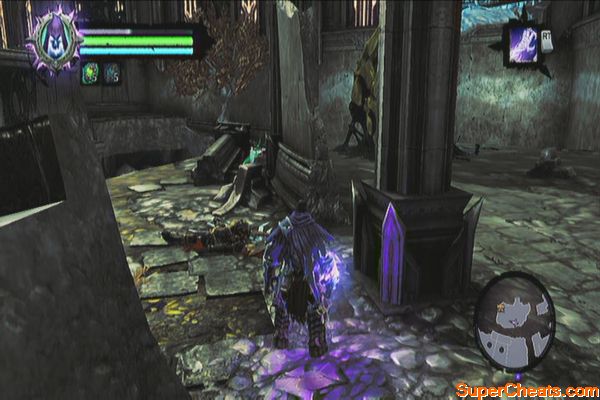
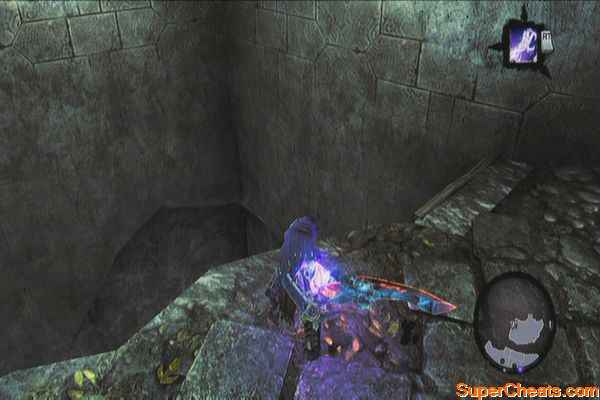
After reaching the other side, check the west corner to find another Boatman Coin. Next, stand on the large circle then soul-split there. Have one soul step on the smaller circle nearby to open the canal gate. Go through the gate then turn left. Don't fall down the hole but instead, climb the low lying hand-hold to find another small plate you can step on. This will open up the large circle and make Death's physical form fall down. 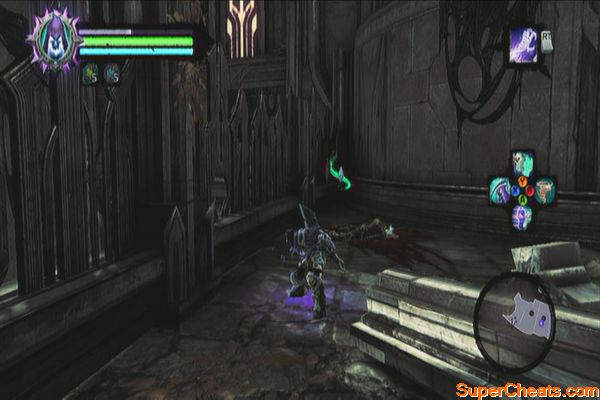
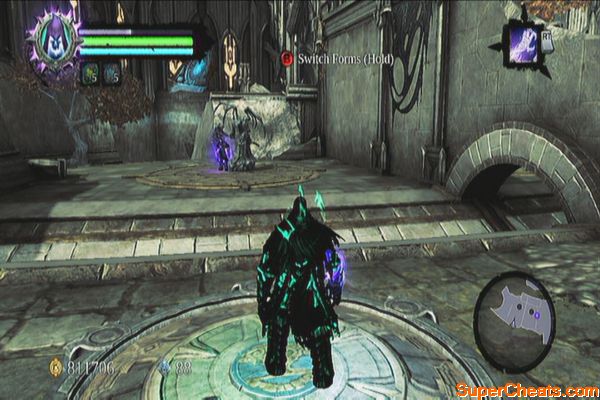
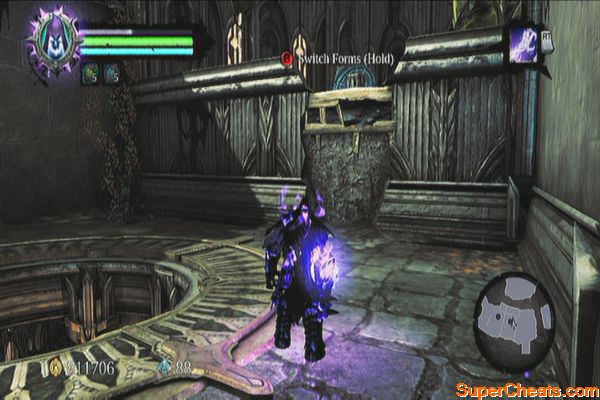
Return to your physical form and climb up the wall. Climb another low hand-hold to the east again then grab the shadowbomb on the island to the southeast. Blow the crystals to the south and to the northwest ledge. Before continuing south, backtrack to the western section where the second pressure plate is then climb the hand-hold to the north again. You should see a lever here, after clearing the crystals. 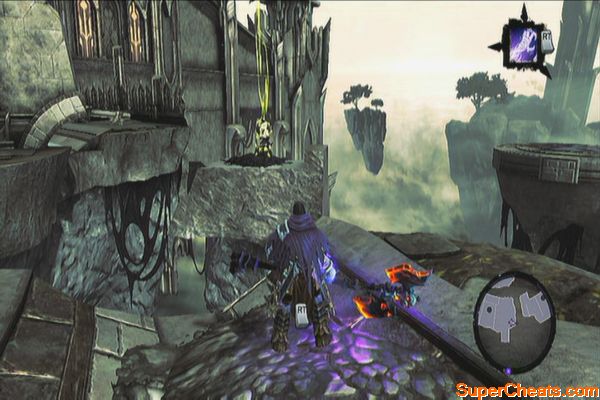
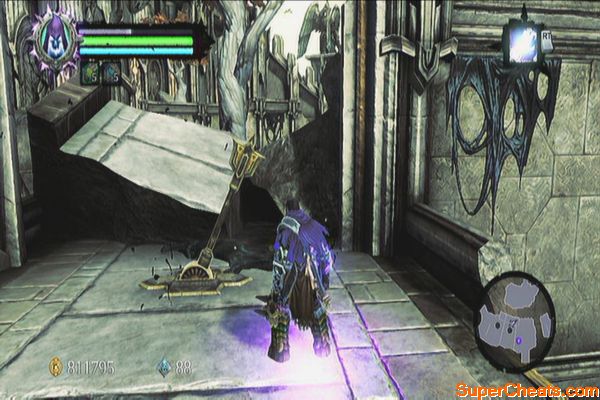
Pull the lever then drop down. Follow the canal to the southeast and you should find a unique weapon called the Goldbringer around the debris. 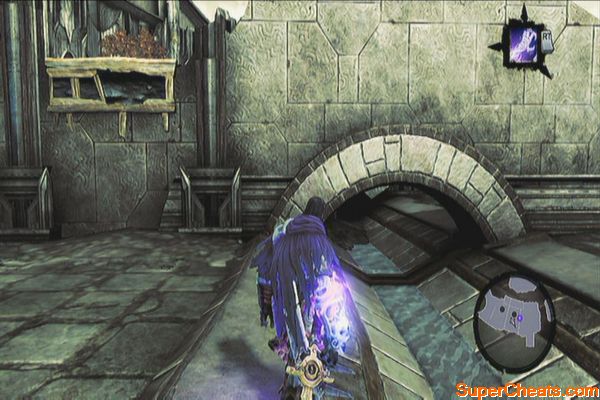
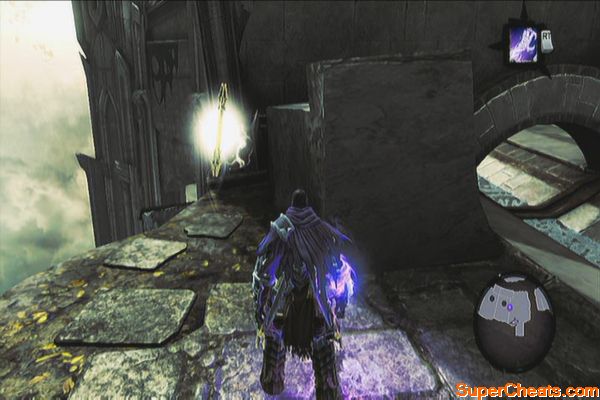
After getting the weapon, backtrack to the where the southern crystals are then swing across the gap. Enter the next room and drop down to the lower floor. Attack the floating statue there to obtain the Voidwalker. Now shoot the two portals so you can reach the upper ledge. 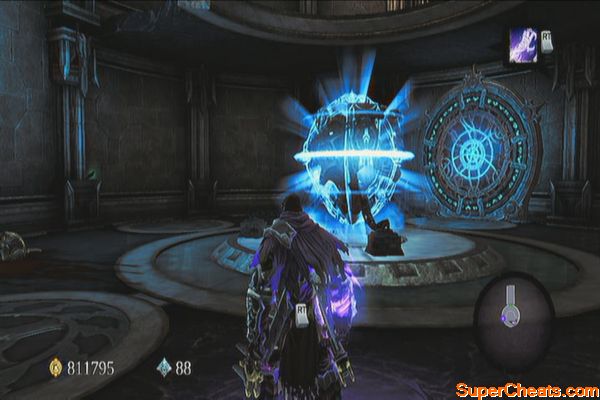
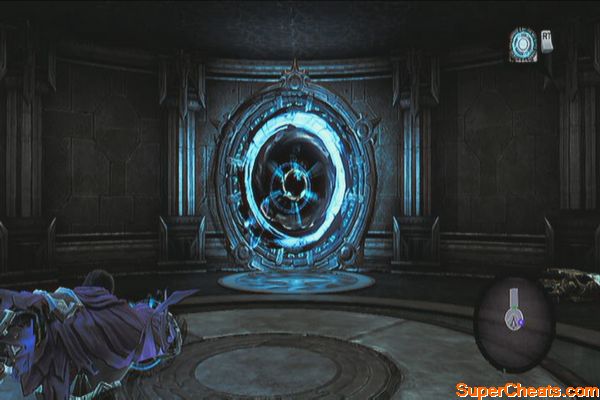
Exit the room then swing back to the previous island. Now activate the portal nearby, then the inclined overhead portal to the far northwest. Now don't go in but rather, grab a shadowbomb and throw it through the portal. This should take out the crystals in the other island. 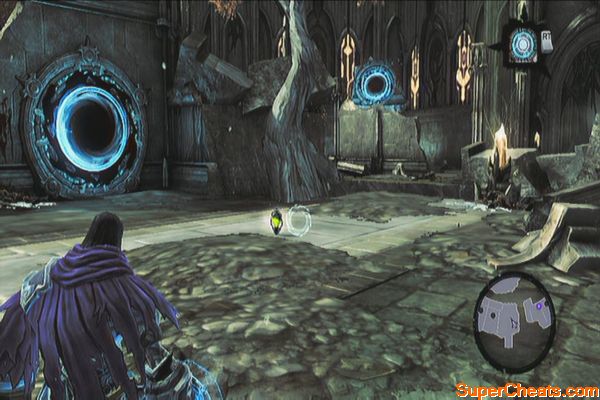
Enter the portal and claim your loot. After getting the chest's contents, return to the southern island and activate the portal to the far east. Go through the portal then go around the wall to find a lever. Pull it then continue down the pit. Loot to the chest to the southeast, activate the portal to the northwest then release a charged bolt to the northeast portal. Enter the portal to the northwest to launch yourself in the air. 
After landing, cross the grap with the help of deathgrip. Continue to the next area where you'll have to face a new type of corrupted angel: the Ayfid. Get rid of them to unbar the door then continue forth. Activate the portals to reach the next island to the north.
The Corrupted
Cross the bridge east to find a fire pedestal. Defeat more corrupted angels there then get the Boatman Coin to the northeast. Destroy the objects behind the portal beside the pedestal to reveal a secret chest as well. 
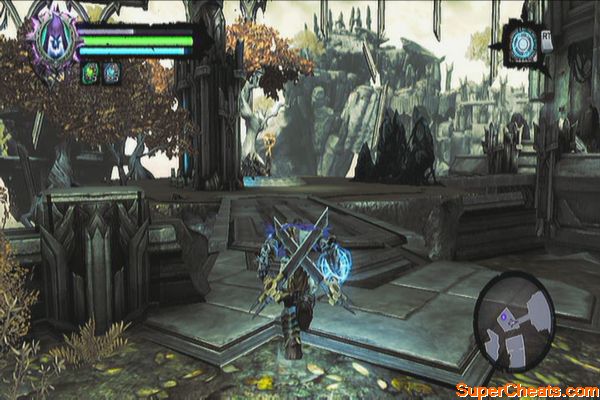
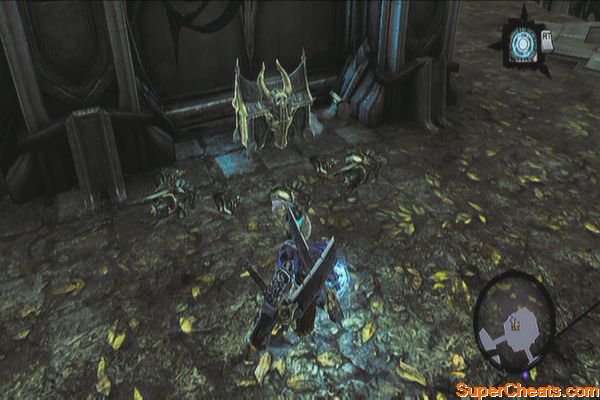
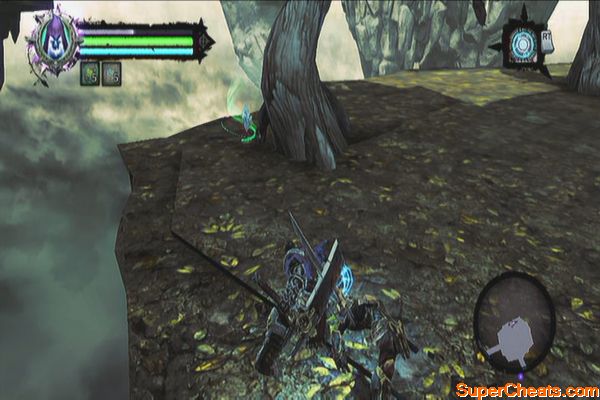
Now activate the portal near the pedestal and do the same thing to the other portal to the far southwest, near another pedestal. The two should activate and melt the black crystals blocking the path. 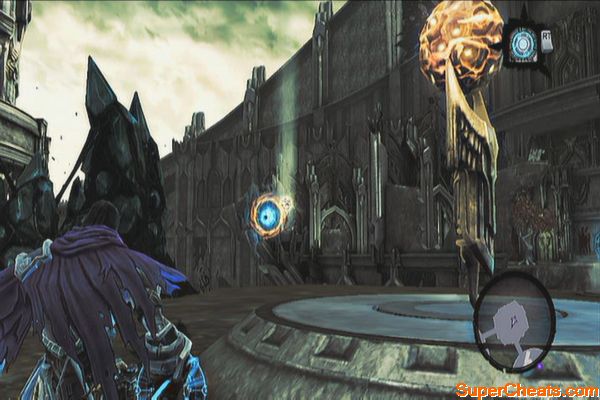
Cross the bridge and encircle around the tower counter-clockwise. You should find a hole to the left leading to a chamber with two portals. Activate a normal portal on the ground then activate a charged portal on the wall. Exit the chamber and proceed to the stairs. 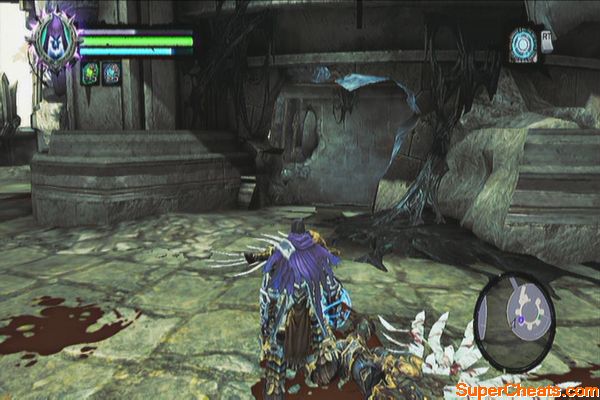
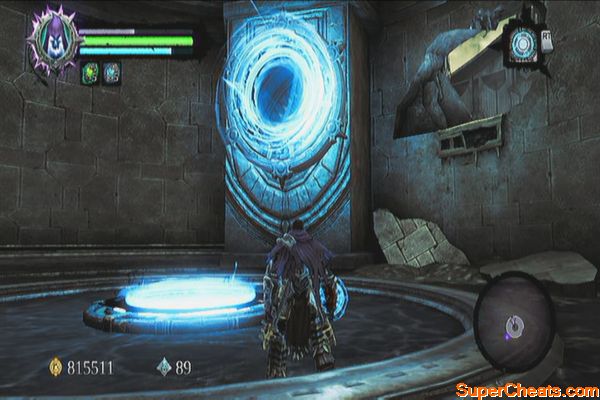
Before reaching the stairs, you should find a Boatman Coin and a Stone of Mystics above the first arc of the stairs. Continue upstairs and enter the main room. 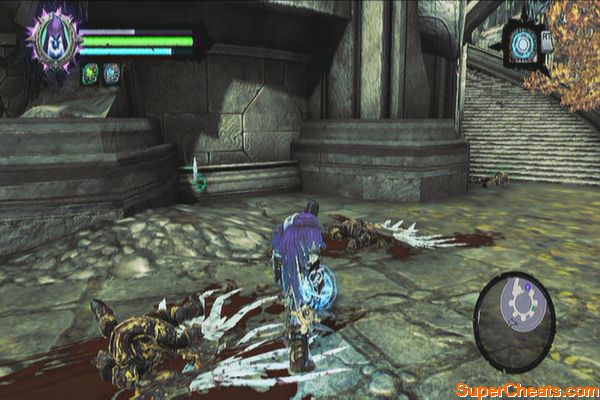
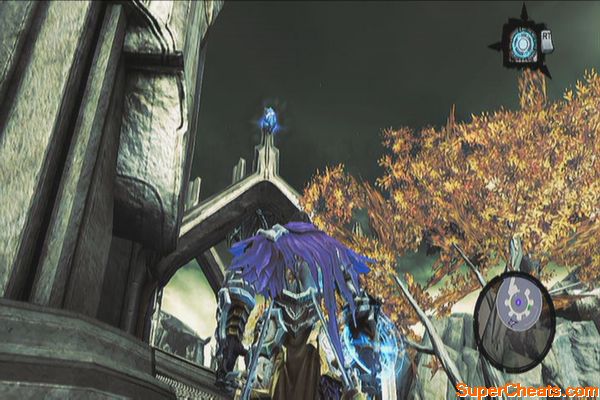
Defeat the enemies there and stand in the middle plate. Soul-split then have both souls trigger the pressure bars. If you followed the instructions earlier, your stone form should fall down the portals and the charged portal should shoot you to the gates, opening it. Scale the wall until you reach the topmost level. 
Once there, activate the portal then peek over the tower to activate the other portal near a fire pedestal. This should activate the pedestal on the tower, cleaning the murk. 
Follow the aqueduct and after the second fall, turn around to find a Relic of Renagoth. Follow the aqueduct until you reach a shadowbomb pod and some crystals. Blow them up then climb the nearby growth. Enter the next door to the west this time. 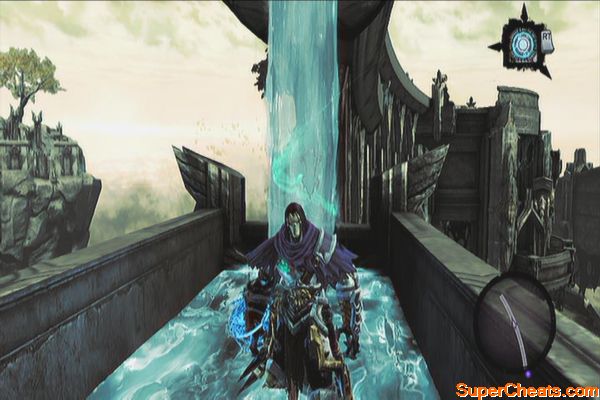
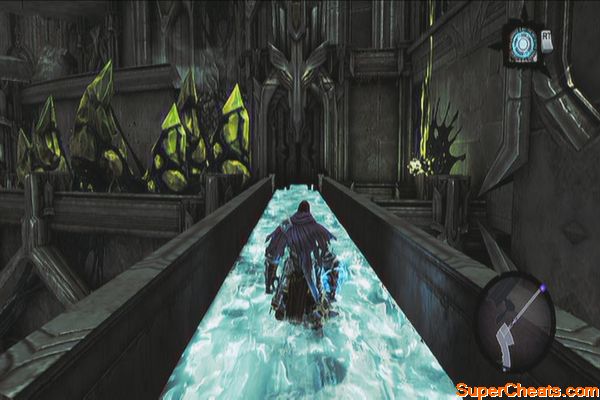
Get past the arc hallway to reach the next area to the west. Head west for now towards the locked door. Before reaching the long flight of stairs, jump to the north to find a chest below. Climb back up then drop down to the southernmost ledge afterward.
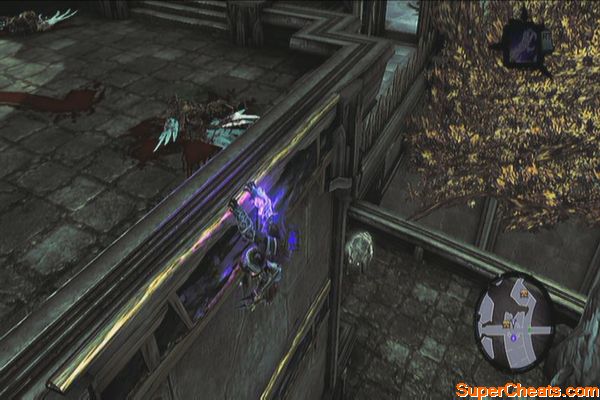
Continue forth to defeat Corrupted Champions and some angels. The path should be clear after their defeat. Continue to the north then turn west to reach the western tower. From there, check around to the left to find a Book of the Dead page there.
Corrupted Champion
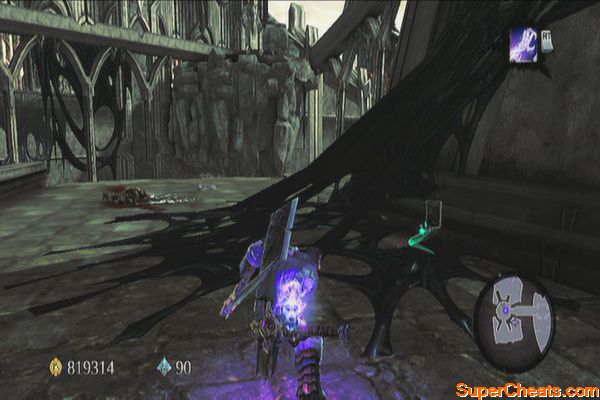
Backtrack then drop down the hole on the floor then head outside, ignoring the fire pedestal and the portal for now. Defeat three enemies outside then swing to the hand-hold on the wall. Perform an extended wall-run until you reach the last hand-hold. Climb up the wall to reach the upper ledge.
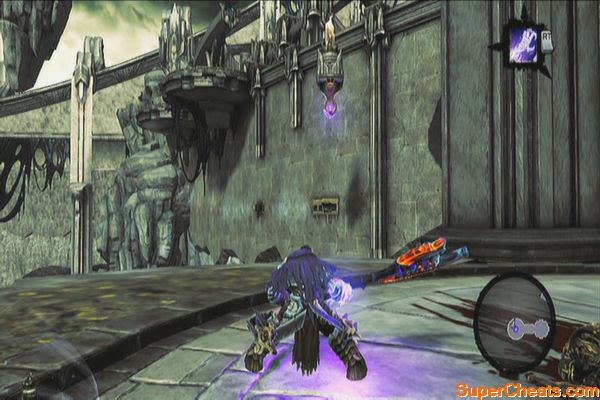
Head to the southeast to find a push-switch. Before activating it, grab the Relic of Renagoth in the corner across it. Activate switch afterward so you can concentrate on solving the portal puzzle. 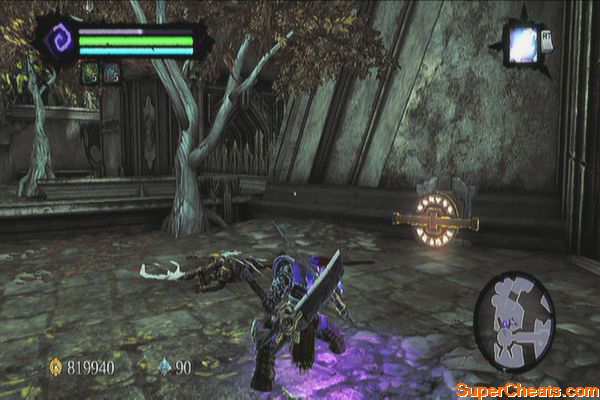

First activate the portal near the gate and switch. Backtrack to the turn-levers and soul-split there. Have one soul turn the upper right lever then switch. Lead the other soul on top of the lowered portal platform then activate the other one there. 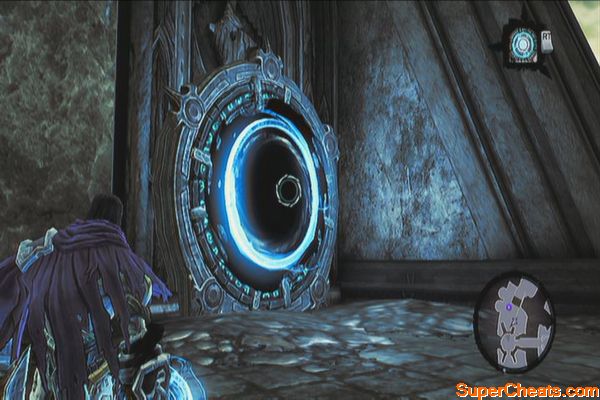
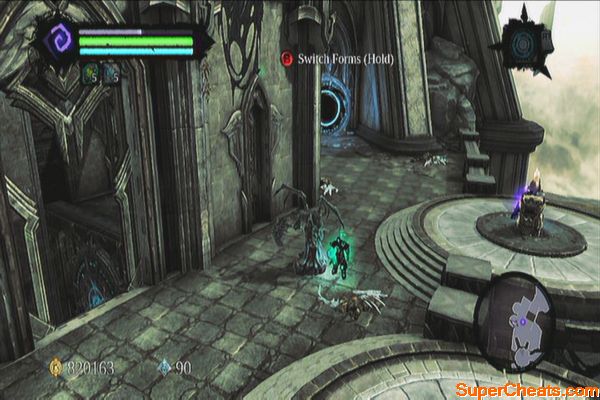
Get off the platform and switch to the soul holding the lever. Release it then fire a charged shot to the portal near the switch. This will allow the charged shot to pass through and activate the other portal. Now return to the other turn-lever and turn it to lower the portal platform to the left. Hold it then switch to your other soul and return to the portal near the gate/ switch to activate it again. Go through the portal and you'll be launched to the next area. Pull the lever behind you to lower the gate so your physical form can pass through. 
Continue forth then wall-run to reach the next area. Defeat the angels then open the chest to get the skeleton key. Climb the wall to the east then use the shadowbomb to destroy the crystals. Head to the locked door and unlock it to enter the west tower. Once inside, look up to the right to find a Stone of Resistance. 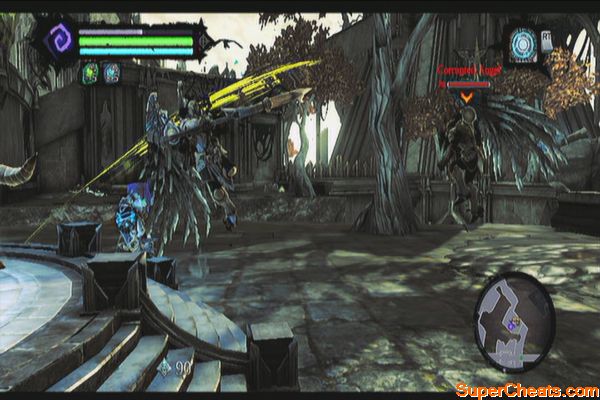
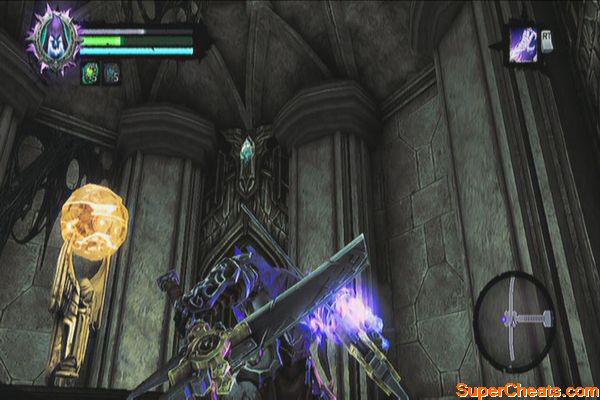
Activate the portal behind the pedestal then go through it. Now go through the gate to the south then drop down the hole in the wall so you can activate the second pedestal there. You can then pass through that portal to return to the newly cleaned aqueduct. 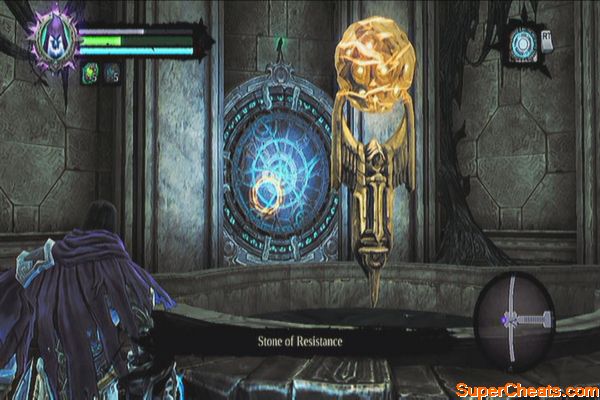
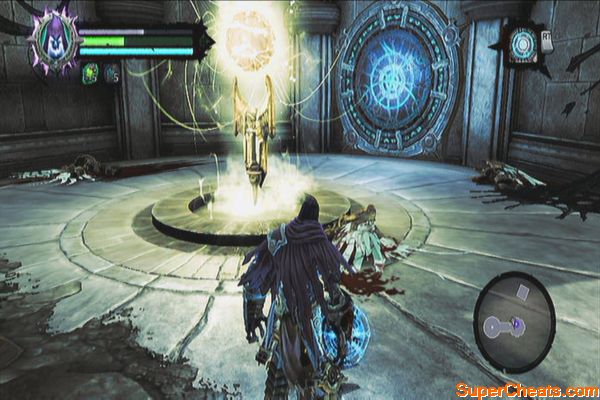
Follow the aqueduct south then swing to the next platform with the chest. Follow the dry aqueduct until you reach the eastern wall. Scale it BUT don't enter the door yet. Head back to the tower this time and follow the water-filled canal to the north. After dropping, turn around to find a Relic of Etu-Goth. 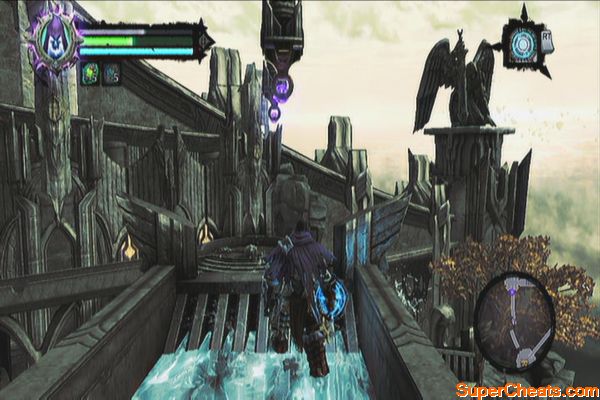

After jumping to the pool to the northeast, jump down to find another waterfall and a water-filled cavern. Enter it to find a GnoMAD's Gnome. Now backtrack to the top east door to proceed. 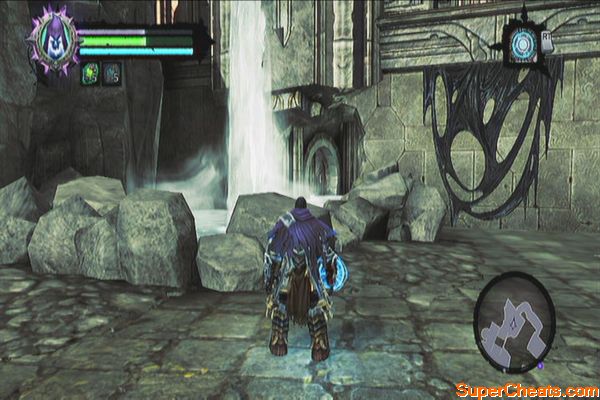
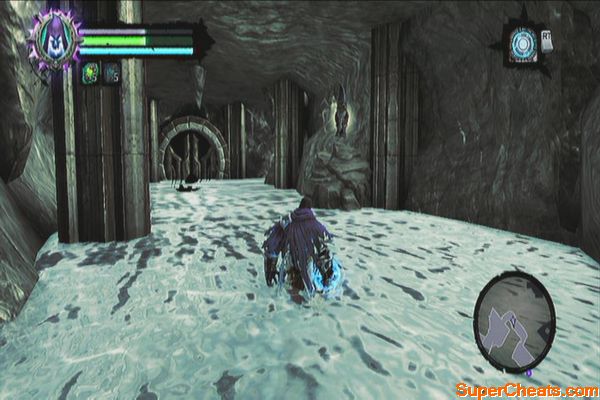
Follow the corridor until you're back in the main hall where there are multiple waterfalls you've cleansed so far. Continue along the balcony and defeat all the corrupted angels. Before entering the door, shoot the Stone of Power on the statue's chest. 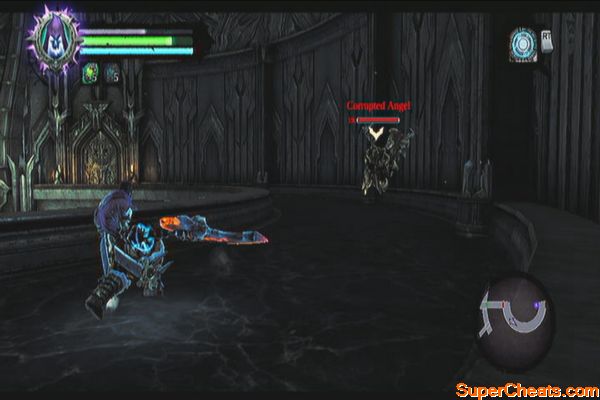
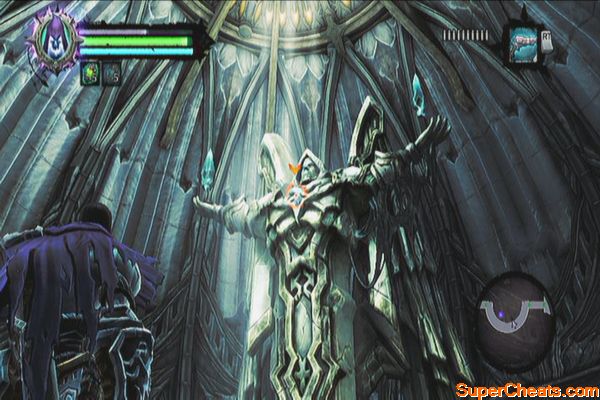
Continue outside then enter the next door. Fall down to the water below and turn around to find a Boatman Coin. Follow the path next to reach the walkway outside. Head to the northeast to find a chest along the way. Continue forth until you reach the edge of the walkway. Before swinging using the deathgrip hoops, shoot the two portals on both walls then swing to reach the ledge.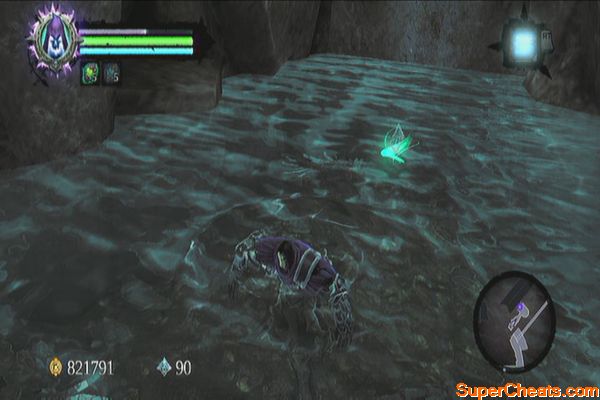
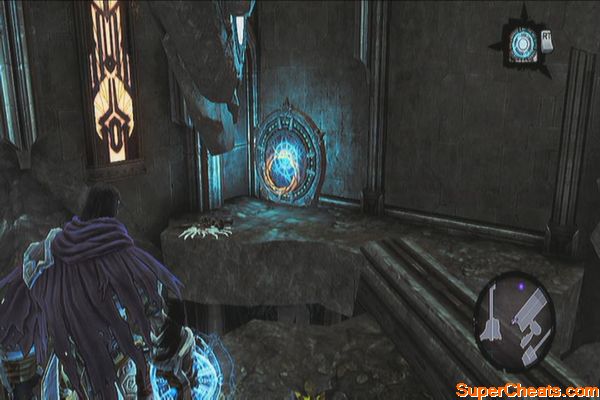
Now look above to find an unpowered portal. Power it up using a charged shot then enter the portal so you can wall-run to the next ledge. Get the Boatman Coin in the corner as well. 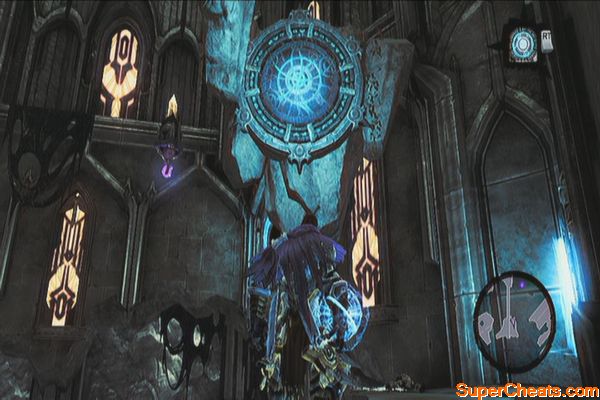
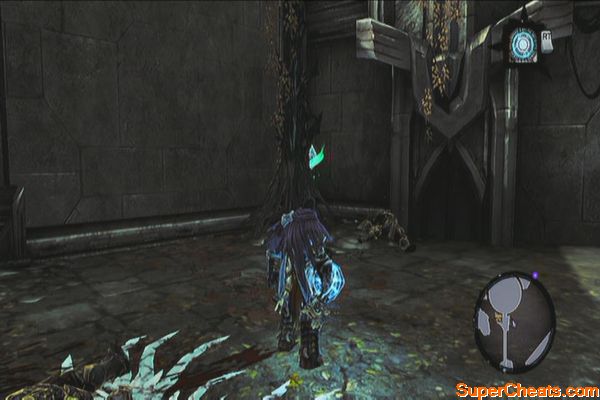
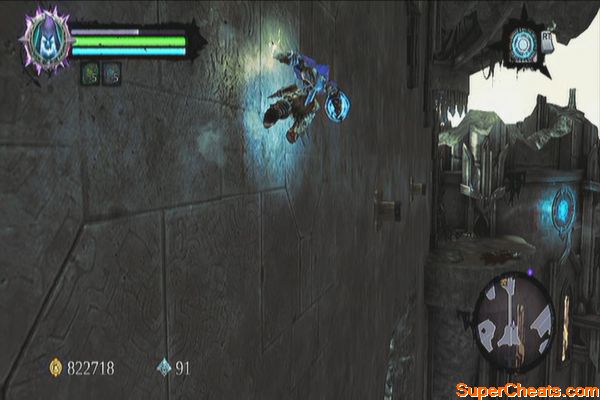
Now look to the northeast and you'll find two more portals; activate the one on the wall with an ordinary shot while use a charged shot on the portal on the floating platform. Wall-run to the portal and you'll be launched towards a wall where you can reach another area. 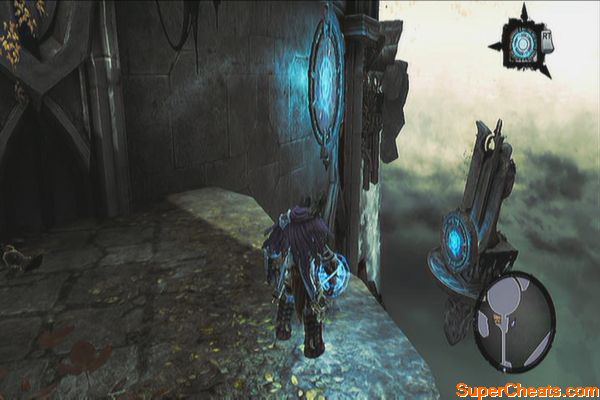
Head to the arena to fight the teleporting demons you encountered earlier called Sycophant. These are very agile creatures so you'll have to rely on your deathgrip to pull them towards you. Be wary of their lightning attacks which are usually followed up by a combo.
Fast little lightning devils
Clear the room of clutter to collect random stuff then exit. Follow the path until you reach another fire orb and portal. Go past it for the meantime and head west, to the dead end. You should find a Book of the Dead page there. 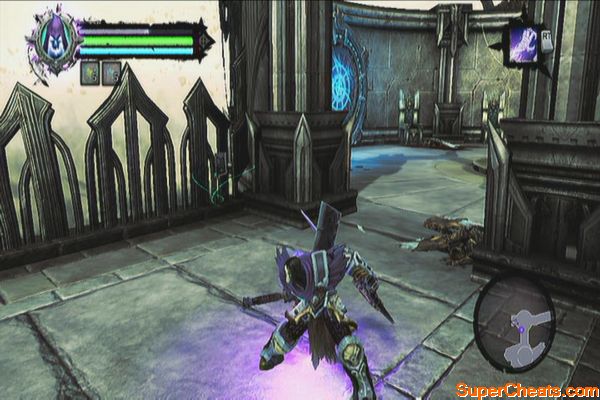
Head south to find a crank. Soul-split here then and turn the crank so you can reveal the opening of the area ahead. Switch to the other soul and pull the stone block out of the enclosed area. Return to physical form, then stand atop the platform. Split your soul again then operate the crank again and have the other soul push the stone platform back to the enclosure.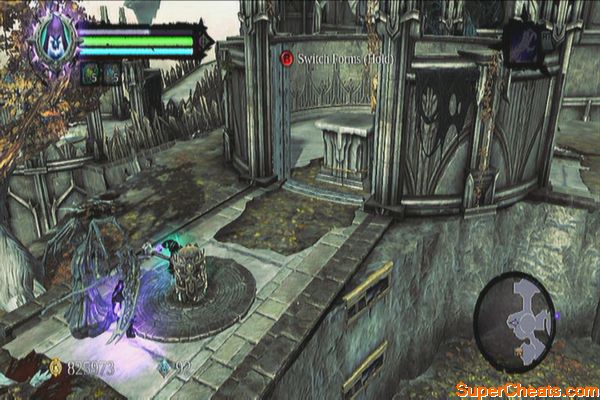
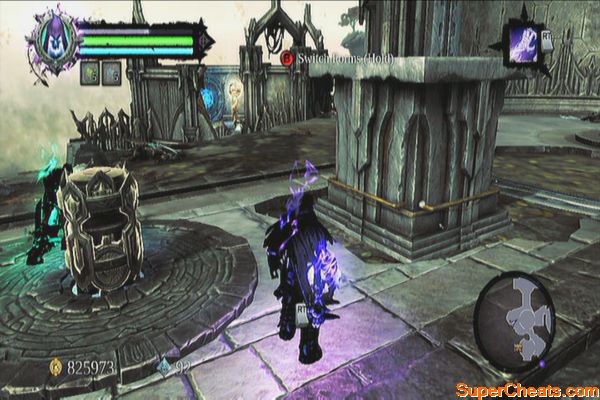
Once inside, head south to find a crank. Don't operate it yet; look to the southwest to find a Stone of Power lodged above the rocks. Next, drop down the ledge to get a Soul Arbiter's Sacred Scroll. 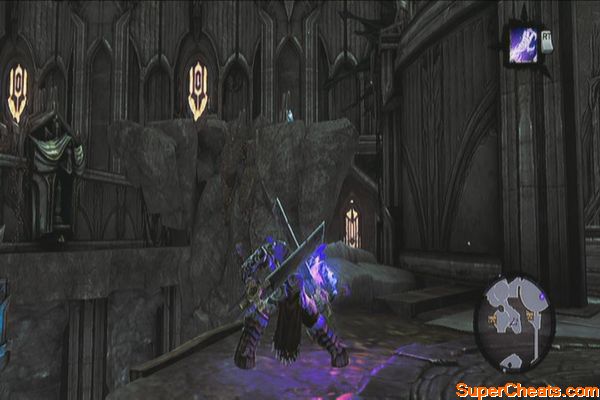
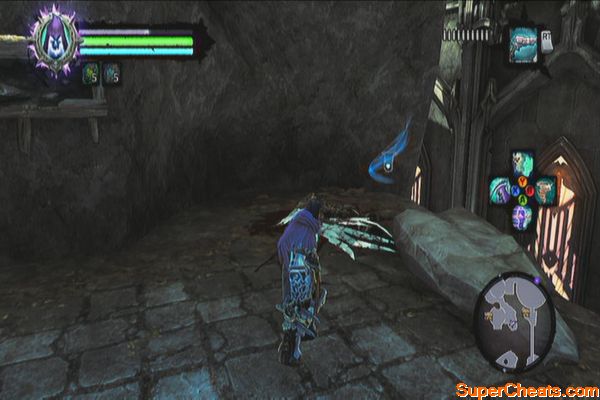
While there, open the nearby portal then climb back up. Soul-split then turn the crank. Switch to the other soul and activate the portal. Return to physical form and let the newly-opened portal to revert to its original position. Drop down the lower ledge and fire a charged shot to the opened portal so the charged shot passes through and hits another portal to the south. 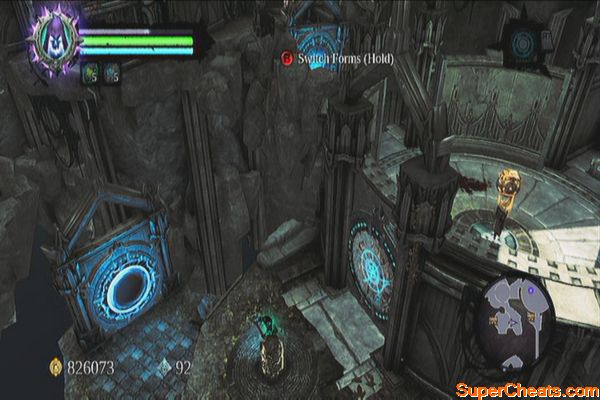
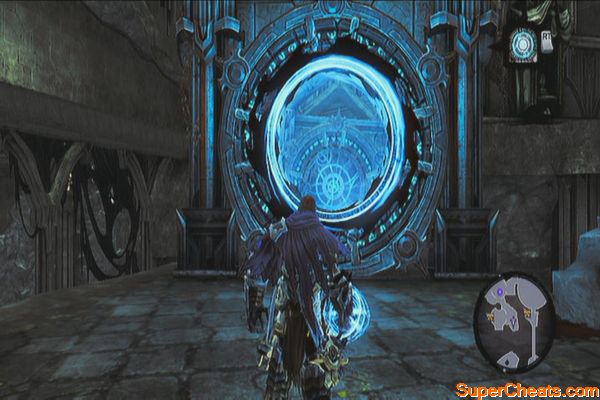
Split your soul again and turn the crank once more. Switch to the other soul and step through the portal so it launches you to the hand-hold. Loot the chest to the west, then return to physical form. 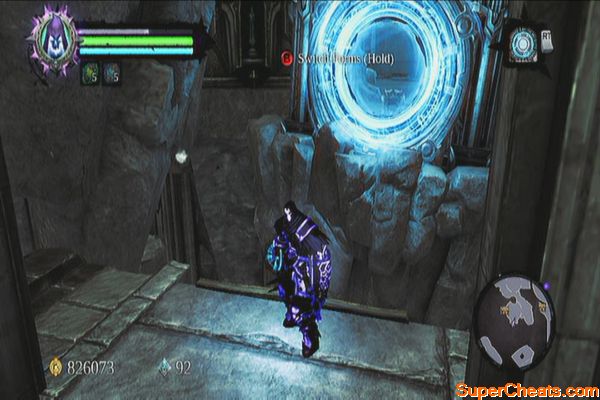
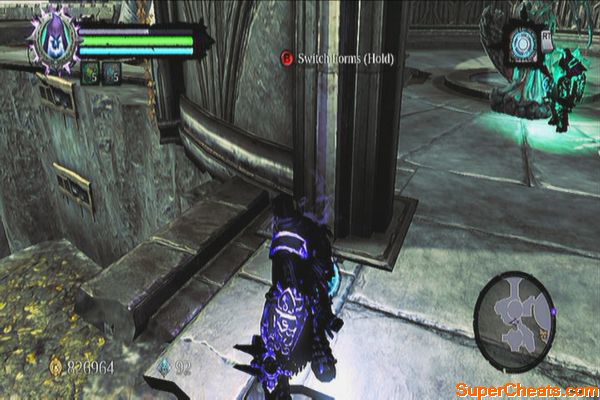
Return to the first circular enclosure and split your soul there. Drop down the ledge to the west then climb the wall north to reach the first crank. Don't operate it; instead, look to the north and fire a voidwalker shot to the portal there. Return to physical form and go south to the second crank. Operate it to make the fire orbs react to each other and clear the black corruption crystals blocking the other portal. 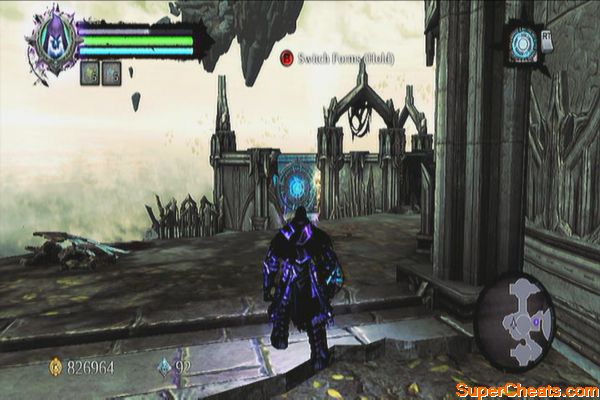
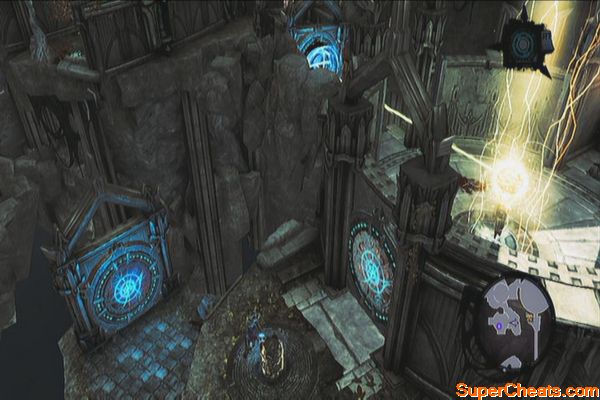
Head to the newly-cleared path, activate the portal and enter the opening of the wall to find another fire orb. Look up and activate the portal overhead as well this should cleanse the murky ooze flowing south. 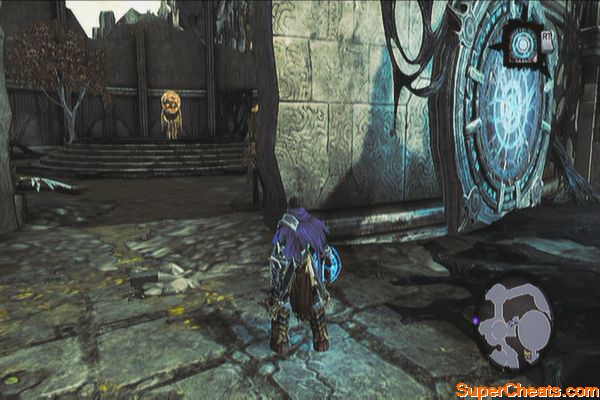
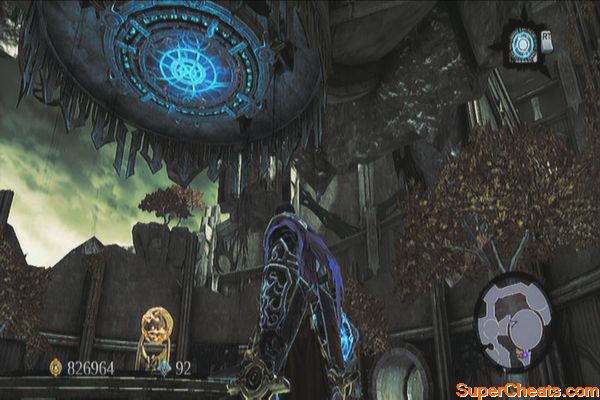
Before following the water canal, head to the east to find a Relic of Khagoth. Follow the water canal and loot the chest along the way. Continue to the south then wall-run to the other ledge with a portal. Open it then peek through the hole in the wall to find another portal. Activate it as well. Go through the portal and drop down the hole on the ground to reach the next area. 
Follow the trail and jump to the pool below to find a Boatman Coin. Follow the straightforward path until you reach a corridor. At the end of that corridor is a lever; pull it to open the door and you'll be back in the main hall where the other waterfalls converge. You can now enter the main door to the north. 
Once inside, check behind the statue near the stairs to find a Relic of Etu-Goth. Head north to find two portals. Place a charged shot to the portal overhead and open the lower portal. Go through so it launches you to the upper aqueducts. There's another portal overhead so place a charged shot on it and reactivate the lower portal by the stairs. Jump down and go through it to reach the door in the upper level. 
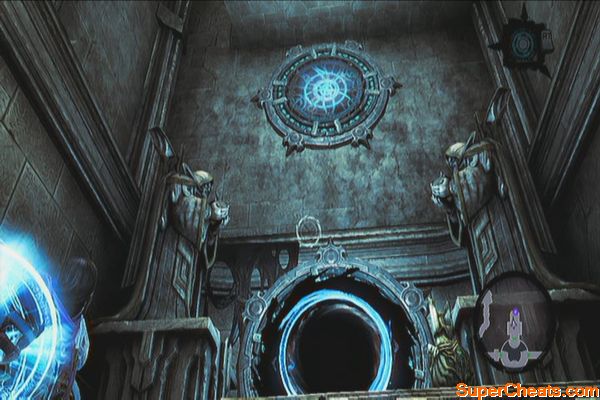
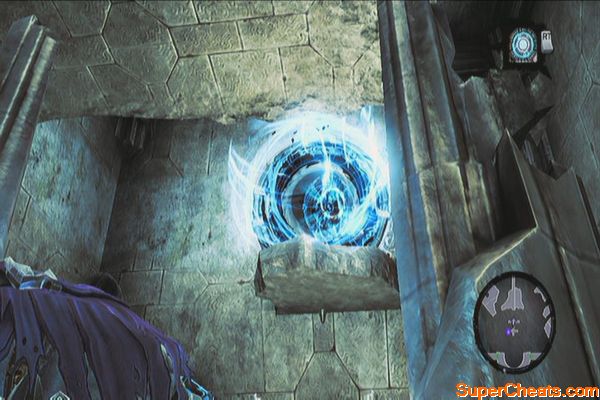
There's a chest to the west that can only be accessed with the help of a portal. Activate the portal above the chest then reactivate the portal to the south with a charged shot. Wall-run to the southern portal to reach the chest. Look above to find a Stone of Resistance as well. Jump down to ground level then reactivate the portal there. Go through it again to return to the topmost ledge. Wall-run to the northern door afterward. There's a boss waiting at the end of the stairs so make the necessary preparations before facing him.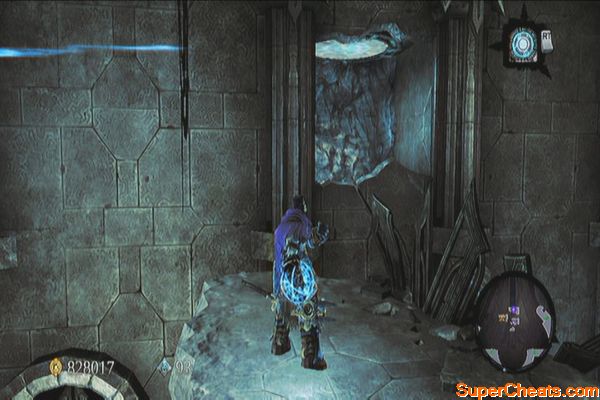
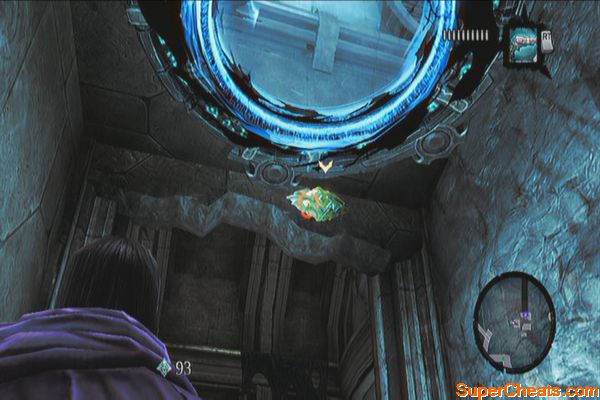
Boss: Jamaerah The Scribe
For the first part of the battle, you can fight him at ground level and he throws projectiles at you and summons corrupted angels. Eventually, he will start charging power and remain airborne, occasionally dropping down to the ground, causing a massive shockwave and damage.
Once the mirror on the floor has been destroyed, you'll find a portal there. Activate it and one of the upper portals and wait for the boss's beam to pass along the floor. Evade just before getting hit and if timed right, the beam should be redirected back to the boss.
Jamaerah The Scribe
Replenish your potions by trading with Nathaniel at the base of the Crystal Spire if you want then face the Archon.
Boss: The Archon
For the first part of the battle, the Archon will be flying around. You can't damage him while his glowing protective shield is around him. Wait for him to charge for an attack and use Deathgrip to close in and deliver some mid-air damage. Continue doing this and avoiding his attacks until the action button appears.
After removing his wings, continue fighting him on the ground, using all the skills at your disposal while evading his devastating combos. Once his HP goes down significantly, he will grow black wings, making him more agile and enables him to teleport across the battlefield. Use deathgrip as well to quickly close in and deliver damage until he is defeated.
Clipped Wings
Fast-travel to the Tree of Life and talk to the Crowfather. Head to the portal of Shadow's Edge to start your next quest.
Tip: Since you have the Voidwalker, it will be a good idea to explore a few extra locations and dungeons to collect some extra collectables and loot. See the next chapter for the list.
Since you have the Voidwalker, it will be a good idea to explore a few extra locations and dungeons to collect some extra collectables and loot.
Weeping Crag – Access the treasure trove to find the third GnoMAD's Gnome and a Boatman Coin. (See the Side quests section for details)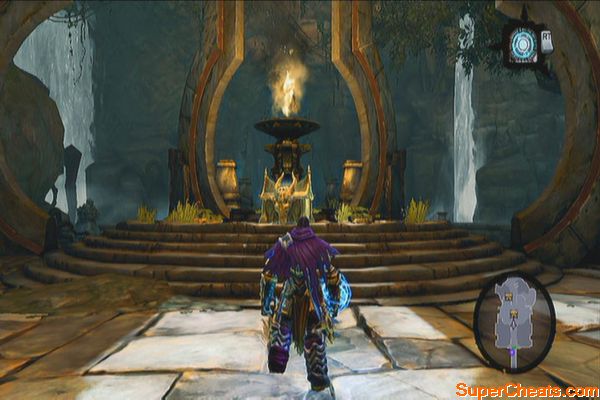
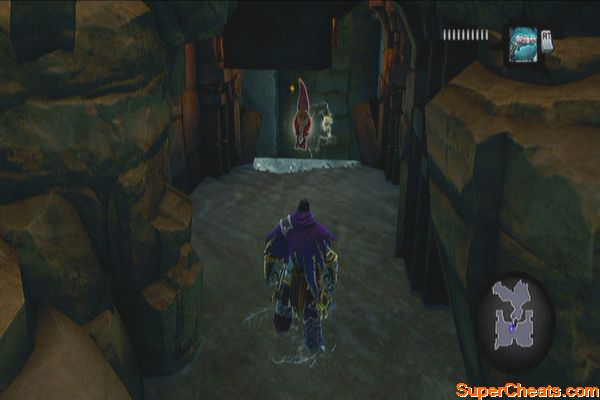
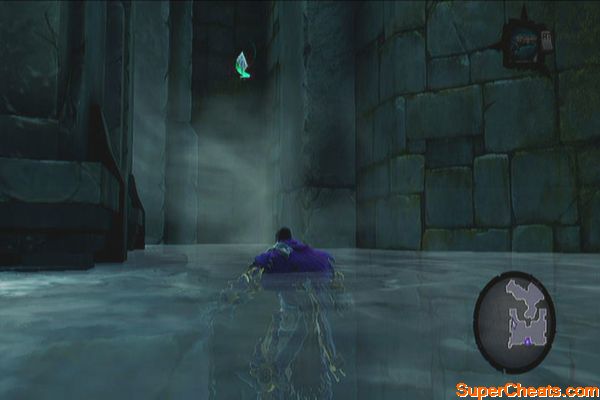
The Fjord – Swim to Vulgrim's location in the Fjord then open the portal at ground level. Go to the second floor and activate the portal through the gap in the wall. Return to the ground level and enter the portal. Grab a shadowbomb there and throw it at the portal. 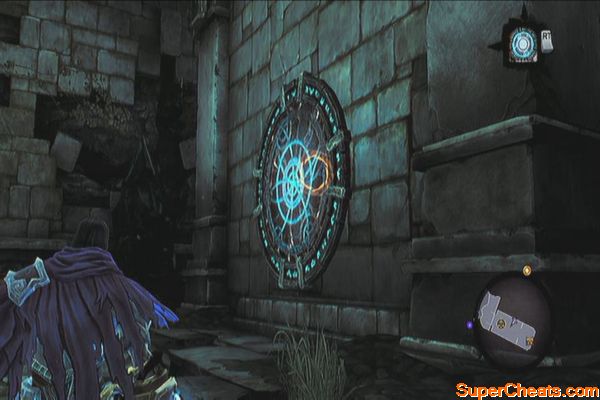
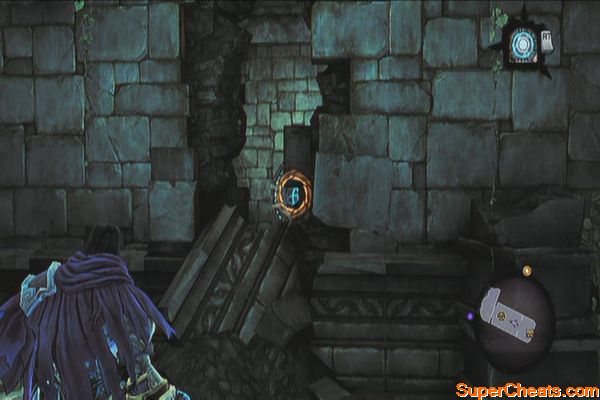
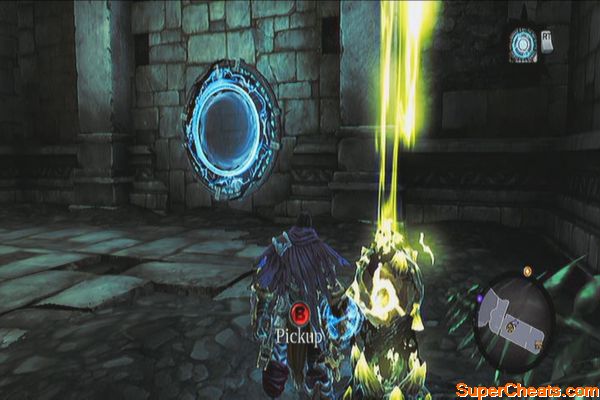
While inside the shadowbomb room, shoot the Stone of Resistance near the ceiling then use a shadowbomb to destroy the small group of crystals in the other room. It may take a few attempts since you have to throw the shadowbomb at a specific gap/ spot to reach the crystals. Loot the chests in the lower floor then go up to the second floor to find a Book of the Dead page. 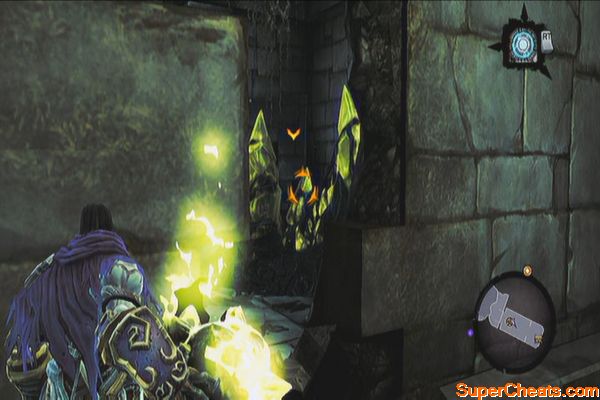
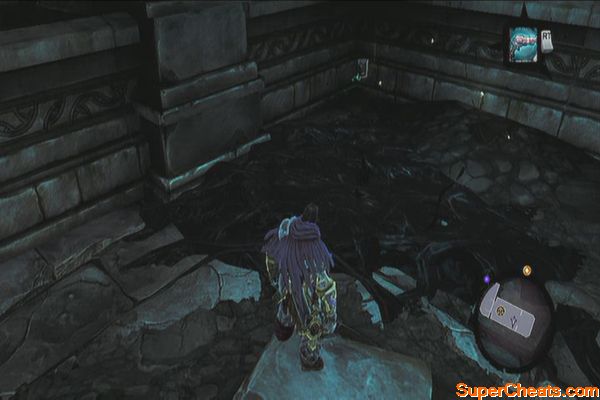
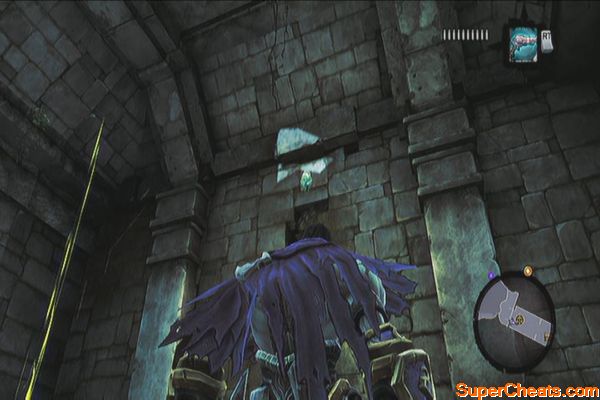
The Nook – Head to the basement and activate the portal there. Enter the door where the two elevators are then climb up to the upper ledge. Once there, go to where the energy ball is placed and peek in the corner to find the other portal. Activate it as well then enter the lower portal to reach the two chests inside. 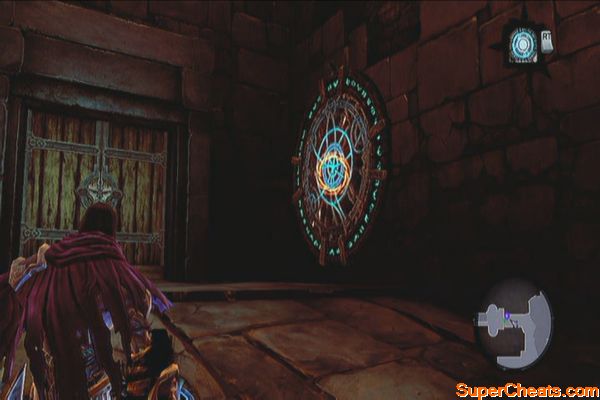
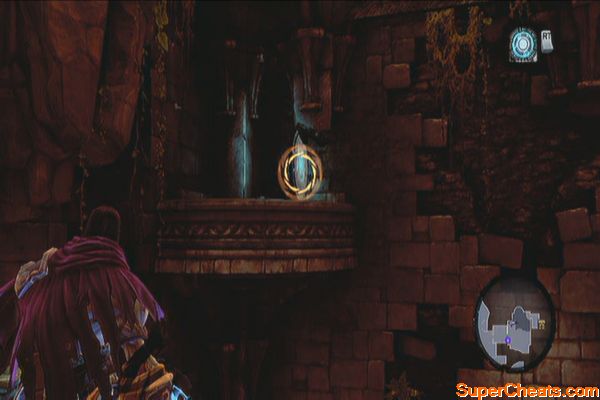
Breach – Return to the portion of the dungeon where there are drawbridges. Pull the switch the bring the first drawbridge down and climb the tower beside it. Activate the portal nearby then peek to the edge and use a charged shot to activate the other portal. Enter the portal to reach a chest. 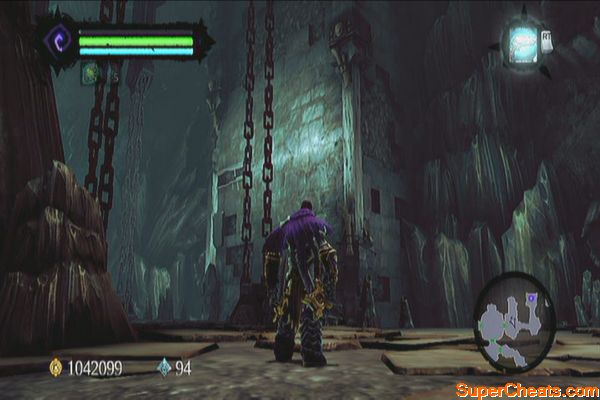
After getting the chest, return to the circular arena where you fought tons of skeletons before. Head to the west and step on the pressure plate. Soul-split there, have one soul step on the pressure plate near the corridor and another one near the triple iron gate. Once the gate goes down, quickly get past the gate to reach another chest.
The Spire / East Tower Ruins – To the east of Judicator's tomb lies a tower ruin that you should have looted earlier. Climb to the top and drop to the second level where the portal lies. Approach the portal and look up at the broken ceiling to find another portal. Activate it and go through it to get another chest. 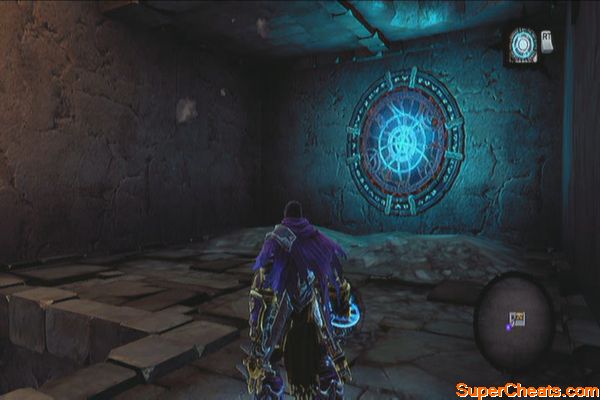
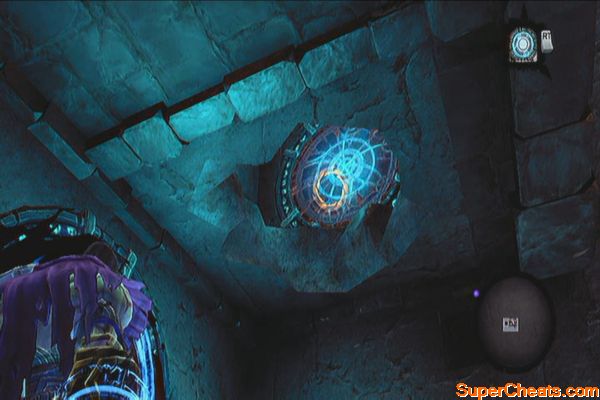
Psychameron – Return to the portion of the dungeon where there are three switches you need to activate to get the skeleton key. Activate the lower portal then use a charged voidwalker shot on the upper portal to the right. Jump to the lower portal and you should be launched past the iron gate to reach a couple of chests.
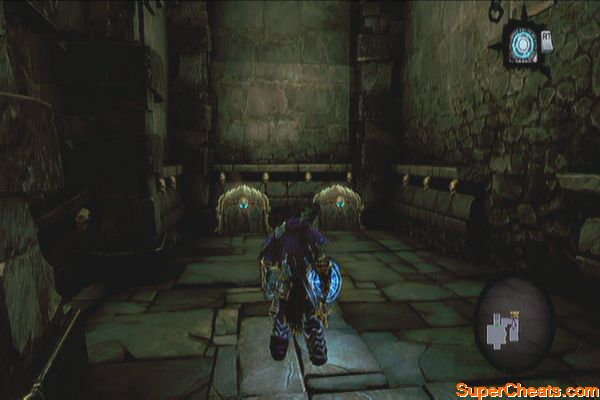
Once you're done with the extra stuff, return to Shadow's Edge to continue with the mission. 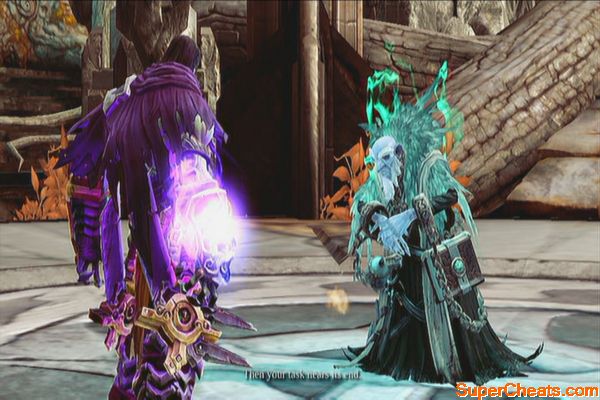
From the Tree of Death, ride south to the keep. Take the western path and follow it until you see the exit. Before heading out, climb the wall to right to find a Book of the Dead page. Now step on the pressure plate and soul-split there. Backtrack to the fork where the tome is then take the path to the right. This should lead you to a Relic of Khagoth. 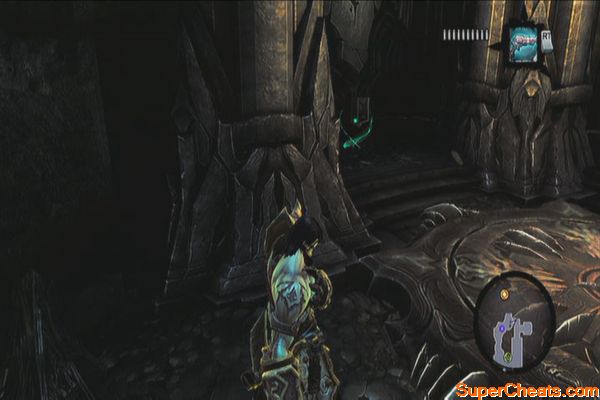
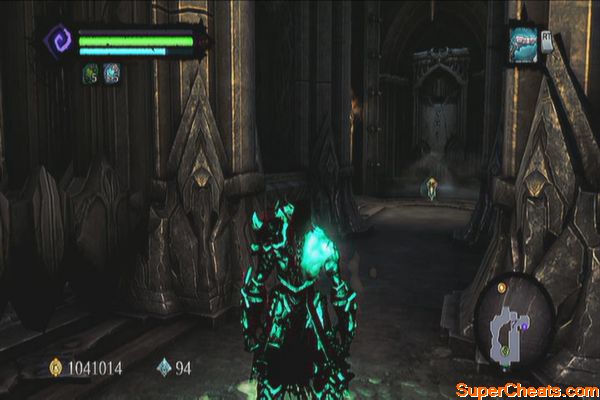
Return to your physical form and exit the hall to find Ostegoth. Trade him the relics you have collected so far and sell some unwanted stuff as well. After talking to Ostegoth, ride to the north, passing the fourth Death Tomb along the way. Enter the Black Stone afterward.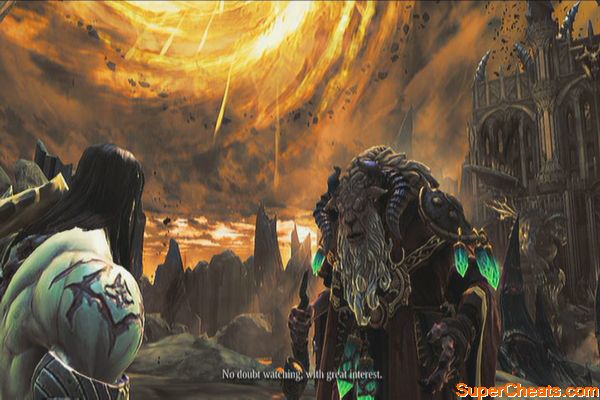
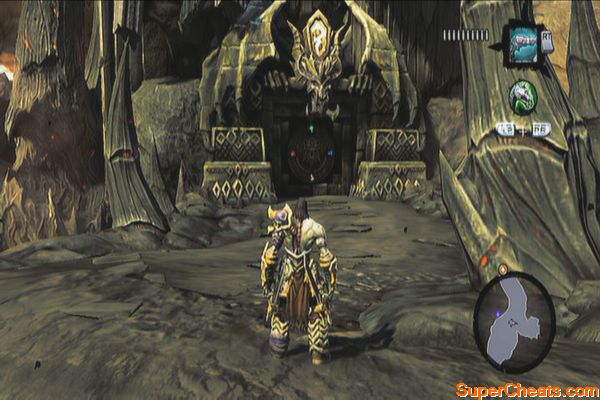
After entering, circle around a group of black corruption crystals to the west to find a Boatman Coin. Backtrack and enter the eastern door afterward. Follow the stairs to reach the second floor and encounter Lilith. Here your voidwalker ability will be enhanced to a Phasewalker. You'll have the capability to travel through time. This quest will be completed afterward. 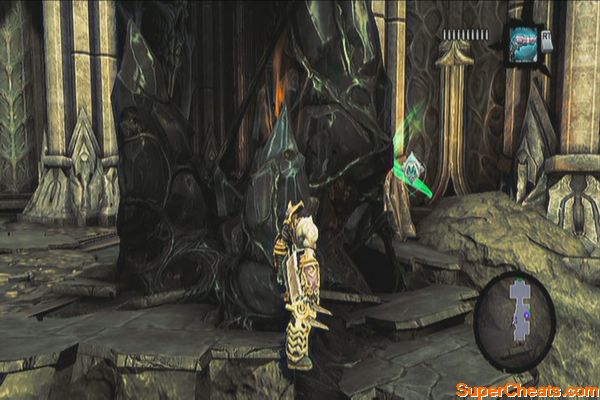
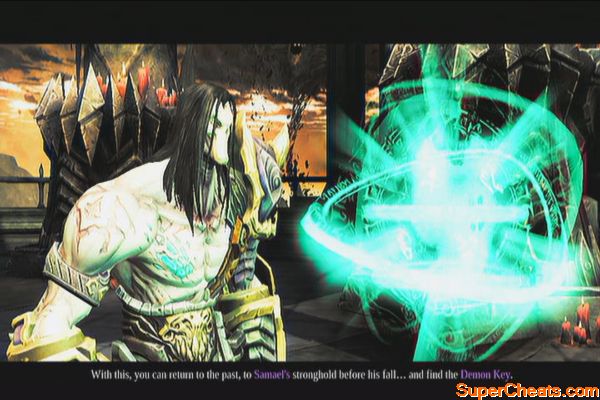
This quest starts immediately after receiving the Phasewalker. Go upstairs to the east to find a Book of the Dead page. Return to the first floor and go through the northern door. Turn to the left to find a time portal. Use the phasewalker there to travel through time. 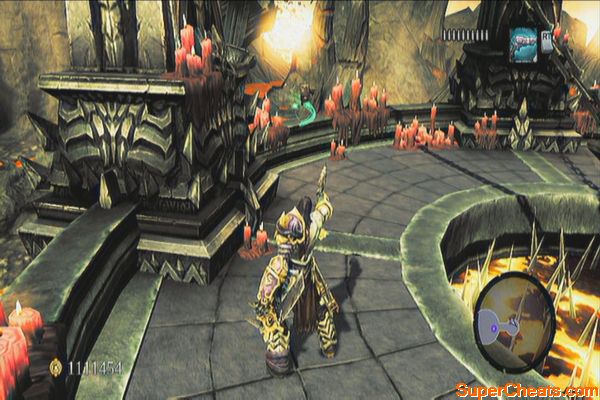
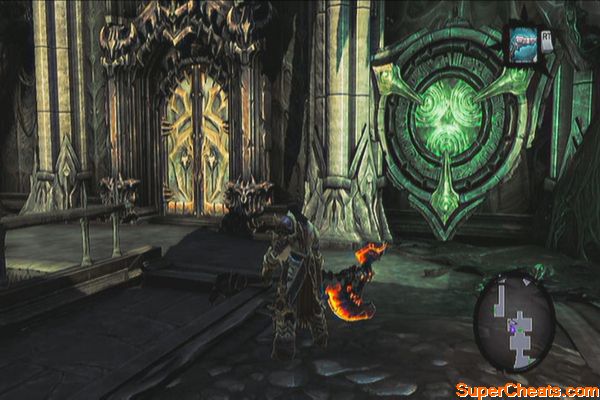
(Past) Check the pillar to the right to find a Boatman Coin. Head to the central platform to fight this timeline's enemies. 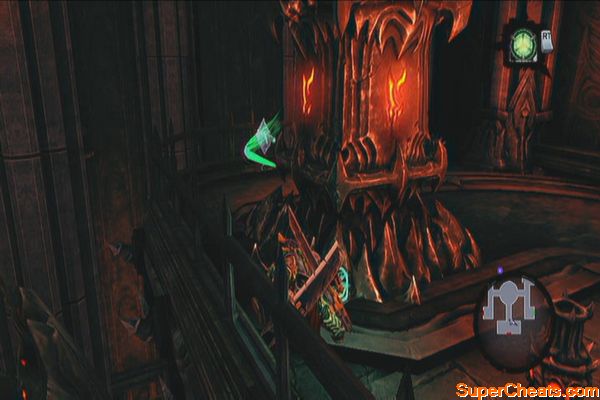
Legion Champions
Legion champions wield maces that can be used as whips as well. They have a variety of heavy, wide-ranged attacks so keep on your toes and avoid getting sandwiched in the middle. Head to the southeast door after the battle.
In the next hallway, loot the chest to the left, then continue downstairs. Wall-run to the first platform and then wall-run again and bounce on the walls until you reach the hand-hold at the end. Climb up and ignore the chest in the middle for now. Continue along the corridor and defeat two enemies inside. Walk until you find a pit with a deathgrip hoop. Use it to reach a hand-hold above. However, don't climb up yet but drop down instead. 
You'll grab a hidden hand-hold below. Shimmy to the right and enter the corridor. When you see the deathgrip hoop at the end, don't use it; instead look up to your right to find another hidden deathgrip hoop. Use it and perform a vertical wall-climb to reach a secret chamber containing a Boatman Coin, a Stone of Resistance on the ceiling to the south and a unique weapon called Demonflame Renders. 
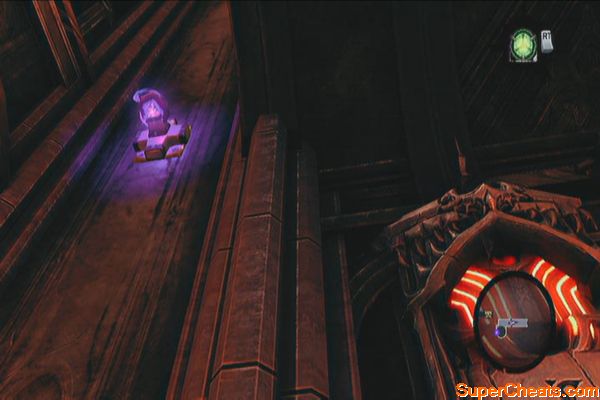
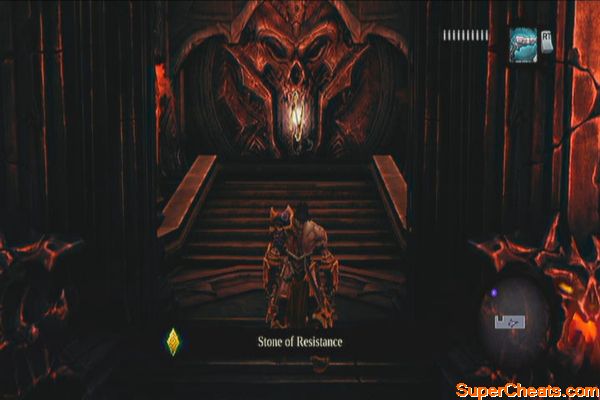
Drop back down and use the deathgrip hoop at the end then perform a wall-climb, bouncing from wall to wall until you reach the upper ledge to reach the chest you saw earlier. Loot the Dungeon Map from it. Wall run using the left wall and follow the same corridor again. Use the deathgrip hoop again at the end and climb up. 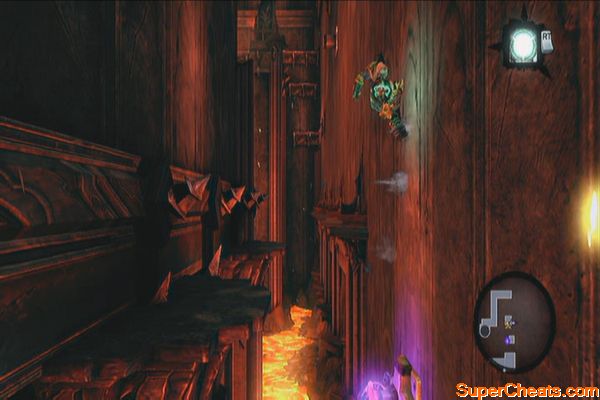
After reaching the upper ledge, you'll find a Book of the Dead page to the right. Go through the door and activate the lever. Defeat the legion champion that will appear. 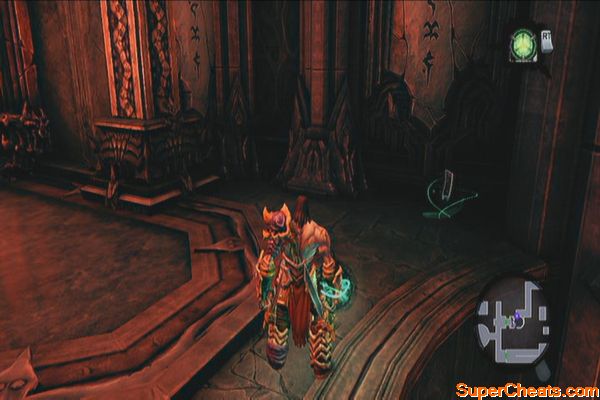
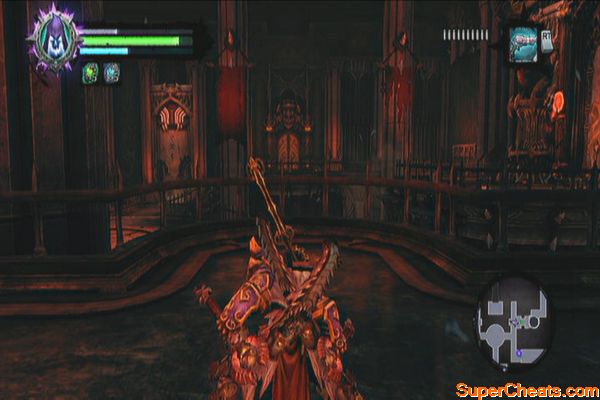
After that, look to the northwest and shoot the Stone of power at the belly of the six-handed statue. Drop down to the lower ledge to the right to find a chest. Loot it then climb back up, then activate the nearby time portal. 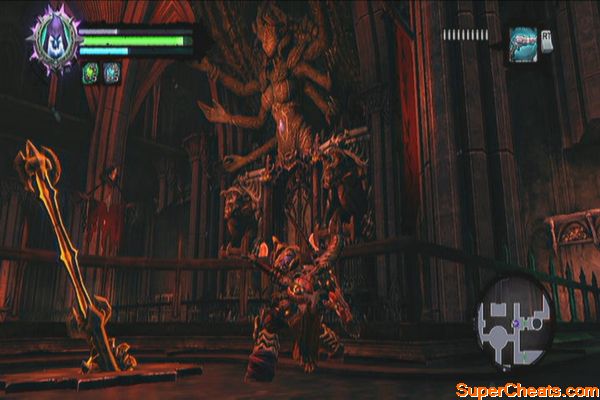
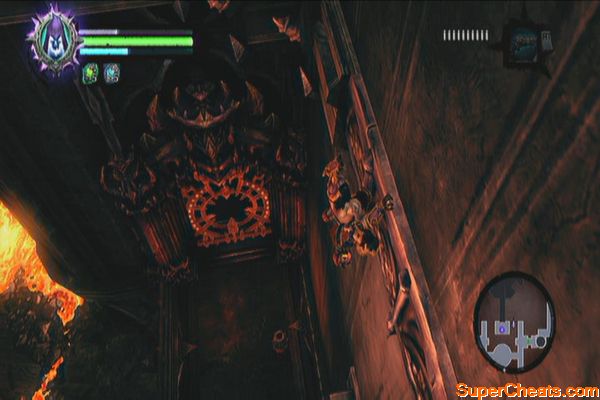
(Present)
Turn to the right to find a Soul Arbiter's Scroll. Loot the chest on the other end then jump off the balcony and head to the collapsed central platform. Climb the wall to the west using the deathgrip then enter the door to the south. 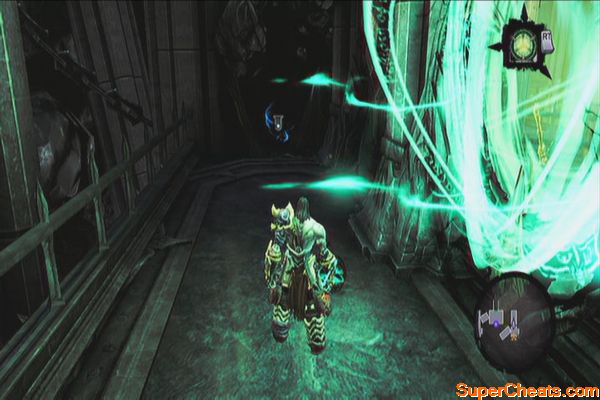
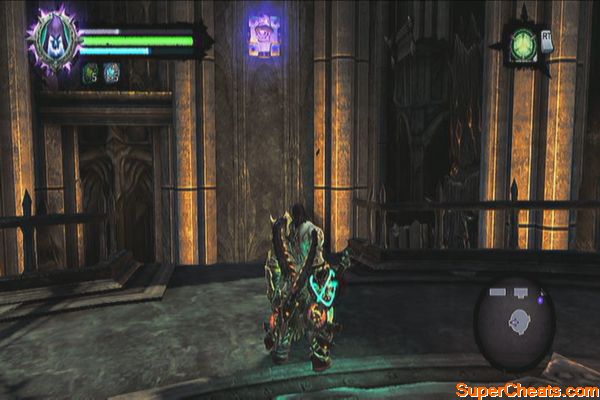
Continue following the corridor to the southwest to reach a damaged bridge. Don't cross it but rather turn around and activate the time portal instead. Go back to the past next. 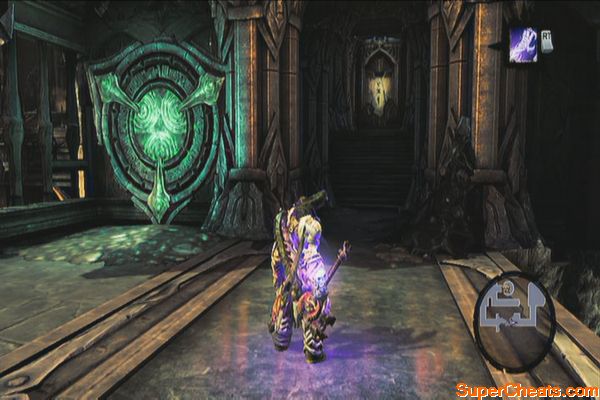
(Past)
Destroy all the objects here to reveal a hidden chest. Loot the other chest then travel back to the present. 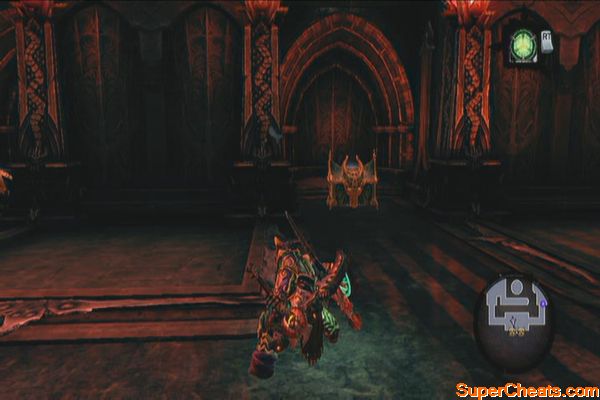
(Present)
Cross the bridge and continue downstairs. Check the platform to the southeast to find a Boatman Coin at the end. Check the northeast platform this time to find a Stone of Power above the wall to the north. Now backtrack a bit then return back in time using the time portal to the west. 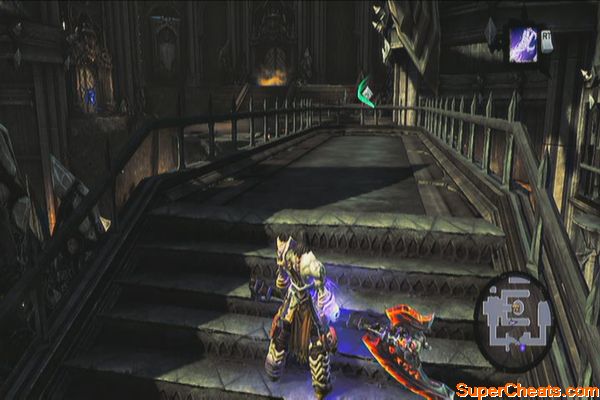
(Past)
Once there, you'll have to face a new kind of enemies called Maelstroms. They're this realm's version of Liches so use the same strategy against them.
Maelstrom
Once defeated, follow the stairs south to reach a Boatman Coin. Backtrack then take the south platform to find a Stone of Power lodged on the southern wall. 
Now head to the north and step on the pressure plate in the corner. Soul-split there and go through the opened gate to the northwest. Wall-run on two platforms until you reach a room with more enemies. Defeat them all then check the southeast corner to find a Relic of Etu-goth. Open the nearby warp portal as well. 

Switch souls then head east of the pressure plate. Stand by the broken railing then open the portal up north. Switch back again to the other soul. Pick up a shadow bomb from the nearby pod and destroy the small crystals surrounding it (this will allow you to access a collectable in the present). Grab one again then throw it through the portal so the other soul catches it.
Tip: If you're having difficulties making your other soul catch the bomb, lower your aim or adjust your distance. 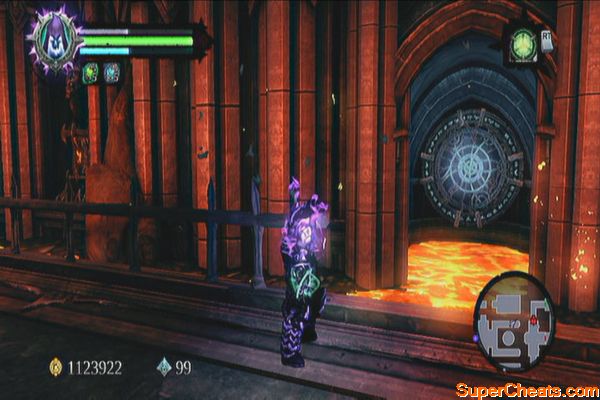
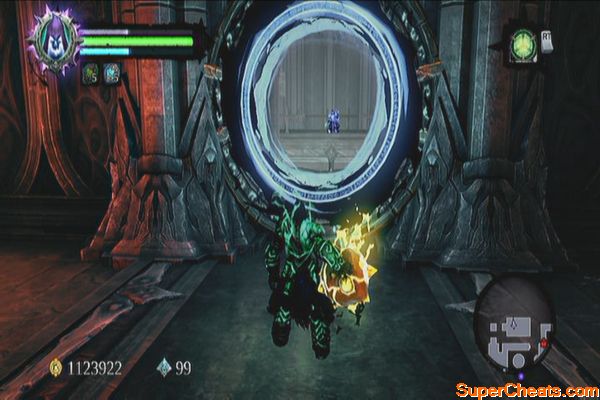
Switch to the other soul and go around so you have a clear view of the crystals on the platform. Throw the bomb at it to destroy it. Return to the present to loot the Skeleton Key from the platform. 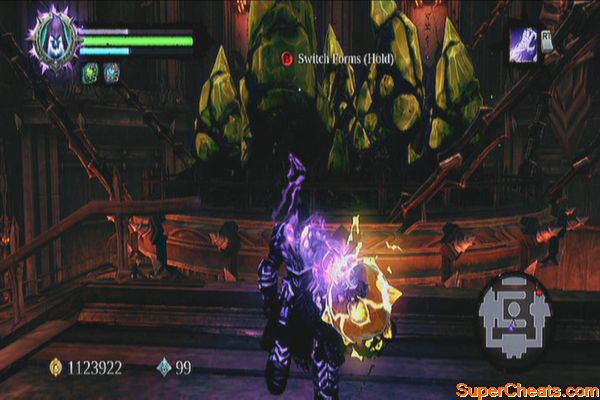
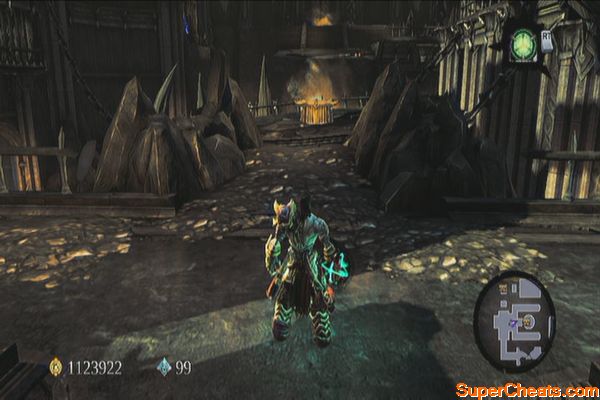
(Present)
Next, head north and open the portals in the upper room and in the lower alcove. Swing over to the opened portal using the deathgrip hoop then loot the chest to the west. Search the southwest corner again to find a Book of the Dead page. Examine the faint letters on the floor to find a Soul Arbiter's Scroll. After getting your loot and collectables, backtrack to the southern time portal and return to the past. 
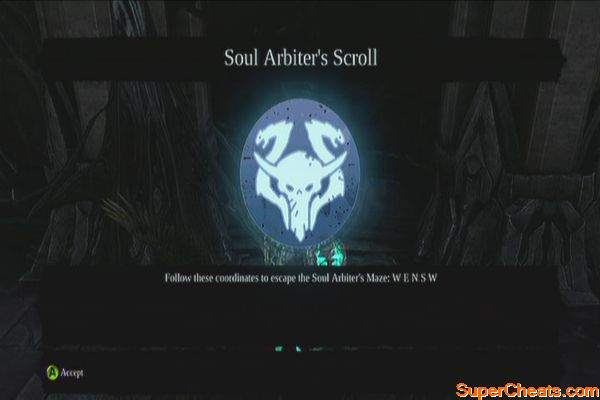
(Past)
Make your way to the locked door and defeat the demon ambush. Take them all out then open the locked door. Follow the hallway to reach the main hall. Pull the lever there and head north. Jump down to the lower ledge, defeat the Legion Soldier there then loot the chest. Use the nearby time portal to return to the present. 
(Present)
Head to the east and carefully stand in the corner until you see the portal to the right. It's near the edge so carefully move while in aim-mode until you get a clear shot at the portal. Head to the west and activate the portal and enter it. This should be enough to let you reach a Book of the Dead page. (If you've been exploring optional dungeons and locations, this should be your last) 
Tip: If you collected all book of the dead pages at this point, this should make up the Fourth and final chapter. Sell this to Vulgrim to get the last key and complete the quest. The last Death Tomb is in Shadow's Edge as well and you should have come across it after arriving. 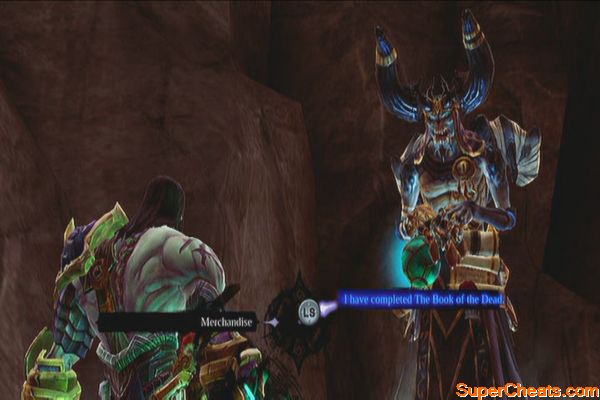
(Optional, with complete Book of the Dead chapters) Fast-travel travel to any location where Vulgrim is located and sell the last chapter to get the key. This should also complete his side quest. Now return to Shadow's Edge and open the last Death Tomb there. You'll find a Relic of Khagoth inside as well and the unique weapon, Spear of Storms. Get the Stone of Power on the ceiling as well. Finally, destroy all objects inside to reveal a secret chest that contains the Abyssal Plate. 
Head west then climb the northern wall. Climb the ledge and enter the western door. Here, you'll find the last Gnome. To get your reward, fast-travel to the nearest Tome and claim your reward to complete the quest. 
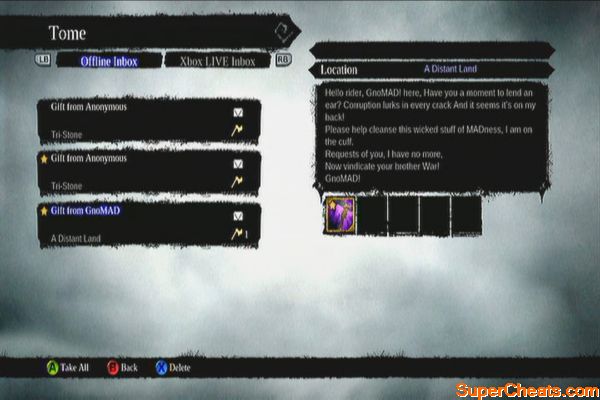
Should you opt to do this later, make your way scale the wooden pegs to the northwest to reach the central platform to the north. Prepare yourself then enter Samael's chamber. Return to the past by activating and entering the time portal to the north. 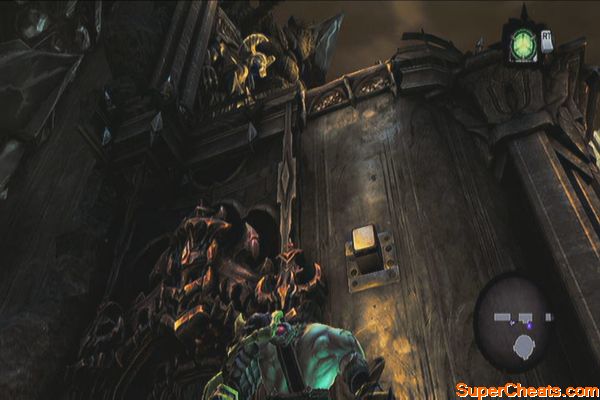
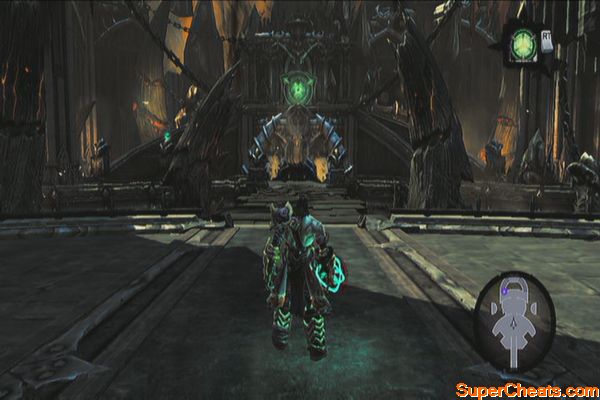
Boss: Samael
For the first phase of the battle, you just have to fight him normally and evading often. His attacks are solid and powerful so do your best preserving your health until later in the battle. After dealing significant damage, Samael retreats to his throne and lobs fireballs at you. Evade these and anticipate his stomp attack shortly. After retreating the third time to his throne, Samael will create a bridge for you to cross. Approach him and attack him to start the second phase of the battle.
During this phase, Samael's attack pattern will be different. Keep dealing damage to Samael and when he retreats to his throne, he will instead cause delayed explosions on the floor, dealing heavy and continuous fire damage to the Rider. Evade these then attack once you have the chance. Use your potions as necessary until he's defeated.
Samael
After defeating Samael, wait for a chest to appear and loot it. Return to the Crowfather to complete the quest. You can also talk to Ostegoth along the way and complete his quest, provided that you found all the relics at this point. 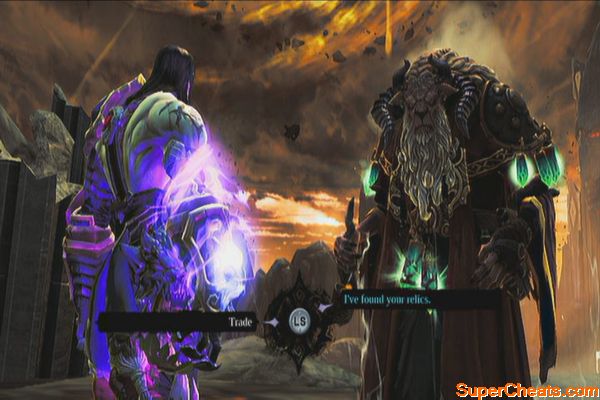
The next quest will not require you to conquer a dungeon before reaching the game's last boss. However, at this point, you can do a few more things and complete a few more remaining quests. Consult to Collectibles section of this guide for the locations of all collectibles in the game.
Soul Arbiter's Maze: You can clear this last optional area to gather the remaining collectables in the game, and clear the dungeon to complete the side quest The Chancellor's Quarry.
The Crucible III: You can now conquer more floors in the Crucible after receiving a new tarot card from defeating Samael.
Stonebites: You can collect all Stonebites now and return to Blackroot to get your reward.
Book of the Dead: This is the best time to search for and collect all pages. Sell the last chapter to Vulgrim to get your reward for quest completion.
Boss: Avatar of Chaos
For the first phase of the battle, just attack normally and evade the Avatar's slow yet powerful attacks. Keep damaging him until he's stunned. Press the action button when it appears.
For the second phase of the battle, the Avatar will grow in size and will have the ability to parry your attacks. When your attack is parried, quickly focus-evade to avoid his follow-up stomp attack. His sword slash will also cover a wider, longer range so be prepared for it as well. Continue dealing damage again until he's down on his feet.
For the battle's final phase, the boss can now summon carrion vines that will go in different directions. Evade these while evading his savage sword swings that cover a wider area. Use your skills to take him out and don't hesitate to use potions if necessary.
Avatar of Chaos
BFA (10G)
Unlock Everything
This is the last achievement you'll unlock, after unlocking the 49th achievement whatever it may be.
Full Potential 30 (G)
Unlock All Combat Moves & Upgrades
There are two trainers in the game: Thane in Tri-Stone and Draven in the Eternal Throne. In case you weren't able to purchase all skills from Thane, you'll be able to purchase them from Thane as well. Simply buy all the skills to unlock this achievement.

Pay It Forward (10 )
Gift An Item To A Friend
This achievement can only be unlocked online. You can do this from any Tome locations in the game. Choose any friend that has played/ is playing the game and send him/her any gift you want. You can also use your secondary / alternate Xbox accounts for this as well.
Feeding Time (20 )
Level Up Your 1st Possessed Weapon
Possessed weapons are very rare drops from enemies or loots from chests. You can level them up to five times by “feeding” or sacrificing various equipment to them. Apparently, scythes and high level equipment give the most experience. The possessed weapon can inherit some of the abilities of the sacrificed items so carefully look at the green properties of the weapon you're going to sacrifice; if it took several equipment, you'll only be able to select one of those properties to inherit or opt to upgrade an existing trait.
Epic! (10)
Death Reaches Level 30
This is the maximum level death can go. This can only be attained by playing in New Game .
Is There Anyone Else? (30)
Complete The Crucible
This is an optional arena where you can train and win some unique equipment as well. This place is available in your map however you can only access it by redeeming the Crucible Pass online that came along with the game. Consult the back of manual for this.
It's setup is similar to the Arbiter's Maze where you need to fight waves of enemies which get stronger as you progress. To access higher waves, you need to meet some requirements or milestones in the game. You'll be notified when you unlocked a milestone in the form of Tarot cards that will be sent to your mailbox. Access any Tome to retrieve this “access cards”.
The Fool
Wave 1-25
Defeat the Guardian
The Emperor
Wave 26-50
Defeat the Wailing Host
Strength
Wave 51-75
Defeat Samael
The Devil
Wave 76-100
Reach LV25
Death
Wave 101 (Wicked Killington)
Beat all waves in a single visit
The World
Defeat Wicked K.
Bravo Old Chap (20)
Defeat Wicked K
Wicked K appears as the final boss in the Crucible
Grim Reaping (30)
Unlock Reaper Form
This is unlocked automatically after reaching LV6.
The Secondary Adventure (50)
Complete all Secondary Quests
For the list of all Secondary or Side Quests, refer to the related section in the guide for more information.
A True Horseman (90)
Complete the game on APOCALYPTIC
The game's difficulty achievements stack so completing the game in Apocalyptic mode unlocks the lower difficulty setting. It is recommended that you complete the game in Normal Mode then start New Game , so you can also reach max level (LV30) that unlocks yet another achievement.
Four My Brother (90)
Complete the game on NORMAL
A Stroll In The Demonic Park (30)
Complete the game on any difficulty setting
All You Can Eat Buffet 30
Complete Sticks and Stones
See the side quest “Sticks and Stones”. There are a total of 69 stonebites to be found.
I've Brought You A Gift (30)
Defeat the Soul Arbiter
See the side quest “The Chancellor's Quarry”. This is the boss in the optional dungeon called the Soul Arbiter's Maze.
Antiquing ( 30 )
Complete Lost Relics
See the “Lost Relics” side quest. There are a total of 30 relics you must collect.
Like a Noss (30)
Defeat the four creatures named by Thane.
After defeating Thane and completing the sidequest “The Maker Warrior”, he'll ask you to defeat four major bosses.
1. Bheithir – Flying around in the fiery basement of The Nook. Deathgrip required.
2. Gorewood - Located in The Weeping Crag.
3. Achidna – She is fought alongside a main storyline boss. Cannot be missed.
4. Argul, the Deposed King - Located in the lowest level ofThe Lair of the Deposed King. Recommended level should be around 18.
Mass Ruckus (10)
Equip elite items to all slots
Elite items are those purple colored equipment. There are seven categories you need to fill in. Just keep at least one purple item for each category should you encounter one; otherwise, you have to purchase them from merchants, or trade some Boatman Coins for some Ornate Boxes to Vulgrim.
Diamond Geezertron (10)
Unlock the final skill in either skill tree
There are two skill trees with a “final skill” that will be available once you've reached LV20. Purchase one of either skill tree to get this achivement.
The Book of the Dead (10)
Complete The Book of the Dead
You'll encounter Vulgrim the first time around in his shop in the Weeping Crag. The are 40 pages scattered across the realm. Collecting 10 pages will automatically convert them into a chapter. Sell this chapter to Vulgrim to get a key that can be used to open Death Tombs. These tombs hold a lot of loot, some collectables and unique equipment. Refer to the Collectibles section to know the location of each page.
Gnomad (40)
Complete GnoMAD Gnomes
The “GnoMAD Gnomes” quest in the Side Quests section for more details. There are four secret gnomes that can be found in the game.
The Triple Lindy ( 10 )
Complete 3 different high dives in the Foundry
There are three highest points in The Foundry, in the area where the second Heart Stone is located. You just need to dive off from all of them to get the achievement.
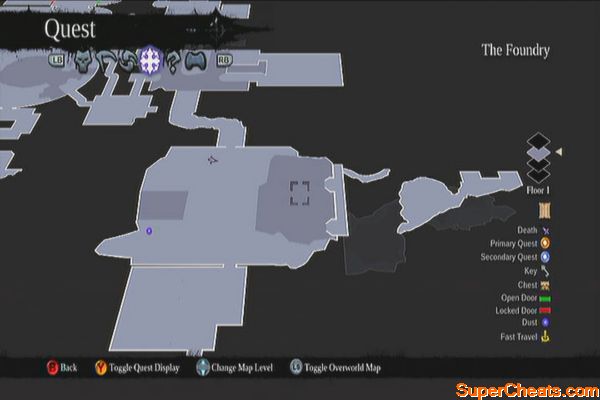
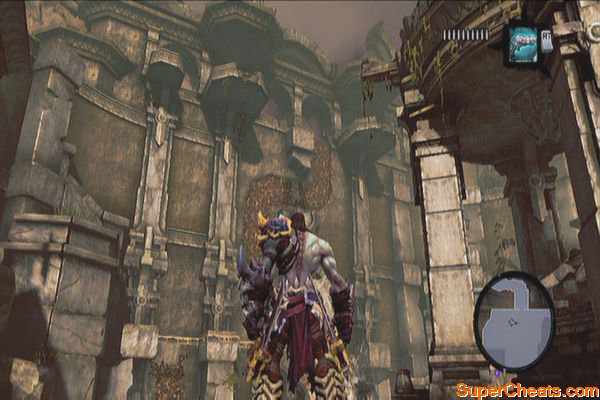
Triple Lindy
Pathfinder (10)
First use of Fast Travel
Simply fast-travel to unlock this achievement. To do this, pull up the map and toggle the overworld map. Select any main location there and press X.
The achievements below are story-related and therefore cannot be missed:
Lord of the Black Stone (10)
Complete Lord of the Black Stone
The Mad Queen (10)
Complete The Mad Queen
Stains of Heresy (10)
Complete Stains of Heresy
The Rod of Arafel (10)
Complete The Rod of Arafel
The Root Of Corruption (10)
Open The Well Of Souls
City of the Dead (10 )
Complete City of the Dead
The Court of Bones (10)
Defeat Basileus
The Toll of Kings (10)
Complete The Toll of Kings
The Lord of Bones (10)
Complete The Lord of Bones
Tree of Life (10)
Complete Tree of Life
Heart of the Mountain (10)
Complete Heart of the Mountain
To Move a Mountain (10)
Complete To Move a Mountain
Tears of the Mountain (10)
Complete Tears of the Mountain
Fire of the Mountain (10)
Complete Fire of the Mountain
By Your Command (10)
Collect the Interdiction Stone
The Lord of Bones will give you this temporary ability to find and summon his Dead Lords.
Death Will Tear Us Apart (10)
Collect the Soul Splitter
This is the replacement ability for Interdiction after completing the Court of Bones main quest.
Looks Familiar (10)
Collect Redemption
This gun will be given by Alya after completing the main quest “Fire of the Mountain”
Tearing Time A New One (10)
Collect the Phasewalker
This is acquired from Lilith as part of the main quest “The Mad Queen”
I Can Has Cake? (10)
Collect the Voidwalker
This is found in the Ivory Citadel during the main quest “Stains of Heresy”
The Spectral Touch (10)
Collect Deathgrip
This is acquired while you're exploring the Foundry. It is a required ability to complete the dungeon so this can't be missed.
The Big Boss (20)
Defeat Absalom
Soul Crushing (20)
Defeat The Wailing Host
It's Not Over ( 20 )
Defeat Samael
Clipped Wings (20)
Defeat Archon
Dust to Dust (20)
Defeat the Guardian
This is the final boss fight in the main quest “Heart of the Mountain”. Refer to the strategies below:
For the first part of the battle, you'll be riding Despair. Run around and wait for the guardian to smash its hammer down. Before it hits you, charge away to avoid getting damaged. Use this chance to manually aim with Redemption and shoot at the shadowbombs stuck on the Guardian's arm. The explosion will temporarily weaken the guardian and bring one of its heartstones within reach. Switch to Deathgrip and grab the heartstone to pull yourself towards it; attack it like crazy afterward.
Against the towering stone
Once that arm is severed, the Guardian will now shoot a large, homing spike ball. Shoot it with Redemption until its energy bar is down. Once it stops and floats in the air, quickly run towards the Guardian and lure the ball towards the Guardian's legs to weaken him. Look for the reachable heartstone then pull yourself towards it using deathgrip. Repeat the process until the Guardian is weakened. Watch the following scenes, and the mission will be completed after this battle.
Taking down the mountain
Crow Carrion (20)
Defeat the Crowfather
These can be traded to Vulgrim.
This sections lists the locations of all the Boatman coins in the game. We're it's not obvious we've added extra information.
1. Underwater, in the pool along the path after leaving the Forge for the first time.
2. Stonefather's Vale, west gate. 
3. Weeping Crag, underwater.
4. Southwest corner of Baneswood
5. Northeastern ruin of Baneswoood, inside one of the barrels/urns to the left of the stairs from the entrance.
6. Southeast trail of Baneswood, to the left of the chest by the cliff.
7. As you enter the Charred Pass, check the log to the east to find a boatman coin inside.
8. (Charred Pass) Dive inside the well to the west. You should find this behind the piping.
9. (Cauldron) Upon reaching a fiery chamber with broken floors, check the ramp to find this coin.
10. (Cauldron) Random destructible object in the stalker arena. Just destroy the items there until you get it.
11. (Cauldron) After unlocking the first purple locked door using the skeleton key, you'll find yourself in a small room with a blue ball you need to push to the hole. Once you can climb and reach the hand hold to the left wall, stay there then focus-jump. This will allow Death to leap backwards and reach the floating coin.
12. (Cauldron) After unlocking the second purple locked door using the second skeleton key, turn left immediately to find some destructible objects. Destroy them to find the hidden coin.
13. (Cauldron) Before leading the dungeon, you'll come across a staircase where the coin is floating in the middle. It is impossible to miss.
14. (Shadow Gorge) Found behind the fallen bridge near the Shattered Forge to the north.

15. (Shadow Gorge) Found in the ledge you'll climb after destroying the crystals, to open the gate.
16. (Shadow Gorge) After clearing the gate tower ambush, exit then look to the right.
17. (The Fjord) Near Blackroot's location. You need to perform a jump charge to reach it. 
18. (The Fjord) Underwater, near the pier ruins south.
19. (The Fjord) Follow the eastern trail and continue northeast until you reach a small keep. Check the small space to the right past the chest to find this coin.
20. (The Fjord) On your way to the southeastern trail, you'll find a cliff with black trees, just to the left of the ruins. There's a floating boatman coin near the edge of the cliff; jump down to collect it. 
21. Drenchfort: In the main basin/area, head west and look down. The coin should be on the lower ground.
22. Drenchfort: Go to the bottom of the basin and follow the tunnel south. You'll get the coin at the end.
23. Drenchfort: In the area where you need to place two blue balls in the holes (one is enclosed in a gate), you should find the coin floating above the arc of the gate.
24. Drenchfort: After getting ambushed by enemies, destroy the clutter to find the Boatman Coin in one of them.
25. Drenchfort: After opening the main watergate, you'll have to return to where you got the Skeleton Key to activate another lever. There's a boatman coin floating near the hand-holds. 
26. Shattered Forge: Dive in the water in the main area. The coin should be immediately visible there.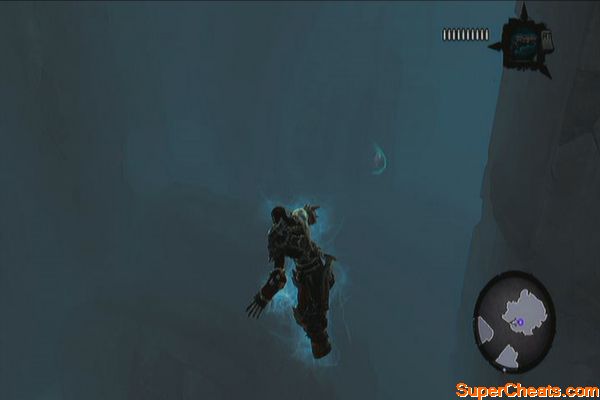
27. The Nook: In the area where there is a stinger hive, destroy the objects near the well to the northeast for a Boatman Coin
28. The Nook: In the submerged area, follow the stairwell underwater to find this. 
29. The Lost Temple: After defeating the Construct Sentinel, destroy all the objects around to find a boatman coin
30. The Lost Temple: Once you've reached the area with a sunken bridge, dive to the water to find this. 
31. The Lost Temple: After wall-running past a floorless corridor, turn around to find this. 

32. The Lost Temple: After performing a vertical climb and reaching a plaza, look for this coin behind the eastern tree. 
33. The Lost Temple: After defeating the Tainted Construct Champions in the large hall before the boss area, destroy all clutter in the area to find this coin. 
34. The Foundry: In the entrance, located in the southwest corner. 
35. The Foundry: This is found in the underwater cavern where a submerged custodian is located. It's found along the way so it's really hard to miss. 
36. The Foundry: In the large room with water, ignore Karm's offer to toss you for now; jump to the water and swim south a bit. Turn around and you should find a peg on the wall. Wall-run on it and follow the hand-hold around the corner then wall-run to a post and drop to the ledge. Follow the tunnel and you should be back in the same room where the out-of-reach Boatman Coin (36) is. 

37. The Foundry: After reaching the wide, open room with a Custodian is parked, destroy the objects in the northeast corner to find this. 
38. The Foundry: In the area where the second Heart Stone is located, dive past the lever to find a Boatman Coin near the tunnel. 
39. The Foundry: Found underwater to the east. 
40. The Nook: This is found in the fiery basement. Deathgrip is required to get this. 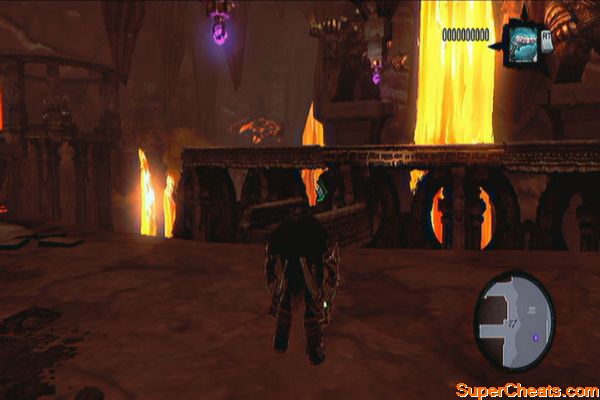
41. Baneswood: Head to the ruins in the middle of the map to the east. Climb up the northern half of the ruins then cross the wall in the middle using an extended wall-run with the help of the deathgrip. This will allow you to reach the other half of the ruins. Loot the chest and follow the ledge around to find a Boatman Coin. (40)

42. The Fjord: (Deathgrip required) Head to the Fjord and go the harbor ruins which you can't explore earlier. Check the eastern side of the ruins and you should find the deathgrip hoops there. Scale the wall to reach the balcony and defeat the prowlers. Peek over the edge to find a Boatman Coin
43. Lair of the Deposed King: After getting the Skeleton Key, perform a vertical wall-run to reach the Boatman Coin (43) overhead. Backtrack to the stairwell then enter the first door.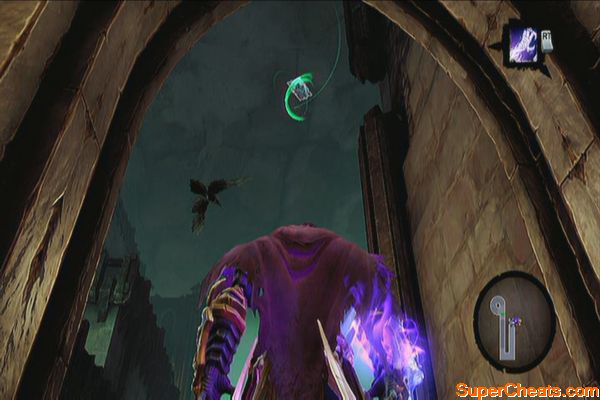
44. Lair of the Deposed King: After wall-running across the pit, destroy the boxes on the ledge to find this coin. 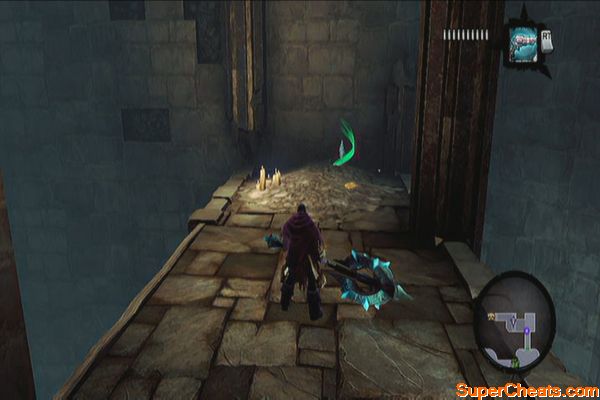
45-46. The Breach: After passing through the locked door, follow the path until you reach a cliff. Jump down and take out the skeletons then exit the door. Look immediately behind you to find a boatman coin (45). Continue to the next room and destroy all skeletons. Search the statue to the east to find yet another Boatman Coin (46). 

47. The Maw: From the southern exit of the Breach, cross the hanging bridge and turn to the east to find a Boatman Coin near the edge. 
48. The Maw: There's a unmarked ruin to the northwest portion of the map, past the bridge. Once there, destroy the boxes in the northwest corner to find this. 

49. The Maw: Before passing the arc leading to Serpent's Peak, get the Boatman Coin (49) by the southern edge.
50. Eternal Throne: Head to the cargo hold and destroy all boxes. 
51. Gilded Arena: You'll find this immediately after entering the lantern room, on top of the pile of rubble. Very hard to miss. 
52. Gilded Arena: While trying to get the second animus stone, you'll have to wall-run to the west to get this coin along the way. 
53. Gilded Arena: After getting the second animus stone and before leaving the area, you'll have to scale a high wall. Climb the ledge to the east and destroy the clutter to find a Boatman Coin on the other ledge. Reach it by wall-running on the eastern wall. 
54. The Maw: On the way to the Phariseer's tomb and after crossing the bridge south, you'll find two ruins; The Sentinel's Gaze to the east and an unnamed tower to the west. Enter that tower. Turn to the right and go downstairs north then turn to the right again to find a Boatman Coin. 

55. Sentinel's Gaze: Outside the entrance, left side of the stairs behind a large thorn. 
56. Sentinel's Gaze: Found in the main area's northeast corner. 
57. Phariseer's Tomb: Head for the lift and strike the crystal to activate it. Upon reaching the bottom floor, go downstairs and look to the left to find a Boatman Coin. 

58. Phariseer's Tomb: After the elevator is sabotaged by the Phariseer and reaching the lowest floor, go to the left and use the hand-holds then back-leap to get the Boatman Coin. 
59. Phariseer's Tomb: After defeating the undead general and some wraiths in a room full of pillars, go to the southeast corner to find a Boatman Coin.
60. The Maw: This is found inside the large gate south of the Phariseer's Tomb. Once the iron grates are removed, head south first the climb the wall. Turn around to find a Boatman Coin. 
61. The Spine: Check the rock cluster northwest of the Judicator's Tomb. 

62. The Spine: Found in the high ledge on the unnamed ruins to the east of the Judicator's Tomb. 
63. Judicator's Tomb: After defeating the Tormentor, destroy the crates to the northeast to find a Boatman Coin.
64. Judicator's Tomb: In the same room of the second soul, dive underwater to find this. 
65. Judicator's Tomb: After blasting the crystal blocking the elevator, you'll find yourself in the next room with a pool and broken stairs. Dive underwater to find this. This path leads to the third soul where you need to fight the Bone Giant. 
66. Boneriven: Past the third gate, in the nook to the north. 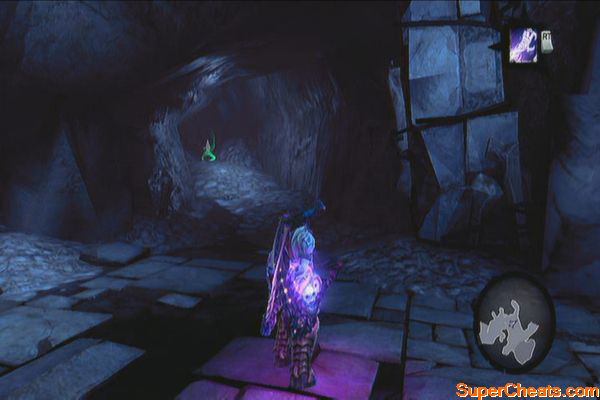
67. Boneriven: On the way to the fourth gate, found along the narrow passageway. Check the last nook. 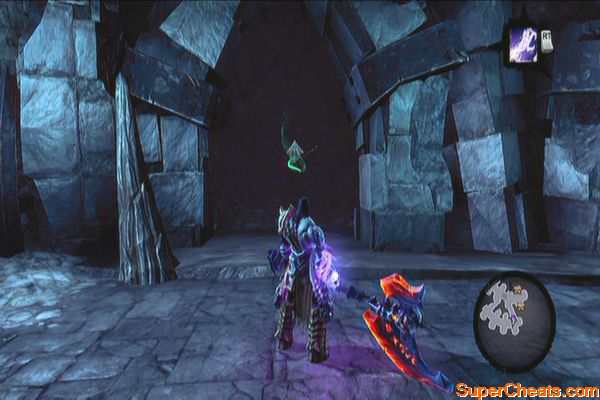
68. City of the Dead: In the rotating bridge, after using one soul to pull the lever, switch to the other soul to collect this coin to the northeast. 
69. City of the Dead: In the bridge where you need to use a bomb to activate the push-switch, find a vine-covered wall and follow it to reach the boatman coin. 
70. City of the Dead: When you reach the balcony with a single pressure plate, soul split away from the pressure plate and have one soul step on the pressure plate to reveal some hand-holds and hoop. Scale the wall to reach the switch. Push it to unbar the other door. Now climb back to the post then wall-run to the left once. Stay there and switch to your other soul. Step off the pressure plate for that hand-hold to flip. Switch again to your other soul to get inside the secret chamber. Once inside, destroy the crates to the northwest to find a Boatman Coin. This chamber is where you'll find the first GnoMAD Gnome as well. 

71. City of the Dead: After getting the Skeleton Key, swing using the deathgrip hoops to reach the chest on the eastern side. Now swing all the way back to get a floating Boatman Coin. In case you didn't catch it, just aim and pull it using your deathgrip. 


72. Lostlight: Situated on top of the Death Tomb's entrance.
73. Lostlight: After talking to Nathaniel for the first time, you'll find this behind him. 
74. Lostlight: On your way to the top of the Crystal spire, you'll find this in the trench near the shadowbomb pod. 
75. The Scar: Found in the Scar's entrance. 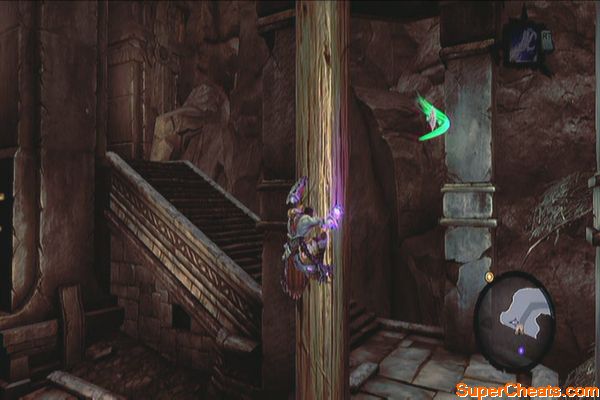
76. The Scar: Floating past the ledge containing the Skeleton Key chest. 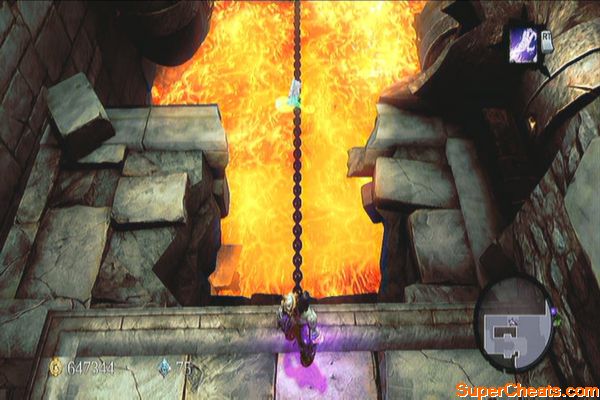
77. Earth: Behind a truck in the northwest corner. 
78. Earth: In the starting area, head south to find it beside a room containing a chest. 
79-80. Inside the third Death Tomb 


81. Earth: Southwest corner, behind some cars
82. Earth: Found along the way in the sewer tunnel leading to the Eye of Arafel. 
83. Earth: After getting the Eye of Arafel and meeting up with Uriel, look around the northwest corner of the opened gate to find this. 
84. Earth: Move on and continue destroying the enemies along the way. Check the small room to the west along the way to get the Boatman Coin. 

85. Earth: Inside the hotel ruins, before reaching the last trapped hellguard. 
86. Ivory Citadel: Found to the eastern nook along the main path leading to the citadel's main area. 
87-88. Ivory Citadel: Northern island, behind a broken wall. Wall-run to the next island and check the west corner to find the other one. 

89. Ivory Citadel: Behind a small tree near the portal, near the tower

90. Ivory Citadel: Found along the way before reaching the stairs of the tower.

91. Ivory Citadel: After cleansing the second tower, you'll have to make your way to the next straightforward path. You'll eventually plunge to a very small pool on the corridor leading outside. Turn around after plunging to find this coin. 
92. Ivory Citadel: This is found behind the webbings in the second ledge, as you activate portals and perform wall-runs to reach the next area. 

93. Ivory Citadel: After reaching the underground cavern, jump to the pool to find this. 
94. Weeping Crag: Found in the secret treasure trove accessible only by using the Voidwalker. 
95. Black Stone: After entering, look behind the cluster of corruption crystals to the west. 
96. Black Stone (past): After going back to the past using the Phasewalker for the first time, check the pillar to the right to find a Boatman Coin. 
97. Black Stone (past) : Found in the secret chamber in the second floor. Follow the instructions below, after defeating the Legion Champions for the first time:
Head to the southeast door after the battle. In the next hallway, loot the chest to the left, then continue downstairs. Wall-run to the first platform and then wall-run again and bounce on the walls until you reach the hand-hold at the end. Climb up and ignore the chest in the middle for now. Continue along the corridor and defeat two enemies inside. Walk until you find a pit with a deathgrip hoop. Use it to reach a hand-hold above. However, don't climb up yet but drop down instead. 

You'll grab a hidden hand-hold below. Shimmy to the right and enter the corridor. When you see the deathgrip hoop at the end, don't use it; instead look up to your right to find another hidden deathgrip hoop. Use it and perform a vertical wall-climb to reach a secret chamber containing a Boatman Coin, a Stone of Resistance on the ceiling to the south and a unique weapon called Demonflame Renders. 


98. Black Stone (present): In the southeast platform beside the cluster of corruption crystals in the middle. 
99. Black Stone (past): After defeating the maelstroms for the first time, follow the stairs south to find this. 
100. Soul Arbiter's Maze: Destroy the objects to the southwest to find the last coin. 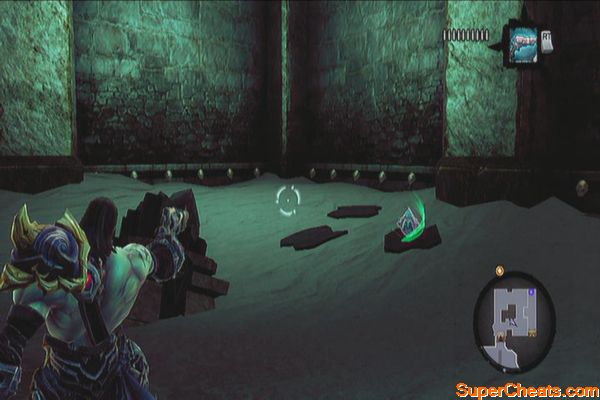
Collect ten pages to form a chapter, which can be sold to Vulgrim for a reward.
Page 1: Northernmost part of the Stonefather's Vale 
Page 2: Baneswood, behind the maker statue in the middle-east portion of the map. 
Page 3: Cauldron, near the second blue ball needed to unlock the gates holding the second skeleton key. 
Page 4: Cauldron, after defeating the boss you'll come across a balcony with a large turning lever. Destroy the objects in the northwest corner to find this page. 
Page 5: Drenchfort: Head to the right (west) then drop down the hand-hold. Wall-run and move to the far-right until you reach a ledge containing the page. 
Page 6: Drenchfort: Shortly after getting ambushed, you'll be in the aqueduts. Continue north past the aqueducts. Use the hand-holds to the left to reach the northermost portion were a Book of the Dead page is hiding. 
Page 7: The Lost Temple: Found in the floor where you need to operate two custodians to unlock the narrow corridor. 

Page 8: The Lost Temple: In the area where you need to scale the wall to find a required ball to unbar the door below. Cross the wooden beams to find a Book of the Dead page (8) to the left. 
Page 9: The Foundry: After getting the Deathgrip for the first time, access the lower deathgrip and follow the tunnel and scale the wall to reach it in the upper ledge.

Page 10: Weeping Crag: After opening the locked door proceed to the narrow, submerged corridor. You can wall-run, bouncing from wall to wall to reach the page at the end. 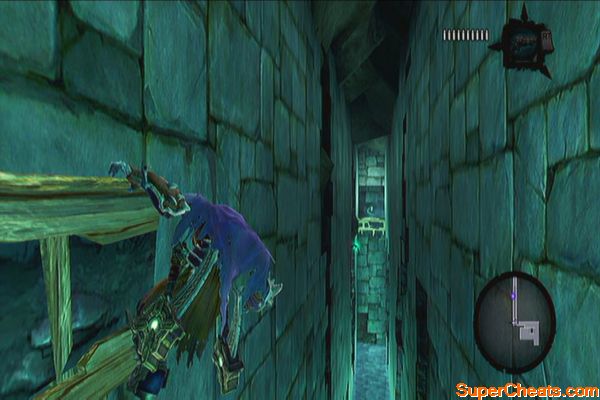
11. The Nook: Go to the courtyard. Find the scalable wall with a deathgrip hoop in the southwest corner of the courtyard. Blow up the crystal to reveal a Book of the Dead page (11). 
12. Shattered Forge: After defeating the Construct Sentinel and its minions, destroy the urns in the corner to find a Book of the Dead page. 
13. Gilded Arena: After exiting the Eternal Throne, you'll find Ostegoth. The page is nearby. 
14. Gilded Arena: While working on to get the second Animus Stone, you'll find a lantern statue past the pit that you need to wall-run to get across. Turn it to the west to raise the drawbridge and for you to access a Book of the Dead page.
15. Phariseer's Tomb: Once you found the lift, check the room to the east and search the statue on the far eastern side to find this page. 
16. Phariseer's Tomb: After the Phariseer sabotages the lift and you hit the bottom floor, head to the east and climb the wall to find it.

17. The Spine: In the bridge heading towards the City of the Dead, find this page in the easternmost corner of the bridge intersection. 
18. Judicator's Tomb: After defeating the tormentor, enter the room to the north. Prepare your deathgrip then wall-run. As soon as you cross the wooden peg, use the deathgrip to grab the Phariseer and pull yourself towards him. Enter the narrow corridor behind then turn to the left to find a Book of the Dead. 

19. Judicator's Tomb: Located in one of the ledges in the same chamber as the second soul. 

20. Judicator's Tomb: After blasting the crystal blocking the elevator, you'll find yourself in the next room with a pool and broken stairs. Make your way to the upper ledge to find this.This path leads to the third soul where you need to fight the Bone Giant. 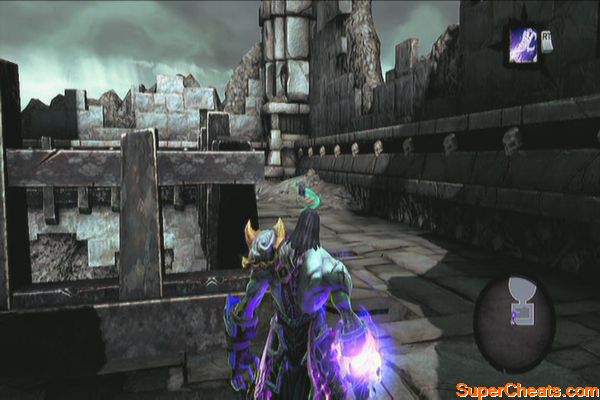
21. Fjord, Eastern Keep: Move your physical body in the central platform, soul split then move the two souls on the pressure plates to raise the platform. Quickly deactivate soul split to return to your physical form then quickly jump off the platform to reach the upper ledge.
Step on the pressure plate to the right, then soul split. Have one soul climb the hand-holds to the northwest corner and step on the other pressure plate. Switch to the other soul to collect the Book of the Dead. 


22. City of the Dead: In the room where you need to fight a couple of skeletal champions and an undead general, the page is located to the southeast.
23. City of the Dead: While reaching for the lever to activate the rotating bridge, find this page in the southeast corner of the balcony. 

24. City of the Dead: After getting the lantern, return to the main hall and check the northeastern alcove to find the lantern. Pull it towards you then make your way back to the lantern statue to the west. When you reach the pit, put the lantern down, wall-run then grab it again using your deathgrip. Place the lantern to statue and rotate it south to open it. Get the Book of the Dead page inside. 


25. City of the Dead: After getting the skeleton key, exit the hall and jump down to the lower level. Head east then use the wooden pegs to climb up the wall and reach the locked door. Enter the door then immediately destroy the crates there to get a Book of the Dead page. 

26. Lostlight: Found in the small ruins before crossing the bridge. 
27. The Scar: In the chest where the skeleton key is located, look around to find a hand-hold to the west. Follow the hand-hold until you find a Book of the Dead page. Now backtrack jump off to grab the Boatman Coin and land back on the chain. 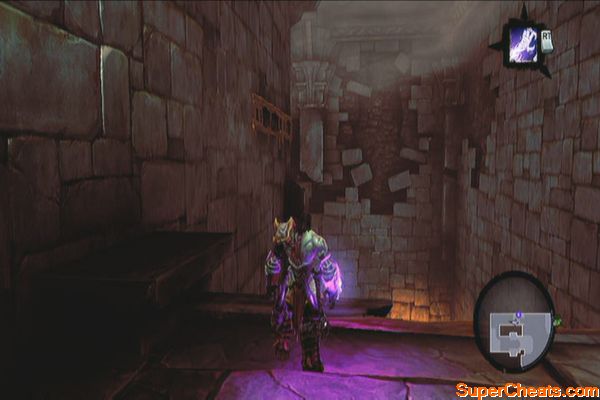
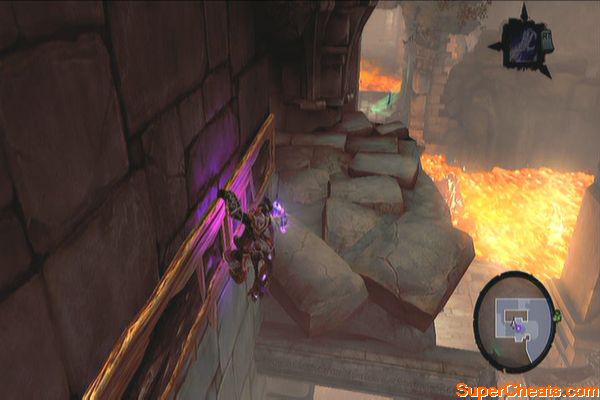
28. Earth: Past the first trapped hellguard is a parking lot. Continue to the northwest and before entering the tunnel, look to the southwest to find this page. 
29. Earth: After getting the Staff of Arafel, follow the stairs and you'll find it along the way. 
30. Earth: After Uriel opens the gate (and getting the previous page), follow the path until you reach a tunnel. The page should be beside the iron grate. 
31. Earth: After going through the building across the chest containing the Dungeon Map, you should reach the next street. Enter the nearby building to find this page. This is right before you jump down the broken street to face the Noss. 
32. Earth: After getting the Eye of Arafel and meeting up with Uriel, look to the south to find this. 
33. Ivory Citadel: After defeating the Corrupted Champions and some angels, continue to the north then turn west to reach the western tower. From there, check around to the left to find a Book of the Dead page there. 
34. Ivory Citadel: When you reach the circular, walled area for the first time, go past the fire orb and portal for the meantime and head west, to the dead end. You should find a Book of the Dead page there. 
35. The Fjord, Vulgrim's Ruins: This is found behind the small cluster of corruption crystals on the second floor. 
36. Shadow's Edge, Central Keep – You have to go through this small keep on your way to the Black Stone. Take the western path and follow it until you see the exit. Before heading out, climb the wall to right to find a Book of the Dead page.
37. Black Stone: After receiving the Phasewalker, don't leave the area yet. Check the stairs to the east to find this page. 
38. Black Stone (past): After climbing up the vertical shaft and reaching the upper ledge, you'll find a Book of the Dead page to the right. 
39. Black Stone (present): After getting the skeleton key, head north and open the portals in the upper room and in the lower alcove. Swing over to the opened portal using the deathgrip hoop then loot the chest to the west. Search the southwest corner again to find a Book of the Dead page. 

40. Black Stone (present): Before climbing the platform leading to Samael's chamber, head to the east where you teleported from and carefully stand in the corner until you see the portal to the right. It's near the edge so carefully move while in aim-mode until you get a clear shot at the portal. Head to the west and activate the portal and enter it. 


You'll have to find these stones for the quest Sticks and Stones which is given by Blackroot in the Fjord. You can collect stonebites by shooting at them using Redemption. There are three different stonebites:
Mystic Stonebites (34)
1. (Fjord) First one is right after talking to Blackroot. Look up and you'll find the Mystic Stonebite there.
2. (Fjord) Found along the narrow passageway leading to Drenchfort. 
3. (Drenchfort) Found hanging above the southern doorway.
4. Tri-Stone: Furnace's south side. 
5. The Nook: In the elevator room, eastern corner. 
6. Lost Temple: After getting the custodian, return to the main hall where you defeated the construct sentinel and destroy the group of crystals to the south. Approach the hole where the construct must stand on but dismount first and collect the Stone of Mystics below.
7. Weeping Crag: Fast-travel there and go past the bridge. Look up to find this stonebite. 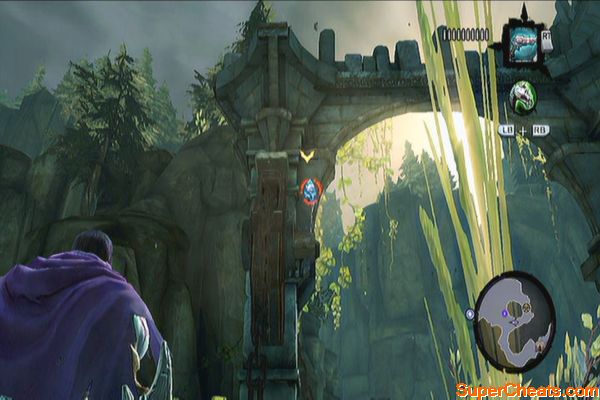
8. Stonefather's Vale: Head to the deadend where you got the Book of the Dead page. The stone should be latched on the stone wall to the south. 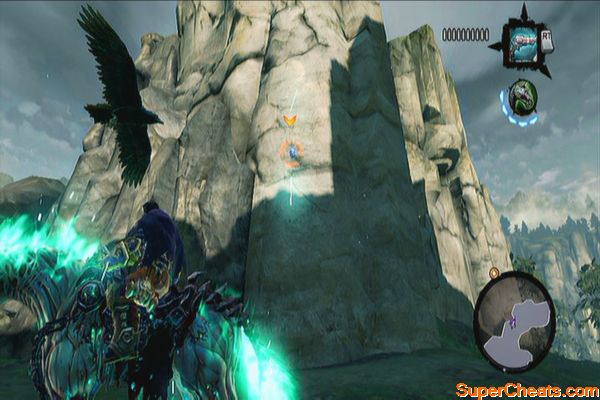
9. Baneswood, northwest ruin: Scale the wall to reach a ledge that previously contains a chest. The stonebite should be attached on the ceiling. 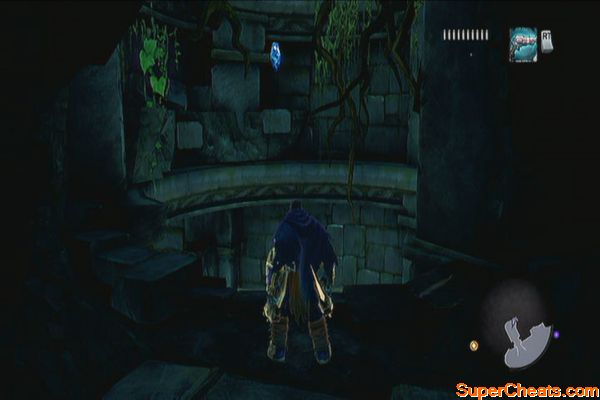
10. Baneswood, on a cliff with some stone pillars, to the middle-north. 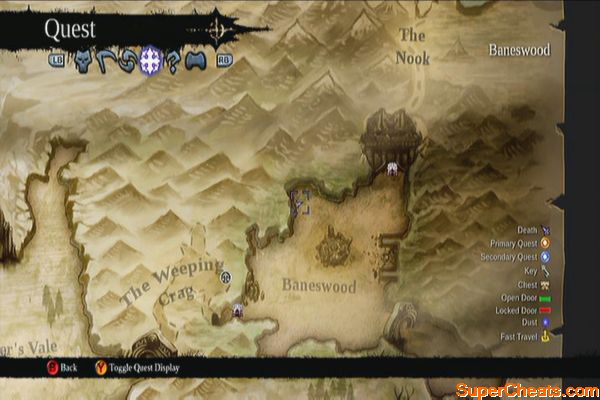
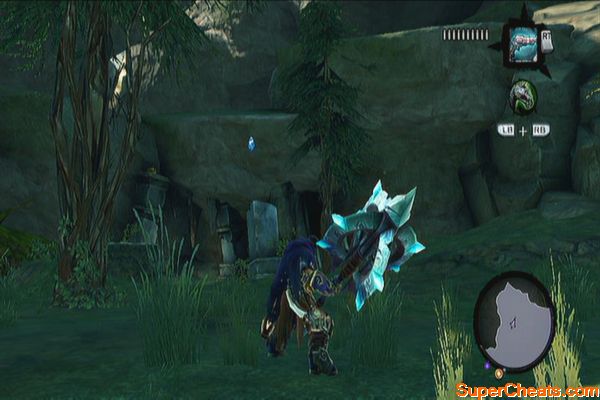
11. Baneswood Trail: Attached in one of the stone pillars in the round ruins. 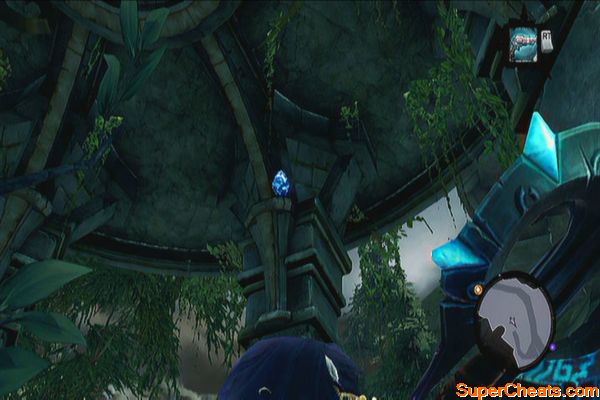
12. Baneswood Trail: Inside the ruins with a sitting statue, look up in the northeast corner. 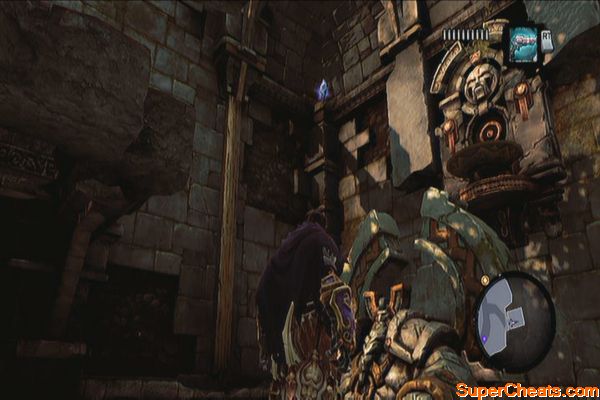
13. Charred Pass: Latched in a jagged stone overhead, in the entrance of the trail leading to the Scar. 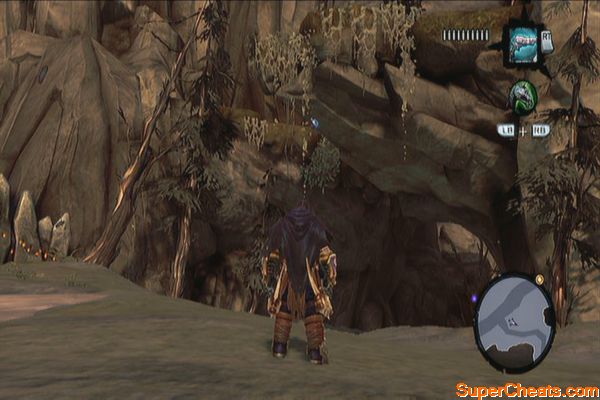
14. Charred Pass, southwest ruins: Inside the ruins, there's an opening on the wall to the west. Enter it to find the stonebite above. 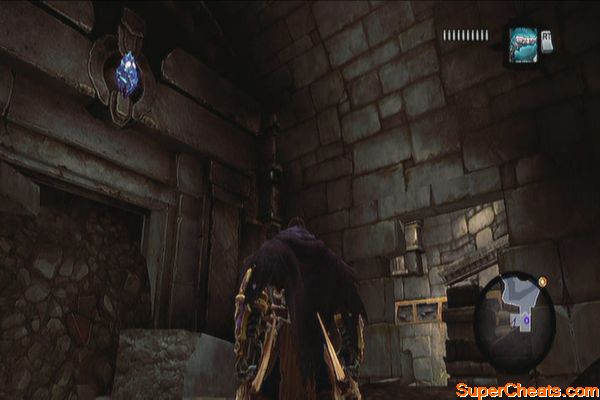
15. Shadow Gorge, Shattered Forge entrance: You should find this on the wall to the right of the Shattered Forge's entrance.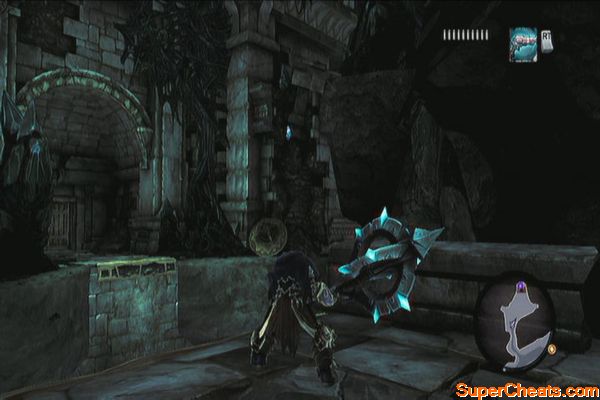
16. Serpent's Peak: Find the path leading to Vulgrim's glyph and look at the ceiling. 
17. Gilded Arena: After entering the Gilded Arena from the Eternal Throne's exit, you should find this stuck on a statue along the hallway. 
18. Gilded Arena: When attempting to find the first Animus stone, you'll come across a chamber with lots of undead. Look at the ceiling to find this stonebite lodged there.

19. Gilded Arena: In the cavern where the first animus stone is found, look for the stonebite stuck on a hanging cage to the west. 
20. The Maw: Head to the southern gate from the Phariseer's tomb to find this stone on the wall. 
21. Phariseer's Tomb: On the wall of the lift.
22. Judicator's Tomb: Look up in the ceiling of the chamber where you fought the bone giant. 
23. Psychameron: After going through the door leading to the last chamber where Basileus and Achidna are waiting, turn around to find to find this stone above the doorway, before crossing the hanging bridge. 
24. Boneriven: Once you reached a fork in the road, take the lower trail first then loot the chest to the east. Take the left trail and continue past the cavern and to the next trail. Fight more enemies and you should find a Stone of Mystics in one of the pillars. 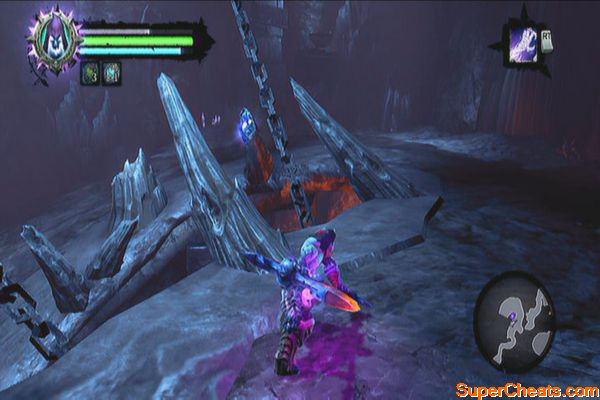
25. Lostlight: Above the dragon head statue in the Death Tomb 
26. Lostlight: Head southeast of the Crystal Spire to find this on a statue. 
27. Lostlight: Head southwest of the Crystal Spire to find this on a statue. 
28. Earth: In the initial area, look for this on the building wall to the north. 
29. Earth: In the room where you'll get the Staff, look up the ceiling in front of the large demonic growth on the western wall. 
30. Earth: On your way to get the second part of the Rod of Arafel, you'll come across a bridge where a Suffering with attack you. Look at the building to the west to find this stone. 
31. Earth: When crossing the long bridge, you'll find a broken part. Look down at the support beam to find it. 
32. Ivory Citadel: After going through a tunnel the first time and climbing up, turn around then wall-run to reach the other ledge that contains a chest and this stonebite. 
33. Ivory Citadel: On your way to the eastern tower, you'll find this on top of stair's archway. 
34. Soul Arbiter's Maze: After clearing the 7th floor, head to the portal leading to the 8th floor. The stonebite is found behind it.
Power Stonebites (25)
1. Fjord: Inside the small keep to the northeastern most trail of the Fjord. It is located above the entranceway.
2. Lost Temple: In the area where you need to climb up a wall to dislodge a ball, the Stone should be perched in the corner of the broken ceiling. You'll also find a Book of the Dead page by jumping on the wooden beams.
3. Charred Pass: Dive in the well and swim to a small cave where a chest is located earlier. The stone is latched on the wall. 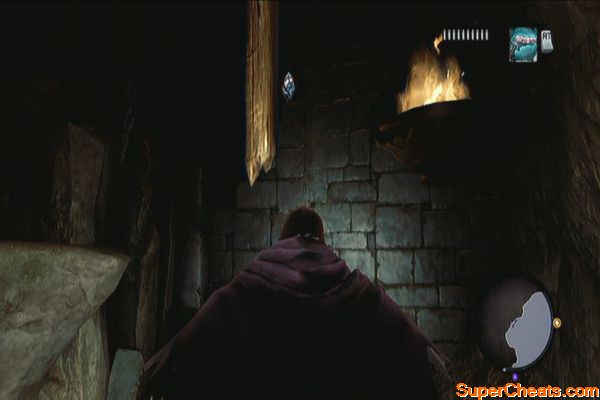
4. Weeping Crag: In Gorewood's chamber, look up to the southeast to find it large on a rock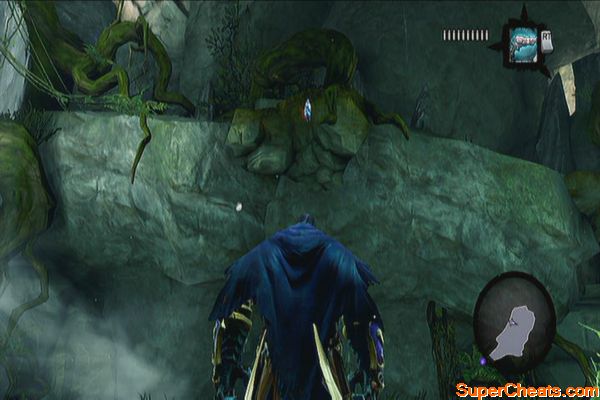
5. Lair of the Deposed King: Go to the bottom of the stairwell to find the Death Tomb. The stonebite is lodged on the dragon relief's forehead. 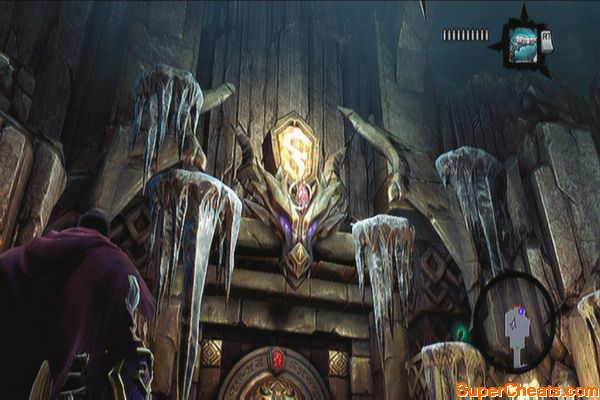
6. The Maw, northwestern ruin: Enter the ruin and look overhead to the southwest corner to find a Stone of Power.

7. Gilded Arena: After getting the animus stone, backtrack to the statue where you placed the lantern earlier then take the east hallway. Exit through the door and walk a bit to find a nook. Shoot the Stone of Power held by a skeleton on the ceiling.
8. Phariseer's Tomb: After wall-running and shimmying around the lift chamber, you'll find a room with a statue in the middle. The stone is located on the hilt of the sword the statue has. 
9. The Maw: Head to the southern gate from the Phariseer's tomb and exit it. Before leaving the gate, scale the wall using the wooden pegs to reach a chest and this stonebite.
10. The Spine: In the interior of the eastern ruins from the Judicator's Tomb. 
11. Judicator's Tomb: After reaching the main area with hanging cages, look up to find it attached to one of the cages there. 
12. Sentinel's Gaze: At the back of the statue on the topmost level. You'll need the Soul-splitter ability to clear the crystal and reach it. 
13. City of the Dead: Once you've reached the L-shaped rotating bridge and after activating the push-switch, follow the corridor behind it to find a dead-end room with a chest and the stonebite. 
14. Lostlight: In the Crystal Spire, use the elevator to reach the upper floor. Find a statue to the north that has this stonebite above its head. 
15. The Scar: In the dungeon entrance, on the overhead pipe. You have to aim from the dungeon entrance to get a good view at it. 
16. Earth: Once you've reached a car tunnel, check the alcove that has a chest. The stonebite is located above it. 
17. Earth: In the ruined hotel room, look around to the NW when you reach a wide room with a slope. It's the same room where you'll find the Fists of Elhazar. 
18. Ivory Citadel: After reaching the upper balcony of the main hall, shoot it from the statue's chest. 
19. Ivory Citadel: After reaching the second crank, look to the southwest to find a Stone of Power lodged above the rocks.
20. Black Stone (past): After activating the lever from the east, look to the northwest and shoot the Stone of power at the belly of the six-handed statue.
21. Black Stone (present): In the large area where the central platform containing a large group of corruption crystals (with the skeleton key chest inside), shoot this stonebite on the northern wall. 
22. Black Stone (past): After defeating the Maelstroms, head to the south platform to find a Stone of Power lodged on the southern wall. 
23. Death Tomb 4: On the ceiling
24. Soul Arbiter's Maze: Found in the western wall of the initial area with the deathgrip hoops. 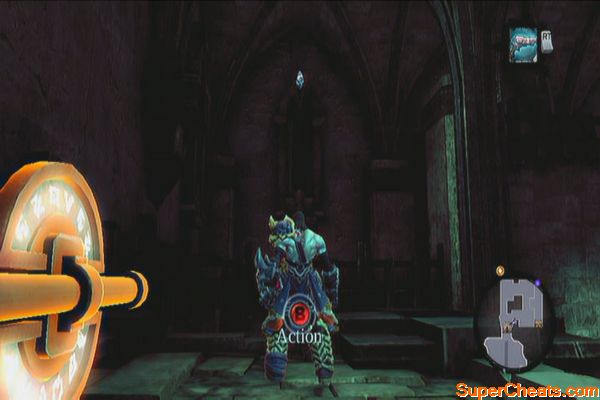
Resistance Stonebites (10)
1. The Foundry: As soon as you enter, stand still first and look at the passing cauldrons. Wait until a stonebite appears in one of the cauldrons and shoot it to collect the Stone of Resistance (1). In case you missed it, you can just wait until the cauldrons recycle and pass by again. Jump to the shallow waters to the east to loot a chest.
2: Eternal Throne: In the cargo hold. 
3. The Breach: On the rooftop, past the lantern statue. You have to activate the other statue in the other tower. (Refer to the main walkthrough “Phariseer”, and the Maw under the same chapter)
4. Leviathan's Gorge: Navigate the area under the bridge until you reach the last ledge where you'll need to use Soul-splitter to loot the chests. The stone is found there.
5. City of the Dead: After exiting to the rooftop and getting ambushed by undead stalkers and prowlers, find the stone on the northern tower. 
6. Earth: After defeating the Noss for the first time, get this stone bite on the wall of the northern building. 
7. Ivory Citadel: After unlocking the door in the west tower, look up to the right after entering to find this stonebite. 
8. Ivory Citadel: This is found along the enclosed chest where you need to activate a portal to access to. This is right before the Scribe's chamber. 
9. The Fjord: Inside the shadowbomb pod room in Vulgrim's ruins.
10. The Black Stone: Found in the secret chamber in the second floor. Follow the instructions below, after defeating the Legion Champions for the first time:
Head to the southeast door after the battle. In the next hallway, loot the chest to the left, then continue downstairs. Wall-run to the first platform and then wall-run again and bounce on the walls until you reach the hand-hold at the end. Climb up and ignore the chest in the middle for now. Continue along the corridor and defeat two enemies inside. Walk until you find a pit with a deathgrip hoop. Use it to reach a hand-hold above. However, don't climb up yet but drop down instead. 

You'll grab a hidden hand-hold below. Shimmy to the right and enter the corridor. When you see the deathgrip hoop at the end, don't use it; instead look up to your right to find another hidden deathgrip hoop. Use it and perform a vertical wall-climb to reach a secret chamber containing a Boatman Coin, a Stone of Resistance on the ceiling to the south and a unique weapon called Demonflame Renders. 


1. Leviathan's Gorge: After reaching Leviathan's Gorge for the first time, head to the east to find this relic in the end. 
2. Lair of the Deposed King: In the passage past the first door, drop off the broken stairs and look behind to find this relic
3. Gilded Arena: After raising the long bridge, you'll have to continue and jump down a spiral staircase. Before entering the door there, go back upstairs a bit to find this relic. 
4. Eternal Throne: Found behind the King's throne
5. Sentinel's Gaze: Behind a torch in the same platform where the shadowbomb pod is located. 
6. Phariseer's Tomb: After defeating the undead general and some wraiths in a room full of pillars, destroy the crates to the northwest to find this. 
7. The Spine: From the entrance of the Soul Arbiter's Maze, look south in the edge of the eastern cliff 
8. Judicator's Tomb: In the room where you need to wall-run around and pull yourself towards the Phariseer to get across, continue up to the upper level to find a lever. Pull it to reveal a deathgrip hoop in an enclosed corridor. Backtrack and you should see some hand-holds on the wall to the left. Climb up and go around the corner to reach the inner corridor. 


9. Psychameron: After crossing the bridge leading to the chamber where Basileus and Achidna are waiting, turn southwest to find this relic.

10. City of the Dead: In the L-shaped rotating bridge, you'll find this behind the lever that's used to operate the bridge. 


11. Lostlight: Behind a bush near Vulgrim's location
12. Earth: In the hotel ruins, find this across the first chest in the area. 
13. Ivory Citadel: After clearing the western tower, follow the aqueduct to the north. Drop down and find this relic under the falls. 
14. Ivory Citadel: After entering the main room leading to the Scribe's chamber, find this behind the statue on the ground floor. 
15. Black Stone: (Past) In the room with the shadowbomb pod and portal, check the southeast corner to find this.

1. Gilded Arena: Head to the southeast corner to find a hand-hold. After reaching the second floor, turn to the right to the south to find another hand-hold. Climb on it then run to the north to climb another ledge. Use deathgrip to cross the gap, then wall-run to reach a Relic of Renagoth.


2. Leviathan's Gorge: After receiving the Interdiction ability, exit the Eternal Throne on foot (don't fast-travel) and follow the stairwell to the bottom. There will be a massive door there leading outside. 
3. The Spine: Located at the edge of the cliff, south of the eastern ruins.
4. Psychameron: After getting the skeleton key and climbing out of the shaft, look up to find a deathgrip hoop on the wall. Use it to go up and reach a Relic of Renagoth. 

5. City of the Dead: In the main area, head north to the locked door. There should be a Relic of Renagoth on the eastern vent.

6. Lostlight: In the Crystal Spire's vicinity, ride to the southeast to reach a dead-end. The relic is located there. 
7. Earth: Before or after getting the Staff of Arafel, check behind the red crystals to the northwest to find this relic. 
8. Earth: After getting the Dungeon Map, go around the street to the northwest to find this relic.
9. Ivory Citadel: After clearing the eastern tower, follow the aqueduct and after the second fall, turn around to find a Relic of Renagoth.
10. Ivory Citadel: In the area where there are two cranks, head to the push-switch then check the corner across it. 
1: The Maw, southeast ruins of Serpent's Peak. Push the switch there then immediately scale the wall up to reach the relic. 
2. Judicator's Tomb: In the first soul's chamber, dive down to get this relic. 
3. Ivory Citadel: After clearing the last water supply, check the webbing to the east to find this. 
4. Shadow's Edge: You have to go through this small keep on your way to the Black Stone. Take the western path and follow it until you see the exit. Before heading out, climb the wall to right to find a Book of the Dead page. Now step on the pressure plate and soul-split there. Backtrack to the fork where the tome is then take the path to the right. This should lead you to a Relic of Khagoth. 
5. Shadow's Edge: Inside the fourth Death Tomb

alk to Muria in Tri-Stone the first time you arrive to unlock this quest.
Track Karm down and speak to him
Once you get the mission to go to the Cauldron, you'll find Karm outside. Help him take out the constructs and ask him about the stalker bone. 
Harvest some Stalker's Bone from a Stalker
While exploring the Cauldron, you'll find a Stalker surrounded by constructs. You can join the fray and kill them all or wait until they're all weakened before making a kill.
Hunting Stalker-san
Return to Karm and ask him about the Mordant Dew
After restoring the fire in the Cauldron, talk to Karm again outside and ask him about the Mordant Dew.
Harvest some Mordant Dew from a Stinger
You'll first find stingers along the Shadow Gorge. Just kill one and the quest automatically updates. 
Return to Karm and ask him about the Carven Stone
After getting the Mordant Dew, you can immediately return to Karm and ask him about the Carven Stone to update the quest again. 
Later in the game, once you reached the Lost Temple, you'll eventually come across a new enemy called the Construct Sentinel. Defeat it to get the last material. You can fast-travel and deliver the item to Muria to complete the quest and get your reward.
Construct Sentinel
You'll find Thane in the training grounds of Tri-stone. You simply need to beat him in a duel to complete this quest though it is recommended to try it after completing the Cauldron at least.
Defeating Thane
The are 40 pages scattered across the realm. Collecting 10 pages will automatically convert them into a chapter. Sell this chapter to Vulgrim to get a key that can be used to open Death Tombs. These tombs hold a lot of loot, some collectables and unique equipment. Refer to the Collectibles section to know the location of each page.
The location of the Death Tombs are listed below:
Forge Lands: Lost Temple
You'll find this along the way. 


Kingdom of the Dead: Lair of the Deposed King
Found in the bottom of the stairwell 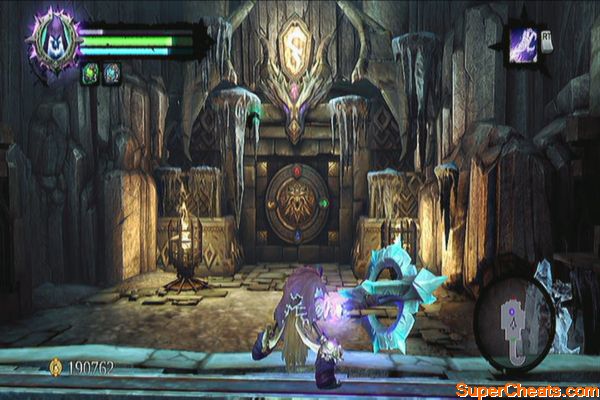

Lostlight
Found along the way to the Crystal Spire

Shadow's Edge
Found along the way before reaching the Black Stone 
You'll find Blackroot in The Fjord; just look for the trader icon to the west. He'll give you the Lure Stone which allows Redemption to gather the stonebites.
Mystic Stonebites (34)
Power Stonebites (25)
Resistance Stonebites (10)
Refer to this guide's Collectable section for more information
During your first visit to the Fjord, swim southwest of the harbor to find a sleeping construct. Examining it should be enough to start the quest. Once you obtained the Maker's Key (story item, after completing Drenchfort), return to the construct and bring it back to life. 
After getting Oran's Hearstone Fragment, the quest is completed. This will also start another side quest to find his missing Limbs.
After awakening Oran and completing Silent Stone side quest, he'll ask you to find his missing limbs. This can be completed easily as well. Refer to the locations below:
Right Leg: The Fjord, along the southwest trail leading to Drenchfort. 
Right Arm: Shadow Gorge, in the middle of the path. (Open your map and look for the letter “G”)
Left Leg: Baneswood, take the southeastern trail leading to the Charred Pass. You should find this past the small ruins. 
Left Arm: The Scar (this is the dungeon east of the Cauldron), right outside the dungeon entrance. 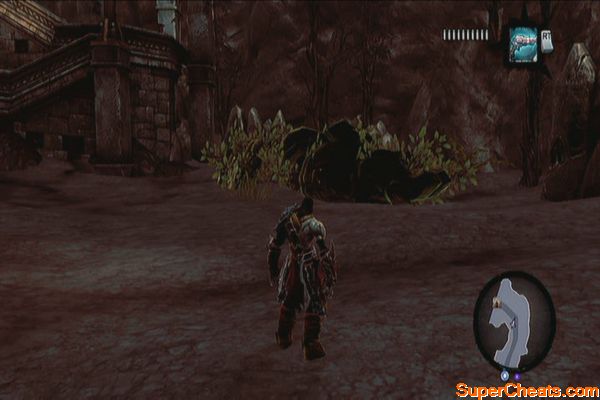
After reanimating his limbs, return to Oran and activate him to complete this quest. 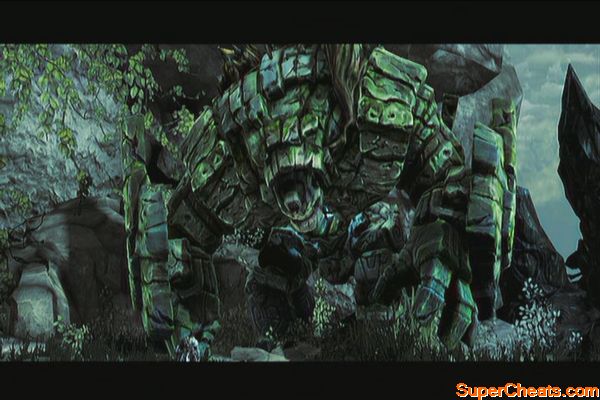
This quest is given by Alya after completing Drenchfort. The Shattered Forge is the ruins found in the northern trail of the Shadow Gorge, right before the gate leading to the Fjord. The Deathgrip is required to complete the dungeon so there's no use exploring this area until you cleared the Foundry.
In case you haven't found yet, there's a Boatman Coin under the bridge near the climbable wall. 
Once inside, loot the chest behind the stairs in the entrance. Head to the next area then jump to the water. You should find a boatman coin (26) inside. Climb back up and enter the door to the west. Jump to the water and dive through the underwater cavern to the west. 
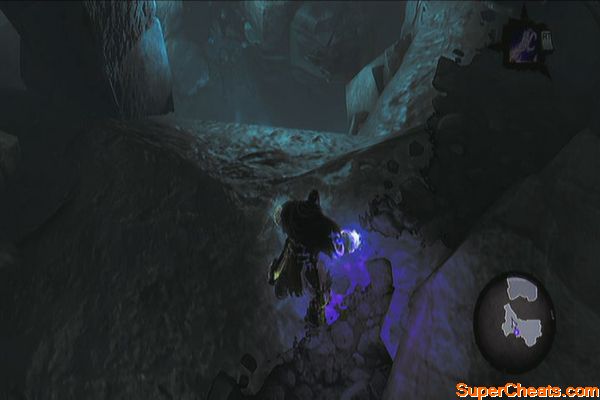
After surfacing, grab the Dungeon Map from the chest, then scale the wall. Head to the west wall to find a narrow corridor. You have to wall-bounce from wall to wall until you reach the next ledge. Next, vertical climb to reach the upper hand-holds, then wall-run on the wall to reach the other ledge. Continue to the next room where a couple of prowlers will attack you. 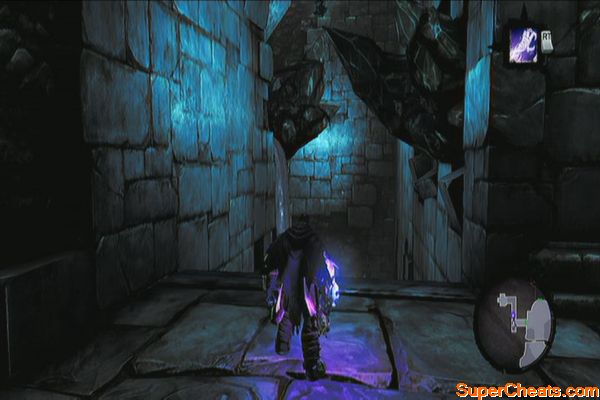
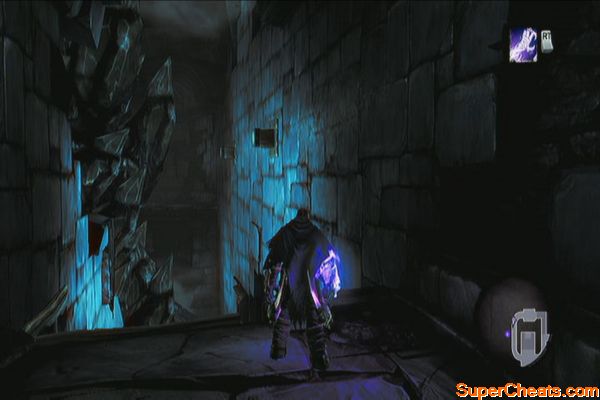
Defeat the prowlers then grab the shadowbomb from the platform across. Throw it to the nearby crystals and detonate them. Before moving forth, grab another shadowbomb and backtrack to the corridor where you wall-ran. Throw the shadowbomb to the lone crystal there and detonate it. This should reveal a unique treasure behind it. (Omega Blades)
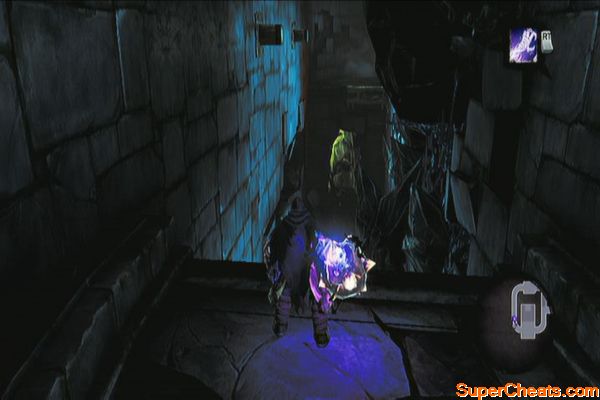
Follow the path ahead then exit the door to the main area where the large block of crystals are located. Pull the lever and wooden pegs will appear on the wall, allowing you access to the shadowbomb pod on the other ledge. Wall-run to reach it, grab one and throw it to the crystals below to clear the path. Jump down and defeat the Savage Stalker and prowlers that will appear. This will unbar the door north. 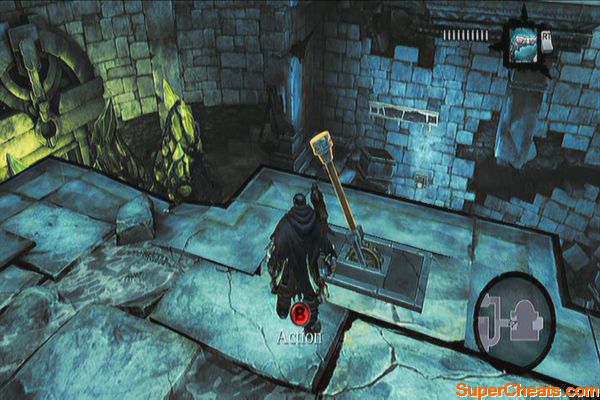
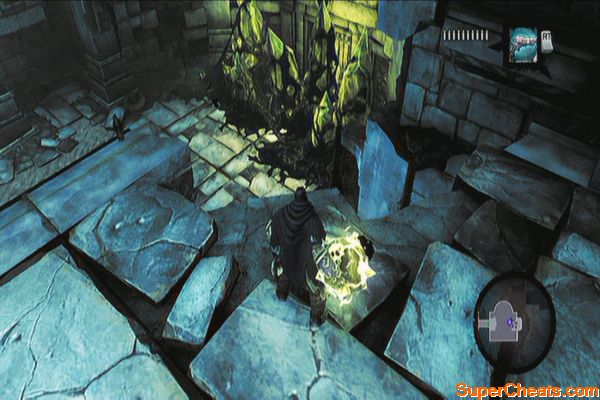
Loot the two chests along the way then enter the next hallway. Construct Champions and Tainted Construct Warriors will ambush you so you have no choice but to engage and defeat it to continue forth. After the battle, wall-run in the narrow corridor.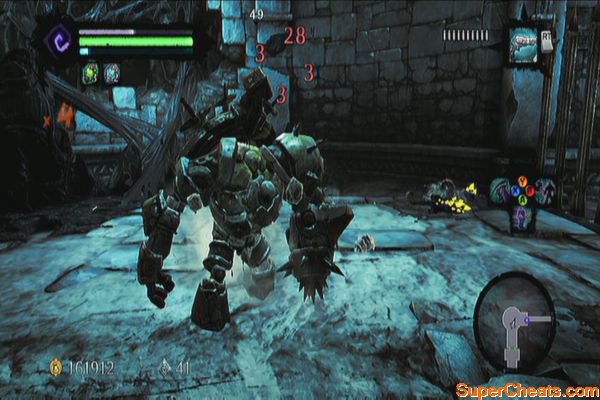
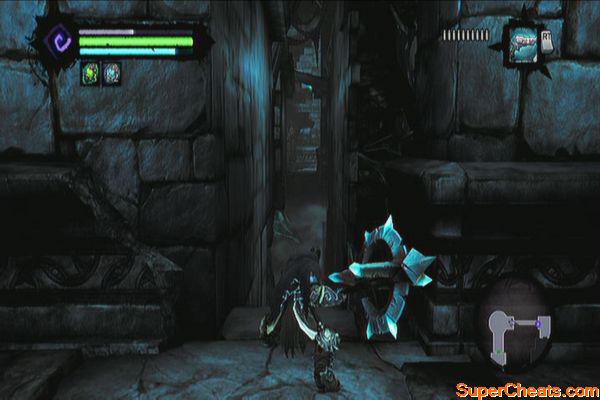
In the large hall, don't climb the walls yet but instead, dive down the water first. Go through the underwater tunnel and surface on the other side. Climb back up and continue scaling the wall until you reach a shadowbomb pod. 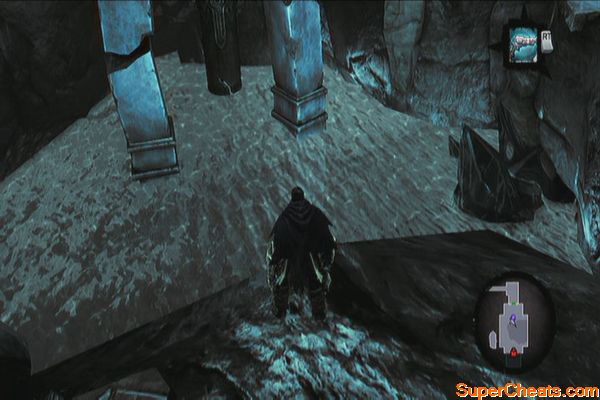
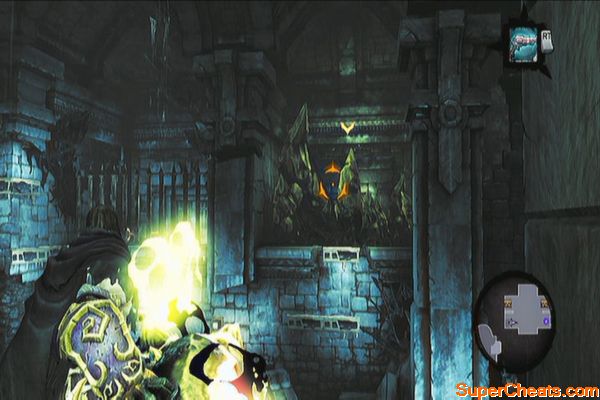
Grab a shadowbomb and throw it to the group of crystals on the eastern ledge, then grab another one and drop off to the main hall. Head to the northwest and throw it on the crystals on the upper ledge to clear it as well. Loot the chest there once done. 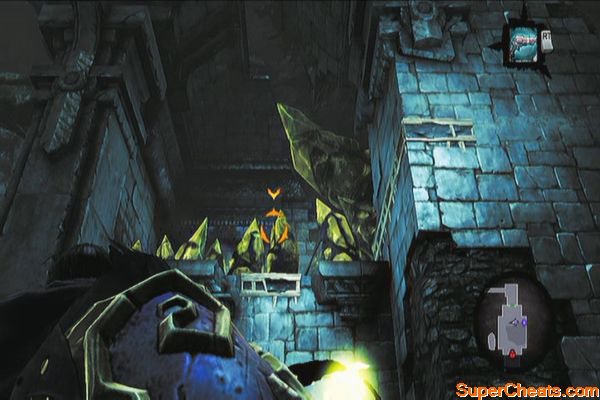
Grab on the hand-holds to the north then wall-run around to reach the door on the eastern side. Enter the room then follow the hand-holds. Loot the chest along the way then continue past the barricade for a checkpoint battle. Defeat the Construct Sentinel and its minions. Before leaving, destroy the urns in the corner to find a Book of the Dead page (12).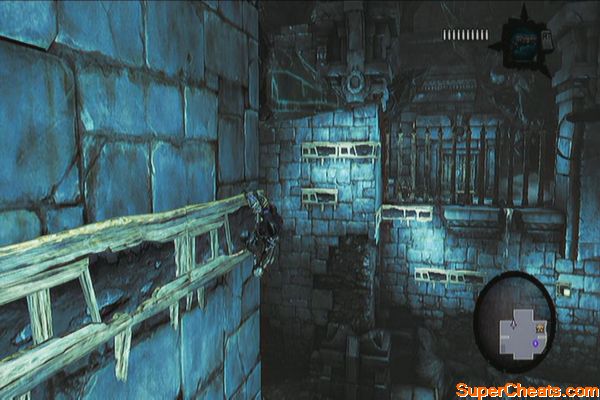

Exit to the next door and get the Skeleton Key from the chest. Push the switch to remove the iron gates then jump down. Open the locked door to the south which leads to the chest containing the Splinter-Bone. Travel back to Tri-Stone and deliver the hammer to Alya to complete the quest. 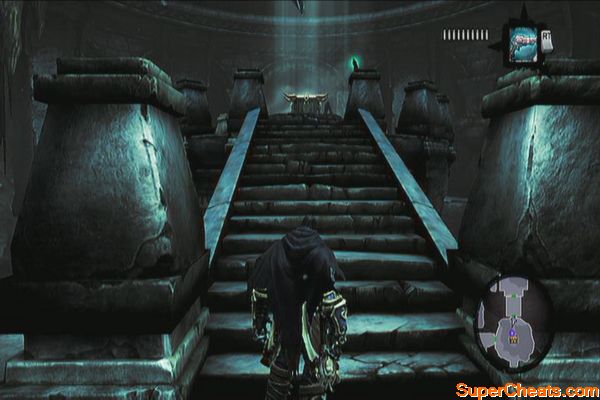
Gorewood is found in the depths of the Weeping Crag. (You'll need the Voidwalker to access the portal glyphs here) Fast-travel there and go past the bridge. Look up to find a Stone of Mystics (7)
Climb the ledge to the left and ignore the skeleton door for now. Wall-run to the right then drop down to the hand-hold below. Wall-run again to the right and to the next posts then climb up to get inside the dungeon. 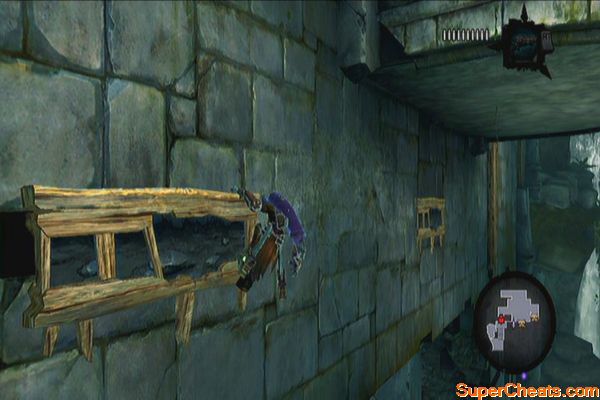
Destroy the enemies then enter the door to the west. Destroy another construct there as well as the debris. Loot the chest then go through the nook to drop down to the lower ledge. There's another chest waiting for you there. 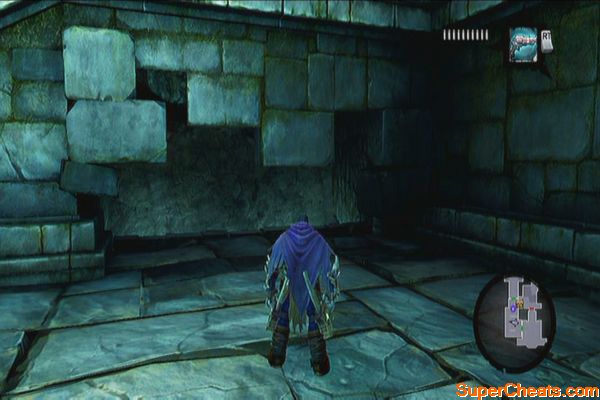
Jump to the water and get the Boatman Coin under the drawbridge if you haven't done so yet. Return to the ledge where the skeleton door is then wall-run to the second hand-hold. Drop down and quickly use deathgrip to grab to the hoops and reach the chest in the other end. 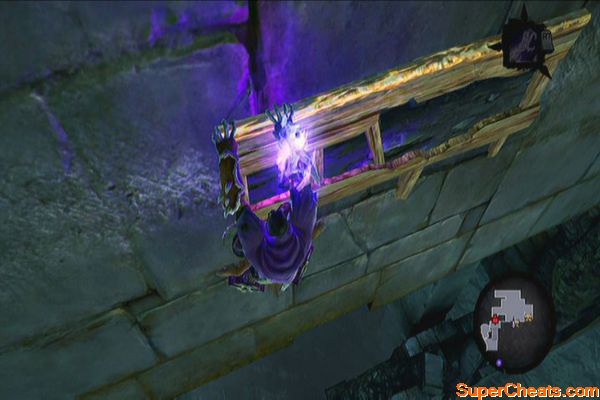
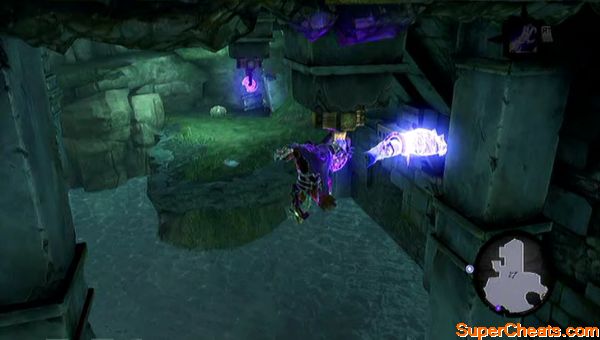
Return to the second floor and make your way further inside to find a pressure plate. Step on it and wait for the platform to fully raise. Now quickly wall-run to reach the upper ledge. Ignore the circle for now then proceed 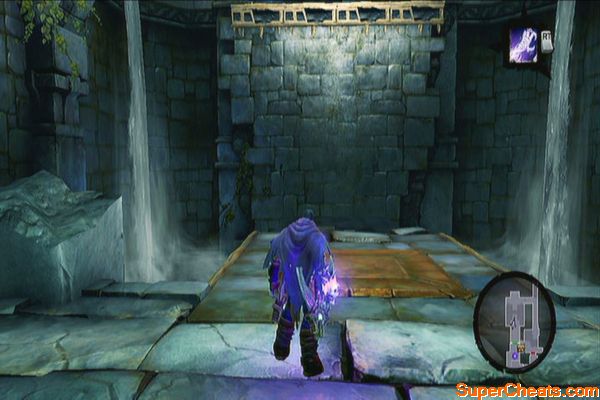
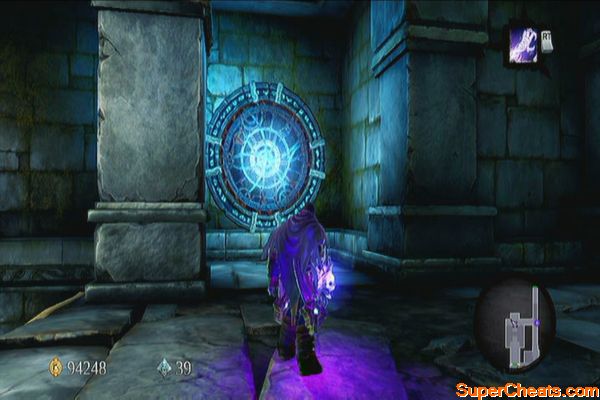
Go downstairs south then wall-run twice past the corner to reach a chest containing the Skeleton Key. This should open the nearby door as well. Before leaving, head to the left of the door then perform a vertical wall-climb. Do a cornering wall-run again to reach another chest in the ledge to the west. 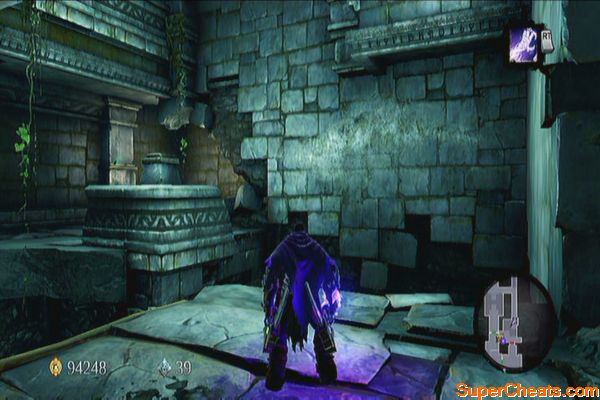
Exit through the door and this will take you back to the balcony. Exit to the skeleton door and open it using the key you acquired. Head inside, defeat the stalker and loot the two chests. 
Drop down and continue along the narrow corridor. Before going underwater, perform a wall-bounce the reach the hand-hold. You should see a Book of the Dead page (10) in the far end of the corridor. Keep wall-running and bouncing until you get it.
Dive underwater and follow the path until you reach the end of the submerged tunnel. Follow the path until you reach a wide area. You can find Gorewood here.
Boss: Gorewood
Gorewood's attacks are slow and easy to evade. Just evade and counterattack whenever you have the chance. Refer to the video below for the actual battle.
Defeating Gorewood
After the battle, look up to find a Stone of Power to the east. Return to Thane to get your reward and complete the quest. 
(After getting the Voidwalker)
Head to the upper balcony (not through the skeleton key door) and head north. You should find an overhead portal and another one to the west. Activate them both then enter the portal and continue to the north to find a treasure trove. Loot the chests and destroy the objects then head north and dive to the water there. Swim south to find GnoMAD's gnome before the waterfall. 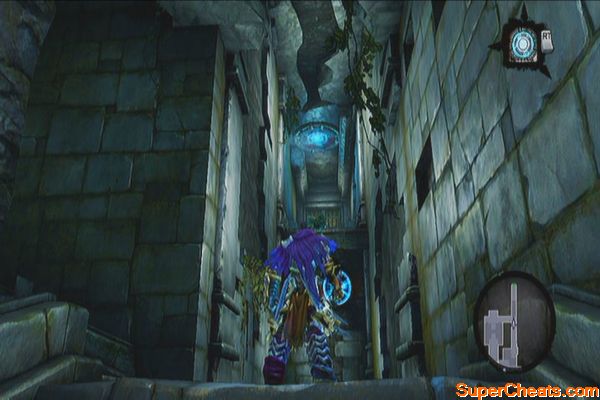
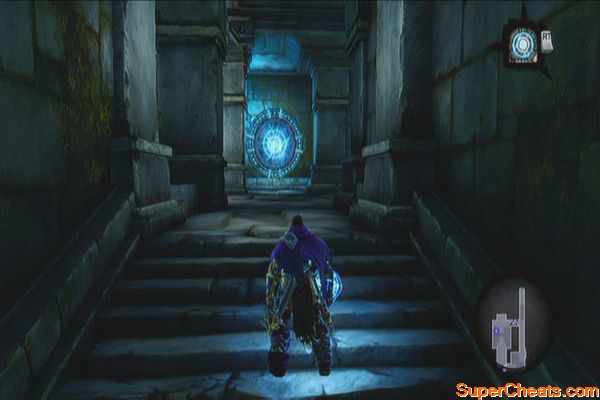


Jump down to the southern pool and swim to the northwest. Climb the wall to reach another Boatman Coin.
First head to the courtyard. Find the scalable wall with a deathgrip hoop in the southwest corner of the courtyard. Blow up the crystal to reveal a Book of the Dead page (11). 

Return to the Nook's fiery chamber and use the deathgrip to reach the Boatman Coin (40). Deathgrip again to reach the narrow path and wait for Bheitnir to fly by. You'll know that you're ready to battle him when the music changes. 
Since you don't have that much room to manuever, you can use the hand-holds on the sides to avoid the boss' damaging fire attacks. You can exploit the fact that you won't die by deliberately falling to the lava below. Bhietnir will cease its attacks and fly away as you recover from the fall. The good thing is that its HP won't reset or regenerate; you can chip away its HP until you kill it.
Use fast attacks like Teleport Slash and use your Reaper Form if necessary. Items will be much of use here so don't hesitate using them like crazy. Return to Thane to complete the quest.
Achidna is a boss you'll encounter in the main story so you don't have to look for her anymore.
Basileus and Achidna
ou'll find the lair southeast of the bridge in Leviathan's Gorge. You can explore the dungeon as soon as you arrive for the first time but it is impossible for you to defeat the resident boss, Argul at your current level.
Head to bottom of the stairwell, you'll find the second Death Tomb but you can only open it after collecting a total of 20 pages and selling the second chapter to Vulgrim to get the key. For now, clear the area of enemies then shoot the Stone of Power on top of the door. 
To start off, enter the second door in the stairwell and drop off from the ledge until you land on the wooden beam. Swing using the deathgrip to reach the other beam across. 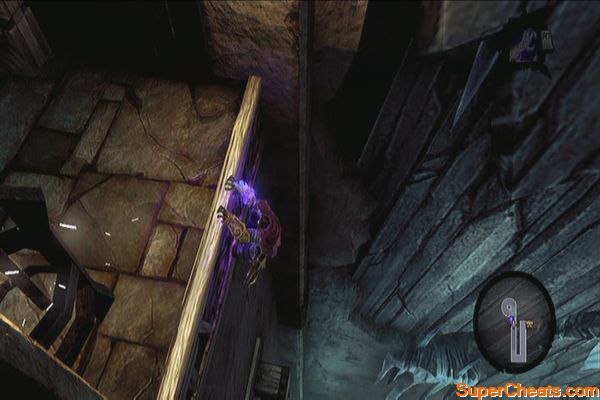
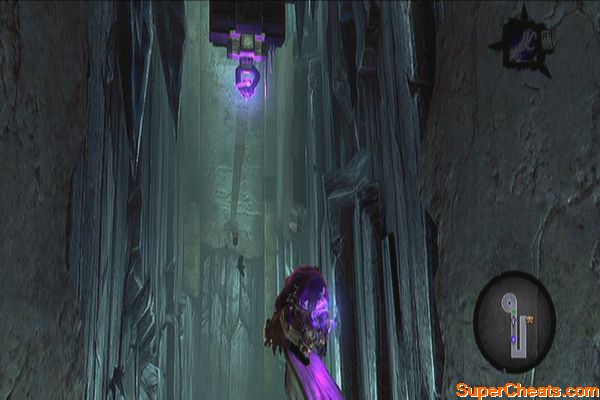
Continue scaling the wall up then follow the hallway to reach the chest containing a Skeleton Key. Before leaving, perform a vertical wall-run to reach the Boatman Coin (43) overhead. Backtrack to the stairwell then enter the first door.
Go downstairs and look for the hand-holds to the right, before dropping off the broken stairs. Scale the wall and follow the hand-holds until it goes around the corners. Wall-run then climb up to the upper ledge to find a Soul Arbiter's Sacred Scroll (1).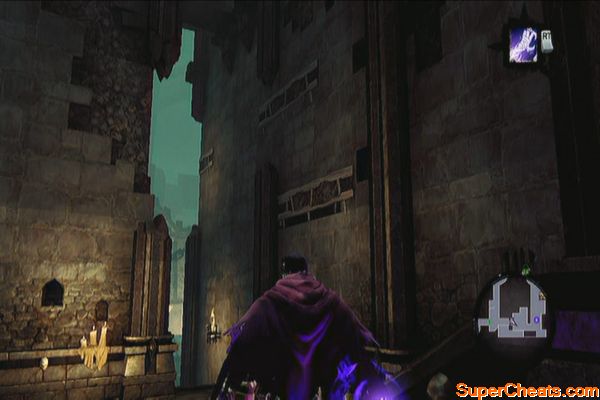
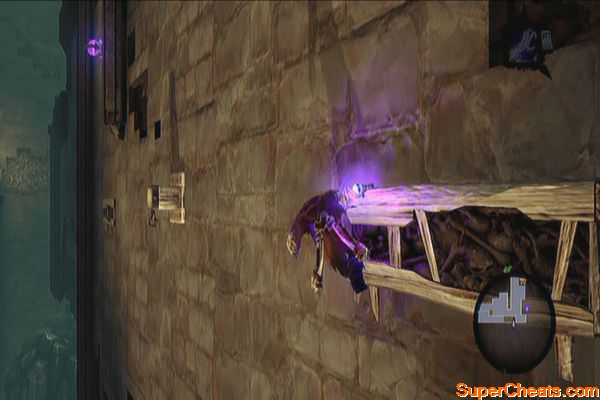
After getting the scroll, jump down back to the main hall and continue going downstairs east. Drop off the broken stairs and look behind to find a Relic of Etu-Goth. (2) Head north and loot the chest, then exit to the door. 
Ignore the locked door for the meantime then continue north. Wall-run to reach the second ledge then destroy the boxes to get a Boatman Coin (44). Deathgrip on the hoop above to loot the chest. 
Backtrack to the locked door and open it. Before activating the lift, you may want to scale the wall to the left first then pull the lever to open the gate. This will allow you to easily access the lift if you need to come back later. 
Attack the crystal in the lift to descend. You can eliminate all ice skeletons in the area for extra exp. Check the southwest corner of the southern cavern to find another Soul Arbiter's Scroll. If there's no marker, just step in that small corner and the scroll will be picked up. 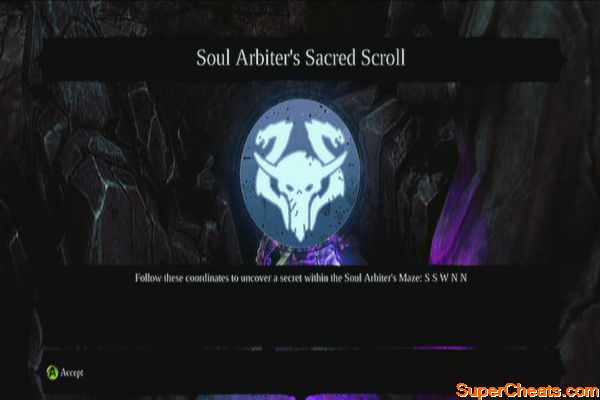
In the hall ahead lies the Deposed King. You can try fighting him to gauge his strength; otherwise, fast-travel outside and come back later.
Talk to Muria before leaving to the Kingdom of the Dead to get this quest. The enemy she wishes to be vanquished is located inside the optional dungeon called The Scar. You'll only be able to fully explore it once you have acquired the Soul Splitter ability as part of the story.
The Scar
Before entering the Scar, look for the Stone of Power overhead, above the deathgrip hoop. It will be challenge to hit it here so just swing to the wooden post, grab the Boatman Coin and head to the entrance. From there, you should be able to get a good view at the stonebite. Shoot it once you're able then enter the dungeon. 

Go downstairs and turn around to find some wooden pegs on the wall. Wall-run to the hand-hold, shimmy to the right to find a chest. Backtrack and head to the next door afterward. After the scene, you have to defeat several constructs. After defeating them, follow the path until you find a hole you can fall through. In the lower level, destroy the stinger hive then wall-run in the narrow corridor to reach the other side. 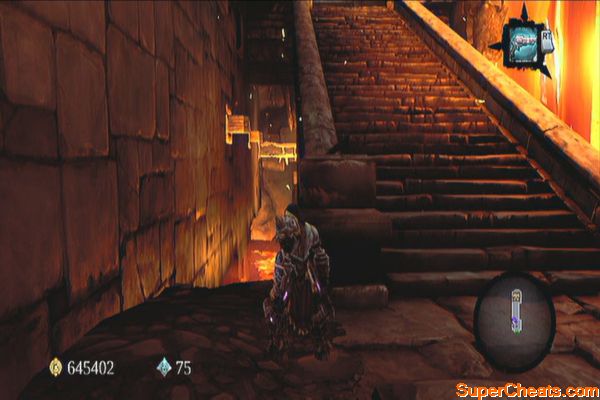
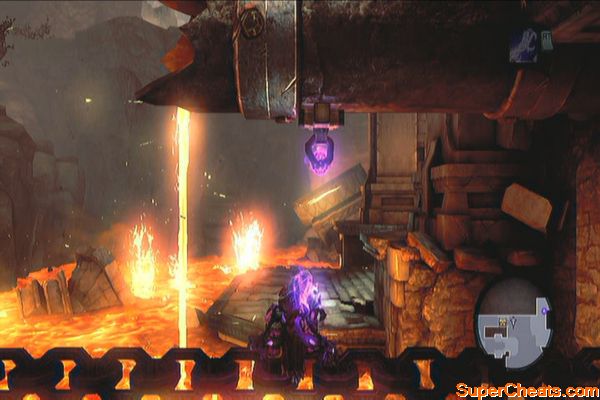
Once there, head to the circular pit to the left and make your way up as the lava below rises.
Lava Rising
After reaching the upper level, head to the room to the south then activate the custodian. You can use it to defeat the construct warriors then cross the lava-filled floors to reach the other side. Destroy the crystals and the enemies then park the construct on the hole. Extend its arm so you can reach the other side. 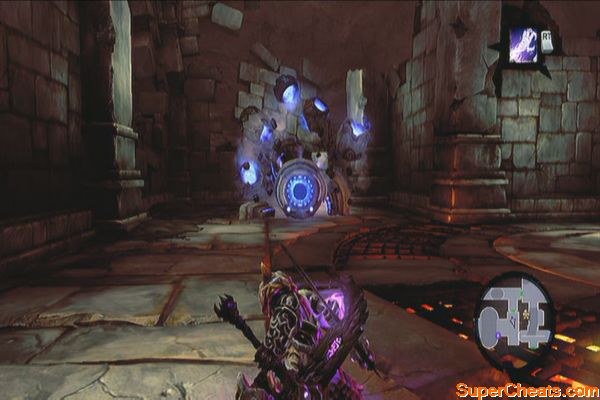
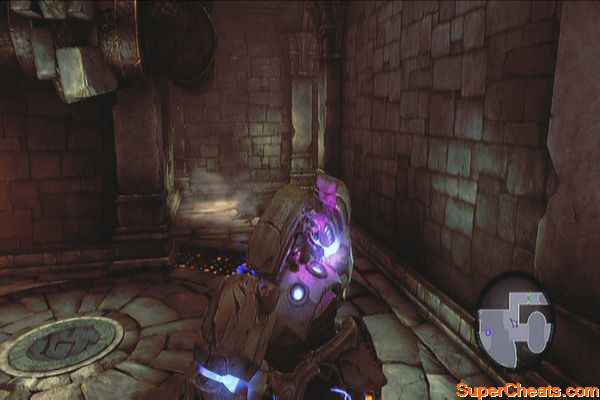
Swing to the next ledge then follow the path and swing across using the deathgrip hoops above. Wall-run until you reach the other ledge which has the Skeleton Key chest and a Boatman Coin. Grab the key BUT BEFORE jumping off to get the Boatman Coin, look around to find a hand-hold to the west. 
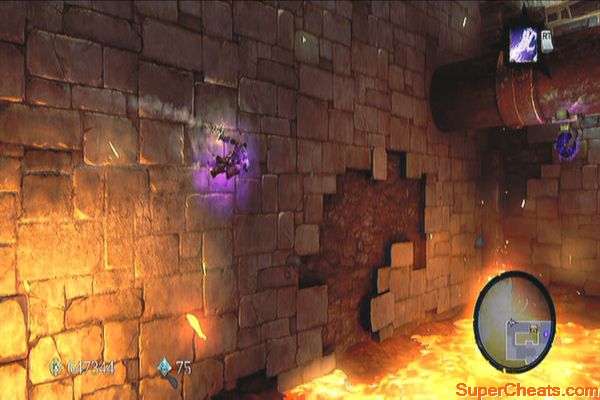
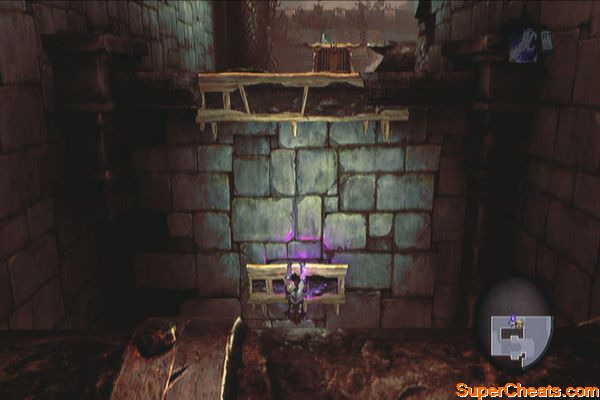
Follow the hand-hold until you find a Book of the Dead page. Now backtrack jump off to grab the Boatman Coin and land back on the chain. 


Clear the nearby passage of crystals and go through the door. Swing to the other side then go through the door to the east this time. Defeat the constructs that will appear then wall-run to the east, past the raised bridge. Open the locked key to the south afterward. 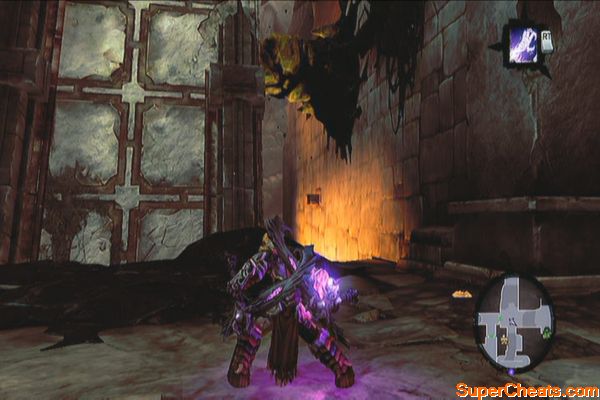
In the next room, you have to move from pillar to pillar before they sink in to the lava. Make your way to the next ledge then continue through the door.
Pillars
Defeat the initial wave of constructs then climb the wall in the southwest corner of the door where you came from to loot a chest. Jump down and approach the custodian. More enemies will appear so take them out as well.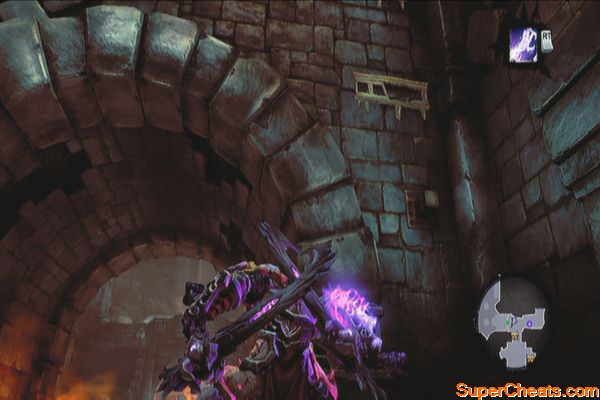
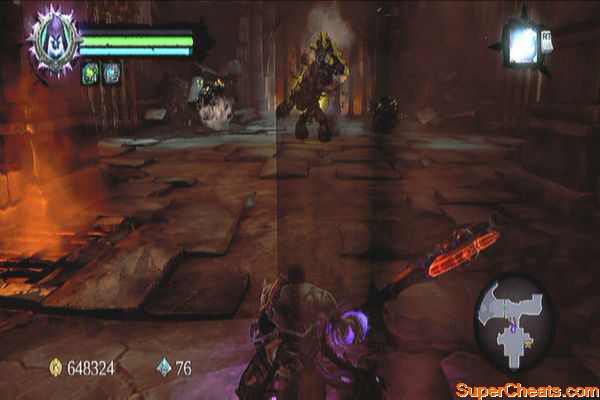
After the battle, climb the wall using the wooden pegs in the northwest corner then wall-run to the right until you reach a balcony where a lever is. Pull the lever then jump down and finish more enemies. Loot the dungeon map from the other chest then activate the custodian. Ride the custodian to the northeast then destroy the crystals along the way. 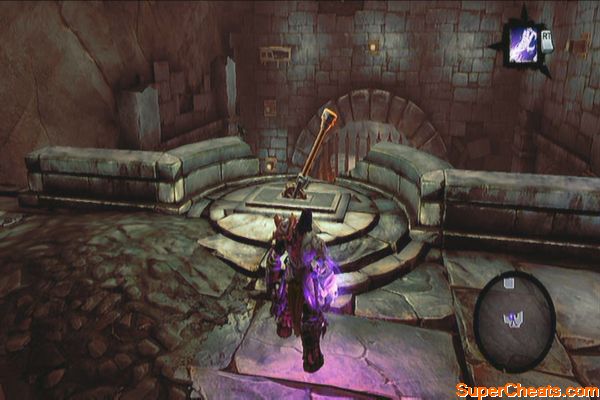
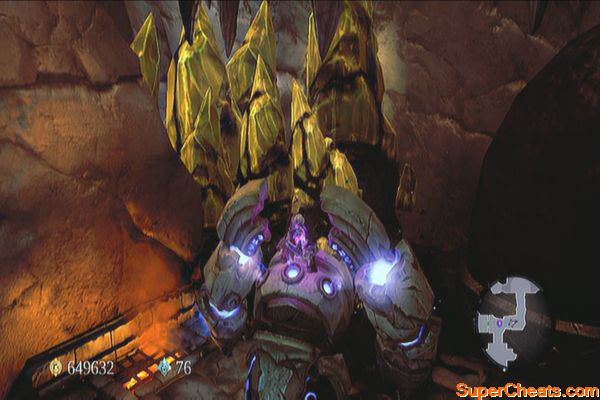
Now go past the lava-filled floor to the west and park the construct in the hole. Disembark then wall-run, time your movements as the lava flow from the nearby pipes stop. Continue this until you reach the platform with the turn-lever. Turn it to remove the first bar of the gate. 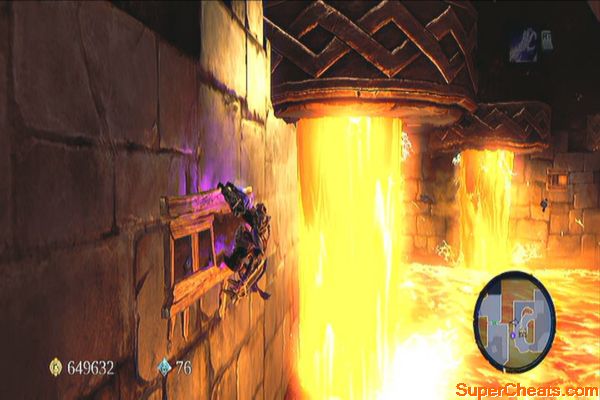
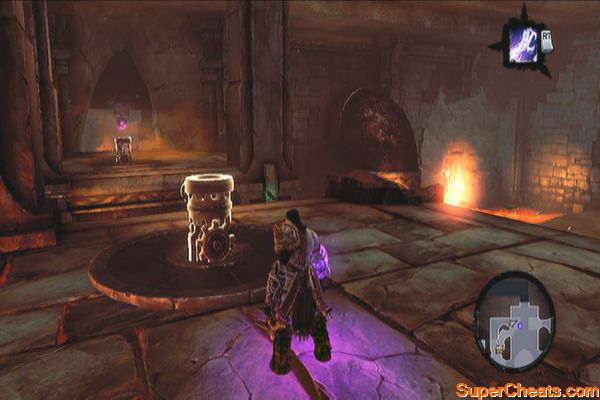
Turn around and go to the southwest, looting the chest along the way and jumping back to the custodian. Ride to the eastern side of this room this time. Park the custodian on the wall then extend its arm. Mount the chain then make your way to the other side, carefully avoiding the lava flows from the pipes along the way. Swing to reach the platform and spin the next lever afterward. Return to the custodian and ride north past the gate. 
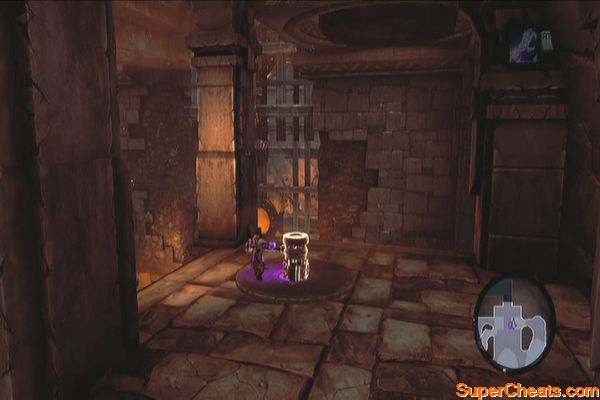
Dismount from the construct then climb the nearby wall past the gate. Defeat the first wave of enemy constructs. After dispatching the first wave of enemies, the pipes will start releasing lava. At the same time, two more champions will appear. Defeat them to unbar the door. Mount the custodian and cross the lava to the west. 
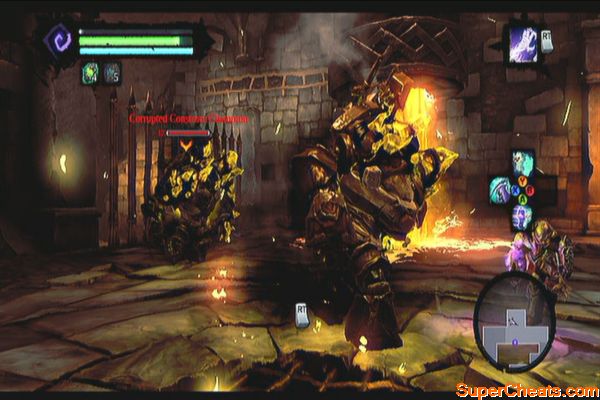
Destroy the crystals blocking the stone bridge then cross it. Now head to the south and park your custodian there. Extend its arm then cross the chain halfway and look for an opening on the wall to the west. Jump and deathgrip the hoop to get inside then make your way to the upper ledge. Swing across to reach a chest. Jump back to the chain and continue walking to reach the stairs at the end. Enter the door and loot the two chests along the way. 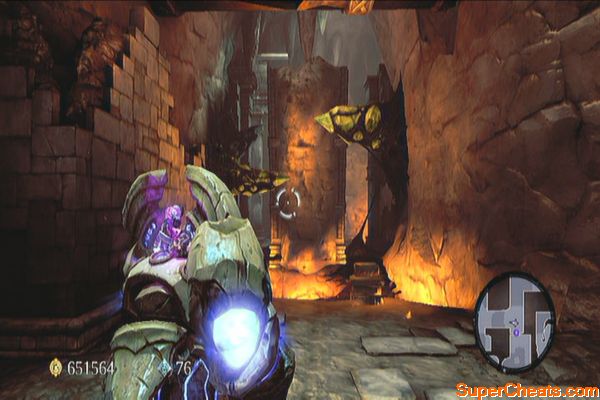
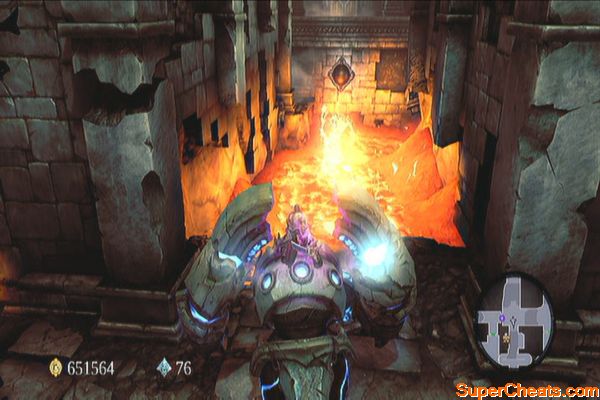
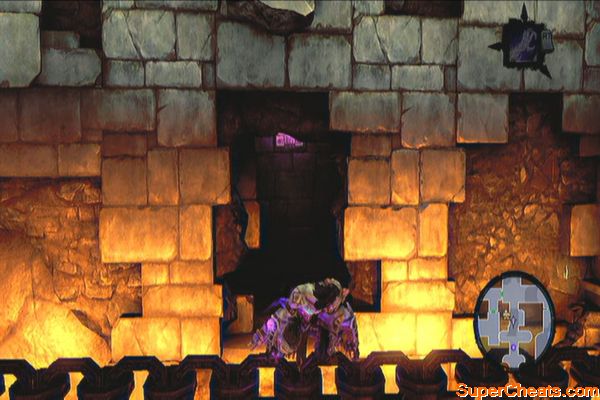
Boss: Ghorn
This boss will start with the basic attacks. You just have to be careful when it deconstructs itself as an explosion will follow. Aside from that, it can also summon reinforcements and make lava bubbles pop from where you're standing.
Putting down the mad construct
As soon as you reach the Kingdom of the Dead, the merchant named Ostegoth will welcome you. Before you head out to your next objective, he will give you this sidequest.
Relics of Etu-Goth (15)
Relics of Renagoth (10)
Relics of Khagoth (5)
Refer to this guide's Collectables section for the individual locations of these items.
After reaching the Spire, you'll meet the archangel Nathaniel. Speak with him and select the blue conversation option to start this quest. Deliver the scroll to the Chancellor in the Eternal Throne, and during this conversation, you'll be able to start another quest (The Chancellor's Quarry)
Next, travel to Lostlight and talk to Nathaniel again. He will refer you to the blind seer in the Forged Lands. Travel there and talk to Muria. After learning what happened to the soul, return again to Nathaniel again to complete the quest. 
You'll get this sidequest from Uriel. You can find all the 10 fallen hellguards during the entire mission so refer to the wakthrough for the main story quest “The Rod of Arafel” for their exact locations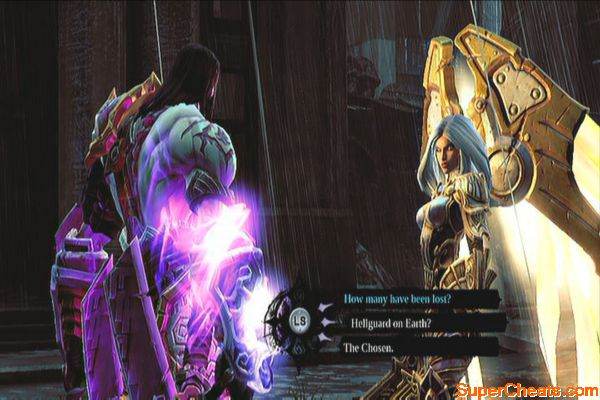
This side quest starts automatically after finding the first GnoMAD gnome. The list of the Gnome's locations are found below:
City of the Dead
When you reach the balcony where you have to step on a pressure plate to reveal the hidden hand-holds and push the switch, climb back to the post then wall-run to the left once. Stay there and switch to your other soul. Step off the pressure plate for that hand-hold to flip. Switch again to your other soul to get inside the secret chamber. You'll find the gnome downstairs


Ivory Citadel
After cleansing the water of the western tower, enter the cavern to the northeast to find this gnome. 

Weeping Crag (Voidwalker required)
Head to the upper balcony (not through the skeleton key door) and head north. You should find an overhead portal and another one to the west. Activate them both then enter the portal and continue to the north to find a treasure trove. Loot the chests and destroy the objects then head north and dive to the water there. Swim south to find GnoMAD's gnome before the waterfall. 


Black Stone
Before climbing the platform leading to Samael's chamber, head west then climb the northern wall. Climb the ledge and enter the western door. Here, you'll find the last Gnome. To get your reward, fast-travel to the nearest Tome and claim your reward to complete the quest. 


This is given by the undead Chancellor in the Eternal Throne, while fetching Nathaniel's “The Lost Soul” side quest. During your journey, you'll encounter Soul Arbiter's Scrolls that contains directions to solve the maze. However, they'll be optional since you're reading this guide already.
Soul Arbiter's Maze
Enter the maze then check the southwest to find a boatman coin. Scale the wall to the north and use the deathgrip hoops to reach the push-switch. Before operating it, look to the west to find a Stone of Power.


Push the switch and wooden pegs will appear from the west. Quickly scale it and swing your way to the eastern balcony. Pull the lever then loot the chest afterward. Head to the northern door.
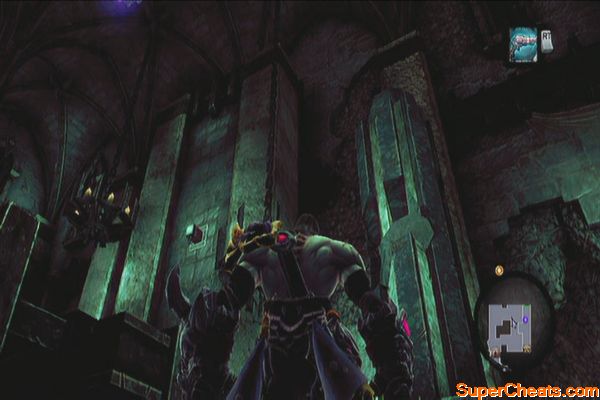
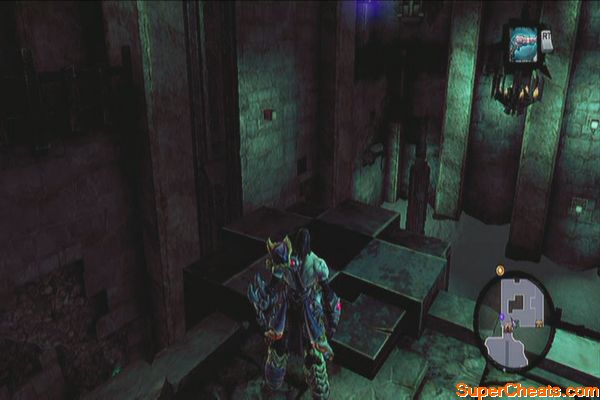
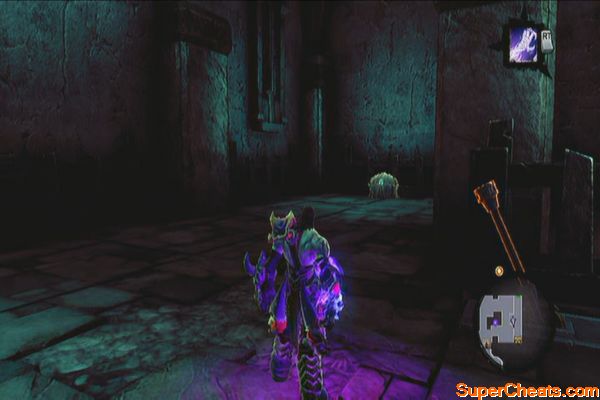
Follow the path until you reach the real entrance to the maze. Read the mysterious book and grab the Soul Arbiter's Scroll ahead.
Navigating the Maze
The Maze has 10 levels that features multiple rooms. You can access each room based on the general directions. (N, E, W, S) You have to defeat the enemies that ambushes you in each room then choose your direction. Refer to the directions below to successfully conquer the maze. “Secret” directions lead you to treasures while normal directions will take you to the next level.
The enemies will get stronger each level and since there's no way to identify the directions you have taken already, you'll have to be careful in remembering the directions you took.
LV1: Declination
Secret: S, E
Normal: N, W
LV2: Apprehension
Secret: N, N
Normal: E, S, N
LV3: Opposition
Secret: N, S, E
Normal: W, E, N, N
LV4: Separation
Secret: W, E, N
Normal: E, W, N, S
LV5: Deception
Secret: W, N, S (Black Demise)
Normal: W, W, N, E
LV6 Isolation
Secret: E, E, E, S
Normal: S, E, E, N, N
LV7 Revulsion
Secret: S, S, W, N, N
Normal: S, W, E, E, E
As you approach the portal leading to the next level, collect the Stone of Mystics on the wall behind it.
LV8 Inversion
Secret: N, S, S, E, N
Normal: N, W, N, W, E
LV9 Benediction
Secret: S, W, E, E, N
Normal: E, N, E, N, S
LV10 Ascension
Secret: N, S, E, W
Normal: W, E, N, S, W
Boss: Soul Arbiter
This battle isn't necessarily hard. Evade the Soul Arbiter's attacks and launch a counterattack. Once you've dealt considerable damage, he will raise an impenetrable shield and summon an army of undead. After taking out the army he summoned, you can resume fighting him.
Once he suffers significant damage, he will raise his shield again, this time summoning a more powerful undead army. Defeat this army and continue the battle. For the third time, he will summon an undead general and raise his shield. The only challenge is that he will also join the attack. Concentrate in taking out the general to remove the soul arbiter's shield then move in for the kill.
After the battle, go downstairs to loot the chest then exit the maze. Talk to the Chancellor to complete the quest and earn your reward.
(First visit, after reaching the first time)
Before entering the dungeon, head to the left and find a Boatman Coin near the wall, behind a thorn. Enter the ruins afterward. 
Head downstairs the stairwell and wall-run to reach a post once you see it. Climb down until you see a chest. Loot it then climb up the post and wall-run to the next set of stairs until you reach the door. Continue forth and destroy all enemies. Get the Boatman Coin in the northeast corner. 

Climb the northwest ledges and check the torch near the edge to find a Relic of Etu-Goth. Grab a shadowbomb from the top then destroy the crystals below. Loot the chest and destroy the weapon racks to get some random weapons. You can check the second floor in the main building but you won't be able to fully explore it just yet. We're done for now so just fast-travel to the exit. 

(Second visit, after getting Soul-Splitter)
Return to Sentinel's Gaze and climb the second floor of the main building. Stand near the edge where you can clearly see the shadowbomb pod. Soul split and send one soul to grab a shadowbomb. Throw that to the other soul so it catches it. Use that shadowbomb to destroy the crystals. 
Climb up and shoot the Stone of Power on top of the statue. The next passageway is blocked by crystals again to soul split again and position one soul at the edge, overlooking the shadowbomb pod. Switch to the next soul and grab a bomb then throw it back to the other soul. Use that to clear the next room and get the chest. 

Behind that chest is a hole that you can drop off. Jump in there to reach another optional area.
After landing, defeat the undead stalker and prowlers waiting inside then step on the central pressure plate. You have to run across and get past the gate before it falls down. After passing the gate, continue forth until you reach a hallway. 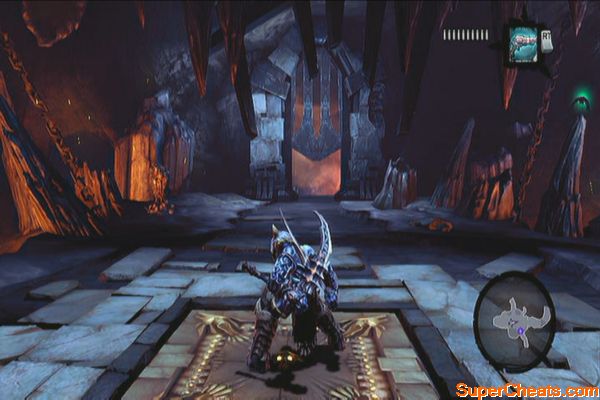
Defeat the skeleton enemies then use the shadowbombs to destroy the crystals in the area. You should find a chest and a pressure plate after removing the crystals. Position your physical body beside the gate then soul split. Have the two souls stand on the plates then cancel soul split and roll past the gate. 
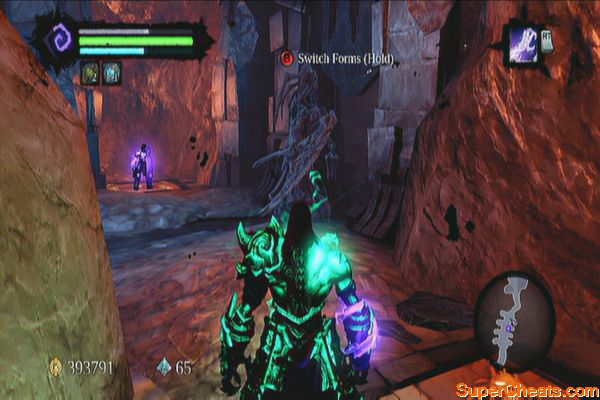
Continue forth until you reach a fork in the road. Take the lower trail first then loot the chest to the east. Take the left trail and continue past the cavern and to the next trail. Fight more enemies and you should find a Stone of Mystics in one of the pillars. 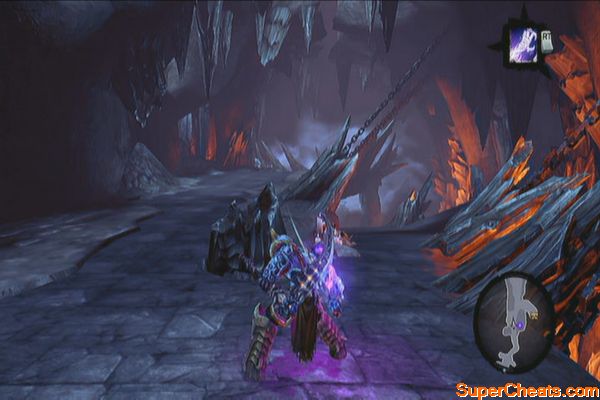

Grab a shadowbomb and throw it at the crystal formation below. Like before, position your physical body beside the gate then soul split. Have one soul stand on one pressure plate, have the other loot the Dungeon Map from the chest beside the second pressure plate. Deactivate the soul split once the gate is raised then quickly get past the gate. 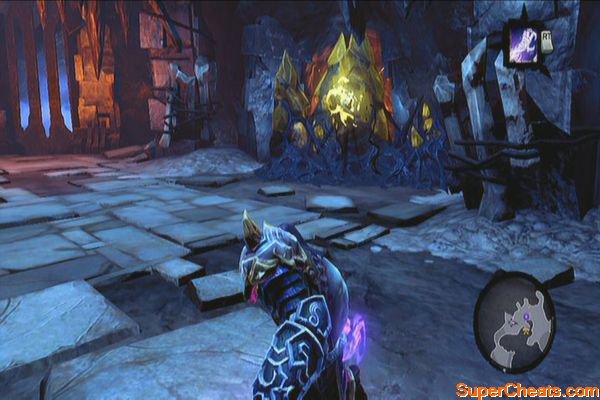
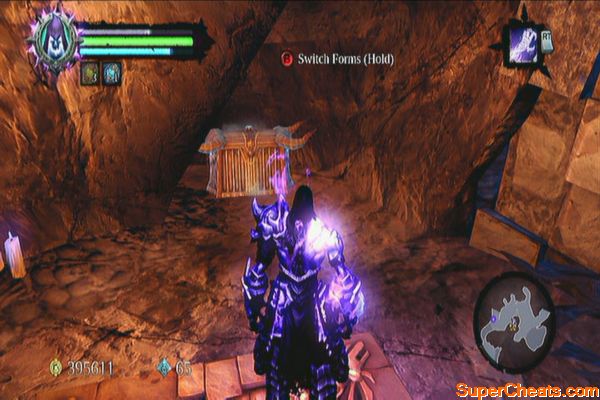
Defeat the stalker then loot the Boatman Coin in the nook to the north. Follow the path to the north and loot the chest along the way. Continue to the upper floor and cross the gap using deathgrip then continue along the next corridor, filled with nooks. There's a Soul Arbiter's Sacred Scroll in the third nook you'll come across.
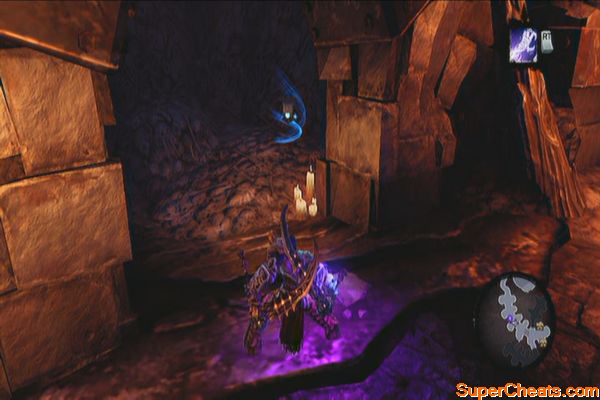
Ignore the pressure plate and continue along the corridor. Take out more scarabs and before turning left to the next hallway, look in the last nook to find a Boatman Coin. Continue to the next corridor where the second pressure plate is then loot the two chests to the east of it. Step on the pressure plate and soul split. Send one soul to the other plate and wait for the gate to fully raise. Cancel the soul split and go past the gate.
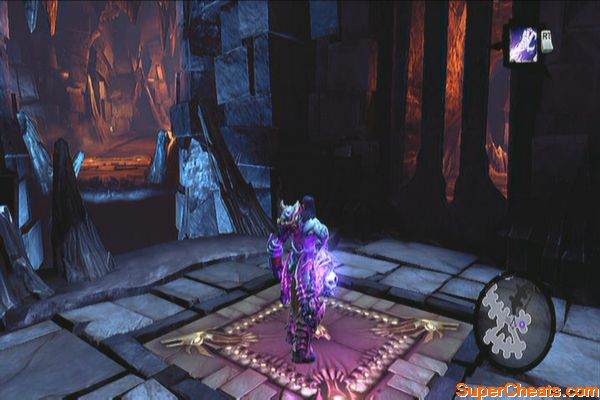
Continue to the third floor as you slaughter scarabs along the way until you reach a large chamber. Head inside and you'll have to face an army of scarabs and scarab hulks. Prioritize taking out the nests; otherwise, the reinforcements will just keep pouring in. Use your crowd-control skills such as Harvest or a well-placed Teleport Slash until all of them are defeated.
Bug terminator
Pick up any loot scattered on the ground, then loot the chest in the southeast corner of the room. Now stand beside the eastern gate and soul split. Use the two souls to trigger the pressure plates then quickly move forth. 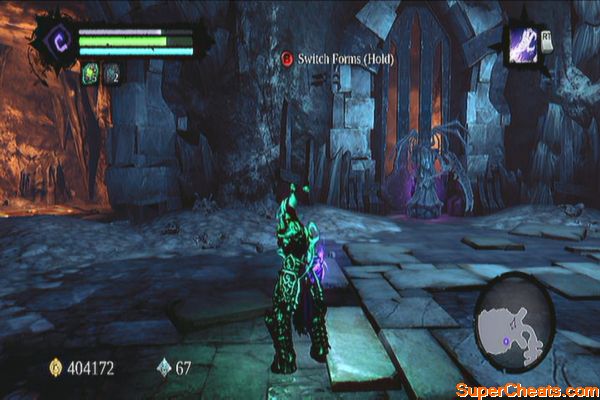
The next hallway is clear of enemies so you just have to pick up the treasures. In the first nook to the right lies a Keen Talisman. Loot the chests along the way and in the fourth nook you'll find a Soul Arbiter's Sacred Scroll. Loot the last two chests and continue to the next chamber. The last chest will appear containing more valuable loot. You can now leave this place.
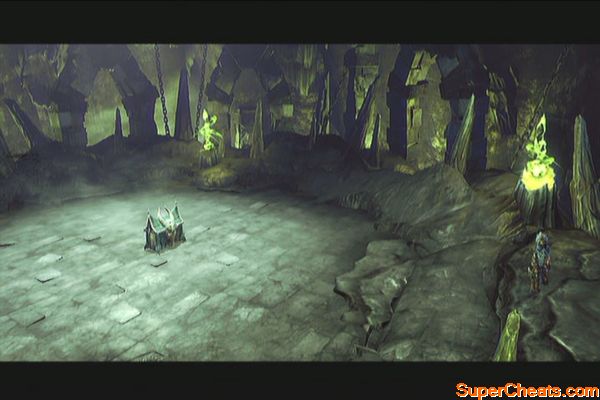
This is an optional arena where you can train and win some unique equipment as well. This place is available in your map however you can only access it by redeeming the code that came along with the game. Consult the back of manual for this.
It's setup is similar to the Arbiter's Maze where you need to fight waves of enemies which get stronger as you progress. To access higher waves, you need to meet some requirements or milestones in the game. You'll be notified when you unlocked a milestone in the form of Tarot cards that will be sent to your mailbox. Access any Tome to retrieve this “access cards”.
The Fool
Wave 1-25
Defeat the Guardian
The Emperor
Wave 26-50
Defeat the Wailing Host
Strength
Wave 51-75
Defeat Samael
The Devil
Wave 76-100
Reach LV25
Death
Wave 101 (Wicked Killington)
Beat all waves in a single visit
The World
Defeat Wicked K.


 5 Browser-Based Fighting Games That Are Actually Good
 God of War: Ascension Walkthrough
 Final Fantasy XV Episode Duscae: Cherished Frogs Location Guide
 Steam Family Sharing: How Do You Use It?
 Amazon Goes Above and Beyond, Offers Free Game For PS4