


Bungie is back with it’s massive FPS-RPG Destiny, allowing you to choose your own path while playing online. If things get tricky, and we know they will, check out our screenshot-infused walkthrough below to get you through each mission (relatively) safely.
In Destiny, you create your own character and go on a journey fighting several different enemy factions as you attempt to defend Earth from the multitudes of invaders. Don’t call it an MMO — Bungie prefers “shared world shooter” — you can go it alone, or watch as other players do their terrestrial business to keep strange monsters from wiping out the human race. There’s a lot to see and do in Destiny, so stick with us as we mount up and blast through every quest we can.
Uncover the secrets, collectibles, and Easter eggs of Bungie’s open shooter with our Destiny cheats compendium, the one place we keep updated with the latest hidden info. Or go back in time and check out Bungie’s last Halo hurrah with the Halo: Reach video walkthrough series.

Cosmodrome
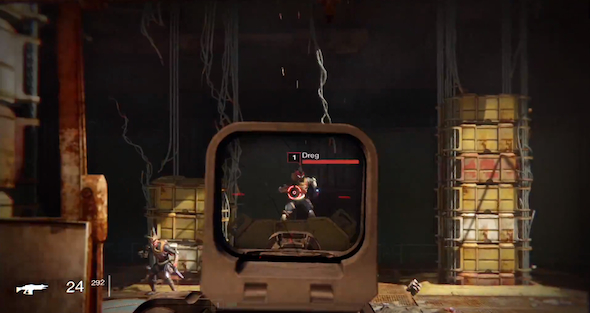
Follow the path in front of you to pass through the open green door at the end and cross the catwalk at the top of the stairs to enter The Breach, then wait on the darkened platform above until The Ghost activates the building’s lighting system.
Duck beneath the gate that rises on your right to collect the rifle on the other side, then proceed through the next hallway in the direction of the current objective marker and open fire on the Fallen that jump out in front of you around the second corner.
Melee the enemy that drops down before you can exit the first section of corridor and continue down the metal walkway until you see the next open loading dock area ahead, then take cover behind the rusted window frame to the left of the entrance and pick off the enemies that descend by starting with the one that lands on the large yellow crate.
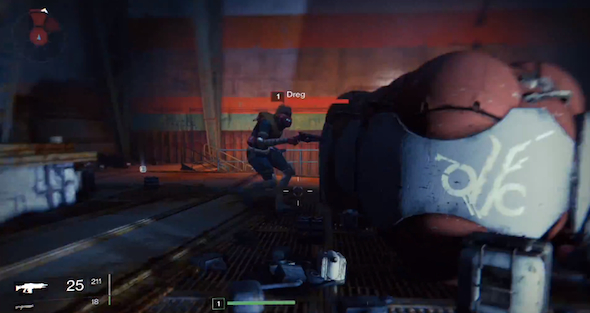
Clear the area to cross the bridge on the left and pick up a new weapon on the other side, then crouch down to pass beneath the first two tripmine lasers around the next corner and stay down to pick off the enemies waiting on the other side with ultimate accuracy.
Enter the hidden hallway to your left to proceed forward without having to deal with the next wave of tripmines and continue firing on the enemies that appear in front of you, then continue weaving around the laser fields to reach the large open room at the end and find cover behind the nearest mechanical orb container to start clearing the area of hostiles dropping in from above.
Proceed along the right side of the room to continue using the cover provided by the mechanical containers and sneak around the left sides of them to occasionally melee ambush an enemy that’s dug-in to where you can’t get a clear shot.
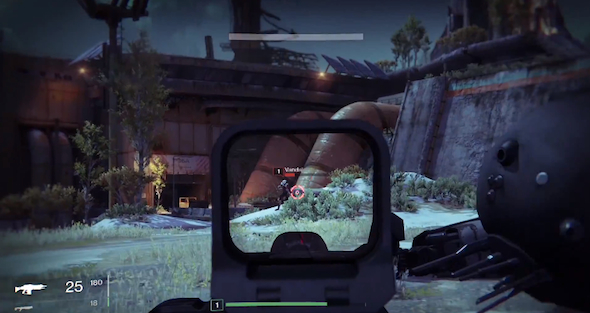
Retreat to the opposite side of the room to clear the doorway that opens on the right-side wall and pass through it to reach The Divide on the other end of the ventilation tunnel, then continue walking forward as the sky is lit up to see a transport ship arrive from overhead and take immediate cover to prepare for the Dregs that will disembark shortly after.
Keep your automatic rifle handy to mow down the hostile groups that drop from the ship and move back and forth between the large pieces of cover around you to stay alive, then wait near the corners of the shipping containers to draw the remaining hostiles to you and finish them off with melee strikes.
Sprint forward across the clearing with your scoped rifle aimed ahead to pick off any Vandals waiting in the distance and proceed through the factory entrance in the far left corner to clear out the enemies inside with steady bursts of gunfire as they approach.
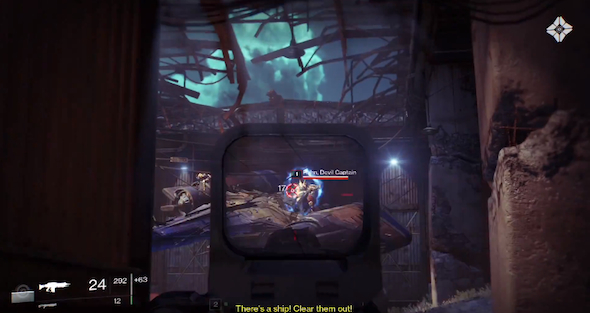
Take out the first group of hostiles guarding Dock 13 with grenades or with any close-range high-powered weaponry in your arsenal, then switch to the automatic when you spot the drop ship and immediately open fire on the Devil Captain sitting atop the right-side of the vessel.
Hang back near the dock’s entrance to use the shipping crate on your left as cover while clearing the room ahead, then continue mowing down or tossing grenades at the enemies that approach from the left until a cut-scene is activated to complete this mission.

Restoration
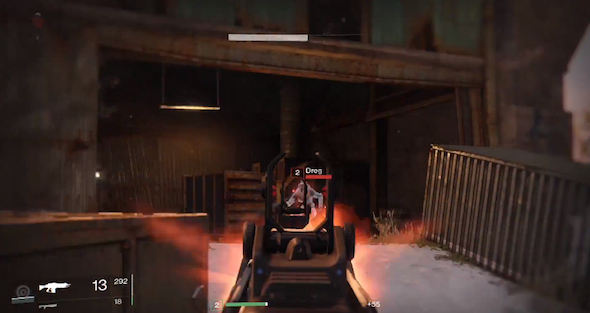
Sprint towards the current objective marker to reach the indicated crash site and clear out any hostiles guarding the area with long-range gunfire, then walk up to the indicated spot on the craft to Deploy the Ghost and head in the direction of the next waypoint icon that appears.
Fight your way around the edge of the clearing littered with shipping containers until you can face the nearby building’s entrance head-on, then take cover to safely mow down the hostiles guarding the entryway from a distance.
Enter the building to descend the staircases within until you reach the room at the bottom and sneak up behind the enemies inside to eliminate them efficiently with a grenade or a damaging close-range weapon.
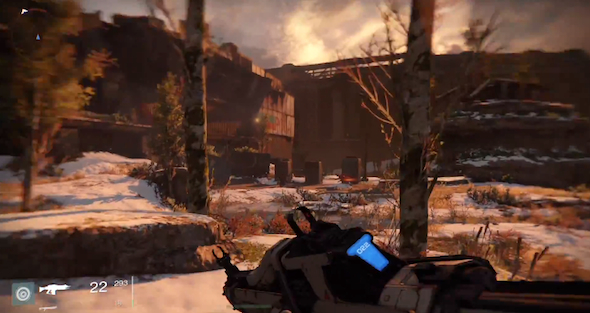
Approach the indicated row of consoles to deploy the Ghost again and search the building thoroughly for additional supplies before exiting, then head towards the next objective marker to stop at the first treeline behind the flat rock on the left and aim your scoped rifle through the trunks to pick off the hostiles patrolling the group of rectangular blocks in the distance below.
Turn left from the treeline to climb the stairs attached to the nearby building and navigate the series of rooms ahead until you reach the Darkness Zone, then move slowly into Dock 13 and surprise the first hostile you see wading through a pool of water with a grenade if possible.
Back up out of the room to use the metal dividers as cover and finish clearing the remaining enemies from the area ahead, then proceed forward to encounter the Archon that emerges from a hole in the corner and open fire on him immediately while retreating backwards into cover.
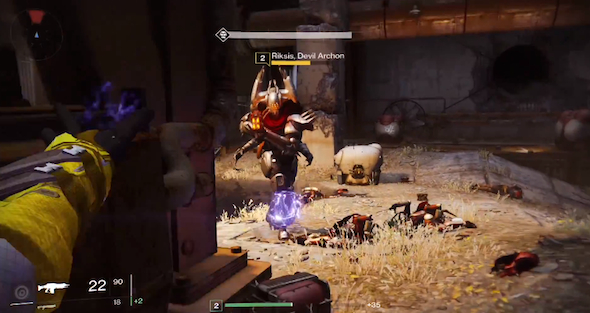
Take cover behind the same section of metal dividers as you did before and peek through the gaps with a scoped rifle to pick off the Vandals before targeting the head of the Archon again.
Stay on the move by constantly alternating between which gap you fire from and continue wearing down the Archon until he ceases to fly, then advance to the crate behind the next metal column ahead on the right to start hitting this enemy at close-range from a crouched position and back up slowly in a circular motion as you do to remain safely in cover at all times.
Retreat back behind the metal dividers to clear out any additional Vandals that appear from time to time and continue peeking out from around the crate to hit the approaching Archron at close-range, with a grenade if possible, until this enemy is defeated.

The Dark Within
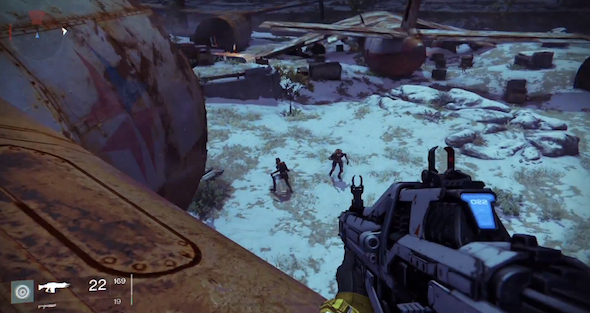
Head towards the current objective marker and use the surrounding rocks along the dirt trail as cover to pick off any patrolling enemies in the area, then continue in the direction of the waypoint icon to reach Mothyards and cross the wings of the giant rusted plane.
Turn around after stepping onto the second wing and look down to pick off any enemies you see on the ground below, then drop down beside the bodies to clear out the hostiles hiding inside the body of the craft and proceed towards the current objective marker to reach the industrial building at the top of the hill.
Use grenades or high-powered weaponry to ambush the enemies guarding the entrance at close-range and navigate the series of rooms within the building to reach the Lunar Complex, then Deploy the Ghost to unlock the gate and proceed up the stairs leading into the darkened complex level above.
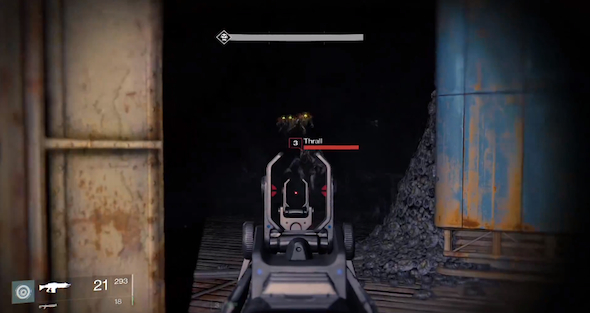
Move forward slowly through the center of the room until your flashlight catches a metal staircase and the Hive is released, then quickly retreat backwards to take cover at the entrance wall and mow down the approaching Thrall with automatic gunfire if possible.
Use melee strikes to deflect any Thrall that are able to jump within striking-range of your body and continue clearing these enemies out until you can proceed forward, then remain at a safe distance to pick off the Acolytes guarding the platform at the top of the steps and enter the blue-colored stairwell to ascend to the floor above.
Stand your ground at the top of the staircase by using automatic gunfire and melee strikes to fight back the wave of Thralls that comes rushing towards you, then back up occasionally to take cover behind the steps and use the scope to take out the Acolytes in the next room ahead.
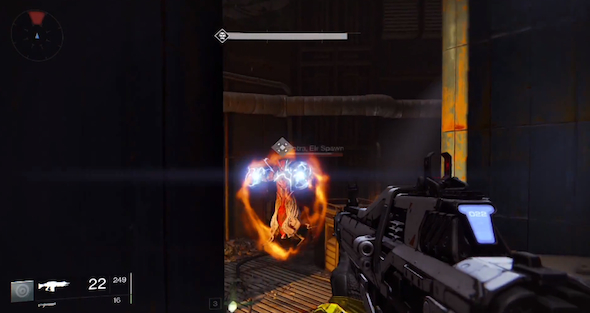
Use the surrounding cover and a long-range weapon to fight your way through the Acolytes that guard the next open room ahead, then mow down an oncoming Thrall wave and enter the room where it is indicated that the Wizard is making his entrance.
Find immediate cover to dispatch with the lesser enemies ahead and hurl a grenade if possible at the Wizard hovering at the top of the steps on the right in between one of his attacks, then continue assaulting the boss to drive him back further into the area above and follow him by first eliminating the next wave of Acolytes that appear.
Use the columns on the right as cover to further wear the Wizard down in between his projectile attacks, then move in at close range when the boss hovers over the previous area below and use the nearby obstructions to can peek around for a quick damaging blast until this enemy is defeated.

The Warmind
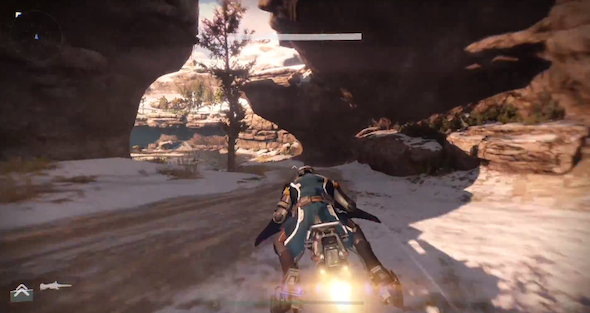
Fight your way towards the current objective marker to reach the Mothyards again and enter the indicated red shack to have your Ghost enable the Sparrow Vehicle Link, then hop on your new transport and follow the on-screen instructions to guide it in the direction of the next waypoint icon that appears.
Fly the Sparrow down the winding dirt trail within the canyon area to reach the Forgotten Shore and eject from your vehicle at nearest piece of cover to start clearing out the patrolling enemies with a long-range weapon.
Head towards the back end of the rusted ship ahead on the left and climb up onto the deck to clear out any nearby enemies, then aim a long-ranged weapon towards the objective marker at the front of the ship and pick off the hostiles you see standing in your way.
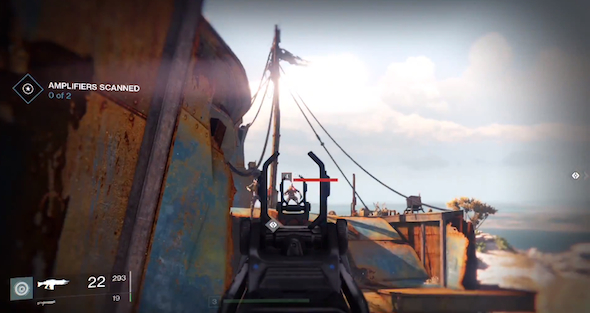
Proceed forward across the rusted shipwreck by keeping a scoped-weapon trained forward on the decks ahead and take down hostiles that appear with a quick headshot, then defeat the remaining enemies by rushing towards the indicated amplifier with a constant barrage of grenade tosses and shotgun fire.
Scan the amplifier before proceeding on towards the next objective marker and fight your way past the enemies guarding the inclined road that leads up to the structure at the top of the hill, then clear the building with grenades or close-range attacks and scan the second amplifier.
Fly the Sparrow towards the next objective marker that appears to travel uphill and follow the dirt road that wraps around the edge of the cliff to eventually enter the Terrestrial Complex at the end, then take out the enemies through the entryway on the right to proceed towards the left.
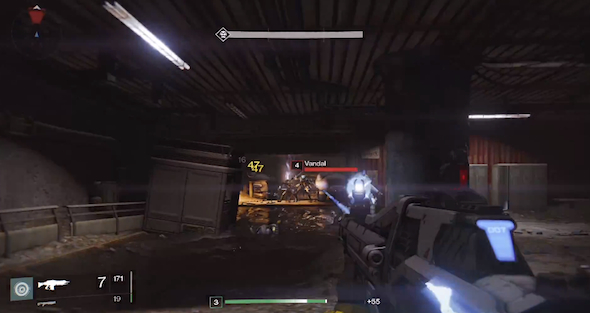
Find cover to safely mow down or hurl grenades at the hostiles that emerge from the gate that opens in the corner ahead on the left and fight your way through to the other side to reach the next floor above, then retreat back to the top of the staircase to deflect the charging group of invisible enemies with automatic gunfire and melee strikes.
Proceed into the next open room ahead to finish clearing the area and deploy the Ghost so he can start the extended scanning process, then turn around from where he is and equip an automatic weapon to fight back the enemies that emerge from the back right corner.
Use the bulbous white gas tank beside you as cover and continue facing the Ghost to pick off enemies that approach from behind him, then continue peeking out to eliminate the hostiles in the area below and quickly move to the pillar on your left to resist the next wave coming from the opposite corner.
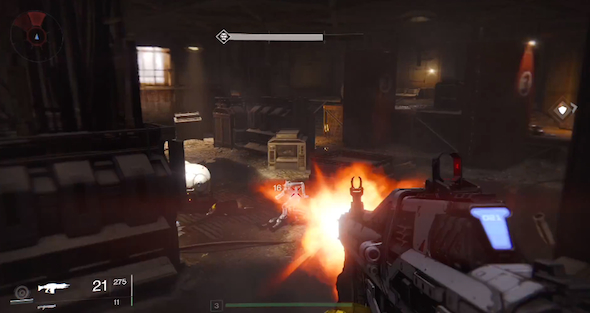
Fight your way to the opposite and more-elevated corner of the room, then turn around to continue clearing out the enemies in the area below and return to the Ghost when a larger hostile wave arrives so you can provide better protection.
Use grenades if possible to break up bigger groups of enemies or weaken the more heavily-armored Captains and move in at close-range towards lone hostiles for quicker kills, then continue protecting the Ghost in this manner until the scan is complete destroy the Fallen Tap with gunfire to complete this mission.

The Last Array
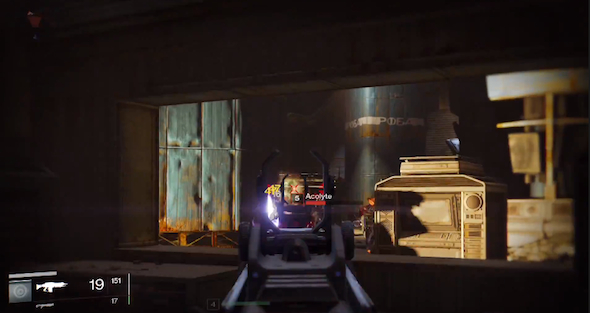
Travel towards the current objective marker to return to the area where you previously fought the Wizard and approach the rectangular window ahead on the left at the top of the staircase, then open fire on the enemies across from you to clear the room and duck down occasionally as a means of cover.
Use automatic gunfire to fight your way past the waves of enemies occupying the room in which you previously defeated the Wizard, then toss grenades if possible into the orange-lit room on the left that is now available to help you clear it and enter the next hallway in the corner to reach Skywatch.
Once you are outside again, enter the building directly ahead to encounter an oncoming wave of enemies and quickly eliminate them with a close-ranged weapon or flurry of melee strikes.
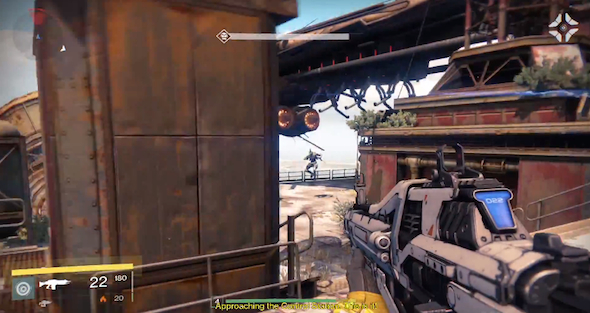
Exit out the back of the building to ascend the inclined road on the right and pass through the shack at the top to open fire on the enemies guarding the helicopter in the distance, then sprint around the front of the truck ahead on the right to blindside the remaining hostiles in the area.
Travel towards the red building in the distance marked with a letter C and mow down the enemies out front with a long-range weapon, then enter the structure to access the hallway in the very back right corner and climb the stairs at the end to reach the Terrestrial Complex.
Aim your sights towards the back right corner of the first room to pick off a nearby enemy and clear the next area ahead from a distance with a long-ranged weapon by using the hallway as cover, then continue using something like an automatic rifle to fight your way back outside.
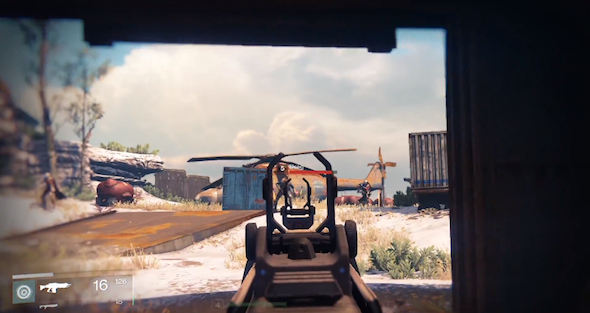
Take cover at the top of the nearby staircase to open fire on the enemies that descend from the transport ship ahead and look towards your right occasionally to take out another wave of approaching hostiles with grenades if possible, then finish clearing the area to move past the Vandals you eliminated on the right.
Find cover amongst the crates in front of the next set of steps ahead and use them to eliminate the surrounding hostiles with close-ranged attacks, then continue fighting your way towards the current objective marker with the help of grenades if possible.
Deploy the Ghost to activate the Array, then look out from the building’s entrance to watch the structure rising in the distance and wait for the approaching hostile ships to arrive.
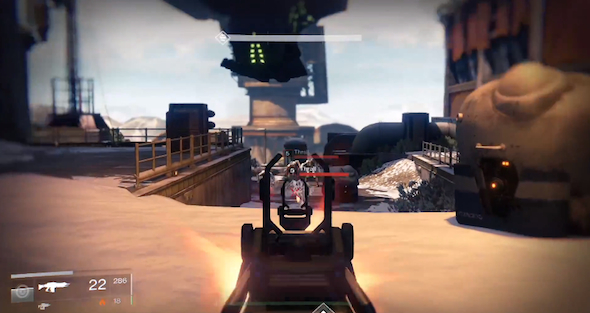
Aim a long-range automatic weapon down towards the bottom of the ramp in front of you and open fire on the enemies approaching it from the distance ahead, then back up quickly into the building whenever the hostile wave gets too close and deflect them with a series of quick male strikes.
Take cover inside the building when you see the Wizard and score consistent headshots on this enemy from a distance until he falls down dead, then stand within the entrance to continue defending the Ghost and defeat the Knight by stain on the move while fire charged blasts as close range.
Back all the way up to the Ghost if necessary to continue protecting it until you can return to the building’s entrance and use grenades if possible to clear out the last large wave of advancing enemies and return to the controls to complete this mission.

The Dark Beyond
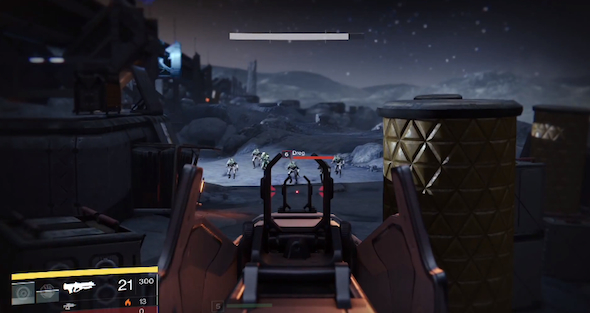
Head towards the current objective marker to reach Archer’s Line and enter the indicated building on your left to hack the first piece of equipment with the Ghost, then take cover amongst the crates in the room after the lights go out and eliminate the wave of Fallen that arrive with close-range ambush attacks in the dark.
Fight your way back out of the building by using automatic gunfire from a safe distance to clear each area ahead before proceeding and eliminate the Captain that eventually appears on the right with the help of grenades or charged shots if possible.
Use close-ranged attacks to finish off the last of the enemy wave, then look back towards the top of the hill you climbed to reach this area and find a covered vantage point to keep your sights trained on the transport ship that now approaches.
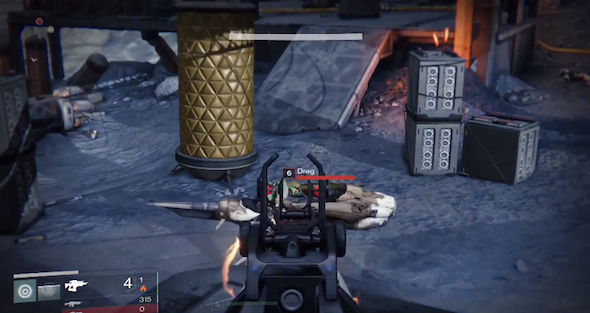
Open fire on the enemies that drop from the ship as soon as they touch the ground by zooming in with an automatic weapon and keep your left-side covered at all times to avoid being flanked, then turn your sights towards the previous room’s entryway and eliminate the occupying hostiles from an elevated position.
Defend yourself by taking cover on the elevated platform where you previously defeated the Captain and use charged shots or grenades if possible to eliminate the stronger enemies at close-range, then finish beating back the hostile wave and jump on your Sparrow to travel to the next objective marker.
You can also eject from your Sparrow when you see an enemy piloting a hover bike called a Pike and pick them off with a headshot to steal this weaponized vehicle.
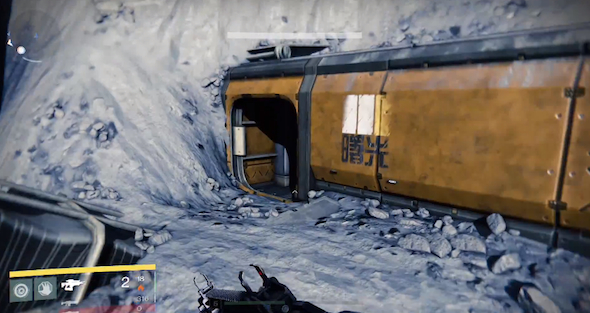
Blast through the enemy Pikes in your path to reach the Anchor of Light and take out any hostiles you see on foot as you approach the current objective marker, then eliminate the snipers on the surrounding towers by driving up the inclined ramps to reach them and open fire with the weapons on your transport.
Approach the orange-colored doorway partially buried at the base of a nearby snow hill and cross the walkway across from it to enter the disc-shaped building above, then deploy your Ghost at the indicated console and defeat any additional enemies in the area.
Exit the building to commandeer another vehicle and travel in the direction of the next objective marker that appears to reach the Temple of Crota, then deploy your Ghost over the body laying in front of the entrance to activate a cut-scene.
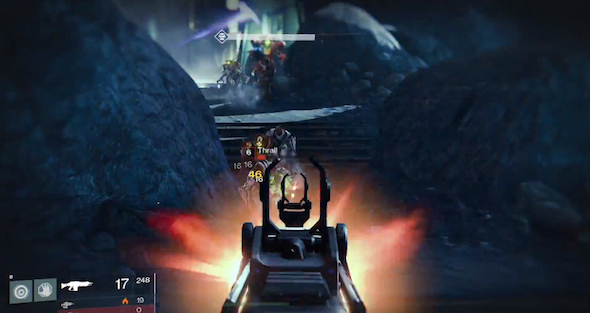
Afterwards, open fire on the enemies directly in front of you with an automatic weapon or grenades if possible to progress forward and back up when the hostiles come charging in at close-range to hit them with melee strikes.
Retreat to the bottom of the steps behind you to funnel the charging enemy wave through a narrow opening and focus automatic gunfire at this particular area to eliminate the large number of threats efficiently.
Back up as far as necessary across the surface of the moon to survive the oncoming horde of Fallen while mow them down in the process and defeat the remaining Acolytes by circling around them consistently to flank them at close-range, then enter the temple when the coast is clear to climb the stairs on the right and surprise the snipers from behind.
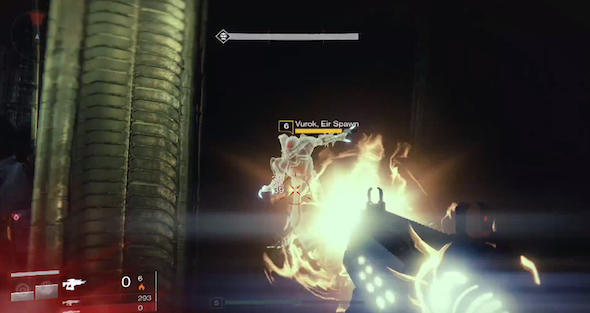
Use the surrounding cover to repeatedly sneak up on the Wizard before he can react and blast him with a close-range attack to the head, then quickly duck back into hiding to avoid his responding assault and continue wearing the boss down in this way until he is defeated to complete this mission.

The World’s Grave
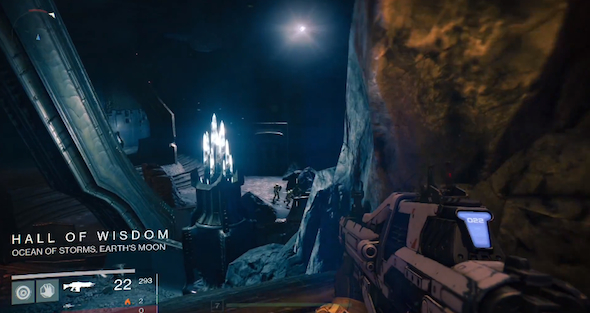
Travel towards the current objective marker to enter the Hive Fortress and descend into the Hall of Wisdom to start picking off the enemies in the area furthest below, then continue moving along the walkway that wraps around the wall and use the barricades to fight back the oncoming wave of hostiles beneath you.
Proceed towards the orange-lit area in the distance ahead to encounter the enemies that emit clouds of black smog and eliminate them by moving sideways to fire around these smokescreens at the creature behind them.
Toss grenades if possible into the orange-lit chamber before jumping in to finish off the Wizard with close-range gunfire, then continue in the direction of the current objective marker and post up on the balcony that overlooks the next area below to wait for the oncoming enemy transport ship.
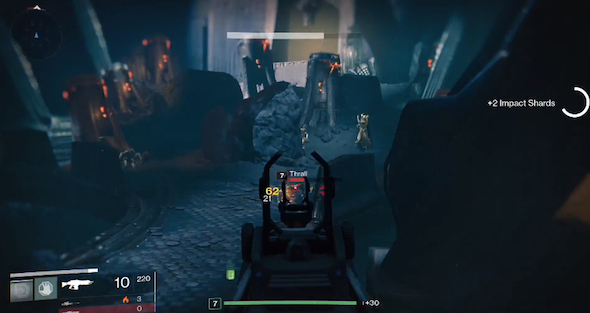
Maintain the elevated position you have over the enemy-occupied area below and use a long-range weapon to start picking them off one-by-one until all threats have been removed, then approach the current objective marker to take out the shrieker by moving repeatedly between the cover of the surrounding rocks.
Enter the tunnel at the back of this cavern to follow it around until you reach the Circle of Bones, then stand in the entrance as the next enemy transport ship flies in from the left and aim a long-ranged weapon at the area beneath where it comes to a stop.
Open fire on the hostiles as they drop from the ship and dodge any incoming purple energy blasts by taking cover behind the entryway behind you, then continue clearing the area below from a distance and equip an automatic weapon to fight your way forward until a second enemy transport ship arrives.
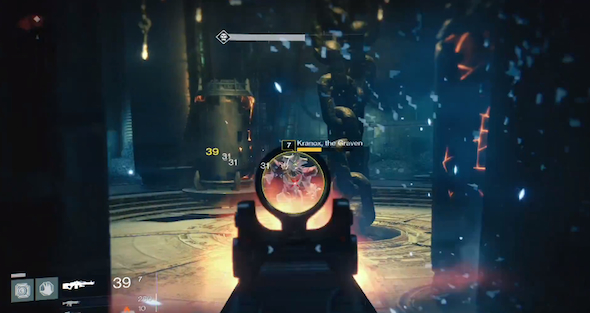
Find cover in the sandy area that’s off to the right side of the pathway and start picking off the new wave of hostiles, then proceed towards the current objective marker to discover the enclosed circular chamber and toss grenades in here if possible to weaken the enemies within before ambushing them with automatic gunfire at close-range.
Remain outside the chamber to continue firing into the head of the heavily-armored Kranox, the Graven and walk in a circle along the wall to remain elusive until he is dead, then exit back onto the previous pathway to approach the next objective marker that appears and fight past another wave of Acolytes waiting by the entry ahead to reach The World’s Grave.
Enter the orange-lit tunnel below on the left to fight through a wave of Thrall by using automatic gunfire and deflecting melee strikes, then exit into the ruins at the end of the tunnel to pick off the enemies at the top of the steps in the distance ahead and use a long-range weapon to continue batting your way up the stairs.
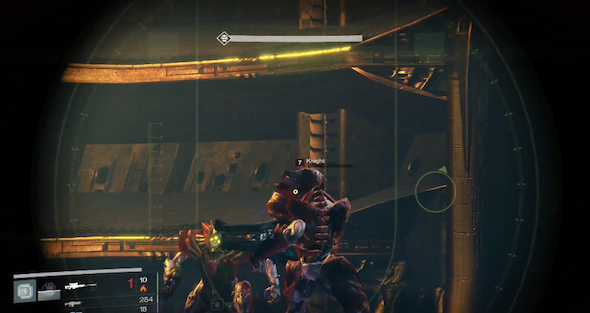
Proceed into the room at the top of the stairs and target the Knight on the upper level across from you to eliminate him first before attacking the rest of the enemies in the vicinity, then remain on the balcony to use the nearby barricade as cover and finish clearing the room from a safe distance.
Rush into the orange-lit chamber that houses the World’s Grave and eliminate the last of the remaining threats with a close-range weapon or grenades if possible, then deploy the Ghost to access the machine and turn around from it to prepare for the oncoming Hive invasion.
Stand your ground with a long-range weapon to pick off enemies charging towards you and blast the ones that get too close with a quick melee strike before going back to the gun.
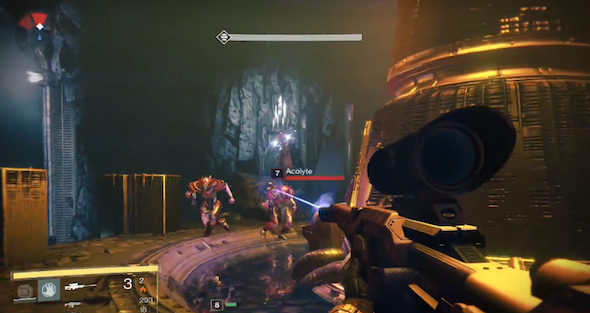
Position yourself on the left side of the World’s Grave to remain covered from that angle and continue firing on the enemies in the area below, then occasionally turn directly to your right to protect the Ghost from any hostiles attempting a flank attack.
Move in a circle behind the World’s Grave to remain covered while clearing out any large groups of the Hive that manage to get too close to you, then continue protecting the Ghost in this manner until the mission is complete.

The Sword of Crota
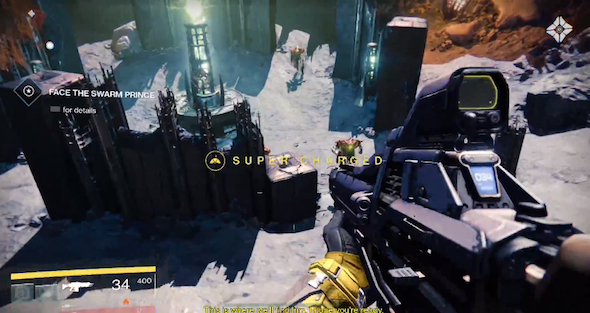
Fight your way towards the current objective marker by following the winding road lined with glow sticks that leads to the Hellmouth, then continue traveling in the direction of the waypoint in the distance and eliminate any hostiles that emerge to block your path.
Approach the current objective marker to locate the crater with a machine protruding from the bottom that emits a bright green-glowing light, then remain on the ridge that overlooks this area to eliminate the occupying enemies from an elevated position.
Drop into the crater to move between the surrounding stone columns as a means of cover and fight off the oncoming waves of enemies that emerge from the tunnel entrance in the wall, then finish clearing the area before traveling on in the direction of the current objective marker and fight past the hostiles guarding the indicated hole in the hole.
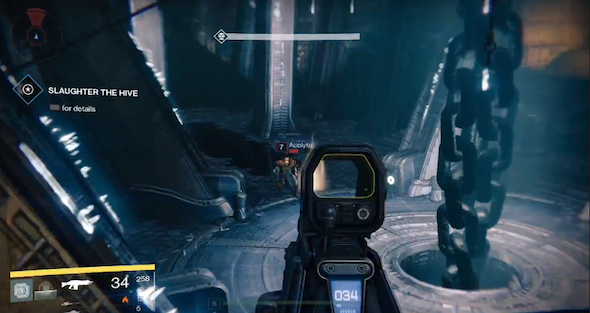
Enter the structure to follow the first open corridor on the right that leads into the Gatehouse and pick off the enemies walking across rock hill in the distance ahead of you, then fight your way down the hall on the left to continue clearing the next series of rooms with a long-ranged weapon and melee strikes to deflect hostiles that charge at close-range.
Jump to the walkway that looks down on the enormous chain running through the floor and take out the remaining enemies in the area from a safe covered distance, then drop to the ground to eliminate the remaining threats with close-range attacks and pick up the indicated sword floating nearby.
Use the sword for executing flurries of combo strikes to wipe out the advancing waves of Thralls that advance on you next, then move between the first and second levels of the area to clear out the remaining threats until the first Swarm Prince arrives.
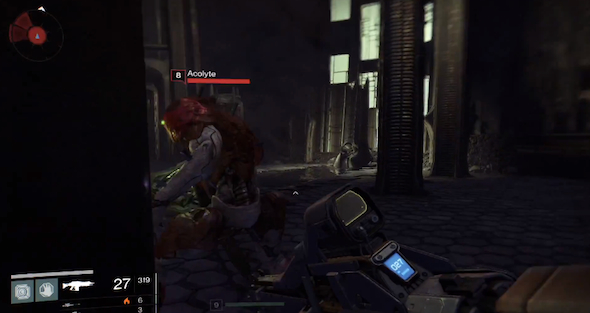
Move within attack distance of the Prince to goad him into swinging his weapon, then sprint or jump backwards into retreat as quickly as possible before immediately leaping back towards the enemy to execute a downward sword strike that causes a shockwave blast.
Jump away quickly and rapid repetition, onto the second level if necessary, to escape the Prince’s attacks or allow time for your health to refill.
Use the previously described combat strategy to defeat all three Princes successfully and complete this mission.

Chamber of Night
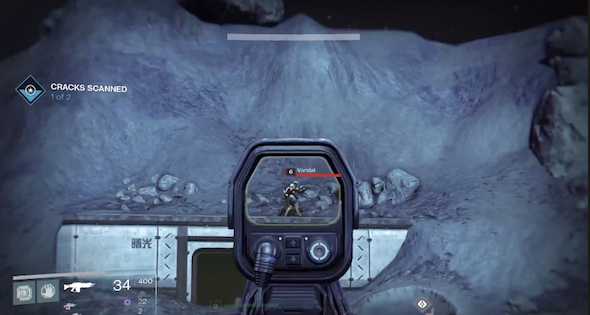
Travel towards the current objective marker to have your Ghost scan the first set of cracks in the Hellmouth, then head in the direction of the next waypoint icon that appears and use grenades if possible to remove the first enemy that tries to block your path.
Hold down the accelerator on your Sparrow to barrel past enemy squadrons that have no effect on the current mission and eject at the next series of cracks in the Hellmouth you reach, then pick off the sniper standing above the silver doorway atop the hill on your left and deploy the Ghost to scan the indicated spot on the ground nearby.
Search the area for additional supplies until the scanning process in complete, then travel back the way you came in the direction of the next objective marker that appears and maintain high-speeds without stopping to reach the Temple with as little conflict as possible.

Enter the Temple of Crota to activate a cut scene, then approach the next group of enemies down the hall in front of you slowly to target them accurately with a scoped-weapon before they can react and take out the Ogre with charged blasts or grenades if possible from a safe distance.
Climb the first staircase on your right to reach the balcony above and flank the Acolyte snipers that occupy this area from the side with a close-range weapon before they notice you, then back up down the stairs slight as a means of using the steps as cover while clearing out the next wave of oncoming enemies with automatic gunfire.
Search the temple for any stragglers left over from the larger hostile waves you defeated and take them out quickly with running melee strike or long-range headshots, then drop to the lowest level of the structure to start navigating another series of underground tunnels.
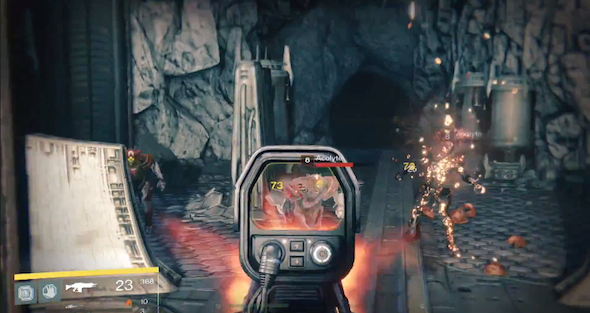
Remove the various enemy squadrons that occupy the tunnel system by walking slowly and keeping a scoped weapon trained forward on the road ahead, then pick off the oncoming hostiles as soon as they appear and before they can even get within attack-range.
Peer around every corner you come to along the way and eliminate any flanking hostile with quick bursts of automatic gunfire, then walk up the next set of available steps on the right to cross over to the set of steps on the opposite side of the cavern and use a grenade if possible to ambush a group of Acolytes on the landing below.
Turn right at the bottom of the staircase to clear out the nearby enemy squadron waiting on the other side of the next open doorway and make another right turn once you’ve passed through this entry point to follow another stone pathway uphill, then eliminate the hostiles that emerge from an adjacent corridor to gain access to it and head left to descend an orange-lit staircase that leads you back to the World’s Grave.
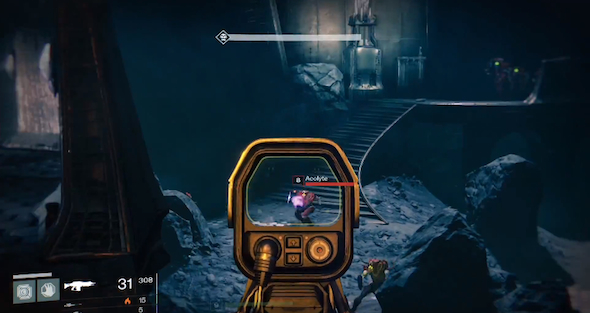
Stay near the entrance you just used to access the World’s Grave and pick off the enemies that descend from a safe distance, then approach the edge of the walkway in front of you to look down on the Fallen in the area below and target the surrounding rocks to pick off a hostile each time he peeks out from cover.
Move your sights to the top of the staircase in the distance ahead on the left every once in a while to pick off enemies who occasionally use these steps as a means of entering the fight.
Eliminate the three witches by moving in as close to them as possible and take covering behind the nearest column that you can circle around continually, then use a powerful weapon, such as a shotgun if possible, to duck in and out of cover while blasting these creatures for maximum damage.
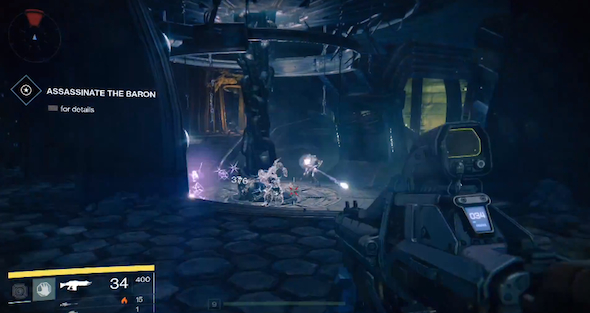
Continue clearing the area by moving backwards up and down the available staircases while beating back the oncoming enemies waves with automatic gunfire or grenades if possible, then climb up onto the circular platform located beneath the large stone relic that’s levitating within the green light beam and finish off the remaining threats with close-range blasts.
Retreat to the second floor walkway that looks down on the floating relic and wait for the Unborn to charge into the room, then open fire on this enemy’s head with long-range gunfire and check your sides every few seconds during each assault to avoid being flanked.
Target the lumpy green bulge that makes up the Unborn’s head to cause maximum damage and walk backwards whenever this boss advances in your direction to maintain a safe distance at all times while deflecting the lesser enemies at close-range with melee strikes, then finish clearing the room to inspect the relic and complete this mission.

Shrine of Oryx

Travel in the direction the current objective marker to fight your way back into the Hellmouth using close-range automatic gunfire while running to remain elusive, then stand in the orange-lit doorway you see ahead upon reaching the Gatehouse and pick off the enemies you see below in the distance before running up the inclined path on your right to flank another group at the top of the hill.
Make your way down the other side of the hill safely by sniping the enemies below in the distance first and use the columns on the right as cover before launching an attack on the next hostile wave around the corner.
Move from left to right across the walkway you’re on while firing to remain elusive while mowing down the Fallen and duck behind cover whenever possible to regenerate health, then continue navigating the cave tunnels to reach the next open room where a group of enemies has gathered around an enormous chain and toss a grenade if possible to remove them.
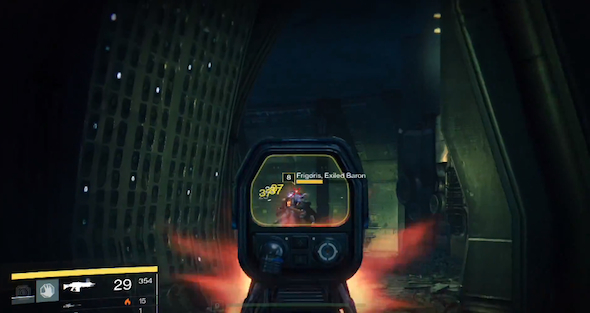
Back up through the previous entrance to maintain a safe-distance while sniping the rest of the hostiles in the area below, then look down the corridor on your right to spot the Baron coming towards you and immediately open fire into his head with a scoped-weapon.
Take cover behind an adjacent corner to reload and move in closer with full-auto to finish the Baron off with a quick flurry of headshots, then remain on the upper walkway to clear the last of the threats from the area below and proceed towards the next objective marker to enter the Circle of Bones.
Drop to the ground floor and turn right to open fire on the Baron in the distance with a scoped-weapon, then proceed in the direction of the current objective marker to eliminate another Baron on the opposite ledge above in the same manner and make your way through the next cave tunnel that leads to the Hall of Wisdom.
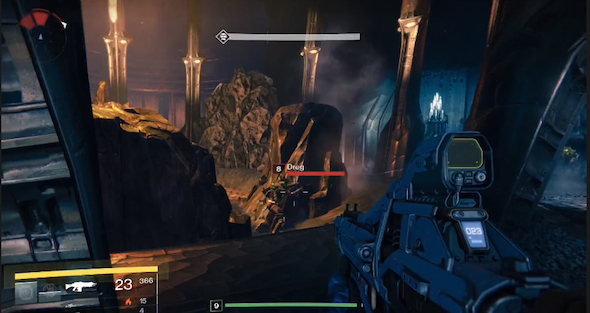
Remain on the elevated ridge that looks down on the center of the room and move sideways in either direction to open fire on the enemies below or throw grenades at them if possible, then finish clearing the area to approach the orange-lit chamber across the bridge and immediately retreat when the next wave of Fallen arrives from above.
Open fire on the Fallen with a scoped weapon while running backwards, then change directions quickly to charge up the inclined section of the bridge and ambush the enemies on the left.
Stay to the outer edge of the orange-lit chamber to clear the area and the adjacent room while running along it in a constant circle, then use a long-range weapon to continue battling your way towards the current objective marker and enter the Shrine of Oryx at the end of the next tunnel.
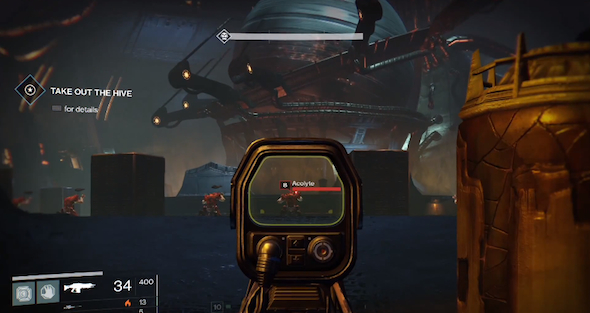
Turn directly to your right to defend yourself from a nearby gang of hostiles and fight past them to ascend the next staircase, then maintain an elevated position whenever possible by looking for inclined sections of walkway and use this advantage to clear the horde from your path more efficiently.
Continue fighting with a long-ranged weapon as you proceed through the tunnel until it opens into an enormous chamber with a spherical dome at its center, then target the Acolytes knelt in prayer around the base to start sniping or tossing grenades if possible before they can react.
Eliminate the remaining Acolytes by charging towards them at close-range with automatic gunfire and enter the green-lit room directly beneath the spherical dome to deploy your Ghost, then look out towards the oblong grey stone door in the wall across from you and equip a scoped weapon if possible.
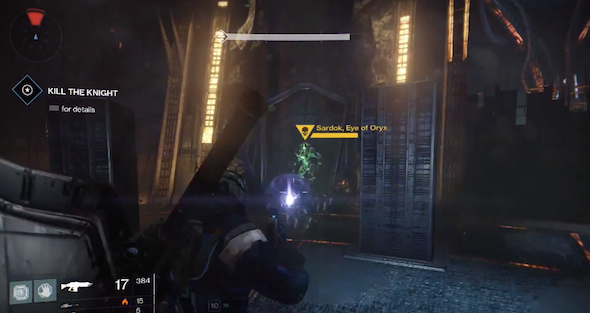
Toss a grenade if possible through the stone gateway as soon as it raises to hit the green-glowing Knight enemy inside and immediately zoom in on his head to start inflicting as much damage as possible.
Back up into the green-lit room as a means of cover and deflect the lesser enemies that coming charging in at close-range with a quick melee blast, then return your sights to Sardok whenever he is in between an attack and unload whatever you can into his face from a safe-distance or from behind the nearest cover point.
Ascend to the upper level if the Knight is advancing on you too quickly and continue wearing him down from an advantageous elevated position, then finish draining Sardocks health by emptying repeated rounds into his head and destroy the spinning sphere by shooting directly into it to complete this mission.

Isthar Collective
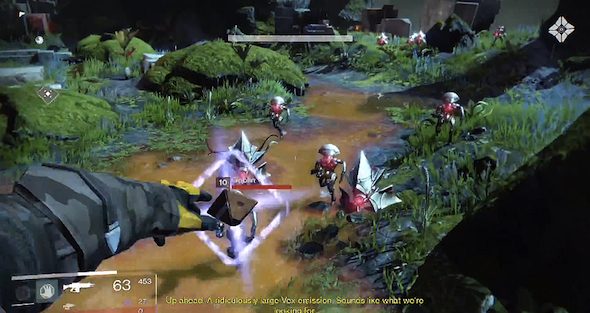
Fly towards the current objective marker by navigating a winding dirt road that leads to the Shattered Coast and take cover behind the first cluster of rusted out cars you see submerged in water, then use a long-range weapon to take out the wave of Shanks patrolling ahead and unleash a melee assault on any other member of the Fallen that approaches within striking distance.
Continue traveling in the direction of the waypoint icons that appear to reach the next building and immediately eject from any vehicle you’re piloting, then toss grenades if possible into the tighter clusters of enemies in front of you and rush towards each hostile one-at-a-time to eliminate them at close-range with automatic gunfire or melee attacks.
Proceed in the direction of the current line of objective markers to travel deeper into the jungle until you reach the Ishtar Cliffs, then continue down the indicated muddy road to encounter the next hostile wave and break them apart immediately with a grenade if possible.
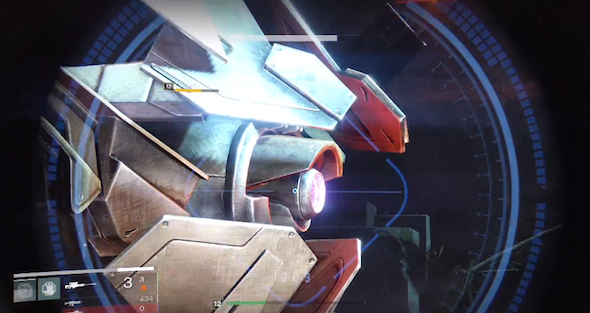
Take cover behind the nearest rock to continue your assault on the clearing ahead from safety and look for the origin of the oncoming blasts of purple energy to locate the mechanized turret guarding this area, then equip a scoped weapon to accurately target the triangular plates that shield the mounted gun’s barrel in between attacks.
Stay near cover while focusing on the triangular shielding plates until they slide back to reveal the turrets glowing circular barrel, then open fire on this nub with a few well-placed shots and either duck back into hiding or destroy the entire weapon before a return blast can be sent.
Use grenades or shots from a charged weapon to fight your way across to the opposite side of the clearing and continue traveling in the direction of the objective markers to reach the Waking Ruins, then enter the indicated stone structure at the end of the road and exit out the other side onto Campus 9.
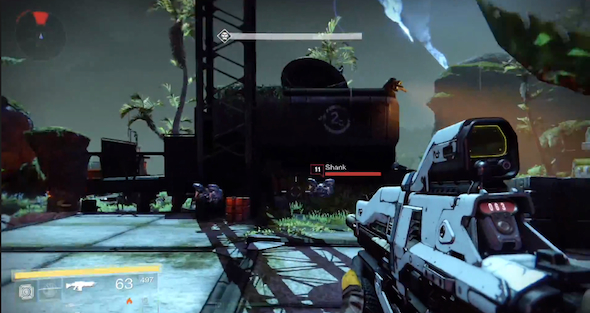
Move into the grassy outside area ahead and use the varying levels of elevation across the ruins to drop down beside various enemy patrols for a quick melee kill, then fight your way towards the current objective marker by keeping long-range automatic weapon equipped if possible for the remainder of this particular conflict.
Enter the red-lit laboratory room on the other side of Campus 9 and watch the Surge countdown clock expire, then approach the right side of the lab to slip through the last available window and wait for the nearby line of Shanks to pass by before flanking them with a grenade if possible.
Finish off the shanks with a flurry of melee blasts and aim a scoped weapon towards the grassy area occupied with enemies in the distance, then start picking off the remaining threats and ambush them with automatic gunfire after their numbers have been thinned.
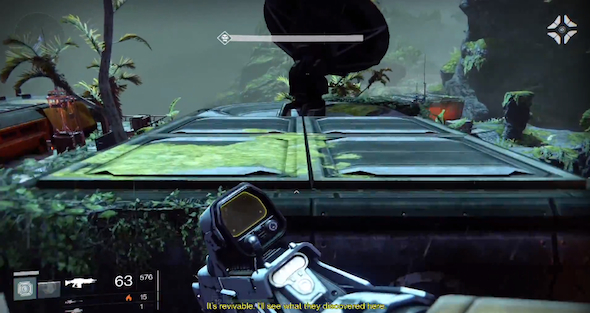
Continue fighting by maintaining an elevated position or staying on the move at all times between different cover points, then approach the next indicated console to deploy the Ghost and exit the room to ascend to one of the moss-covered rooftops above that houses a satellite dish.
Equip a scoped weapon to begin patrolling the rooftop by looking down over each side of it in repeated succession and clearing out any hostiles located beneath you, then continue your circular guard duty routine each time to avoid being ambushed by newer and tougher enemy waves.
Use grenades or automatic gunfire to clear out the Goblins from an elevated vantage point and watch for this particular enemy to suddenly disappear into thin air, because if they do, you’ll need to quickly spin around 180 degrees and deflect an oncoming ambush with a melee strike.
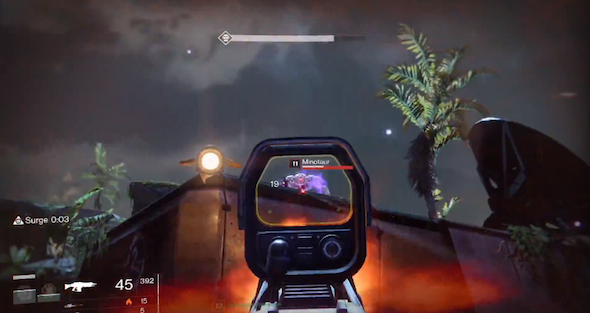
Equip a scoped-weapon to scan the surrounding area for any remaining stragglers to pick off before they can get with striking distance, then retreat from the Miinotaurs that suddenly appear beside you while firing back at them from a safe distance until they drop over dead.
Stay on the move at all times as a survival measure by consistently transferring between the ground level and the rooftops whenever the Minotaurs switch places as well, then continue wearing them down from a safe distance until the area is clear and return to the Ghost to complete this mission.

The Archive
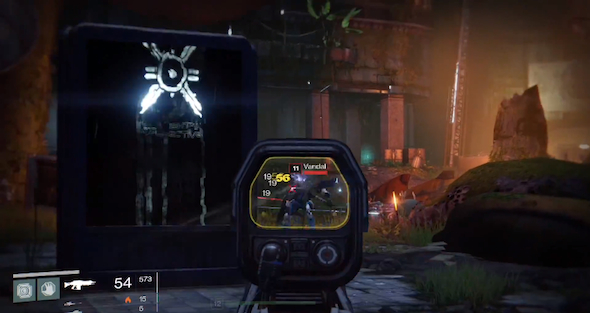
Travel towards the waypoint icon to enter the indicated building off the left side of the road, then descend through the hole in the floor to access the underground tunnel that leads into Ishtar Academy.
Used a scoped weapon or grenades to clear away the enemies near the tunnel’s exit and on the balcony above in the distance ahead, then proceed between the next two buildings to take cover near the golden statue and continue eliminating the hostiles with accuracy from a crouched position.
Back up under the overhangs to draw enemies in close for melee attacks and ascend to the wooden balconies to clear out any remaining threats, then proceed forward to reach the Ishtar Commons and move towards the block with a white Circle X symbol on it to flank the Vandal nearby.
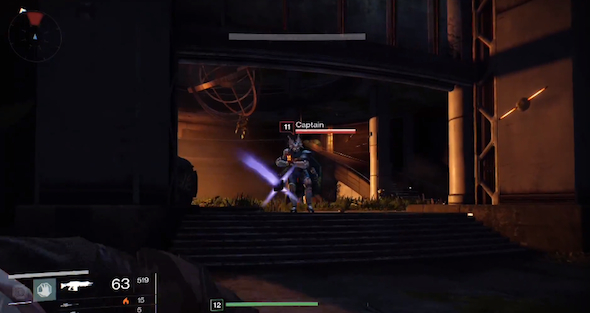
Turn left to enter the next orange-lit building and use a grenade to take out the Captain at the top of the steps, then look through the windows to eliminate the remaining forces gathered outside and on the staircase in the distance across from you.
Proceed towards the current objective marker to reach the Hall of Whispers and use the column in front of you as cover to eliminate the Shanks patrolling the area on the left, then climb the nearby staircase to continue across the hall along the upper landing and fire down over the balcony when you reach the opposite wall.
Focus your sights on the staircase below to eliminate the occupying group of enemies and turn around occasionally to deflect ambushes with melee strikes, then continue mowing down the hostiles in the area beneath you to clear the field of battle until the next gate opens and proceed towards the current objective marker to deploy the Ghost.
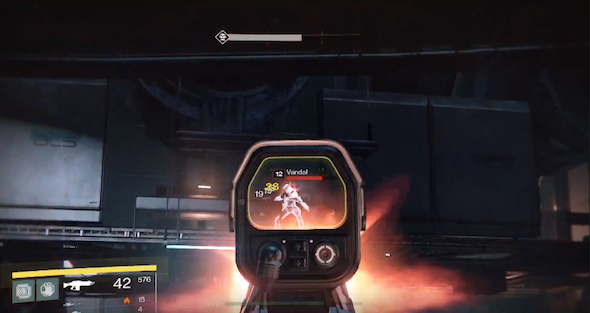
Descend into the vault to reach the Archive and access the indicated terminal to deploy the Ghost again, then turn around from him to pick off the shanks that enter from the opposite side of the room and the vandals perched on the balcony above.
Train your sights on the entryway in the back right corner to mow down the invading force of hostiles in an efficient manner and toss grenades if possible when the enemies get too close, then finish clearing the second level walkways to gain an advantageous elevated position and use it to fire down on the next wave that arrives.
Approach the next objective marker that appears to deploy the Ghost again and turn around to defend this area with automatic gunfire, then head towards the third waypoint icon that appears to clear another series of catwalks with grenades if possible.
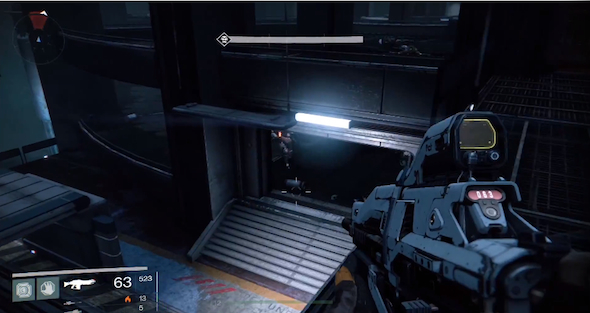
Deploy the Ghost for the third time and turn around to head right along the catwalk in anticipation of the next oncoming enemy wave, then mow down the first group of Dreggs quickly and return to the previous spot to look down over the balcony.
Look down through the doorway at the top of the steps below on the right and try to pick off any hostile you see trying to find cover, then drop to the ground to fight your way into this building and clear the area with the help of grenade tosses in this close-quarters setting.
Approach the final terminal to deploy the Ghost for the fourth time and complete this mission.

Scourge of Winter
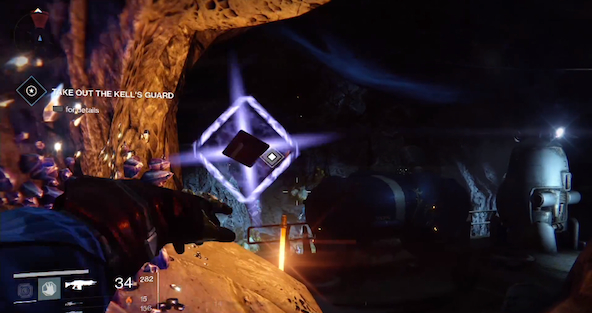
Travel towards the current objective marker to reach the Ember Caves and use grenades if possible to break up the first group of Fallen you see ahead, then fight your way up the inclined dirt road and use an automatic weapon to clear out the patrolling enemies.
Navigate the orange-lit cave tunnels to locate the next enemy squadron in a pool of water below you on the left and toss a grenade over the railing to clear them out, then proceed towards the current objective marker to reach the next open cavern and stay within the tunnel you entered from as a means of cover.
Use a scoped weapon to check the road ahead from an elevated vantage point and pick off any possible threats you see along the way, then switch to an automatic as the path starts to narrow and enemies begin ambushing you at close-range.
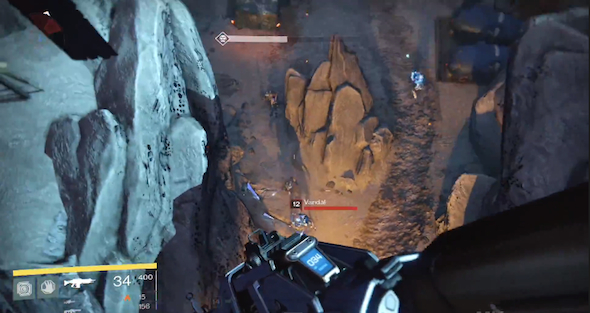
Continue fighting your way through Winter’s Lair to reach the Cinders and watch the Ketch descend in front of you before proceeding down the trail to the left, then jump the two gaps in the cliff-side path ahead to turn around at the second one and fire down on the enemies patrolling the orange-lit area far below.
Drop down to the next level to take cover behind the nearby stack of containers and equip a long-range weapon to pick off the enemies in the distance across from you, then follow path to get a perspective on the next orange-lit clearing below and use a grenade to break up the large group of hostiles.
Descend into the clearing to eliminate the remaining enemies by running between the surrounding cover points and mowing them down with an automatic weapon, then fight your way onto the airship by first clearing the deck with a sniper rifle if possible and turn left to enter the adjacent structure with the help of a few grenade tosses.
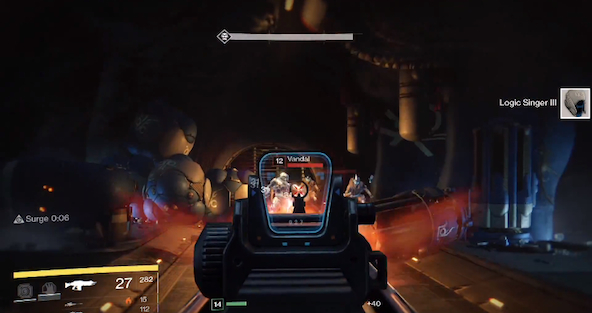
Stand within the entrance so you can back up through it as a means of cover and equip a scoped weapon, then pick off the enemies on the ground floor and on the railed landing against the all across from you.
Proceed through the structure by remaining behind while mowing down the enemies that emerge from the left with an automatic weapon and climb the steps in the back corner to access the automatic door at the top, then ascend to the next level of the airship to reach a long corridor and open fire on the shanks approaching from the opposite end.
Stand within the entrance of the long corridor to mow down every enemy that enter your line of sight by constantly firing an automatic weapon straight ahead, then proceed forward to climb another staircase and clear the next hallway above.
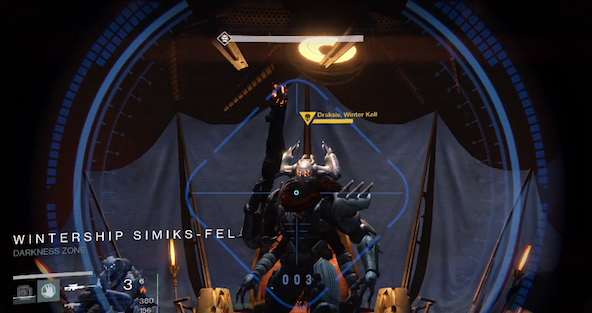
Enter the next open room to immediately fire on the enemies in front of you and move down the initial set of steps to find suitable cover near the right-side wall, then face the blue laser beams at the opposite end of this area and continue taking out the occupying hostile force from a safe distance.
Climb the staircases behind the door to the right of the blue lasers and equip a scoped rifle at the top to train your sights on the Winter Kell standing in front of the throne, then score as many headshots as you can before this enemy starts to walk away and back up down the steps to take cover from the next round of return fire.
Stay near the top of the steps to remain covered while you clear out the lesser enemies with automatic gunfire and enter the room so you can defeat Draksis with the help of grenade tosses to complete this mission.

Eye of a Gate Lord
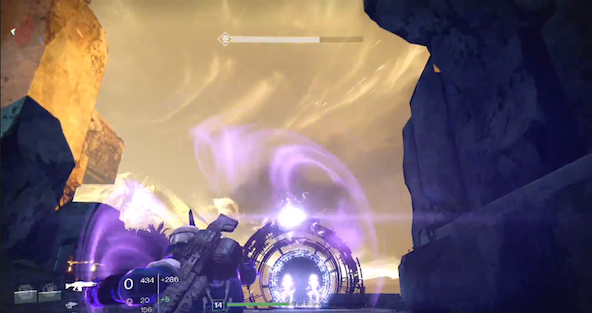
Travel towards the current objective marker to reach the Citadel and fight your way into the building with the help of grenade tosses, then approach the indicated grid made of white light beams to deploy the Ghost and head in the direction of the next waypoint marker that appears to return to Campus 9 within the Waking Ruins.
Take immediate cover as soon as you encounter the Goblins and toss grenades into them while firing with an automatic weapon at close-range, then continue towards the waypoint icon ahead to approach the portal on the other side of the water and pick off the oncoming enemies from the shore with a sniper rifle if possible.
Use the stone entryway behind you as cover and switch to an automatic weapon to mow down the oncoming waves of Goblins as they grow larger in number, then toss a grenade into the indicated portal to shut it down and turn to the left to defend yourself from the next attack.
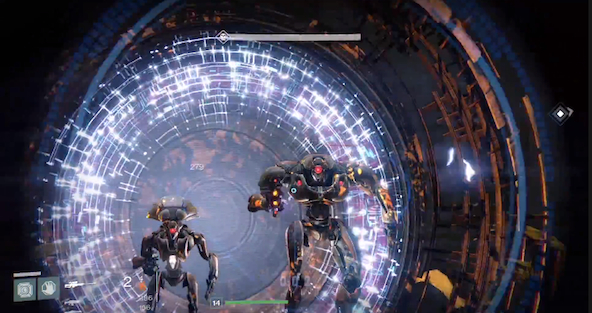
Climb the stone steps in the corner to approach the next portal in the distance ahead and remain on the high ground while using a sniper rifle to start picking off the enemies that emerge from the gate.
Switch to an automatic weapon and start tossing grenades to clear out the Goblins that approach at close-range from the area below you, then move along the walkway that hugs the cement wall to your left and continue firing on the enemies in the distance ahead.
Use grenades to help you finish clearing the area and toss an additional one into the portal to destroy it as you did the previous gate, then proceed towards the next objective marker to reach another open area at the end of a tunnel and equip a scoped weapon to immediately pick off the Hobgoblin atop the mossy cement overhang above.
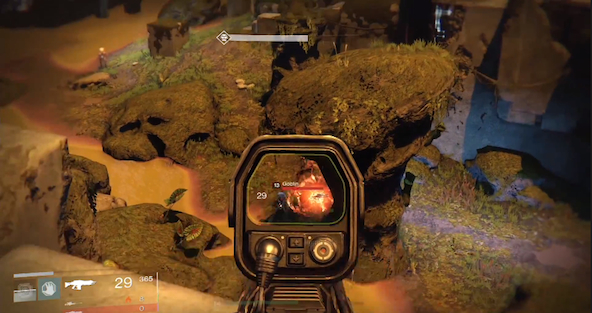
Ascend the first stone staircase one the left to reach the next level above and clear out the surrounding enemies at close-range with automatic gunfire, then look out in the direction of the right-corner portal in the distance ahead and aim up towards the left to pick off another Hobgoblin sniper.
Continue clearing the area from a safe distance before shooting out the two nearby portals and head towards the next objective marker to reach the point where the laser beams cross, then take cover to start firing on the wave of incoming enemies and use a scoped weapon to pick off the remaining hostiles before destroying a third gate in the back right corner.
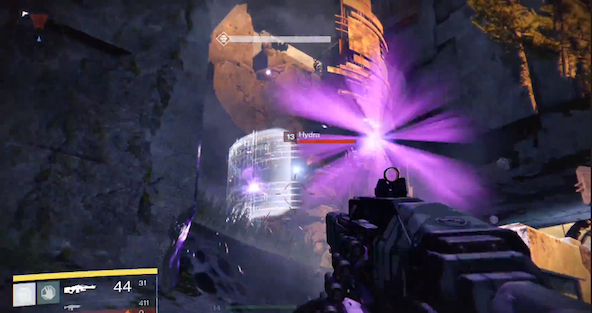
Use automatic gunfire to fight your way towards the next portal in back left corner of this area and encounter the Hydra defense measure, then take cover behind the wall directly to the left of it to safely approach this hostile at close-range and destroy it with grenades by throwing them over the top of laser shield.
Aim a scoped weapon at the portal in the corner directly across from you to destroy it and travel through the nearby stone structure to exit out the other side onto the Endless Steps, then fight your way down the path on the right and look into the lowermost clearing below on the left to continue clearing the area.
Continue making your way towards the last enormous portal to finish clearing the area and enter the red laser circle in front of it to summon the Gate Lord, then equip a scoped weapon and back up down the steps when he appears to start firing into his head.
Remain at safe distance with a sniper rifle to shoot the glowing red lights on the Gate Lord’s head and move continually between the same nearby cover points to avoid his counter-fire, then toss grenades or use a sniper scope to clear out the waves of lesser enemies that appear next and target the white light on the boss’ stomach until he explodes to complete the mission.

Exclusion Zone
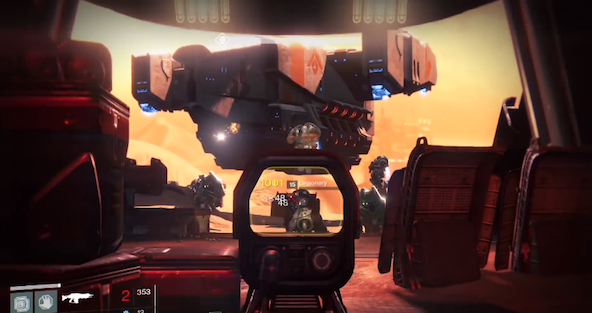
Head towards the current objective marker to enter the locked bunker by first deploying the Ghost and move straight forward through the corridor below to make a left at the end, then hack the indicated terminal to set off a red-alert alarm and approach the enormous cargo bay doors that open to take cover behind the line of bunkers.
Stay inside the opening between the stack of containers and the line of barricades to open fire on the invading force of Legionarys from a safe distance, then toss grenades at the enemies standing closest to each other and switch to an automatic weapon as the hostiles draw closer to you.
Keep your sights trained on the exposed heads of the Legionary to eliminate them quickly and exit the building to finish clearing the area of any stragglers, then equip a sniper rifle to target the next dropship that arrives in the distance ahead and starting picking off a new wave of hostiles before they can get within attack range.
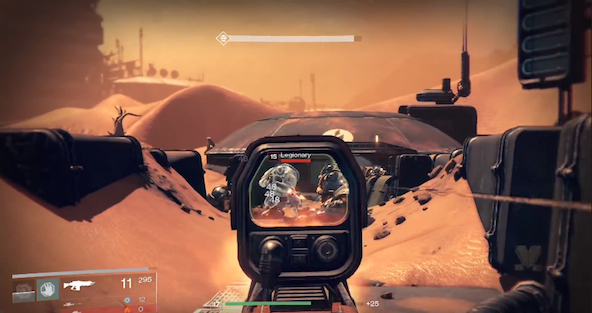
Move forward towards the left to drop into the trench below and turn right to start clearing out the domed building ahead with an automatic weapon, then toss grenades to eliminate the last of this hostile wave and travel in the direction of the next objective marker that appears to reach the Gate.
Fly your vehicle as fast as you can to get between to the pair of fortified high cement wall in front of the indicated building and swing around close against the rightmost defensive structure to take immediate cover alongside it, then make your way up to the top of the wall and start clearing the area with the help of an automatic weapon.
Use your vehicle to move quickly from point to point around this area and quickly disembark at a safe distance from packs of enemies to ambush them with burst of automatic gunfire or a series of grenade tosses.
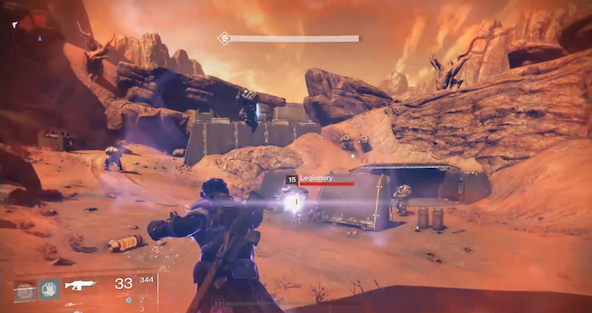
Once you’ve cleared the Scablands of all remaining threats, continue in the direction of the next objective marker to reach Giant’s Pass and disembark in front of the group of enemies you encounter on the road to break them up with the help of your grenade arsenal.
Ascend the hill on the left to fight past the remaining hostiles nearby and open fire on the next oncoming wave of enemies in area below with an automatic weapon, then continue forward by sticking to the left edge of the dirt road and tossing grenades at the Legionary that post up on opposite side.
Get to the high ground behind the fortified barriers on your side of the road to gain the advantage and continue clearing the area to deploy the Ghost at the indicated terminal safely, then retreat to a safe distance once the drop ship arrives and starts firing on your location.
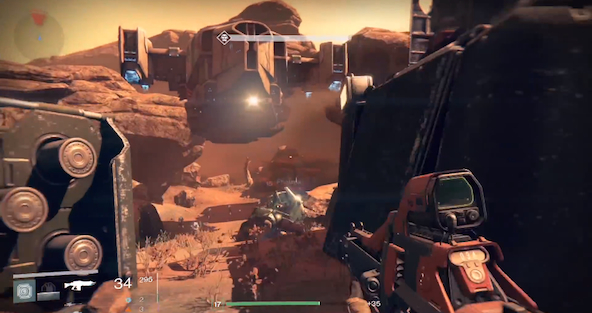
Find cover point that gives you a vantage point on the ground directly beneath the transport ship and start mowing down the enemies that drop from above, then use melee attacks to defend yourself from hostiles that manage to get in close and lob grenades at the more heavily armored ones while backing up.
Look towards the fortified wall across the road to pick off the enemies located on top and take their place to continue clearing the are from an elevated vantage point, then finish off the remaining hostiles by ambushing them at close-range with automatic gunfire or melee attacks and travel towards the next objective marker that appears to reach the other Cabal Post.
Use grenades to help clear out the second post and snipe the enemies in the gun tower above the left side of the nearby wall, then turn your sights to the opposite tower to continue the assault and make your way over the top of the wall.
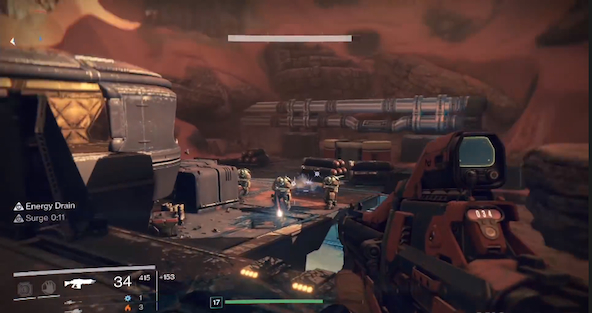
Toss a grenade at the next wave of enemies on the bridge below before eliminating them with concentrated bursts of automatic gunfire, then finish clearing the area from a safe distance before approaching the next waypoint icon and deploy the Ghost at the indicated terminal to complete this mission.

Garden’s Spire
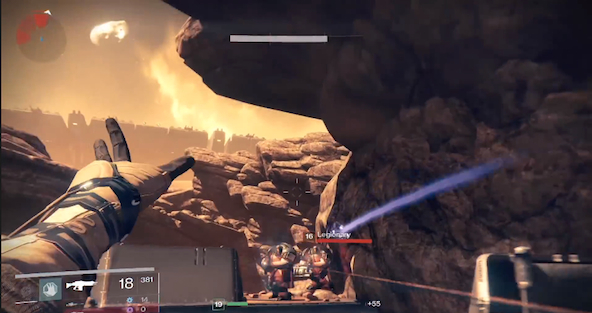
Travel towards the current objective marker to reach the Firebase Rubicon and take immediate cover amongst the surrounding rocks to start picking off the nearest enemy squadron, then proceed towards the base ahead along the right side dirt road and continue mowing down enemies in your path using an automatic weapon.
Look out towards the opposite side of the base to pick off the enemies you can see with a scoped rifle or well-placed grenade lobs, then maintain the high ground to eliminate the surrounding forces efficiently and finish clearing the outer defense structures to enter the base through the tunnel on its left side.
Make your way back outside into the Rubicon Wastes to travel towards the current objective marker in the distance and enter the indicated building to deploy the Ghost, then head in the direction of the next mission icon that appears to speed across an open battlefield and take cover once you’re in front of the indicated entry point.
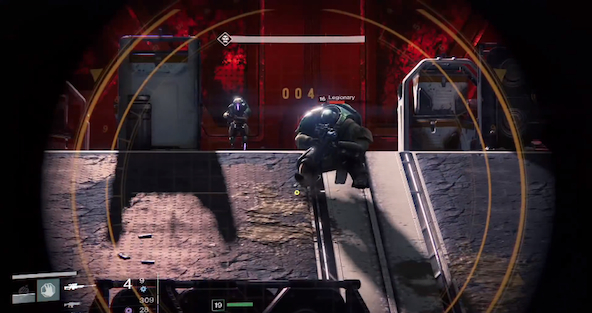
Use grenades and close-range automatic gunfire to break up the hostile squadrons guarding the entrance and fight your way into the cave using this same method, then follow the tunnel system towards the left to reach the Iron Line and approach the current objective marker on the green-lit platform to activate the enemy ambush.
Back up behind the barricades in front of the platform to start fighting back the enemy wave with well-placed grenade lobs and equip an automatic weapon to hold them off at close-range with bursts of gunfire or melee strikes, then retreat as far as you can to get a safe line of sight on the platform from a distance and switch to a scoped rifle to pick off hostiles that emerge from red-lit area on the opposite side of the room.
When the next break in the onslaught commences, approach the ramp leading up onto the platform to turn left and toss grenades into the door that opens to exterminate the enemies inside.
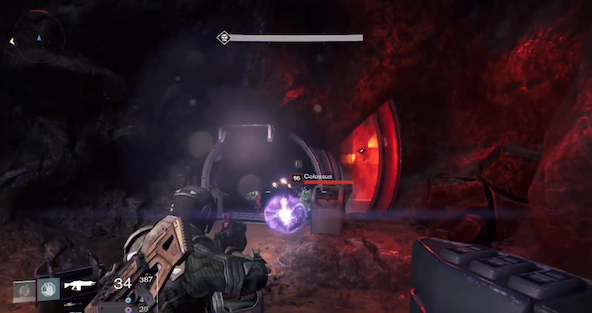
Before the next enemy wave arrives, approach the door to the right of the platform to wait for it to open and toss a grenade through entry as you did the in the previous instance.
Approach the red-lit blast doors to deploy your Ghost and back up to toss a grenade between the doors as the pull apart, then fight past the remaining Legionary to continue in the direction of the current objective marker and return to the outside once you reach the Legion’s Keep.
Cross the bridge ahead from the right side to activate another enemy ambush and open fire on the incoming wave with an automatic weapon while backing up to survive the initial onslaught, then toss grenades to break apart the hostiles that pack themselves together and equip a sniper rifle to pick off the hostiles on the opposite rooftop.
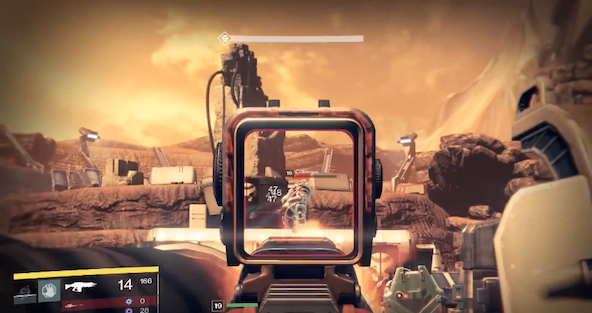
Continue fighting your way forward across the bridge to reach the other side and turn left to toss a grenade towards the open entrance in the opposite rock wall, then approach the current objective marker to reach a circular metal platform on the ridge above and clear the area with the help of close-range automatic gunfire.
Use the surrounding cover to get within short-range of the enemy forces and eliminate them one-by-one with barrages of gunfire or melee attacks, then continue staying on the move at all times to survive the battle and approach the indicated cement block with a hole in its middle to deploy the Ghost again.
Stay where you to train your sights on the door in the back left corner and eliminate the enemies that emerge next by tossing grenades at this last hostile force before it can get within striking distance, then finish clearing the area by retreating to cover whenever necessary along the uppermost ridge and deploy the Ghost at the Eye again to complete this mission.

A Rising Tide
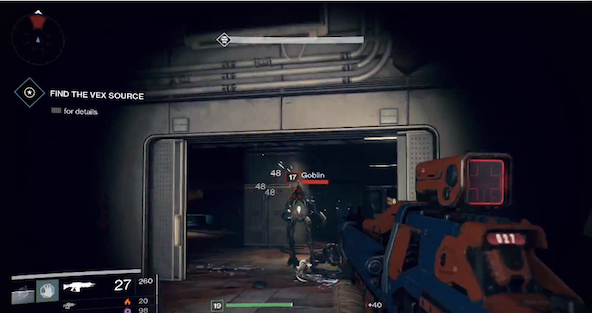
Head towards the current objective marker to reach the terminal in the Scablands and use melee attacks with automatic gunfire to clear out the surrounding enemy force, then deploy the Ghost to travel in the direction of the next waypoint icon that appears and execute well-placed grenade throws to fight through the indicated blue-tiled building within the Buried City.
Approach the current objective marker to enter a darkened corridor and equip a scoped automatic weapon if possible as you proceed into Freehold Station, then watch for the glowing red lights of Goblins that emerge from the darkness ahead and remain at a safe distance while picking them off with headshots.
Continue moving in the direction of the current objective marker by slowly approaching the next open doorway in the corner to your left and firing an automatic rifle across the space within the door frame to mow down the wave of enemies that tries to enter the room.
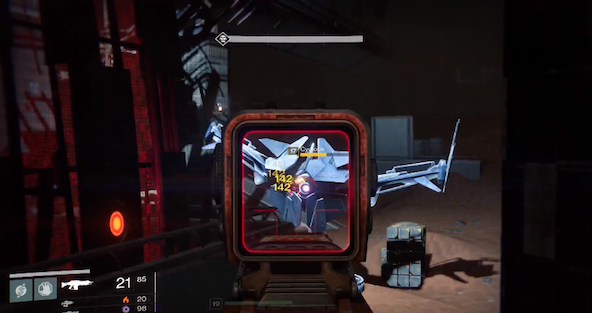
Proceed forward into the next open room ahead to encounter the Cyclops machine that fires large purple laser blasts in your direction, then descend towards the left side of this defensive weapon to find immediate cover in the area below and use an automatic weapon to dispatch with the surrounding enemy foot soldiers.
Climb the stairs directly to the left of the Cyclops to turn around at the top and find a cover point that gives you a somewhat protected line of sight on this large stationary enemy, then target the small glowing circle of purple light at its center to score a series of long-range shots and duck back into safety whenever you see the laser cannon preparing to return fire.
Destroy the Cyclops to access the exit tunnel located behind it and proceed towards the current objective marker to eventually reach the train yard, then use a scoped weapon to pick off the first enemies you see patrolling the tracks in the area below and continue fighting your way forward with the help of grenades to destroy the indicated portal that appears in the back right corner of the station.
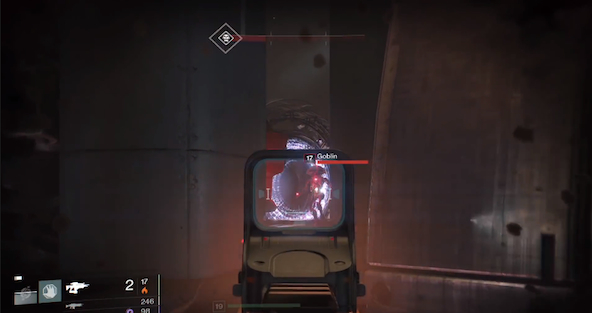
Proceed past the destroyed portal to pass through an entryway marked “OWT” and snipe the enemies waiting in the distance ahead, then approach the edge of the landing you’re on to open fire on the group of hostiles below and use a long-range weapon to shut down the next gate on the wall across from you.
Continue making your way forward through the massive train station to locate the terminal you’ve been searching for and target the next open doorway on the right to stop the next oncoming enemy wave with a well-timed grenade toss.
Look for gaps between the rows of varying cover points in the surrounding area to get safe lines of sight on each of the three remaining gates and destroy them one-by-one while also clearing out the occupying enemy force in the process, then approach the indicated terminal to deploy the Ghost and complete this mission.

The Buried City
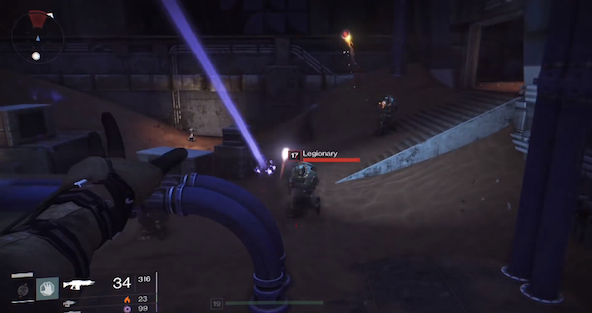
Travel in the direction of the current objective marker to reach Building 5′s entrance in the Hollows and toss a grenade to break up the first enemy squadron you see guarding it, then proceed into the structure to fight past another wave of hostiles inside and climb the stairs at the back of the room to mow down more foot soldiers in the narrow hallway above with your automatic rifle.
Turn left in the next room ahead to fend off the enemy ambush with the help of melee attacks and finish clearing the area before approaching the indicated terminal to deploy the Ghost, then exit the building by jumping through the nearby hole in the wall to land on the ground far below and immediately open fire on the guard’s outside the skyscraper’s entrance.
Open the sac to the right of the skyscraper’s entrance to collect the hidden relic inside and enter the building to clear the first room with the help of grenades, then descend into the next indicated area below to reach the Dust Palace and equip a scoped weapon to pick off the enemies on the staircases in the distance across from you.
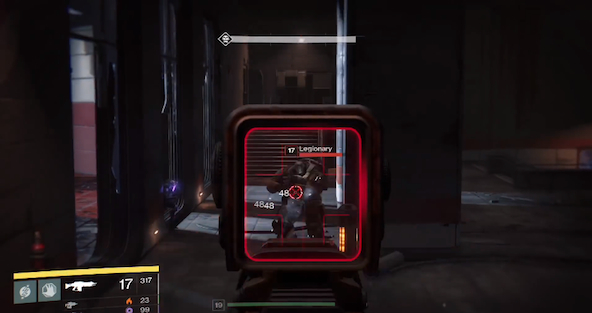
Sprint around the walkway that hugs the right-side wall to stay on the advantageous uppermost level as you ambush enemies at close-range with your automatic rifle and enter the corridor marked with a 35 to reach a lobby area, then use grenades to help clear out another wave of hostiles from a safe distance and eliminate the snipers on the opposite end of the room above with a scoped rifle.
Climb the steps on the opposite side of the lobby to reach the next floor above and clear out another enemy force with the help of grenades, then ascend the staircase in the back corner to enter the Overwatch and defeat the hostiles around the first bend in the path ahead by executing another close-range ambush.
Equip an automatic weapon while maintaining constant motion back and forth across this area to mow down the heavily-armored enemies without taking too much damage, then proceed towards the current objective marker to reach another open room and walk sideways directly to the left to pick off the Legionary that lands in front of the steps across from you.
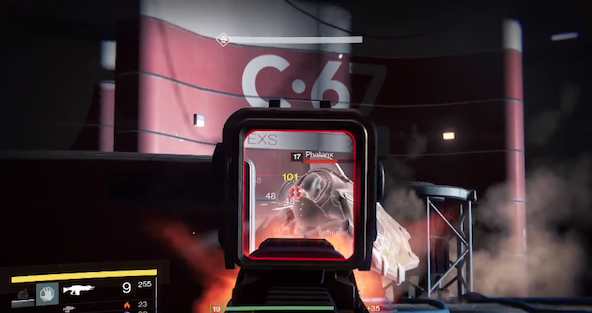
Turn left to move further back into the room and start sprinting to mow down the enemies standing in front of the red wall marked with a C-67 at close-range, then continue battling the hostile force that occupies this area with the help of heavy automatic gunfire and by tossing grenades at foot soldiers standing within any of the narrow door frames.
Finish clearing the room to approach the indicated Ancient Machine nearby and deploy the Ghost to complete this mission.

The Black Garden
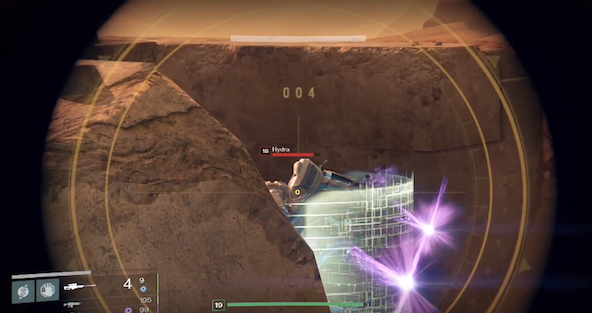
Head towards the current objective marker to reach the enormous gates located within the Valley of the Kings, then proceed in the direction of the waypoint icon to clear out the enemies that guard these structures and stay on the high ground to easily remove them with the help of grenades.
Equip a sniper rifle to eliminate the hydra by firing over the top of his shield and continue using grenades to fend off the foot soldiers that try to flank you, then enter the enormous gate that suddenly becomes active to teleport into the Black Garden and proceed forward through the tunnels ahead to eventually encounter a wave of goblins in a long narrow corridor lined with alien statues.
Defeat the goblins by using grenades within this enclosed space to continue moving deeper into the garden and clear the next open area by staying within the entrance as a means of cover, then get past the second room by ambushing the foot soldiers one-by-one at close-range with automatic gunfire and proceed into the darkness zone ahead to discover the Black Garden’s heart by looking down over the edge of the cliff at the end of the path.
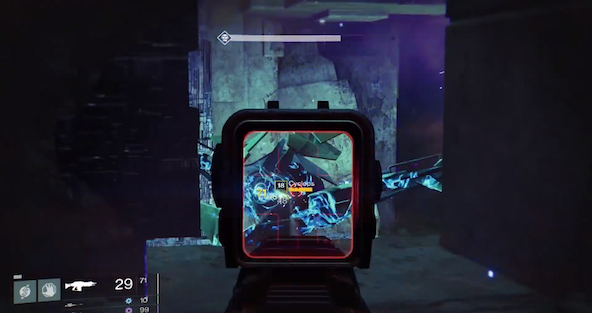
Move right along the edge of the cliff to pick off the next squad of Hobgoblins you see in the distance ahead and proceed forward towards their position to clear out the additional enemies in the pool of water below, then continue in the direction of the current waypoint icon by mowing down the surrounding foot soldiers with automatic gun fire and locate another Cyclops weapon positioned in the corner.
Climb up onto the stone platform directly to the right of the Cyclops’ location and stand against the adjacent wall to aim your sights through a narrow opening that looks upon this mechanized laser turret, then use a scoped rifle to snipe this hostile device to death as you did before and spin to your left occasionally to avoid being flanked.
Access the staircase that was hidden behind the now-destroyed Cyclops to take out the enemies at the bottom of the steps with a well-placed grenade throw and aim your sight around the corner to start sniping the Divisive Mind from a safe distance, then finish clearing the area to proceed to the next level below and jump down off the cliff to land on the series of stone walkways that lead straight into the Garden’s Heart.
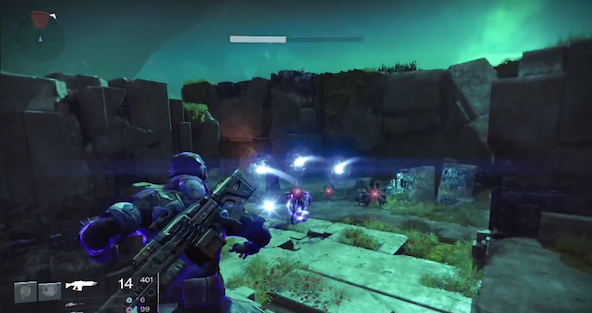
Try to take out the initial group of enemies blocking the path below before you land by tossing a grenade down first and proceed forward from there with the help of automatic gunfire, then continue navigating the series of stone walkways ahead by moving slowly across each new area and picking off threats in the distance with a scoped rifle as soon as they appear.
Save your most powerful grenade assaults for the enemies that pack themselves together in tight groups across the stone walkways and proceed towards the current objective marker to reach a circular chamber, then stand within the entry as a means of cover and eliminate the surrounding hostile forces with a scoped rifle.
Descend to the ground level of the next clearing ahead to take cover amongst the rows of obstacles that decorate this open battlefield area, then use a scoped rifle to destroy the Hydra across from you and zoom back out occasionally to defend yourself from being flanked whenever necessary.
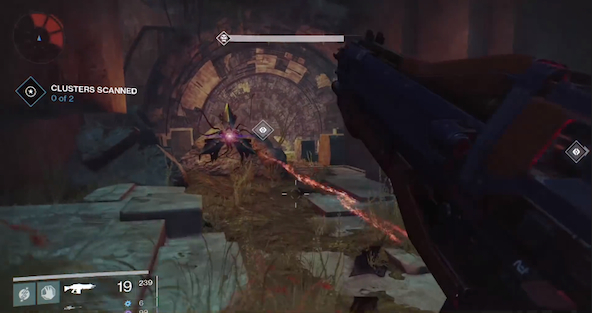
Retreat as far back as you have to remain safe while sniping the occupying enemy force one-by-one and clear a path in front of the lowermost objective marker directly to your left, then enter this enclosed ruins area to deploy the Ghost at the nearby set of blast doors and turn around to defend against an oncoming wave of hostiles until he finishes scanning the first Cluster.
With your back to the first Cluster, head directly towards your left to exit the enclosure and begin climbing up onto the hill that houses the other available objective marker, then use automatic gunfire to clear the near vicinity of all remaining threats and deploy the Ghost to scan the second Cluster.
Turn around to proceed towards the next objective marker that appears on your right and mow down the enemy forces standing in your way at close-range to deploy the Ghost for a third time at the indicated terminal, then wait for the door behind it to open before crossing the threshold that leads into the Heart of the Garden and activate a cut scene.
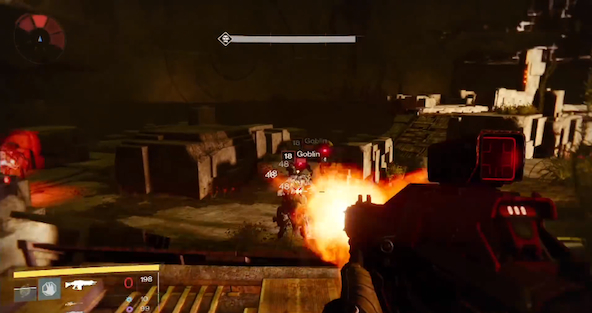
Following the cut scene, immediately open fire on the Goblins that approach directly from both your left and right sides to avoid being flanked and walk down the stone steps in front of you slowly to accurately aim the next grenade toss at the group of enemies in the clearing below.
Find the nearest possible cover point that puts an obstruction between you and the Garden Heart so that you’re fully protected from then angle, then snipe the enemies moving along the walls to the left and right sides of this chamber.
Jump to the highest possible platform you’ve cleared in this area to maintain the advantage of elevated combat for as long as possible, then fight your way onto the circular stage located directly beneath the Garden’s Heart and retreat back towards the initial threshold entrance when the statue is brought to life.
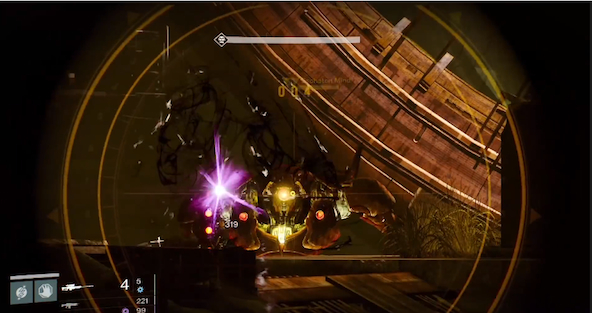
From an extremely safe distance, use a sniper rifle to target the Eschaton Mind that comes crawling towards you and focus your shots on the round yellowish-glowing lights at its center to cause the most damage.
Move sideways quickly without stopping and without zooming back out to avoid the incoming purple lasers blasts while continuing to snipe the Eschaton Mind from a running position, then switch to an automatic when smaller enemies start to appear as well and take cover as close as possible to the boss to periodically ambush him with bursts of gunfire.
Finish the Eschaton off from a safe distance before approaching the heart for a second time to watch another statute brought to life and stay at a safe-distance until the creature is close enough to hit with the most powerful grenade assault you have available.
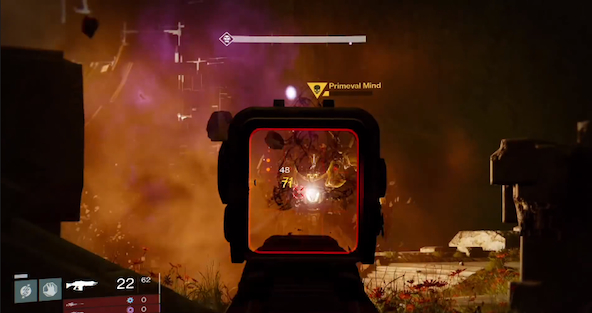
Defeat this new enemy and the one that’s dispatched after that in the same manner as you did the first one, by targeting the round glowing lights on their bodies from an extremely safe distance.
Survive the onslaught of living statues and finish clearing out the wave of lesser remaining enemies as well, then have fun firing into the Garden’s Heart as it implodes in front of you and watch the proceeding cutscene to complete the game.


 How To Fix Assassin's Creed Syndicate Darwin and Dickens Code Error WC-40376-0 On PS4
 Yu-Gi-Oh! GX Duel Academy GBA Video Game Cheat Codes
 Top 10 Violent Video Games in the Last Decade
 Review: Master & Dynamic MH40 Headphones
 Review: BioShock Infinite Soars to New Heights