Chapter 4: An Endless Battle
Right from the start it’s clear that this mission is going to be a bit creepy, I mean we are going into a hospital that was just surrounded by lycans after all. Either way, don your courage and push through the underground tunnels until you reach a locked gate at the end. Now it’s time to backtrack until you hear some rebels ahead, and then jump around the corner and put a few rounds in their heads.
Once the rebels are down head through the gate they just generously opened for you and take down anymore rebels you run into, making sure to use the cover that’s been strategically placed before you.
TIP: You’ll actually need to hide behind cover for this section, as for some reason Galahad is unable to actually duck behind cover while holding a lantern. Go figure.
Once you’re out of the tunnels and you’ve made your way into the main lobby of the hospital, you should head straight for the hallway to the right, which will spark two rebels to come out of a room. Take them down then continue moving down to the end of the hall to the doors until a cutscene plays and you end up needing to head down to the basement.
Once you’re down in the basement and have picked up the lantern head forward down the hall towards the stairs, which will spark another cutscene when you get close. This cutscene will introduce the game’s first boss fight, a Lycan Elder, which will then chase Galahad down the hallway as you try to shoot it. Once you’ve hit it enough times you’ll be thrown into a series of cutscenes and quick time events which will end with Galahad falling into a room and needing to drink his Blacklight. Once you’ve recovered enough to walk, crawl/stumble your way under the book shelf towards your rifle to spark another cutscene which will end with the Lycan Elder coming at you. You’ll now need to press R1 when told to in order to stun the beast and force it to flee for the moment.
Head out of this room in the only open direction, up the stairs, and interact with the iron gate which will spark another cutscene where you’ll need to slam down a button in order to lock the Elder outside. Once that’s done and you’ve regained control head around the room until you spot a bunch of debris blocking another gate which Igraine is standing behind. Start moving the debris to spark another cutscene which will cause you to enter the actual boss fight.
The fight is mostly dodging and attacking, however, unlike many boss fights you won’t be given the freedom to move around wherever you want. You’ll only be allowed to move in a circle, and you’ll need to watch the four edges of the screen (top, bottom, right, and left) for the appropriate quick time cue to dodge the Elder’s attacks. Dodge, slash, and make your way through the quick time events in order to take down your first boss, and then you’ll get to catch your breath as Galahad carries Igraine to the ward.
Looks like the rebels are up to no good as usual, and after setting Igraine down on the bed to recover you’ll need to explore their hideout and find out exactly what they’re up to. Simply head around the room grabbing all the inspectable items to piece together the plan and then return to Igraine once you’re done to progress to the next chapter.


 Klipsch KG-300 Gaming Headset Review
 Destiny Beta: Hidden Gold Loot Chests Locations
 Hide your real Phone Number and show fake mobile number
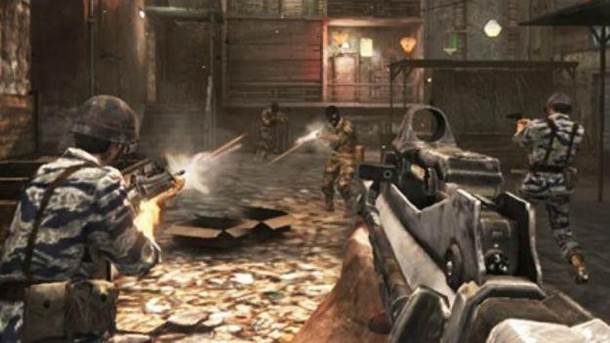 Call of Duty: Black Ops Declassified Review
 Mission Impoppable: Bloons TD 5 Is Mobile Tower Defense At Its Best