

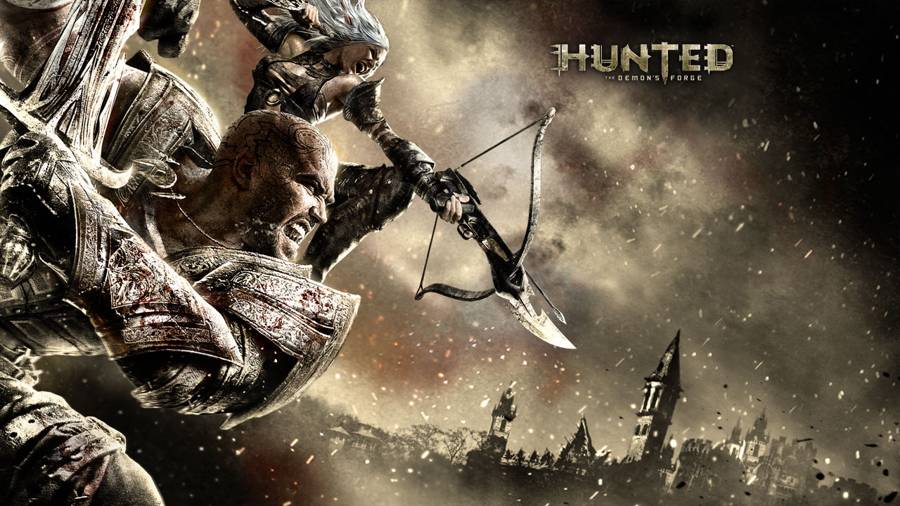
Chapter 2 of Hunted The Demons Forge is in the well. It is a pretty long chapter and there are plenty Prisoners in the place. It has a lot of twists and turns so try to keep up. Right when you get in there is a wooden door you can break down so be sure to do that for some extra weapons. Let’s get started.
I’m doing this as I go so I may miss a few.
The first Prisoner location in Chapter 2 for Hunted The Demons Forge is pretty early in the level. As soon as you go through the little crack in the wall and end up on the other side follow the stream of water. You should see the prisoner through a hole in the wall. you can shoot him down from here or go around. You just get some info for freeing this one.
The next couple of Prisoner locations in Chapter 2 for Hunted The Demons Forge is in the actual prison. You will know when you are there. You can open the cells by using a switch on the wall. There are three in total in the cells. Some are upstairs so be sure to go up there and open the cells as well.
The next Prisoner location in Chapter 2 for Hunted The Demons Forge is once you get to the cut scene where a guy is yelling for help and gets eaten by something. After that you will take a path that both of you need to take. Right after that to your right is the prisoner. Just some more info.
The next Prisoner location in Chapter 2 for Hunted The Demons Forge is at a part where the is a fairly long stone bridge. This is after you go through one of the doors you can’t go back through. Instead of taking the birdge though head left down the steps. Once at the bottom go right and turn around you should see the prisoner. Shoot him down.
That will end the Prisoner location guide for Chapter 2. Know one I missed? Let me know in the comments!
Check out and like our Facebook page and follow us on Twitter.


 Borderlands 2 Guide: The Dust Side Quest Guide
 Microsoft screwed up with Xbox One, but now its time to buy
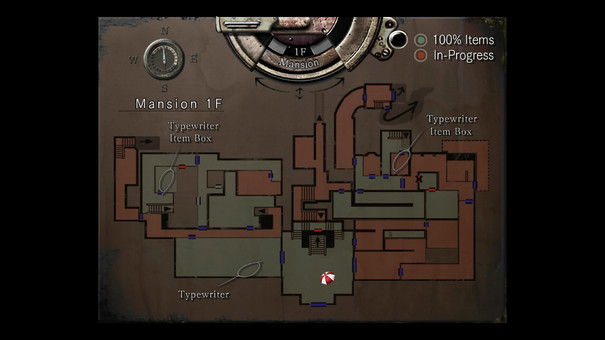 Resident Evil HD Remaster Weapons Guide and map
 Unreal Tournament 2004 Tweak Guide
 The Shogun 2 Guide to Technological Warfare - AlterGamer