

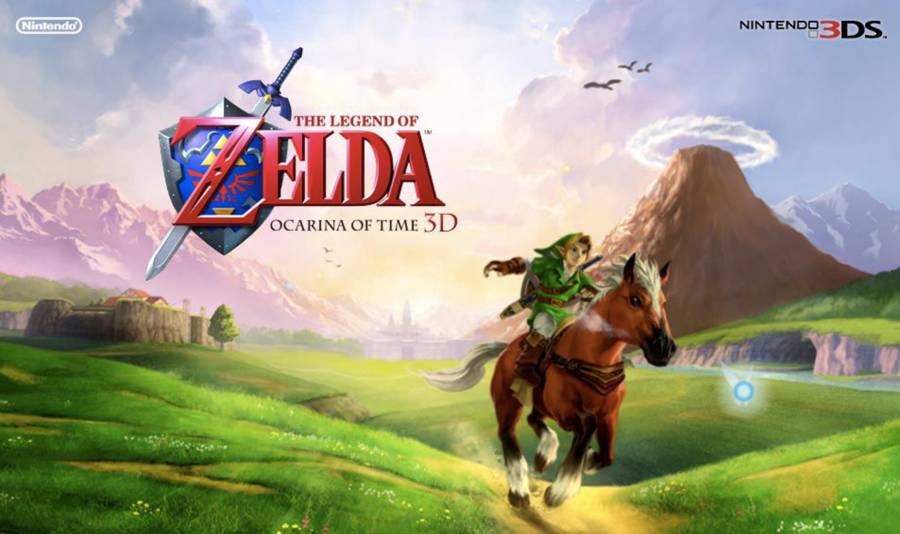
This is my favorite child Link dungeon and it’s called Dodongo’s Cavern. It isn’t to hard but it can be a bit tricky so follow the guide closely so you don’t get lost. Once you get in you have to blow the door up with a bomb plant right away so do that. After that it will show you the inside of the dungeon. Let’s get started. The first thing you have to do in the Zelda Ocarina of Time Dodongo’s Cavern guide is head on inside. Once inside you should see a giant head staring at you. Go across the wooden bridge and jump onto the pillar and it will go up. Jump off onto the main platform. Careful of the eye it will shoot a laser at you block it if you have to. Once on the middle platform go right and use the pillar to jump the gap. You will see a bomb plant and one of the eye things. Throw the bomb plant at it to blow it up. After it is dead use the bomb plant after it re spawns to blow up the wall that the eye was protecting. You can tell because it is cracked. Go in after you open it.
The next room has little Dodongos coming out of the floor at you. They die in one hit but blow up after you kill them so watch it. You can use them to blow up part of the wall towards the end if you want. Inside that room will be a Gold Skulltula if you want it. Keep going until you make it to a switch. This switch has to have a statue on it in order for it to stay down. Push one of the gray statues on to it then go through the door.
After a small hallway you will be in the next big area.
The next part of the Zelda Ocarina of Time Dodongo’s Cavern guide is killing the Lizalfos. These are formidable foes if you haven’t faced them yet. Wait for them to swing and block it with your shield then strike back. They take about 6 hits to bring down and will jump all over the place but keep blocking and you will bring them down. Also avoid the lava. After that head through the next door.
The next room will have actual Dodongos. They spit fire and will spin around if you hit them. The only way to hurt them is to hit them in the tail. You don’t have to kill these if you don’t want to. What you do need to do is grab the fire from the torches and light the other three unlit torches in the area. It’s a straight run just avoid the enemies. After that a door will open and you will go through it.
Now we are back in the main hall. Run over the switch and keep moving to the middle platform. Now take the other pillar to the opposite side. Grab the bomb plant and throw it at the cracked wall to the left. Open the chest inside for a map. Head through the door that just unlocked.
This room is really simple. First thing you want to do is break the wall with the bomb plant. Go inside and toss another bomb plant at the statues. One will come to life. Bring it down with more bomb plants. Be careful after it dies it will explode as well. Then open the chest and leave. Now grab the bomb plant and put it right in the middle of all the other bomb plants to make a staircase. Pretty cool. Then take the stairs up. Take either side up and once you get near the vines you can shoot the Skulltula and Gold Skulltula if you want. Then go through the next door.
This room has bats on fire. If they hit your Deku shield it will start on fire so don’t have it out. After you kill them move the statue from the ladder and climb up it. Hit the switch up top and take the door it opens.
The next area is a long bridge. Keep running and jump the gaps. Don’t stop or you might get knocked off by bats. It will lead you to a new room.
The next part of the Zelda Ocarina of Time Dodongo’s Cavern guide is the blade room. This room has blades shooting around on the floor. Wait until it is clear and keep moving. Check around the corners to not get hit. Once you make it to the block climb the ladder. Look behind you to see a chest and a bomb flower. The chest has 20 rupees and we need to use the bomb plant. You have to throw the bomb at the wall to break it. It can be a bit tricky to land it up there so just wait until its blinking red fast and toss it. Once it’s open go through it.
The next room has a pillar of flame blo0cking your path. Shoot the gold eye with the slingshot to make it go away. After that keep going all the way to the door and open it.
Next room has more Lizalfos so block and strike. After you kill them go through the door that is opened.
The next room has two fire pillars in the way. Shoot the first golden eye above the door way. Once one the platform look to the left and you will see another. Shoot it and keep going. Hop the gap in the next room and open the chest up top for a Bomb Bag. Now you can hold bombs. Now you can break the wall down below if you want but the door way near the bomb bag is the way to go. Take it when you’re ready.
Once through that doorway hit the switch. This will make it so if you fall you can get back up easily. You have to blow up the eye sockets of the giant head in the main room now. You can drop them from above or just drop onto the head. If you keep taking the bridge you can blow up a wall at the end. After the mouth opens go inside.
Once inside drop down and jump up the ledge to the left. Take it all the way to the next room. Keep going until you find two pushable blocks. Use on to get up on the highest point then jump down at the last block. Go through the next dark path and you will go down a hall. At the end of the hall is a block. Push it over the edge. Then push it into the center of the room. Take the door that opens and fall down the hole to start the boss fight.
That will end the Zelda Ocarina of Time Dodongo’s Cavern guide. Check back soon for the boss guide.
Check out and like our Facebook page and follow us on Twitter.

 18 best Free Flash Games for your Browser
 NCAA Football 14 Guide: Road To Glory Tips And Tricks
 Kingdoms of Amalur Complete Walkthrough Guide Collection
 Diablo 3: Reaper of Souls Pre
 . Plays, 21st November, 2015