

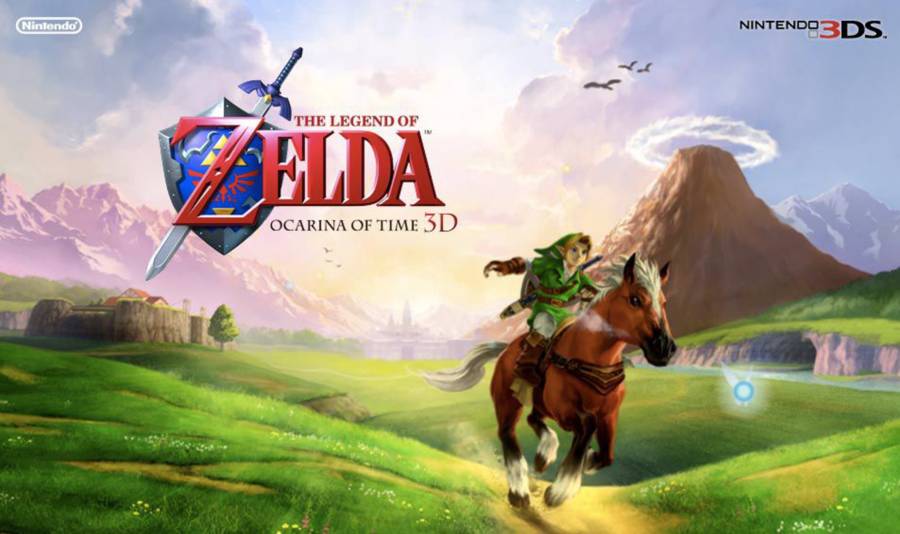
In order to get to the next dungeon in Zelda Ocarina of Time 3D we will have to take Death Mountain. This place can be a bit tricky but our guide will get you through it nice and quick. We will also be getting the Hyrule shield for free and a new song. Let’s get on with it. The first thing we will do in the Zelda Ocarina of Time 3D Death Mountain guide is head to Kakariko village. There are a few things we can do here but first thing we are going to do is get a new song. Head to the graveyard which is at the back of the village. Once there head all the way to the back for the big headstone. Stand on the Tri force emblem and play Zelda’s lullaby. After the cut scene a hole will open up and you will go in it.
In the Royal Family tomb we will get a new song. Head down the path and open the door. Once inside the door will lock behind you. Kill all the bats in the room and the next door will open. Go through that door. Inside this room is acid and ReDead. These enemies are very deadly to child link so take the acid over a hit from them in my opinion. Once you make it to the giant plaque check it to learn the Sun song. This song will change night to day and vice versa. The Sun Song is helpful for side quests and such. Now you can leave.
Now back up top we can find the Hyrule Shield. Go to the entrance and head up to the first row of smaller headstones. There are five headstones here and the 2nd on from the left is the one you want to pull back. Do so drop down and open the chest to get the Hyrule Shield. If the kid is there play the Sun Song and change it because he wont let you move the headstones. After that head back to the village.
You can do quite a few things here including getting a bottle. Talk to the lady by the chicken coop and she will ask you to collect her chickens. There are 7 in all. One is in a box and you need to fly over a giant fence with one to get some. It’s pretty easy the town isn’t big and you don’t have to do it. The Gold Skulltula house is here as well. You need 10 for your first prize. Once you’ve finished up here head up towards the mountain. You will need your Hyrule Shield and your letter from Zelda in order to go up it. Once you get to the guard show him the letter and he will let you through.
The next part of the Zelda Ocarina of Time 3D Death Mountain guide is going up Death Mountain and dealing with the Gorons. It’s a pretty straight path and you will deal with some new enemies that jump around. Avoid them or kill them and keep heading up. A little ways up you will find your first Goron. Talk to him if you want or keep going up. After that you will see another Goron near a flag. After that if you keep going past the flag one will roll at you. Dodge him by faking him out. Act like you’re going one way then switch before he hits you. Keep going until you make it to Goron City.
Once inside Goron City you have to go to the bottom of the place. You will see a carpet in front of a door that looks different. Play Zelda’s lullaby here. Head inside to meet Darunia the leader of the Gorons. He will fill you in on the issue him and his Gorons have. After that we need to take the flame from his room and fill the torches outside of his room. Head out with a deku stick lit and get the four torches in a row. After that use the fire to light the bomb plants by the shop door. You can check it out if you want. After that we need to take the fire up a floor so we can move on. Light a stick at the stairs with two torches and go up until you get to the next floor. You should see empty torches on the right. Light them. After that re light your stick and light the bombs down the hall to open the path you need. Go through it and you will be in the Lost Woods.
The next part of the Zelda Ocarina of Time 3D Death Mountain guide is in the Lost Woods. As the name says you can easily get lost here and if you do you get taken back to where you started. Walk a bit forward and the owl will talk to you. Every path you take has a risk of booting you out so follow along. From the Goron cave go straight. If you look to the left you will see a tree with a stump hanging off it. If you shoot it in the middle and get 100 points each time you get the ability to hold more Deku seeds.
Lost Woods path – Now head back to the Goron cave and facing the way you came in take a left. Then another left. Then straight. Then left. then right.
Congratulations you cleared the Lost woods and are no in the Sacred meadow. You will have to take down a werewolf in order to go on. He is very easy just block with your Hyrule Shield until he hits you then counter with a strike of your own. Do it a few times and he will die. Now head into the maze. I would recommend equipping your Deku shield here to deflect things back at the shrubs.
Scared Meadow route – Take a left at the entrance. Follow it until you have to take a route with long grass over the floor. From there you can go either way but be ready to block some Deku shrub shoots. Once you get to the stairs go up them. Kill the shrubs on the way. Once you make it up you will talk to Saria and she will teach you Saria’s song. After that we can leave. Go back down the steps and take the ladder. You can now skip the maze entirely by jump the gaps. Do that and leave. After you get back to the Lost woods you will need to get back to the Goron cave. Take the path back and go through it.
Once back in Goron City go back to Darunia and play Saria’s song. After some dancing he will give you the Goron’s bracelet which will let you pick up bomb flowers. After that we can head back up to the surface.
The last part of the Zelda Ocarina of Time 3D Death Mountain guide is getting into the next dungeon. Once back outside head to the right and forward a bit. You will see a Goron sitting by a bomb plant. Toss the bomb over the edge and it will blow the cave up below you. Jump down and enter the cave. You will now be in the next dungeon Dodongo’s cavern.
That will end the Zelda Ocarina of Time 3D Death Mountain guide. Check back soon for the next dungeon guide!
Check out and like our Facebook page and follow us on Twitter.
 The Score: Wasteland 2 composer Mark Morgan
 DOTA Hero Tips: Luna Moonfang the Moon Rider
 Grand Theft Auto Retrospective
 Custom Zombies: How To Download and Play Custom Zombie Maps.
 Why Do Developers Keep Getting Aliens Wrong?