Now that EA have sorted out the majority of the issues plaguing Sim City players are finally able to get in an enjoy the game for what it is, a ton of fun. As always Gamers Heroes have your back with our latest guide article. This Sim City 2013: Tips & Tricks Guide will provide all the information you need to get a booming city in next to no time.
It’s worth noting that each of these Sim City 2013 Tips and Tricks will only prove valuable depending on the game mode you’re playing. Obviously none of them really matter in Sandbox Mode as the skies the limit, but some of them may be more useful if you’re in a region filled with other players. Likewise others will prove more useful if you’re in a region by yourself. We’re lucky enough to have one of the best online communities here at Gamers Heroes so if you know of any Tips and Tricks that we haven’t listed, or can improve on current entries, please leave a comment. We’ll update the post and add your name as credit.
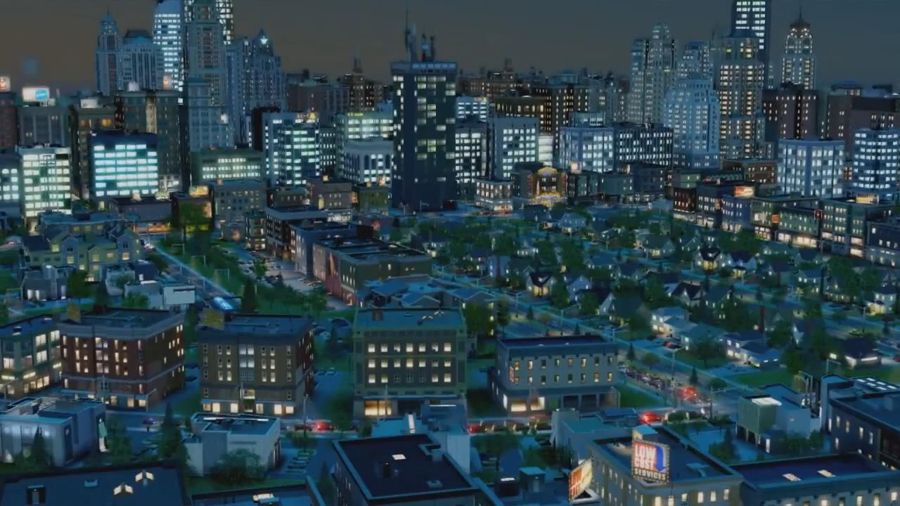
Designing Your City
If you’re just looking for a bit of fun and a casual experience, you won’t need to pay too much attention here. But if you want to develop a huge city or thriving region, city design is key. Before you even place your first road you need to check what potential your chosen area has. You don’t want to build your main Residential District directly downwind from your biggest Industrial section.
It’s not as harmful to mix areas as it was in previous Sim City games. It’s easily possible to have Industry, Residential and Commercial along the same roads, but in order to thrive in any specific area it’s best to put a bit of room between.
Check the deposits of natural resources, such as Coal and Oil, to make sure you haven’t already filled it with your Residential area. Likewise you’ll want to check your connections to the region, making sure you leave space to connect to any roads or train tracks.
Roads & Travel
It’s very easy to make mistakes as soon as you begin your task as City Mayor by placing the wrong kinds of roads. There are only really two road types you want to use to begin with, Dirt Road and Medium Density Avenues. Keep in mind that Road cannot be upgraded to Avenues, so if you build a lot of Dirt Road you will eventually have to demolish it, and all surrounding buildings, in order to upgrade. For the most part you’ll want to stick with Medium Density Avenues at the beginning. This may make progression a little slower but you can avoid demolishing flourishing Residential and Commercial District’s later down the line. Dirt Roads are best used in quiet areas of Industrial District’s that require low worker count, such as the Water Tower.
Ignore trains for the most part. There’s nothing wrong with building a station for tourists and commuters but there simply isn’t enough space to make it a viable means of travel. Instead begin with basic bus routes, although this can be totally skipped if you’ve started with Avenues. I never run into any traffic problems for the first several hours, and by that time I have enough cash to improve the roads and get the Street Cars going.
Residential Zones
Keep an eye on the land value near all your Residential Zones. I have visited many cities but I’m surprised at how many just leave their Residential Zones alone after building them. Once the value has reached a high enough level to move up a grade, it will do so automatically. However, that’s only if the area meets the requirements. Make sure the surrounding roads are big enough to support the next density of Residential and ensure to follow their basic needs. If you meet all of the above and you’re still not seeing an increase, throw down a small park nearby. After that just leave it; as more people come to your city, you’ll begin to see bigger buildings.
I quite often see people asking how to increase land value, and it is as simple as laying down a park or attraction. A small park with 1-2 upgrades is enough to turn a 1 bar value right to the max.
I’m updating this as I figure more stuff out but feel free to leave a comment with some tips and I’ll be sure to add it to the guide.


 Walkthrough Minecraft: Story Mode – Episode 1: The Order of the Stone
 Assassin's Creed Rogue Guide: Renovation Location Guide
 How To Power Level In Dragon Ball Xenoverse With A Friend
 Why Star Wars is dead to me
 Surprise! The Bureau is the full XCOM experience