

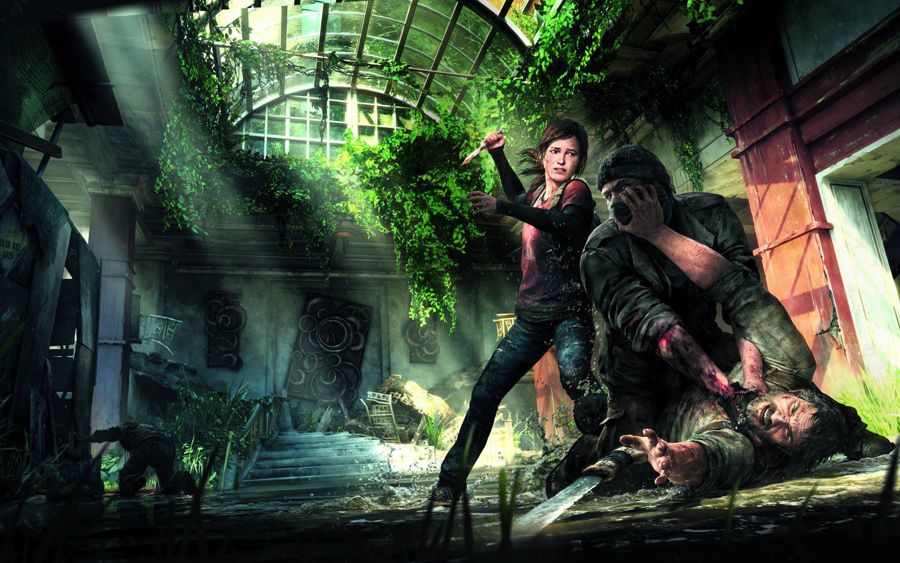
If you’ve been searching for all the Artifacts in The Last of Us, you’ve come to the right place. This The Last of Us Artifacts Locations Guide will show you where you can find each of the Artifacts in the game, and if they’re of any use. Please note: This is a work in progress as I go through the game. If you know of any I missed please leave a comment. I’ll add it and give you credit in the post.
The “Note to Brother” Artifact can be found shortly after you shoot the guy trapped under the debris. As you continue you’ll eventually reach a couple of planks and a drop down point. Don’t drop, instead search the room to your left to find this Artifact.
A “Drafting Notice” can be found once you escape the city and enter the slum like area. Head through the bus and Tess will stop near the next doorway. Walk past her and on the floor to your left, you’ll discover the next Artifact.
As you work your way towards Robert you’ll reach 2 rooms with 2 Guards inside, next to Spencer’s Computer Supplies. The next Artifact, “Warehouse Key” can be found on one of the bodies.
When you arrive at the Dock’s, as you take our Alan’s men, you can find the “Docks Notes” Artifact in the main building to the right of the boat as you enter.
You can find “Tess’ List” in Joel’s apartment after you escort Ellie there as you wait for Tess to return with proof of the guns. It’s on the small table next to the sofa.
Shortly after finding Artifact #5 you activate a generator and then use a lift to descend one floor. Check to your right immediately after you regain control of Joel.
To find the “Field Ops Log” you’ll need to wait until you escort Ellie out of the city. As you progress and you near the Capital Building you’ll climb through a destroyed office. You’ll see a dead soldier and then another, search next to the second one to find the “Field Ops Log”.
After you kill your first clicker, not the event with Tess, you’ll climb up to a new area before holding a door open. Once Tess and Ellie return, blocking the door, jump through and search the sofa directly in front of you.
Shortly after you drop into the Subway Station and find Molotov’s next to a dead Firefly member, you’ll see another up some stairs. Search next to the corpse for the Firefly Map.
After you find Artifact #9 you’ll enter an area with 4-5 Clickers. There’s a room on the outskirts of the center room that looks like a busted up gardening store, just left of where you enter. Search the drawer near the till. This Artifact tells you what the code is for Derek’s Safe at the Bookstore. It’s 3-43-78, the bookstore is out to the right. This is how you open the safe for Derek#s Bookstore.
As you progress with Ellie and Tess you’ll eventually have to use a cabinet to climb over a truck. Once you do, drop down and search the back of the truck behind you for a Medical Pamphlet.
Once you use a plank of wood to cross the rooftops, before the small cut-scene discussing the view. Head down all the stairs before checking near the last step for a corpse with the FireFly Orders nearby.
As you progress through the Subway station you’ll eventually reach a part that Ellie cannot traverse due to her inability to swim. As you dive underwater continue forward and eventually you’ll see a platform to your left with a corpse on it. The Smuggler’s Note is near the corpse, note: there’s a Supplement and Firefly Pendent if you swim behind the corpse.
As you search for Bill, after entering the compound via the plank on the rooftops, search the nearby building. The note can be found on the floor near the desks. There’s also a Supplement on the chair in the hall.
– Submitted by Vince Partridge.
There’s another note around No12 (Bills outer area). There’s a safe in the area where the record shop is, (near a truck). The note with the combination is attached to the large barricade with cars and barbed wire at the far end of main street, past the record shop.
You’ll see a Clicker get killed by a Trip Mine. Don’t go down the alley, search the building to your right. You’ll find the note inside.
On your way towards bill, after you navigate the rooftops and use the bow for the first time, Ellie will hear a noise outside a building. Head inside to find this note.
After you reach the Safe House in Bill’s Town, search all the rooms before leaving. You’ll find the Fence’s Note.
After you reach the Safe House in Bill’s Town, search all the rooms before leaving. You’ll find Bill’s Note.
After leaving Bill’s Safe House go up the stairs and search the first room.
After Bill gives you a shotgun head up the stairs into the church. Search the room to the right of the altar.
After jumping on the RV and out of the tree house search the boys bedroom in the nearby house.
Inside Frank’s house. Bill’s friend who hung himself.
After you escape Bill’s Town and fight off the bandit’s you’ll go through a garage door shutter. Search to the right inside for this Artifact.
After finding #17 head up the stairs and check the room at the end of the corridor. Don’t miss the first room though as there’s a Training Manual and Supplement inside.
After you kill the guys that enter the area on top of the bus progress through. Drop down the other side of the bus and search the small room on the right.
Once you enter the military zone that’s been overrun by bandits, go straight through the turn style and take an immediate right. Staying to the right as you explore the new room jump through the small window. You’ll find the Artifact inside.
Before you head into the hotel search the top floor of the flooded building. This is after the cut-scene with the two bandits removing the plank.
This Artifact gives you access to the safe on the ground floor of the hotel. When you use the ladder to get to the first floor, take a right and shimmy along the side of the stairs. The note is inside a suitcase.
After you activate the Generator in the flooded part of the hotel take the ramp up. Exit via the right door and search the room across for the keycard.
After you see the military jeep gun down the 2 civilians keep going. Head up the stairs, the note is hidden under the final desk on the right side as you enter.
Follow on from #23 until you reach the large area with enemies and tripwires. Head to the far left corner and explore the bar, the note is on a table.
Inside Henry and Sam’s Safehouse, in the board room.
After you meet with Sam and Henry on the beach continue to the boat. The Boat Note is inside the cockpit.
When you split from Sam and Henry in the sewers, get Ellie to go through the grate on the right. Search the room for the note. There’s also a Supplement inside.
When you reach the area with the gate in the sewers, swim through after you’ve unblocked it. There’s a door with 2 Clicker’s inside. There’s an Artifact in there. If you struggle, open the door and throw a bottle straight ahead. You can these easily dispatch of both Clicker’s without any problems.
When you reach the first infected in the Sewer take the right up the stairs. You’ll find the note near the large containers.
Again in the same area but proceed forward with everyone else and check the small door on the left.
After you get separated from Ellie, continue through with Sam. Eventually you reach a Classroom, the Kids Drawing is on the shelves next to the blackboard.
After you escape the Sewers enter the first house on your right, you can find the note in the upstairs bedroom.
Continue exploring the town until you see a blue pickup truck. Explore the house to the right and check the upstairs bedroom for this note.
Explore the house directly next door for another Artifact.
On the top floor of the same house featuring Artifact #34. This also gives you access to the safe inside the bedroom
After turning both the Valve’s on the Snake Trail, you’ll get to the entrance and a burnt out jeep. Check the small hut next to the jeep.
After the Bandit’s attack the Powerplant follow your allies back to the main control room, grab the plans off the table.
In the University, find the room with the Workbench shortly after you enter on the right. Follow the stairs up and head onto the balcony.
Can’t miss it. After the horse gets spooked check the right gate, the note is next to the switch.
When you reach the second gate that needs a generator you have to crouch through a door. This Artifact is on the desk directly in front of you.
Continue to next floor and search the first Dorm.
After you finish the spores part of the University search the first dorm to your right.
After you hear the loud noise and head upstairs in the Science Lab, continue until you hear another loud noise. The Artifact is in the room nearby.
The room with the screaming monkey’s that jump out the window, check the large table.
Took a short break and got hit with the save bug. A word of warning. If you hit start and it has “Autosaving” permanently and you can’t hit save or load, if you turn off you’ll be starting about 1 hour in. Going to take me a while to get back to the point of the guide. Sorry guys.
Update: Sadly I’ve still not had the time to dive back into the game but I will update when I get chance. Please feel free to leave any that you find and I’ll update the guide as well as adding your name to credits. Thanks heroes!

 Dragon Age Inquisition: Haven Side Quests Guide
 Metal Gear Solid 5: The Phantom Pain – how to make GMP quickly
 Mass Effect: Why Microsofts U
 Mass Effect 3 Planet Salvage, Intel, Artifacts And War Assets Guide
 Assassin’s Creed IV: Black Flag – Money Making Guide