
Fallout 4 is full of side quests for you to do for extra gear, money and experience. Some of the quests you will find easily but a lot are hidden throughout the Commonwealth. Check out this Fallout 4 Side Quest Guide to help you find them all!
His first task is to make beds and place them INSIDE houses. All you have to do is enter a house, and place the beds. You can do it in multiple houses or the same house, doesn’t matter. Return to Sturges once you do this.
Next is water. Go outside and build two wells to increase the water for the settlement. You should have enough materials from breaking things down around town to do this. Return to Sturges again.
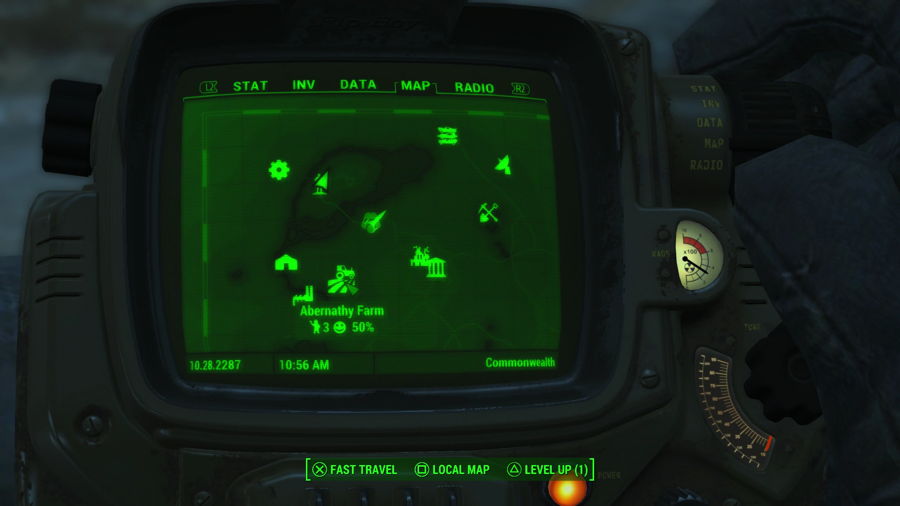
Now he will want some food for the settlement. The best spot to get this will be down at Abernathy Farm. There are Melon and Tato plants you can loot without getting in trouble and there’s enough to beat the objective. Here is the farm on the map. Place the food and then talk to Sturges again.

Lastly it will be time to build up some defenses. You may have to do some farming to get what you need for this. You will need to build a turret or two, ideally two, and these take Gears and Circuitry. Desk fans are one of the few things that give gears, you can normally find them on desks. The circuitry can come from hot plates or from turrets you destroy. I found hot plates in Concord during my run through there and was able to find a couple of fans when I went back. I placed my turrets on the top of the bridge. When you place the turrets, return to Sturges and you will get some bonus experience.
Talk to Blake until he starts talking about raiders and he will as you to help him out. Accept the offer and then you can get the map marker on your map. Set your way point and head there. This is a pretty rough fight because one of the enemies has a mini gun. Be sure to bring some Molotovs or explosives and plenty of healing items. Clear out all the raiders and you can find the Locket in the toolbox in the back. Return to the farm for your reward.

Talk to Sully here and he will ask you to fix the pipes so he can drain the water. If you have high enough Charisma you can figure out what he really wants, but I didn’t. Jump into the water and follow the bubbles down. These aren’t very deep at all so if you get to the bottom you went way to far. I’d say between 10-15 feet down. Return to Sully when you do that and be prepared to face off with two Mirelurkers. Use VATS to shoot them in the face, their weak spot, and make sure Sully doesn’t die!
Talk to Sully again for a reward and you can return later and the water will be drained.
This mission is really rough if you are below level 5. I highly recommend bringing your power armor to even the odds. Even if you don’t bring the armor, bring plenty of ammo, meds and explosives. You will have to clear out a factory of about 35 raiders and leader named Jared. If you don’t think you can handle it yet, just wait a few levels. Once you kill them all and kill Jared you can return to unlock this Settlement. The key you get off Jared is used right underneath where he is, on the ground level.
Return to Preston after for your reward.
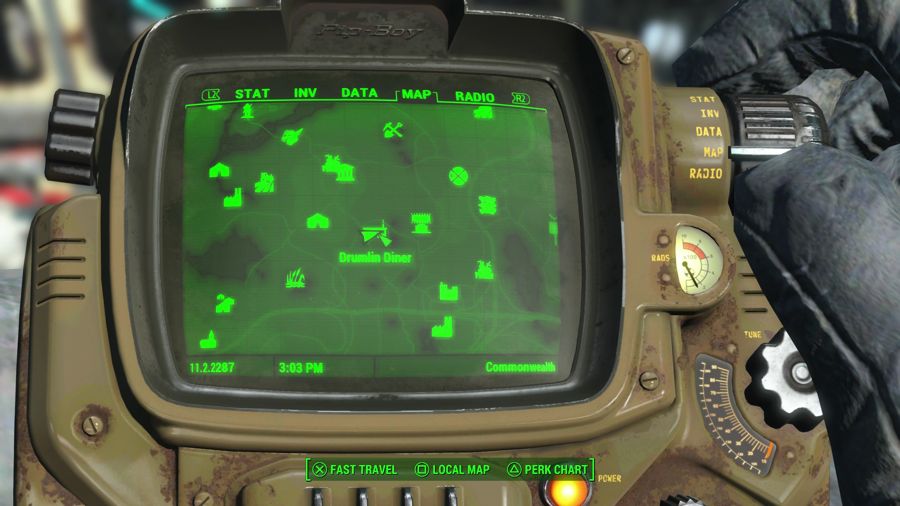
There is a dispute between a Jet dealer and a dinner owner. You will have to help out by either making the dinner owner pay, or by gunning one of them down. I had high enough Charisma to have the dinner owner pay and beat the quest without any bloodshed.
If you don’t have enough Charisma you can kill one side to beat the quest. Trudy has weapons and ammo and Wolfgang has meds and drugs.

You will need to do a little test in order to get into Covenant, you can’t fail it so don’t worry. When you get inside, talk to Honest Dan He will ask you to help him investigate a missing caravan for a reward. This will involve you staling a key from a citizen of Covenant so you can get into the Barracks. Wait until night and steal the key from a sleeping person.
When you have the key, enter the Barracks and you can find the terminal password on a table. This is used in the house with the locked terminal. You might have to wait until after noon for someone to open the door for you. Check the terminal and you will get the location of Amelia. Talk to Dan and go over to the check point. Inside you will have to deal with some security forces so be ready. At the end you can either leave Amelia inside and fight with Dan, or let her out and have the whole town turn on you. If you let her own the town will become yours after you clear it out. You will lose access to the shop and the doctor here if you free Amelia.
Talk to Danse and follow him into the Arcjet factory. Clear out any enemies that come your way and use the terminal to restore the power on the bottom floor. Use the engine to clear out the Synths attacking Danse and then take the elevator up to get the quest item. When you have the item, leave with Danse and collect your reward.
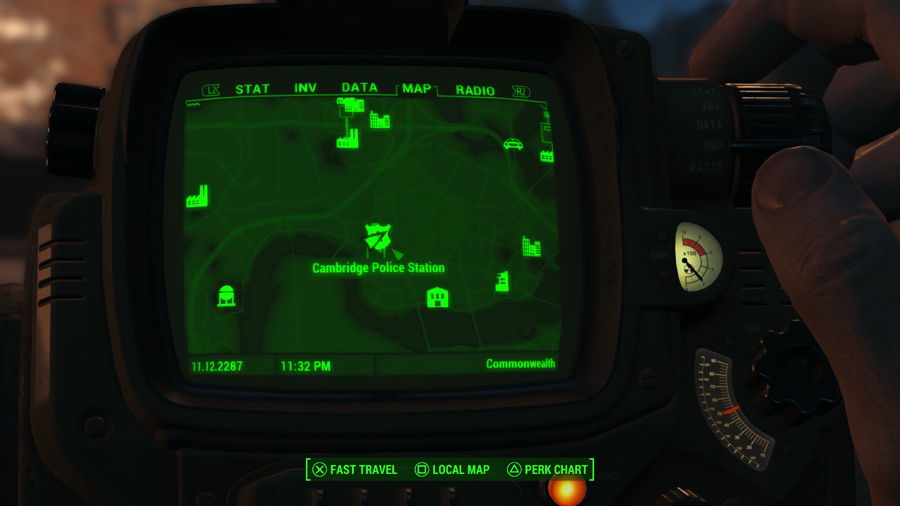
Once you are in the Brotherhood you can get more quests from the Police station. Talk to Rhys to get this quest. All you have to do it go clear out college square. Kill all the ghouls on the streets and then go into the subway and do the same. Return to Rhys for your reward. This quest can be done multiple times but you are sent to a different area each time.
You can get this from Haylen at the station. You just have to go retrieve an item from the Hillock Reservoir. Mark this as your active quest and you can be lead right to the item. Return for your reward. This quest can be done multiple times but you are send to different spots each time.
Once you get there, talk to Preston and start the assault. You will have to kill all the Mirelurks in the area and then the Mirelurk Queen. After you do that, build two 5 power generators to get the radio tower working and you will beat the quest.
After you clear those out, grab the blueprint from the armory room and go back out. You will need build the Artillery and then assign someone to it. Finally, test it at the test spot and you will beat the quest.
The next step is to get Mel out of jail. I had enough Charisma to get him out for free but you may have to pay the fee or steal the key to get him out. When Mel is out, return to the Dig site and begin the journey. This is a long quest so come prepares with ammo, meds and buffs. You will be fighting Mirelurks and Ghouls down in the tunnels. Use the robot to break down weak walls and keep going.
At the end you have a choice, kill Fahrenheit or betray Bobbi. I took out Farenheit and looted the train. To be honest there wasn’t much in the train but I got paid still.
When you return to Goodneighbor, Hancock will know you did it. Agree to help him take care of Bobbi and he will give you her location. You can convince her to leave or kill her yourself. When you return to Hancock, tell him you want to work something out and he will join you as a partner.
Enter the ship and go all the way to the top to talk to the captain. He will ask for your help with repairing the ship. Raiders will attack when you get done talking to him, kill them to repel the attack and the go down and talk to Bosun. He will want you to repair the wires on the ship. You can either use your Int stat (3 or higher) or use the cables in ship to do it. Next he will want you to repair the Power Relay Coil. You can do this with an Int level of 5 or higher.
After you help Bosun you will have to help the Navigator. He needs you to get the Guidance chip from the Raiders down below. When you go down the Raiders will ask for your help to take the ship. I dislike robots but I hate raiders so I sided with the robots. Spoiler alert – If you help the robots you get a freaking cannon so you should do that. Grab the chip from the back and return to the ship.
Next you have to repair the Radar transmitter. You can do this with and Int lvl of 9 or go to the factory and get the part. I had enough Int so I did it there. Lastly you will have to retrieve the Turbopump Bearing from a factory. Hop in your Power Armor and go to the factory. You can find the part in the same spot you killed the Raider Jared earlier for a mission here.
When you return, defend the ship again and then go activate the power. You can now watch the ship sail of to its destination. You can visit it again but I haven’t been back so I’m not sure if you get another quest or not.
After that read the Food for a Grasshopper and you will get your next objective. Head to the next marker and check out the grave there. You will dig it up and get a new sword and some other loot. Return to the office to turn in the quest and get the next one.
Go to the Doctor at Mega Surgery and ask him about Earl. He will tell you that Crocker was working on Earl. Tell him you need to find Crocker and get into the cellar. You will either have to bribe him or persuade him if you have enough Charisma. In the Cellar you will find Earl and Crocker and find out what happened to Earl. Talk To Crocker and you can kill him or arrest him, either way he will die.
Near the building you will find a cellar you can enter. Before you go in, make sure you have some hp recovering because you will be facing a tough Deathclaw. When you beat the Deathclaw, grab and listen to next holotape and grab the Deathclaw egg.
Now you have a choice to make. You can either drop the Deathclaw Egg back off at the nest or turn it in for caps. If you drop it off you get a Deathclaw Gauntlet. If you turn it in at Diamond City you get up to 500 Caps, it starts at 200 but you can talk him up with enough Charisma. I guess you could grab the egg after you drop it at the nest and turn it in at Diamond City for the caps, I didn’t try that though.
You will need to go retrieve Emogene from her new boyfriend. First go to the Third Rail and ask about Emogene, this will get you the location of her. Now I had enough Charisma to talk the priest down and get Emogene out without any trouble. If you don’t have Charisma you will likely have to kill everyone to get her out.
When you get her out she won’t follow you but you can return to Cabot House for your reward and the next quest.
 Posted November 12, 2015 by Johnny Hurricane
Settlements in Fallout 4 can only thrive if you have enough settlers in them to do all your work. Getting more settlers will take time but you can speed it up with a few tricks. Check out this
 Posted November 10, 2015 by Captain Camper
The post-apocalyptic world of Fallout 4 is filled with unexpected dangers at every turn but you can be prepared with some of the best guns in the game as we show you where to find the best weapons in
 Posted November 10, 2015 by Captain Camper
The post-apocalyptic wasteland of Fallout 4 is awash with collectibles. Use our detailed Fallout 4 Guide – Magazine Locations Guide to locate all of the magazines we’ve discovered so far, as well as
 Posted November 12, 2015 by Johnny Hurricane
The Supply Lines in Fallout 4 will help you keep your settlements upgraded and connected. They allow you connect all your resources together so you don’t have to lug it from settlement to settlement
 Posted November 12, 2015 by Johnny Hurricane
The Brotherhood Of Steel makes its return in Fallout 4 and you can join up with them. This is not something you have to do so it can be easily missed if you aren’t looking in the right spot. Check
 Posted November 9, 2015 by Johnny Hurricane
It wouldn’t be a Fallout game without collectible Bobbleheads to find. Fallout 4 brings back the Bobbleheads that will increase your stats once you find them. This Fallout 4 Bobblehead Location Guide
 Posted November 12, 2015 by Captain Camper
What begins like any quest in Fallout 4 soon turns into a puzzling journey as players are tasked with following the Freedom Trail and completing the Road to Freedom. This Fallout 4 Freedom Trail
 Posted November 10, 2015 by Johnny Hurricane
In Fallout 4 you will run into Legendary Creatures that will drop you rare weapons. These are normally in the form of stronger normal enemy, like a Ghoul or Radroach. This Fallout 4 Legendary
 Posted November 11, 2015 by Captain Camper
The post-apocalyptic wasteland of Fallout 4 is home to many dangers, but few more deadly than the threat of radiation. Luckily for you we’ve got the perfect solution! Check out our Fallout 4
 Posted November 10, 2015 by Captain Camper
If you want to get the max out of your Power Armor in Fallout 4 you’ll need the right supplies. This Fallout 4 Guide – Fusion Core Locations Guide lists all of the currently discovered Fusion Cores


 Torchlight 2: Tank Berserker Build Guide
 The games we want in 2014... but might not get
 The Cave Guide – The Adventurer’s Quest Guide - GamersHeroes
 . Plays October 7
 How To Eat, Fly And Sprint In Minecraft