

Fast travel to the Ransacked Village, which is the first waypoint marker on your map to find Dune Vildenvert. Speak to the man (Dune) sitting in front of the house at the waypoint. After a short cut scene with some dialogue, meet Dune near the battlefield, which is also the highlighted area on your map. Speak with Dune again for another cut scene, then search the highlighted area.
If you haven't already been here, you'll find loot on almost every soldier. Most you'll end up selling, but it will add up if you collect it all. The shields you're looking for will be highlighted in red. You need to examine each one until you find the right shield. It's located near the center of the search area.
When you come across the correct shield, several dogs attack. Kill the dogs and then activate your Witcher Senses again to follow the dogs trail. The trail leads to a house in the center of the new search area. Enter the house to initiate another cut scene and complete the quest. Be sure to loot the house before you leave.
The Witcher 3: Walkthrough and Guide
The Witcher 3: The Beast of White Orchard
The Witcher 3: Velen - Bloody Baron, Family Matters
The Witcher 3: Ciri's Room, Fake Papers
The Witcher 3: Novigrad - Get Junior, Broken Flowers
The Witcher 3: Skellige - The King is Dead, Nameless
The Witcher 3: The Battle of Kaer Morhen
The Witcher 3: Bald Mountain, Imlerith Battle
The Witcher 3: White Orchard Contracts - Devil by the Well
The Witcher 3: Velen Contracts - Jenny 'O the Woods, Missing Brother
How to Earn Infinite Crowns in The Witcher 3
The Witcher 3: How to Play the Gwent Card Game
The Witcher 3: How to Use Skills, Signs and Mutagens
The Witcher 3: All Places of Power Locations
The Witcher 3: Bestiary, Monster and Boss Battle Guide
The Witcher 3: Geralt's Carnal Knowledge Encounters
Use your Witcher Senses to look behind the forge for clues about the arsonist. It's the highlighted area on your map. You're looking for a pair of red footprints. Examine the footprints, then continue using your Witcher Senses to follow the footprints until a magnifying glass appears and you can examine them again. Continue to follow the trail to the water where you can examine the footprints one more time.
Head to the north side of the bridge and use your Witcher Senses to find more footprints. Examine the footprints in multiple spots to get the full story as to what happened, then follow the footprints as you make your way toward the next highlighted area on the map. Examine the blood on the ground (covered by the highlighted footprints), and continue to follow the footprints into the building ahead.
Look for someone with wounds dealt by drowners using your Witcher Senses. This will lead you to Napp. Speak with Napp to initiate a cut scene. During the dialogue that follows you can accept an offer from Napp or turn him in. If you turn him in you will be able to use the forge later on in the game, so that's the best option.
Escort the arsonist back to the blacksmith. You can run ahead to the blacksmith without any negative implications. You don't need to wait for Napp to catch up. Once you reach the blacksmith you'll start a cut scene that completes the quest.
There's a swamp just south of the garrison in this area. You'll find the merchant south of the swamp, near the western-most road that leads north to the garrison. Speak with the merchant to begin the quest, Use your Witcher Senses to find where the cart left the road. This wll take you in a northern direction.
Examine the tracks, then move into the swamp where a new search area is marked on your map. Find the little box the merchant mentioned using your Witcher Senses. Search the cart and horse, as well as the body slightly west of the cart and horse. The locked strongbox you need is north of the cart.
There are several Drowner enemies in the area, as well as explosive barrels. Most of the Drowners will flock around the explosive barrels, which makes it easy to use your Igni sign (magic) to blow them up. If you don't get too close to the Drowners they won't attack, but you can clear them out to avoid potential risk.
You'll also find a guarded treasure by the question mark on the map. The loot is 11 crowns (gold) and an orens (exchanged for crowns). The loot is guarded by a powerful Drowner who will disappear under water and appear behind you as it attacks. When it goes under water, quickly dodge to avoid its attacks, otherwise continue to attack with Fast Attacks to bring it down. If you see one of its arms raise, dodge to avoid the attack that follows.
Collect the locked strongbox and return the box to the merchant. Speak with him to initiate a cut scene, but inform him you've seen through his lies. This causes the merchant to flee. Chase down the merchant. When you get close, pull out your sword and knock the merchant off his horse. You need to swing just before you reach the merchant to have the best chance at knocking him off. If you wait too long to swing, you'll ride right past him and have to back up.
After you've knocked him down, you'll have a conversation with the merchant. Tell him he's free to go but you're keeping the medicine if you want the best reward. Choose anything else and you'll only receive gold instead of all the options available.
During the main quest, The Beast of White Orchard, you must find an herbalist. She's located in a house just east of the Sawmill fast travel marker. After you speak with her for the main quest, talk to her again and explain that you can help with her sick patient in order to begin this secondary quest.
You need to brew a dose of the Swallow potion. You'll need one Dwarven Spirit, five Celandine and one Drowner Brain. The herbalist sells the first two items, or you can find Dwarven Spirit in the bags in the yard northwest of the house. You can find Drowners all over the swamp south of the garrison. You need to kill them to loot a brain.
Once you have all three ingredients, go into the alchemy menu and craft a Swallow potion. With the Swallow potion in your inventory, take the potion to the herbalist to complete the quest.
In the main settlement in White Orchard is a house along the riverbed, northwest of the town. There's an old woman standing outside the house on the northeast side. Speak with her to begin the quest.
Face the door to the house and use the Aard sign (magic) to break into the locked hut. Once inside, use your Witcher Senses and search the room to the right. There's plenty of loot to collect, but the primary objectives are in the two rooms to the right. In the first room is a dead body. Examine the monocle on the ground in front of the dead body, as well as the body itself to determine what happened.
The second objective is the frying pan in the next room to the left (the only remaining room in the house). To the right of the frying pan is an item that shows up red with your Witcher Senses. Examine this item to find burned papers. Once you've collected everything, head back outside and return the frying pan to the old woman.
To access this quest during the Epilogue you will have needed to complete Main Quest: Something Ends, Something Begins (II).
Emerging from the tavern in White Orchard you spot a peasant trying to calm an agitated horse. Watch for a moment as the rider is thrown to the ground, and then you’ll be tasked to catch the runaway horse. Take off after it, using your Witcher Sense to follow the trail it leaves across Woesong Bridge. Here you’ll find a soldier resting with the horse, which is no less agitated than it was before.
From here you can ask the man several different questions. Ask him how long he’s been away, what side he fought on in the war, and then tell him that the horse, Gulden, looks to be in good hands now since his true owner has returned. The master and friend are united, and the quest will end.


 Why Zombie Games Are Awesome
 Team Fortress 2 Raffles - How to get Free TF2 items
 Destiny guide: how to get to level 30 with Light, Legendary Exotic and Ascendent gear
 Farmville: How to Expand Your Farm
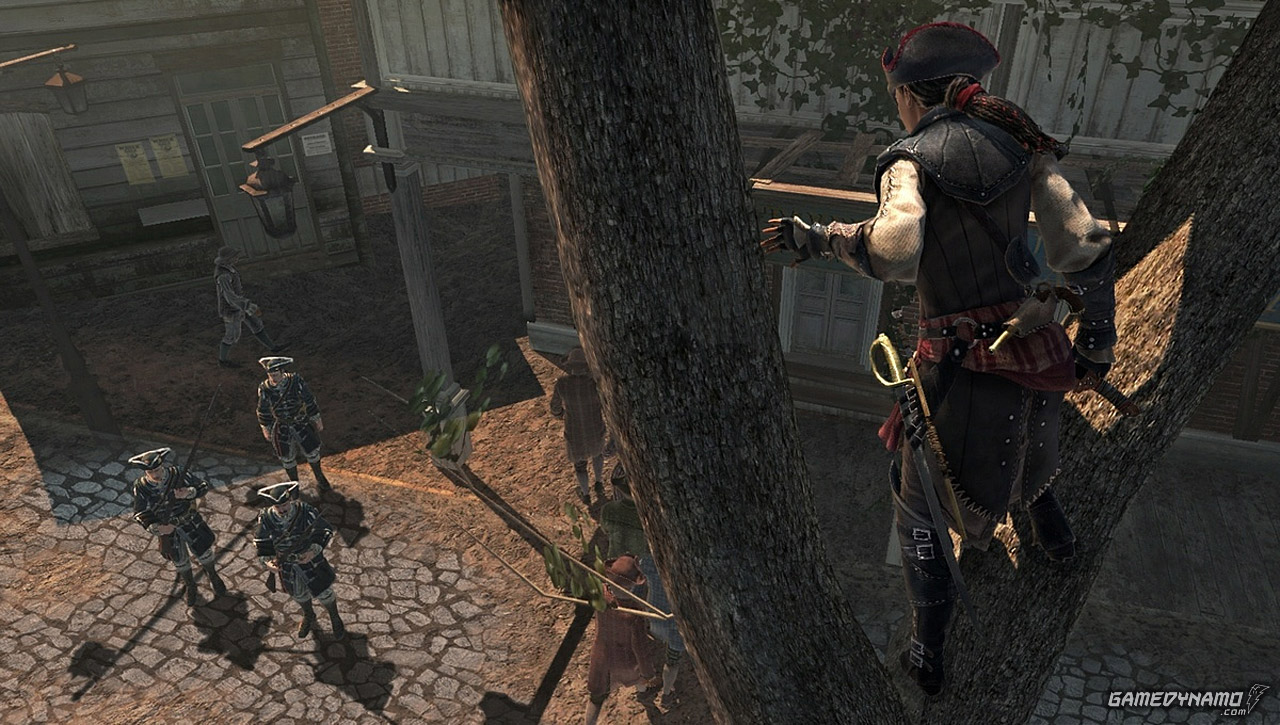 Assassin’s Creed III: Liberation HD – Bayou Fever & Mushrooms Guide