This walkthrough will cover the following memories that can all be found within Sequence 5.
In this sequence, Jacob strikes up a business partnership with Pearl Attaway in hopes of weakening Starrick's hold over London, and Evie continues to investigate the mystery of the Shroud.
With the aid of Pearl Attaway, destroy the rival omnibuses belonging to Starrick's goon, Millner. What's the free market without a little healthy competition?
Talk to Pearl Attaway at the waypoint to initiate the mission. Drive the carriage to the next waypoint as you chat. As you drive, an enemy carriage comes into view. Chase it down; two more carriages attack the other omnibus.
If you want to finish the optional challenge, take out the two carriages attacking the other omnibus first, then get close enough to your target to throw a knife at the driver of the carriage.
Head to the next waypoint: Millner's storage yard. You need to destroy the omnibuses parked here. Go to the next waypoint, but stay east of the railroad tracks to avoid dipping into enemy territory. Use your eagle vision to identify the cart of explosives in the middle of the courtyard.
Get on top of the roof of the southernmost building in the area and take down your foes with a hallucinogenic dart. This will make it much safer for you to push the explosive cart into position by the other omnibuses.
Ignite the cart of explosives, and get ready to run. You have ten seconds to clear the area. The best way to escape is to grapple onto the building directly west.
An enemy train is hauling some very precious cargo that Attaway is interested in -- but to pull off this heist, you'll need some help from an old pal.
The starting waypoint for the next memory is a moving carriage belonging to Miss Attaway. You can chase it down on foot, but if you're having trouble, grab a carriage of your own.
Your job is to find Ned Wynert, who's being escorted by a police convoy. If you want to complete the optional challenge, don't kill any of the policemen in this memory. It helps to use your own carriage to block the two police carriages following Ned's carriage. Then you'll have time to move up behind Ned's carriage.
The next portion of the memory takes place on a train. Move to the front quickly, then jump across to the adjacent train. The train is lousy with enemies, but they're easily overtaken with the aid of whistling, smoke bombs, and darts. If you want to complete the optional challenge, detach the rear car and the enclosed car near the engine. Then search the crate beyond the enclosed car to find what you need.
When you have the loot, detach the cargo wagon, jump back to the previous train, and defend Ned if necessary. If you took out all the enemies, however, everything should be fine. Simply wait for the train to stop, and the memory is complete.
Millner's last stronghold is a contraband ferry. Time to take care of that -- and to take care of Millner himself.
To begin the mission, you have to catch up with Miss Attaway's carriage again. This time you'll be dealing with Millner's contraband ferry.
To complete the optional challenge, don't touch the water (don't want to get those nice assassin's robes wet). The easiest way to do this is to climb up onto the bridge west of the contraband and wait for a ship to pass close to the contraband ferry. When an appropriate ship passes below you, drop onto it, wait for it to pass the contraband ship, and jump across.
Next, you need to sabotage the contraband. Sabotaging two at once lets you fulfill another optional challenge.
Ignite the crates of explosives near the contraband. The explosives are everywhere, so this shouldn't be a problem. However, if you want to complete the challenge, put three crates of explosives on the wooden bridge between the two westernmost sets of contraband. Make sure they're evenly-spread, then ignite the middle crate to send everything up in flames in one neat stroke.
Now it's time to assassinate Malcolm Millner, which is your next waypoint. You can do the job stealthily, or approach him and start a fight. When Millner's done, there's a short cut scene. When it's finished, run from the rest of Millner's henchmen as you head towards your next objective: Finding Pearl Attaway.
Head back across the bridge to reach the north side of the Thames. When you reach the building where Pearl is located (which is the next waypoint), go around to the northwest corner of the building and slip through the window entry point.
Go down the stairs in the southeast corner to kick off another cutscene, then flee the scene via the window you came in through.
Starrick's thugs have been bothering Alexander Graham Bell again. Time to dish out some punishment with the aid of a neat new invention.
Meet up with Alexander Graham Bell. When the memory begins, go out the window and climb up to the rooftop. There are several item crates here that contain voltaic bombs.
Wait for Bell's signal, then toss one of the bombs down onto the enemies below. When the group moves, move with them and toss another bomb when you get the signal. If you run out of bombs, grab more from another one of the crates.
After you drop the third bomb, you need to head down and take care of the thugs the old fashioned way (hint: With your weapons). Once you've cleaned house, follow Bell to his carriage and drive to the next waypoint, which is the telegraph station.
Get out of the carriage and move down the underpass to the east. For a stealthy approach, use the carriages for cover. Throw another voltaic bomb at the two enemies ahead if you want to complete the optional challenge. Otherwise, take them out however you see fit.
When Bell goes inside the building, two enemies approach from the west. Wait for them by the western doorway. As soon as they pass by, assassinate them to keep Bell safe. Three more thugs attack when Bell moves to the adjacent building, so defend him again. When Bell moves to his last position, you have to deal with more thugs. The memory ends when Alexander finishes his work safe and sound.
Counterfeit tonics are causing London's children to become sick. Evie must retrieve authentic ingredients to save their lives.
The memory begins with Evie meeting Florence Nightingale, who's in desperate need of some ingredients necessary to cure sick children. You're on a time limit of about eight minutes, but it should be enough time as long as you don't dawdle.
First, locate the peddler at the next waypoint. Take a carriage if you like, but proceeding on foot is fine, too. Use your eagle vision to pick the peddler out from the crowd. Don't kill him if you want to complete the optional challenge. Instead, move up behind him and steal what you need. Make sure any nearby policemen move out of the way first.
Grab a carriage and head to the next waypoint, which is where the pharmacist is located. Some thugs are attacking him, so rush to his aid.
Talk to the pharmacist when the enemies are gone, then hop into the nearest carriage and follow the person who hijacked the pharmacist's rig. You'll need to coax the horses to move as quickly as possible. You'll fulfill an optional challenge if you catch up to the carriage in one minute.
Jump onto the roof of your carriage and hop on over to the other carriage. Get rid of the driver and steer the carriage to the asylum, which is the final waypoint for this memory.
Evie gets a little closer to discovering the secret of the Shroud, but there are some puzzles (and a few fights) in her way.
This memory begins with Jacob and Evie bickering on the rooftops. When the action starts, drop down to the ledge on the edge of the building, and grapple over to the monument. Go around to the south side of the monument and wait for the policemen below to move. When it's clear, drop down and move to the monument's base.
Sneak under the scaffolding and examine the front of the monument. Sneak back out and use the Rope Launcher to zip to the top of the monument. No worries if the cops spot you; they can't fly.
Go to the next waypoint at the St Paul's Cathedral. Use the zipline and drop into the haystack east of the cathedral if you'd like to fill in the optional objective. When you arrive at the cathedral, use your eagle vision to spot the puzzle location.
To solve the puzzle:
If you screw up, just cancel out of the puzzle to restart the gears.
Go up to the next waypoint at the top of the building. Head inside the tower. Examine the artifact. It's time to fight Lucy.
You can counter all of Lucy's attacks in order to fulfill an optional challenge. Whenever Lucy is pushed back a bit, she'll lunge forward with an attack. This is a good time to counter. Alternatively, you can simply tap the counter button after each combo attack.
The battle's end also ends the memory. Pull the lever to open the hidden door and leave.
Pearl Attaway must be disposed of. Jacob's on the job.
It's time to deal with Pearl Attaway. Head to the waypoint that marks the vantage point. Grapple up to the roof and move to the entry point on the south side of the rooftop. Drop to the beams and move to the vantage point.
A cut scene follows. The trains aren't running on time, and travelers are very irate about it. Your next mission is dished out: Assassinate Pearl Attaway.
Turn on your eagle vision and go southeast to find your target, as well as other highlighted opportunities, like stealing the train blueprints from the Security Chief.
Speak to the conductor, then go north to find the location of the blueprints so you can nab them. Once you're in the room, hide until the patrolling guard walks around the corner, then take him out. Open the nearby item box and steal the prints.
Go back to the conductor and talk to him again. Go towards the northeast exit to find four thugs. You can dispatch them easily using hallucinogenic darts. Head to the adjacent area and go south. Grapple up to the rafters and approach your theft target. Wait until he moves up the stairs and into the crowd, then sneak up behind him and steal. Alternatively, you can kill him and loot his body.
Grapple back up onto the roof and move south to find a unique kill opportunity. Kill the nearby sniper, then head to the next waypoint to assassinate Pearl Attaway. Head north to the locomotive to escape and complete the sequence.
Continue to Sequence 6: A Run on the Bank, or return to USgamer's Assassin's Creed Syndicate Walkthrough and Guide.


 Hearthstone – Tips & Tricks
 The Witcher 3 Wild Hunt Guide: How To Re-Spec Your Character & Return All Ability Points
 Star Wars: The Old Republic Walkthrough Guide Collection
 Free Download Road Rash - PC Game
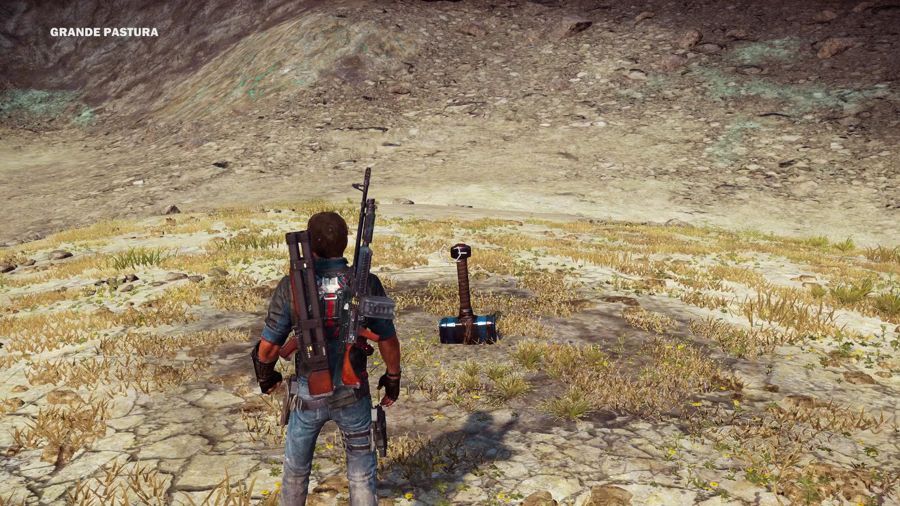 Check Out The Thor's Hammer Easter Egg In Just Cause 3