Before you get too deep into the game, you should spend a few moments reading up on our character creation guide, as well as our guide to help you understand the perks that will determine your character’s strengths and weaknesses. We overlooked these things on a first play through, and ended up restarting to get our affairs in order. Fallout 4 provides you with an unforgiving experience, and you need things to be perfect if you want a shot at survival.
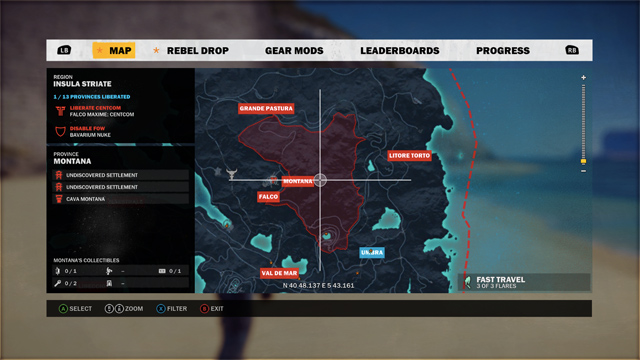
Fast travel in Fallout 4 is done by using the Map option on your Pip-Boy. In order for it to work, you must have discovered the area that you are trying to fast travel to. For example, you may not be able to fast travel to a mission because you haven’t been in that area, but once you’re done, you can fast travel back to Sanctuary. Also, make sure you are outdoors when trying to fast travel, as we have found that some buildings (usually those that require a load screen before entering) won’t allow us to fast travel from that location. You will also be denied the ability to fast travel if you’re carrying too much gear and are over your maximum weight capacity. Try transferring some to your companion.
Prior to building your base in the Sanctuary mission, create a manual save. Sanctuary lacks many of the resources required to build a top notch settlement, making it very easy to run out of something before you can complete all of the components required (food, water).
Ensure that you loot Sanctuary (not in the base building view) for items of interest before you run around scrapping everything. There are several safes that you can open up and loot, as well as some furniture items that you can carry to your living space, rather than break down for wood and steel. There is no point in scrapping a couch for parts when you’re only going to have to build a new couch in a few minutes. Your base will most likely be a work-in-progress for quite some time.
V.A.T.S. stands for Vault-Tec Assisted Targeting System, and can save your life if you take the time to learn how to use it effectively. Console players can activate V.A.T.S. by pressing the L1 or Left Bumper, allowing them to see the weak points on their targets, thus dealing critical damage. V.A.T.S. also slows down time when you’re using it, which can be just the break you need in a hectic moment. Practice with it while you’re facing low level targets, getting used to the timing and controls before you face off against a big, scary monster.
We’re doing a full guide on each of these topics, so if you want to read about weapon modifications, you can. You can also study our armor modification guide if you feel you’re taking too much damage. Our hope today is that you’re reading this before you begin playing, so you can hear us tell you to level your Strength to at least 3, and your Intelligence to the same level when creating your character in the War Never Changes mission. This will allow you to unlock the Armorer and Gun Nut perks, enabling you to make basic modifications to most of your weapons and armor. As long as we’re talking about perks, we would also suggest you put your Perception to level 4 so you can use the Locksmith perk.
Spend some time getting to know the functions of your Pip-Boy, such as switching between your active quest, and toggling whether it shows up on your map. This falls under the Data heading, but there’s more to do than just that. The Map option on your Pip-Boy holds the fast travel option, and the Inv option allows you to change what you’re wearing, switch weapons, or even consume food to help you regenerate health. You’re going to be spending a lot of time in the menus of your Pip-Boy, so taking five minutes to get familiar with it should be a priority.
When you begin base building at Sanctuary, you’ll notice that you have a Workshop, Weapons Workbench and Armor Workbench. When you approach these you have the option to Craft, or Transfer. The latter will allow you to store items currently on your person, or grab some. It’s also worth noting that each workbench will share resources with the others, but only in that area. For example, if you put an item in the Workshop, it will be there when you view the Armor or Weapon Workbench. However, that same item will not show up at the Red Rocket Workshop because it’s in another area. You’d have to carry it there if you wanted to use it in another area.
There’s a lot more that we could teach you about Fallout 4, and we will, but we’re going to save it for more specific and in-depth articles, such as the ones we’ve linked throughout this page. If you’re looking to browse through all of our content, visit our Fallout 4 Walkthrough and Guide.

 The FTL: Faster Than Light Survival Guide - AlterGamer
 Assassin's Creed Unity Murder Mystery Guide
 Castlevania: Lords of Shadow 2 Walkthrough Part 1 – How to Beat the Castle Siege
 Walkthrough LEGO: Jurassic World STORYLINE JURASSIC PARK 2: THE LOST WORLD
 Madden