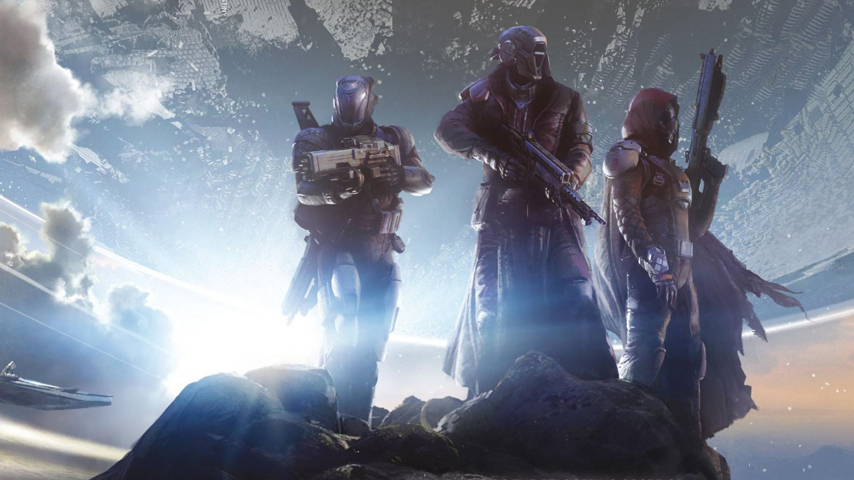
Ideally you will have a fireteam of six level 28+ characters, but you can definitely finish the raid with younger teams.
Weapons with attack stats of 300 are ideal; this is the highest output currently available.
Void machine guns, rocket launchers and fusion rifles will be super useful. Bring a couple of Voidwalkers if you don’t have the gear.
Don’t be worried about class set up; the raid can be completed by any mix of classes. That said, as in every Destiny endeavour, a Sunsinger can save your entire party’s bacon.
Everyone should bring at least half a dozen ammo synthesis packs of every kind.
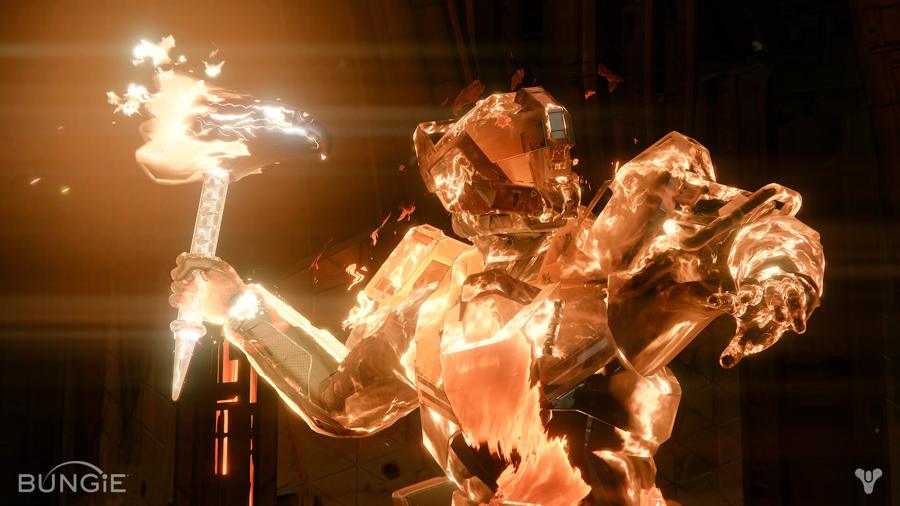
Destiny’s first raid, the Vault of Glass, can be hard. If you’re good at shooters, communicate well, prepare and have good teammates, you won’t have too much difficulty – but that’s a big if.
Up until recently, some players used “cheese” strategies to take down the Templar and Atheon, the two major bosses. Bungie has been gradually plugging these holes, though, and the latest hot fix will really shake things up.
Don’t worry – we’re here for you. We won’t spoil the raid by giving a blow-by-blow solution to completing its many puzzles and encounters (unless you want that? let us know!) but we can tell you how to lay the smack down on the Templar and Atheon post-update.
This section only concerns the battle with the actual Templar. There are several phase of encounter in the the Templar boss arena during which the souped-up Hydra floats about, completely immune to damage, and we’re bypassing those. The boss fight kicks off for real when you first pick up the Relic that appears in the centre of the room.
Until someone grabs the Relic you’re completely safe, so spend a little time sorting out your strategy. As in an earlier phase, you’ll need to keep an eye out for Oracles. They spawn in the same places, so spread out your team to ensure at least two Guardians are within reach of any spawn point. There’ll only be one at a time, with reasonable gaps in between, so it’s not so bad.
At time of writing, you can leave a few Guardians up on the spawn point to snipe oracles and call them out to players on the ground; in fact, you can keep all but one player up here and just send the Relic holder down. You’ll need to wipe to get everyone up there initially, though, and we’re expecting Bungie to patch this out. With that in mind: two Guardians on the left, two on the right, and one “floating” in the centre works well.
The Relic is a special melee weapon, like the Sword of Crota, that replaces your ordinary load-out and locks you into third-person perspective.
The right bumper executes a melee attack.
The right trigger executes a stronger melee with a short dash. You can perform a jumping version of this.
The left bumper creates a bubble shield Guardians can shoot through, and cleanses the Relic holder and all Guardians in close proximity of Marks, which cause eventual death in the Templar encounter and blindness in the Atheon fight. You don’t need to hold the button down; just tap it and look for the message on-screen confirming the cleanse. This reduces the cooldown on using it again.
The left and right bumper together unleash a super – a blast of energy, something like a Warlock’s super, which breaks the Templar’s shield. You won’t need it during the Atheon fight.
The player holding the Relic has the most important job as they’ll have multiple roles; see the boxout for control information. Their first and highest priority is to stay alive – if the Relic is dropped, you only have a few seconds to pick it up, and this can disrupt your entire team even if you make it. You’ll want to choose a less-squishy class to hold the Relic – or put it in the hands of your most skilled player.
The second task the Relic holder must focus on is taking down the Templar’s shield. This is achieved by using the Relic’s super when it charges. You can charge your super by taking down Harpies as fast as possible. The Relic holder needs to let the rest of the team know this is about to happen – preferably just after dispatching an Oracle – so as many as possible can damage the Templar while it’s vulnerable.
The Relic holder’s third task is to cleanse players afflicted by a mark. You’ll only be marked if an oracle is left alive, which should not happen – but if it does, the Relic holder should quickly cleanse as many Guardians as they can with a quick tap of the left bumper – they can probably get to two or three in time at least. This will be enough to survive until the rest of the team can be revived, avoiding a wipe.
Finally, the Relic holder can revive players – but if you have organised your team well, everyone should have at least one player within reach at all times. The Relic holder can also take down Oracles, but if everyone is doing their job correctly they won’t need to.
There are two major threats during the encounter – the Templar itself, which behaves very similarly to the Nexus, and buttloads of Harpies. The Relic holder will likely be taking down Harpies much more efficiently than other Guardians, but they can only be in one place at a time, and Harpies spawn on both sides of the map. Players should be aware of where the Relic holder is at all times, tracking the icon that shows through walls, and if the Relic Holder is on the opposite side of the map, they should work hard to clear Harpies on their side. Harpies go down quickly to precision shots from powerful hand cannons and scout rifles, so gear up appropriately.
When an Oracle chimes, forget Harpies – take it down. If you have a good audio set up you should be able to tell vaguely where the Oracle is by the direction of its song.
The Templar will be firing wildly at all times during the fight, and you’ll need to take shelter while still covering Oracle spawn points, keeping a cap on Harpies, reviving downed teammates and hitting the Templar with everything you have when the Relic holder drops its shield. Prioritising non-Relic tasks is the most difficult part of the Raid. I suggest:
… but it’s the unpredictable moment-to-moment decision making that differentiates a skilled player from a rookie. If you’re struggling, take a short break and turn the volume down a little – it’ll help you stay calm.
You need to make a decision about how to handle the Templar when the Relic holder drops the shield. The Templar will attempt to teleport to a new location. It can make the fight much harder if he camps right where a bunch of Oracles spawn. You can block the Templar’s teleport by having one Guardian run over to the new location – a marker will appear in the arena (but not your radar) showing the new location, and if you’re quick you can get onto it before he moves.
If you decide to pursue this tactic, you’ll need to nominate one Guardian to be the camper, and back ups in case that Guardian is down at the time. It’s tempting to choose the Guardian with the lowest DPS. Be warned, though: blocking the Templar’s teleport will cause a Minotaur to spawn, and it will absolutely smash an unprepared fireteam.
If you have decent guns, you can knock the Templar down before he hits his enrage cycle. If not, and if you’re not confident facing an angry Templar, just wait it out, picking off Oracles and Harpies until he calms down again.
There is one other nasty mechanic in this fight: when his shield is dropped, the Templar will summon cages to detain three of the party. You need to shoot (or as the Relic holder, melee) your way out of this cage before you can shoot anything else. While the shield is up you can still take damage from outside, and you can’t move. If you step out of the cage, you will die. Do not fire a rocket or grenade at the cage; the splash will hit you.
In the end, it really boils down to: knock down the Oracles. Hit the Templar when the Relic holder drops its shields. Don’t be killed by Harpies. You can do it!
Jump to: Page 1 Page 2
 Dragon Age Inquisiton: Emprise Du Lion Side Quest Guide - GamersHeroes
 What we want from gamescom 2012
 The Cave Guide – The Adventurer’s Quest Guide - GamersHeroes
 . Plays October 11, 2013
 The Sims 4 – Cheats Codes Guide