Deus Ex: Human Revolution Walkthrough Part 6 – FEMA Camp
First head for the back right corner and talk with the MCB Gang Leader. You can learn a lot about the situation around here as well as get some ammo and an upgrade for the Crossbow/Tranquilizer Rifle. Now head to the left and through the door. Follow the corridor a ways to a cutscene then you are free to move through the area and start into the mission properly.
From here is not a bad spot to start a firefight. You have the high ground with a solid visual across most of the area. If you like to go in shooting, start from here. If things get difficult to hit, drop down through the window to ground level and work from there.
Head to the far side of the room and go down the stairs. Open the door and creep out amidst the crates. Wait for the guards to start patrolling then start making your way to the right between the truck and wall. Take out the nearby guard while he smokes behind the truck. Drag his body further back to keep it out of sight. Continue making your way to the right and slip past the truck to the nearby crates. If you are fast, jump up onto the crates near the window for the office trailer. Open the window and slip inside to find some ammo and a laser targeting system. Otherwise slip by to the right and move of the crates blocking your way to progress.
Regardless, head up from the office trailer and stay close to the crates. You will see one stationary guard nearby, he is second on the list right now. There is a mobile guard very close by, circling the nearby crates. Get closer to him and take him down by moving from the forklift you are hiding behind to one of the back row camouflaged crates.
Slip over to the building. Now move forward toward the guards between the crates. You have a good spot here to snipe the nearby guard with your rifle but you will then need to quickly hide the body. This is easiest with simply dragging it to the front of the nearby truck. Head through the concrete barriers and take up position behind the boxes in this area. When the patrolling guard is close by take him out. Move forward to the stairs then to the nearby truck. Slip to the front of the truck. You can easily reach the door leading to the next area from here. You can also take a little more time to deal with the remaining guards if you want the experience.
Inside the Factory
Inside the building head in and to the right. Go through the first door and inside you will see a guard looking the wrong way. Take him down so you can safely hack into the terminal. If you completed “Voices From The Dark” prior to coming here you will have all the passwords and access codes. The password is “NEURALHUB” for this terminal. From here you can play with the nearby cameras, putting them in a fixed position and it lets you see two guards ahead of you. Exit this room and head for the wall in front of the stairs. Make your way over to the concrete barrier. Be mindful of the Sniper who sweeps the area from the ledge above periodically. Make your way to the left and take up a position near the edge of the crates. When the guard is close by take him down. Now, take up a position behind the barrels a bit farther up. Use this as cover to deal with the Sniper above who might have caused you trouble earlier. Move forward and make your way to the back of the room. There is one more prominent guard in this area. Wait for him to come close then when he starts away from you, take him down. Now you can either take the ladder down or continue forward a bit more. If you go forward you will find another guard and an office with a security camera on it. Make it inside and you will find an ammo capacity upgrade as well as an additional guard. Take him out then you can explore this whole office easily. Head into the marked elevator.
FEMA Basement 1
If you are for a fight just move straight out of the elevator. There are a few guards plus that Box Guard. Throw an EMP Grenade, if you have one at the robot then use some frag grenades to take out the remaining guards coupled with some bullets.
To avoid combat, move out of the elevator in a crouch and make your way carefully to the left. Be sure to grab the ammo and EMP grenade that are sitting right by you. When you reach the door blocked by pipes jump over them and quickly drop down to the floor. Head on to find an open vent. Take that to the far side of the room. You can either just slip through the door when no one is looking or take out a guard, duck back into hiding then go through the door. Keep moving on through to the next door.
Move forward and wait for the guards to finish their conversation if you want quiet. Otherwise once you have a clear line of sight, open fire. When the guard turns his back quickly take him down and then head down the corridor. Go through the door and set into the nearby security room. The first computer has some e-mails which give more flavor to the situation while the other is a security hub. Hack into the Hub and there you can deactivate the cameras and the turrets in the area if you have the augment. Back track a little now and go up the ladder. Make your way to the right and go up the short flight of stairs to find a security hub in the next room. Hack it or use the password to disable another camera and grant you access to a secure room with more ammo in it (shotgun, rockets and typhoon). Head out through the door opposite you. There is another computer there but it is also a big risk to hack without taking numerous guards who are patrolling the area. Head out the door to the left and creep along the railing. There are a few guards around here. If you want to set out killing some and start a gun fight, this is not a bad spot for it. If you want to avoid attention, slip along the railing and get into the office on the far side. There is some ammo underneath the desk if you are running low. Head through the vent into the next room. Head out the door and make for the room marked with an “A”. There is a pair of patrolling guards but you can easily take them down with good timing. Still, it is better just to get the one close to the room “A” to avoid some unnecessary risk. Head into the room and you will find another security hub. Hack it or use the password quickly. Use this to deactivate the cameras in the area. Now head to the left and through the door. Take the stairs all the way down.
At the bottom you will get messaged from Pritchard. You have one more level to go down. Slip underneath the camera and go through the door just around the corner. Inside you can hack a security hub and disable a camera. Move the boxes behind you to reveal a reload speed upgrade on the bookshelf. Head left out of the security room and into the cafeteria. Go forward then left. You will find a locked room with the passcode of “7284”. Otherwise you can just hack it. Inside you will find one of Hugh Darrow's eBooks. Collect it then head back to the security room and down the corridor to the medical bay and the elevator. Hop in it and ride it on down.
Head forward and into the security area. Just keep going down the corridor. Go through the double doors you find to encounter Lawrence Barrett
Boss Fight – Lawrence Barrett
Time for the first boss fight of the game. This is done easiest with two frag grenades thrown at his feet. Otherwise, keep some cover between you and him. Keep moving and gunning. Throw what explosives you have to finish the fight quickly. Otherwise it will take a lot of shots to bring him down.
Head to the elevator on the far side of the room and ride it up. Malik is waiting for you to take you back to Sarif after this fine encounter.


 How Call of Duty changed a life
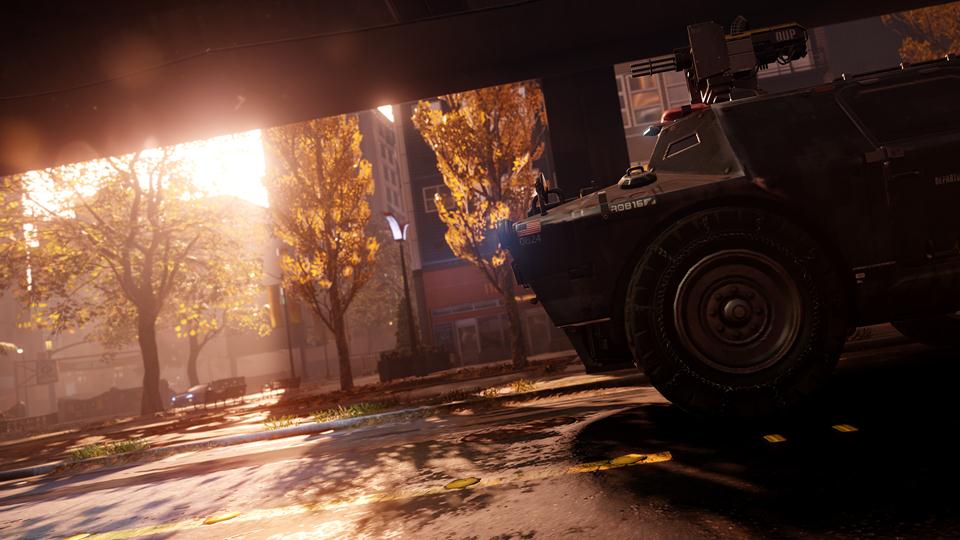 inFamous: Second Son – The Gauntlet, climb the Space Needle, Orbital Drop
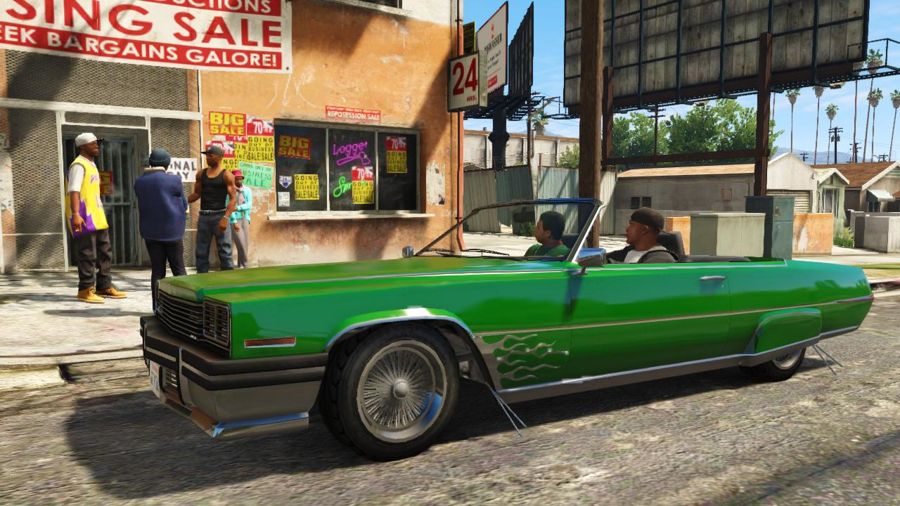 Grand Theft Auto 5: Strangers & Freaks Side Missions Guide
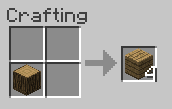 How to make a crafting table in Minecraft
 Zelda OoT 3D King Dodongo Guide