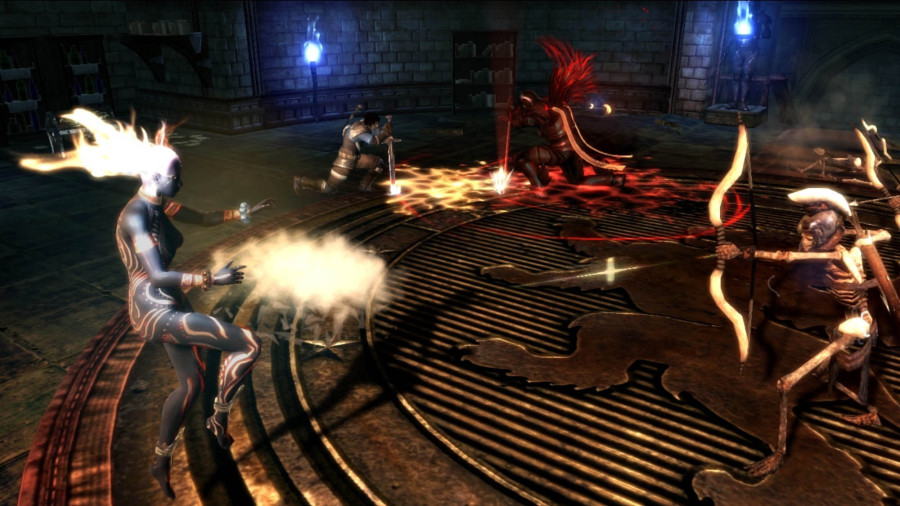

Immediately upon entering the ruins you will be thrust into a boss battle.
Boss Battle: Paradox Alpha
Switch to the Slash and Burn Paradigm to inflict maximum damage. Try to build up your Chain Gauge as much as you possibly can. Before you can fill it entirely, you should enter into what the game calls a Cinematic Action Sequence, basically a quick time event. Simply tilt the left stick to the left to advance with the battle. Continue dealing heavy damage using Slash and Burn. Soon another Cinematic Action Sequence will begin. This one is more complicated; you must hit left, up, and X/A. This attack will automatically stagger Paradox Alpha. Switch to Double Trouble to ramp up your damage input, felling the beast quickly. You will have to complete one more quick time event, consisting of a single button press (Triangle/Y) to finish it off.
As soon as the battle ends, Serah and Noel will be captured by a group of soldiers. Speak to the captain once you’ve reached their camp. He won’t let you go; in fact, you’ll find yourself in prison during the next section. To escape, speak to the guard after Alyssa arrives. You will be released. Follow Alyssa out and speak to her to obtain the map of the area and the Academy Communicator. You will also receive a briefing on the Change Leader mechanic, which simply allows you to dictate which of the main characters is in charge of your party. This mechanic is mostly a matter of personal preference.
Look around the area. You should see a strange bird-woman hocking her wares. Approach her to begin a conversation. This woman’s name is Chocolina, and she will serve as your item vendor throughout Final Fantasy XIII-2. For now, you may purchase two new weapons for Serah and Noel. Equip the Meteorblaze to Serah, and the Howling Soul to Noel. After equipping the items, circle the area to find several chests containing gil to refill your pockets.
When you are ready to proceed, head up the stairs in the top right corner of the map to reach the Excavation Site area. This will lead you to Echoes of the Past, the biggest area in the Bresha Ruins. You are open game in this area, so be ready for monsters to approach you. One of the first battles you will engage in is mandatory; a Cait Sith and a Zwerg Scandroid will attack you quickly upon entering the area. The Cait Sith can heal the Zwerg Scandroid, so take it out first. Winning this battle will introduce a hefty section of tutorial explaining the concepts of Monster Crystals, Paradigm Packs, Feral Links, and monster customization. Essentially, in Final Fantasy XIII-2 you can sometimes capture wild monsters and train them to battle alongside you. Your collection of monsters is called your Paradigm Pack. In order to tame an enemy, you must first defeat them and be lucky enough to obtain their Monster Crystal at the end of the battle. Although you don’t have to worry about the complexities of these systems at the moment, take some time to familiarize yourself with the concepts, as most monsters you face should be able to be captured.
When you’ve crossed the area, go through the Gate. Speak to the first soldier you see on the other side. He will explain the concept of Moogle Hunts, and give you the Moogle Hunt ability. This ability can be very useful for finding treasures. Test it out now by pressing R1/RB to find the Wild Artefact nearby. Find the other soldiers in the area standing near Chocolina and speak with them to begin the Unio Mystica and Ghast Fragment sidequests. You can complete the Unio Mystica quest now, but it’s best to wait before engaging the Ghast.
To find the two Capsules for Unio Mystica, begin at the Gate. Head to the left of the entrance to find a hidden chest containing the first Capsule. Now head to the far west side of the area and go down the large staircase. Go through the tunnel and stick to the right side of the area to find a chest containing the second Capsule. While you’re down here, try to capture a Pulsework Knight, as this is the first time you’ll encounter the enemy and it is relatively powerful, especially compared to the Monster Crystals you have obtained so far. Return to the soldier to receive your reward.
You should now head upwards and to the right of the entrance to find a tunnel. A cutscene will introduce the upcoming boss Atlas. Follow the waypoint to reach a small room. When you enter the room, your party will be sucked into a Temporal Rift. These puzzle sections will allow you to escape the area and weaken Atlas.
Temporal Rift Puzzle
You need to collect every gem on the path to solve this puzzle. The only problem is that you can only step on each tile once. This puzzle is split into three stages, with each stage revealing itself after you complete the last. To solve the puzzle, move in this order: Up, left, up, right, right, up, left, up, right, up, up, left, down, left, up, up, up, right, up, left, left, up, right, right, up, right, up, left, left, up.
This pattern will free you from the Temporal Rift. Activate the switch in front of you to weaken Atlas, then level up and exit through the south to face the boss.
Boss Battle: Atlas
If you captured a Pulse Knight you can use the Delta Attack Paradigm for maximum damage and rely on Potions to heal. If not, try to rely on the Slash and Burn Paradigm and switch to Twin Shields or use Potions when Atlas attacks. Either way, you have to build that Combo Gauge up as fast as possible. Stagger Atlas and switch to the Relentless Assault Paradigm to deal the finishing blows. You will have to complete a lengthy quick time event to finish the battle, so be ready to hit left, O/B, left, X/A, left, X/A, left, and X/A when his health is depleted.
You will receive an Atlas Fragment and 2,500 CP for killing Atlas.
Follow the waypoint to the Lamentable Rest area to the east and search the monument there to trigger more cutscenes. At this point you will unlock the ability to ride Chocobos. Before leaving, use Moogle Hunt to find a Reunion Artefact hidden nearby.


