

The second storyline in Twisted Metal’s campaign stars Grimm. You will immediately notice that this campaign is more punishing than the last, as the fist battle is a Juggernaut deathmatch on the Diesel City map. This time, however, you aren’t merely contending with one Juggernaut; two of the hulking semis will roam this level, spewing out new competitors every 90 seconds just like last time. With so many cars roaming the streets of Diesel City, it’s best to simply avoid the ground altogether. Choose your new Talon helicopter as your starting vehicle and take to the skies when the match begins.
From this high up, it will be easy to find the Juggernauts. Get one in your sights and swoop over to it. Beware of getting too close to its turret, though, as Talon lacks in armor what it gains in mobility. It’s best to stay up high and pepper the Juggernaut with Missiles and machine gun fire. Making this event easier is the fact that only one Juggernaut can spawn enemies at a time. It would be best to find the enemy with the counter over its head and eliminate that one first. This will transfer the enemy-spawning power over to the second Juggernaut, so find it and head over to destroy it quickly. Talon’s special, a chaingun that you can manually aim from the air, can be really great for dealing heavy damage when the Juggernauts open their side doors to release mines.
It’s also worth noting that one of the giant semis will always be posted somewhere on the freeqay. This large road makes a circle around the rest of the city. If you’re having trouble finding a Juggerrnaut, this is a good place to start looking. You can follow the highway to cut the Juggernaut off, and you can fly low to the highway hen the coast is clear to pick up a decent supply of weapon power-ups. When you have collected plenty of weapons, wait for Juggernaut to come and light up his grill with your pickups before taking to the skies to avoid damage.
The other semi might be a little bit harder to find. There are several different paths that this Juggernaut likes to traverse, and just like last time its spawn point at the beginning of the match is entirely random. You will have to fly around some to get a bead on it. While flying, there are several locations with power-ups and health that are worth noting. A giant scrap yard in the south area of the level contains tons of weapons. Fly low into the clearing to find a Remote Bomb, a Fire Missile, a Mega Gun, a Shotgun, a Homing Missile, a Turbo canister, and a health boost. When looking to arm up to kill the second Juggernaut, this should be your first stop.
Directly to the left of the freeway, you can find a gorge with a health pack on the highest hill. This can be useful for when you are battling on the freeway, as the large open space of the area can attract a lot of enemies, all of whom will be intent on killing you. Also be careful of both Juggernauts passing each other in this area. If you find yourself caught between two Juggernauts, with both gunners firing at your helicopter, you’re looking at a pretty fast Game Over. The gorge area can be a great place to get some cover if this happens.
If you have to head into the city proper to face Juggernaut, you will find yourself caged in by a lot of tall buildings. Move carefully in these areas, as bashing into the buildings will damage you and throw off your aim. The buildings can work towards your advantage too, though. If a pack of enemies gathers beneath you and begins firing upon you, use the structures to block incoming shots. Once Juggernaut proceeds deeper to the south of the city, swoop down to the streets or the junk yard to refill your ammunition before renewing your attack. Be aware of the health pack locations in this area, as competition can get pretty fierce here. There is one health pack on the second floor of the building on the northwestern corner of the Southend area. The second health pack is located on the southern end of the freeway.
The vertical nature of the central city can work to your advantage thanks to Talon’s Magnet special attack. Hover low to grab annoying enemies with the magnet, and either fly to the highest possible altitude before dropping them to their deaths, or take them to the other side of the map and trap them between level geometry to buy yourself some time.
No matter which strategy you end up using, kill both Juggernauts and return focus to the other enemies populating the level. Lure them into the downtown area with all of the skyscrapers, by the garage. Talon was great for destroying the Juggernauts, but it may not be the best vehicle for tackling the rest of the opposition, especially because of its low health. There will be a garage in this area, so switch out to something a little more grounded. In the tight confines of the city, you can pick up Power Missiles and Mega Gun Bullets to tear your enemies apart. Be watchful for jumps inside of the various buildings that will lead you to secret rooftop areas. In the sky between the tallest buildings will hover some pretty potent power-ups, so jump across and grab them before trapping your enemies inside of the close quarters of the building interiors to finish them off one by one.
In order to receive a medal on this level, you will have to beat the following times:
14:00, 15:24, or 16:48 for a Bronze on Normal, Hard, and Twisted, respectively.
10:00, 11:00, or 12:00 for a Silver on Normal, Hard, and Twisted, respectively.
6:00, 6:36, or 7:12 for a Gold on Normal, Hard, and Twisted, respectively.
For beating this level, you will receive the Meat Wagon vehicle.

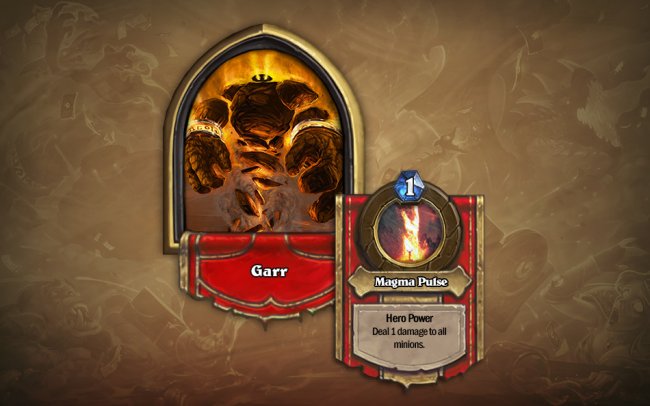 Hearthstone Heroic Guide: Blackrock Mountain Part 2
 Sonic: Lost Cause?
 Complete Call of Juarez: The Cartel Special Item Walkthrough All Chapters
 Call Of Juarez The Cartel Special Item Location Chapter 8
 What have Gunpoint and The Last of Us got in common?