You can kill the Harvester that you just fought by pursuing it further into the cavernous path and open firing on it as it tries to fly away. If you have upgraded your weapons at any of the terminals, and if you used armor-debilitating attacks, you can even kill the enemy easily enough before it tries to escape. As with the others, this Harvester will explode when it dies, taking many of the surrounding enemies in the next section with it. If you can’t kill the Harvester before it flies away, you will have to deal with the other enemies who will file into the next area as well. Duck under cover as a group of Marauders, followed by Cannibals, pop out of their own cover and fire at you. Move from cover to cover, and drop down the ledge into the recession in the center of the area. Take cover on the rock to the left side of the recession and wait there for the Cannibals to come in after you. From there, ambush them with a Shotgun. Alternately, you can attack from afar by flushing the enemies out from cover using Grenade, Singularity, Shockwave, or Pull. Tear them apart with fast, decisive strikes after flushing them all out. After you have killed the weaker Cannibals, hunker down into cover and fight off the Marauders as well.
Near the area where you dropped down into the recession, search to the left to find the Sniper Rifle Extended Barrel Mod. Keep heading forward to emerge into a large battlefield where the troops are already firing upon each other. Order your squad to take cover at the back of the battlefield somewhere, and join them yourself. From here, you will be able to see the battle raging ahead. You can use a Sniper Rifle here to target many of the weaker enemies, but keep in mind that there is a Brute rampaging somewhere out there too. When the Brute finally finds you, remember that it can charge right over cover. Infiltrators can turn invisible to confuse the beast and make it forget about you, but other classes won’t be so lucky. Leave your cover and dodge out of the way. Switch to an Assault Rifle, Shotgun, or another such powerful weapon. Hopefully you were able to defeat most of the Cannibals and Marauders already, so you will not have to worry much about them getting behind you while you dodge around the Brute. Order your squad to attack the Brute with you and aim for the head. Use attacks that weaken armor, and you should be able to make quick work of the foe before returning to a safe cover position and picking off any remaining enemies with the Sniper Rifle.
Another tactic for dealing with the Brute is to distract it with a Battle Drone while you continue to snipe. This method will be useful for Engineers, but not viable for other classes. Vanguards can use Biotic Charge, followed immediately by Nova and a full clip of Shotgun shells, to weaken the Brute significantly when it begins its rampage. The final way to deal with the threat is to order your squad to take cover on the opposite side of the battlefield, more towards the front. This will put them in harm’s way if there are too many Marauders or Cannibals out there, but it can also allow them to take the heat off of you while you either snipe the weaker enemies or deal with the Brute.
If you find yourself having trouble with the numerous smaller enemies, try setting traps for the Cannibals. Kill one of them, and then wait for the others to go over and investigate its downed body. Plant a mine or two on the corpse using the Scorpion pistol and wait for the fireworks. The Scorpion also works pretty well against the Brute, although you shouldn’t make it the focal point of your attack. An Assault Rifle clip with Warp Ammo will be far more damaging than a few mines.
After you down all of the enemies, yet another Harvester will land to the front right side of the battlefield. You may not even notice it at first. Be sure that you are in cover, or its heavy fire can prove fatal. Luckily, if you followed any of the strategies above, there will still be a Reaper Blackstar weapon lying conveniently in the middle of the arena for you. Search to the upper right to find it. Wait for the Harvester to fire a few rounds your way, and then emerge from cover, charge the Blackstar, and fire. The Harvester will go out in a massive explosion.
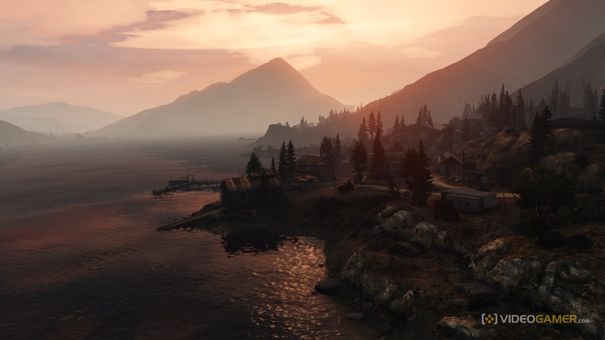
Head forward to find Lieutenant Victus and his men in a tough spot. As Victus tries to explain the situation to you, one of his men will run up and curse the Lieutenant for condemning them to this wasteland. Ask what happened, and Victus will explain that he made a bad decision on approach to the planet. He could either launch a direct attack against the Reaper forces, or go low and try to sneak under. He went too low and got shredded by the ground forces in tight quarters. Now his men are either dying or dead. Victus will also fill you in on the situation on the planet’s surface, a detail that his father conveniently left out. There is a bomb somewhere on the surface of Tuchanka, and if it goes off it will kill thousands, if not millions, of krogan. Upon hearing this, Shepard urges Victus to remain on the planet and see his mission through. You can convince him to do this with either of the conversation options that will appear onscreen. Doing this will open up a side mission called Tuchanka: Bomb, in which you can help Victus destroy the bomb. This mission is timed, however, and you will only be able to complete three missions after this before Tuchanka is bombed. You will be returned back to the Normandy after your conversation.