In this mission, you will have to head to the planet Cyone, in the Kypladon System, Silean Nebula, to find out why the fuel reactor here has started to malfunction. You will need to figure out what stopped it and start it up again. Another team will have beaten you there. When you get off of the ship, you will meet Nyrek, part of a turian team also sent to investigate the reactors. Run around the area before proceeding, as you can find the Rosenkov Materials Chestplate on a table and the Medical Treatment Plant on another table by the right-hand railing. Don’ run through the green clouds spewing from certain parts of the reactor, though, as those bits are toxic and will hurt you. When you have collected all of the items you can safely reach, speak with Captain Riley.
Riley’s team will volunteer to split up and activate the second reactor while you activate the first. She will ask a soldier to move a crate, which will open up a path for you to reach the inside of the facility. From here, you can find a console with three switches that will allow you to move the crates around. Using the left and right switched will allow you to move the crane left and right, while the center switch will allow you to drop the crane. Pick up the two containers on the right to open up another path. Run past the containers, and you will hear Riley speak to you. She will tell you that she can see the controls for the reactor, but can’t reach them because of the radiation that you saw earlier. You will have to use the vents to move the radiation away from her path.
You will find the vent controls right next to where the containers that you moved were, but you will have to take a roundabout path to get to them to avoid becoming irradiated yourself. You can find some Medi-Gel along the way. Activate the vent controls and run back to the areas that were irradiated before. You will be able to find a few useful items lying around. Activate the fuel rod controls after you have gotten everything, and a group of Reapers will attack.
A wave of Husks and Marauders will run out and engage you. Barrier engines will buzz to life on the walls, giving the Marauders extra shields. Shoot the barrier engines first to deny them this useful cover, and then turn your attention to the Husks, who will surely be in your face by now. Use a Shotgun to thin out the crowd with relative ease, or, lacking that, an Assault Rifle combined with charged melee attacks and group Biotics, like Singularity or Shockwave to knock the enemies back and give you some breathing room. Take cover after the Husks are dead to begin firing back at the Marauders. Lacking the barrier engines for shields, they will have to be a little more picky about fighting. Use your squad’s powers to blunt their shields before rushing in for a finishing attack.
Once you have defeated the initial wave of enemies, you will have to mend the reactors again, as they still won’t be starting up. You will have to go deeper into the facility and seal the two moderator tanks before the restart can work. Run back to where you were before, deeper into the base, to find the glowing red tanks. Examine each of them to seal them up tight. Return to the restart controls and activate them again. More enemies will come out to fight.
Again, barrier engines will activate, this time near the reactor controls. Take out the barrier engines before you do anything else. Lure the Husks in close and take them out just like last time, and then weaken the Marauders with Biotics before killing them with bullets or powers. After this group of Reapers is dead, Riley will radio you from the other side of the facility. She will be pinned down by waves of Reapers. You can either offer to send a squad-mate for support, which will weaken you for the final battle but will ultimately save Riley’s life, or you can deny her support, which will lead to Riley’s eventual death. Just note that you will have to fight with only one squad-mate during the next battle if you send support, so choose to keep someone who complements your class (i.e, if you play a Soldier, it might be best to keep a Tech or Biotics-focused squad-mate, so they can cast while you shoot.)
After this conversation, the core of the reactor will open up in front of you. This time, you will have to face a Brute, along with more Marauders hiding behind barrier engines. Shoot the barrier engine to take away the shields; the Brute will be even stronger with it active. Then focus your fire on the enemy as it charges you. If you play as a Vanguard, feel free to get in close to the enemy with Biotic Charge, followed by a charged melee attack (especially potent depending on how you specced your character,) a Shotgun blast, and Nova. Then roll quickly out of the way as the beast attacks. You can use a similar strategy if you play an Infiltrator; pop a Tactical Cloak, then get behind the Brute and hit it with the Shotgun. This is especially effective if you have the Spike Thrower, as you can charge it to maximum damage without being noticed, and hit it with the attack bonus from attacking while cloaked for absolutely massive damage. With other classes, it may be a little tough to keep your distance. Use armor-dampening attacks like Warp if you have them, or damaging abilities like Concussive Shot or Grenade if you don’t. Even Proximity Mines or the Scorpion can be useful for luring the Brute into a trap. Just keep your distance, roll around its attacks, and unload with bullets, Biotics, or Tech at every chance you get.
When you finish off the Brute, the Marauders hiding in the hallway behind it should be a piece of cake. Sweep through the hallway, which features minimal cover, and take them out one by one. Cortez will message you after the battle saying that he can’t get through to the other team. If you sent a squad-mate for backup, don’t worry, as they will all still be alive. Head to the console and activate the reactor restart, then head back to the landing pad. You will find Riley and Nyrek here, along with your squad-mate, if you sent support. Otherwise, only Nyrek will make it out.

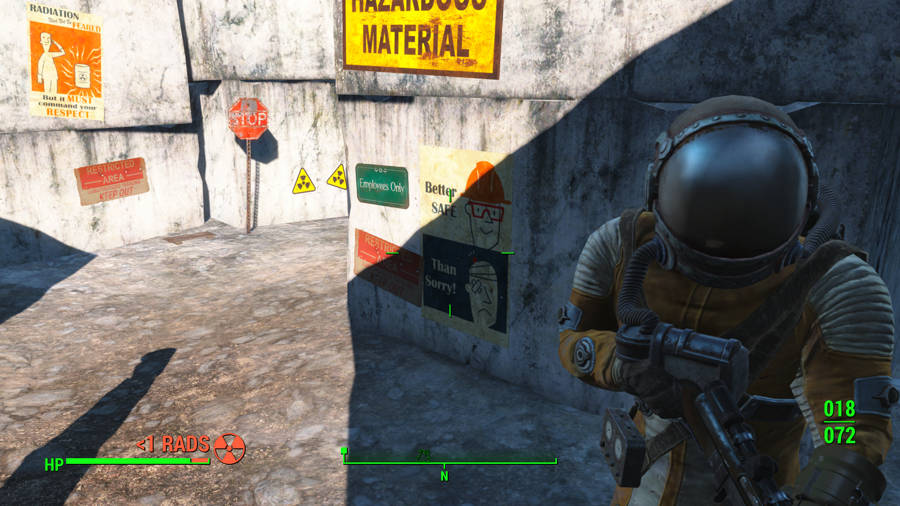 Where To Find A Hazmat Suit
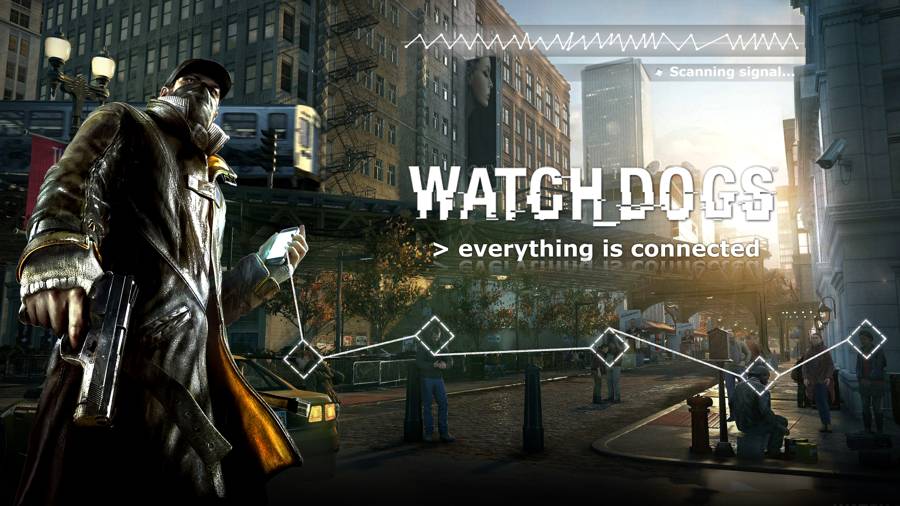
 The Week in Review: Wii U Component Pornography Edition
 Resident Evil: One step back, one to the side
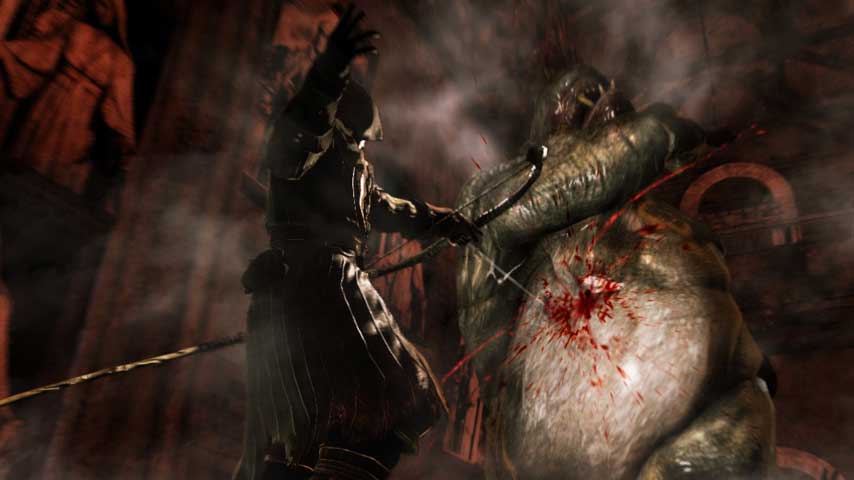 Dark Souls 2 Walkthrough Part 9: Undead Purgatory
 . Plays May 20, 2012