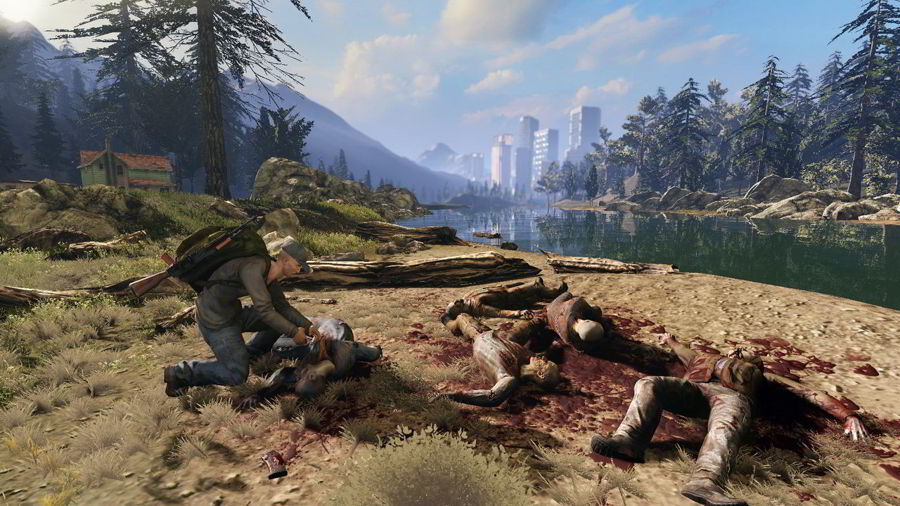
When you have finished all that you wanted to do on the Normandy, fly to Thessia and activate the mission. Liara will demand that she be a part of your squad during this mission. The destruction of her home planet will be hard on her, but it is something that she needs to see regardless. Select your other squad-mate and move out. During the shuttle ride, Liara will reminisce about her childhood. You can ask her about her mother to find out more about her history with the temple where the artifact is said to be stored. After this part of the conversation, you can reassure Liara that you will save what asari you can, and mourn for the rest, a distinction that makes the humans and asari better and stronger than the Reapers. This will give you some Paragon points. Alternately, you can tell her to block the memories of the dying and her loved ones out, earning you some Renegade points.
When you land, you will find the asari army in poor condition. They will desperately be trying to hold off the Reapers from breaching the makeshift metal barriers that they have set up along the frontlines of a bridge. The asari will call to you, but before acknowledging them, head to the back of the area to pick up the Umbra Visor and Supplies. Now turn around and talk to the asari in charge. Before your conversation can pick up, a rocket will hit the wall. A Biotic will step in to stem the flow of Husks from the bridge. You will have to climb up onto the small ledge to the upper right of the arena and man the turret to defend the bridge.
Look to the left first. Two Brutes will climb onto the bridge from that side, but you can mow them down easily with the turret. Three more Brutes will emerge, along with some Husks charging down the bridge. Eliminate the Brutes first, then take out the Husks. Quickly look to the left. A group of Husks will have begun sneaking onto the bridge while your attention was on the farther enemies, and they may already be attacking the Biotic. Wipe them out with the powerful turret to continue.
Get off of the turret when all of the enemies are dead and return to speak with Lieutenant Kurin. She will at first prioritize her soldiers above you and your mission, an understandable outlook when faced with such overwhelming odds. It will be up to you to convince her otherwise. During this conversation, she will reveal that the asari high command has told her nothing about your mission or its consequences. Unmotivated, she wants nothing more than to get her people out safely. You will be given the option to either tell her about the artifact hidden inside of the asari temple, or follow the example of your superiors and keep her in the dark. Your response will not change much except the Paragon or Renegade points that you get, though, as she will decide you help you either way. She will order her squads to stay in the battle for just a little longer, to help you out and open the path ahead.
You will now have to head across the bridge that you just defended. The Biotic will let you through before sealing the area off. Two Harvesters will fly over the far end of the bridge and drop off a wave of Cannibals and Marauders. Take cover behind one of the first bridge supports if you like to play a sniper, as this long, straight, and narrow arena is perfect for a little precision shooting. Otherwise, crisscross between cover points as you advance on the enemy positions. Either way, this battle should pose little challenge for you and your squad. Wipe the bridge clear of enemies, and take a right turn at the end.
You will be led inside of a ruined building. As you proceed, Liara will point out reinforcements on the roof ahead, but they will quickly be wiped out by another Harvester. Keep going to reach a courtyard. From here, you can take cover behind the segmented wall high up on the ledge overlooking the courtyard. Again, this makes for a great sniping location. You can get a good view of all of the Cannibals and Marauders below you from here, so take out the enemies advancing from the center before turning your focus to the left to see a second wave of enemies coming out. You can use Biotics to help yank enemies away from the safety of their cover spots if you are having trouble getting a bead on some of them.
The other way to do this, if you lack a Sniper Rifle, is to wade in headfirst. If you brought Garrus along, you might want to position him along the top ridge and have him snipe in your stead, as it really is the best position on this battlefield. With him providing cover, charge into the courtyard. Soldiers can use Adrenaline to pick off a few enemies early on, while Vanguards can use Biotic Charge to kill or stagger one of the stronger Marauders, and Infiltrators can use Tactical Cloak to slip to an advantageous spot unseen before pulling off a damaging shot. Engineers can summon a Drone to distract the enemies, and send the remaining squad-mate off with the Drone while you flank around the other side. Adepts will want to mix Singularity and Warp before casting an Ammo upgrade to give your squad the fighting edge. Finally, Sentinels can use Lift Grenade or Tech Armor to deal heavy damage to enemies who might have been clumped together.
Unfortunately, a Banshee will come in from the top front of the battlefield with some more reinforcements at this time. Sniping against these enemies is basically futile since they can teleport, so if you’ve been hanging back, now’s the time to join the fray. Have your squad spread out in cover across the battlefield, and make all of them focus on the Banshee. Use your squad-mates to distract the deadly creature at close range if necessary, while you whittle away its long health bar. Kill the Banshee, then focus on the Cannibals and Marauders that snuck out with it.


 Metal Gear Sold 5 The Phantom Pain Guide: How To Capture Quiet
 Top 5 Christmas-Themed Minecraft Maps
 Top Indie Game Bundles
 X & Y: A Mega Evolution For Pokémon
 What Now For THQs Last Games?