

Resident Evil Operation Raccoon City may appear to control mostly like a standard shooter upon first glance, and the incredibly lacking tutorial prompts that appear during the first mission do nothing to deter this assumption. Under the surface, however, you will find that this game boasts a great many mechanics that the average player may never even know about. Hitting certain buttons in combination, or holding a button instead of simply tapping it, may perform functions that could help save your life in a difficult combat scenario. Read on to get a detailed breakdown of the game’s controls, mechanics, and items so that you will be better prepared to deal with the zombie hordes when they come your way.
You can aim and shoot your weapons just like in almost every other contemporary shooter. The left stick moves, the right stick aims, the left trigger zooms in, and the right trigger fires. The left bumper handles weapon switching, while the right bumper will toss whichever grenade you currently have selected. You can change the currently equipped grenade by tapping right on the D-Pad. There are several types of grenades, including normal Frags, Incendiary, and Stun options. Note that it is always faster to switch to your Pistol when in a tough spot than to reload your primary weapon. Also make note of some hidden functionality of the left bumper. While briefly tapping it will switch guns, holding it for a second or so will cause your character to swing around and aim at the nearest target. This is called Quick Draw. Similarly hidden in the tutorial is the Directional Fire ability, which will make your character automatically draw his or her sidearm and fire it at the targeted enemy. You can do this by holding the right stick in the direction of an enemy while also holding the left bumper.
You can also melee enemies by hitting the B or O button. While this is basically the only melee functionality that the game hints at in its tutorial stages, there are actually several types of melee attacks. You can simply hit the button in succession to get a basic combo going. If you stun enemies by melee attacking them, then follow it up with a press of A/X, you can perform a Brutal Melee attack, which will be more likely to get you an instant kill. Another melee option, only available against human opponents and again never hinted at during the game itself, is the Execution move. Hit a human a few times, and you will be able to hold the button down to grab the enemy in a headlock. From here, you can hit the trigger to empty your clip into their head, hit the A/X button to club them over the head, or aim lower to shoot them in the stomach, bleeding them out and attracting zombies to the area. Alternately, if you see an enemy kneeling on the ground (this is especially common with Lickers) you can hold the A/X button to stomp on them. You can also charge towards an enemy by clicking the left stick down when you run, after which you can hit the melee button as you sprint towards them to perform a shoulder charge that will knock them down. Note also that sprinting changes the functionality of the A/X button. Hit this button while you are sprinting and your character will dive in the direction that you were pointing with the left stick.
You should also know about Brutal Kills when you are attacking enemies up close. Brutal Kills are almost like a combo in some games, as you will have to hit the Y/Triangle button in the middle of a B/O button melee combo to activate the Brutal Kill. Each class has its own unique Brutal Kill, and each type of kill will grant a different type of buff to the player. For example, you might kill the enemy and then cause a Green Herb to spawn out of their corpse if you are playing as a Medic, which will allow you to recover health after a frantic battle.
You can also hit the Y/Triangle button to activate your normal abilities. Each class will have an ability, and you can purchase more from the store before a level starts, such as Incendiary Ammo. By hitting the Y/Triangle button during battle, you can activate your ability.
These are the basic controls of the game, but there is still more hidden functionality at play. Most important of all is the possibility of becoming a zombie yourself. That’s right, you can actually turn into a zombie and begin to attack your teammates if you are bitten enough. This will occur randomly, so it’s not simply a matter of losing all of your health or getting attacked by a certain enemy type. Any type of zombie can do it, although chances are greater with stronger zombies that you will be zombified. You will know that you are going to turn into a zombie by the blue tint that will appear over your screen after you are bitten, and by the fact that your health bar will change from green (or yellow or red, depending on how full it is) to blue. The health meter will begin to tick down like a clock. When it empties, you will turn into a zombie and attack your teammates.
Your allies can become zombies as well, even if they are just controlled by the AI. You will occasionally notice a blue biohazard symbol hovering over one of your allies. This will indicate that they are about to change. When they transform, they will charge you and attempt to kill you. You will have to shoot them. Reviving them, by holding the A/X button over their corpse, will remove the zombie status, however. Keep in mind that you can stave off the zombie infection if you or your teammates are carrying a vial of Antiviral Spray. Any allies caught in the small blue cloud that this item produces will be cured of their infection, and immune to infection for sixty seconds after administration.
Other helpful items include the First Aid Spray, which functions much like the Antiviral Spray in that it produces a cloud of healing gas that will fix up any character who walks into its wake, and the Green Herb, a one-time-use, instant heal item that you can pick up off of the ground. You can’t store any of these items in your inventory like you can in most Resident Evil games, so if you’re hurt and you see one, use it while you have it. Finally, be on the lookout for hidden Intel, Security Cameras, and Raccoon City Mascots. The Intel can be cashed in at laptop computers located throughout the level in exchange for experience and artwork, while the Security Cameras function as hidden collectibles in each level. There are around 20 in every level. There is only one Raccoon City Mascot in each level, though, and finding this item will reward you with 350 experience points each time.
That’s about it for the basics of the game. Now that you know how to defend against the zombie apocalypse, you will be better suited for Raccoon City’s intense online play.


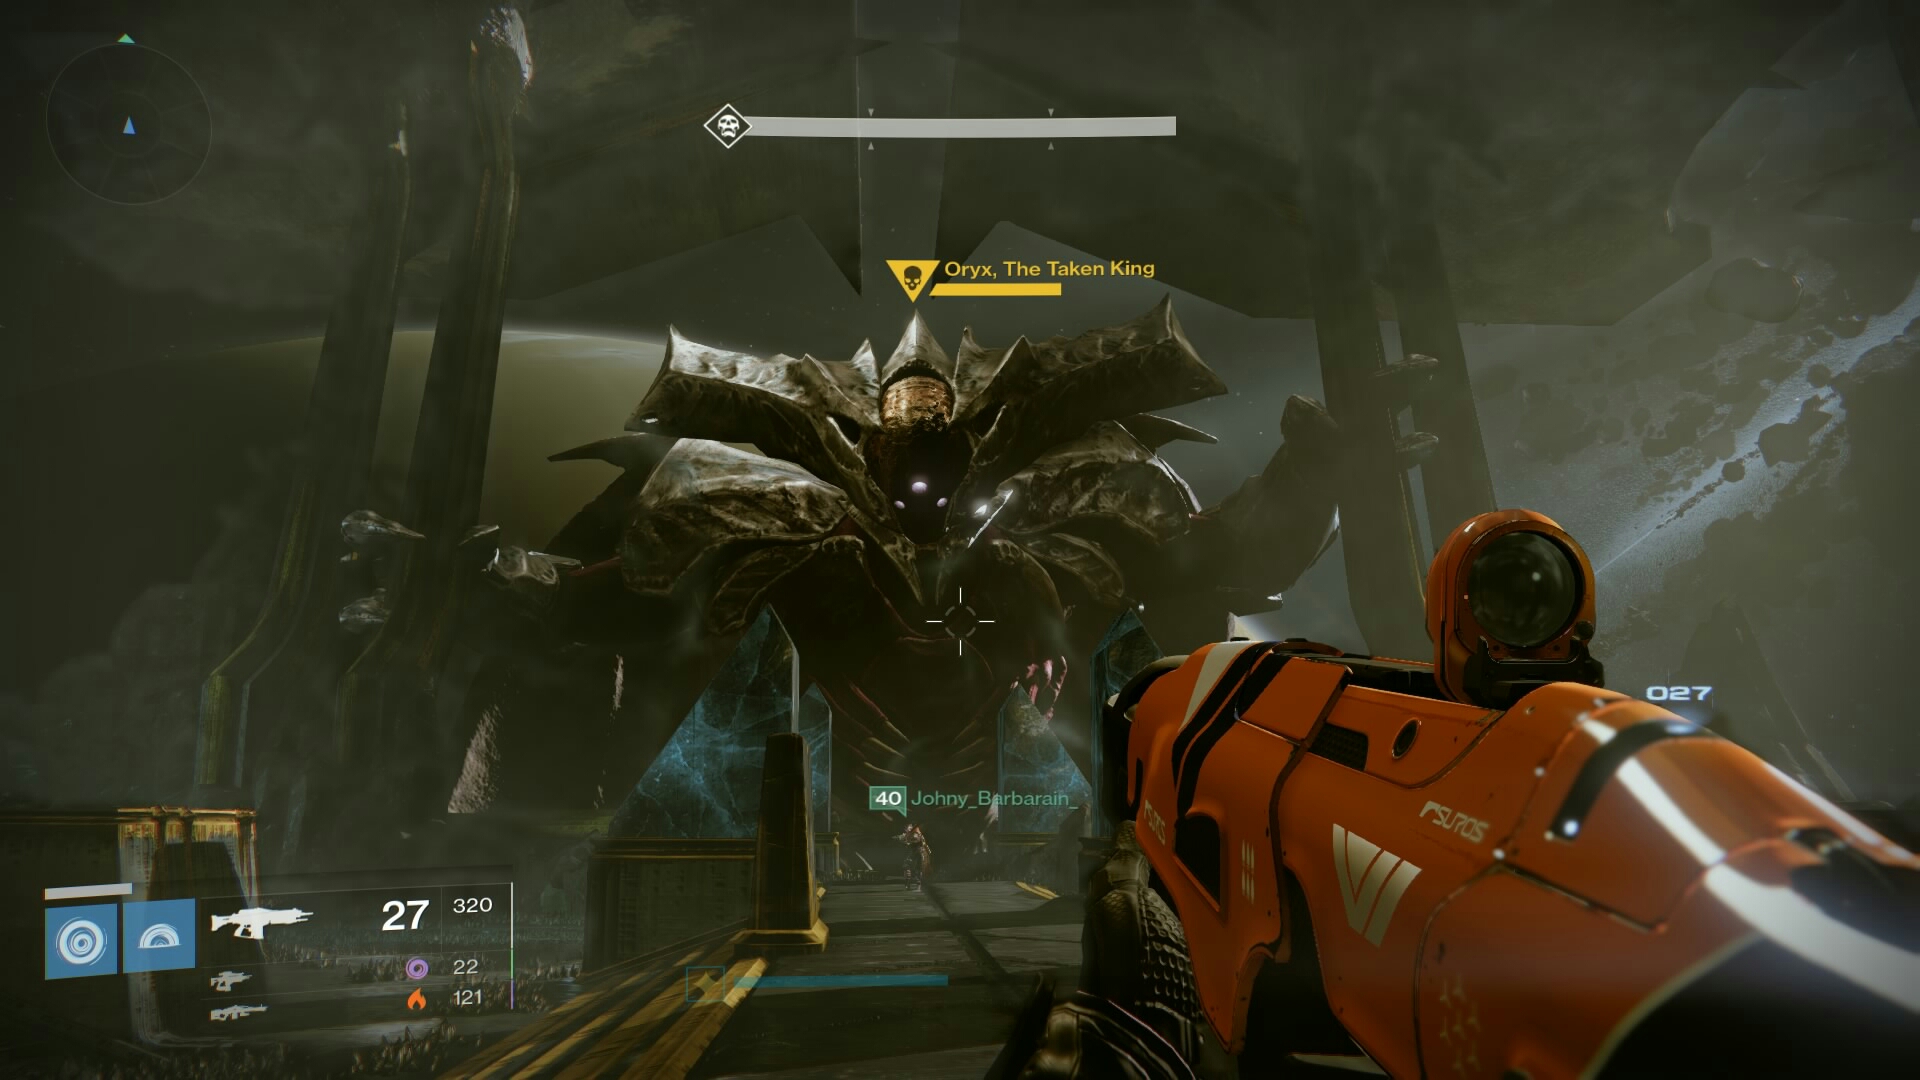 Destiny’s King’s Fall Raid guide – How to kill Oryx, The Taken King
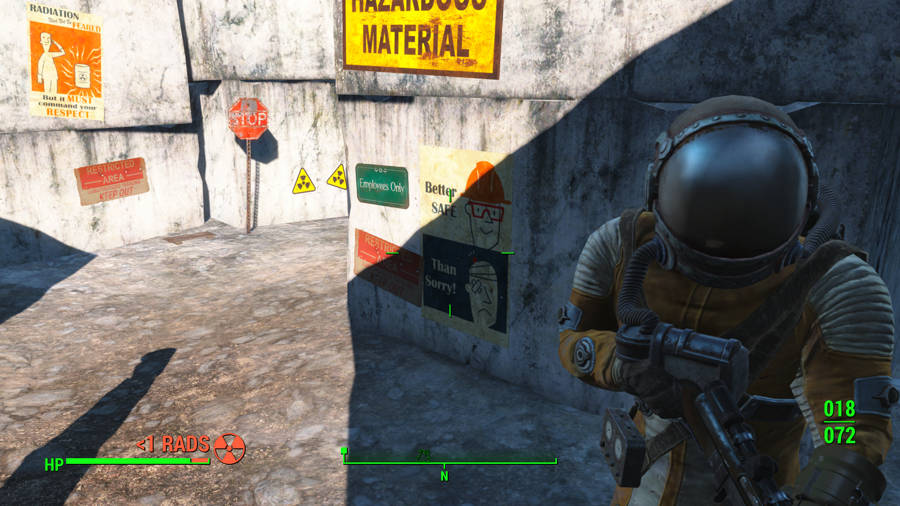 Where To Find A Hazmat Suit
 Transistor Guide: Function Guide
 GTA 5 Essentials #1: Vehicles and Multiplayer
 Sony buys Gaikai: what does this mean for the future of PlayStation?