Once you have collected all of the items in the streets, including the Intel behind the flaming alley entrance, proceed forward to the opposite side of the street. Climb up the stairs right past the burning alley. You will reach a dead end. Drop down the dead end to reach the next area. If you still have the Bolt Action Rifle equipped, you will want to scavenge a new gun from one of the fallen soldiers in this next section. You will be done with the counter-sniping for the rest of the level, so an Assault Rifle or Shotgun should do the job nicely from now on. For now, though, you should worry about the Spec Ops soldiers gathering ahead.
The enemies will take up positions on the balconies ahead of you, and to the left of you. A series of exploding barrels positioned on the balcony will make your job considerably easier. Shoot the red barrels to send the balconies up in flames, taking out most if not all of the Spec Ops soldiers in the process. Approach the balcony to finish the job. Beware of the area underneath of the balcony, which will be rigged with trip mines. Also keep an eye out for a Security Camera by the balcony. Shoot it after you clean up the rest of the Spec Ops soldiers to gain some experience. Detonate the trip mines from a distance using your Pistol, and then investigate the area underneath of the balcony to find an ammo refill box. When you are ready, head to the cemetery gates ahead.
As you may have guessed, a cemetery is a very bad place to be during a zombie outbreak. You will immediately encounter a handful of zombies upon entering the area. Kill them, and then head towards the edge of the cliff to look down upon the enemies below. Along the way, look behind you to find another Security Camera by the gates of the cemetery. Zombies will shuffle about below the drop off, and Spec Ops soldiers will lurk somewhere deeper in the cemetery. Toss a Frag Grenade down to rid the area of a significant portion of the zombies, but remember to save your Incendiary Grenade for the Nemesis battle at the end of the level. Be sure to restock from the ammo box to the left of the bench if you still need ammo before heading down to the area below to pick off the remaining zombies.
Head up and to the right of where you dropped down to meet up with a group of Spec Ops soldiers and some zombies. Circle around the mausoleum and the headstones to intercept the zombies and get the jump on the Spec Ops soldiers. Be sure to head inside of the mausoleum to find more ammo and a piece of Intel. A group of heavily armed Spec Ops soldiers will swam into the area when you approach the exit. Most of them will have Shotguns, although the particularly heavily-armored enemy will come equipped with a Grenade Launcher. Make this guy your first priority. Go for headshots to negate his heavy armor. When he dies, you can pick up his Grenade Launcher to use as your own. You won’t be able to fill it up at ammo lockers, though. It’s probably best to use at least one of the remaining grenades to blow up the Shotgun-toting enemies in front of you now. Just be sure to distance yourself a bit before firing, as you don’t want to be caught in the splash damage of the resulting explosion.

 Top Indie Game Bundles
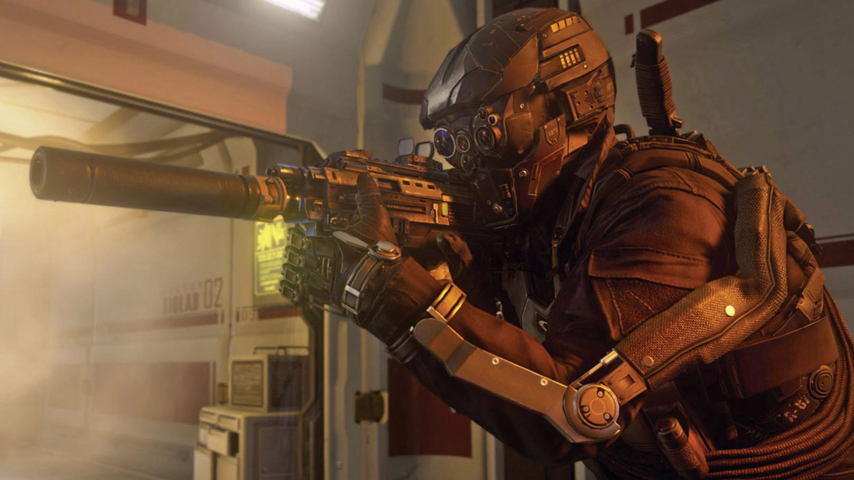 Call of Duty: Advanced Warfare multiplayer guide – get the best loadout
 L.A. Noire The Naked City Guide
 Just Cause 3 Collectibles Location Guide: Where to find every Ancient Tomb, Tape, Vintage Part and Shrine
 Dying Light Guide: Blueprint Location Guide