As you fly out into the bright blue skies, you will notice that they are conspicuously empty. Fear not, though, as you will soon be twisting through a crack in the dimensions and firing at hoards of enemies as usual. Watch out for the enemies, who will alter in groups of three. First will come three basic enemies, then three Metroids, and then three more basic enemies. Blast past the rest of the enemies and you will find yourself in a strangely modern-looking labyrinth. Dodge past the bright pink columns hanging in the air and moving through the halls and shoot the enemies as you go. You will soon come to what initially appears to be a path forward, but upon closer inspection it will be revealed that this was, in fact, an optical illusion. The supposed path ahead is in reality nothing more than a solid wall. Pit will turn around and begin searching for another path ahead.
As you fly down this hallway, another group of enemies will attack. Blast them out of the sky and you will come to another of the illusion walls. You will turn and fly to the left, finally discovering a path ahead. A series of honeycombs ahead will block your progress. You will only be able to take one of the honeycombs ahead in order to progress. The rest will damage you. Pass through the first honeycomb in the lower left corner and shoot the enemies behind it. Pass through the second honeycomb through the top. This will lead you to a hexagonal door, which will open as you progress. At the next honeycomb, you can choose to either go left or right. Either way, you will end up having to navigate a series of rotating walls as you fly through a confined tunnel, dodging past constantly rearranging enemies. When you emerge into a large open room at the end of the tunnel, you will spin around and take aim at a massive wave of enemies circling just outside of your flight path. Shoot them down and you will be propelled through a hole in the ceiling.
For a moment, it will appear as if you have been propelled right out into the outside world again. Of course, this would be too simple. Medusa’s labyrinth plays many tricks on you, and as it happens, this is just one of the many. In reality, you will still be inside of the insidious labyrinth. As you fly, a large manta ray creature will spawn smaller rays. As you shoot them, the world will flicker back to the modern landscape of the labyrinth and you will find yourself besieged by numerous enemies. Fly through the tunnels looking for a way out. You will meet not one, but two dead ends before finding your way out. As you near the second dead end, watch out for the Metroids who will come swooping at you from the top left of the screen. Don’t let them get a hold on you.
When you find the real exit, a large number of crystalline pillars will stretch down from the ceiling, concealing several enemies flying around. Avoid shooting anywhere near the pillars. They are made of a special type of crystal that will actually send your projectiles flying right back at you for heavy damage. Also watch out for bumping into the pillars, which will deal a little damage. When you make your way through the pillars and fly through the exit at the opposite end of the room, you will find yourself flying around in outer space. Enemies will fly in from the left, right, and the front. Sweep your reticule around the screen and maintain a consistent rate of fire to hit all of the enemies.
As you approach a nearby asteroid, a formation of enemies will form an arrow. Follow the arrow to hit a jump pad and send youself flying back into the labyrinth. Watch out for the Metroids that will fly at you as soon as you enter the area, and then fly into the little chute in the back of the area. You will fly to the ground, but the ground will quickly turn into the ceiling. This will lead you to this level’s on foot area. Run through the door ahead to emerge into a wide open arena with numerous floating platforms dotting the air above you.
Dash up to the top of the ramps and defeat the enemy there to open up the door. Look to the back right of the room to find some food if you need to heal, and take the jump pad up to the platform to find an item hovering on the middle platform Use the green arrow to jump over and get it before dropping down and entering the next room. You will be met with three doors. Any of the doors will lead to enemies, it just depends on which door you take for which types of enemies you’ll be faced with. If you happen to see two little yellow points emergeing from the ground during your travels through the doors, note that this represents a new enemy type, who will lie in wiat for you to step over the pincers on the ground before emerging to eat you. Shoot the pincers protruding from the ground to bring them shooting out of their trap.
After going through three sets of doors, you will find yourself on the other side of the confusing labyrinth. Your waypoint arrow will be back hovering around your body, so follow it to reach the next room. In this room, one of the walls will actually move back and forth, closer and then farther away, blocking off a certain section of the room temporarily. This section of the room, of course, is the one that you need to go to. Palutena will warn you to watch the wall carefully. When it begins to recede, follow it, but stick to the left. If you are towards the right when the wall recedes, you may be in for a nasty surprise in the form of a hidden pit. When the wall recedes enough, it will reveal a skinny pathway. Skirt this path to reach the next area.


 How To Unlock Mission 45 in Metal Gear Solid 5
 Watch Dogs: Open Your World – Badboy 17, ctOS offices, upload virus
 How to be an efficient gamer - AlterGamer
 Torchlight 2: Dual Wield Hybrid Engineer Build Guide
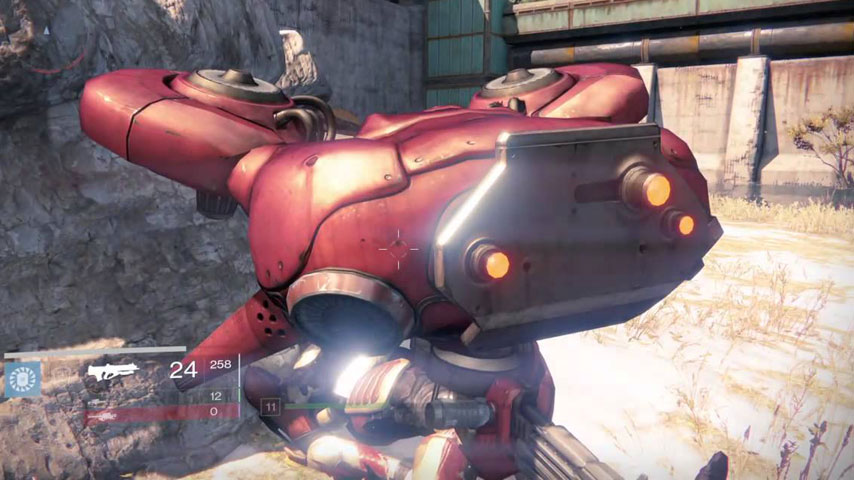 Destiny: The Taken King – how to beat the Project S.A.B.E.R. Strike