The other thing you’ll want to know that particularly pays off for overland travel is how to set markers.
I mentioned a form of setting markers in my discussion of mining- particularly the use of torches to indicate directions, forks, and other features in your tunnels. By a similar rote, torches are an important part of setting markers for overland travel as you look for a spot to relocate to.
While you travel, if you haven’t got a map you’re going to want to mark your way. This is not so you can get back to your old home as much as it is so that you can get back to your stuff; should you happen to die, you’ll drop your things where you are, and being able to find your way from your spawn point to where you bit it could be the only thing that saves you from a total reset where you haven’t got any of your nice things to start over -with-. There are many forms of markers that can work, but having torches is essential to all of them- otherwise you can’t always find them in the dark, and further, this helps them to provide a place safe from monsters should you need one at night.
The simplest form of travelling marker is a large column of dirt with a torch on the side that points towards where you came from (or the last marker before it). Since dirt is everywhere, markers made of dirt are easy to put together and don’t consume anything in the way of your traveling supplies. By shifting back and forth and building the original column as a two-block-wide one, you can also provide yourself a safe way down afterwards- just stand on the column the torch isn’t attached to, and dig straight down until you return to the surface.
You do want to make these markers fairly tall- but going beyond thirty blocks or so isn’t such a great idea; the taller it is beyond that, the closer you’re going to have to be before the torches become visible, making navigation much harder at night or during rain. For the same reason, you don’t want to set them too far apart; You shouldn’t have to wander outside of visual range of your current marker in order to find the next; that’s counter-productive.
Another good form of marker is the floating islet. By forming a column of dirt and building a shaped mass around the top, planting torches on it, and then digging back down the column to the ground, you can create a much more distinctive marker. While this takes more time, it also lets you build more information in- perhaps shape it like an arrow pointing the direction you’re going, and plant torches on the sides that are close to interesting bits of landscape or likely resource-digging sites. Having a larger marker also means that you can store travel supplies there if you feel like it, easing up any later trips one way or the other past that marker. Finally, a larger marker will be much easier to spot from a distance as you travel, especially if the whole thing is lit up.


 . Plays July 15, 2012
 Tony Hawk Pro Skater HD Combo Lines Guide - GamersHeroes
 iTunes 10 & Ping Impressions
 Dark Souls Iron Golem Guide
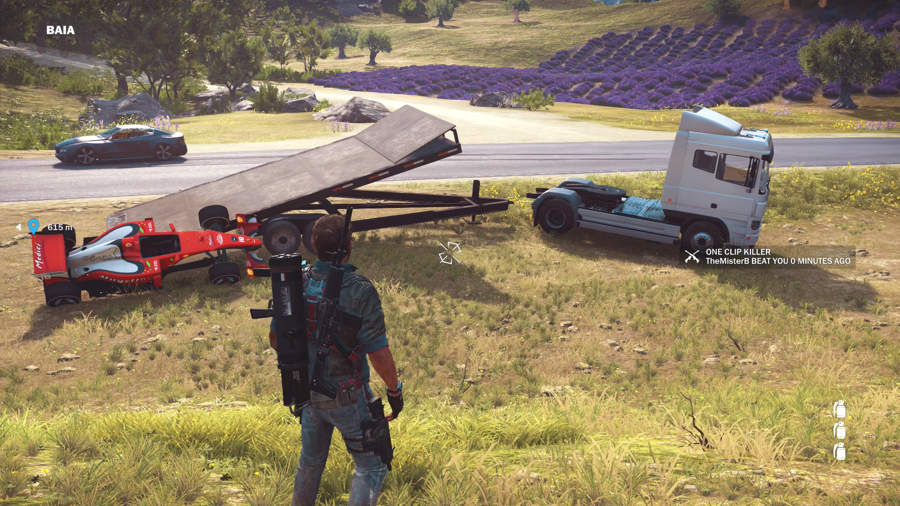 How To Unlock The F1 Car (Mugello Farina Duo) In Just Cause 3