Inversion Walkthrough Part 3 – Caged
Objective: “Enter the camp and assess the situation.”
Davis is pulled off a transport and pushed toward some gates. He refuses to move and they push him forward. Keep moving forward, following where they point Davis to. Keep with Leo and move forward with him to the right. Davis will question just what these people are doing here. Just keep moving until the tribesman tells you to stop.
Another cutscene runs with Davis reflecting on Leila and holding onto his sanity and will. Toward the end of the scene, someone new enters the picture, Fitzgerald, a soldier. He explains that he has been fighting with the Lutedors. He gives a run down on the mission that he was on. After that, more of the Tribesmen appear and call over both Davis and Leo.
Objective: “Follow the guard's orders and find out what they want from you.”
Head forward with Leo. Turn to the right and cross the plank bridge to the next gate. Keep moving on through it. Head with Leo over to the left and stop. Watch the man use the device on his arm, a Gravlink, to lift some rocks into the air. After a good pause there, head forward over to the left and to the wooden elevators there. Your pair is taken down into the depths.
AT the bottom you are told to head forward by one of the Heavies. They instruct both Davis and Leo to put on Gravlinks. The Heavy will direct you to head through the large door to your left. Proceed on through.
Objective: “Explore the tunnels and kill everything that gets in your way.”
The Gravlink is activated, enabling High and Low Gravity. Head around the corner and you will see some debris blocking your path. Aim at it and use R1/RB to lift it upwards. Head into the first corridor to the right. A good portion of the tunnel will start to collapse, so Davis needs to run back a bit. Now look up when prompted by Leo. Change gravity modes and pull the beam down in front of you. Move forward and you will see a prompt to balance your way across. Keep him balance. He will get shaken off by a blast from below though. Have him pull himself up using the same button.
Approach the double gates in front of you. Hit “X/Square” to climb over them. Davis will climb over take out the beam blocking Leo's passage. Keep quiet and move on forward.
Going down the left corridor has you smash through first a wooden blockade then a stone one. Smash through the second and grab one of the floating objects and take it with you. You will find a third barrier just a little ways ahead. This one just leads you in a large circle back to where you started with the barriers.
Head down the right-hand corridor and you will find the two link together, creating a big circle. To move forward, head to the section with the red lighting. You will notice some arrows stuck onto the fence. Hug the fence and head down the slope. You will be covered in red light. You will also notice glowing blue capsules on the ground. These are power units for the Gravlinks. Grab them to restore what power has been used so far. Turn to the right and head on forward. Be sure you have collected as much power as you can before moving forward though, Davis and Leo are about to fall under attack.


 Europa Universalis IV: The Two Year War
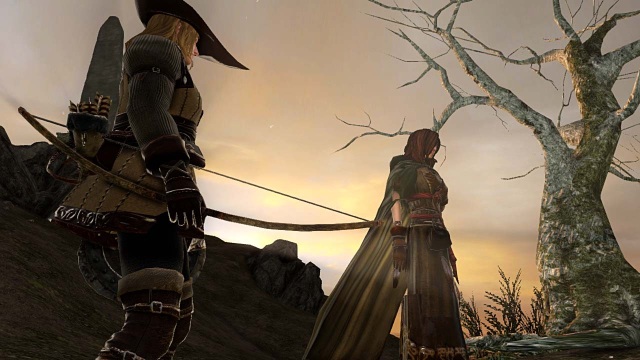 Dark Souls 2 Walkthrough Part 2.5: A Shortcut From The Forest of the Fallen Giant to The Lost Bastille
 How To Become Luke And Darth Vader In Star Wars Battlefront
 Preparing For Diablo 3 Reaper of Souls
 . GOTY 2014 – Jim Trinca