Almost as soon as you enter the enemy docks, an alarm will sound. Looks like you won’t be approaching this mission from a stealthy standpoint. You will now have exactly ten minutes to reach the mainframe in the base. If you can’t reach the marked objective in time, the entire base will lock down and you will not be able to access the data on the weapons cache, effectively giving you a game over as you won’t be able to trace the weapons anymore. You will have to rely heavily on the Warhound in this section, even more so than you had to in the last checkpoint. Follow the mechanical creature as it advances forward along the gangplanks and into the enemy base.
You won’t hit any resistance until you reach your first waypoint, which is only a short walk ahead. The word “Contact” will appear at the top of the screen. Switch to your Magnetic Goggles, as they will help you pick out targets in the dim base. Equip either an assault rifle or a LMG if you have one, as you will be doing a lot of shooting when your Warhound can’t. The low ceilings in some parts of the level will ensure that the Warhound’s mortars won’t actually be able to make it to many of the enemies in this area. Take cover, either behind the Warhound or by some of the crates and concrete walls jutting out nearby, and either take the enemies into your own sights or use the Warhound to take them out with mortars or guided missiles. Don’t worry about splash damage from the explosives; it may seem like a bad idea to launch the explosives in such a confined base, but in reality they won’t deal much if any damage to you unless you are way too close to the explosion, in which case you should focus on taking the enemies out with your own guns anyway.
As you come up on the bridge to the right, take cover to the right side of the entrance to the bridge and jump back into the Warhound’s view if you haven’t already. As numerous enemies being to rush out from the opposite side of the bridge and take up positions on the upper and lower walkways, maintain your cover and use the mortars to take out the enemies on the other both levels. Peek out from cover and mop up any remaining enemies yourself. With the other side of the bridge clear, the Warhound will begin to advance across the bridge. Follow closely behind it, close enough to use it as cover in the event of enemy attack.
More enemies will soon come out from the upper walkway. They will be dug in deeply to cover thanks to both horizontal and vertical metal plates shielding their bodies from your basic fire. Hit them with mortars to render their cover useless and proceed deeper into the base after you finish crossing the bridge. You will begin to advance up the center walkway behind the Warhound. A machine gun turret on the upper right side of the sub pen ahead will begin to fire upon you. Take cover as quickly as you can; the high rate of fire from the machine gun will tear you apart in seconds if you stand out in the open for too long. When you are safely behind cover, use a guided missile from the Warhound to destroy the machine gun turret before it can do any significant damage. One missile should be enough to hit the turret. The real challenge of this battle is getting the missile to actually hit the turret, as it is a small target and it is holed up behind a small barrier of concrete. Try to hit as close to the turret as possible. Even hitting the wall behind the turret should suffice, just so long as you manage to clear the low wall in front of the turret, which will shield it from any blasts from the front. With the turret down, leave cover and continue onward into the base.
You should still have plenty of time left on the countdown. Anywhere between six and eight and a half minutes left on the counter at this point will mean that the mission is still plenty feasible for you to win. If you find yourself looking at a counter that has around six minutes left on it, you will want to rush through these next sections a little bit.
Stay in the Warhound’s viewpoint and hammer the enemies on the catwalks ahead with mortars. As soon as you see an enemy ahead, target them and hit them with one of the explosives. As you cross a short bridge, two enemies will emerge from above you and hit you with RPGs. Stay behind cover and hit both enemies, who should be marked clearly on your HUD, with mortars. The explosions of their rockets will trigger a larger explosion, taking out the catwalk that they are standing on in the process. From your position in cover, focus on whittling down the enemy forces on the other side of the area with mortars. In this section of the building, you may not be able to reliably hit many of the enemies with your mortars thanks to the low ceiling. In these cases, pop out of the Warhound view and get the job done the old fashioned way, with your assault rifle or LMG. You can even use guided missiles to hit the enemies in the upper catwalks, if you are feeling especially cruel and wasteful.
Proceed forward to reach the loading dock. This will be the last place where the enemies will make an organized stand against you, so make your attack count. Take cover behind the concrete barrier next to your teammates. This vantage point will give you a clear view of the entire battlefield below. Toss out a Sensor grenade or two into the pit below to light up the enemies as they come running out. From behind cover, peek up and take out as many as you can with your own weaponry. If you need to, you can use the mortars, although particularly aggressive enemies may advance too close to you to make this a viable option. During the battle, keep an eye out for enemy grenades. The enemies in this area will be very liberal with their explosives usage in an attempt to push you out of your cover. Keep the pressure up on them, and they won’t have a chance to toss out many grenades. Also note that you can use a mounted machine gun nearby if you are having trouble clearing out the area below. The machine gun is located to the left of your cover point. When playing this mission in co-op, having one player use the mounted machine gun and another player take control of the Warhound mech can be absolutely devastating to the enemy forces.
With this area cleared, you will basically have a straight shot to the mainframe ahead. Sprint forward, down through the area that you just cleared out and towards the submarine undergoing repairs. A staircase here will lead you up into the catwalks. You have to reach the waypoint in the small room ahead before the countdown on the side of the screen reaches zero. As you run into the room, congregate on the waypoint. This should trigger the next phase of the mission. Ghost Lead will order you to hack the system, and you will oblige automatically. With the system cracked, you will report to your team that some sort of bunker is located underneath of the base. This could double as a weapons storage center of some sort. It would be best that you and your team check the area out before setting it ablaze with the C4 charges that you packed along. This will lead you into the next phase of the level, in which the Ghosts will enter an elevator and descend into the heart of the facility.


 Metal Gear Solid 5 The Phantom Pain Guide: How To Get A Dog
 The Sims 4 – Romance Guide
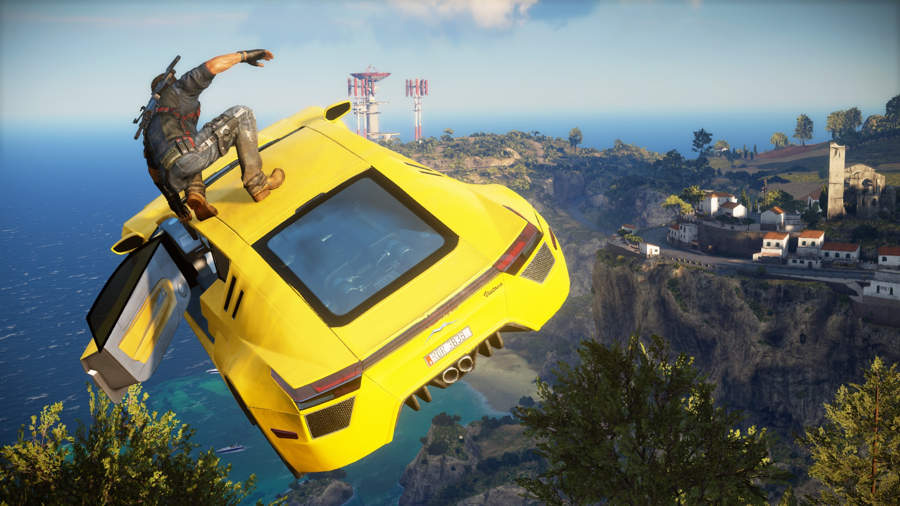
 Just Cause 3 Gear Mod Tips: 5 Abilities to Unlock First
 How to Make Your Own Village in Minecraft
 How to Get the Mechanical Falcon on Sims Medieval (PC)