The Amazing Spider-Man Walkthrough Part 19 – Spidey to the Rescue, Part 1
After Spider-Man crashes following his confrontation with S-02 Connors figures out the key to the antidote. It rests in Peter Parker's blood! There is something in there that halted the transformation. He synthesizes an antidote and gives it to Spider-Man. There is a problem though, as soon as you leave the apartment something is causing some jamming to the phone you have been using to navigate around. The first objective is to track down the source of the jamming and destroy it. Considering the size of the area, this could take a little while.
Look out from the Haven. You will notice a Red Beacon in the sky coming down into the city in front of you. Make your way carefully over to it. Just head through the big grate in the front of the Oscorp Biolabs. Once inside the level will start yet again.
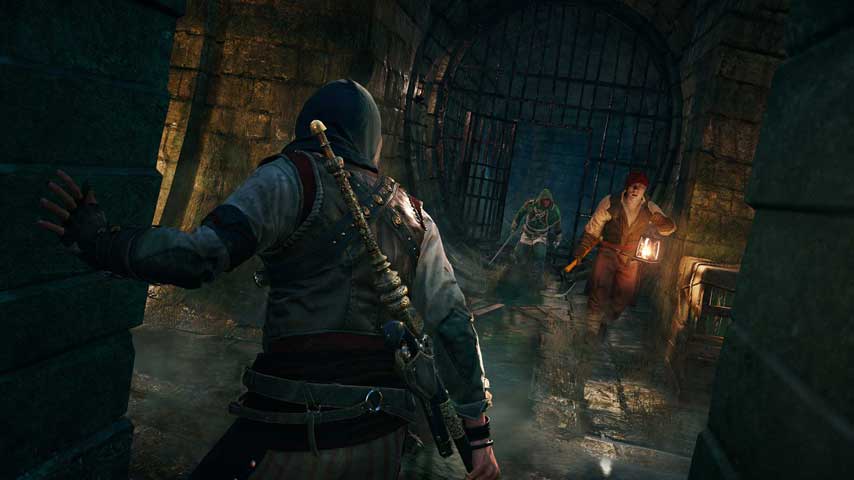
Time to deal with a good number of guards. The good news is the higher ranking (and tougher) ones are on a different level from the rest of the guards. This means that you can take out the Sergeant without even having to engage the rest of the guards that are below. There are about 3 Sergeants that need to be dealt with the upper level. After that there are a good 5-7 normal troops and one with a riot shield in that group.
After that fight, look back to the right top corner of the entryway. You will find a Tech Upgrade sitting there for you to collect. Now, drop to the bottom floor and head over to the left. There is an open door there that you need to go through. Just inside the doorway, to the left, is the first piece of Audio Evidence. Collect it then head over to the right and interact with the console there. Be sure to head a little to the left of that console as there is a collectible magazine over there as well.
Now, head through any of the visitor doors on either level. Go through until a massive door closes behind you. Now head forward to the console that is directly in front of you. Be sure to also look above this console as there is a Tech Upgrade above you. Spider-Man is given a sweep of the room and it is very apparent there are a number of locks you need to deal with. Not to mention a lot of turrets as well to be dealt with. 4 locks, 4 turrets, another day on the job as Spider-Man.
This is the kind of thing where just taking it one at a time is the best choice. Head over to the left and Web-Rush the first of the turrets. Now, drop to the ground and quickly get inside the room. There are 2 pairs of enemies here. One pair is your basic Combat Sentry, the second is a pair of guards with Riot Shields. Either execute Stealth Take-downs or charge in and web the Sentries and swing them around to take out the rest. With those defeated, head up to the second floor of this small area. There is one more guard … with a mini-gun. Suggestion: Stealth Take-down. Now, look for the console that is in the front center of the second floor. Destroy it with the fury of your fists. Now head on out of this small area and over to the next one to your left.
Once again, approach the turret with a Web-Rush to destroy it. Now get into the small area. This lower area has 3 Combat Sentries for you to deal with. A quick bit of Web shooting and grabbing and the fight will be over. Be sure to also head over to the spot between the 2 blue-glass containers. There you will find a collectible magazine. Now head to the upper area. Once again there is a Heavy waiting up there for you with a Mini-gun. Get the drop on him with a Stealth Take-down and destroy the second locking mechanism. Be sure to explore the whole of this balcony as there is a second magazine to the left of the console.


 UFC Undisputed 3 Skill Test Walkthrough
 A New Bar Is Set: Beer Pairing and Review for The Witcher 3: Wild Hunt
 Fire Emblem: Awakening Guide – Paralogue 5: Scion of Legend Guide - GamersHeroes
 Dark Souls Stray Demon Guide
 PlanetSide 2 Guide to Taking Over Facilities - AlterGamer