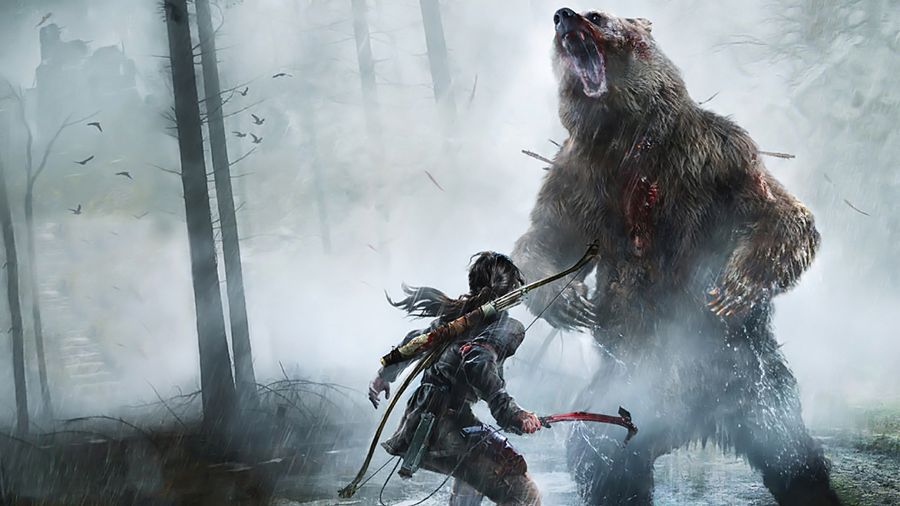
Walker and Adams will begin this mission crouched behind a rock in the desert. Their mission having taken a drastic and horrible turn a long time ago, both will be left with only one mission: finding and killing Konrad. This will be the most combat-heavy mission in the entire game, so be ready as you advance through the desert resort ahead. When you enter the aquarium on the right, loot the three grenade boxes from the left side and eliminate the enemy at the end of the hall. Rush down the hallway and emerge into the open courtyard ahead, where several more enemies will await you. Another enemy will fire down into the couryard from the balcony above you. Take out the enemy on the balcony first, and then focus on the enemies on the ground. Shortly after you kill the first balcony enemy, another will emerge to fight you. Quickly switch your attention back up to the top of the balcony and kill the enemy again before returning your attention back to the ground floor. With all of the enemies near you down, push forward, sticking to the left side of the area. You can loot more ammo and grenades from an area in the left-hand corner filled with props.
Emerge from the safety of the enclosed corner and run to the right. More enemies will await you around the right-hand corner. Take cover on the crate and peek over it to lay down suppressing fire on the enemies, who will be behind the two cover points nearest the tall palm tree straight ahead of you. Keep up your fire, and soon you will have cleared the area. Press ahead and through the small doorway on your left. More enemies will be in this dark room waiting for you. Shoot the enemy by the fan and then head to the back of the room to find an ammo refill crate and another crate of sticky grenades. When you are ready to proceed, ascend the stairs to the left.
When you reach the top floor, search by the glow sticks to find another piece of Intel. Wait for Adams to come up the stairs behind you. He will kick open the door, allowing you to progress ahead. As you head outside, the enemies will fire a Willy Pete down on you, sending the whole area up in flames just like you did with the white phosphorus so long ago. Walker will catch on fire as the level around him is reduced to a smoldering heap of death. Don't be alarmed as Walker burns - it won't actually hurt you, as the whole thing will turn out to be a hallucination. Before you know it, you'll be back in combat, this time pinned behind your cover point by enemies using mounted machine guns on the hills ahead. Luckily, an RPG will be sitting right behind your cover point. Pick it up and train your sights on the guard tower ahead of you. Fire the RPG and send the guard tower, along with the mounted machine gunner, up in flames and smoke.
This won't be the only enemy position you need to take out, though. More enemies will be hiding tbehind the sandbags to your left, and another machine gun nest will be located ahead of you and slightly to the left. Use a rifle to take out the guys behind the sandbags to your left, as you don't want to waste ay RPG ammo. With them dead, train your RPG on the machine gun nest and blow it up. Keep to the left, using the sandbag emplacements for cover, and rush ahead. When you get behind the Humvee, you and Adams will need to cross over to the right side of the level. Before you do so, llook behind you. Behind the sandbags you should find another ammo refill crate. Reload and refill before sprinting out to take cover behind the Humvee. Peek out to the left and eliminate the enemies in the machine gun nest with an RPG or grenades, and then slip out through the hole between the two cover points to your right. Sprint up to the sandbags ahead of you and refill your grenades. Use them liberally to take out the machine gun nest in front of you and the numerous enemies laying down fire on you to your left. You should have plenty of explosives, so don't worry about spending a few to take out the masses of enemies crowding you from all sides.
After you have killed the enemy manning the mounted machine gun in the nest ahead of you. Sprint over the sandbags and man the gun yourself. You should be able to use the mounted machine gun to kill the majority of the enemies in the area, although its turning radius won't be enough to reach some of the enemies far off to your right. When you've killed all of the enemies you can reach using the mounted machine gun, leave the small room through the small doorway on the right and kill the enemies behind the sandbags. This will trigger another, smaller wave of enemies to run out from the right. Sprint back into the room with the mounted machine gun and man it to mow down this wave of enemies before they know what hit them. This, in turn, will trigger even more enemies to come from the far right, too far off to be hit by the mounted gun's poor turning radius. Again, leave the safety of the gun and, using the sandbags for cover, zigzag around the battlefield killing anything that moves.
You will have to be wary of enemies tossing grenades in this section, as this particular wave is very grenade-happy. Be sure to always have a backup plan when it comes to cover points. After you eliminate this wave, a wave of shotgunners will rush you from the back of the battlefield. This will be the last wave of enemies that you will have to deal with in this checkpoint, so be careful and backpedal when they get too close. Use a ranged weapon to take them out so that you don't have to risk going in too close, which could end poorly for you. With the shotgunners dead, take careful time to pick around the battlefield and scavenge any ammo you can find. This battle will have been incredibly taxing on your ammo supply, especially if you weren't able to use the mounted machine gun very effectively, and you will have to fight a heavy before leaving the area, so you will want to have all of your guns refilled as well as possible. If you just can't get much in the way of ammo, try for grenades instead. Sticky grenades are particularly effective against the heavy soldiers.
When you are ready to proceed, head towards the marked door to the far right, behind the two rows of sandbag barriers. As promised, a heavy soldier will burst right through the door as you approach. Your best bet here is to turn tail and run, as the cover by the door is fairly sparse, and the heavy's gun can really tear you up in close range combat. When you get to a safe distance, focus on the enemy's head. Although this particular heavy soldier will take a very... let's say unique form, having his head exposed, you will still want to focus on the area right between the eyes. If you have any sticky grenades, stick them anywhere on his body to blow him up.
With the heavy gone, proceed through the shattered doorway, but be ready for another protracted fight. Enemies will be to your immediate left as soon as you enter the darkened room. Mow the two closes enemies down and hover a while in the doorway. A third enemy will run down from the ramp ahead. Kill him and then retreat back through the doorway, tossing a flashbang to your left as you retreat. When it detonates, rush into the room and mow down the blinded enemies to your left. Loot the ammo refill box from behind the counter to your left, and then head up the stairs. Kill the enemy at the top of the stairs and take cover on the right-hand corner. Toss a grenade straight ahead to kill the enemies who will come rushing around the corner towards you. This should also damage the heavy soldier at the back of the area, who may need another grenade or a few headshots to finish off for good. This will just leave a few enemies on the balcony ahead of you. Kill them off, and a cutscene will play.
Spoilers follow!
As you and Adams are surrounded, Adams will beg for either death or more combat. Walker will try to surrender as a way to get into the tower, but Adams will have none of it. He will shove you off of a ledge and open fire on the 33rd. This is your chance to make it to Konrad. Sprint down the highway as the world erupts in flame behind you. One more cutscene will await you when you reach the end of the highway. Walker will stumble to the base of the tower where Konrad awaits. This will mark the beginning of the end of Spec Ops: The Line.
End of spoilers.