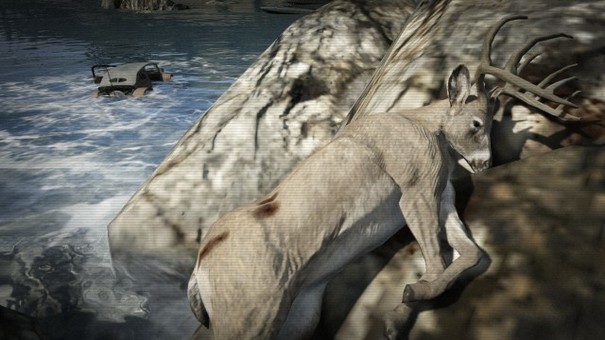
After completing your second and final round of zombie farming, you will awake to Rosalind's bus speeding off ahead. Yes, she is still driving the bus around, and yes, you still have to chase after her. Again. Simply run down the path as Juliet calls out for her troubled sister. You will reach a series of sheds, the right of which will contain several coins. Chop down the walls and enter the barn to collect all of the coins. Pick them up and then head to the store on the right side of the path ahead. Buy whatever items or upgrades you need, and then use the Chainsaw Dash to jump over the rainbow bridge to the next area. When you land, fourteen zombies will spawn and attack you. Luckily, there will be a pole smack dab in the middle of the farm for you to dance your deadly dance on. Approach and mount the pole. Mash the onscreen buttons repeatedly to spin at warp speed around the pole, taking out most of the zombies in the wave with your spinning chainsaw in the process. What few enemies remain can be killed off easily with your chainsaw.
When all of the enemies are dead, the path ahead will be marked for you. Saw through the frence at the end of the area and mash on the X or the Square button to kick the fence in. A short cutscene will show you the way ahead. You will have to hop over the side of the bridge and cross a rock path to proceed. Before you do that, however, run all of the way across the bridge and loot the series of coins from the clearing on the opposite side of the river. Now that you have restocked some of the coins that you may have spent at the last shop, return to the bridge and hit either the B or the O button to jump over the side. You will land on a narrow rock path that winds through the river. Follow it all the way to its conclusion, stopping to collect the lollipop behind the large rock to your immediate right. When you get around halfway across the bridge, you will be accosted by a group of eighteen enemies. There's no pole or other convenient power up here to dispatch the enemies for you, and the path is narrow, so you will need to use skill and a little bit of precision to take them all out.
Only a small portion of the enemies will come at you on the ground. Use your chainsaw to quickly kill the small gorup of zombies who run down the stone path towards you. With them gone, you will now have to worry about flying zombies, who will be stationed above you and to your right and left. Explosive barrels on both of the ridges to your right and left should do the job nicely, so take out your Chainsaw Blaster and let fly with a few grenades. Hitting the explosive barrels should send most of the flying enemies up in flames. Pick off the rest with a few shots from your Chainsaw Blaster, and then proceed the rest of the way across the stone bridge. When you get most of the way across, you will be met with a fallen tree blocking your path. If you haven't killed all of the enemies yet, you won't be able to saw through the tree. Once all of the flying enemies have been dealt with, simply saw through the tree and keep going. Pick up the glowing lollipop on the shore, and then turn around the access another store. Again, refill any items you may need, buy some new moves, or upgrade Juliet. If it's your first time going through the game, it can be very helpful to simply focus on upgrading Juliet's stats at this point.
When you run ahead, Juliet will get another call from her mother no her chainsaw phone. As usual, this message isn't really all that important; it's just about picking up milk from the grocery store. With that out of the way, proceed ahead. You will come across a group of four zombies, two far tougher ones and two skinny ones. As you engage them, three more of the fat zombies will approach you and attack you. Note that you don't have to kill all of the enemies in this section, as there is no counter with a set number of kills in the left hand corner of the screen like there usually is. This means that you can choose to simply run past these enemies, or kill them if you feel like it. If you decide to stay and fight, watch out for the fatter zombies and their charge attacks. You will be able to tell that they are about to deploy a charge when they start to glow blue. Simply dodge over them to get behind them, and then launch a counter attack with your chainsaw. When all of the enemies are dead, or when you decided enough is enough and you simply flee the scene, stick to the right side of the area to pick up a lollipop hidden in the corner behind the structure to your right. Proceed further into the farm to initiate a quick time event.
A windmill will suddenly fall right onto Juliet, who will need lightning fast timing to destroy it and emerge safely. Mash the B button, or the O button if you're playing on the PS3, and hit the chainsaw button to carve through the windmill. You will emerge into safety; or, well, relative saftey, anyway. You will be in a field full of exploding red barrels and shocking blue barrels; hit the red barrels to send the immediate area up in flames, and hit the blue barrels to stun any nearby enemies, making them ripe for the picking for Sparkle Hunting. Don't bother using any of the barrels on the first wave, as plenty more waves will demand bigger explosions and more deadly attacks afterwards. With the first wave of eight gone, a wave of sixteen will spawn. Feel free to use the exploding barrels nearby to take out large gbroups of this wave at once, or use the blue barrels to stun multiple enemies and chop them apart with your chainsaw to get Sparkle Hunting bonuses. After the wave of sixteen, a wave of thirty-two will spawn, so make sure that you leave at least a few barrels to deal with them easily. Hit the red barrels to make a real dent in their numbers, or use the blue barrels again to rack up tons and tons of bonus coins via Sparkle Hunting. This wave can be a very profitable one if you can manage to stun most, if not all, of the entire wave of thirty-two. This wave makes for a great time to activate your Special meter if it's filled up, too. At this point, you can simply run amock in the group of zombies and carve left and right with your chainsaw. You will get huge bonuses for practically every swing you take as long as your Special remains active.
With all three waves of zombies dealt with, the path ahead will open. Approach the fence to the side of the area marked with the chainsaw logo, and use your saw to chop right through it. Mash the melee button to kick down the fence, and the path ahead will be open and rife for the taking. At this point, you are officially most of the way through the O'Bannon Farm level. It's an incredibly long level, and one that culminates in a trippy boss fight, but with a little perserverance you will be able to make it through in just a few more minutes.
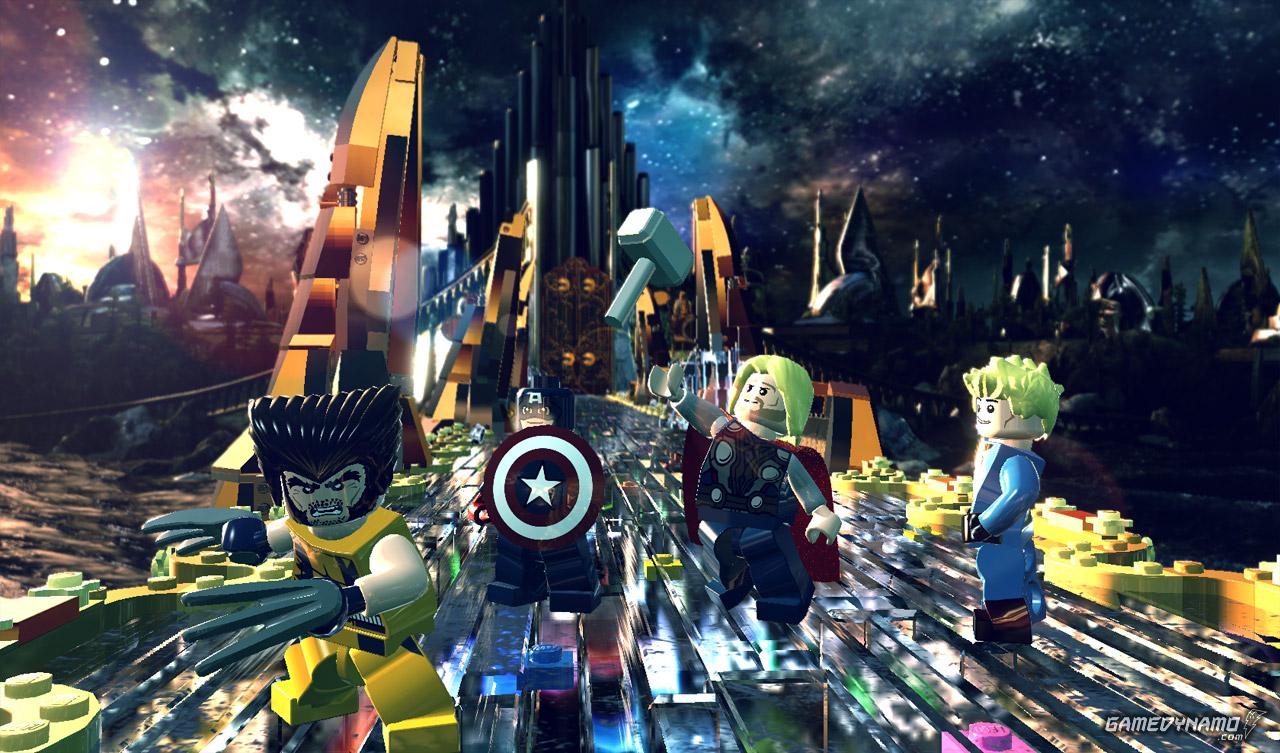 LEGO Marvel Super Heroes - Achievements & Trophies Guide
 How to find the Time-Lost Proto Drake, or tlpd, fast in wow using the tar macro
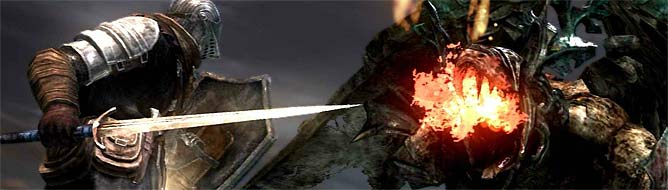 Dark Souls 2 Walkthrough Part 7: Belfry Luna
 The Week in Review: Video game movies, Unreal Engine and Tiny Wings is back
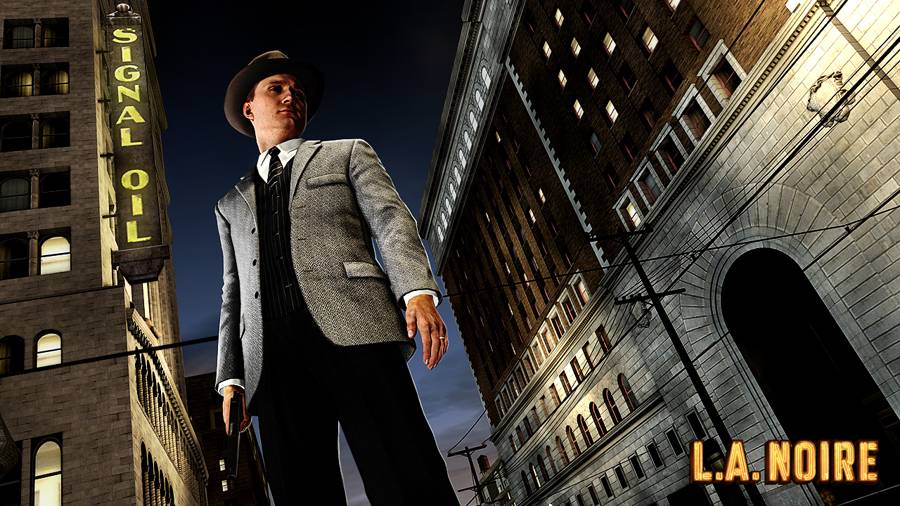 L.A. Noire The Black Caesar Guide