Metal Gear Rising Walkthrough Part 24 – R-04: Hostile Takeover (Floor 20)
Metal Gear Rising Walkthrough Part 24 – R-04: Hostile Takeover (Floor 20)
Most of this floor will count as a Ranked Battle but there are elements that are not quite the norm. This is better done with a lot of stealthy choices but there are also 2 ID Chips to be found here (18 and 19). Still, the ranked battle will not start until Raiden has been detected by one of the soldiers so the longest you go undetected the easier it is on you in terms of time.
First you need to find the 3 Electrical Panels. It starts easily enough. Head forward down the corridor on the right. Slice through the glasss door blocking your path over to the left and head into the first room on your right. Here you will find another Poster to hit with Blade Mode on the left-hand wall just by the door. In the back left you will find a RP Grenade (you need to slice apart the shelving and wait for it to disappear to claim it) and a Holo-Chip (M). In the front right corner though you will find VR Terminal 14.
Head back into the corridor and start toward the second room on the right. Equip a 3D Photoframe and get ready to throw it. While the guard is looking away move toward the door and throw it into one of the corners. This will distract him. When you see him move toward the Photoframe, move in quickly to the left-hand corner. Slice through the shelving in the corner and you will cut through the first of the panels.
Go to the door leading into the next, larger room. Wait for the Armored Cyborg to be facing away from Raiden and throw another 3D Photoframe to the opposite side of the room. Move in behind the other patrolling Cyborg and take him down quickly with a Ninja Kill. This will give Raiden a lot of time to move in for the back-left wall panel. Slice through the second Electrical Panel in the corner. This is the minimal amount of stealth needed. At this point, Wolf will contact Raiden and let him know another enemy has entered the floor. This Beserker who has appeared has ID Chip 19 on them.
Head back into the corridor immediately and run down it, not Ninja Run, to the corridor beyond it. Here head toward the security gate but break to the left at the reception desk, after a brief pause to collect the 3D Photoframe. Before finishing this out, head down the corridor on the left. In the room directly in front of Raiden he will find VR Terminal 15 and a Cardboard box. In the room to the left of this one he will find a locked Item Box. Slice it open with Blade Mode to reveal a Holo-Chip (L). Now head back to the main corridor and toward the room on the right. Pause by the door and wait for the Armored Cyborg to turn around by it. Move in for a Ninja Kill on him but be sure to sever his left-hand as it has ID Chip 18 inside it. If you have met the stealth requirement you will also see a Cyborg Berserker in here. He has ID Chip 19 in his hand. He must be assault to break the armor and get to the ID Chip. Be quick about it as a Raptor will move in on Raiden. Kill him after you get the chip then smash the panel. This will cause a final Beserker to appear. Head to the security door to engage him, after you kill off all the other soldiers. Use the panel next to the door to proceed.
As you are likely to do multiple playthroughs to meet the stealth requirement, know you can farm some BP if you have not been building enough. This is also a good way to stock up on RP Grenades and photoframes. When you start go into the first room in the first corridor. There you can get a Holo-Chip (M) and a RP Grenade. After that head to the reception desk, grab the Photoframe and cut through the nearby door. Go down the corridor on the right and then head into the small elevator bay. There you will find the locked Item Box with a Holo-Chip (L) in it. A few run-throughs here and you will have plenty of BP.


 Metal Gear Solid 5: The Phantom Pain – Side Ops 153 Target Practice (Support Unit Platform)
 . Plays April 26, 2013
 Forza Horizon 2 Guide: Barn Finds Guide
 . Plays November 18
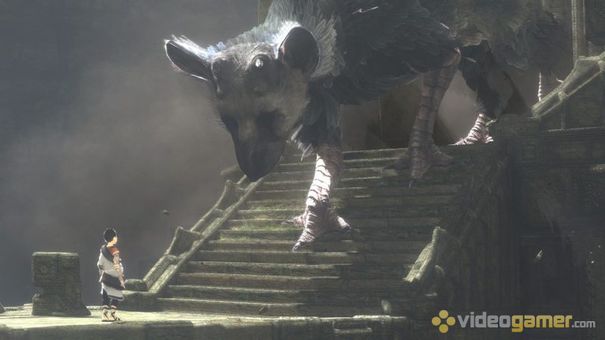 The Last Guardian: How Rain Reminds You Of Its Importance