Dead Island: Riptide Walkthrough Part 27 – Sidequests – Flooded Jungle: Miya
Proximity
Miya is found in the Northern portion of the Flooded Jungle. You will first come across her during “Heavy Equipment” for Sam Hardy. Take a little time to detour over to her to get this first quest. She will want you to track down 3 crates that were air dropped into the area.
Crate 1
Head over to the West from where you came ashore to find Miya. Over there you will find the first of the search areas in the flooded portion of the jungle. Head over to the West of the small camp island. You will find a Floater and several other Zombies nearby. Kill them then head ashore where they were. Go to the cliffside and you will find the first crate.
Crate 2
Get back into the boat and start over to the Northeast. Head on up the vine you find at the start of the trail. You have a number of Infected and Walkers to deal with. Things do not get any easier as there is also a Thug in the area. Kill them all off then start searching the right-hand side of the trail. You will find a small break in the bushes. Head over there and you will find the second crate (and another Walker but he is easy to kill).
Crate 3
Return to your boat and make for just East of Makata Village. You will want to approach this area from the West. This will bring you in very close to the crate you are after. You will find the crate itself straight in but it is empty. Head some over to the East and you will find a half-sunken trailer. Look on the roof of that and you will find the final crate of food stuffs.
Surplus
Miya will want you to head over to the Abandoned Bunker nearby the BioSphere Research laboratory. She wants though that the path and the inside are mined. This is both good and bad. Good in that you potentially can stop on mines and bad because mines can easily kill you in a single blast. With that in mind, head for the BioSphere.
Once there you can head over to the lower path. Move slowly down the path and hug the left-hand side of it. This will make sure you avoid the worst of the mines and get you around the first group of them without incident. Move back into the section between the first and the second mine fields. Head on over to the right, into the bushes. Move slowly and over to the crates you see. On the far side there is likely to be a Walker. Kill it quickly. Now head for the tree branch you see ahead going across to the left. Now head forward and over to the right, across the platform and get over to the doorway you see there.
Once inside you can start searching the bunker. There are still mines to be found in here so be careful. Head over to the right when you enter. Look to the opposite side. You will see a white chest with a pair of mines in front of it. Move all the way against the back wall and shoot them (or throw weapons if you are feeling lucky) to clear out both mines. Loot the chest after you clear the mines then head into the next room. In this second room you will find a a single mine on on the left-hand side path. Just go around to the right, past the Work Bench. Head past the work bench to find some more supplies. Now turn around and find the ladder going up back in the first room. Search the upper room to find a recording, a truck directly in front of the ladder with the Colt you want, to the left you will want to look underneath the bed to find a Tesla Bomb Knife Mod. Search the rest of the area to find more supplies. With all that in hand it is time to head on back out.
Go outside and immediately go over to the right. Climb up the vine and then go over to the right, jump a few rocks and make your way back out to the Flooded Jungle from the BioSphere. From there just make it back to Miya. Talk with her to get the Red Hot Modification for your weapons.
Femme Fatale:
Miya now offers a continuous quest. You can bring her any blades you are not using and she will give you money (and experience) for your trouble. This is a great way to clear out blades that are not worth too much and get a good boost out of it as well. Remember, this refers to the modification item, not the weapon type. This is a good way to clear out any excess you may have built up over the course of play.


 How to Play the Latest PC Games Without a Graphics Card
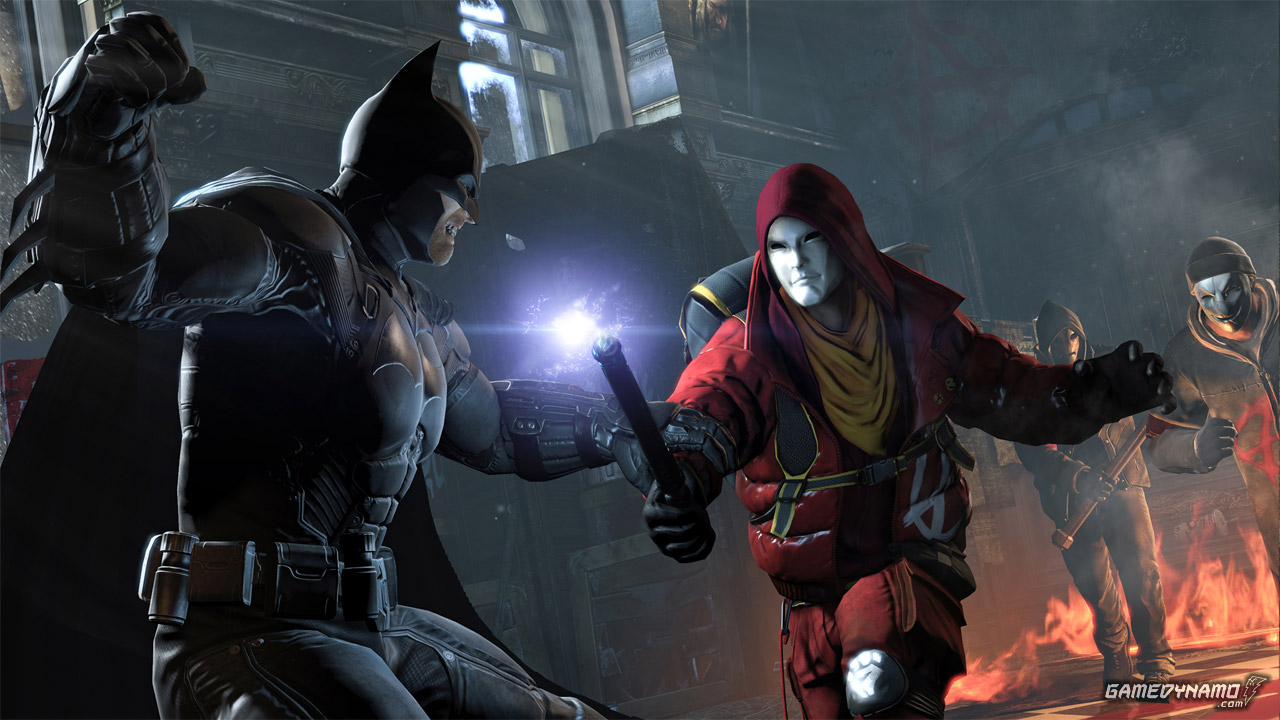 Batman: Arkham Origins – Anarky Tags Locations Guide
 Guide: Tackling FIFA 16s Sliders System
 . Plays March 11, 2012
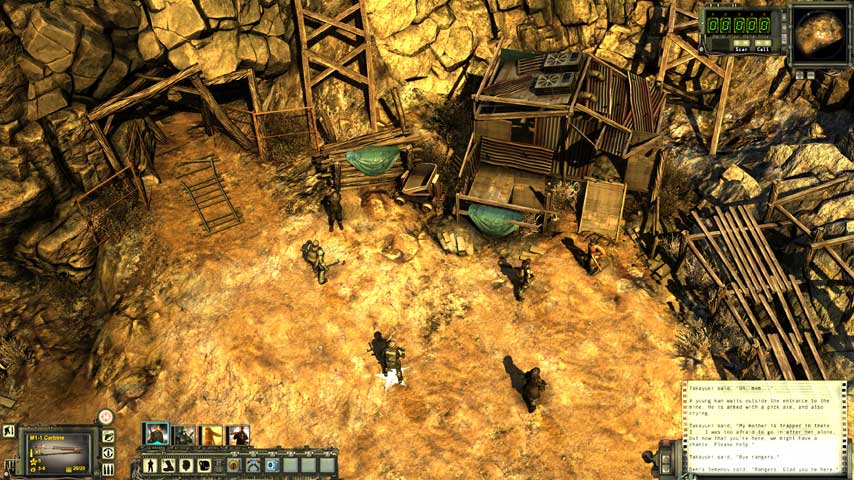 Wasteland 2 guide: choosing your team