Now that the tests are concluded, it's time for Jim and Sarah to head out from the facility- their most likely next goal being the end of Arcturus Mengsk and his reign over the Terran Dominion.
The mission again opens with a cutscene- the facility is under attack by several Terran Dominion battlecruisers- and Nova, the ghost. Your task is going to be getting Sarah and Jim out of the siege so they can go after Arcturus.
The mission starts with the two on a bridge leading out from an interior part of the site, though you're only given control of Kerrigan. Jim will follow her, though, so you don't really have to worry about him. There are a few marines here, but you aren't able to control them. At the far end of the bridge is a marauder- but thankfully, Kerrigan will stop short and highlight her first ability to you- Kinetic Blast. This powerful hit deals 300 damage- plenty to take out almost any one unit- so use it to get rid of the heavily-armored enemy before continuing on.
The marauder's death prompts the nearby door to the Southeast to explode, releasing three enemy marines, but Jim and Sarah make short work of them. Follow the bridge to the Northwest from there, where you'll encounter three friendly marines and a Dominion squad of two marines and two ghosts- take out the enemy squad with help from the friendlies (who are unfortunately almost certain to die in the firefight). Next go Northeast again, where you'll find a friendly scientist manning a Recovery Terminal, which hosts a floating box that can restore some health and ergy to both Jim and Kerrigan. You can opt to use this now, or leave it and come back when your two heroes are more injured.
Northwest is your next direction, though the path quickly makes a u-turn, bringing you to a firefight between friendly marines and an enemy squad with several marines and a marauder. Kerrigan unveils her Crushing Grip ability, which you should immediately use to grab the enemies en masse, making their destruction simple- especially if you Kinetic Blast the marauder. The friendly marines will escort a number of scientists past you, and then you should continue to the Southeast.
Another squad of friendlies escorting scientists will run past you as a couple of Dominion drop pods land nearby, so you should hit the marines that hop out with another Crushing Grip to keep them from dealing any noticeable damage. This pretty much trivialises the fight, so continue Southeast from there, to deal with another squad of enemies dropping in just as the path turns to the Northeast. Cross the bridge and help the friendly forces take out one last enemy squad, then follow them through the nearby door. The Umojan commander tells you that you're going to need to cut through the sub-level to reach the transport, since the base is mostly flooded with enemies, so bring Sarah and Jim to the marker circle on the floor. If you need it, there's another aid station here, as well.


 RuneScape 3: 1-99 P2P Melee Guide 2015
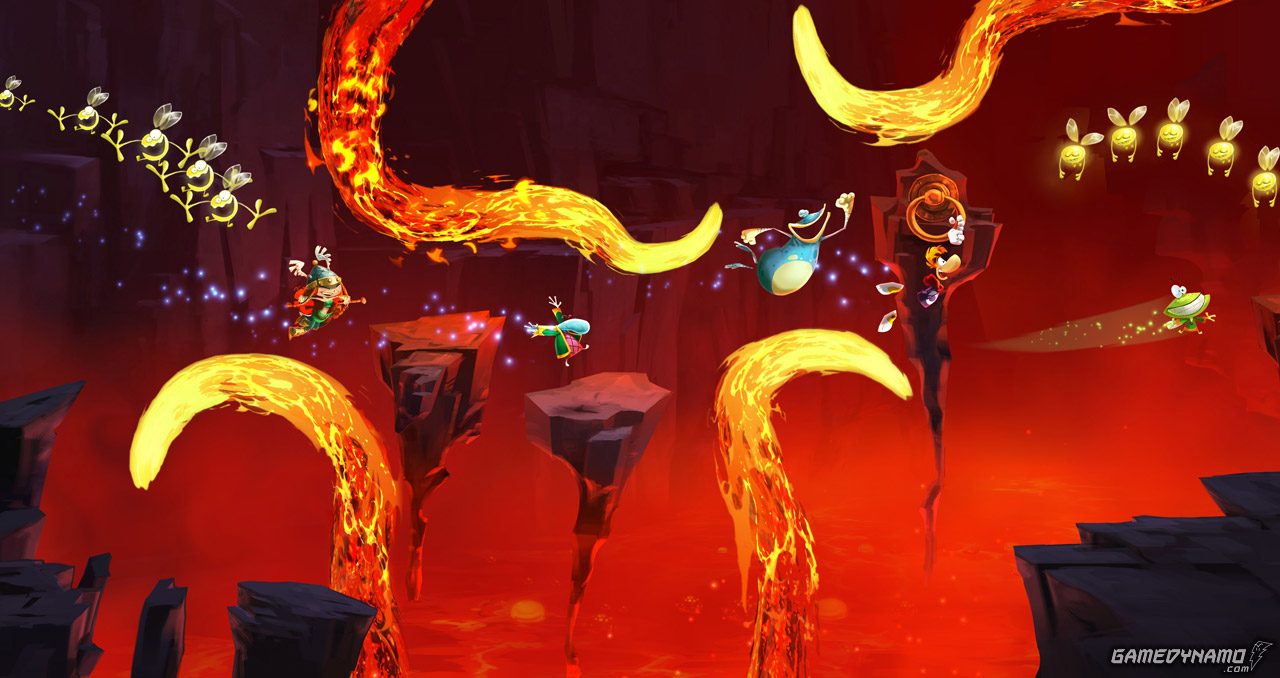 Rayman Legends Tips and Tricks, Easter Eggs, and Cheats
 E3 2013: DriveClub Hands
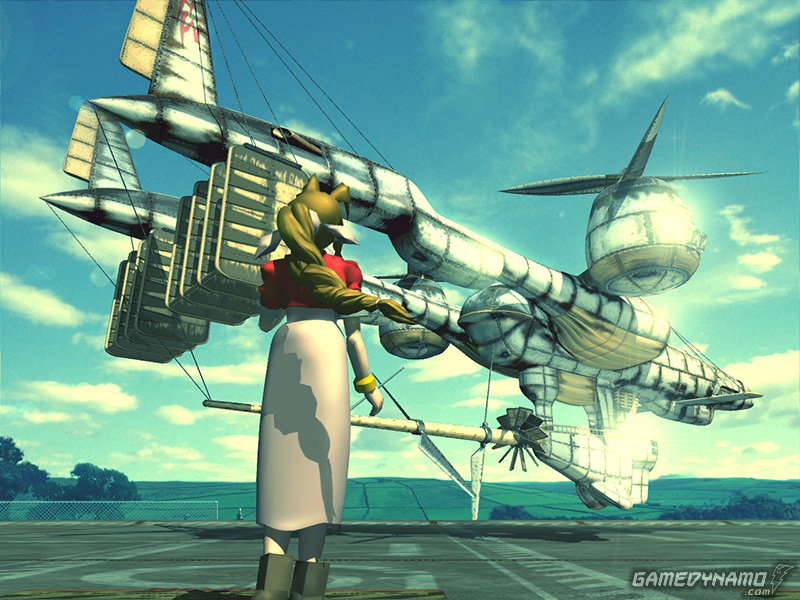 Final Fantasy VII – Enemy Skills Materia Guide
 . GOTY 2014 – Dave Scammell