The Room Three Walkthrough – Chapter Three
Chapter 3 – The Clock Tower
At the end of the last chapter, we found yet another mysterious pyramid as we continued our attempt to escape from the clutches of The Craftsman.
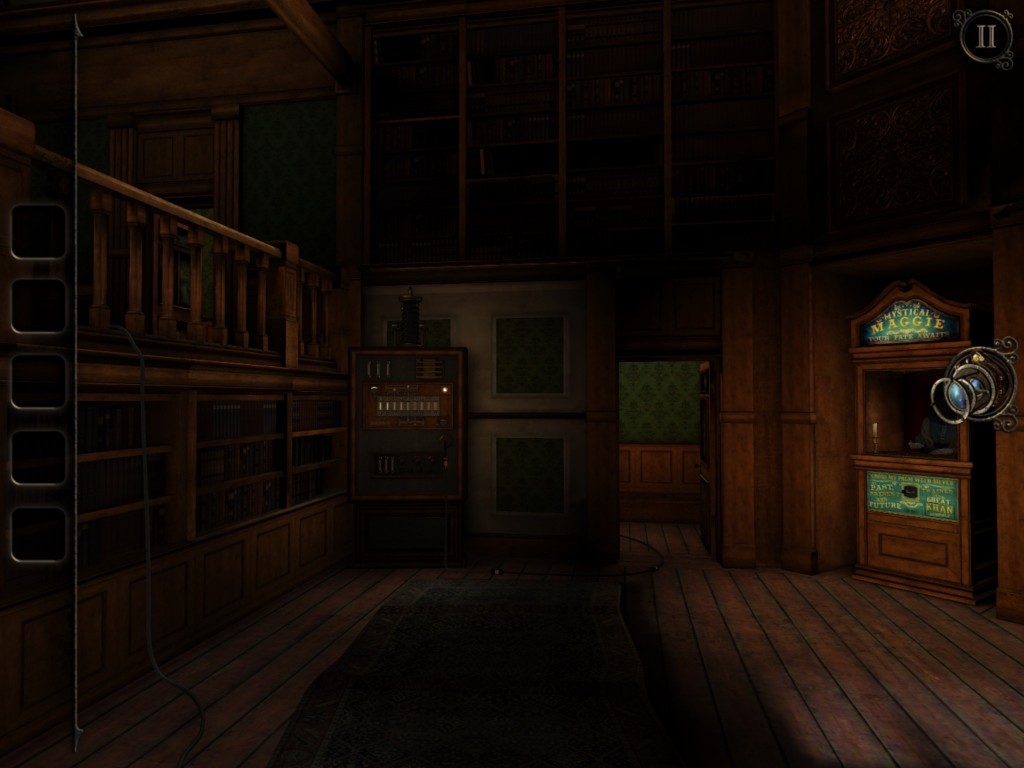
- You’ll find yourself back near where you entered the castle. Return to the room where you placed the first PYRAMID and place the second one in the same place.
- A puzzle box will appear. Rotate the circle on the top of the box to open it. Then rotate until you see a partial archway. Use the top and bottom dials to match the pieces to form the rest of the archway.
- Once you complete the archway on the box, and archway will form on the wall.
- Proceed through the doorway and you’ll see a fusebox puzzle very similar to the one we completed in Chapter 1.
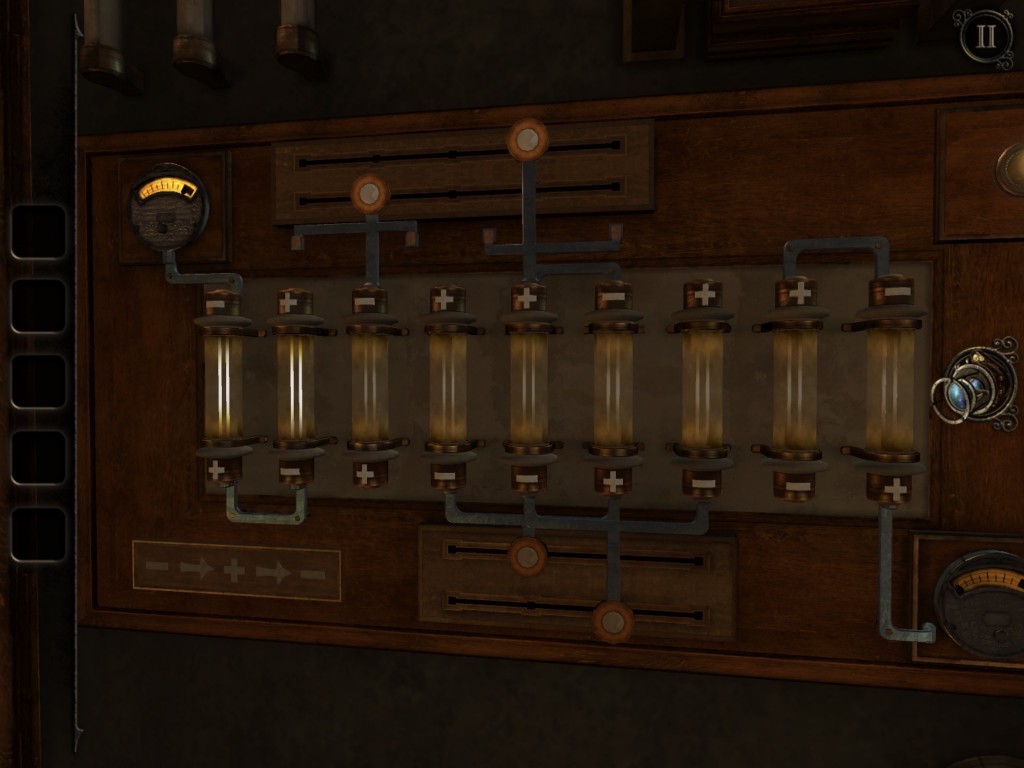
- Slide the metal pieces to connect the fuses and power the cord.
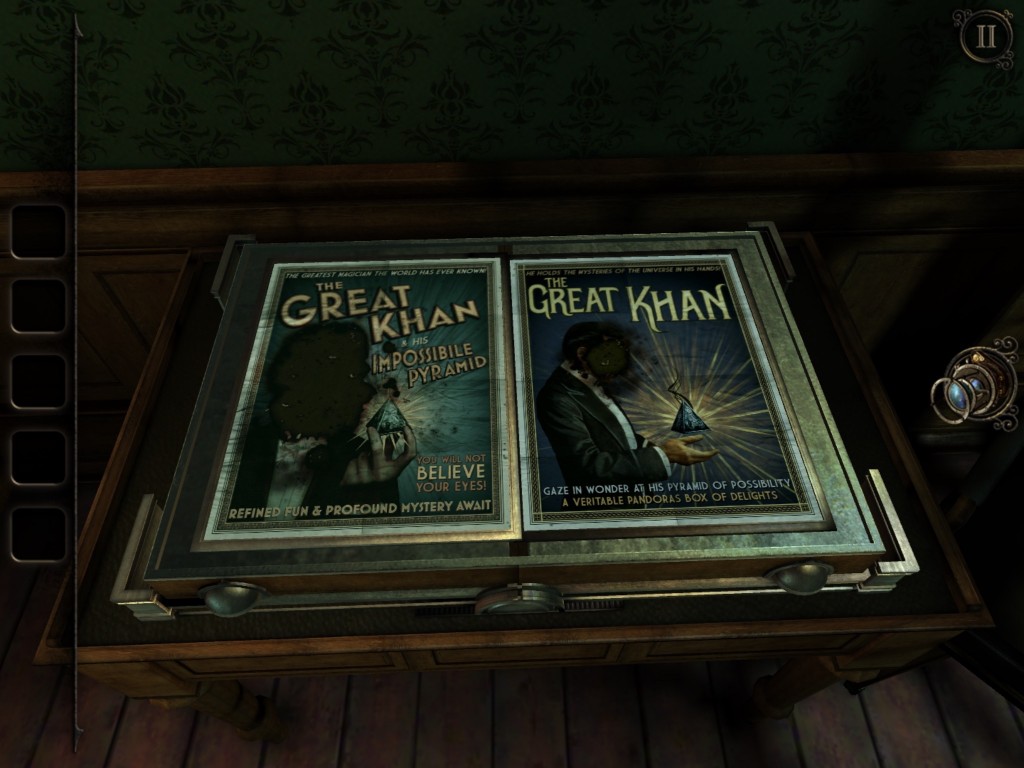
- Go up the stairs. You’ll find a book by the Great Khan. When you close the book, you’ll notice a METAL CUBE on the left side.
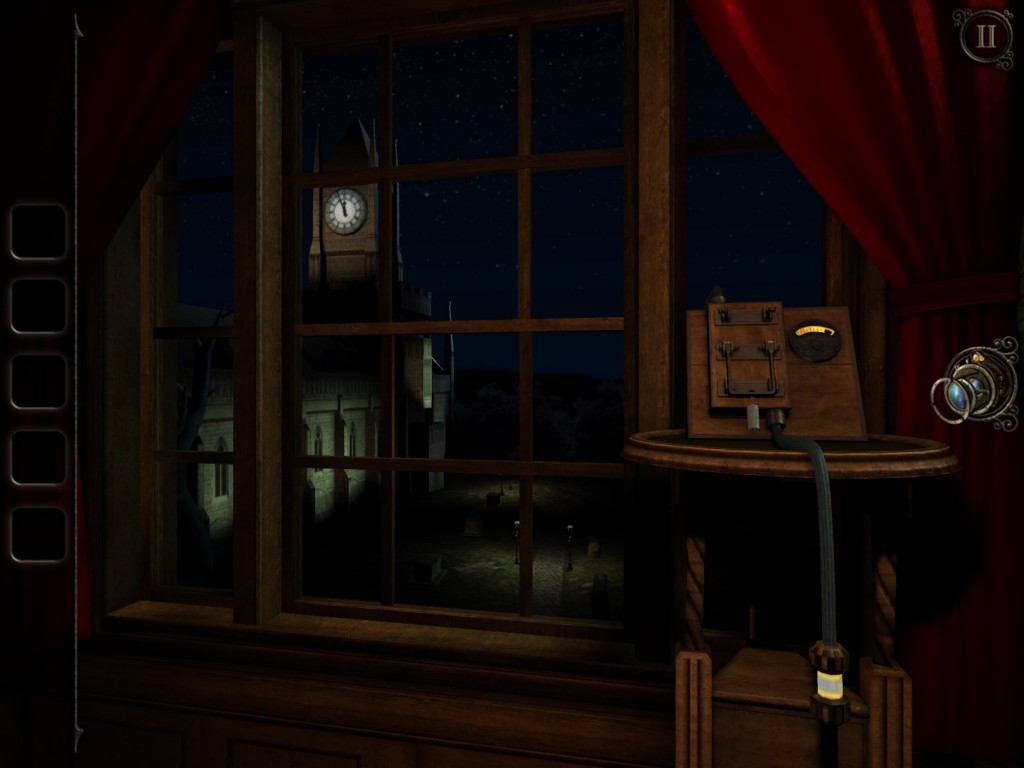
- In the room, there is also a lever. Pull it and the clock house will light up. You are done in here for now, so go back downstairs.
- You’ll see a box on a stand that looks much like one we opened in Chapter 1. Flip the four switches on it and press the button. The oscilloscope will come on.
- Here you will find a letter from The Craftsman. Read it and again line up the green and black lines on the oscilloscope. A beam of light will shoot out of the box, and a door will open.
The Clock Tower
- As you enter the clock tower, you’ll notice a gold box. Zoom in on it and read another letter from The Craftsman.
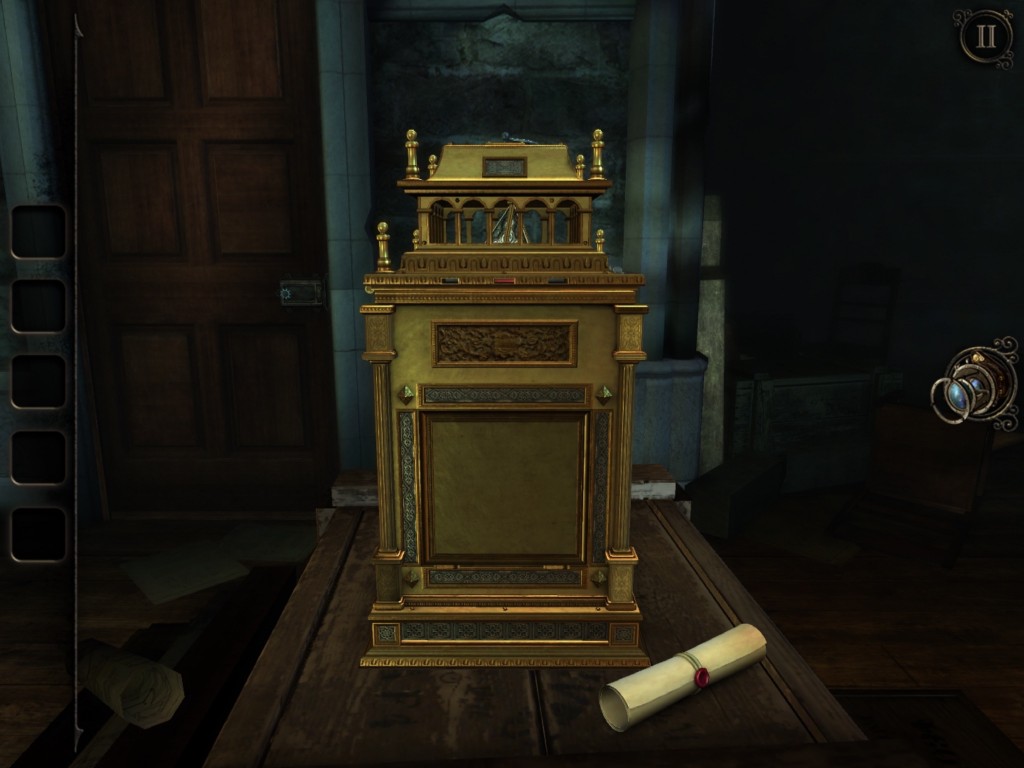
- Look at the top of the box. There is a handle there that you can lift to the opposite side.
- Once you’ve done that, find the side of the box that has two sliders near the top. Use both fingers to slide them open and take the SMALL METAL PILLAR from behind the glass door.
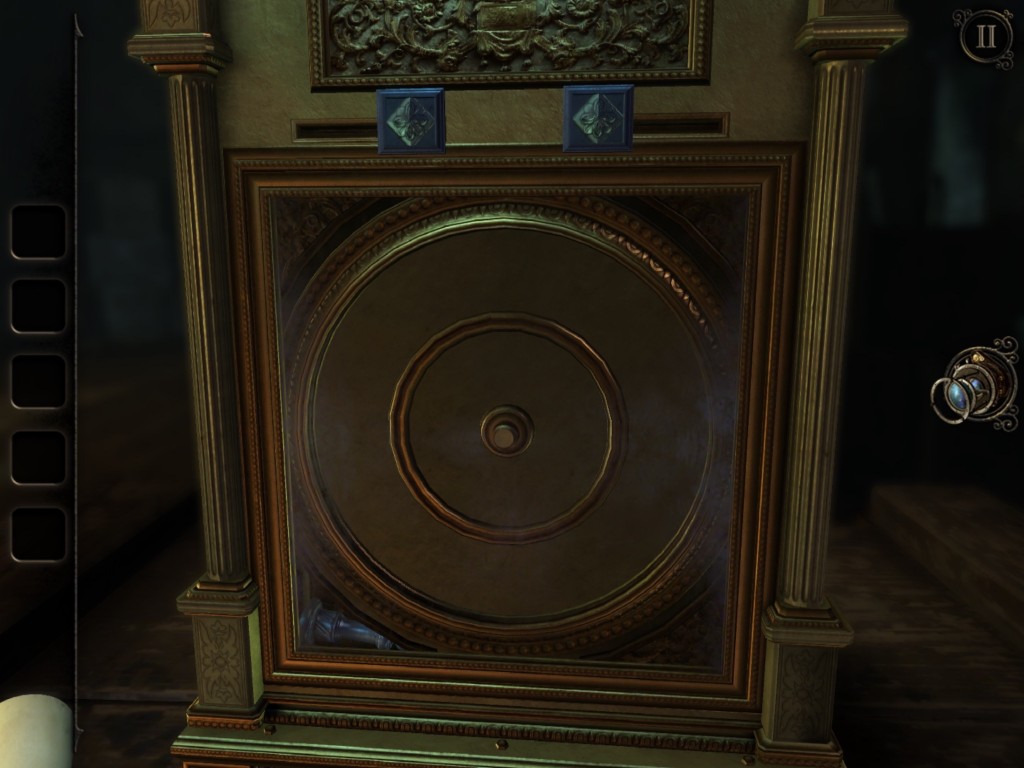
- In one of the corners on the top of the box, you’ll notice that one of the little ornate pillars is gone. Place the SMALL METAL PILLAR here and slide it to the left. The top of the box will unlock, allowing you to open it.
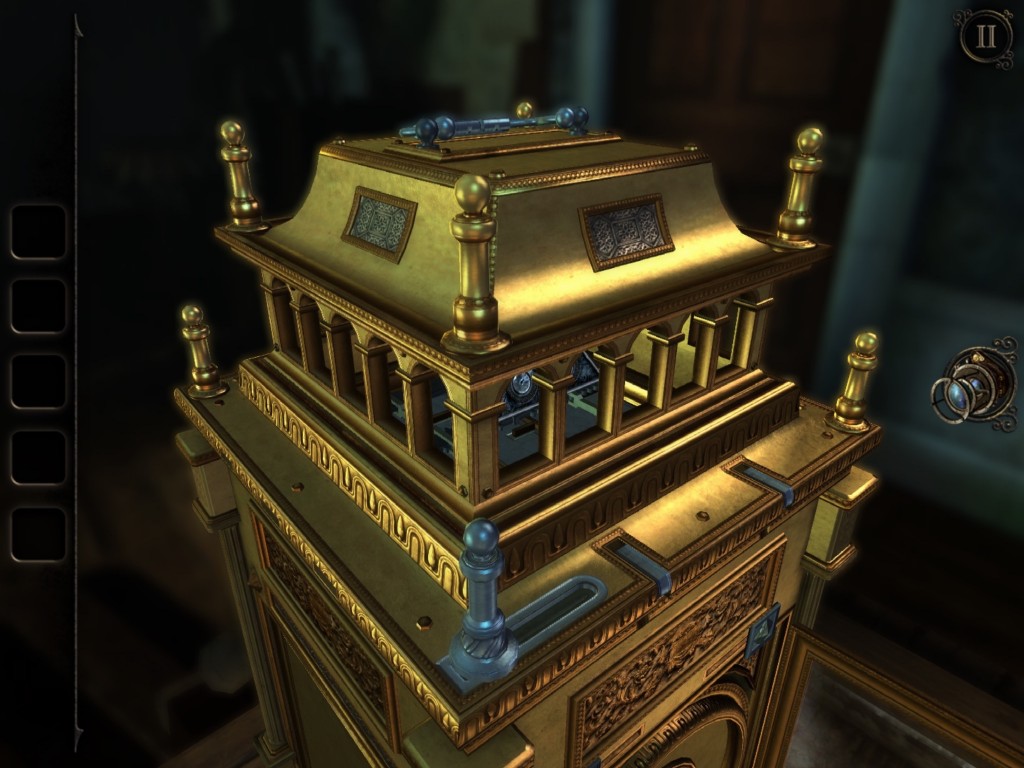
- Zoom into the top of the gold box and you’ll find a piece you can slide. Do so and a small tower will appear.
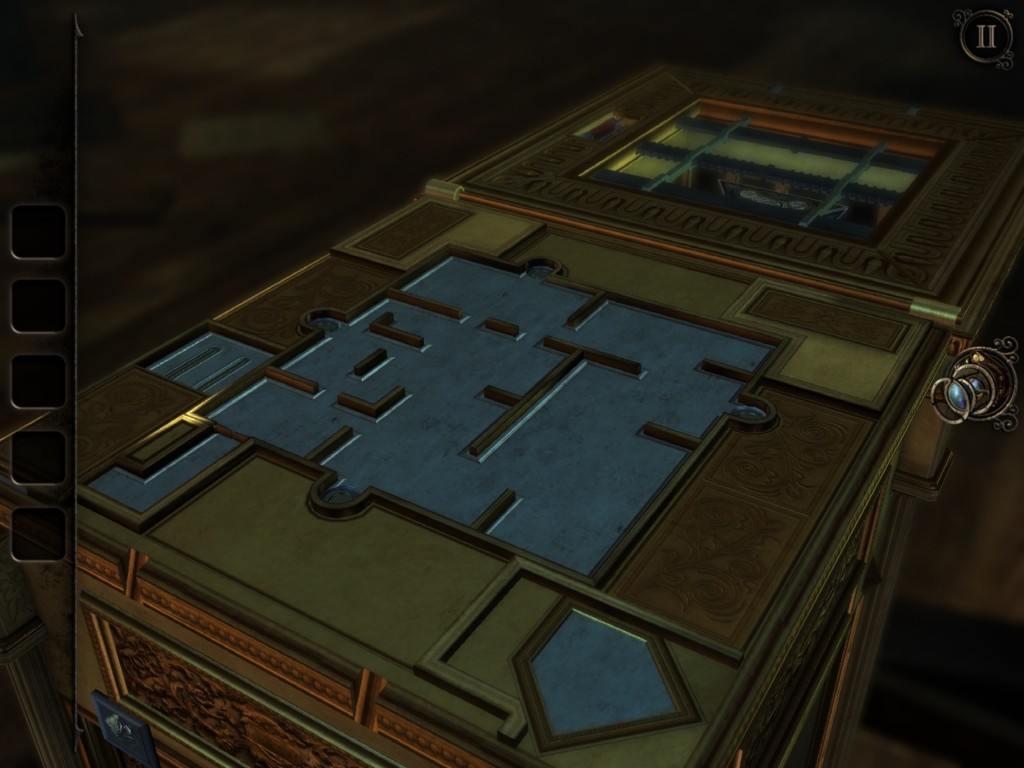
- Put on your EYEPIECE and double-tap on the floating fragments to go inside.
- One of the sides is already unlocked. Open it to get a CRANK HANDLE.
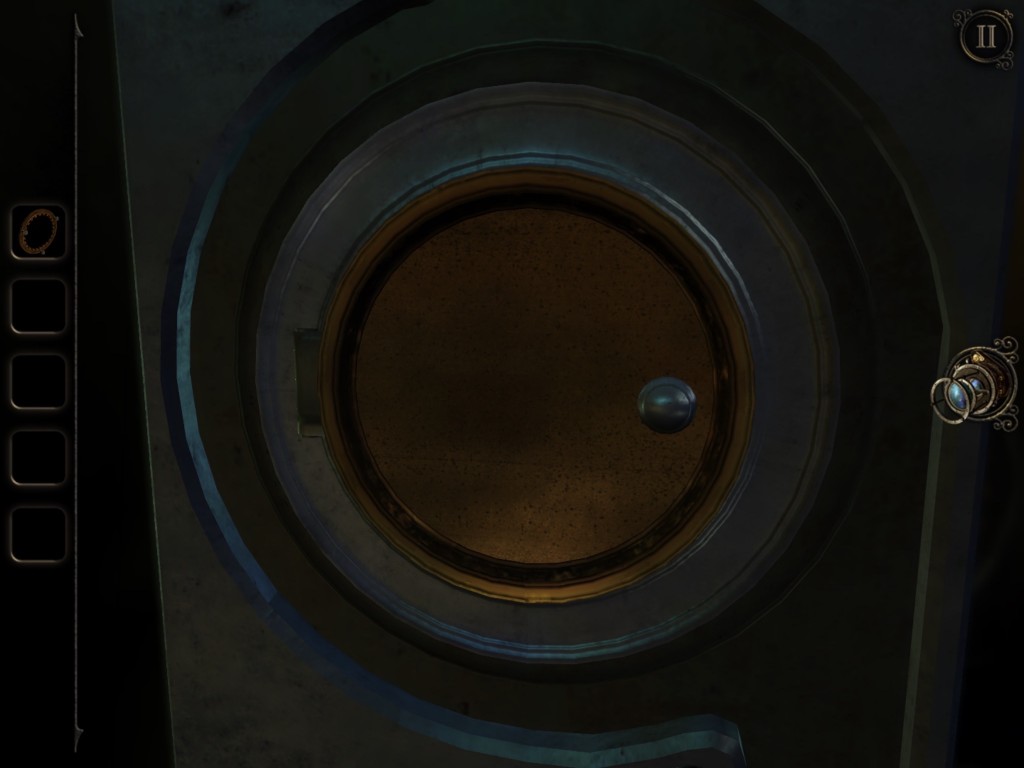
- Turn to the side with a handle in the center and rotate it so that everything lines up correctly. After doing so pick up the METAL RING.
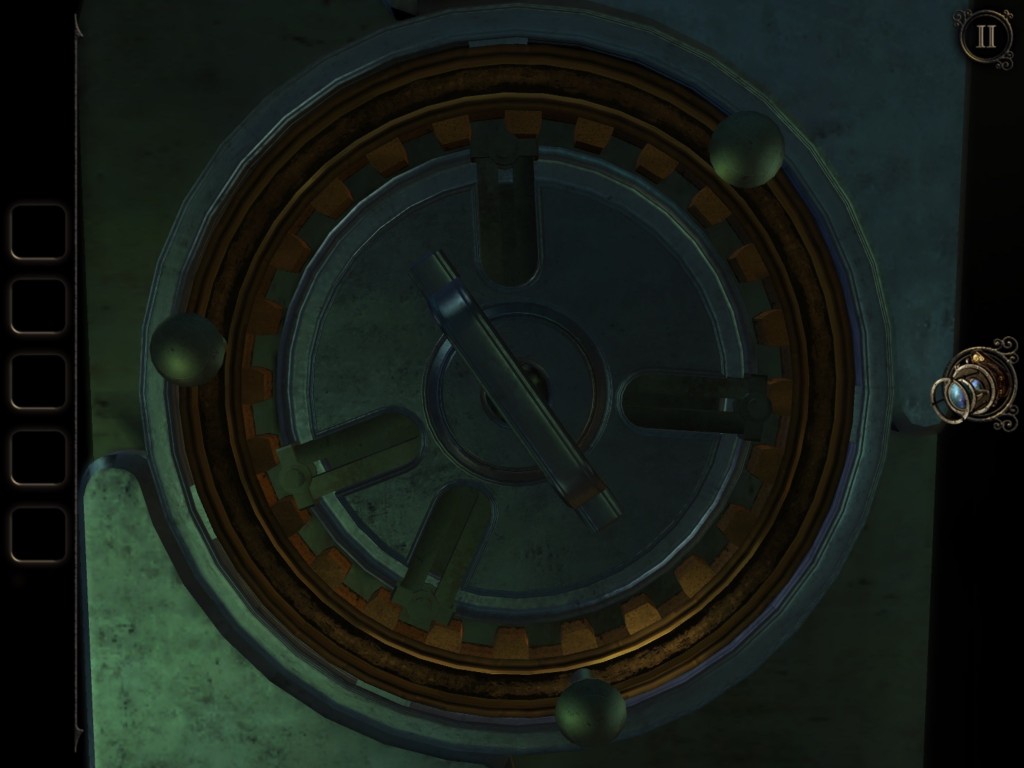
- Turn to the side that has gears on it and place the METAL RING into the assembly. Turn it until you see a square hole, insert the CRANK HANDLE into the square hole and turn the gear.
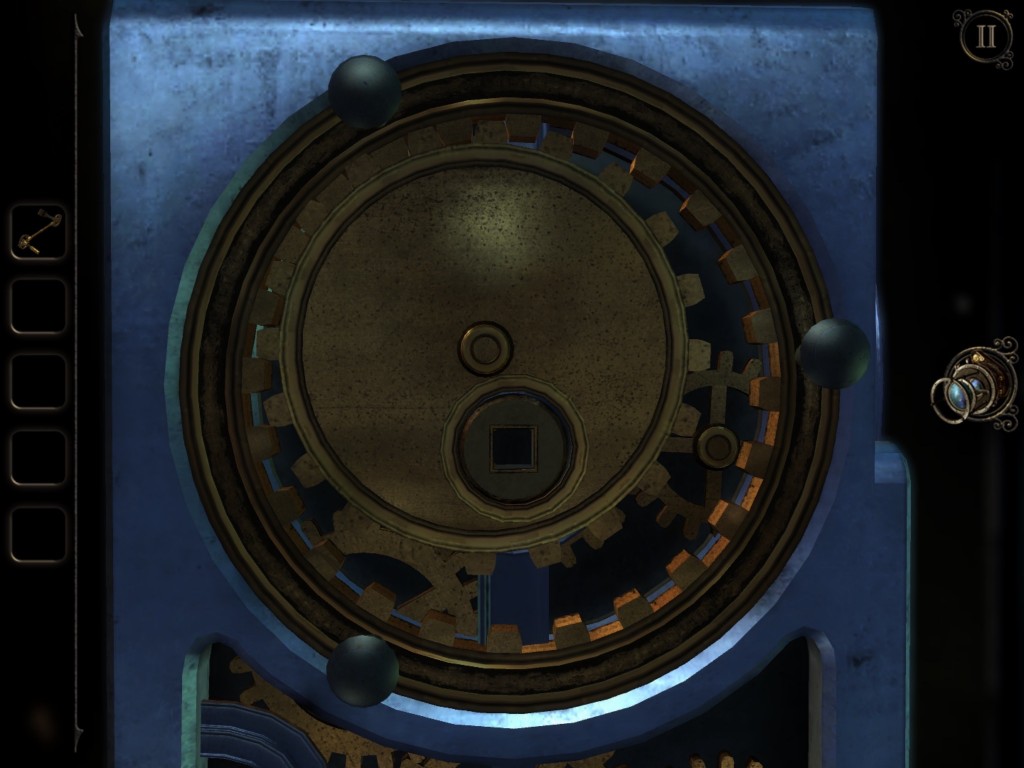
- The top of the box will open, and you’ll see a pattern at the at the bottom when you zoom in.
- Match this pattern at the top with the slider and then slide the left part of the device to the right.
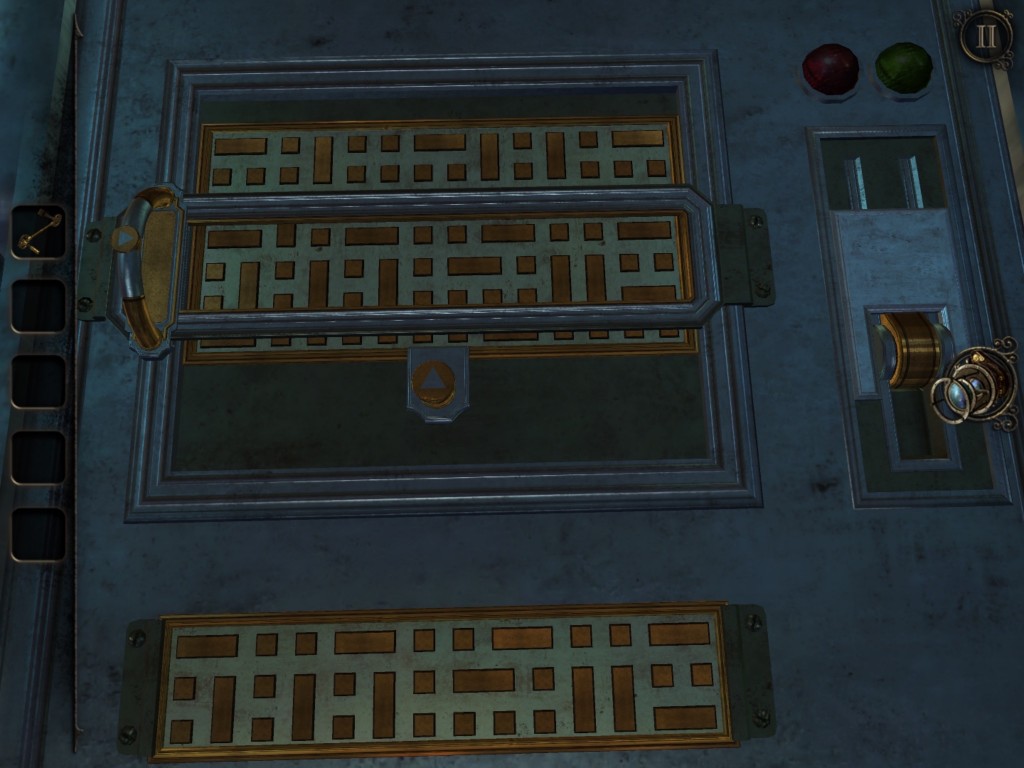
- When you’ve done this correctly, a switch will unlock. Flip it and you’ll be zoomed out of this room.
- Four small metal discs will now be released on the top of the gold box. You’ll have to use the sliders at the bottom of the box to move each of them into one of the circular divots along the edge of the maze.
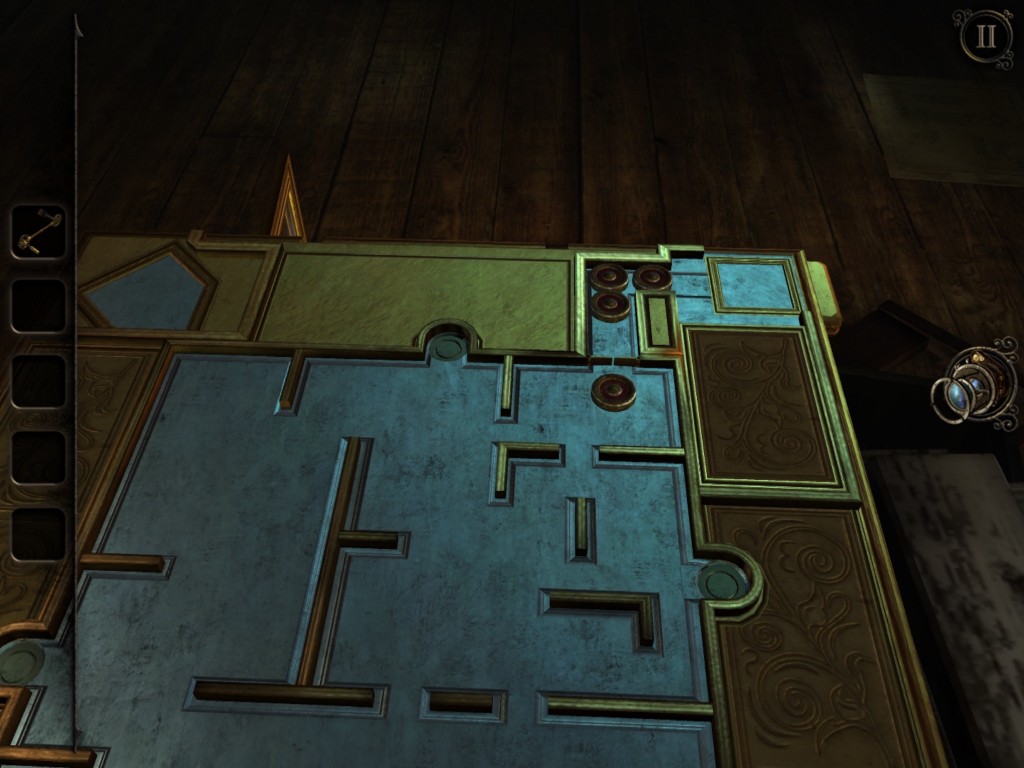
- Once you’ve done this, another small tower will pop out of the top of the gold box. Place your EYEPIECE on and zoom into to for your next puzzle.
- You’ll see a square hole in the panel. Insert your CRANK HANDLE into the hole.
Track and Gear Puzzle
- You’ll notice that when you turn the handle, the gear will move along the track.
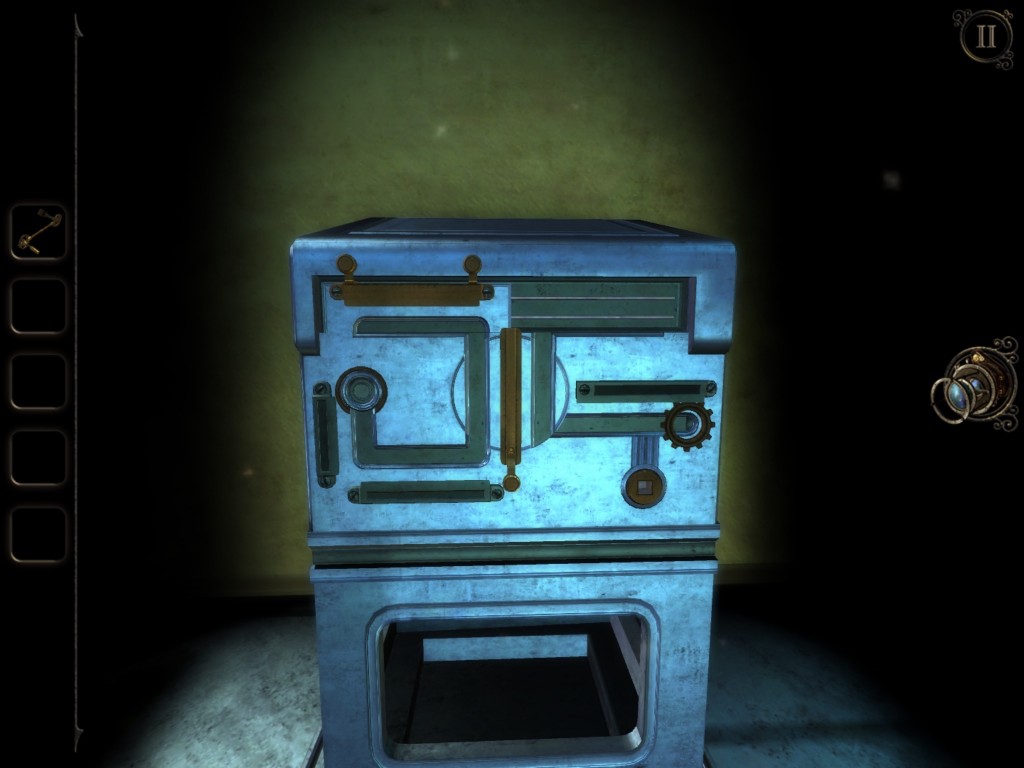
- Turn the middle piece to allow the gear to move onto it.
- Turn it again and move it onto the top-most piece.
- Slide the piece to the left and move to the button on the left to complete the puzzle.
- This puzzle is similar to the one earlier, but a tad more complex. Again, line the slider up so that the pattern inside it matches the plate at the bottom and slide the object from the right to the left, and the switch will unlock.
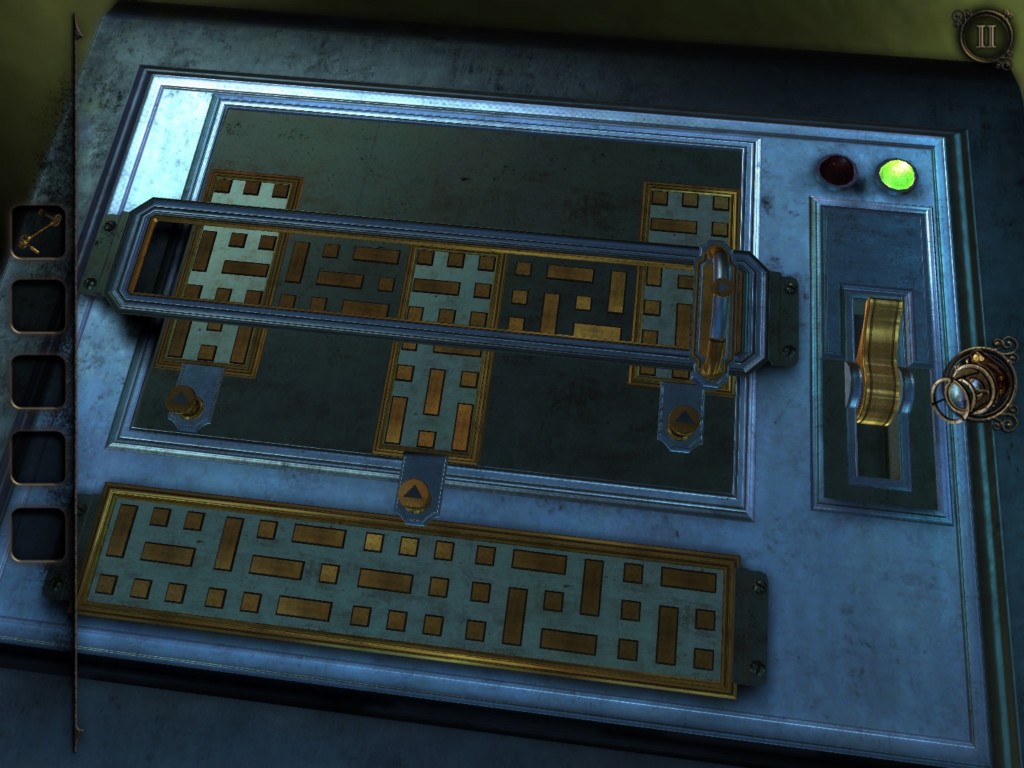
- When you flip the switch, you’ll be able to get the GEAR. You’ll be zoomed out to the main room.
- Zoom out and go across the room and pick up the WHEEL WITH A HANDLE.
- Place the GEAR in the slot near the larger gear and a staircase will descend. Go up it.
- There is a wheel on the wall. Place the WHEEL WITH A HANDLE on it and the bells will toll. A red crystal will shatter, and the bars in front of the painting will unlock.
First Painting Puzzle
- Zoom onto the painting and put on your EYEPIECE. You’ll see that the clock tower is now rotatable.
- The objective is to move the glowing sphere along the path to the end.
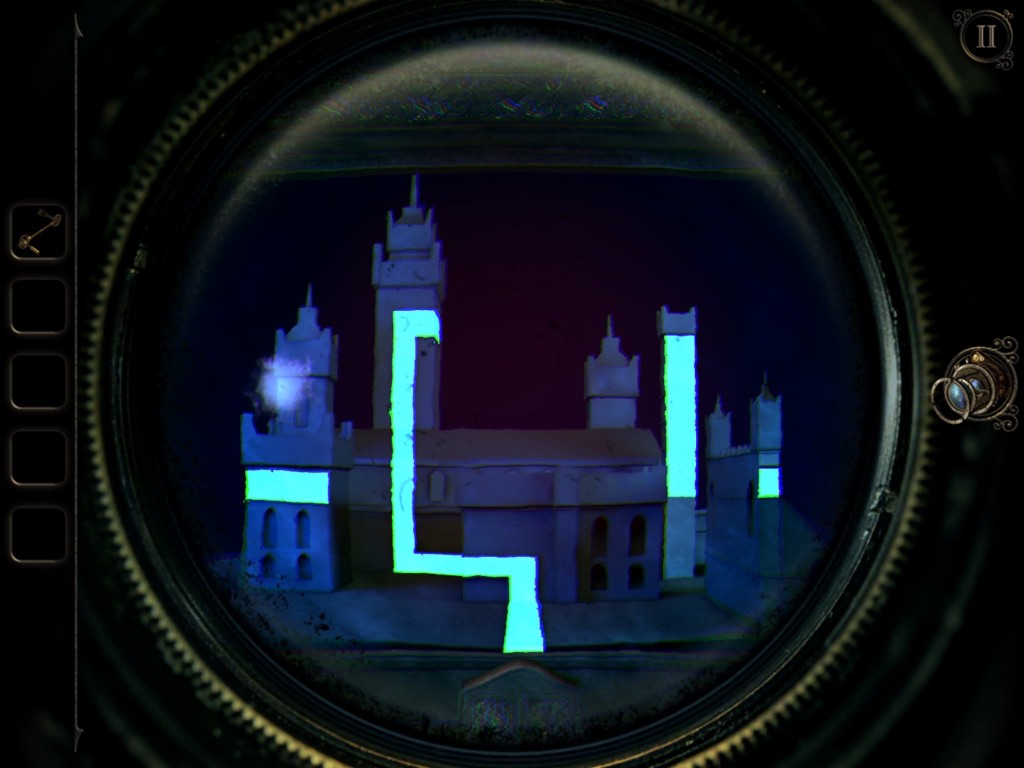
- While the tower is 3D, the path still follows 2D rules. Line the paths up by rotating the tower and move the glowing sphere along it to the end.
- Once you’ve reached the end, a compartment at the bottom of the painting opens, and you can pick up the CLOCK FACE.
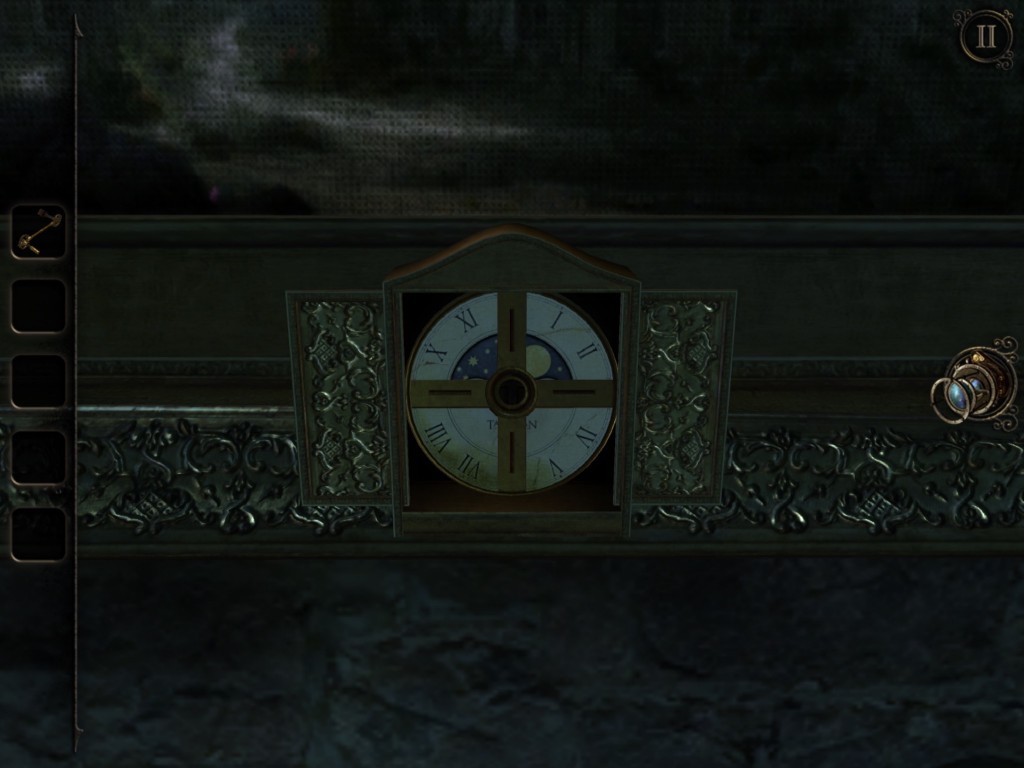
- Go back downstairs to the gold box and place the CLOCK FACE on the circular panel on the side.
- You’ll then be presented with a chess board. The puzzle here is the use the knight on the left to take the pieces on the left.
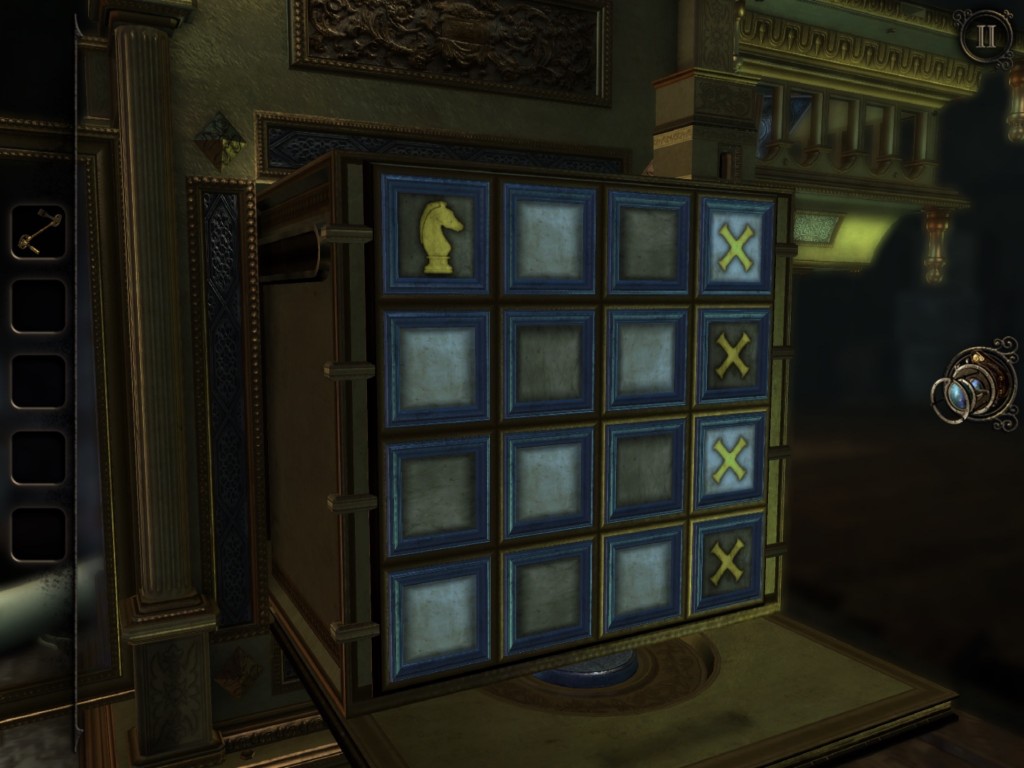
- The Knight moves in an L shape; you can tap on it, and glowing squares will let you know where you can move it.
- Once you’ve taken all four pieces, another tower will rise out of the top of the gold box. Use your EYEPIECE to enter it.
Sliding Object Puzzle
- To open this compartment, you must move all three pieces to the middle circle.
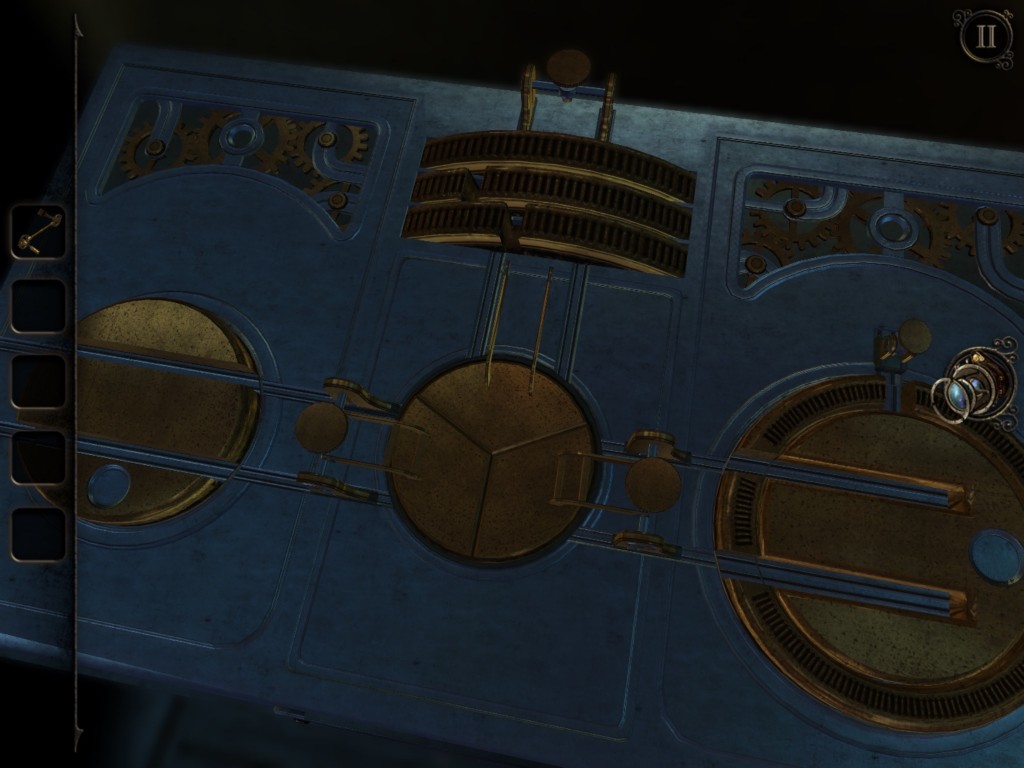
- For the right piece, you have to rotate the circle, so the tracks line up with the center, hold it there with one finger and use the stopper at the top with the other finger to hold it in place. You can then free up one hand to slide the piece to the middle.
- For the top section, you simply have to turn the gears until the slots line up with the track and slide the piece down.
- For the left piece just rotate the circle to line up the tracks and slide the piece to the middle.
- Once all three pieces are in the middle, pull them back and you’ll discover a square socket.
- Place the CRANK HANDLE into the socket and turn it and the top will open.
- Another puzzle in which you have to line the patterns up is in here. This time, you have to rotate the circles to match the pattern at the bottom.
- Once you do this, the switch will be unlocked. Flip it and grab the HANDLE WITH SOCKET and you’ll be zoomed out of the room.
- On the side of the chess puzzle, a compartment will be open. Grab the BALLERINA STATUE from it.
- There is a door without a handle beside the gold box. Use the HANDLE WITH SOCKET on it and open the door.
- Zoom in on the music box. You can open the latch and inside is a WINDING KEY. Take it and look at the right side of the box.
- You can pull the panel to the side here. Once you do look at the space behind the panel with your EYEPIECE. You’ll see a bunch of floating pieces.
- Slide the pieces together to form a circle and a keyhole will appear. Use the WINDING KEY here and turn it to open the top of the box.
Ballerina Puzzle
- Open the lid and you’ll see a ballerina statue.
- You’ll want to get the ballerina to the middle of the box. To do so use the button at the bottom of the box to move the gold stoppers to allow the ballerina to travel along the right path.
- Once she’s there, another holder will appear. Place the BALLERINA STATUE from your inventory in it.
- The same concept applies here. Use the button to control the stoppers to allow the ballerina to make it to the middle of the box.
- Once she makes it there, her back will pop open to reveal a GEM. Take it and zoom out.
Gem and Shadow Puzzle
- There is a panel in the room with gemstones set in it. Use the GEM to fill the empty slot.
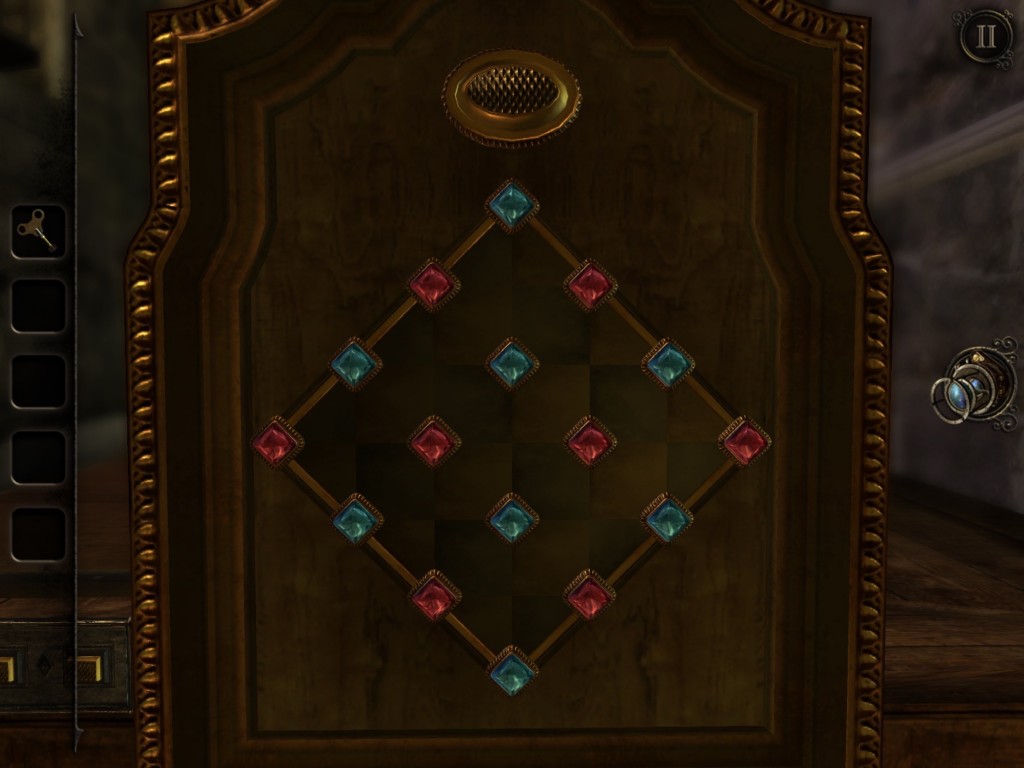
- You’ll see two patterns. Enter one of them (doesn’t matter which) and hit the button at the top of the panel. Do the same with the other pattern and above the panel you’ll see a light shining on some pieces suspended in the air.
- These pieces cast a shadow on the wall. Use the four buttons to arrange the pieces so that a crow shadow is cast on the wall.
- A compartment will unlock, and you can take the KEY WITH A BIRD ON IT.
- Go back upstairs and zoom in on the gray box near the bird cage. Place the KEY WITH A BIRD ON IT into the keyhole and flip the switch inside.
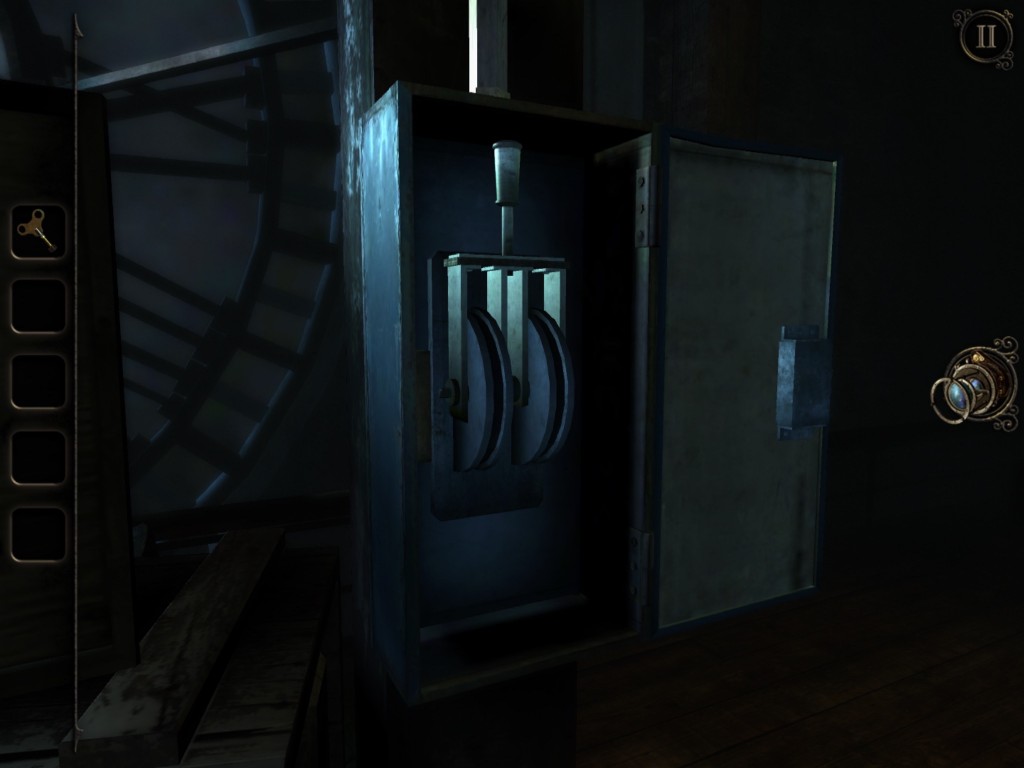
- The birdcage will come crashing down, and the bird will escape and fly upstairs.
- Go upstairs and the bird will fly up onto the bell, and it will ring, releasing the bars on the painting downstairs.
- Go to the painting and once again put on your EYEGLASS. This puzzle is just like the painting from before, so move the glowing sphere in the same manner until it reaches the bottom of the painting.
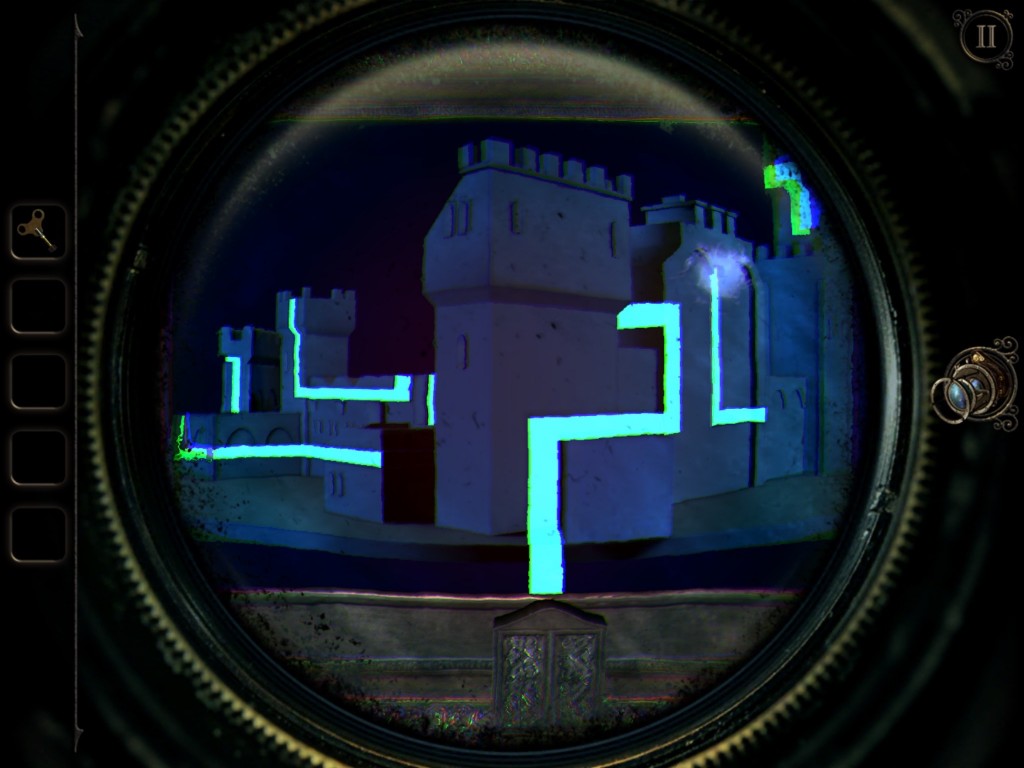
- Once you’ve completed the puzzle, a compartment opens, and you can grab the last piece of the CLOCK FACE. Go back to the gold box and place the CLOCK FACE with the first one and the large bell will ring, breaking the crystal by the PYRAMID inside the lid of the box.
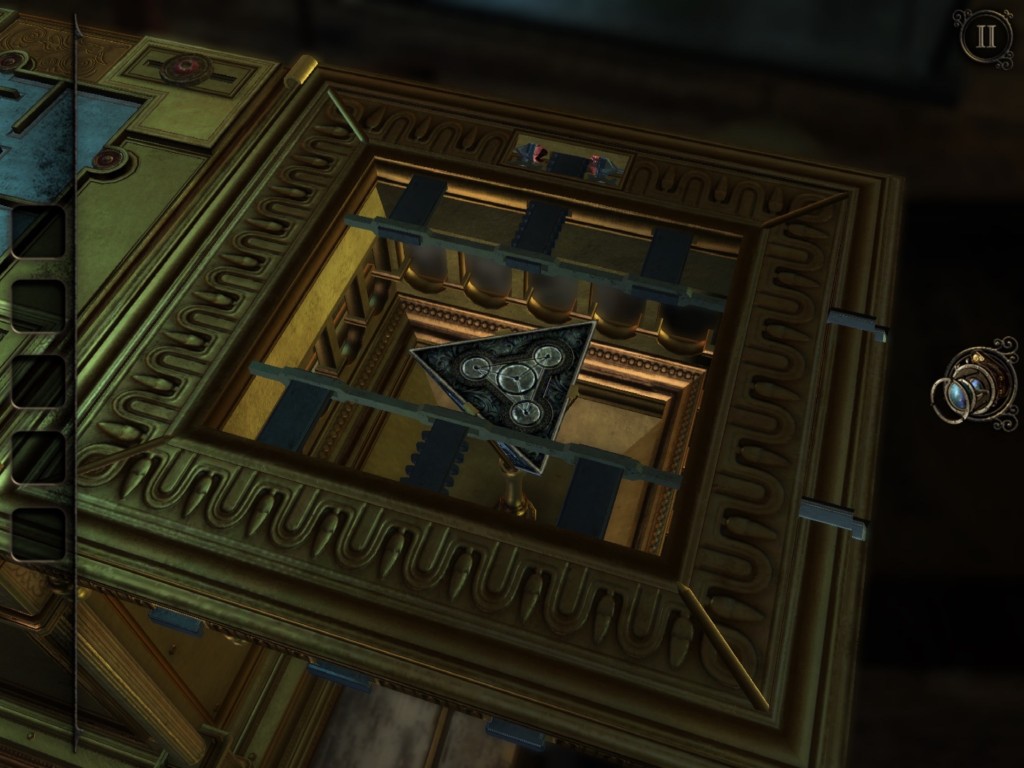
- Take the PYRAMID and the chapter is over!
End of Chapter 3




 How to be the best rider in HorseWorld 3D: My Riding Horse - hints, tips, and tricks
 Battle Academy – Battle for Normandy Walkthrough
 Crusaders Quest Hack for Jewels and Gold - AppGameCheats.com
 100 Pics Colours Answers Levels 1-100
 The Lost Ship: Walkthrough