In Fear I Trust
By: Chillingo
 Download
This is where you’ll be able to find a strategy guide with hints, help and solutions for “In Fear I Trust.” Feel free to ask for help in the comments section if you have any questions.
Looking for our Episode 3 walkthrough?
Looking for the episode 4 walkthrough?
***Before playing, read How to make manual backups for “In Fear I Trust” using iFunbox!***
See our “In Fear I Trust” review here.
Walkthrough:
**HINT: Make sure to use Retrospective Vision (pinch the screen outwards) to find the audio tapes and other clues.
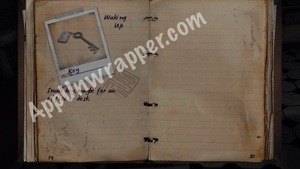
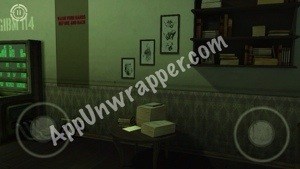
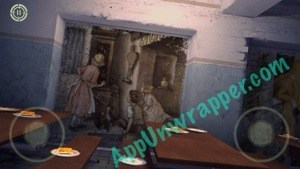
Episode 1: Waking Up
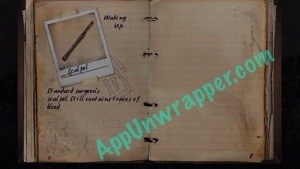
1. Follow the tutorial to get the recorder and wrench.
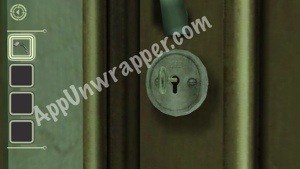
2. Use the wrench to open the locked cell door (drag the wrench to the door while in puzzle mode and turn the wrench).
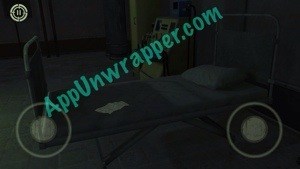
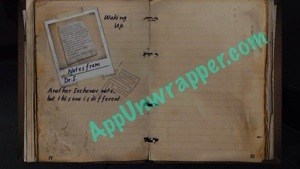
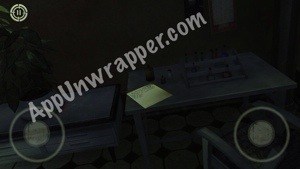
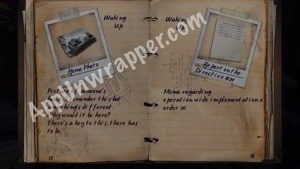
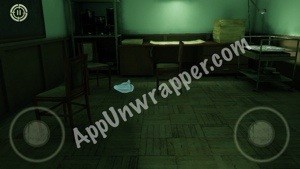
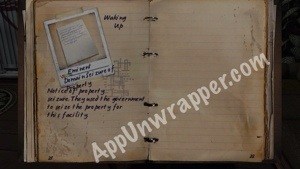
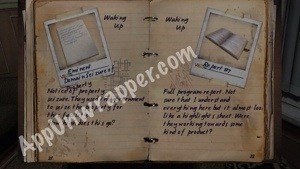
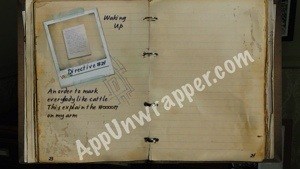
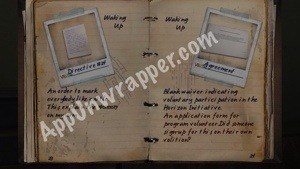
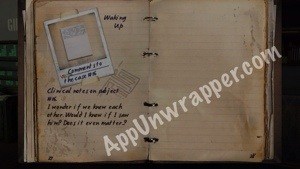
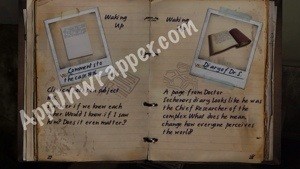
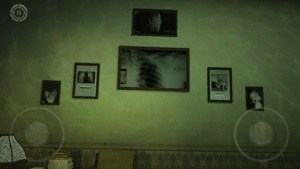
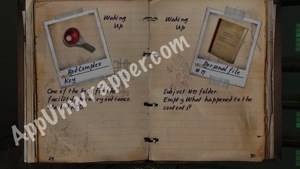
3. Exit the cell. The third cell is unlocked, so go in there and pick up a piece of paper from the bed (“Entries of subject #7”).
4. Leave the cell and go through the open door across from you. Pick up the piece of paper (“Interview with subject #16”).
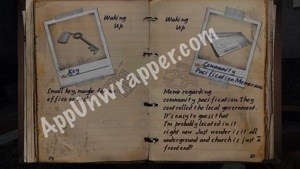
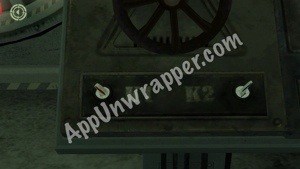
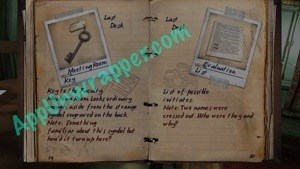
5. Leave the room and go down the stairs. Pick up Key #2 and the “Chief of security’s journal.”
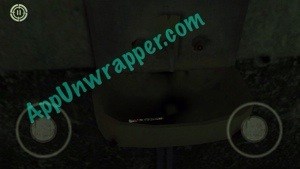
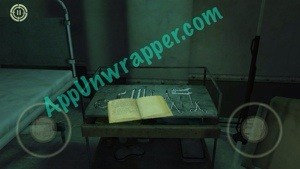
6. Go back upstairs and use Key #2 to unlock the middle cell. Take the scalpel from the sink.
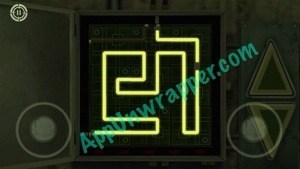
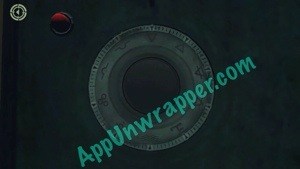
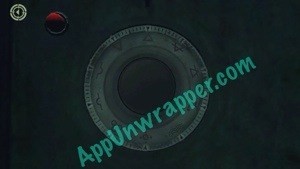
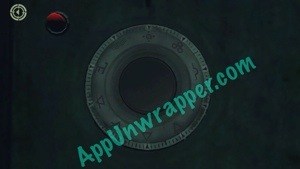
7. Go to the elevator and use the scalpel to open up the control box. Then solve the puzzle to get it to work.
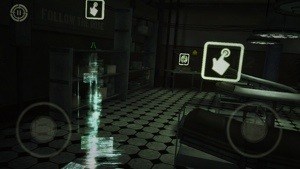
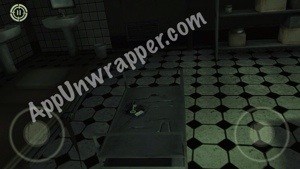
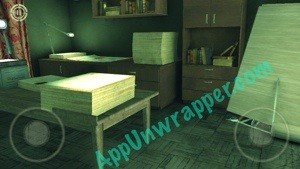
8. Press the down button. When you get out of the elevator, head towards the shelves. Pick up the “List of subjects.”
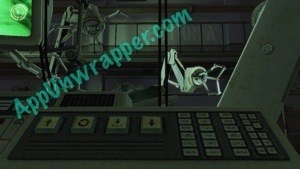
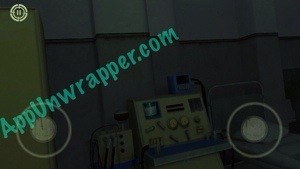
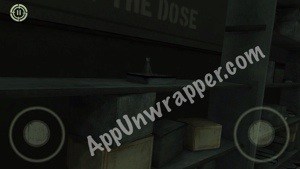
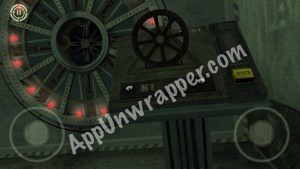
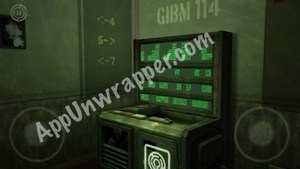
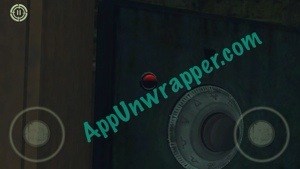
9. Go to the machine near the operating table. Use Retrospective Vision to see the order to press the buttons. Press the reset/circular button (2nd from left). Then press the up button (first from left), down (fourth button), and then the third button. You’ll get a strange metal rod.

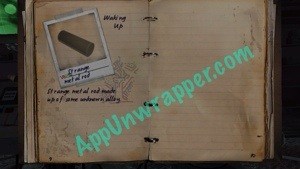
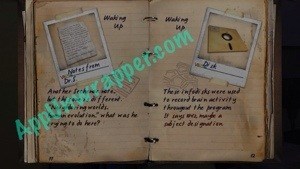
10. Go to the bed by the curtain and pick up the “Diary of Dr. N.”
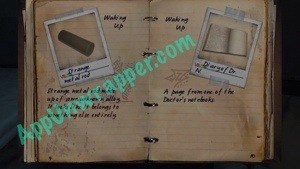
11. Go to the other bed and pick up the “Notes from Dr. S.”
12. Pick up the Disk from the machine nearby.
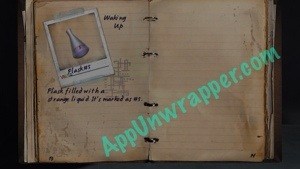
13. Pick up Flask #5 from the shelf.

14. Use Retrospective Vision to find an audio recording in a corner of the room.
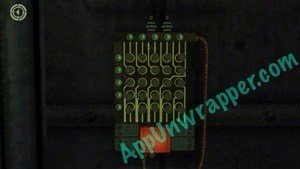
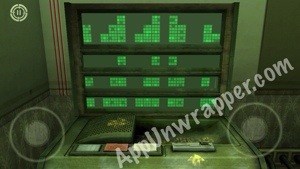
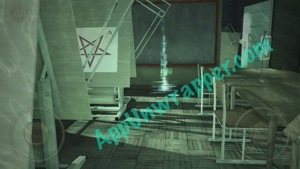
15. At the other end of the room from where you entered, there appears to be another elevator. There’s also a puzzle here. Use the strange metal rod on it. You can pinch your fingers out to see a clue:
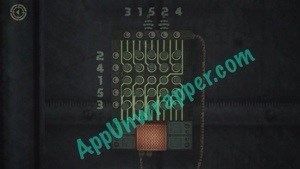
To solve this puzzle, pay attention the the numbers going vertical (down). Ignore the numbers at the top. For each row, press the button that represents the number in front of it.
Like so:
2 (second button in)
4 (fourth button in)
1 (first button)
5 (fifth, or last, button)
3 (third button in)
Press the red button at the bottom and all the lights should turn green. Then double-tap on the door to open it.

16. You’re in a new room. Use Retrospective Vision to find another audio tape. On the shelf to the left, pick up Flask #2.
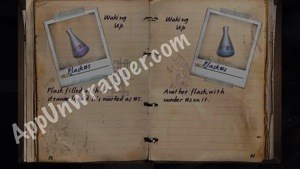
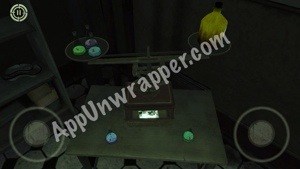
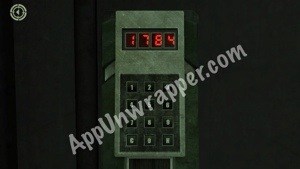
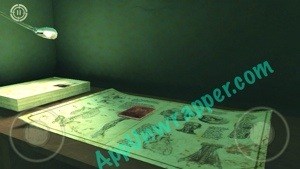
17. Go to the table with the scales and other flasks on it. Tap it and all five flasks will be available to you on the table. Place flasks 5, 4, and 2 on the scales and you’ll get a photo of a house. Turn the photo around to see the number “1784”. Then watch a brief cutscene.
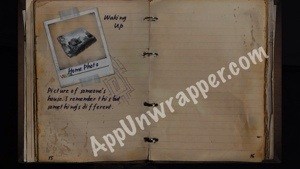

18. Pick up the “Report on Directive #24” from the desk.
19. Pick up the “Page from Diary of Dr. S.” from behind the curtain.

20. Pick up the “Report: State of Mind” from the shelf.
21. Pick up the Key from the table.
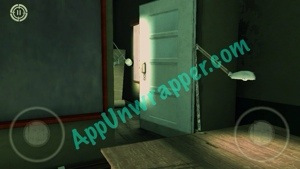
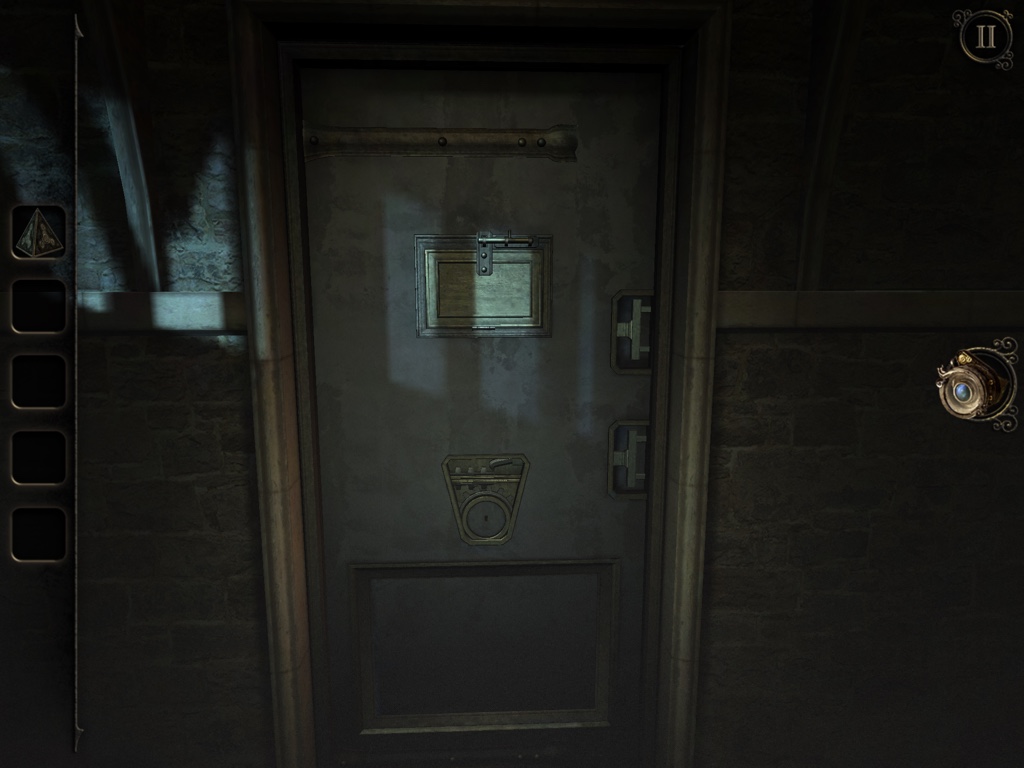
22. Head to the door with the keypad on it and enter the numbers from the back of the photo. Then press “K” to unlock the door. Go through.
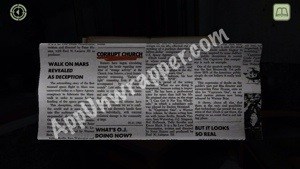
23. Use Retrospective Vision to see some writing on the wall. Then continue to the next room. There’s a puzzle here but we need a specific key to activate it. We’ll come back later. Pick up the newspaper from the desk (Community Pacification Memo).
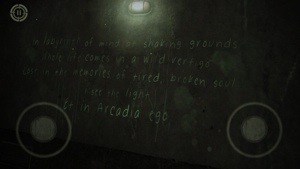
24. Near the circular puzzle, use Retrospective Vision to get another voice recording.
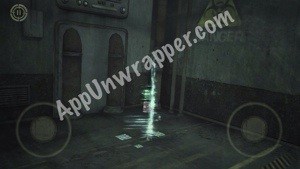
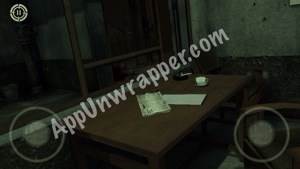
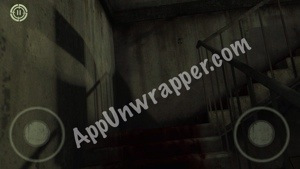
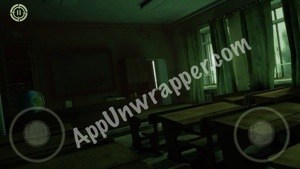
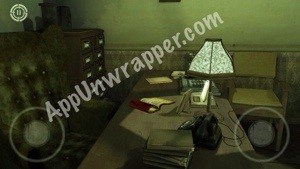
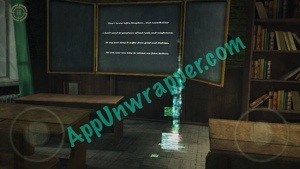
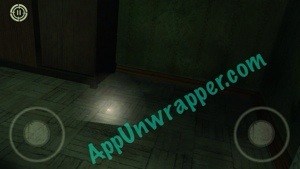
25. Go back and up the stairs. Go through the door. You’ll first see a study, but then be transported to a classroom. Find the white object on the floor and tap it to go back to the study.

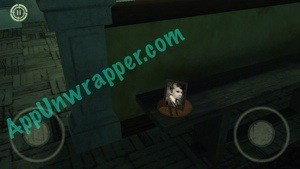
(If you head to the back while you still hear the voice, you’ll be able to see this ghost-like apparition before he drops the white object
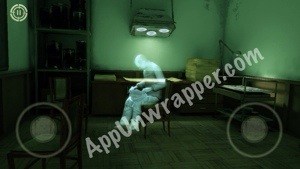 )
)
26. Use Retrospective Vision to find another voice recording.
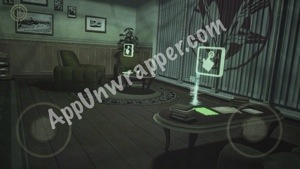
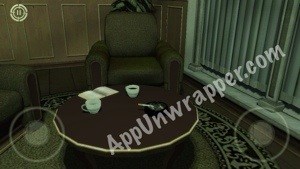
27. Pick up the “Eminent Domain Seizure of Property” from the coffee table.
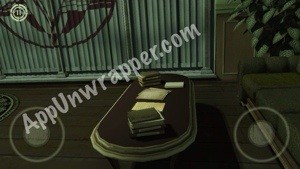
28. Pick up “Report #7” from the other coffee table.
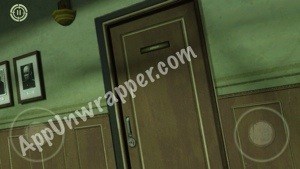
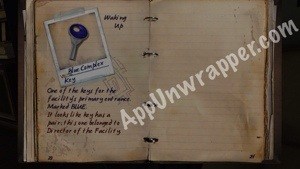
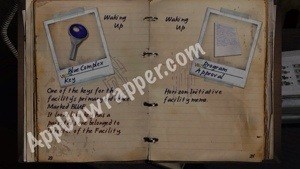
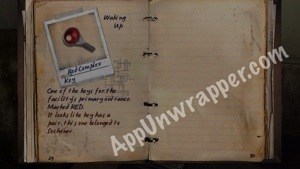
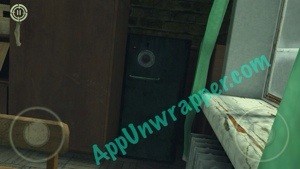
29. There are two close doors in the room. The one to the right is unlocked. Go through and pick up the Blue Complex Key from the table.
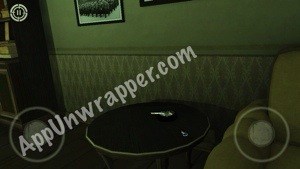
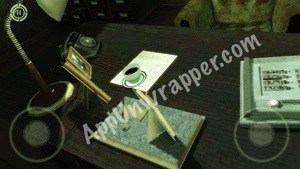
30. Pick up the “Program Approval” from the desk.
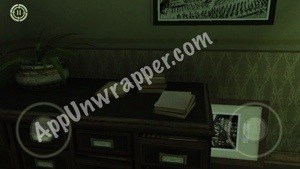
31. Pick up the “Directive #24” from behind the desk.
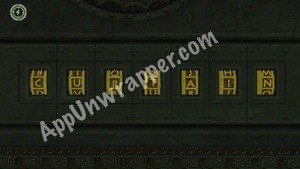
32. Use Retrospective Vision to look around the room and notice the writing on the walls. There’s one word that’s repeated: “CURTAIN”. Go to the combination lock for the safe in the wall. Spell out CURTAIN and you’ll get the “Agreement.”

32. Leave that room and go to the left door that’s locked. Use the Key to unlock the door and enter the room.

33. Pick up “Comments to the Case #16” from the table, then watch the cutscene.
34. Pick up the “Diary of Dr. S.” and the Red Complex Key from the desk.
35. Use the Retrospective Vision to see the clues on the wall near the puzzle in the room. Also put the disk in the computer to activate it.
36. Also notice that some photos change with Retrospective Vision:
37. Match the bottom three strips to the top part, using the numbers and arrows as guides. It should look like this:
38. Press the red button and you’ll get “Personal File #17.”
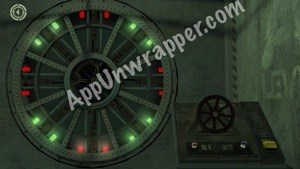
39. Go back downstairs the the big combination lock on the wall. You now have both Complex Keys, so place them in the slots.
40. Use the Retrospective Vision to see the hint on the floor.
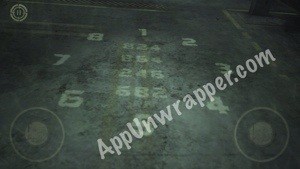
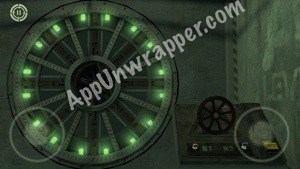
41. There are four sets of three numbers. Start with the first one, 824, and set the big wheel to those three numbers. Then press the yellow button to turn the lights green.
42. Continue with the rest of the even numbers as shown on the floor (864, 246, 682). You should now have the four even numbers all green.
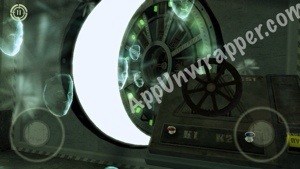
43. Now, using the same pattern, work on the odd numbers. It goes 713, 753, 135, 571. Now all the lights should be green and the vault will open. On to episode 2!
If you liked this game, try these other adventure and escape games, especially “Forever Lost” and “Murder Room.”
Yay! I started over and so far haven’t crashed. I’m starting episode 2 now. I suggest using iFunbox to back up your data every once in a while.
Click on the little numbers below to go to Episode 2!
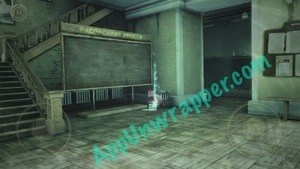
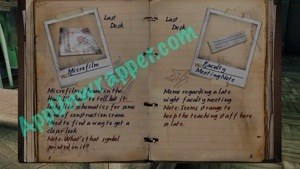
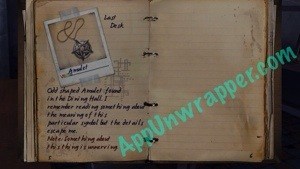
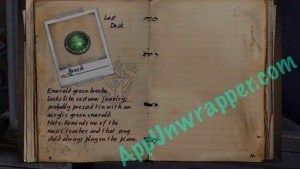
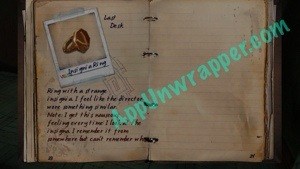
Episode 2: Last Desk
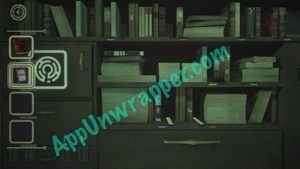
1. You’re now in the school. Use Retrospective Vision to get another audio recording.
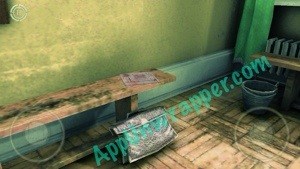
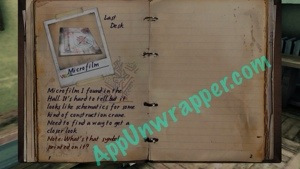
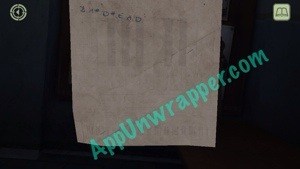
2. Pick up the Microfilm from the bench.
3. Pick up the “Faculty Meeting Note” from near the coats.

(Ok, seriously. Use iFunbox. I was in episode 2, picked up some items, closed the game and came back in episode 1 again.)
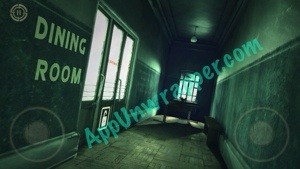
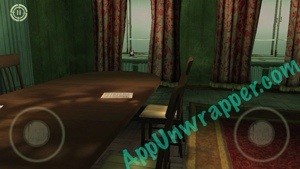
4. Go through the left doorway and into the dining room.
5. Use Retrospective Vision and pick up another voice recording.
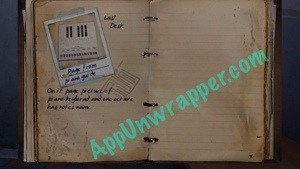
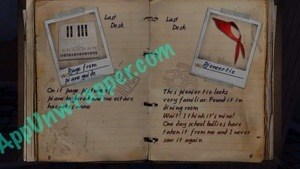
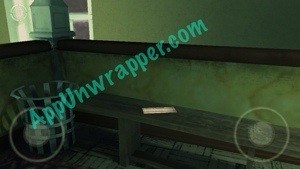
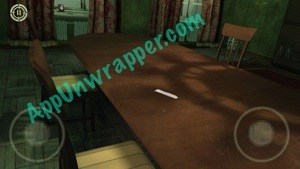
6. Pick up the “Page from piano guide” from one of the tables. Make sure to look at both the back and front of it.

7. Pick up the Pioneer Tie from a bench.
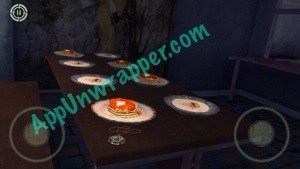
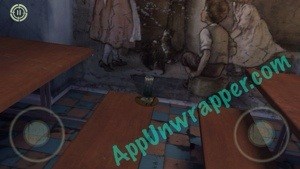
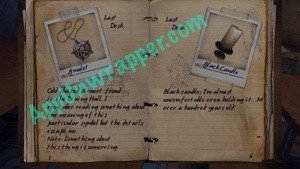
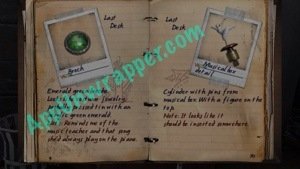
8. Pick up the Amulet from the table covered with food.
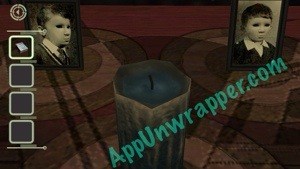
9. Pick up the Black Candle from one of the benches. Notice the bottom of it. Could be a clue?
10. Use Retrospective Vision on one of the murals and it changes. I’m not sure if this is relevant to anything.

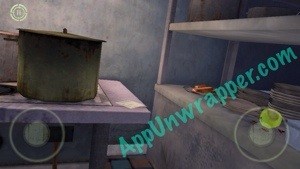
11. Go behind the counter into the kitchen and pick up the Basement Key.


12. Pick up the “RZ Instructions.”

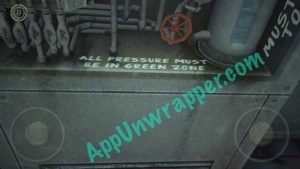
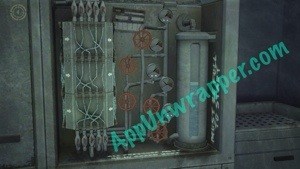
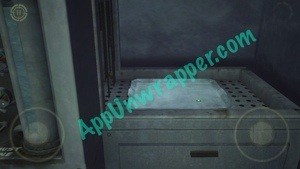
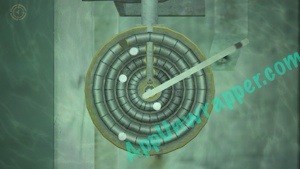
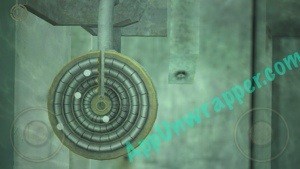
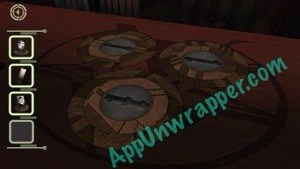
13. Turn around. There’s a puzzle here that’s relatively simple to solve. Use Retrospective Vision (RV) to get some info on it. Then turn the three rotating pieces that look like wires/tubes until the top ones lead to the bottom ones (use the letters as guides). The game will let you know when you’ve got it. Then you need to fill the tube to the right with water. Using RV, notice the two dots on three of the dials next to it. Tap each of those three dials twice in order to fill the tube. A tray will come out the right side and you’ll get a Broch (brooch?).

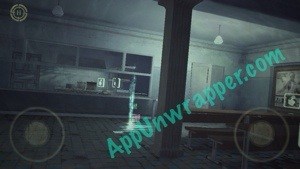
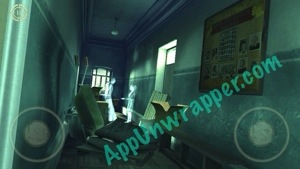
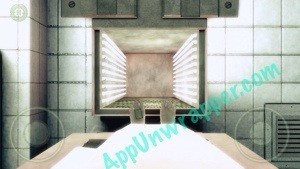
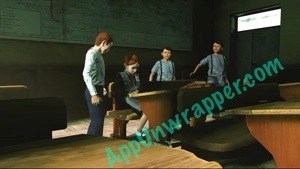
14. Now head back into the hallway. You’ll see some apparitions talking and then you’ll have a memory/cutscene. Are you being cremated here?? Very weird.
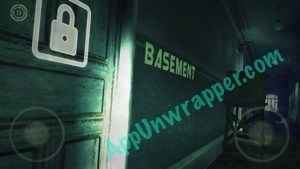
15. Go back across to the other hallway and open the basement door with the Basement Key.
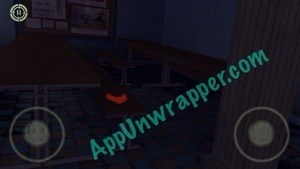
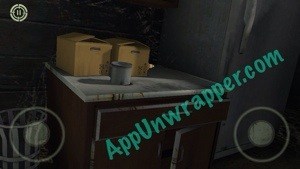
16. Go downstairs and pick up the Musical Box Detail. It’s a ballerina, and it’s hidden behind a box.
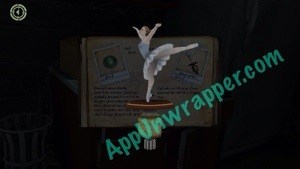
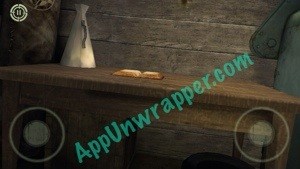
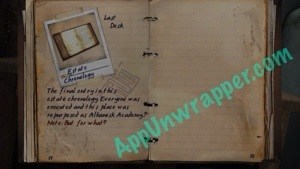
17. Go to the other table (is it just me or are we suddenly really short? Is the table really big? Is this Alice in Wonderland?) and pick up the “Estate Chronology.”
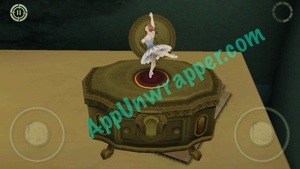
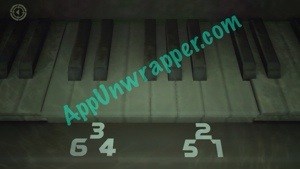
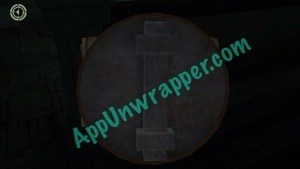
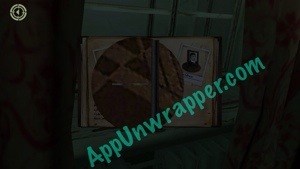
18. Go back upstairs. Near the entrance to the school, there’s a piano. Place the Musical Box Detail (ballerina) in the slot above the piano. Then use RV to see which keys to press on the piano. The top numbers represent the black keys and the bottom numbers represent the white keys. Don’t overthink it. Just press the keys right above the numbers in that order.
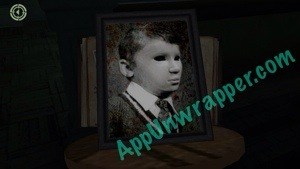
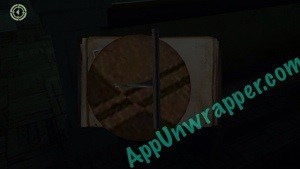
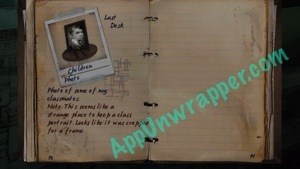
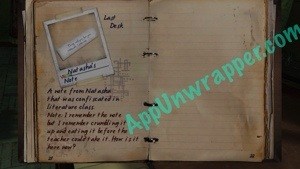
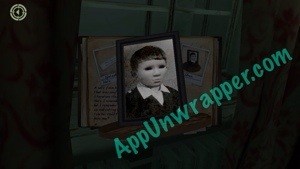
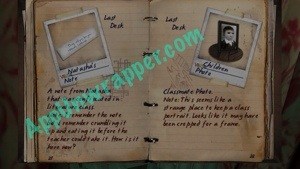
19. Go up the stairs. Walk around and pick up the “Newspaper article” and “Children Photo” from the benches. Notice the shape on the bottom of the photo and the pattern on the stand. They may be of importance.

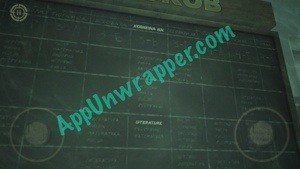
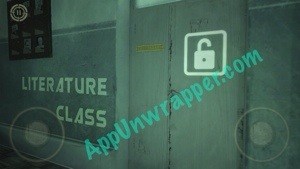
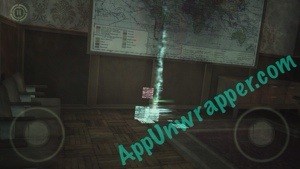
20. Use RV on the blackboard to see the word “LITERATURE” light up. Enter the Literature Class.
21. Pick up the bobby pin.
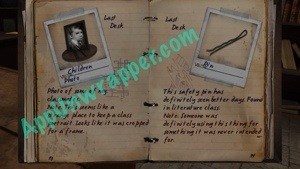
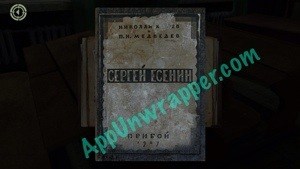
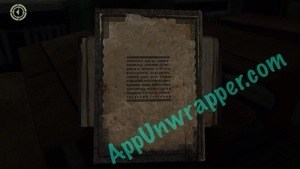
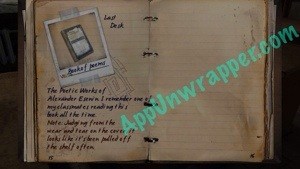
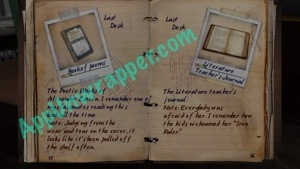
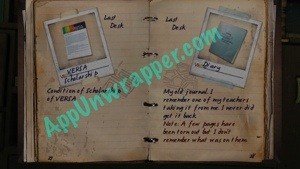
22. Pick up the “Book of poems.”

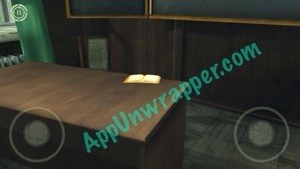
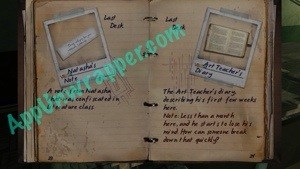
23. Pick up the “Literature Teacher’s Journal.”
24. Use RV to pick up another voice recording.
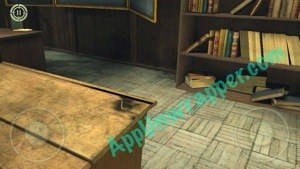
25. Notice the safe in the corner. This is a puzzle we’ll come back to later.
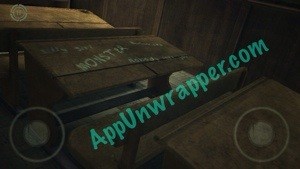
26. Use RV to look at the desks and get closer to the one with writing on it. Watch the cutscene.
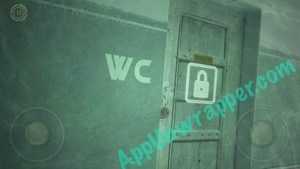
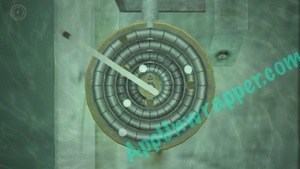
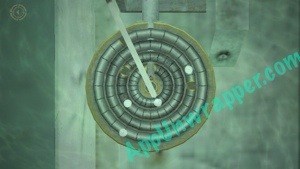
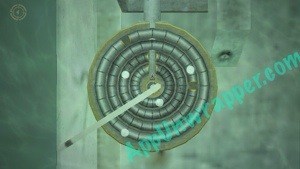
27. Leave the classroom and find the Wash Closet (WC). Use the pin on the lock. Use RV to see the clues. Turn the pin to each of those dots and hold it there until each dial spins so they all line up. When you get them all lined up, you’ll be in the bathroom.
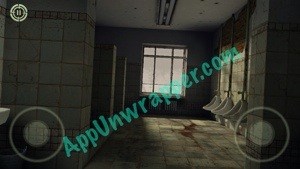
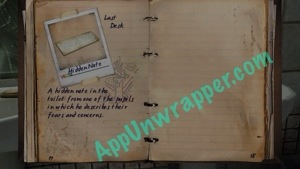
28. Pick up the “Hidden note” from the sink.

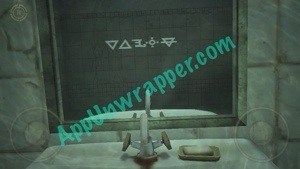
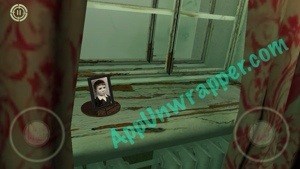
29. Use RV to see the hidden symbols in the reflection in the mirror.
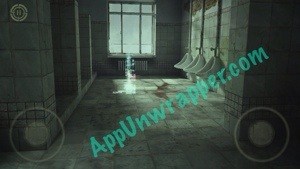
30. Head deeper into the bathroom and turn on RV to pick up another audio recording.
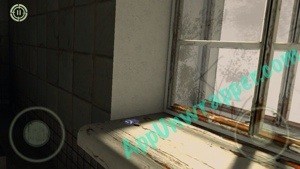
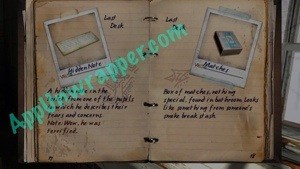
31. Pick up the box of matches on the window sill.
32. Go back to the Literature Class and crack the safe using the symbols from the bathroom. Just go right, left, right, left. The first symbol is already selected for you. The safe will automatically open once you’ve turned it to all for symbols. You’ll get the Meeting Room Key (Teacher’s Office key).

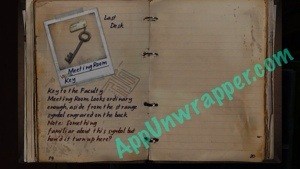
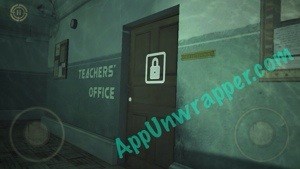
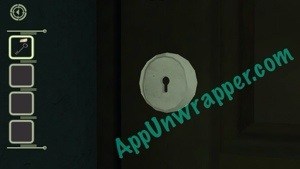
33. Go to the Teacher’s Office and use the key to unlock the door.
34. Use RV to find another voice recording.
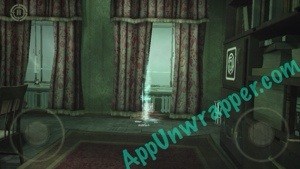
35. Pick up the “Evaluation List” and “Natasha’s Note” from the table.
36. A creepy cutscene will start.

37. Pick up the “Children Photo” on the window sill.
38. Pick up the Insignia Ring from the floor.
39. We’re missing one of the books needed for the puzzle in the room, but feel free to use RV to take a look at some clues on the bookshelves.

40. Go to the Principal’s Office. The Insignia Ring unlocks the door. Using RV, you can see a dot at the bottom. First, turn the ring to the right and stop the red piece at the bottom by the dot. Then turn it back to the left and come back to the dot. The door should open.
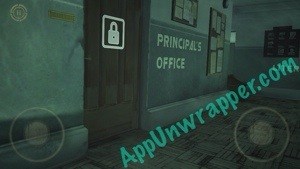

41. You’re now in the Principal’s Office. Use RV to pick up another voice recording.
WARNING: If you solve the desk puzzle in this room, the game will end before you completed everything! I don’t know why they did this, but don’t solve this puzzle yet if you didn’t solve the puzzle in the Teachers’ Room!
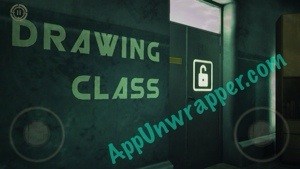
42. Leave the Principal’s Office and go back downstairs. Take a right and find the Drawing Class. Go inside and pick up the “Art Teacher’s Diary.”
43. Use RV to pick up another voice recording.
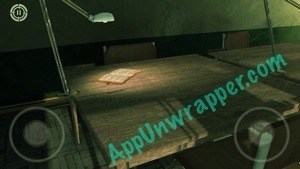
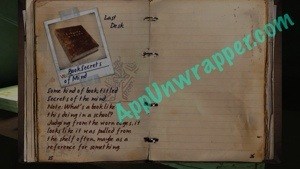
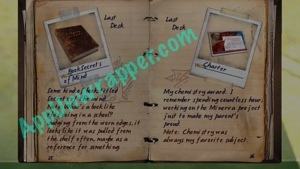
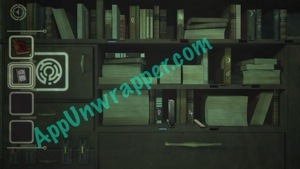
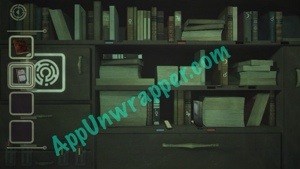
44. Go through the door in front of the room. A book will fall from the shelf. Pick it up. It’s called “Book Secrets of the Mind.”
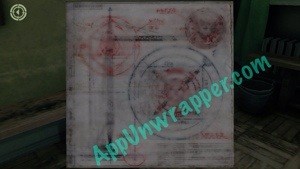
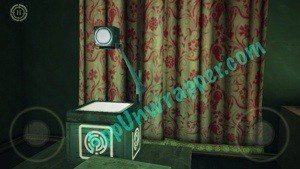
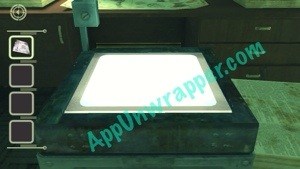
45. Go to the projector. It’s a puzzle. Place the Microfilm onto the projector. Use RV to see where to move the left and right controls to make the projection clear. Make sure to keep RV on when you take a closer look at the projection.
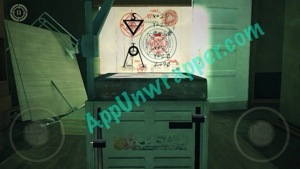
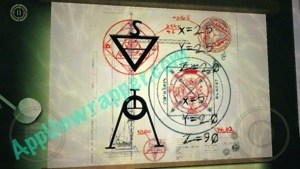
46. Go back to the main Drawing Class and notice the two symbols on the easels.

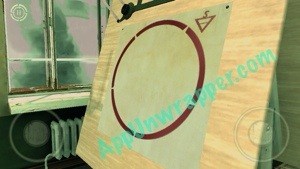
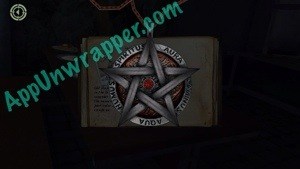
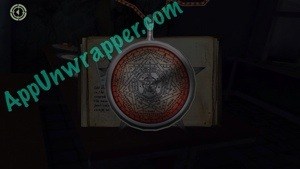
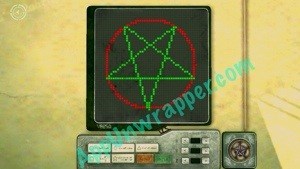
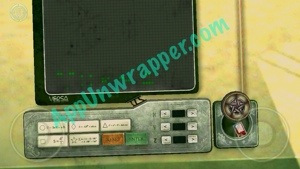
47. Turn around to the puzzle in the room. Place the Amulet in the slot. Focus here on the star and circle. First press the “star” button. Then use the X, Y & Z buttons to make it match the one on the easel and projector, both in shape, size and rotation. Then press the “circle” button and make it slightly smaller so it touches the corners of the star. Press “ENTER” and you’ll get the “Charter.”
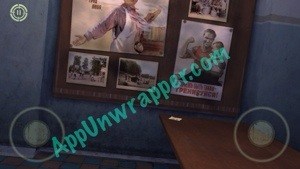
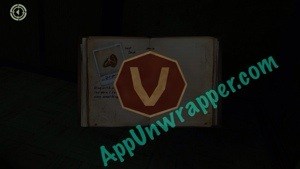
48. Leave the room and go back to the entranceway. There’s an item we missed on the bulletin board. Pick up the “Versa Scholarship.”

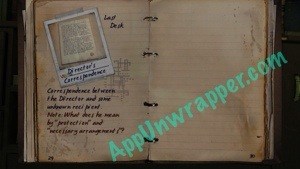
49. Now go back up the the Teacher’s Office so we can solve the bookshelf puzzle. Use the RV on the bookshelves and drag the two books to matching symbols. If you get it right, the colors that light up underneath them will match. If you make a mistake, you have to start over. When you complete the puzzle, you’ll get the Diary and “Director’s Correspondence.”

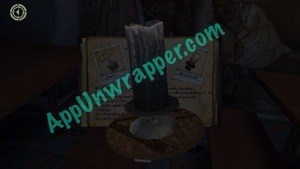
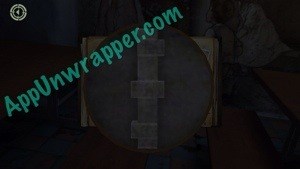
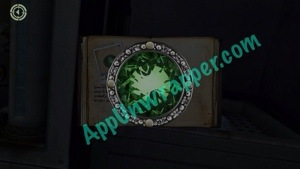
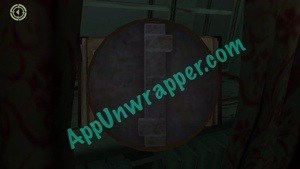
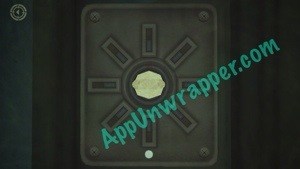
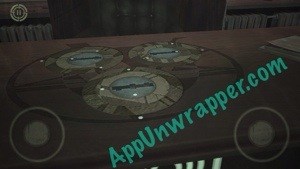
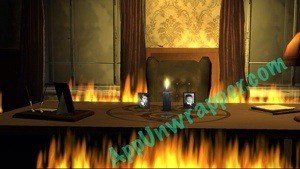
50. Now you’re ready for the last puzzle! Go back to the Principal’s Office and put the two photos and the candle into the slots on the desk. Rotate the disks so they all complete the design. Then light the candle with the matches and watch the end of episode 2.


Congratulations! You completed Episode 2! If you found this guide helpful, please share it. Then continue to the Episode 3 walkthrough.
***Game save keep getting corrupted? Read How to make manual backups for “In Fear I Trust” using iFunbox!***
If you liked this game, try Hellraid: The Escape, Cabin Escape: Alice’s Story and these other escape games and adventure games.


 The Room 3 walkthrough - complete puzzle guide for Chapter 1 and 2
 EmojiNation Level 1-100 Answers and Solutions
 Genius Quiz Answers All Questions
 Guess The Emoji Movies Answers All Levels
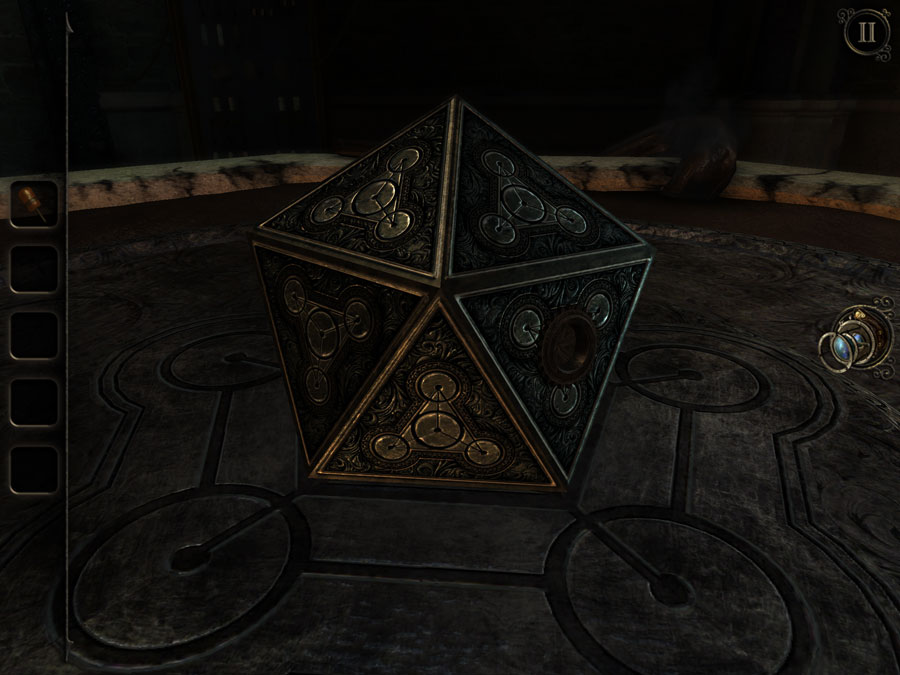 The Room 3 walkthrough - The Release Ending