The Room 3 - The Complete Walkthrough
Chapter 1 + 2 - The Lighthouse | Chapter 3 - The Clock Tower
Chapter 4 - The Workshop | Chapter 5 - The Observatory
Ending 1 - Imprisoned | Ending 2 - Escape
Ending 3 - Release | Ending 4 - Lost
The Room 3 is here. Mobile gaming's premiere box-stroking puzzle game finally has a third installment, and it's a beauty. It's big, bold, and full of keys to fondle in your fingers.
It can also be quite tricky, with complicated puzzles that require more than a few brain cells to work out. So, with that in mind, we've put together a complete walkthrough to the game to help you out.
Don't say we never do anything nice for you.
This first guide will help you tackle chapter one, which takes place in a crypt. And chapter two, which takes place in a lighthouse. That explains the diving helmet. We've skipped the tutorial at the very beginning.
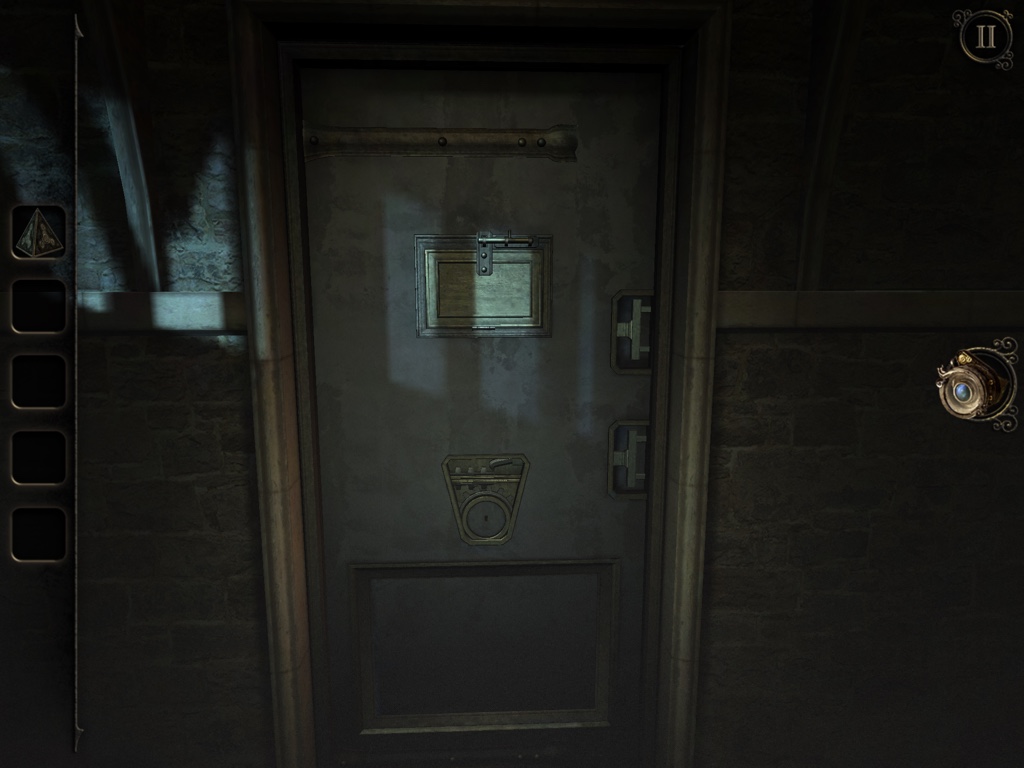
Investigate the panel on the door. Slide open the latch and look inside.
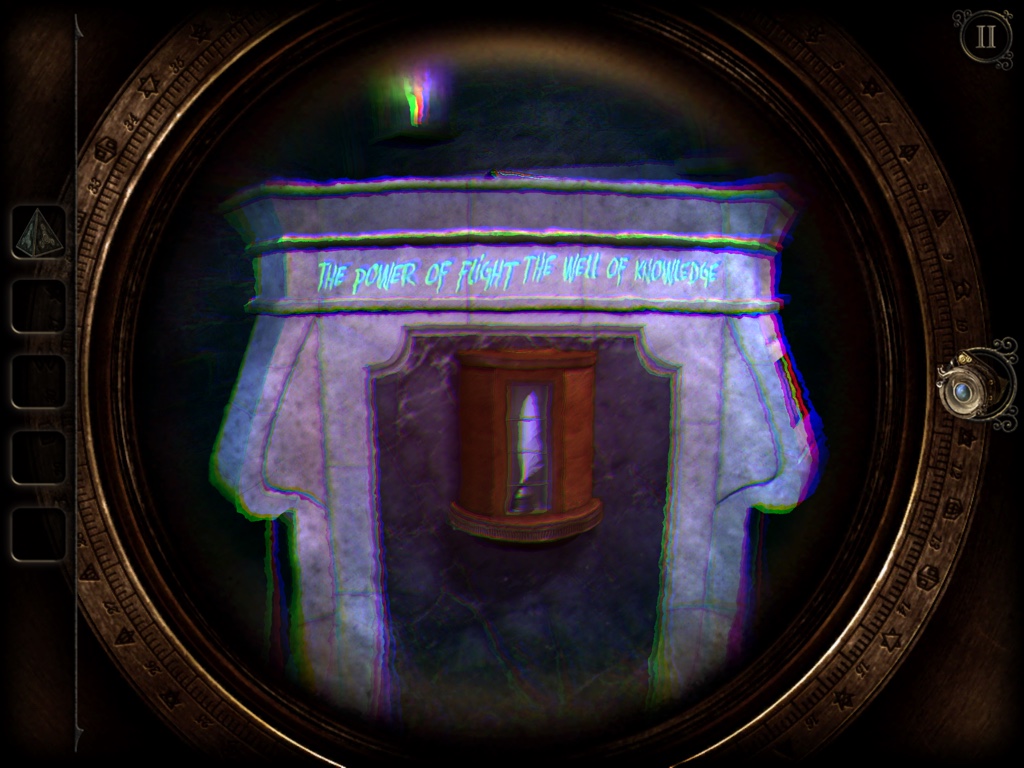
You can now access this podium. Look through your eyepiece to see three messages. Then swivel the circular windows to find the item that solves the riddle. Here are the solutions:
The power of flight, the well of knowledge - feather
The poor have me, the rich need me - nothing
My face is silent without my hands - watch
You'll get an ornate box for your troubles
Look at the box in your inventory. Spin the dial in the front latch to unlock the box and take out the lens. This will be attached to your eyepiece and let you look inside the nearby keyhole.
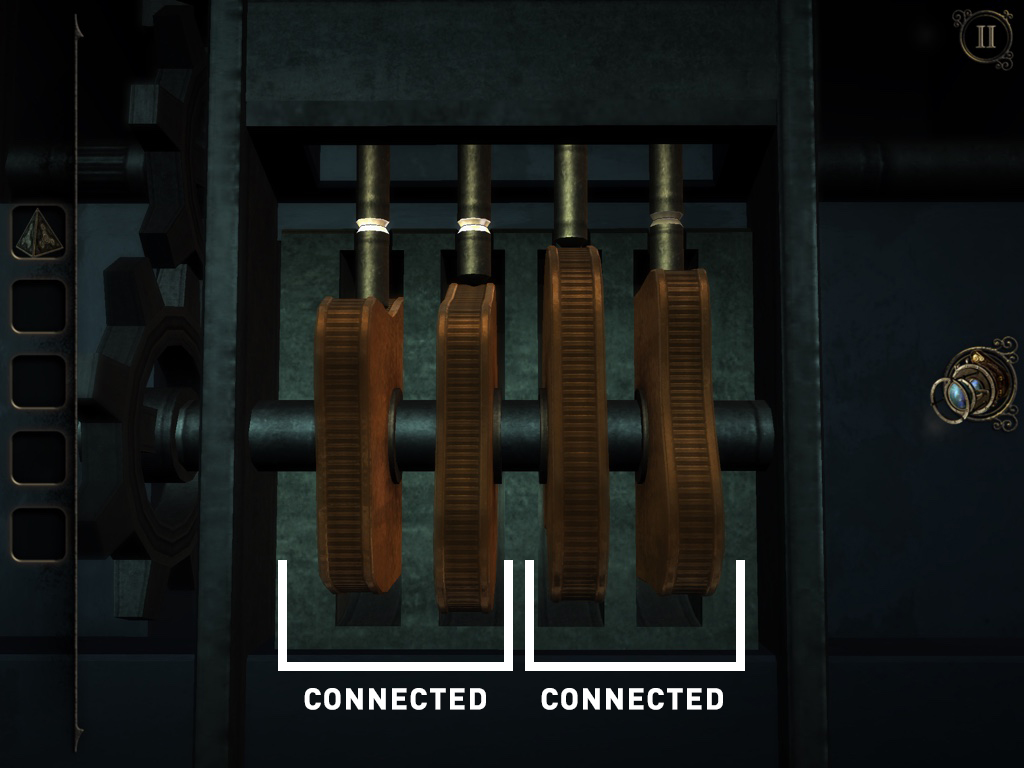
Spin the dials until all three tumblers glow. You just need to spin one of the two left dials until both left tumblers glow, and the same for the right.
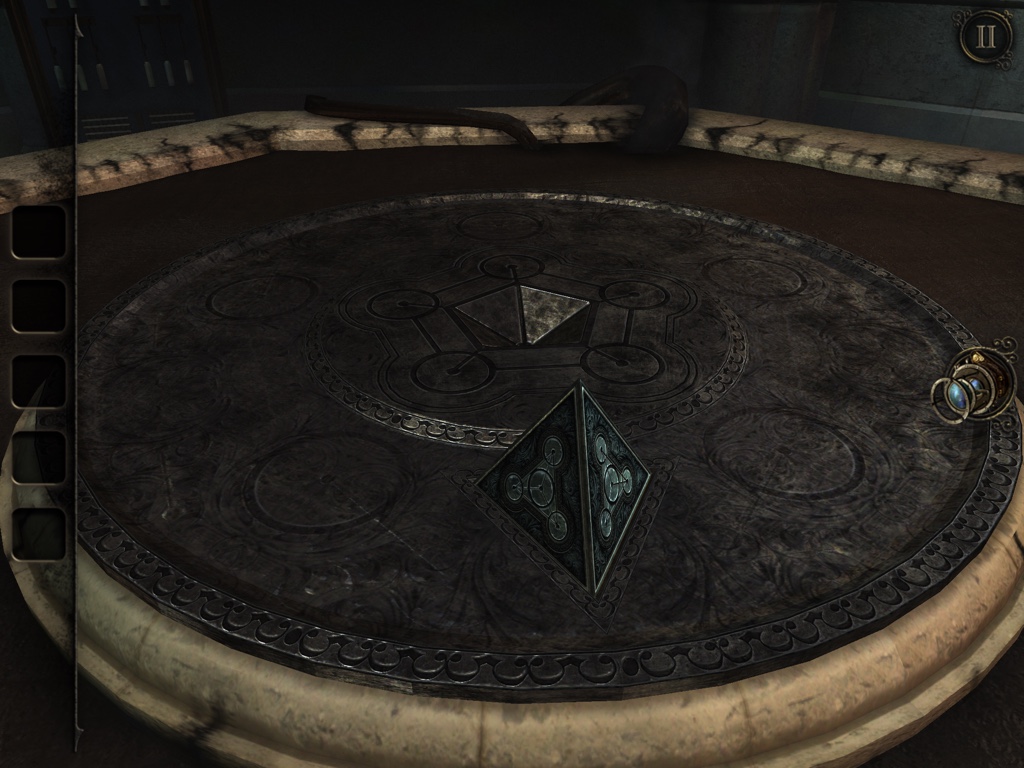
Inside, place the pyramid on the triangular shape on the table. You'll get an emblem.
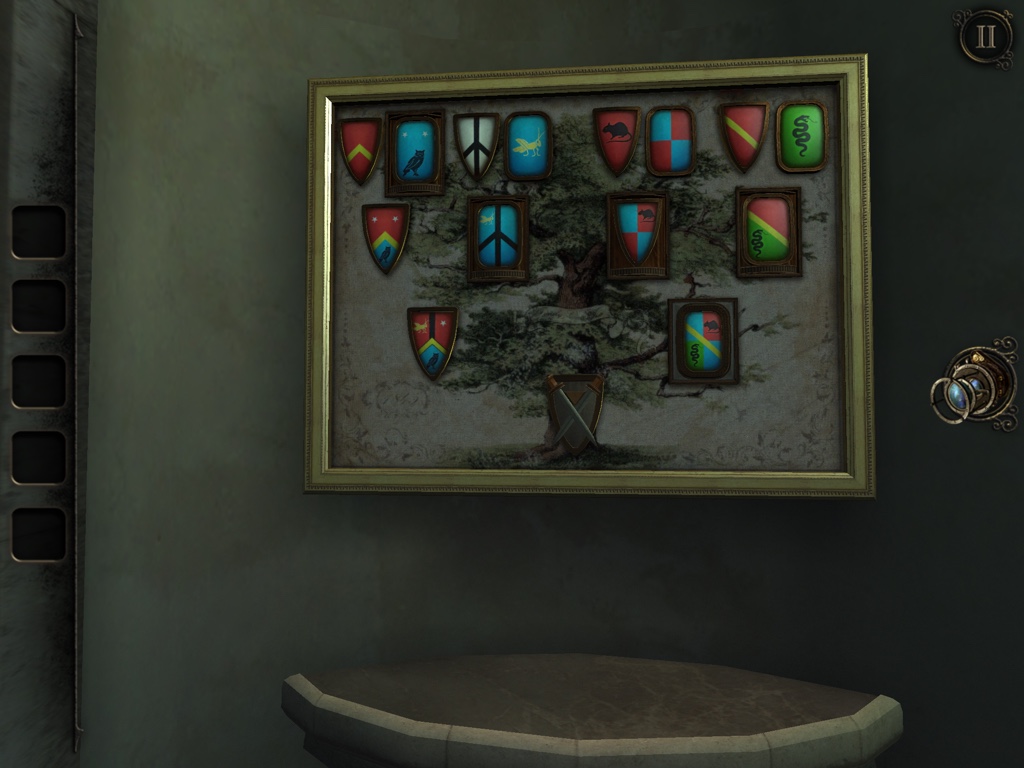
Place the emblem in the empty slot on the chest of arms image on the wall. Then rotate the rotating pieces to match the image above
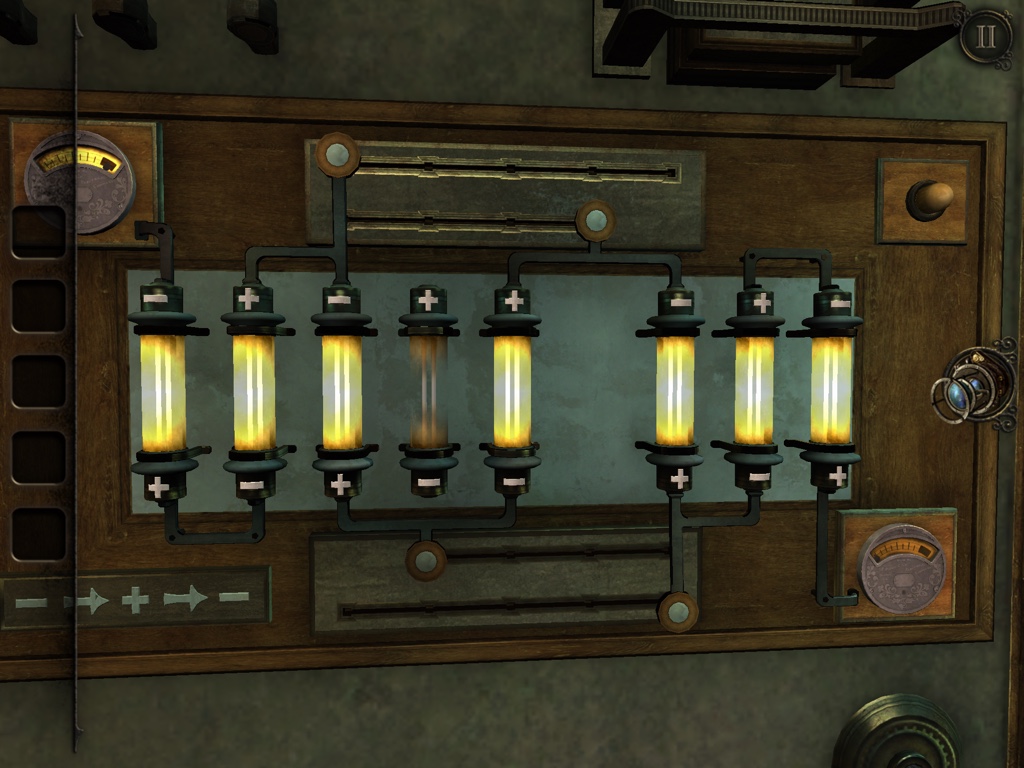
Look at the panel on the wall. Move the sliders to the positions shown to power on the machine. Then flip the big switch on the table.
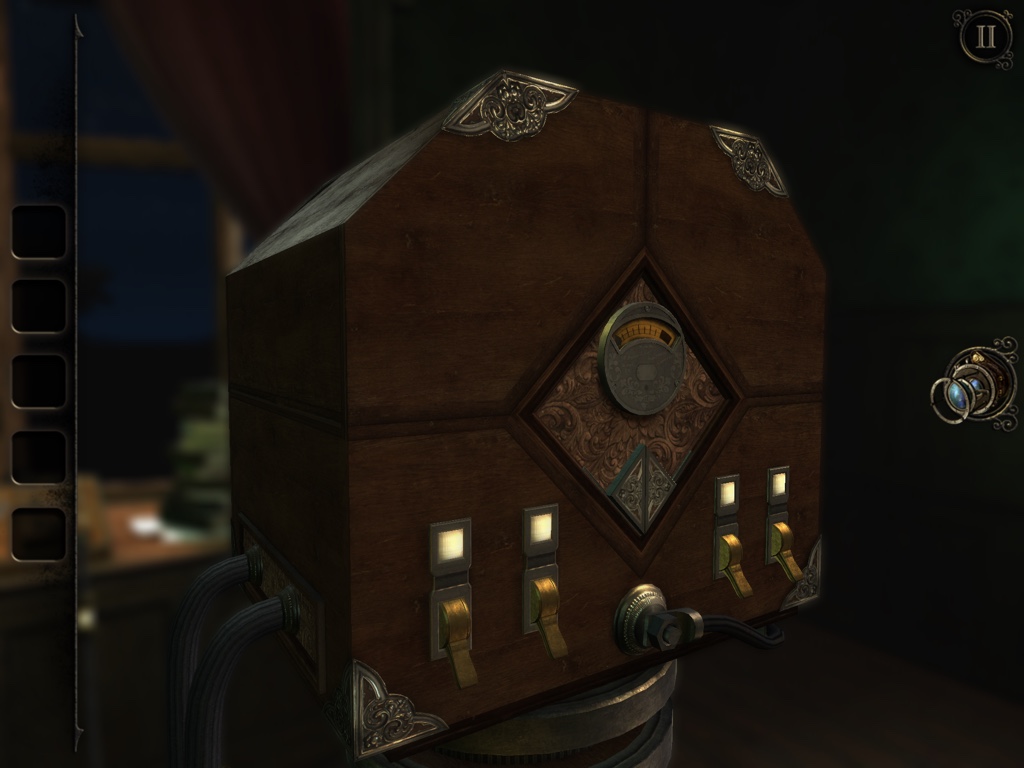
Flip all four switches and press the button inside this machine to open it up.
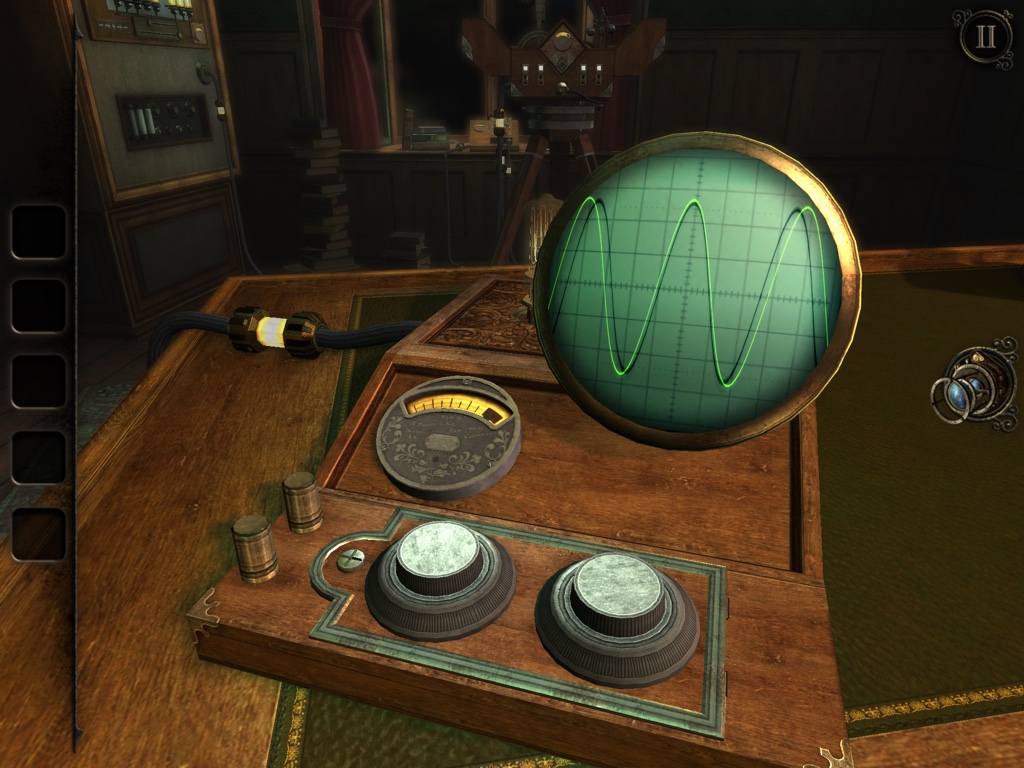
Spin the left dial until the lamp in the background turns on. Then spin the right dial until the green waveform matches the black one. This will open a portal.
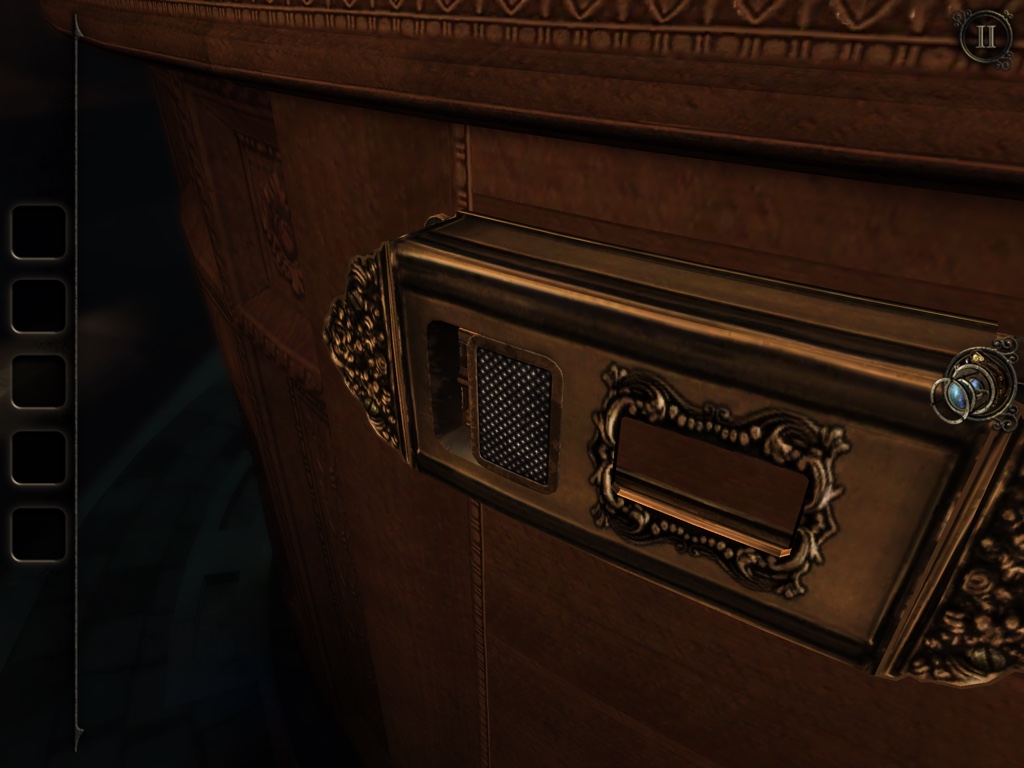
Look at this odd handle on the side of the central table. With one hand, pull this lever back. With another, unlock the latch beneath. Open the drawer and take the wooden gear.
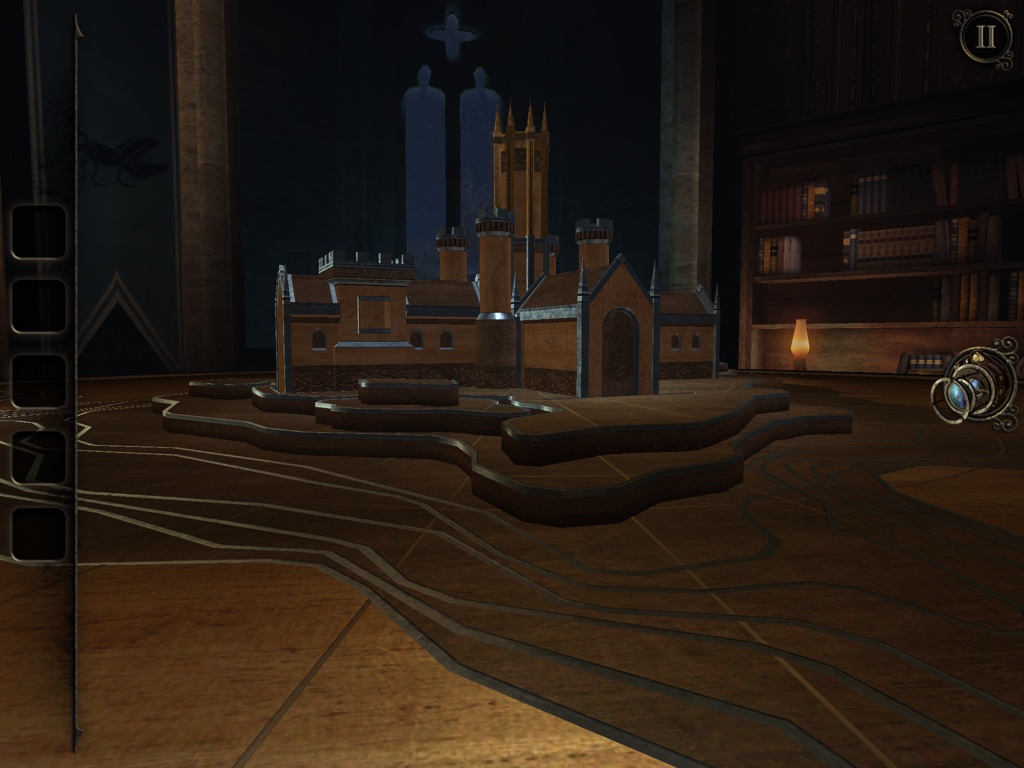
Place the gear into the indentation in the center of the table top. Spin it until the church pops out of the table.
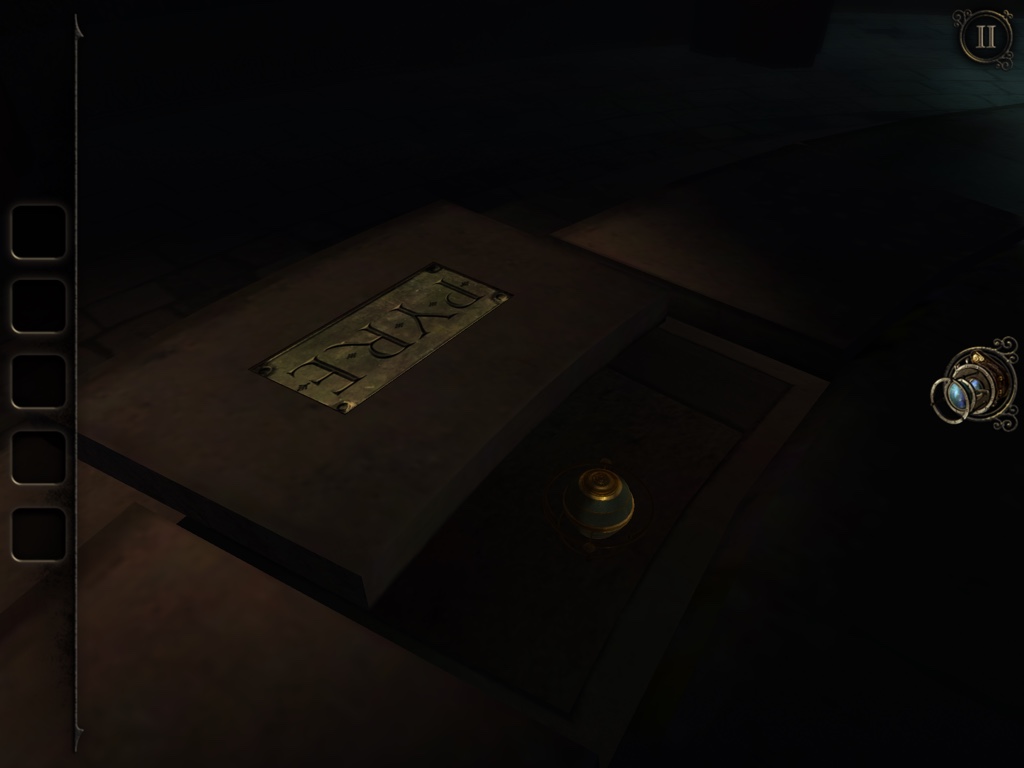
Look on the floor to find a tile, with a plaque that reads PYRE. Take the sphere inside.

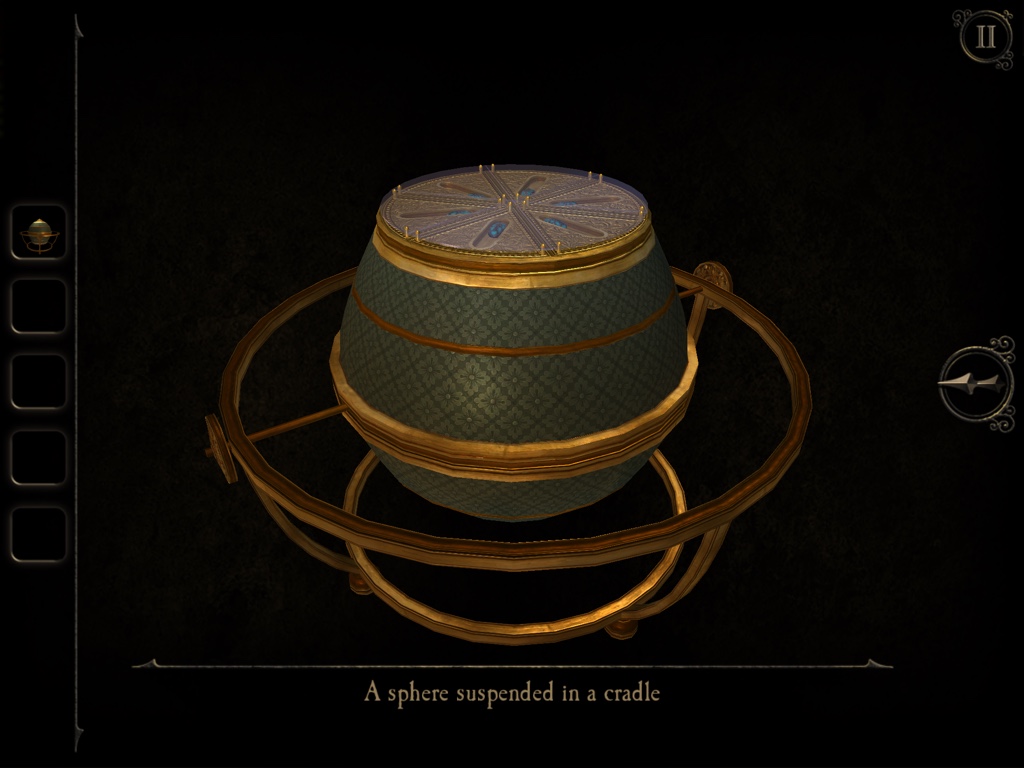
Look at the sphere. Turn the sphere upside down in its cradle and then spin it until it opens. Take the magnet from inside.
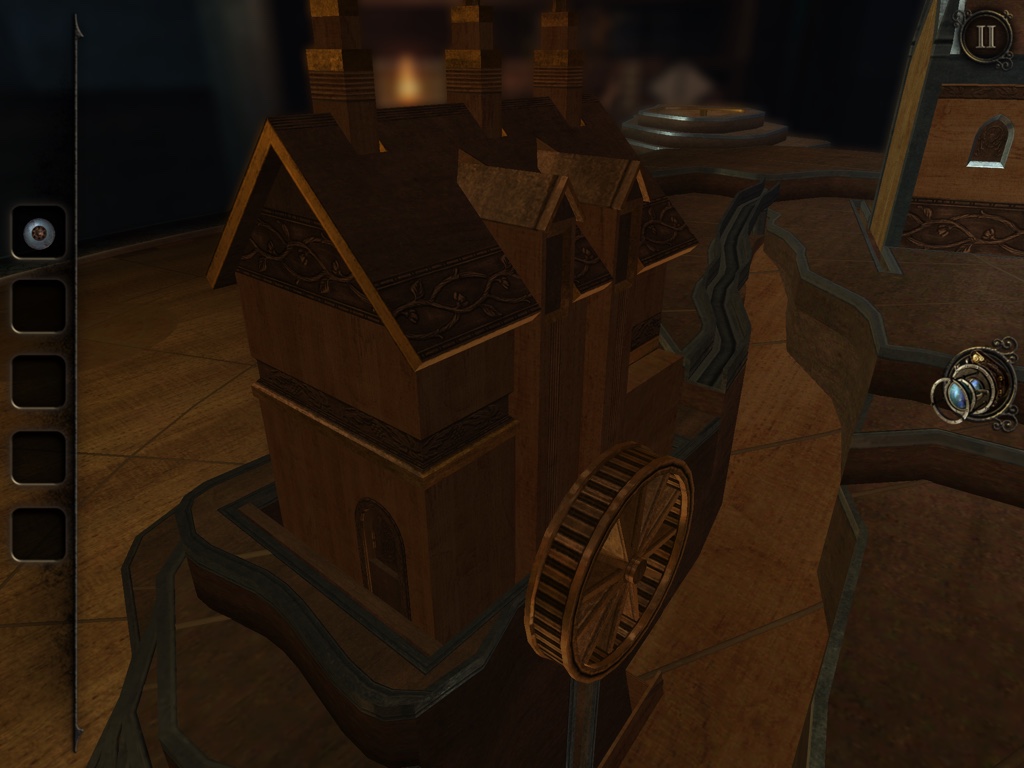
Return to the tabletop, find this building, and spin the wheel until the little door opens. Look inside with the eyepiece.
Pull the snake's tail to make the stepped body appear. Spin the three segments until the diamonds line up, like above.
Press the button on the snake's exposed head to make it open its mouth. Take the magnet from inside.
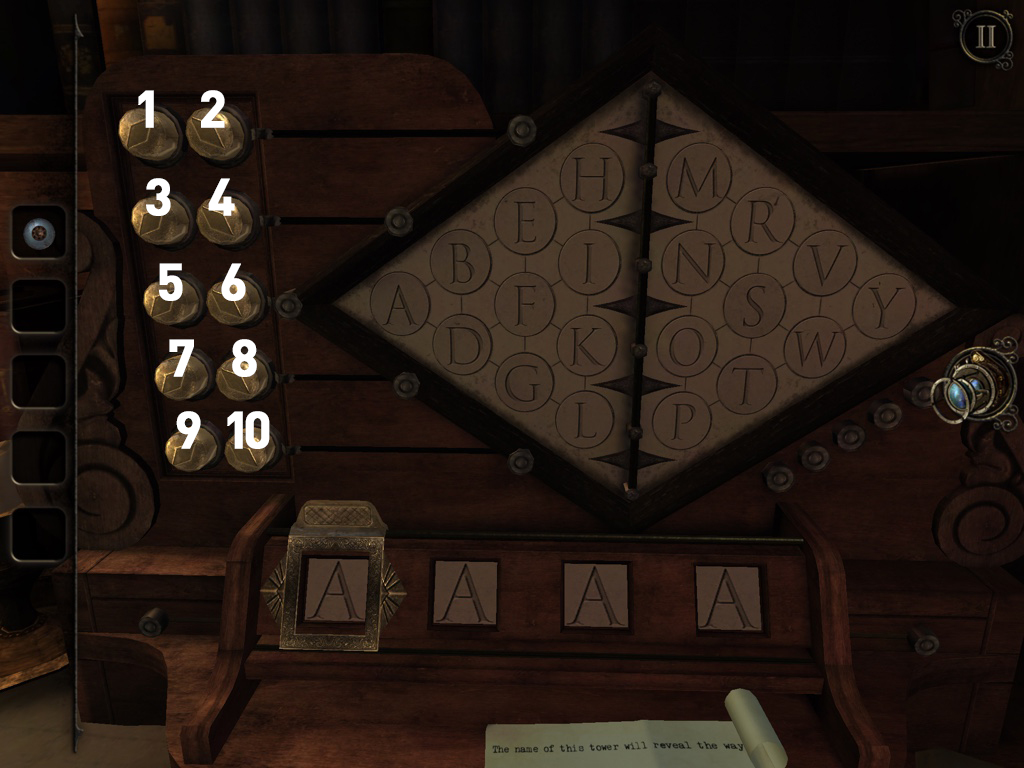
Look at this machine. With the selector on the first letter, twist dials 9 and 8 to highlight the letter P.
Then move the selector to the second letter slot, and twist dials 9 and 2 for Y. Move the selector to the third letter slot, and twist dials 2 and 5 for R. Move the selector to the fourth letter slot, and twist dials 1 and 6 for E.
Take the carved wooden arch.
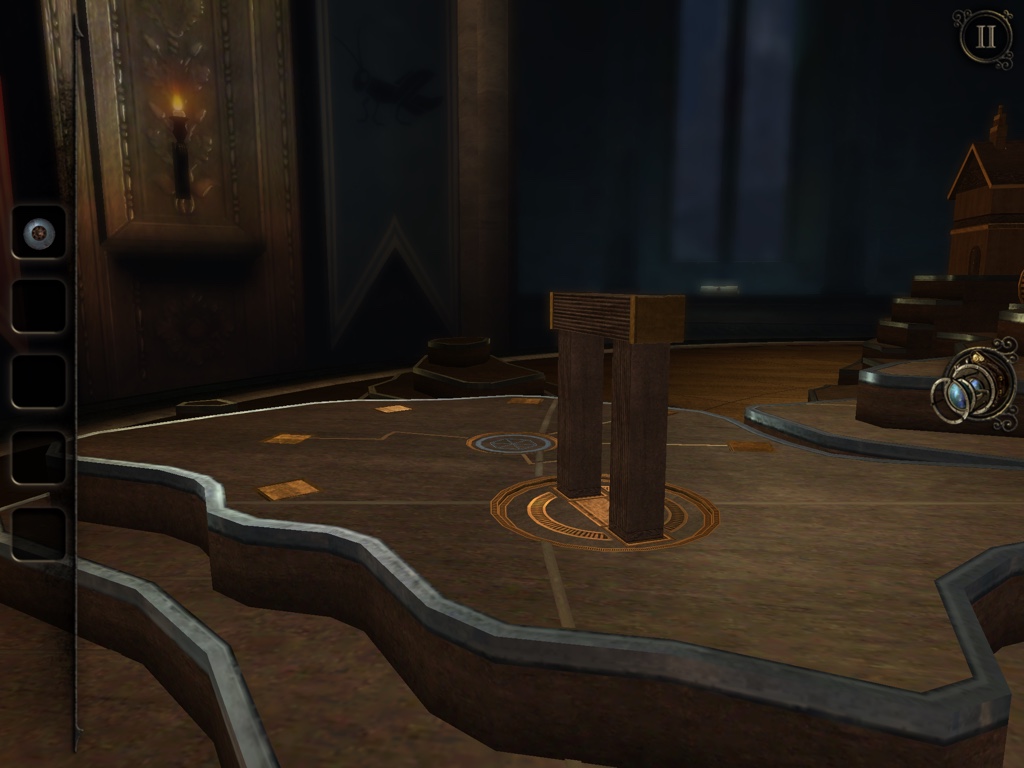
Place the arch on the table here. Then twist it and use your eyepiece to go inside.
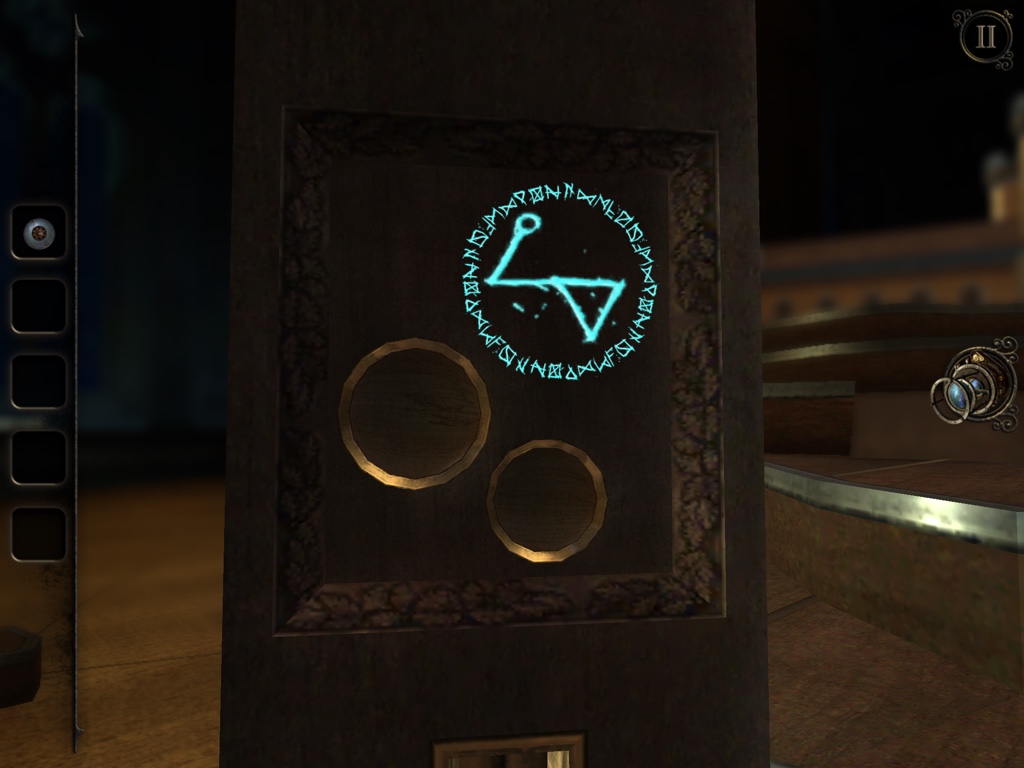
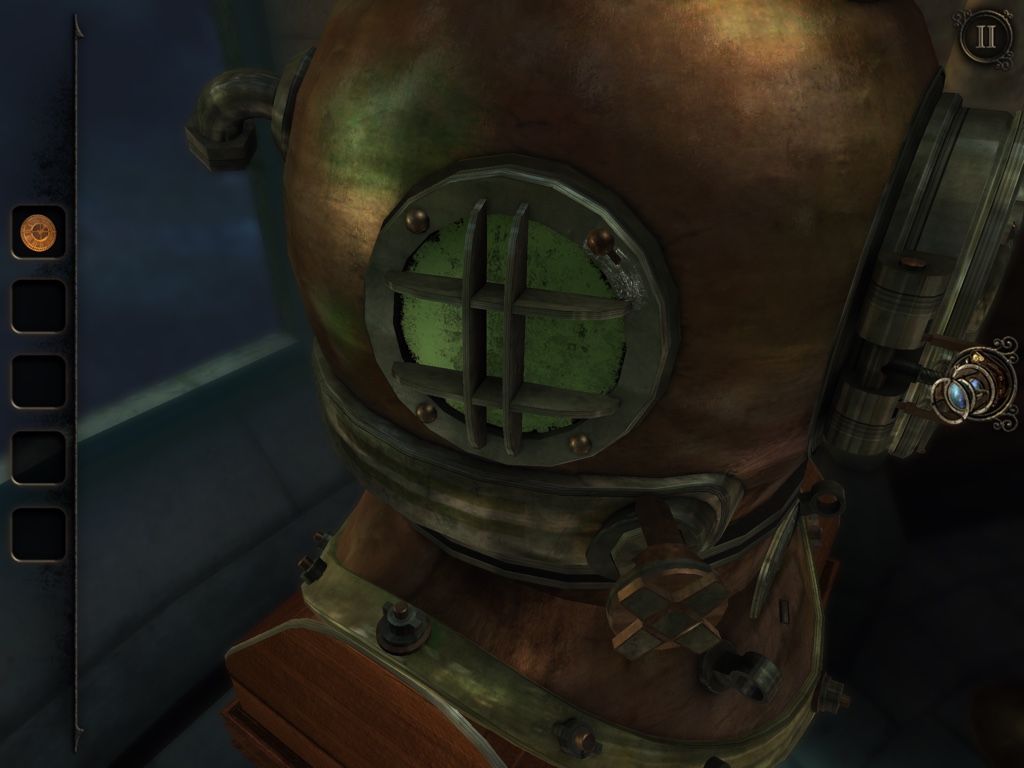
On three of the pillars you'll find a pair of dots. Hold them with two fingers to reveal a pattern. Do this for all three and make a note of them.
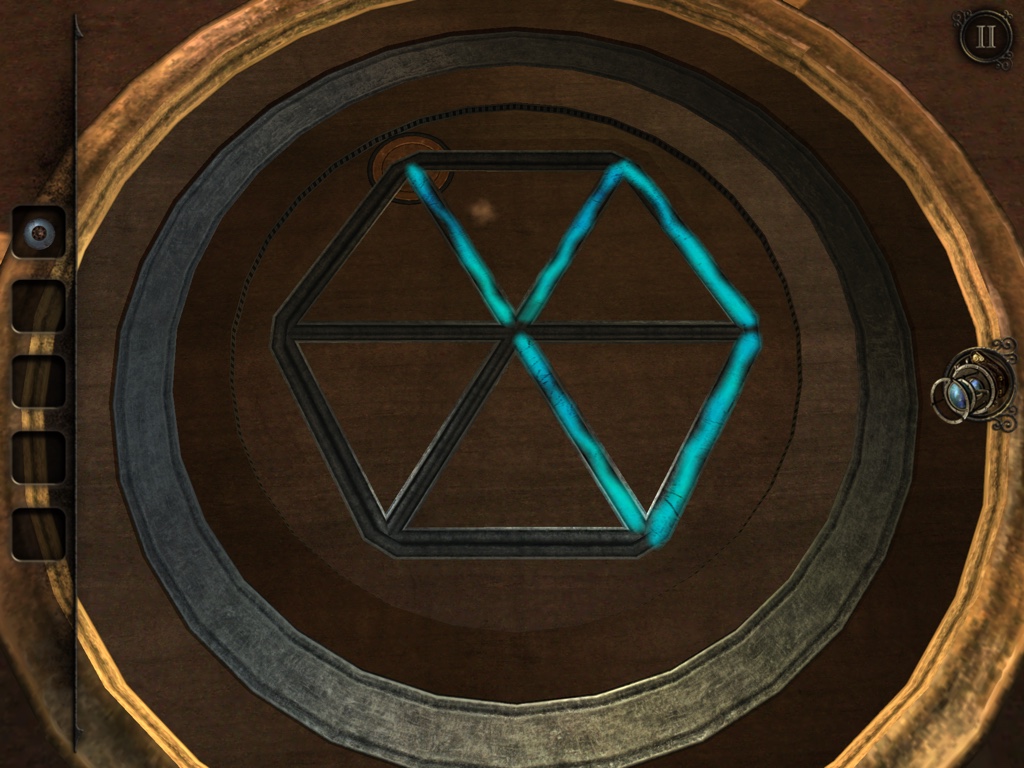
Draw all three patterns on the central panel to make three lots of writing appear. When all three are there, a new structure will appear.

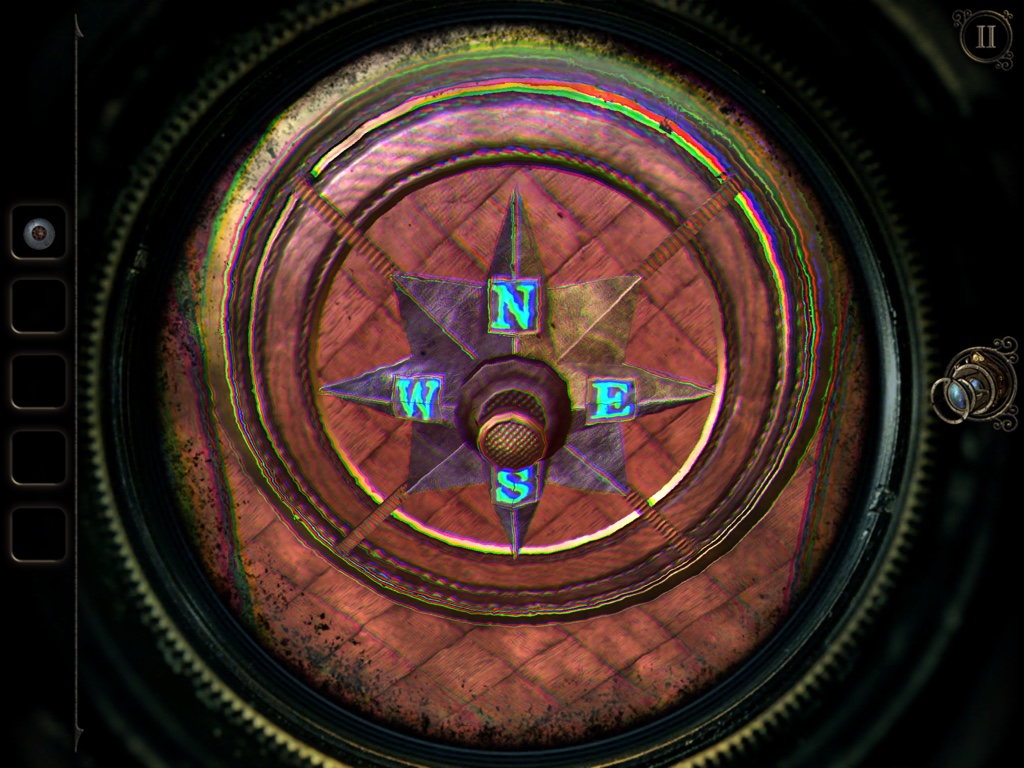
Look at this back panel through the eyepiece to see the letters of the compass drawn on the shapes. You can press the button in the centre to spin the arms and drag the shapes into the middle. Use this to complete the compass, like above.
Take the wooden model piece from inside.
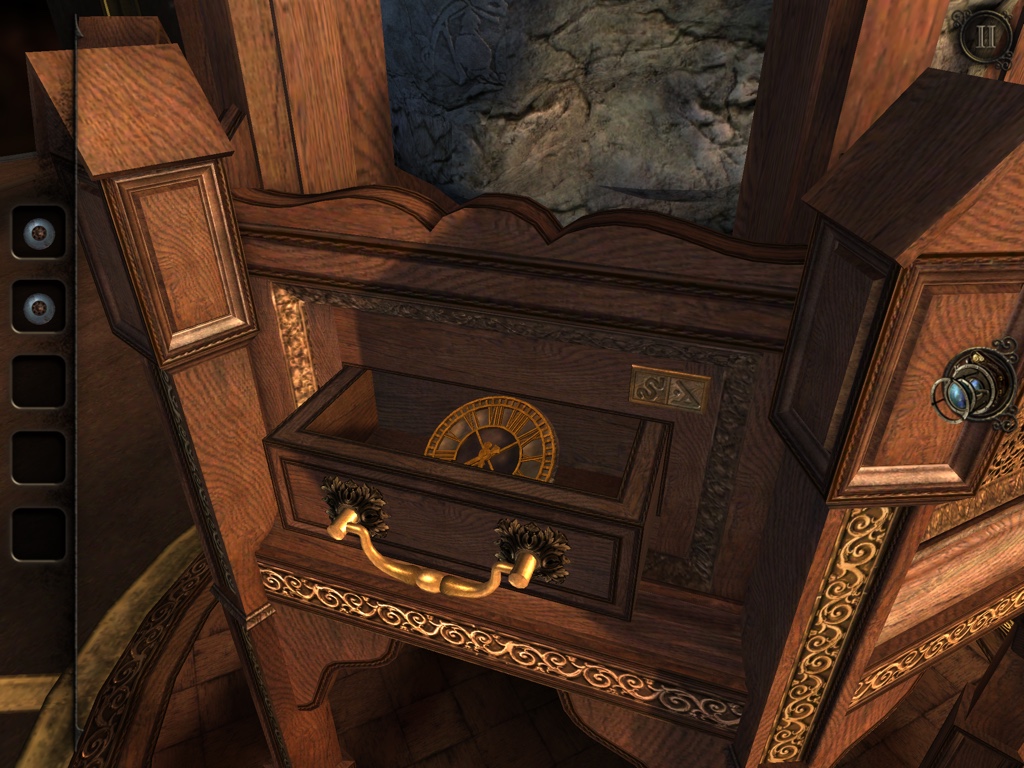
Open this drawer and take the model clock face. But also note the symbols on the tiny plaque.
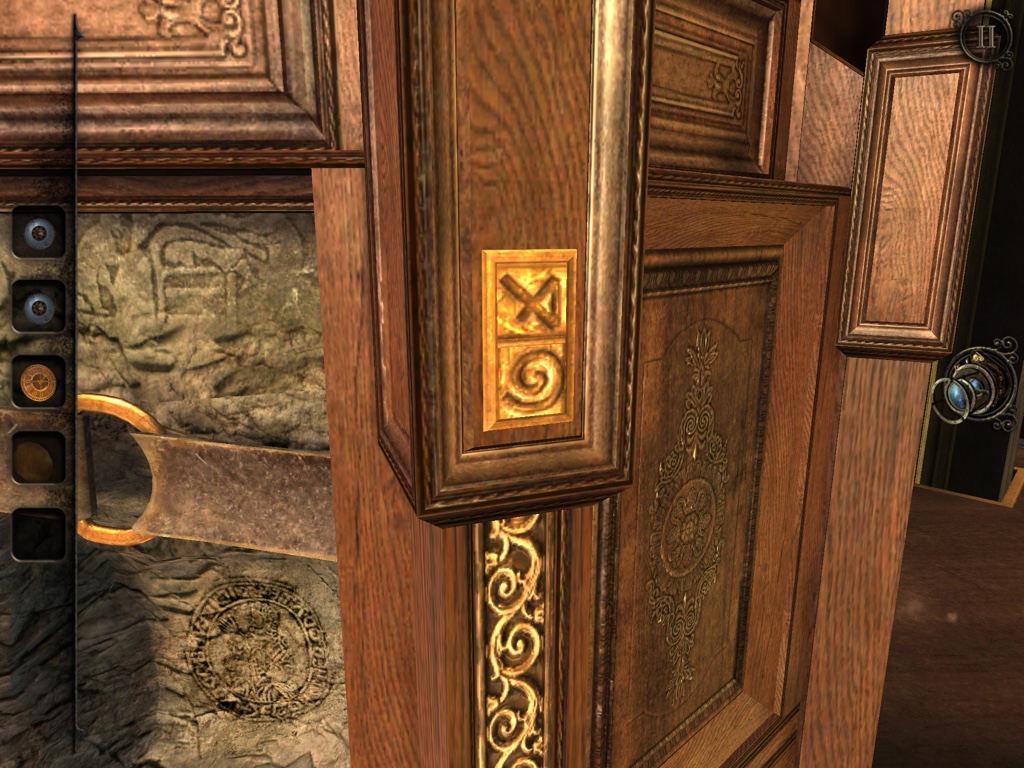
Find and note these symbols, too.
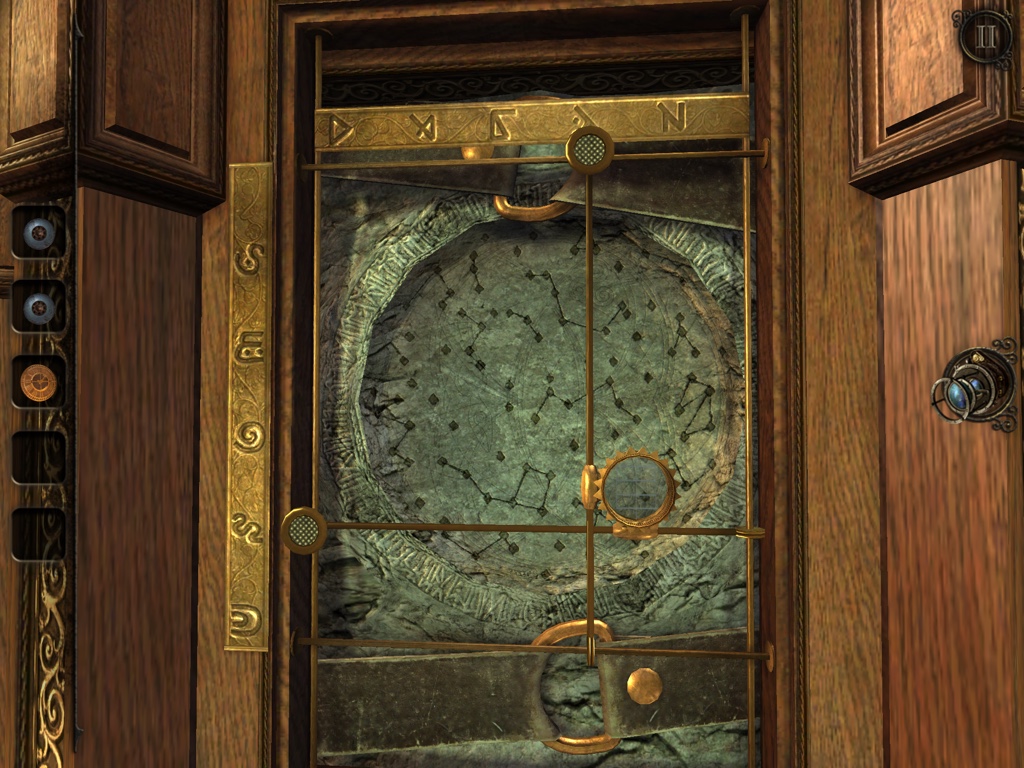
Move the viewfinder on this part of the structure so that the column and row match one set of symbols you saw on the tiny plaques. Then double tap on the viewfinder to see the constellations lineup on the chart.
Make a note of both of these, which you can see below.
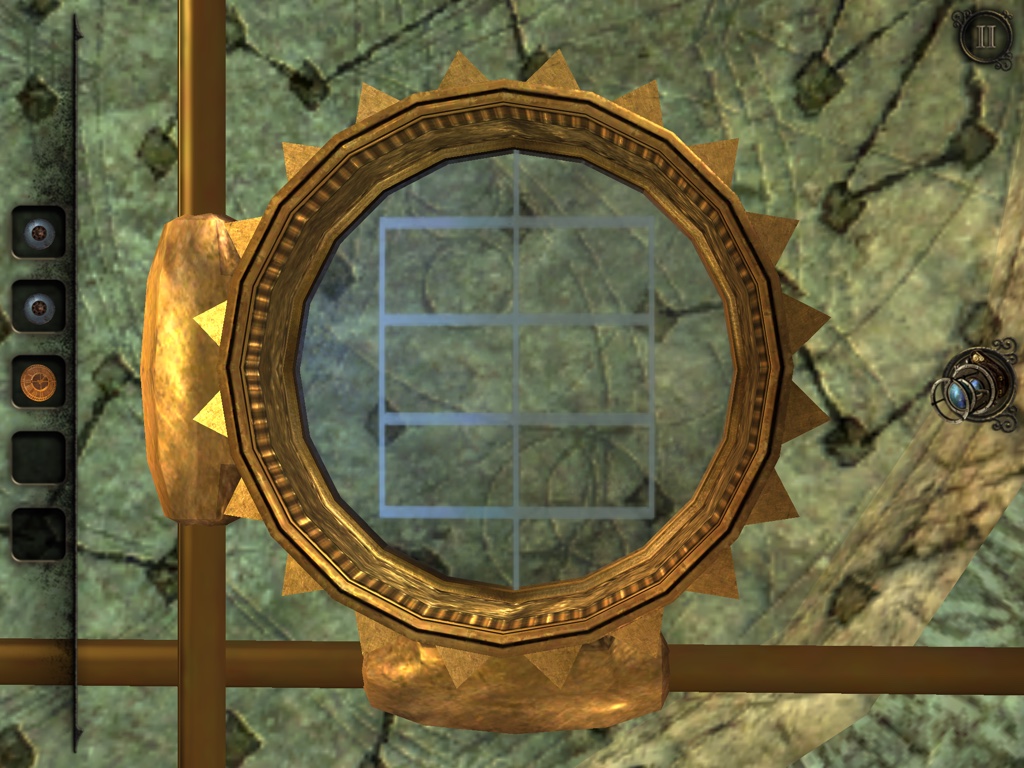
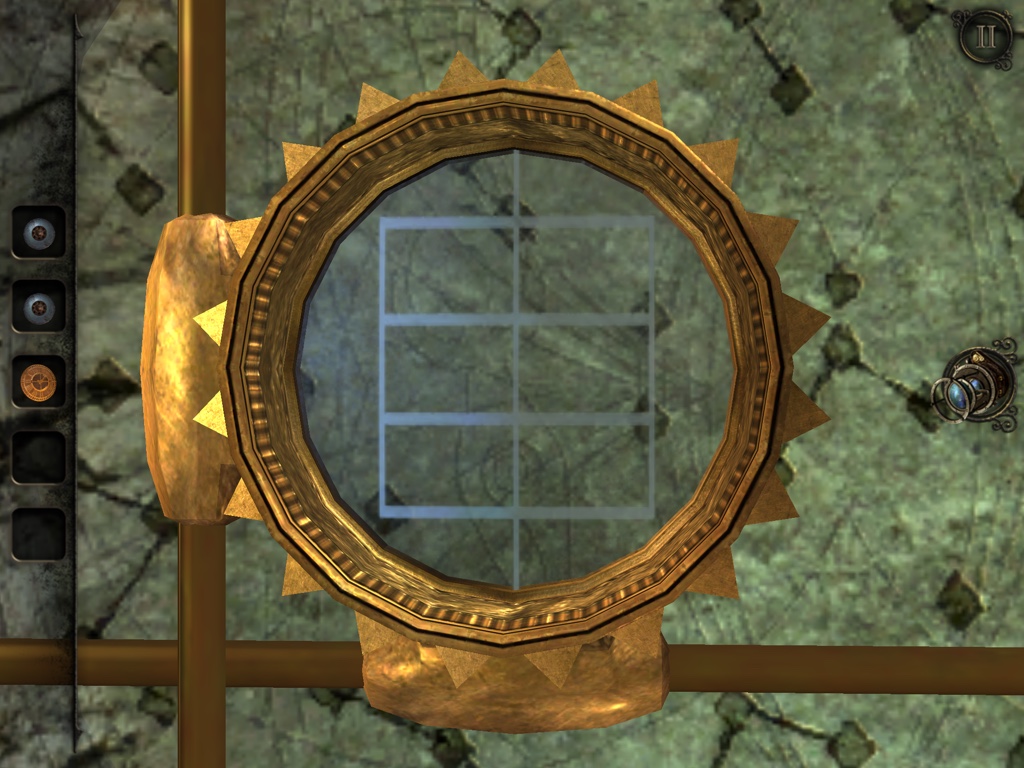
Got them? Then return to the front face of this structure.
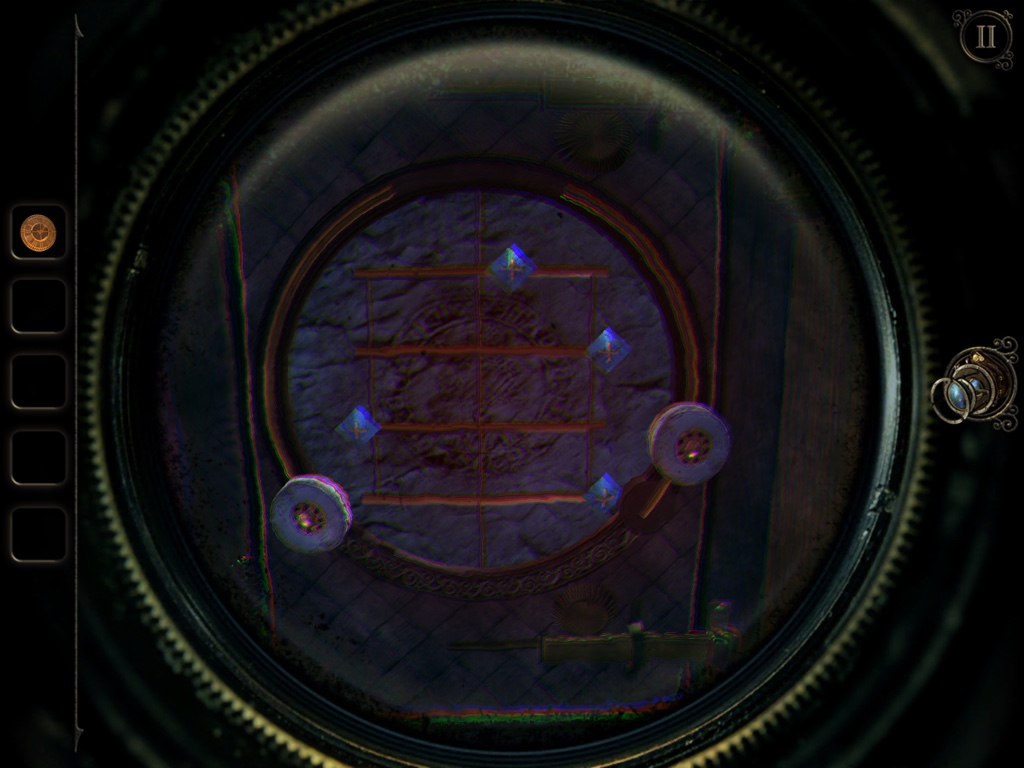
Use the magnets to push and pull the four diamonds so that you match the layouts shown on the constellation diagrams. If you put both magnets on the same line, the diamond will move to the centre.
The easiest way to do this is to start from the bottom so you finish at the very top icon which is in the middle on both diagrams.
Once you have matched one diagram, one of the latches will open. Repeat the process for the other diagram to open the second latch and then the door.
Take the piece from inside.
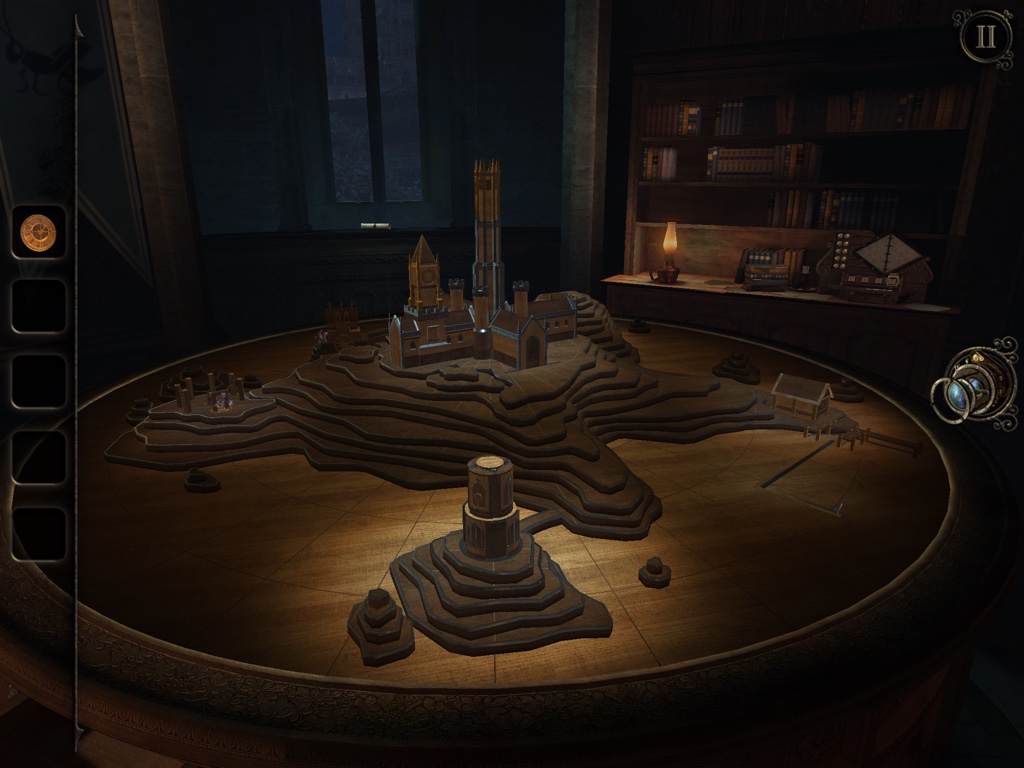
Place this model piece on the table, like above, and the entire table will rise up to an area with a diver's helmet.
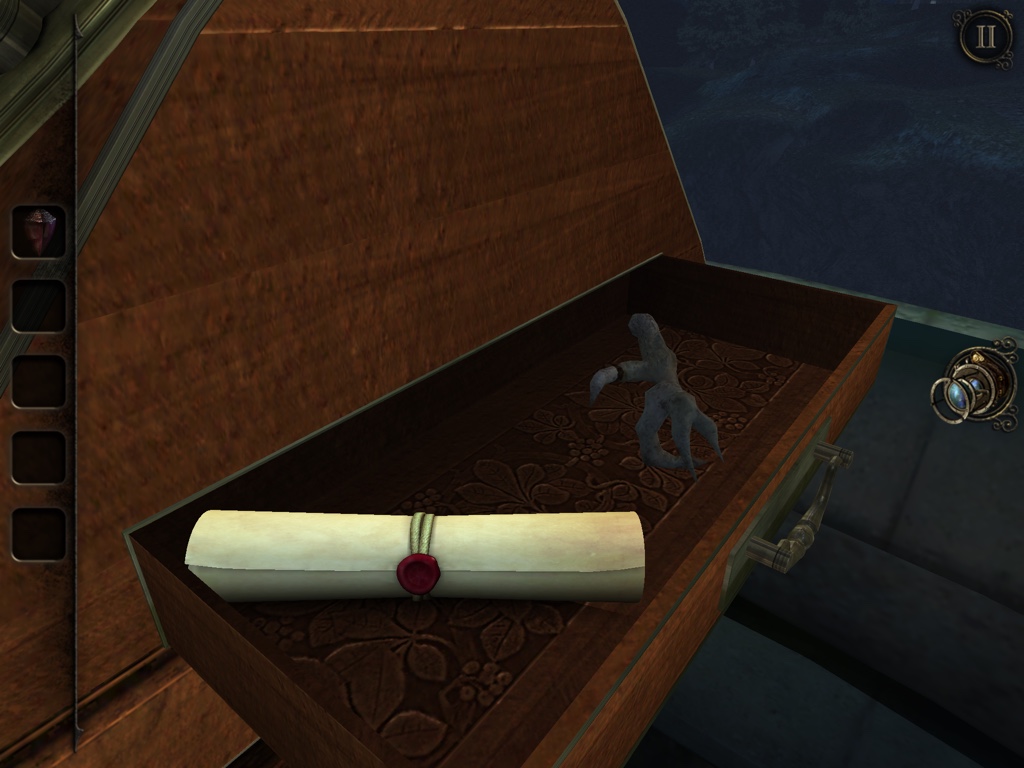
Open this drawer and take the antler.
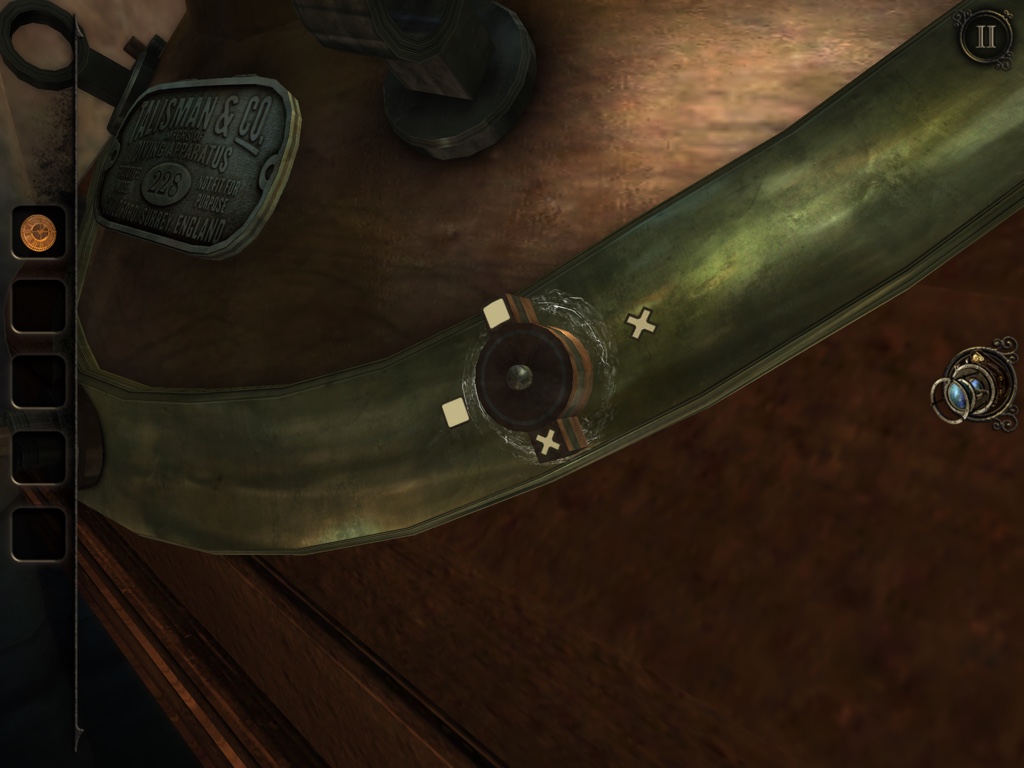
Look at this bolt and twist it. Take the brass rivet from inside.

Put the brass rivet in this hole and slide it. Open the panel and take the metal acorn. Also flick the switch and take the wooden model piece.
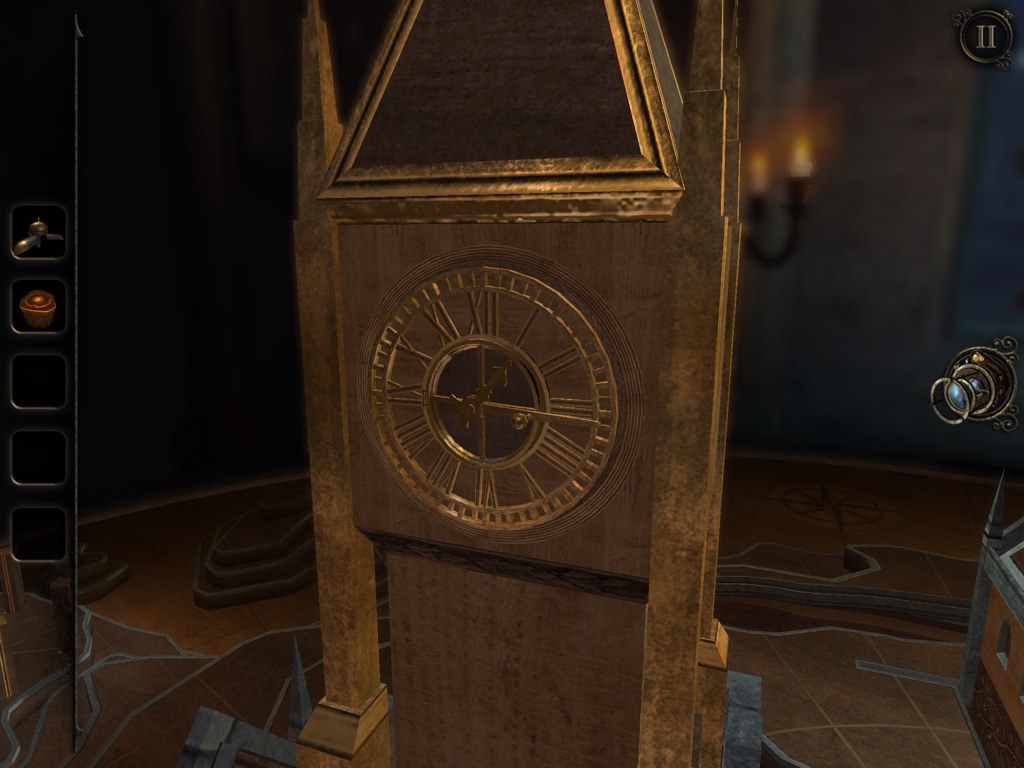
Pop the clock face onto the model clock tower. Pry open the door and have a peek inside with your eyepiece.
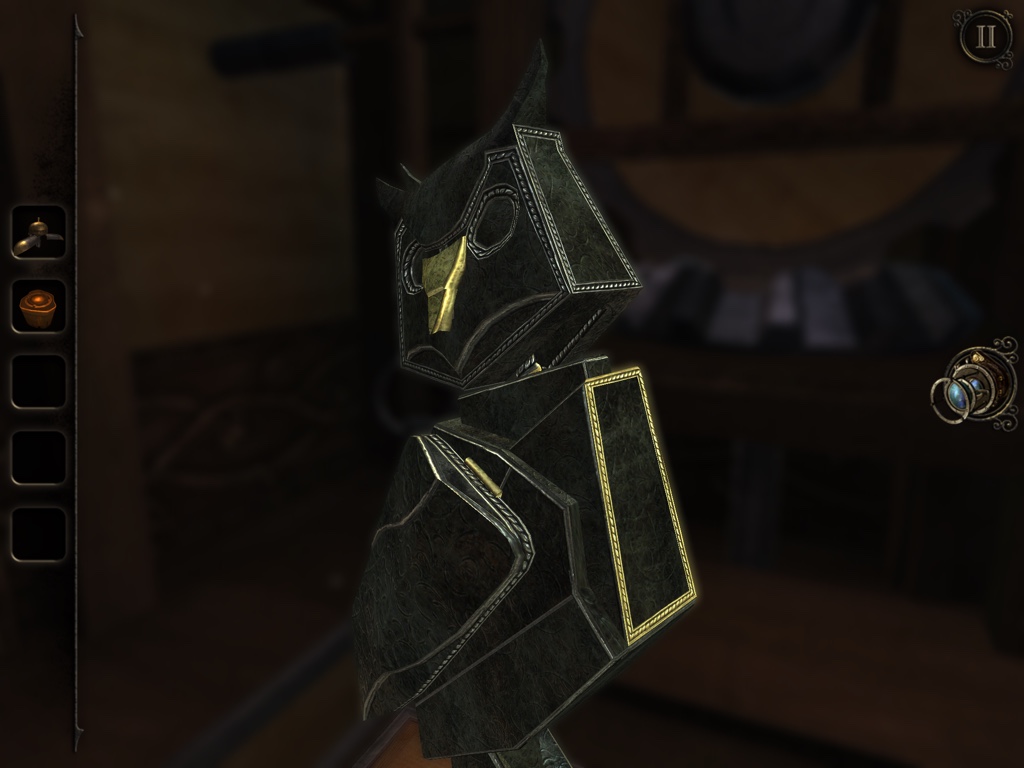
Pull the owl's beak, twist its head, flick the little switch, open its wing, and take the tiny model boat out. Leave this area.
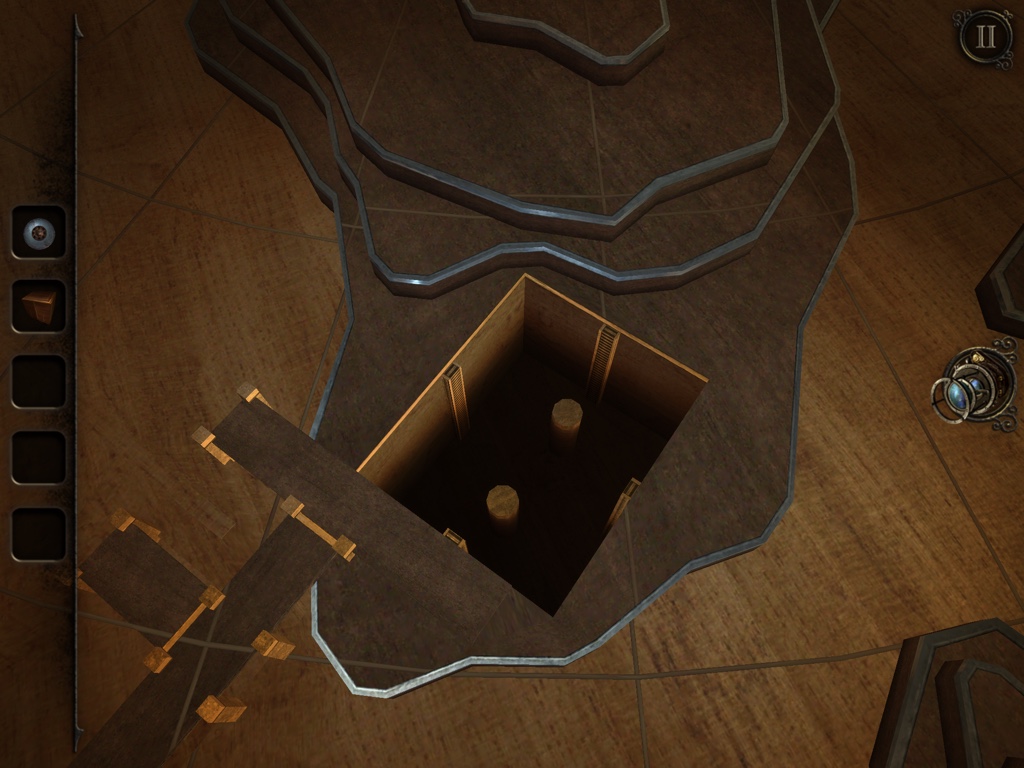
Place the wooden shape in this hole. And place the model boat on the rail. Slide the boat up, spin it, and slide it into the jetty. Enter the boat house with your eyepiece.
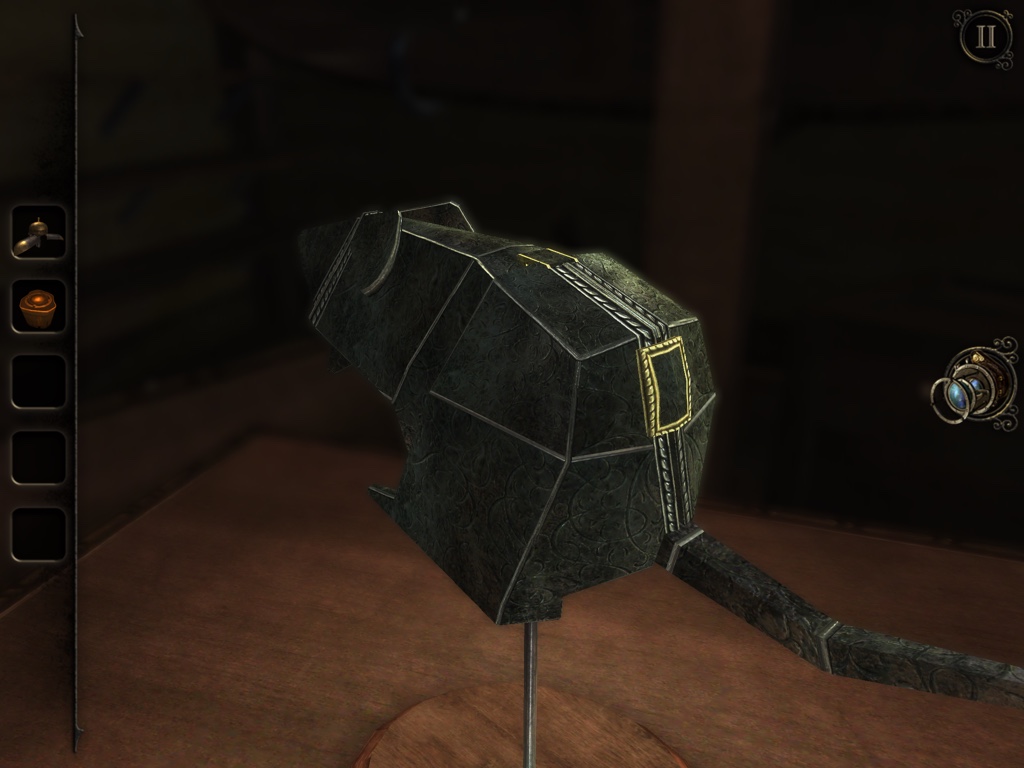
Flick the switch on the rat's butt, spin the dial, press the two buttons, slide open the body, and take the key. Leave this area.
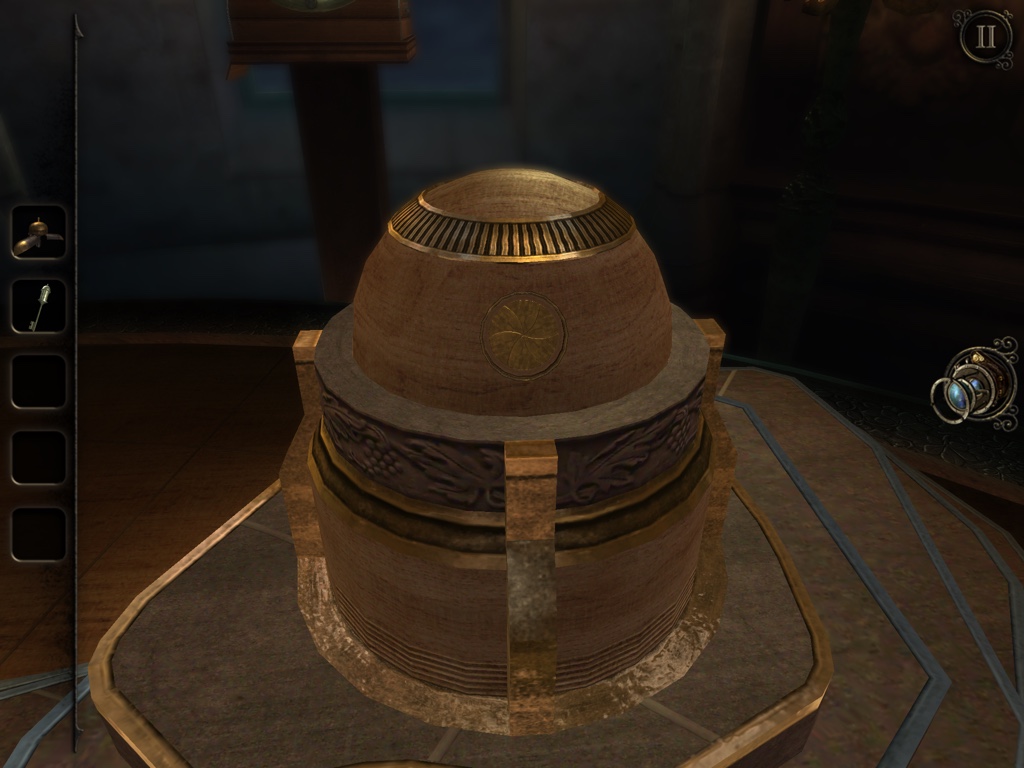
Place the wooden piece into the table. Spin the latch so it overlaps the metal iris. Enter with your eyepiece.
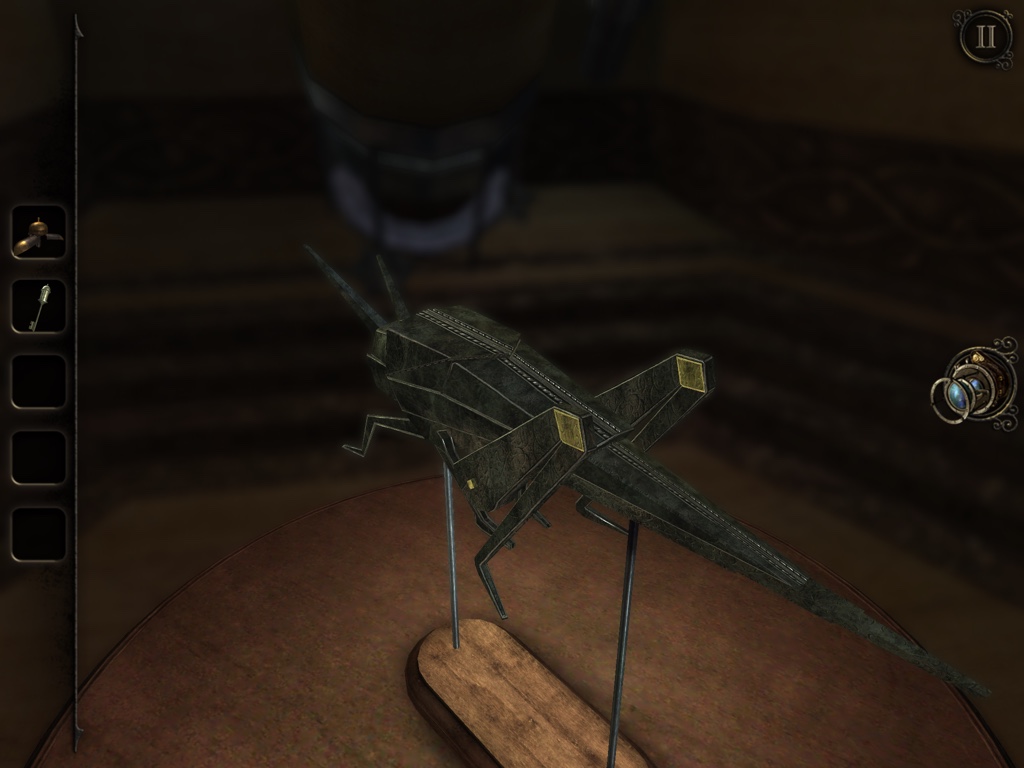
Pull the grasshopper's legs down, flick the switch, flick the second switch, pull the head and take the metal pointer. Leave this area
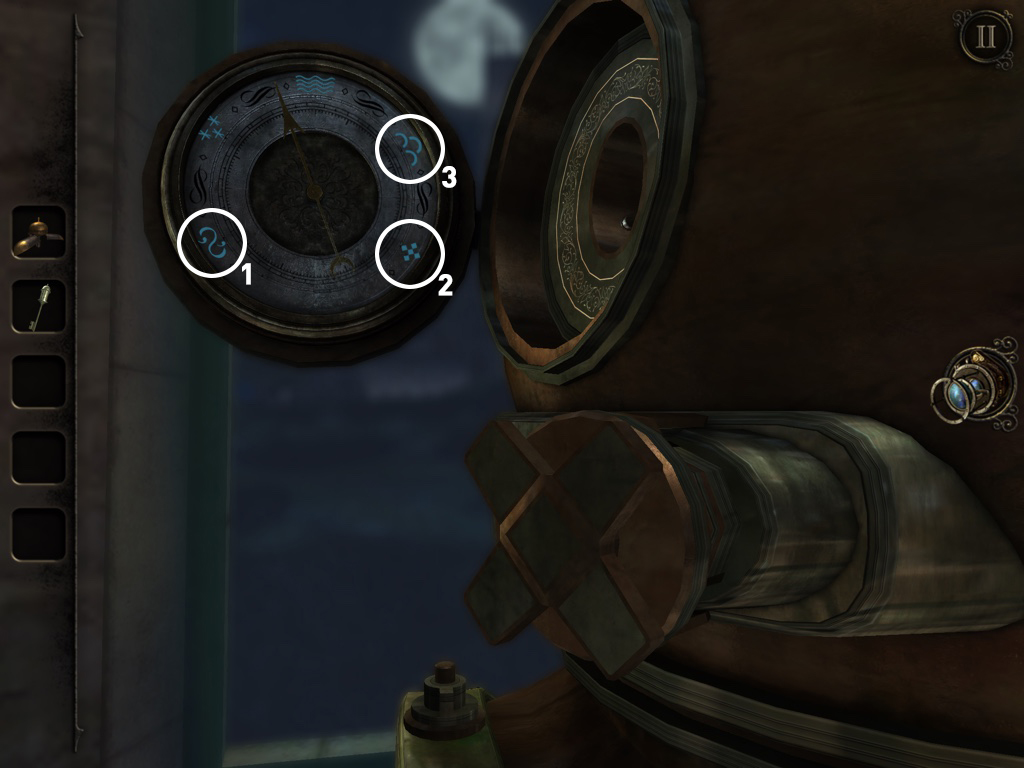
Place the metal pointer on the inside of the open panel on the diver's helmet. Then spin the cross shaped handle so the pointer points at the three highlighted symbols (as shown on the underside of the helmet's plaque).
You need to do it in the specific order shown above, also. Take the copper tap.
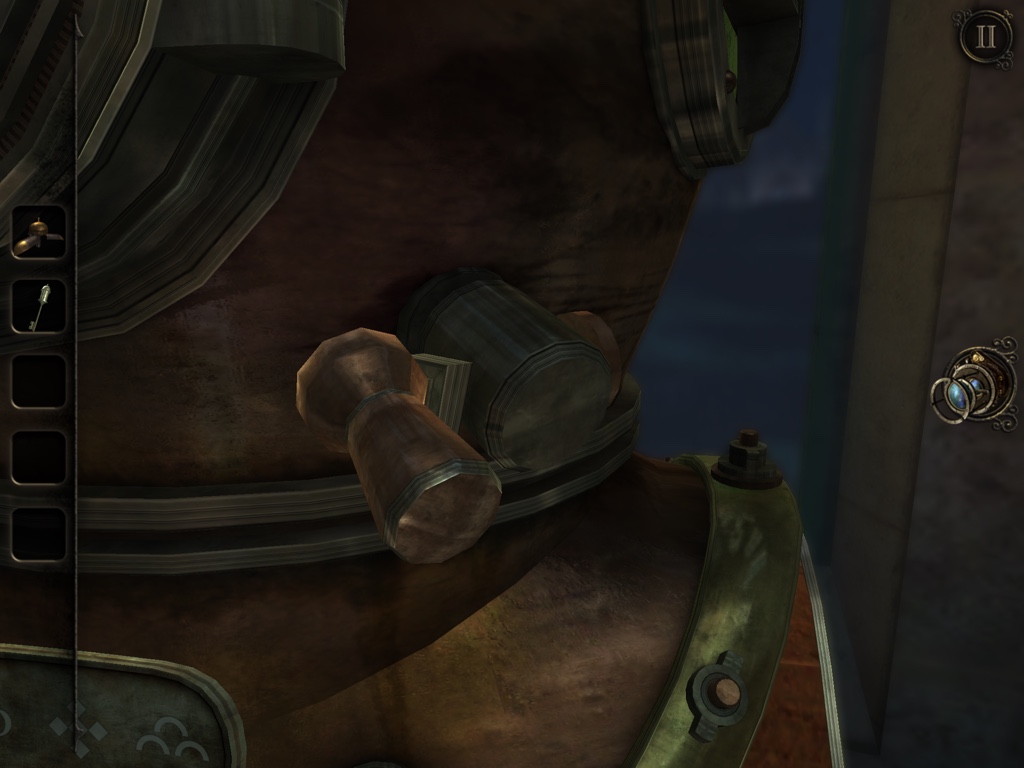
Place the copper tap here. Twist it.
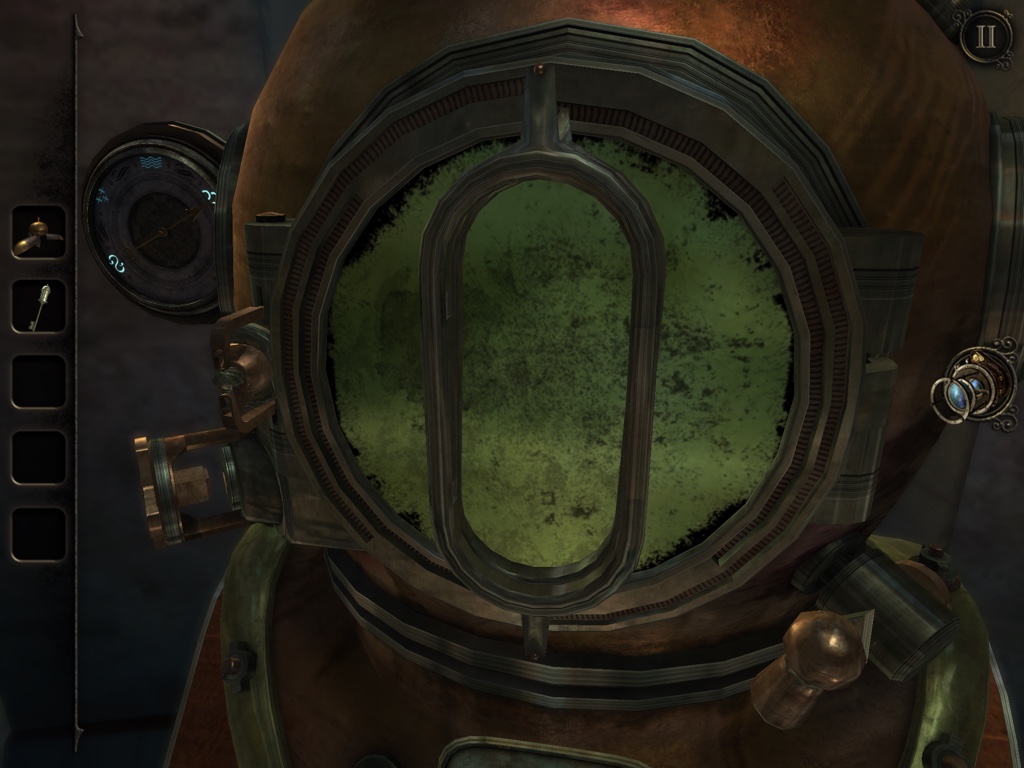
Rotate rhe two metal shapes so they overlap vertically, like so. Spin the loose nut on the left. The helmet will open. Take the crystal phial from inside.
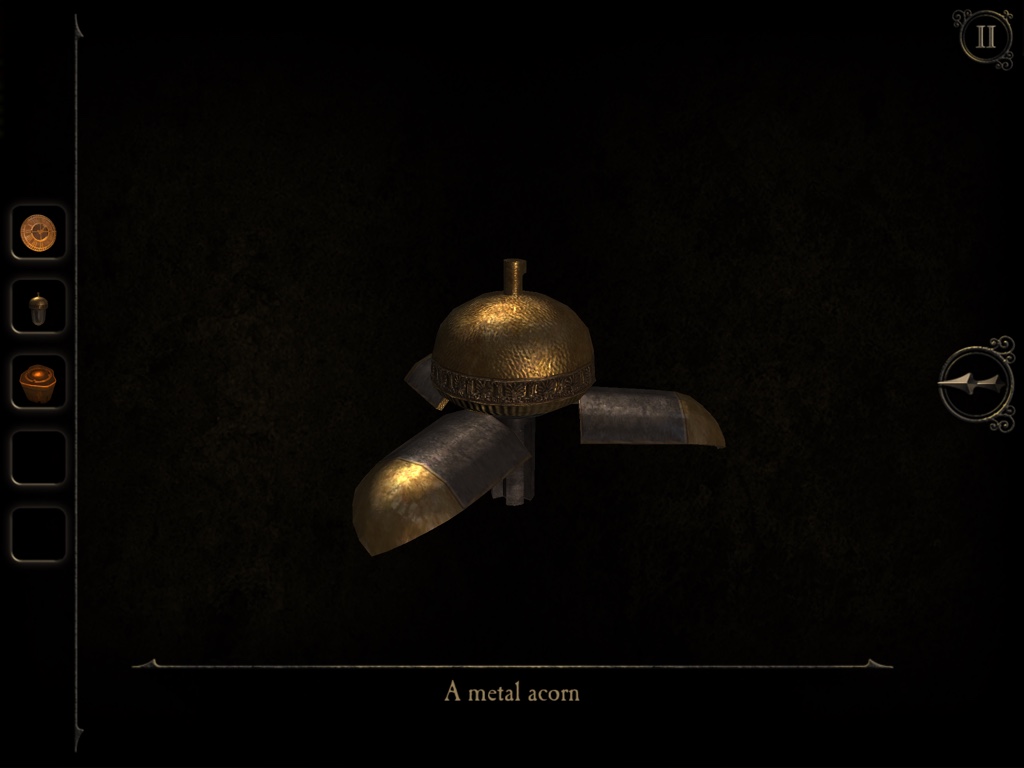
Look at the acorn and twist it to open it into a key.
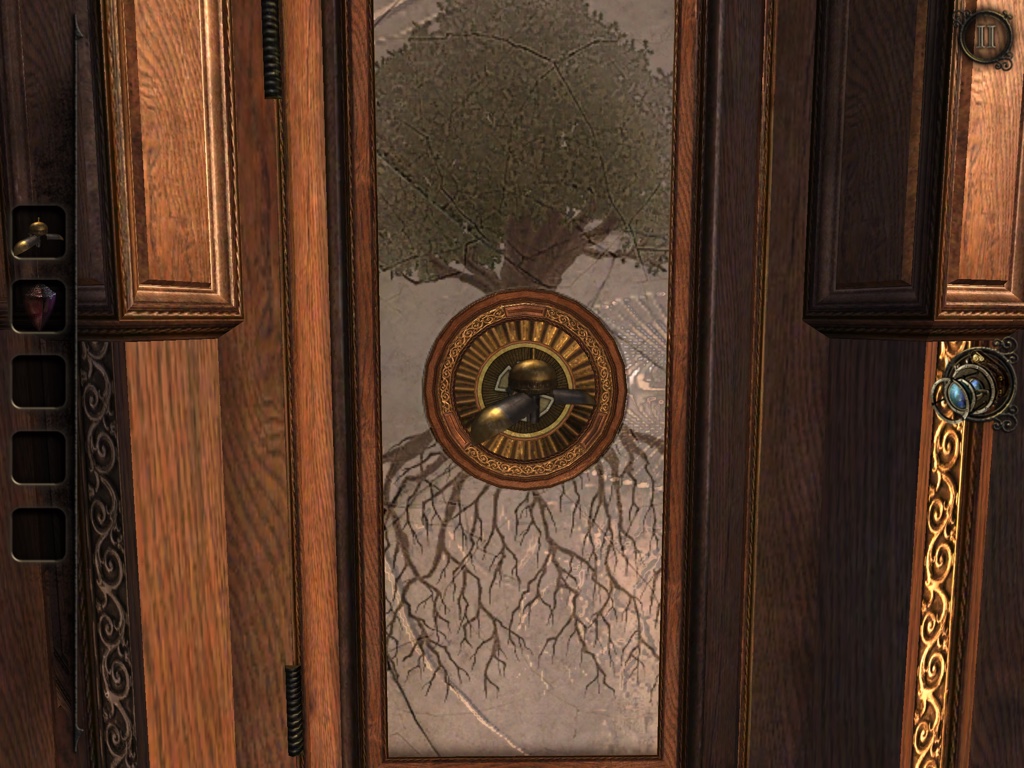
Enter the wooden arch area. Use the key on this door.
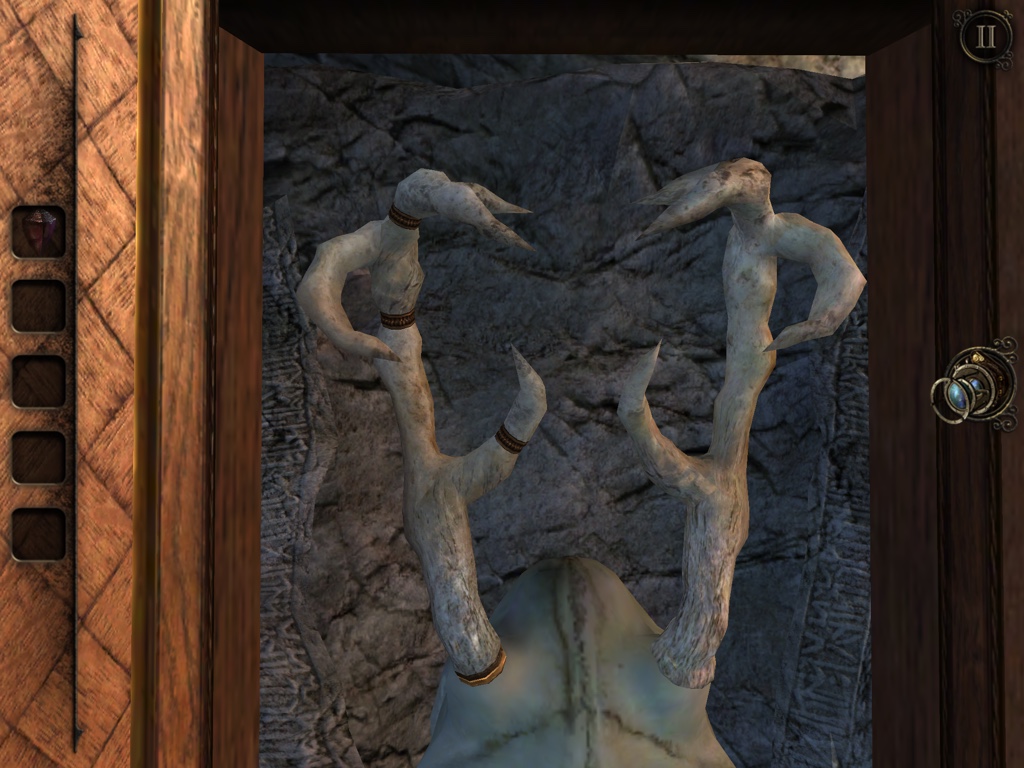
Place the antler in the empty slot. Spin the pieces until the left antler mirrors the right one.
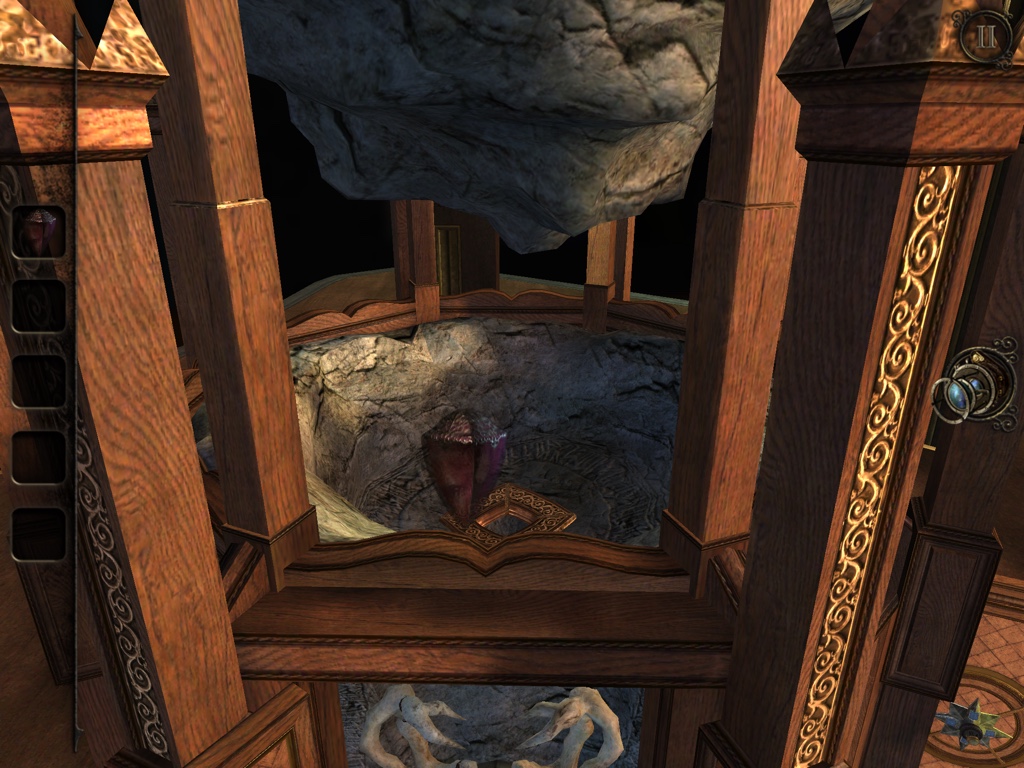
Put the crystal phial in this hole. Take the glowing gem stone.
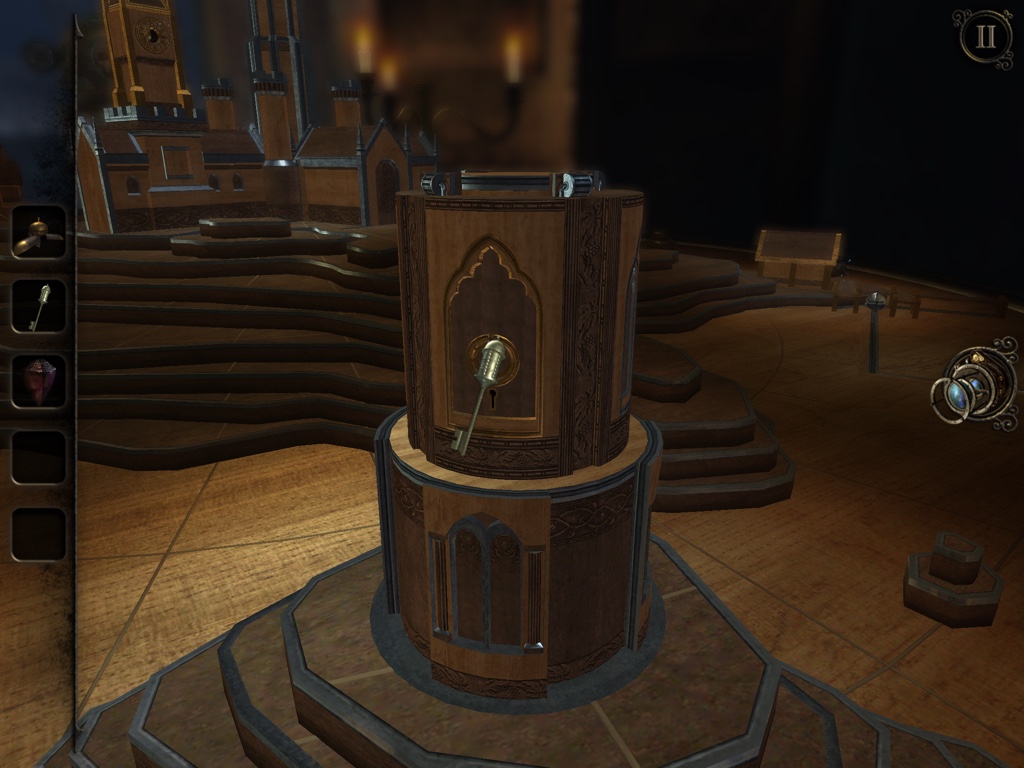
Use the small key on this building and then enter inside with the eyepiece.
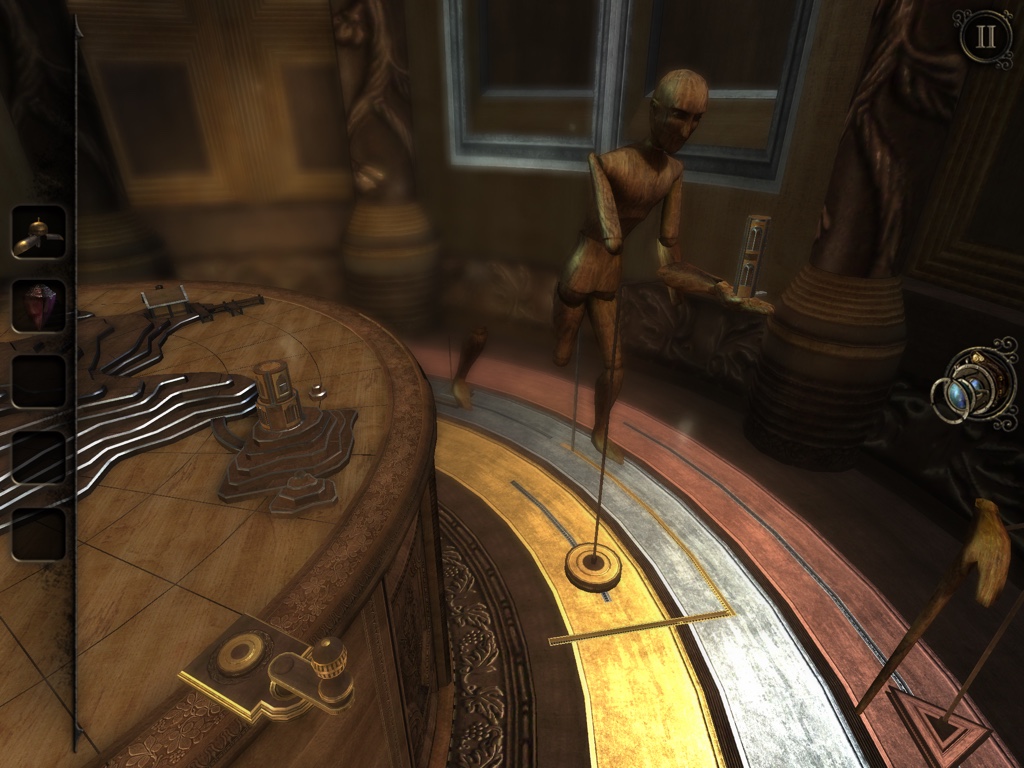
Spin the dial until the arm reaches the mannequin. Then use your eyepiece to enter the small hole that opens. Repeat this process with each limb until you get to the centre of the puzzle.
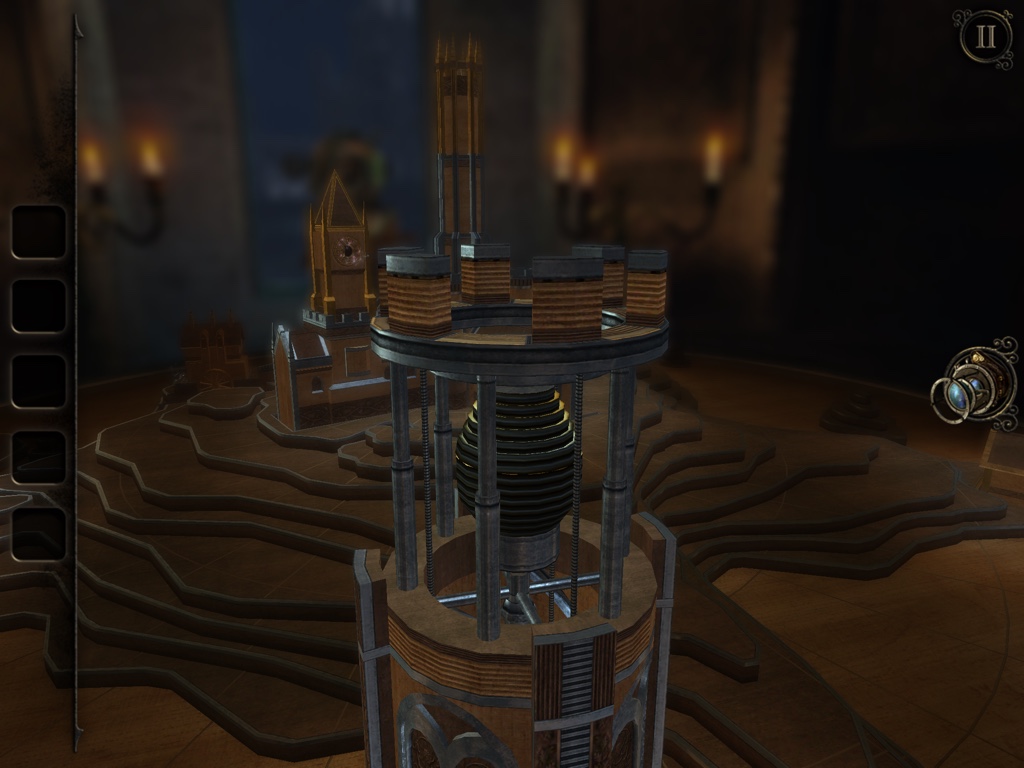
Put the gemstone in this holder. Take the illuminated lamp. A new part of the room will appear.
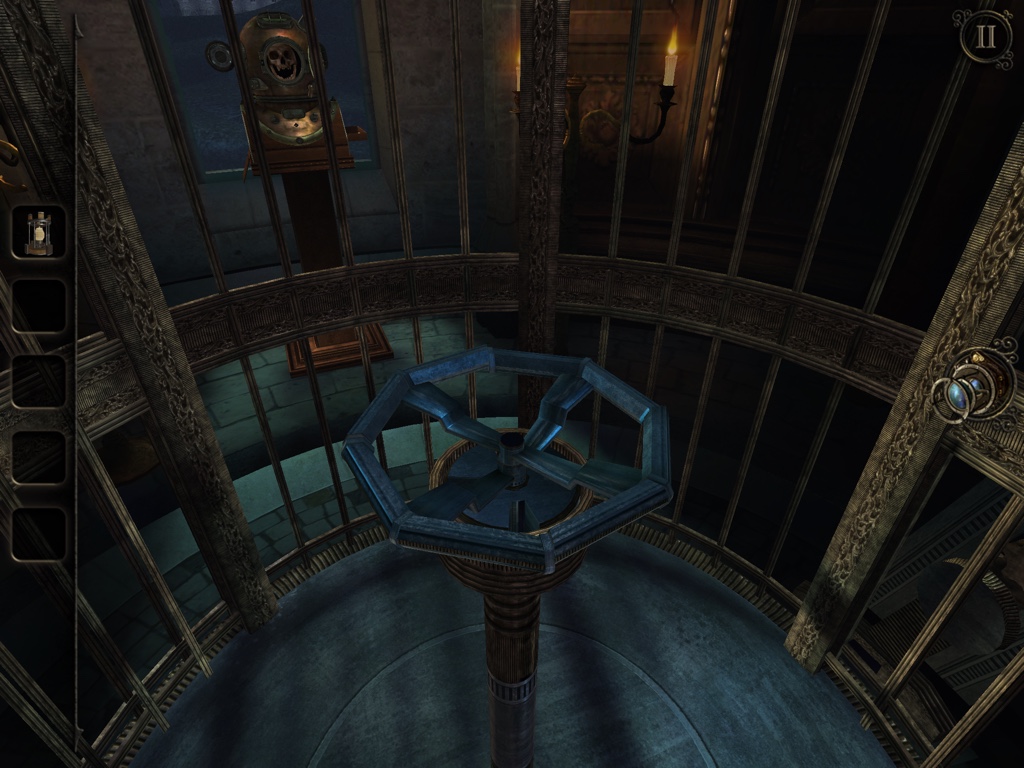
Spin the wheel so it crates a complete circle like so.
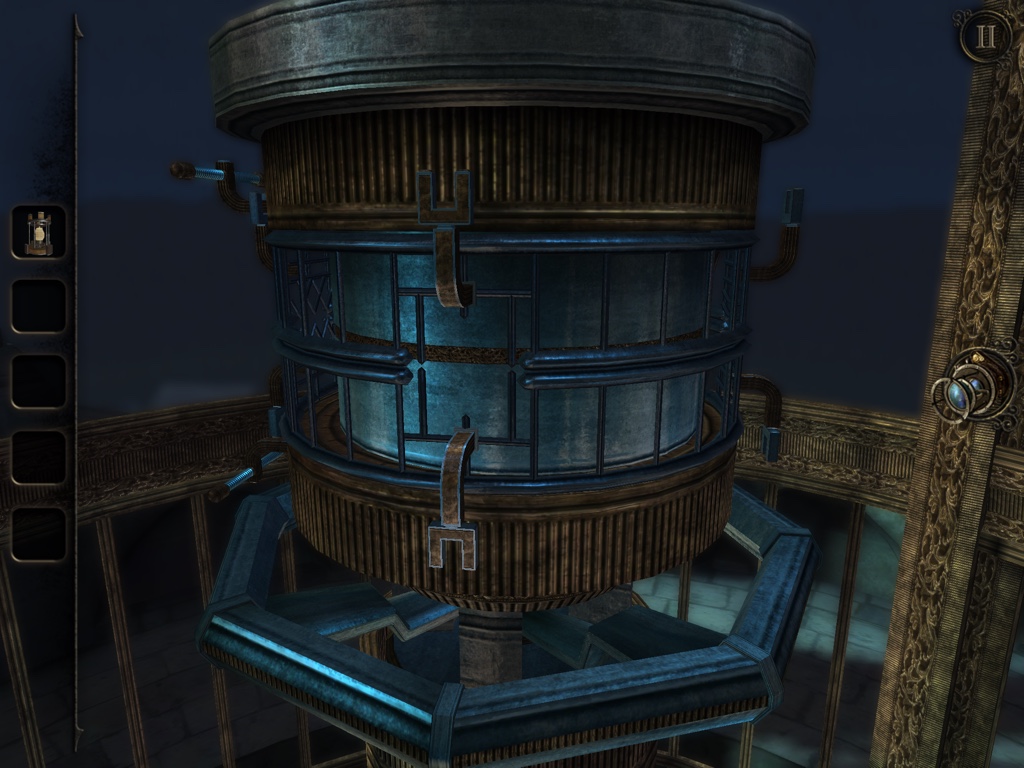
Pull the top handle down, and then spin the column using the wheel until you've made a complete window in the metal grate, like above.
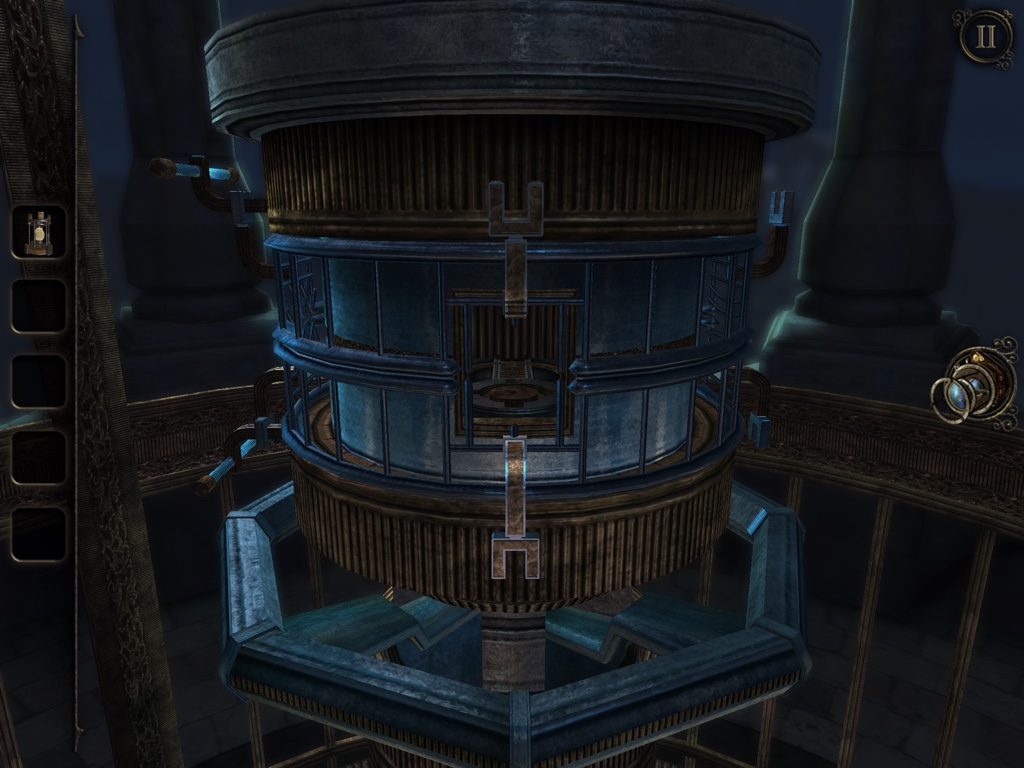
Now move the bottom handle up and spin the entire thing until the window is over the hole in the centre or the column, as above.
Pop the lamp in the hole and take the pyramid to finish the chapter.


 Football Quiz Level 71-80 Solutions and Answers
 Hi Guess the Character Level 1 Answers 1-11
 How to be a big star in Littlest Pet Shop: hints, tips, and tricks
 Bakery Story 2 Cheats & Hack for Gems & Diamonds 2016
 How to start a clan war in Clash of Clans on iOS and Android