Zelda-style adventure game
Oceanhorn has received a hefty new expansion pack, as part of the free Game of the a Year edition update.
It adds a new area, a new boss fight, some extra quests, and fishing.
But how do you access this stuff, where do you find the fishing rod, and how do you find those darned cursed skulls?
Follow our walkthrough to the letter and you'll do all that. And more.
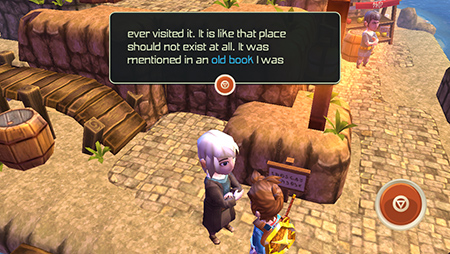
Speak to this person, who's standing near the dock in Tikarel. She'll tell you that she was reading about a mysterious new island, but her brother pinched her book and ran off with it. What a scamp.
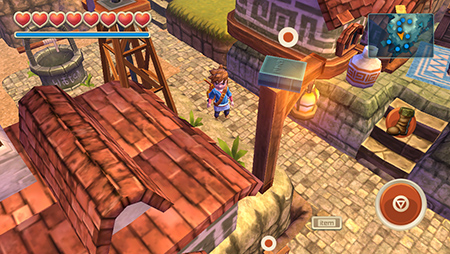
Here it is! It's on top of this pole. How did it get up there? This is the greatest mystery of
Oceanhorn. For now, let's get our hands on the book by using a bomb to blow up the wooden pole.
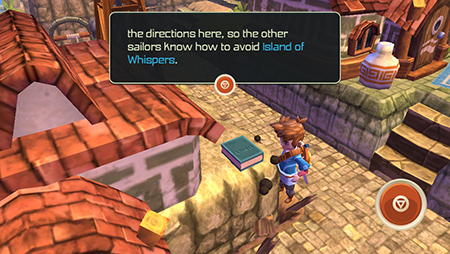
Read your new book to find out about the Island of Whispers. This mysterious new land is now added to your map. But before we set sail…
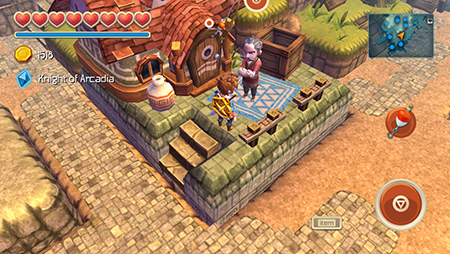
Chat to this guy, who's stood next to the house near the book, to get the fishing rod. This new item lets us catch fish and compete on the Game Center leaderboards.
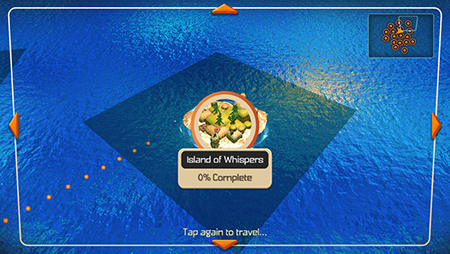
Anyway, enough angling tomfoolery. Hop in your boat and head to The Island of Whsipers, which is in the top right corner of the ocean map.
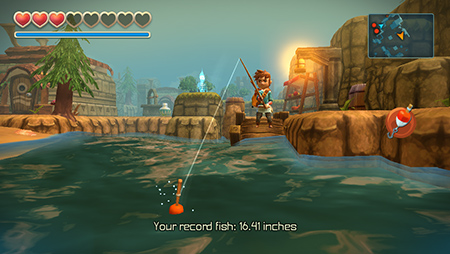
Wander onto the village and head east to find the graveyard and village. There's a crystal skull on the ground here, and if you smash it when your sword a few times it will disappear and make a gravestone appear on the ledge nearby.
Look at the graveyard and you'll hear about a fisherman, and about how a key got fed to a fish. Books on poles, keys inside fish. This episode is odd.

Find the shop and head down the nearby wooden pier. Cast your fishing lure into the ocean and you'll get a screen that looks like this. Wait until a fish bites and then hit the fishing lure icon on the right.
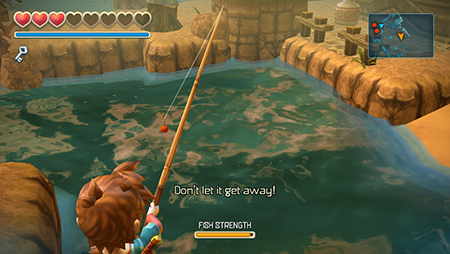
You'll now be locked in a vicious battle of man versus fish. Swipe the screen in the opposite direction that the fish is heading and hold your finger there to wear out the fish. Repeat as the fish moves left and right until you tire it right out.
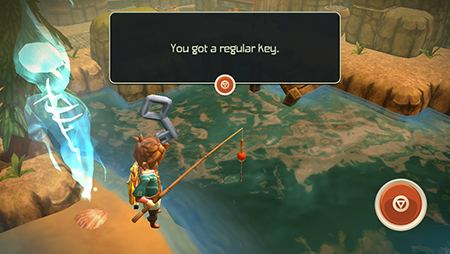
You'll catch the fish and get a regular key for your efforts.
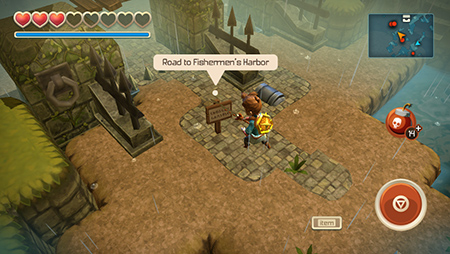
Head back towards the boat, but make a detour to get to this gate, next to a sign that says 'Road to Fishermen's Harbor'. Unlock it with your regular key and wander on in.
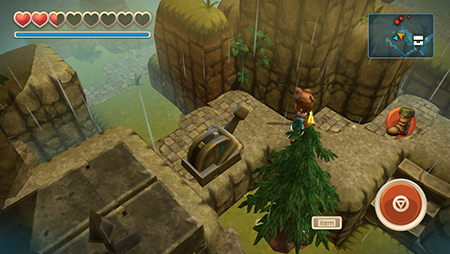
Hit this switch to make a door open. Then wander into the new doorway you just opened.
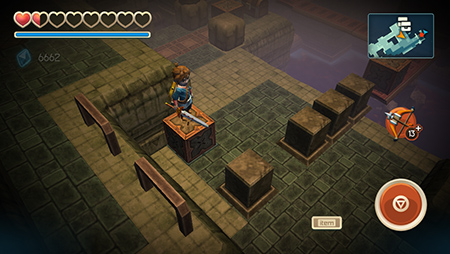
You're now inside the maintenance tunnels. Use your fire spell to light this torch. The statue head will belch out a pillar of fire, but it will get stuck on a box in the next room.
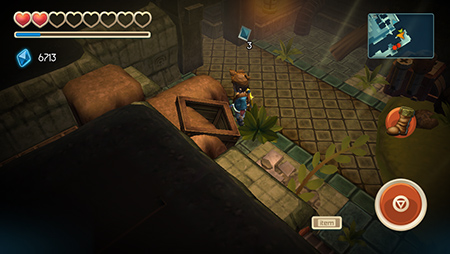
Chuck a bomb over the wall to blow up the wooden box. This will make the metal box drop down, and the fire pillar will light another torch. This causes the gate to open and you can enter the next room.
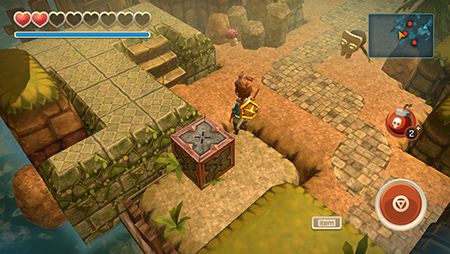
Go to the right and down the steps to this section. Push this block forward and it will activate a button. The chest will appear and some platforms will rise up inside this room.
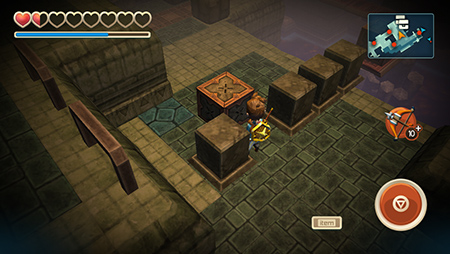
Go over to the right of this room, down the narrow gangway. You'll find a box that you can push. Shove it all the way over to this area and move it onto the blue tile on the floor.

Go back up the steps, walk left, go under the pillar of fire, and go into the area with the checkpoint. You can now drop down onto the block, and use your boots to leap from platform to platform.
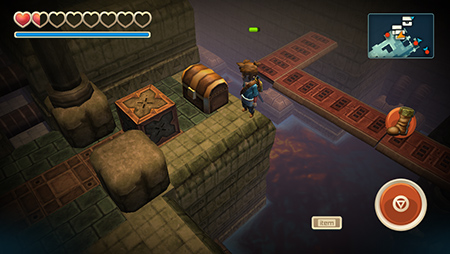
Jump to the ledge with the chest. Open it up to find a regular key. Push the block back to escape and then return up the stairs, under the fire, and to the checkpoint.
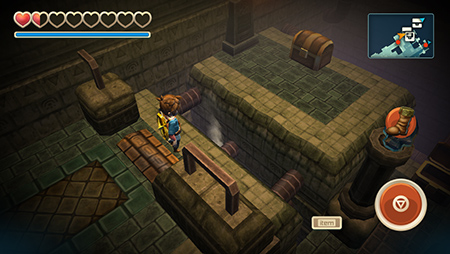
Use your key to open the door here. Jump across and open the chest to get a heart piece.
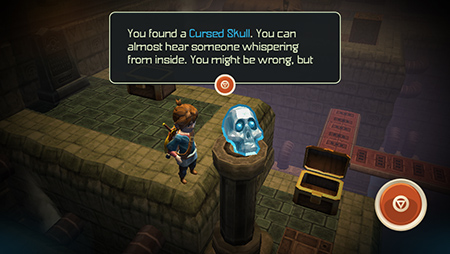
Then wail on the cursed skull with your sword until it starts talking. He'll say he saw a wicked boy use a beach entrance to get to the tunnels. Okay, let's see if we can figure out what that means.
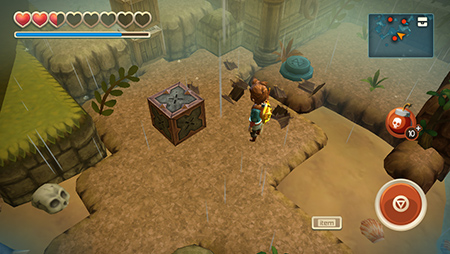
Go back to your boat, and take the path to the right to find a beach. Use your bomb to blow up the rubble here and find a block.
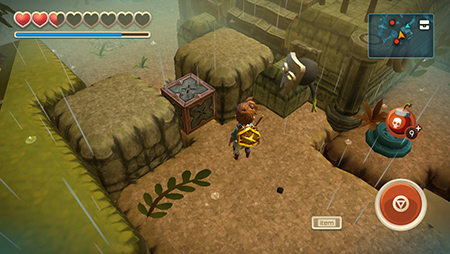
Use a bomb to blow up the two crates that are stacked on top of each other and then push the metal block into their place, as seen above.

Keep pushing it forward, then push it left so it's placed in this spot. You can now go up the stairs seen in the screenshot above, stand on the block, and hop across using the boots.
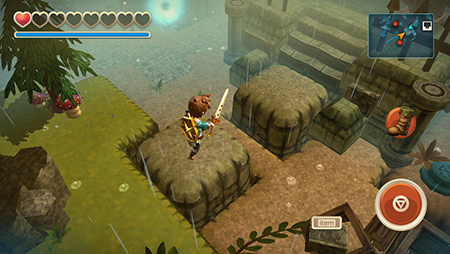
Jump across this gap using your boots, and then head down the ladder.
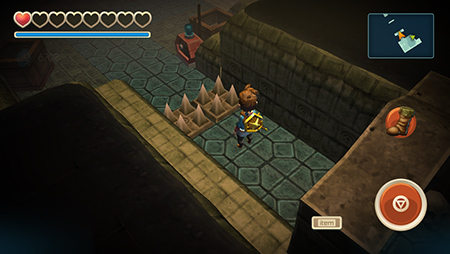
We're in the maintenance tunnels again. Follow the main path to get to this point and then wait for the spikes to retract. When they're down, use your boots to roll over. Hit the checkpoint and continue on in.
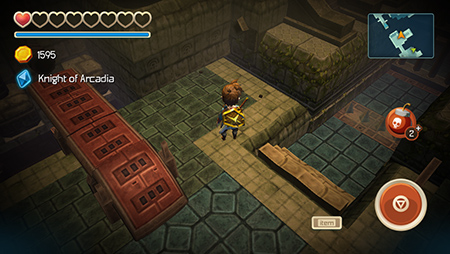
In this room, push the metal block off the ramp and into the water. Then, blow up the two crates to reveal an arrow trap that shoots arrows off the to the left.
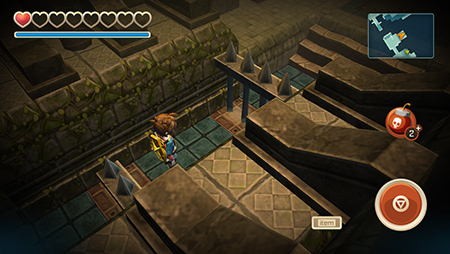
This, it turns out, is very handy. It will keep hitting the target in that room, making these two gates go up and down, asymmetrically. Walk over the first gate when it's lowered, wait, and the walk over the second gate.
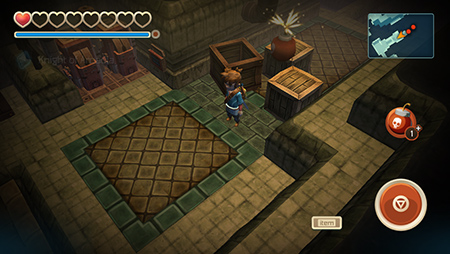
Blow up these crates, and then continue onwards. Look out for rats. Then beat up the skeleton and continue on through the door.
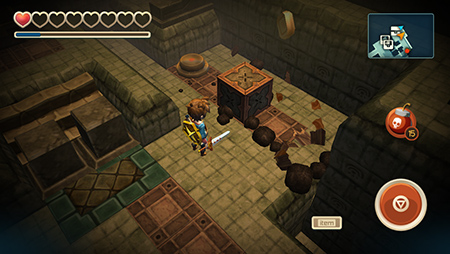
In this room, blow up this rubble with a bomb. Then push the block onto the button.
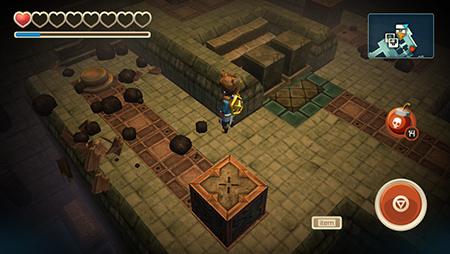
Do the same on this side.

Head back into the room you were just in and use a bomb to blow up this pile of dirt and rubble. Follow the steps up.
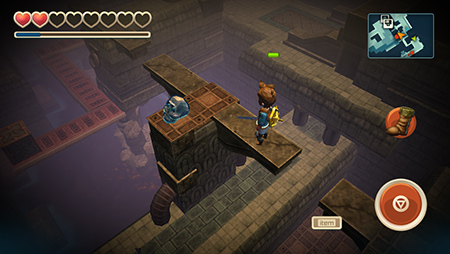
Use your boots to jump across and get to this skull. Whack it with all your might until it starts talking.
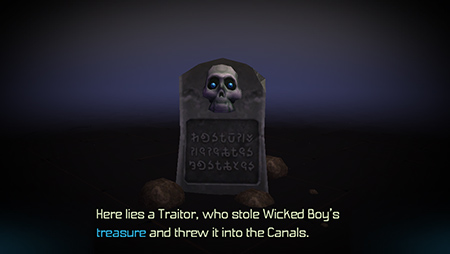
The skull says wicked boy lobbed the treasure into the canals. This kid is a pain. Right, onwards. Use your boots to keep jumping between platforms.
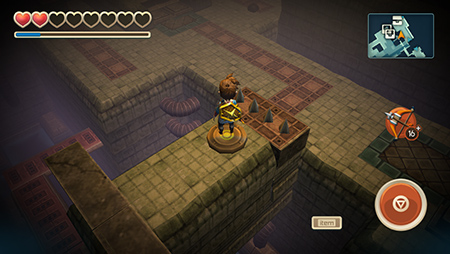
Stand on this button to make the gate and the blocks across the way both go lower. Now quickly drop down, run to the blocks and up the stairs. Use the boots to roll if you need to go faster.
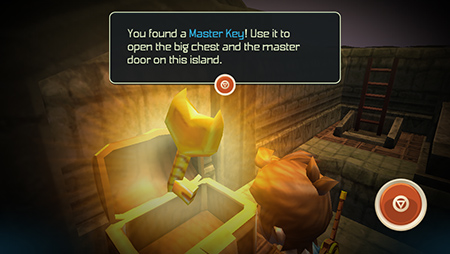
There's a master key inside the chest. Grab it, then use your boots to jump over to the ledge and take the ladder up.
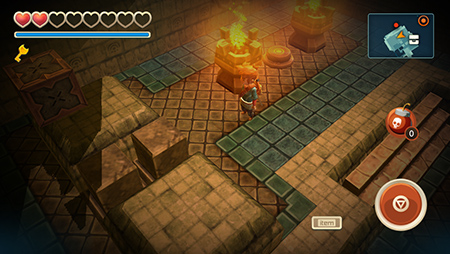
Now you're back on dry land, walk forward and up the steps. Then drop down and open the big door with your master key.
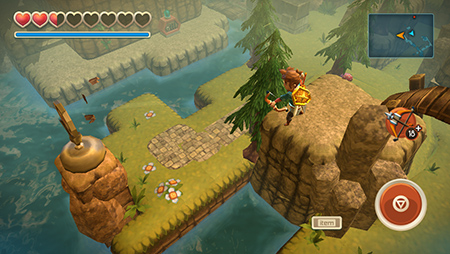
Head to this little garden area. Hop into the water and start swimming.
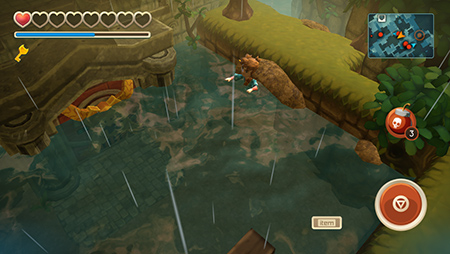
Swim downwards to this section, and you'll find a tunnel that you can swim right through. You'll get an achievement for finding the canals.
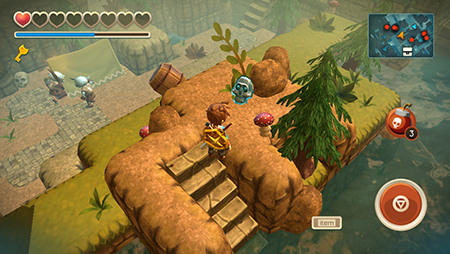
There's a cursed skull to find on the far left side of the canals. This empty noggin says something called Creation 1 is inside wicked boy's lair. Sounds good, we'll check that out later. For now, though…
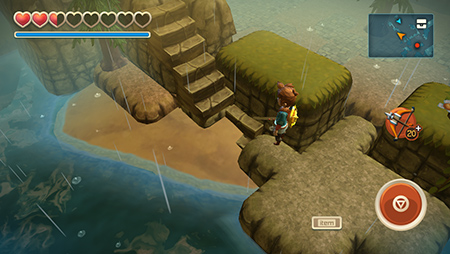
Head back to Fisherman's Harbor, which is directly in front of your boat. Turn left as soon as you go in the gate and take this staircase here. Now follow the path around until you get to…

This point. Fire an arrow with your bow to hit the target. A gate will open on the lower area. Now head back to the big master key gate we unlocked earlier.
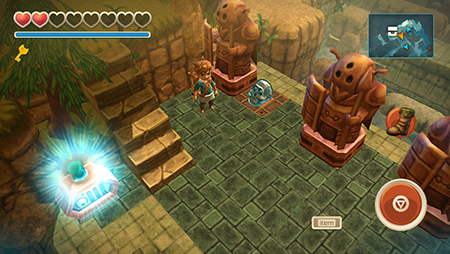
Follow the path around until you get to this area with three statues. Push the left one to the left to reveal a skull. Smash it to pieces. He says his house was burned down by Creation 1. Another skull for the pile.
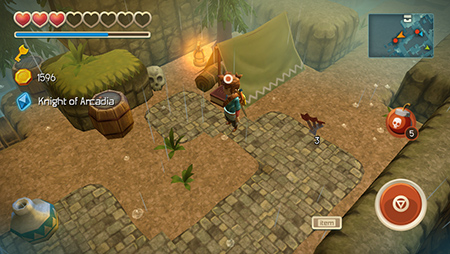
Follow the path around until you get to this enemy camp. Take out all the bad guys and then wander over to the water.
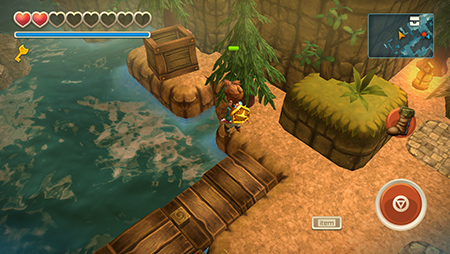
Here, use your boots to jump over the water and to the ledge. Blow up the crates with a bomb and then smash the skull inside until it starts yapping. It doesn't help our main quest (it's pointing you towards a heart piece) but it fills out the collection, doesn't it?
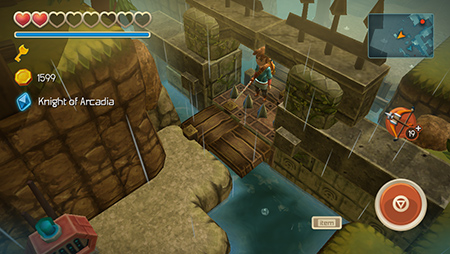
Hop back over and go left. You'll go through the gate we opened just a minute ago.
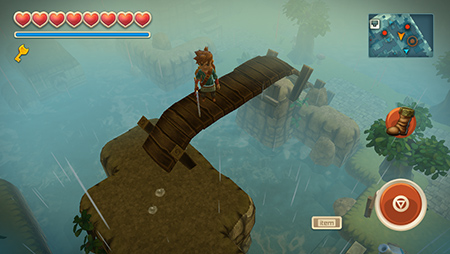
Follow the path around and use your boots to jump over this gap.
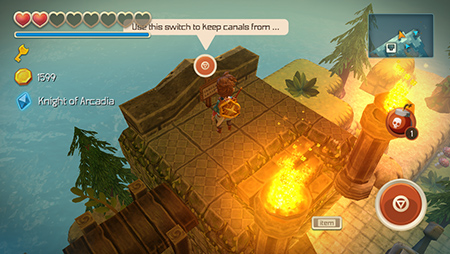
Keep following this path around until you come to this sign. It says that hitting the switch will make the water levels drop. You better hit it, then.
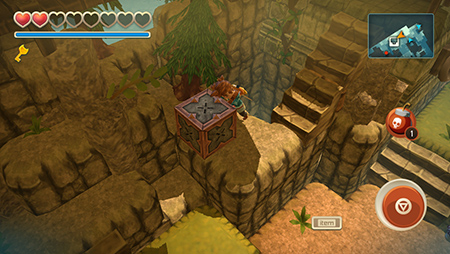
As promised, the canal will become empty. Go down the steps and push this block down. Head down and get yourself into the canal by going to the garden area by the master key door and swimming through the hole in the wall again.
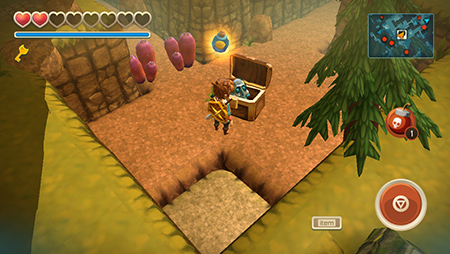
Open this chest to find a cursed skull. Smack it with your sword until it talks. He says he's a liar who never hid anything under his bed. Sounds like a dirty rotten fib to me. (This is referring to one of the houses in the village. Blow up the bed with a bomb to find some money).
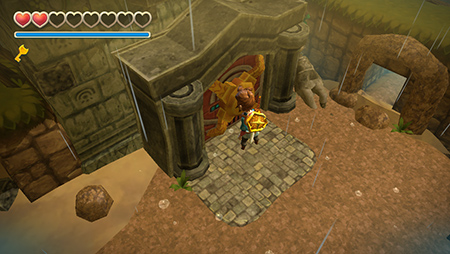
Now open the door in this drained canal bit. Don't worry about a key, you'll use the same master key we found earlier. Head inside.

In the back of this room, press the button between the two torches and then quickly stand on the blocks that have sunk into the floor. Wait a few seconds and you'll be lifted up onto the higher area.
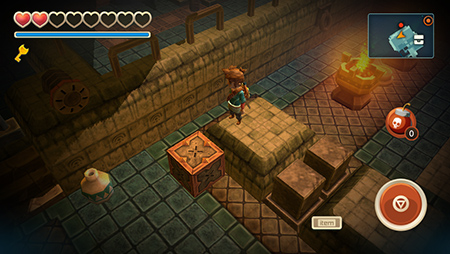
Push this block off the ledge.
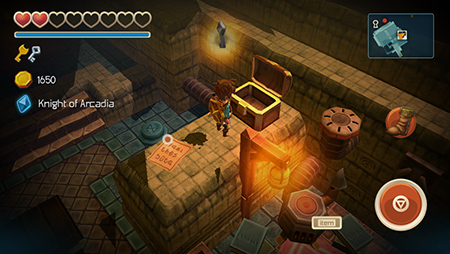
Don't drop down yet. Use your boots to jump over to the nearby platform and keep jumping until you get to the chest. Open it to get a key. Now work your way back to the block we just pushed.
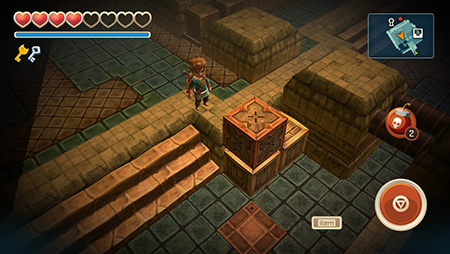
Push the block onto this wooden crate. Then push the block forwards again so it falls on the floor. Then shunt it onto one of the coloured tiles on the floor.
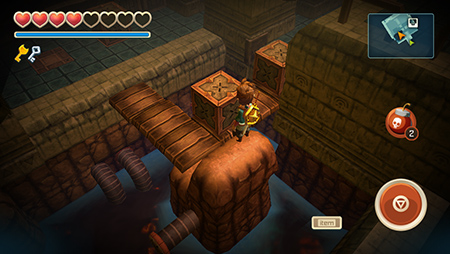
Push this block off the bridge and into the water. Then wander around to the other side and push the other block along the bridge and onto the other coloured tile on the floor.
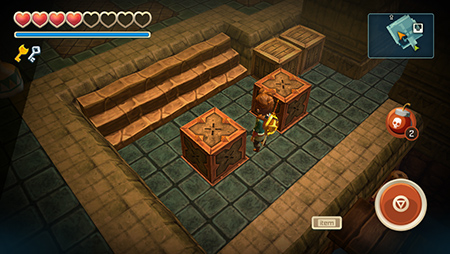
Like so! This will open a gate ahead. Go through it and use your key to make the blocks retract into the floor. Go on through.
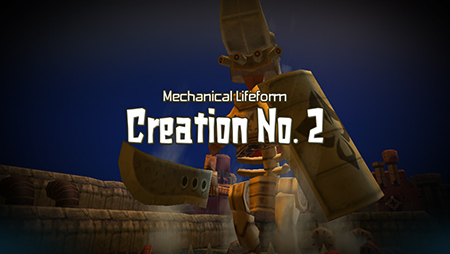
Eek! Boss fight time. This is Creation Number 2 - a big mechanical beasty bloke. He's not too hard to kill. Keep your distance and lay into him with arrows and bombs. Then, when you've used all those, keep spinning around the boss and use your sword on his butt until he dies.
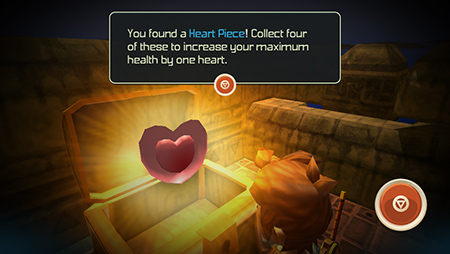
There's another heart piece in this chest. Now take the ladder up.
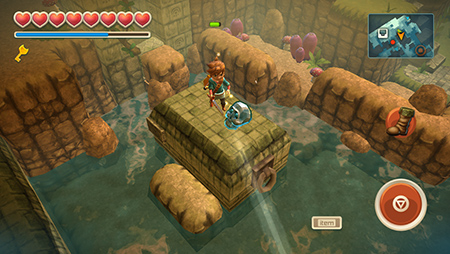
Jump across and wail on this skull.
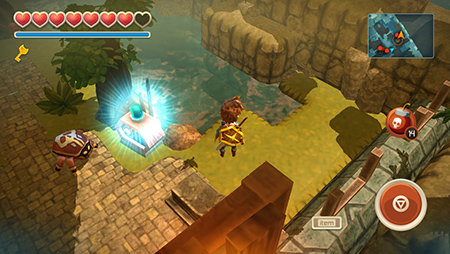
Come back to the main gate, and turn right as soon as you enter. Jump into the water here and then swim all the way down to the end of this small river.
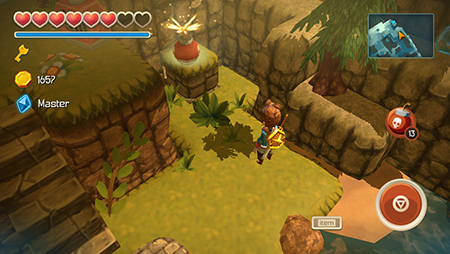
Climb out of the water and use a bomb to destroy this bit of earth. You'll find a staircase hidden away. Take it up, and then double back on yourself and head in the direction of the main gate.
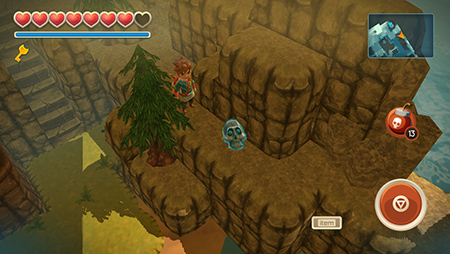
Here's the ninth skull in our guide. Smash it to bits. Thanks to reader PiccoloUccello5 for help on this skull.

Now go back to the master gate again, and wander up and over this big ol bridge.
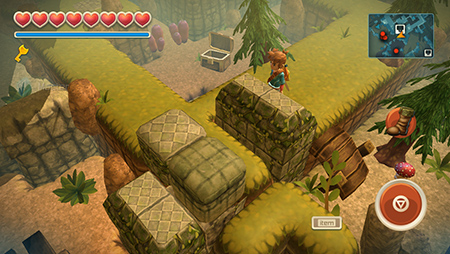
Go down the little staircase, the walk downwards until you meet the ledge. Then go left until you get to the spot seen in the screenshot above.
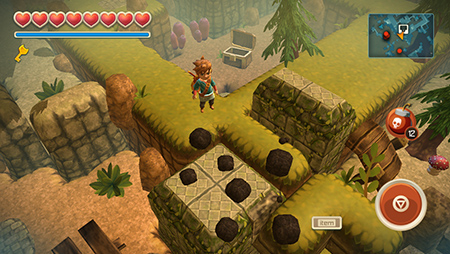
Use a bomb to blow up one of these stone walls.
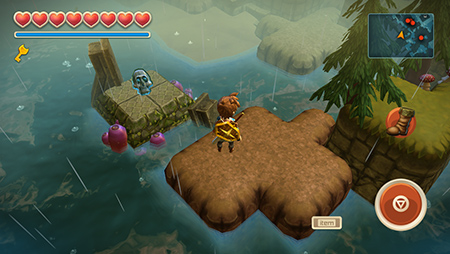
Then use your boots to jump from ledge to ledge. Then drop down and jump over to this island to get the final skull in our guide. Thanks again to PiccoloUccello5 for the directions.
Getting all ten skulls will trigger a short final cutscene.



 Adventure Escape: Murder Manor Tips, Cheats, & Hack for Unlimited Stars - AppGameCheats.com
 Bonza Word Puzzles September 2014 Daily Answers
 Guess The Emoji Answers Level 5
 School of Dragons Hack for Gems, Coins & Membership - AppGameCheats.com
 Guess The Movie 4 Pics 1 Movie All Level Answers