The Room 3 - The Complete Walkthrough
Chapter 1 + 2 - The Lighthouse | Chapter 3 - The Clock Tower
Chapter 4 - The Workshop | Chapter 5 - The Observatory
Ending 1 - Imprisoned | Ending 2 - Escape
Ending 3 - Release | Ending 4 - Lost
The Room 3 is here. Mobile gaming's premiere box-stroking puzzle game finally has a third installment, and it's a beauty. It's big, bold, and full of keys to fondle in your fingers.
It can also be quite tricky, with complicated puzzles that require more than a few brain cells to work out. So, with that in mind, we've put together a complete walkthrough to the game to help you out.
Don't say we never do anything nice for you.
This guide will help you tackle chapter five, which takes place in an observatory. We'll be peering into the stars for this one, using a big ol' telescope. The truth is out there, and all that.
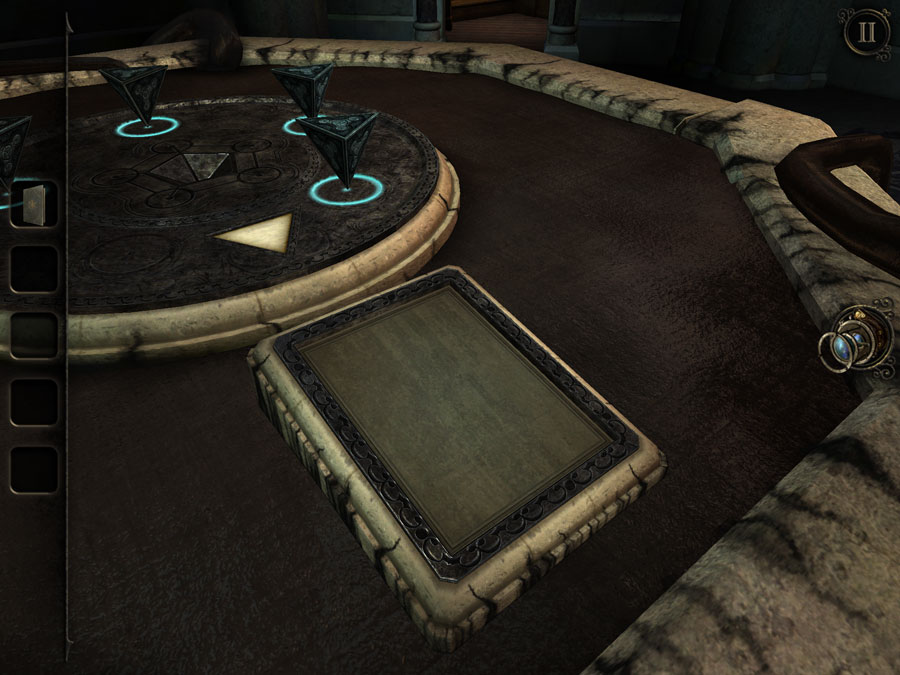
Return to the main room, and plop the pyramid onto the table. Grab the book that appears from the murky black goop.
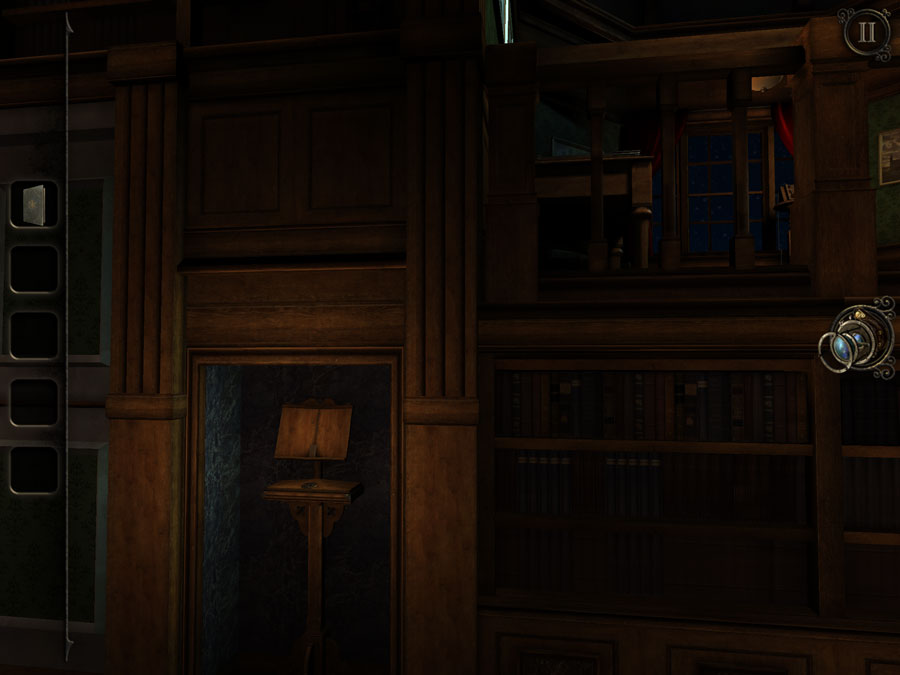
Go into the library (the area with the Mystical Maggie machine) and find the lectern in the alcove. Place the book on the wooden stand for an elevator to appear. Get in, and turn the handle to "up".
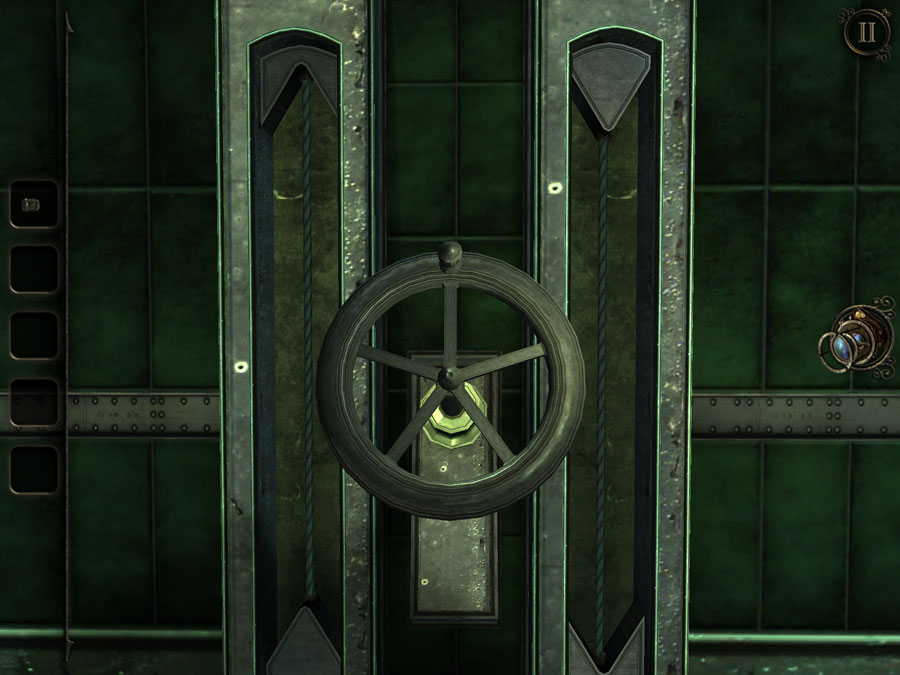
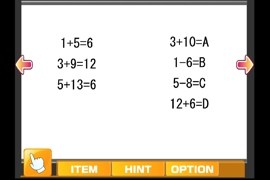
Find the power board and once again, route the power from the left to the right. This time, you don't have the plus and minus signs at your disposal. Not to worry, we've got the solution above.
Flip the switch on the wall, find the box on the tripod, flick all four switches, and press the button. You know the drill by now. Then find the oscilloscope.
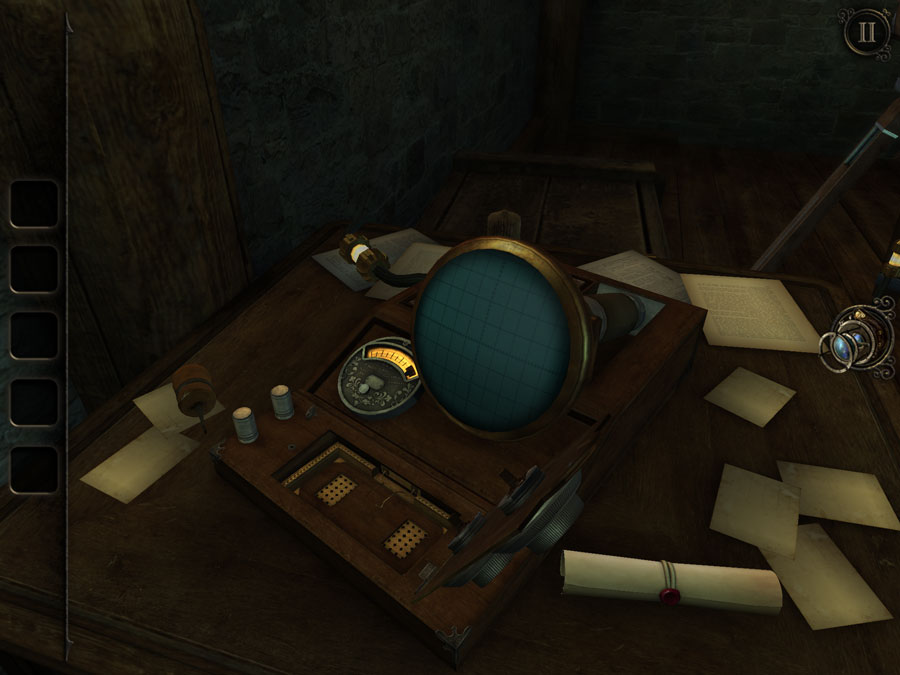
Uh oh! It's broken. No worries. Take the screwdriver from the table and then get back in the elevator and go downstairs.
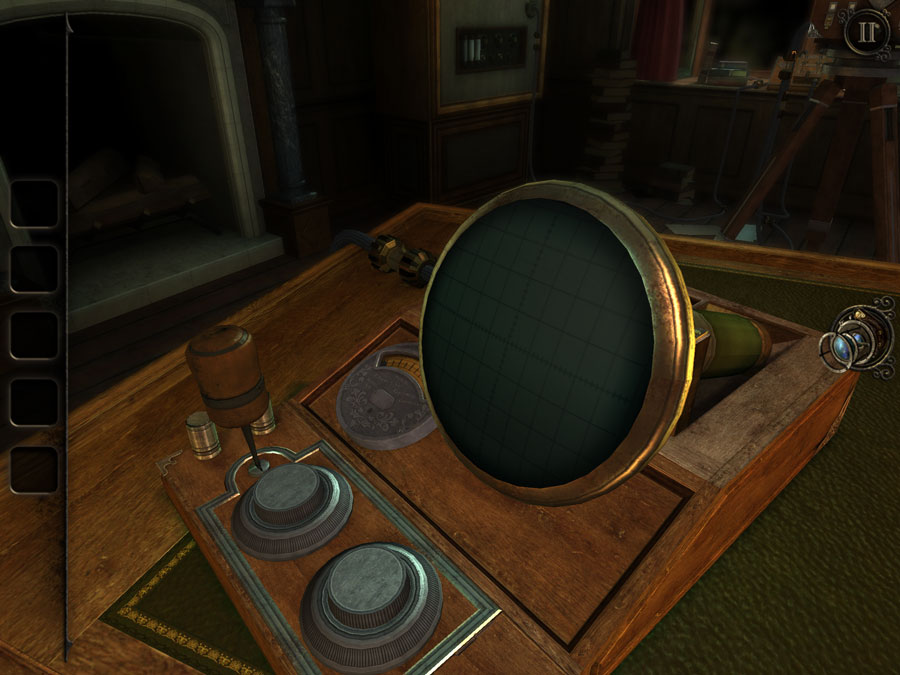
Find the office (the doorway with the red curtain). Look at the oscilloscope and use the screwdriver on the big screw to the left. Twist the tool, then lift the panel and take the electrical component from inside.
Now get back in the elevator and return to the upper area.
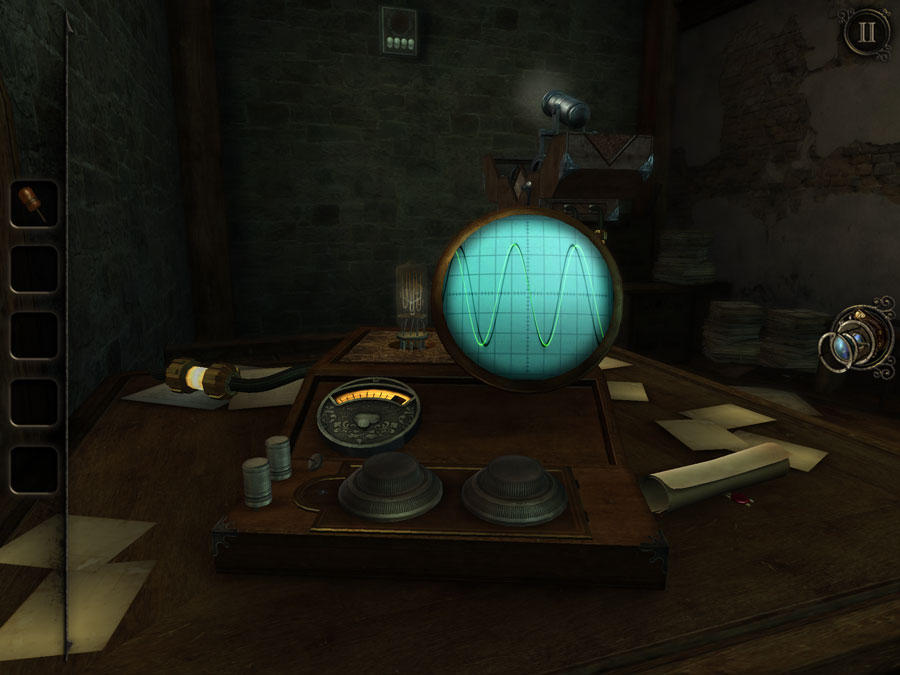
Pop the component in the broken oscilloscope and shut the flap. As ever, twist the left knob until the lamp in the background turns on. Twist the right until the green waveform matches the black one.
A doorway will appear and you'll be taken inside to the observatory.
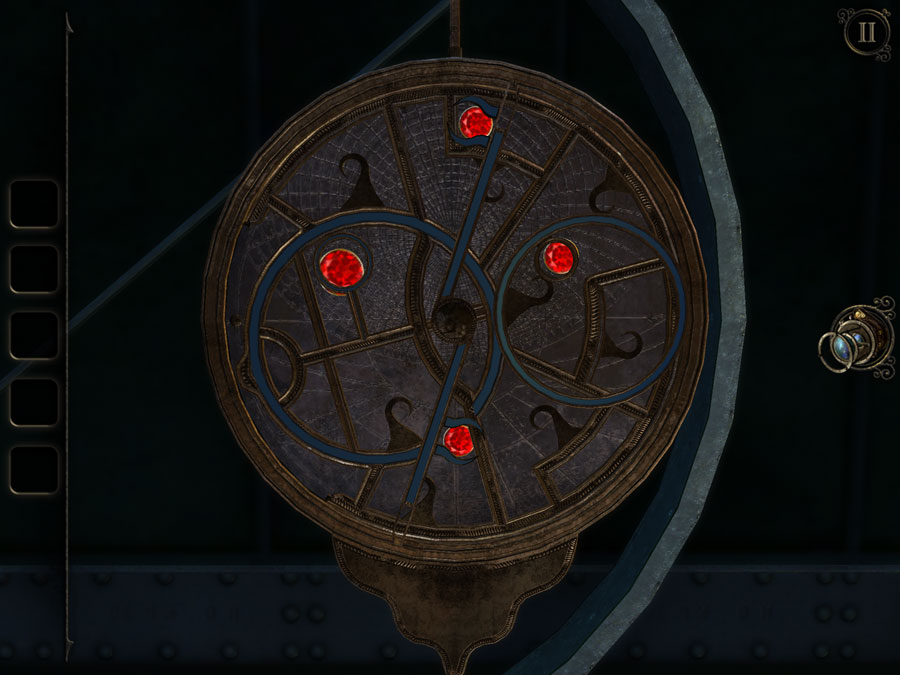
Look at this disc on the right wall and twist the three elements - the outer disc, the inner disc, and the hand, until four lights turn on, as above. Take the etched disc from inside.
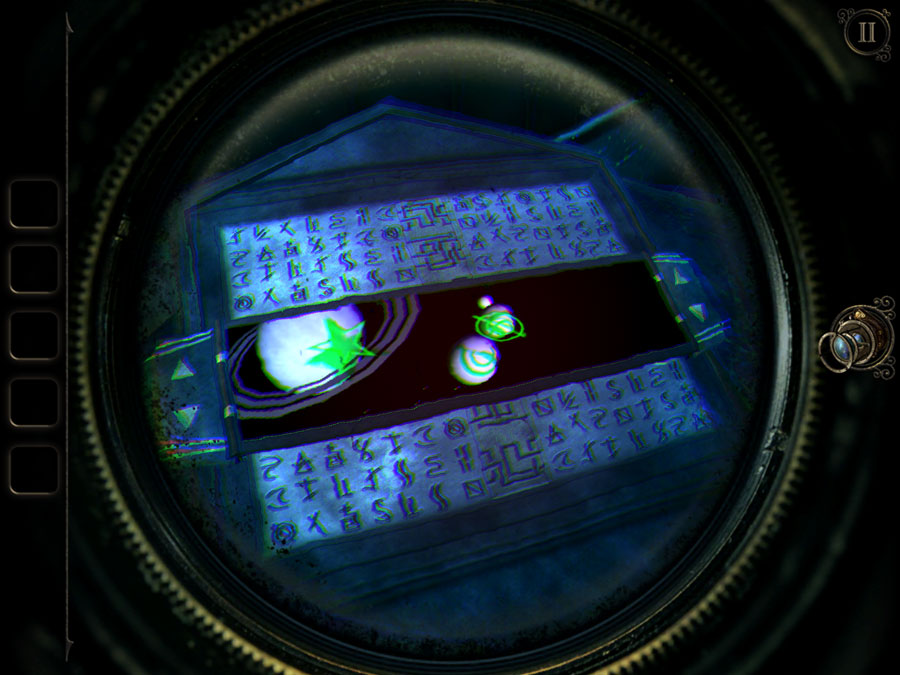
Here, pull the small handle to open the lid. Place your glass disc down and press the button on the front to switch on the backlight.
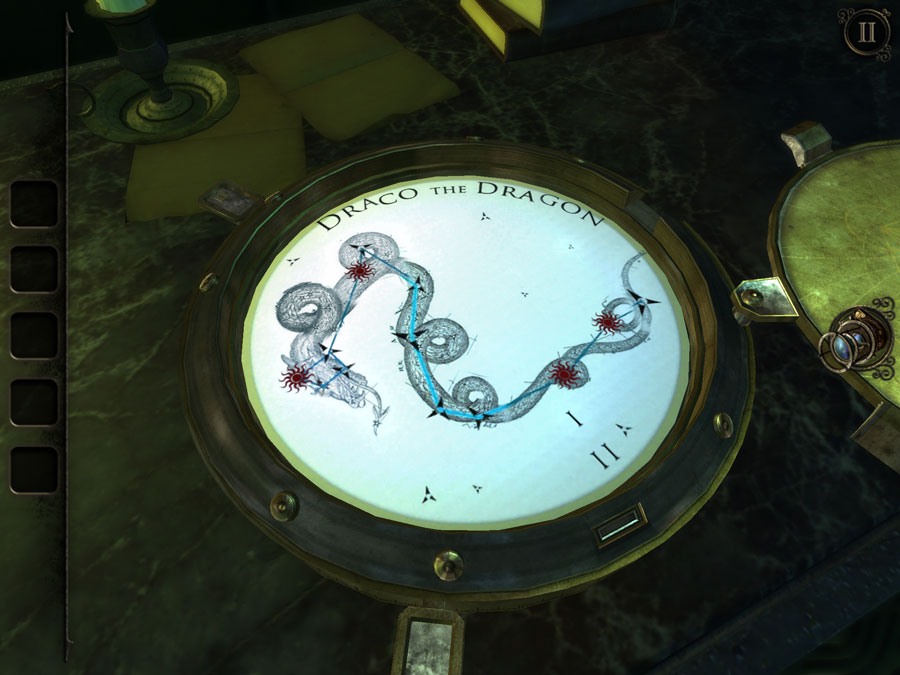
Twist the two discs (using the handles that jut out) to make the image of Draco the Dragon above. Take the crystal star that appears, and note the four red sun shapes on the image.
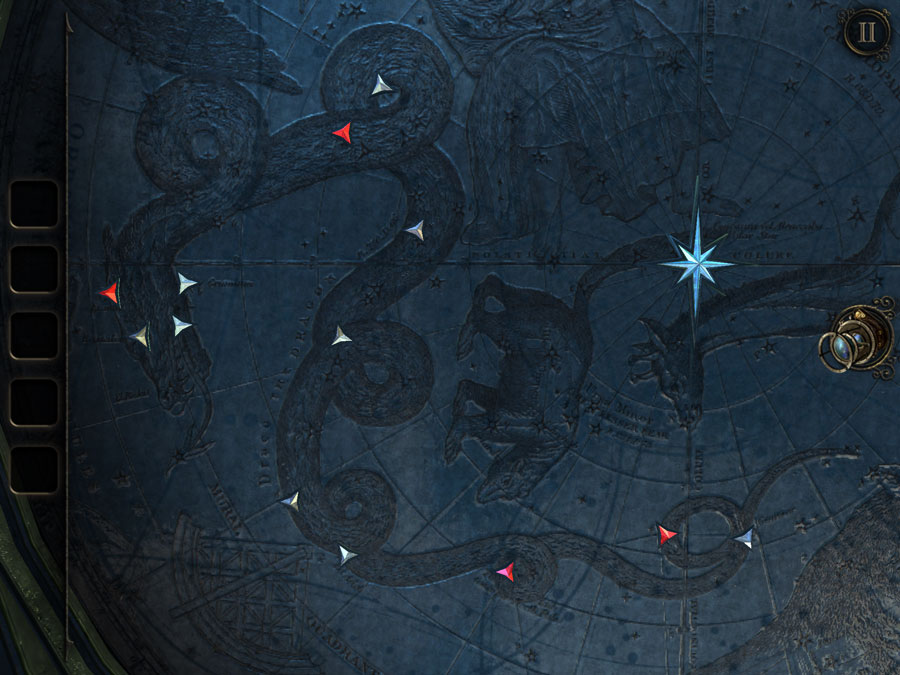
Place the crystal star into the wall, on the right. Then turn on the four lights shown above, to match the dragon image we saw earlier. Take the scrap of parchment and the telescope lens.
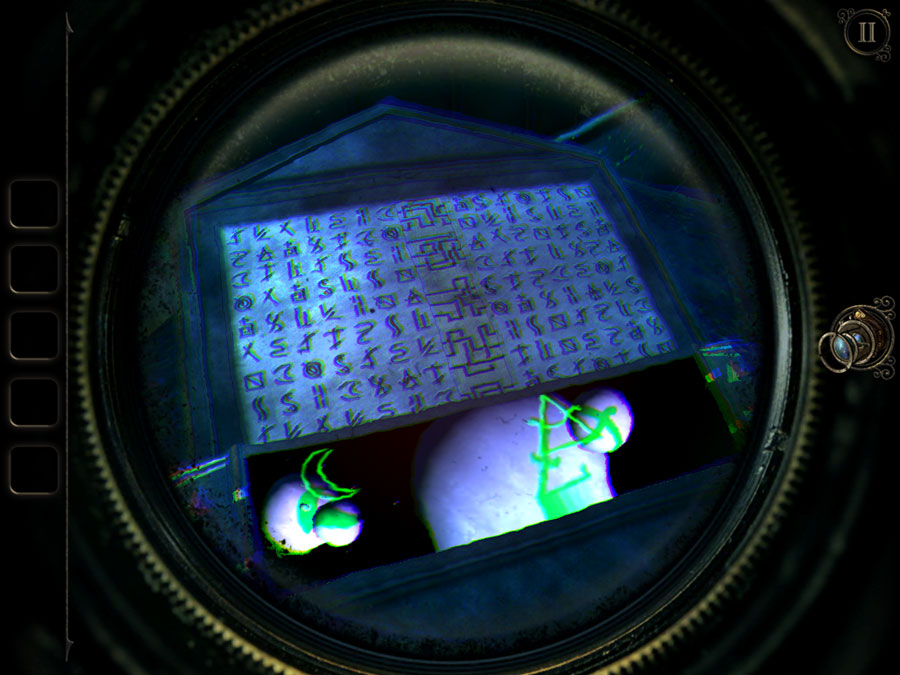
Place the parchment on this doodad, and move it down to this position (causing the shapes in the centre line up). This gives us two symbols.

Spin this wheel at the back of the room to make the telescope come down.
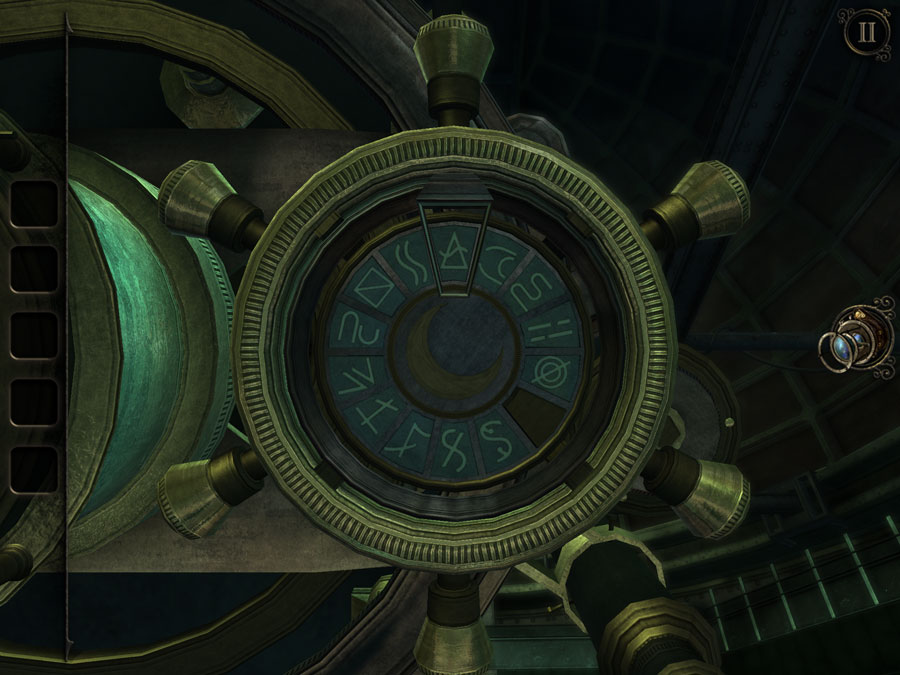
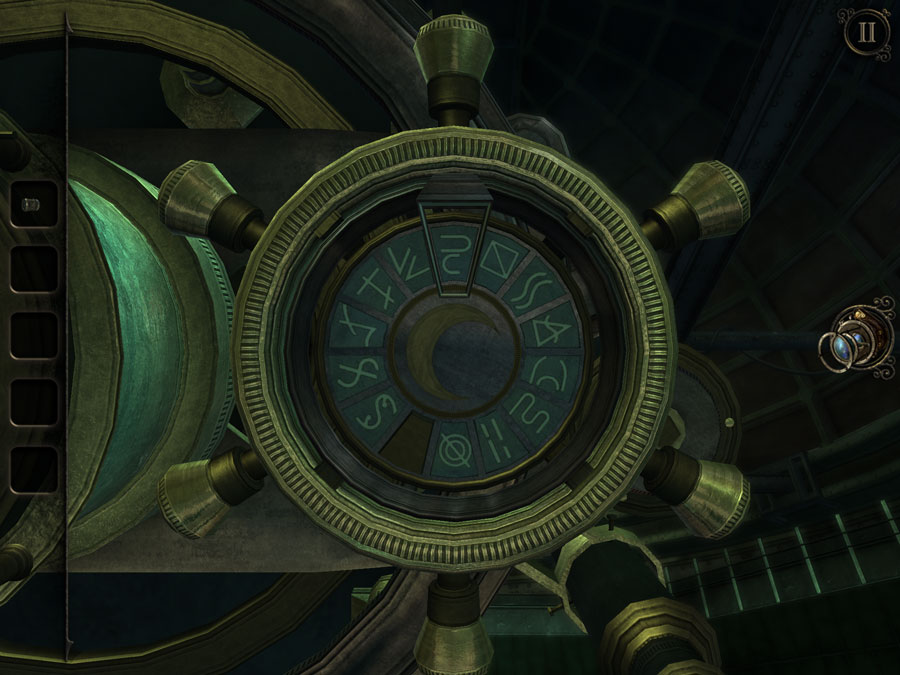
Spin the star and moon wheels on the telescope so the symbols from the parchment are highlighted, as shown in the images above.
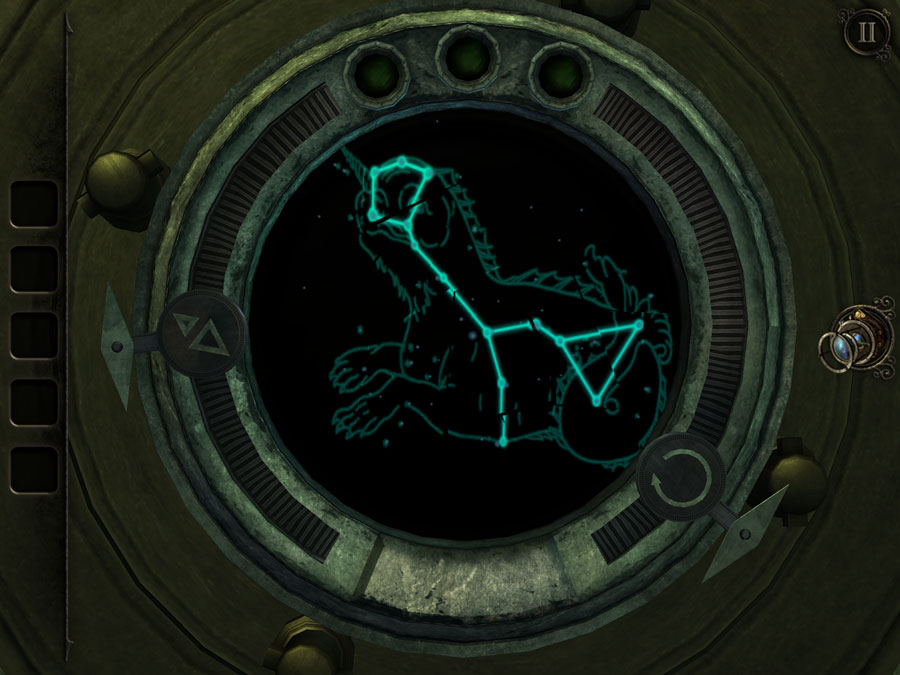
Look at the telescope lens. Remove the broken lens and replace it with your shiny new one. Move the left and right handles to the positions shown above to line up the constellations. Take the metal plate that appears.


Place the metal plate on the doodad again. Use your eyepiece to look inside and see some planets. Keep watching and you'll see two sets of symbols appear, like above.
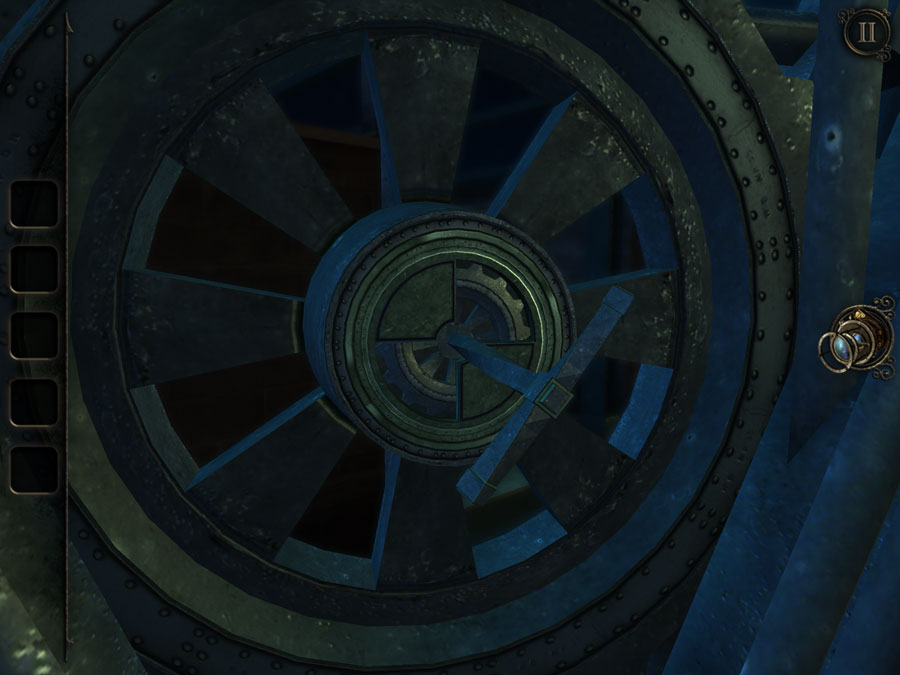

Enter these symbols onto the star and moon dials on the telescope, as shown above.
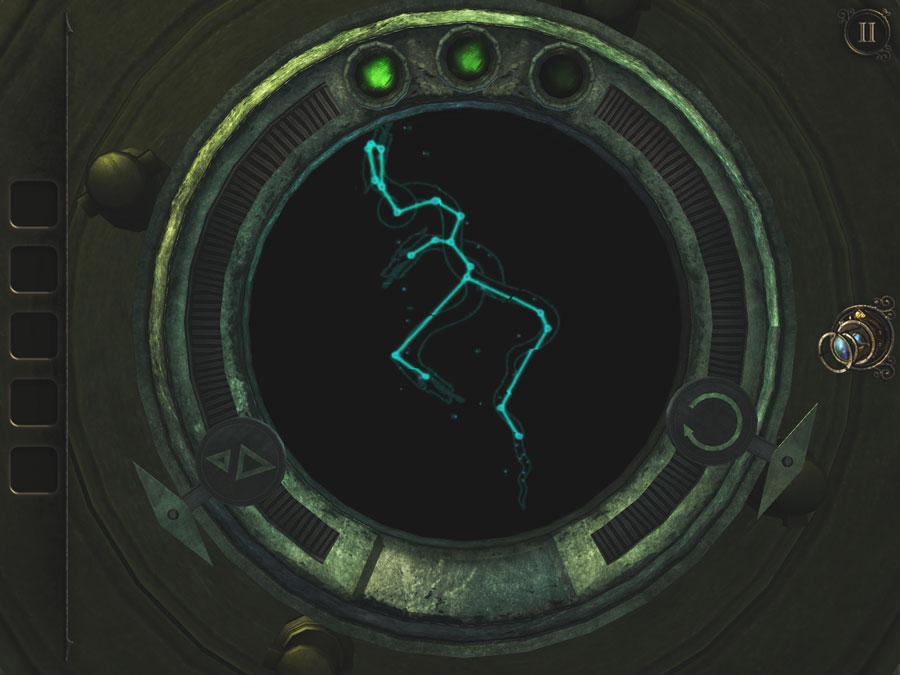
Twist the left and right handles to the positions above, to make the constellation line up. Take the large iron handle.

Use the handle to unlock the door, in the hall before the telescope room. Go on through.
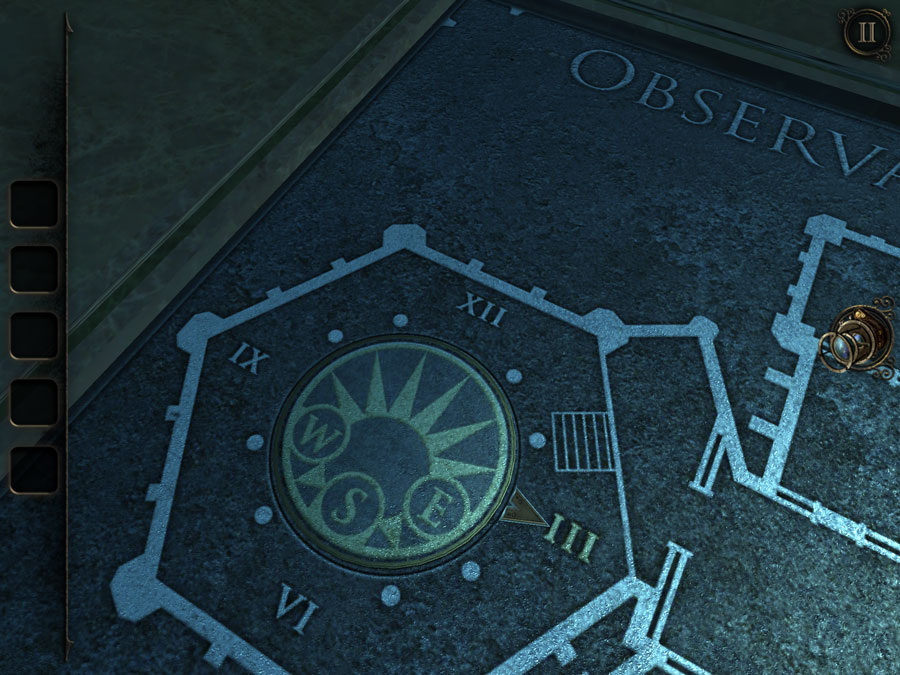
Find this podium outside. On this left dial, spin to the position shown. Take the round gear.
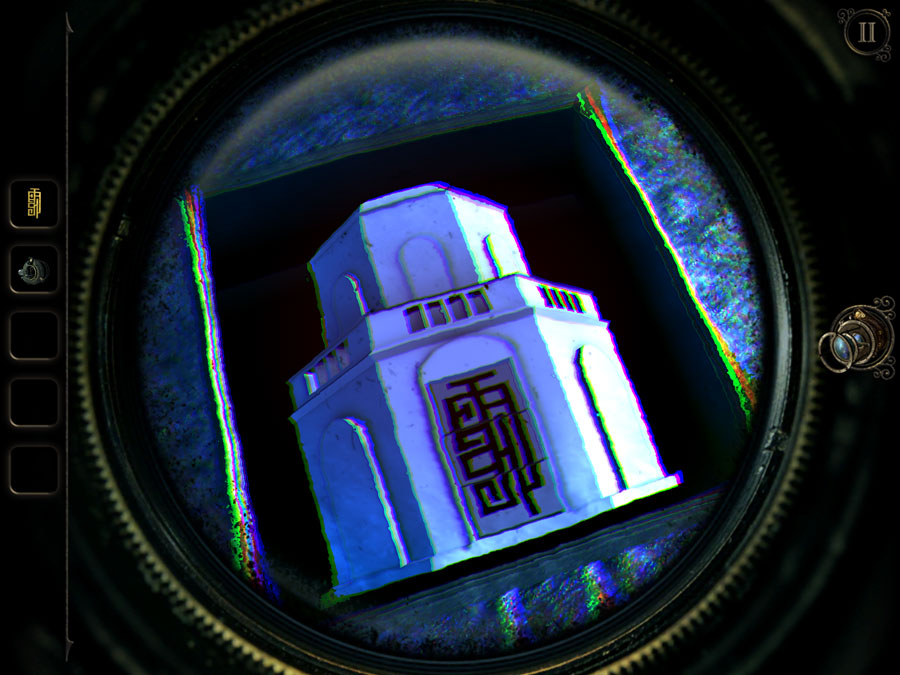
Pull apart these metal doors and take the square gear.
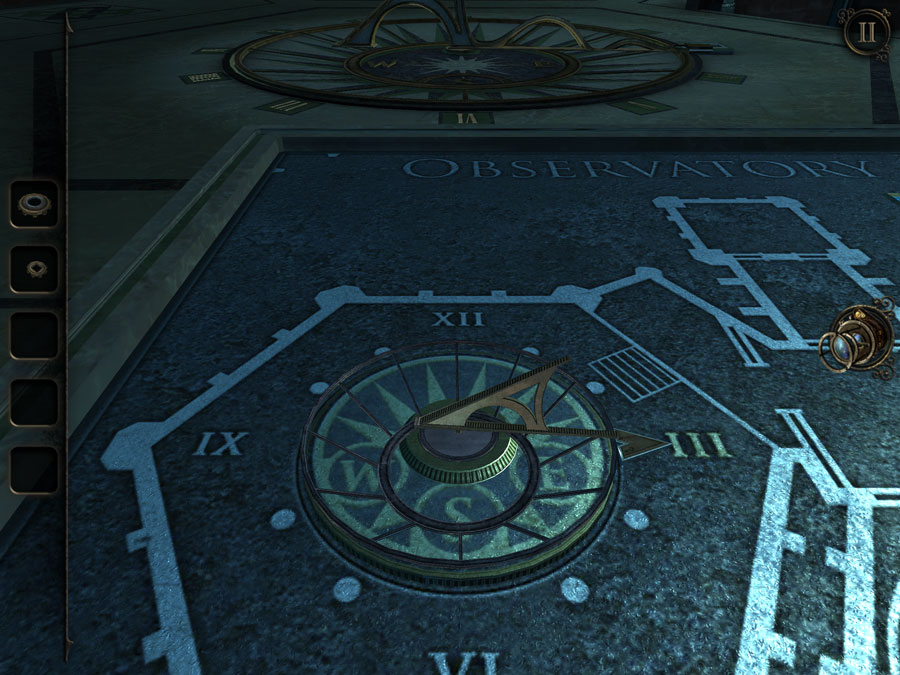
Spin this thing to turn on the power in the observatory. Now go back inside.
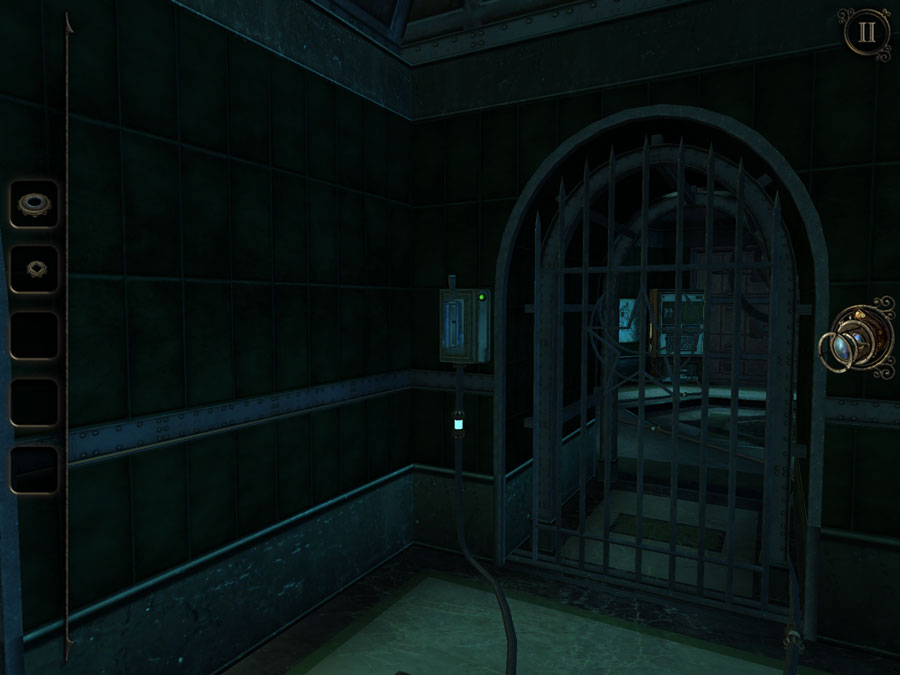
You can now flick this switch. So do so, and go inside.
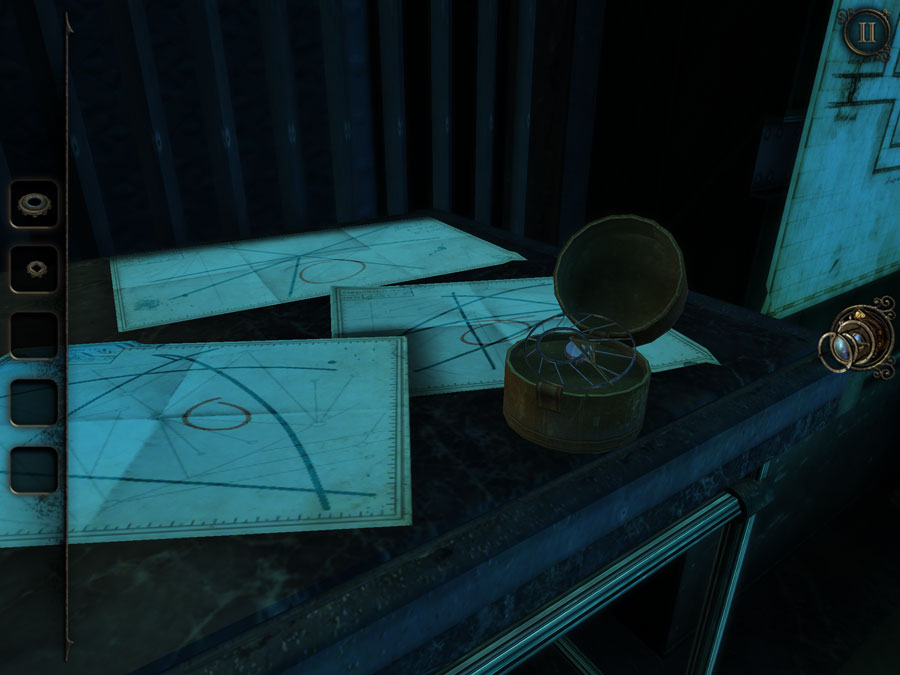
Take this model sundial from the table, then go back outside and to the podium from before.

Place the model sundial into this socket. Then spin it to the position shown above.
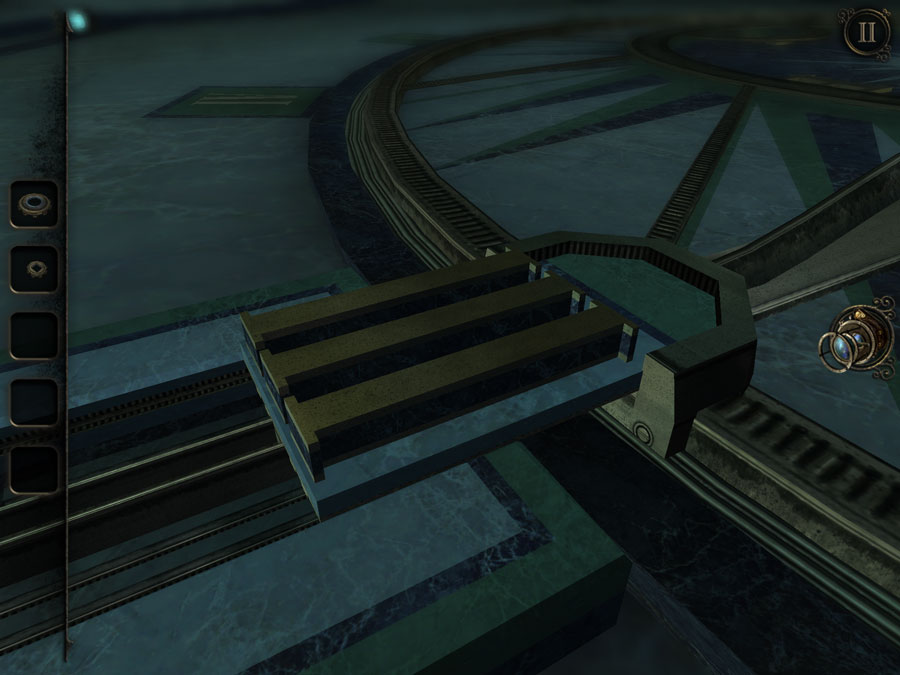
Go look at the longest arm of the actual sundial, and pull this section down.
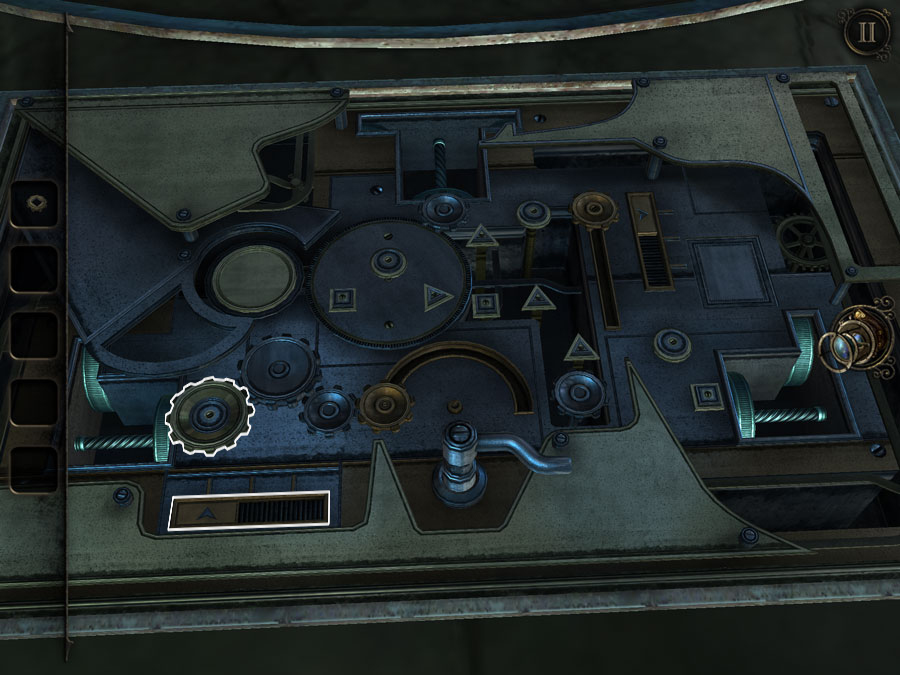
Don't mess with any of the metal plates. Place the round gear in this slot, and spin the handle until the left disc moves all the way to the left. Take the triangular gear, and take back the round gear.
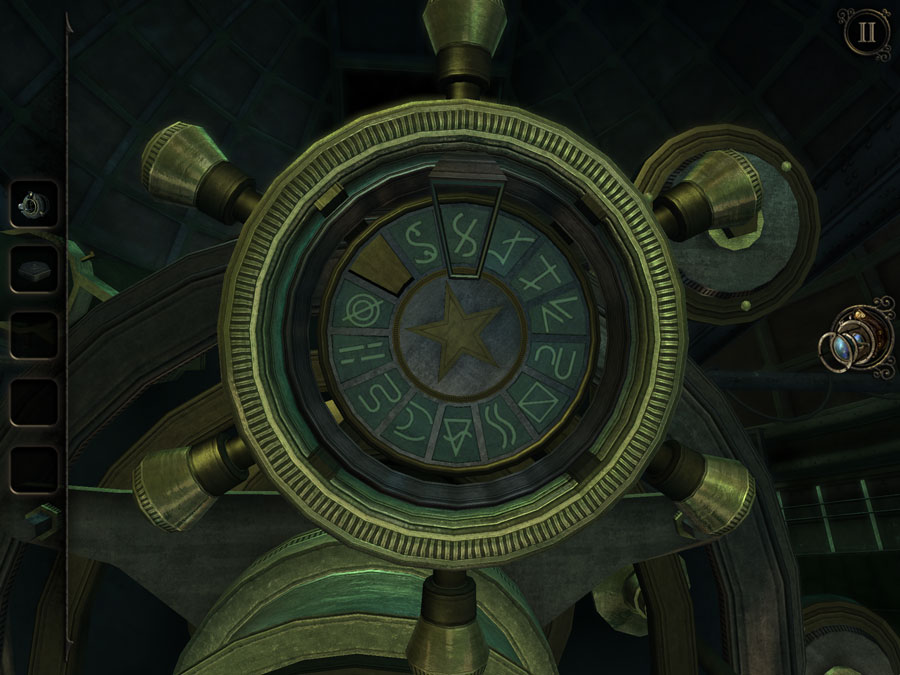
Move the bottom metal plate to the right position and the right metal plate to the bottom position. Then place the round, triangular, and square gears in the slots shown above.
Spin the handle until the right disc goes right. Take the large handle and all three of your gears.
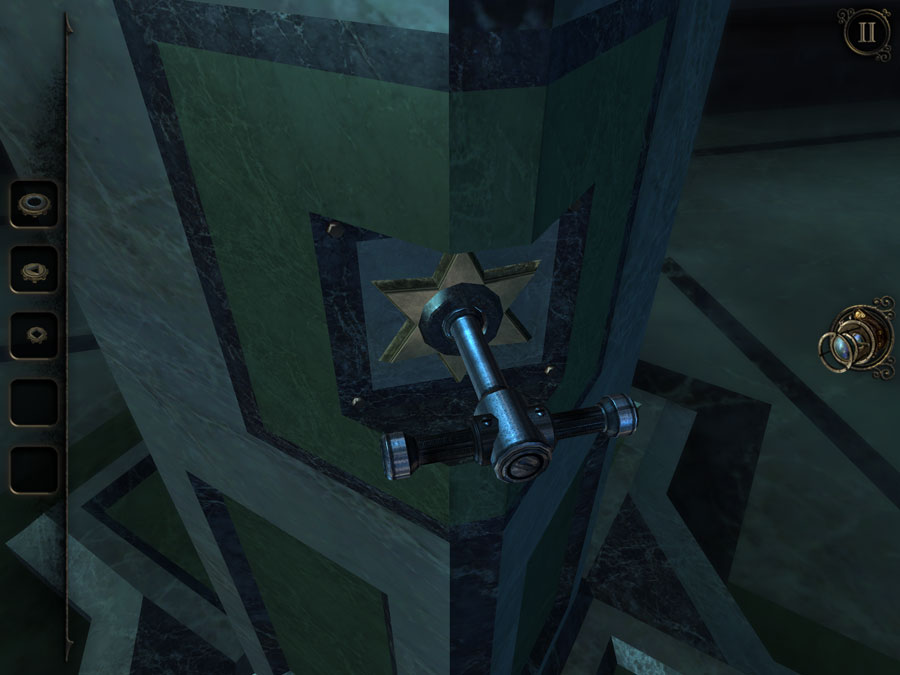
Put the handle into the foot of the podium. Take the intricate orb from inside and investigate it.
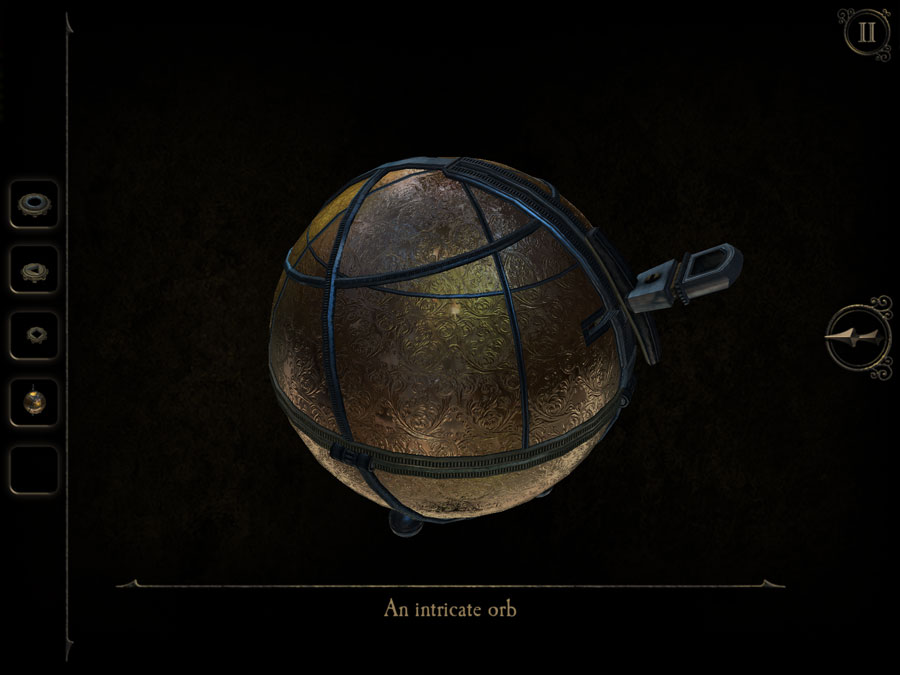
Pull this handle down and then pull it out to get a brass handle. Take the orb with a socket out of the brass circle.
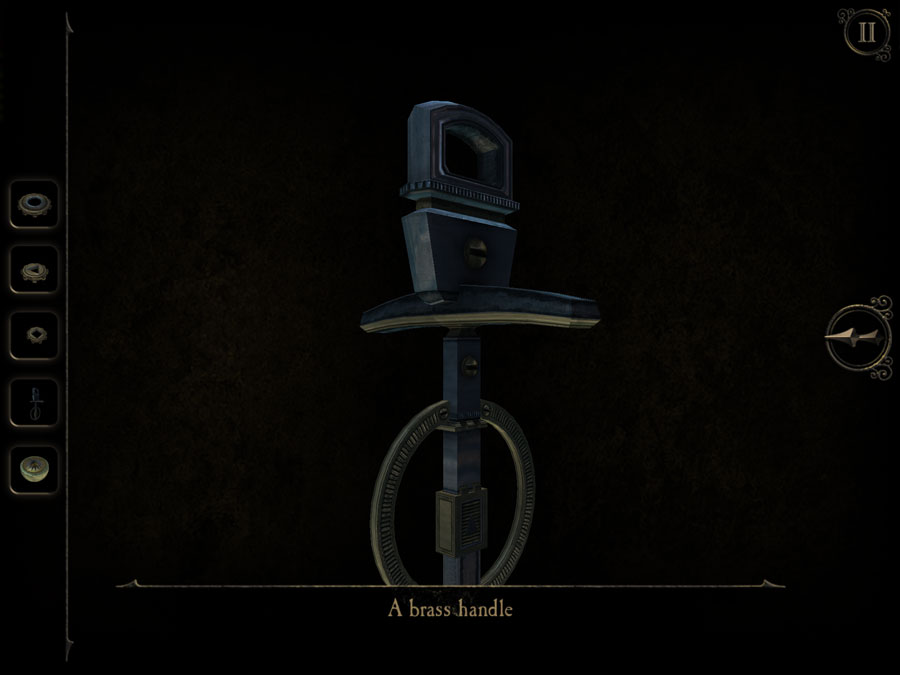
Look at the brass handle. Pull up the square at the bottom to transform the shape of the base.
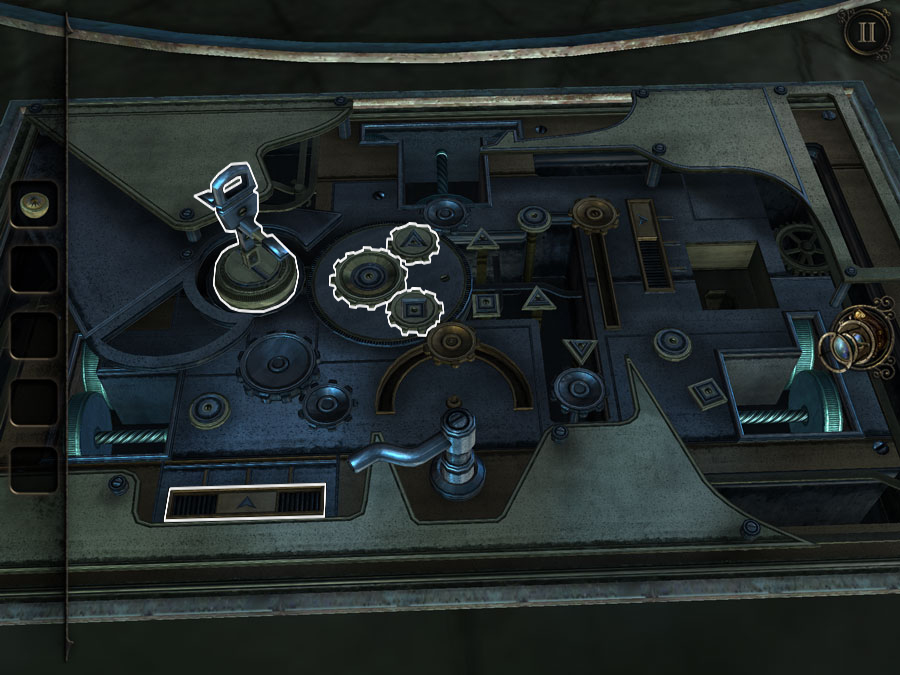
Return to the gear panel. Move the bottom metal plate to the middle position. Place the three gears into the three slots on the middle disc. Place the brass handle into the socket to the left of the gear panel. Spin the brass handle to move the middle disc to the position shown above.
Spin the silver handle at the bottom until the top gear reaches the top position.
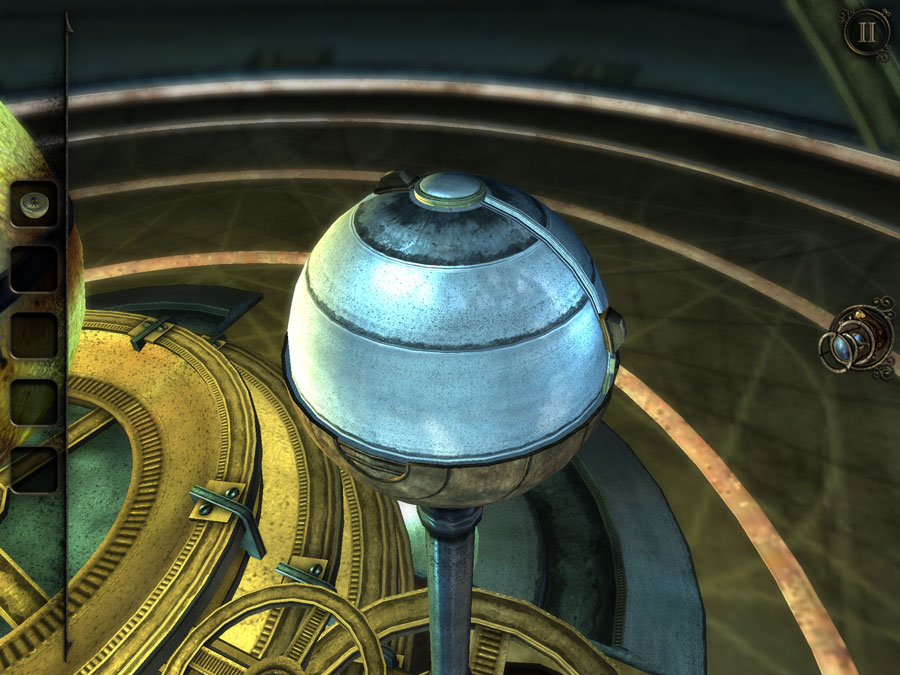
Look at the first planet from the sun. Pull down these two small handles and press the button at the top.
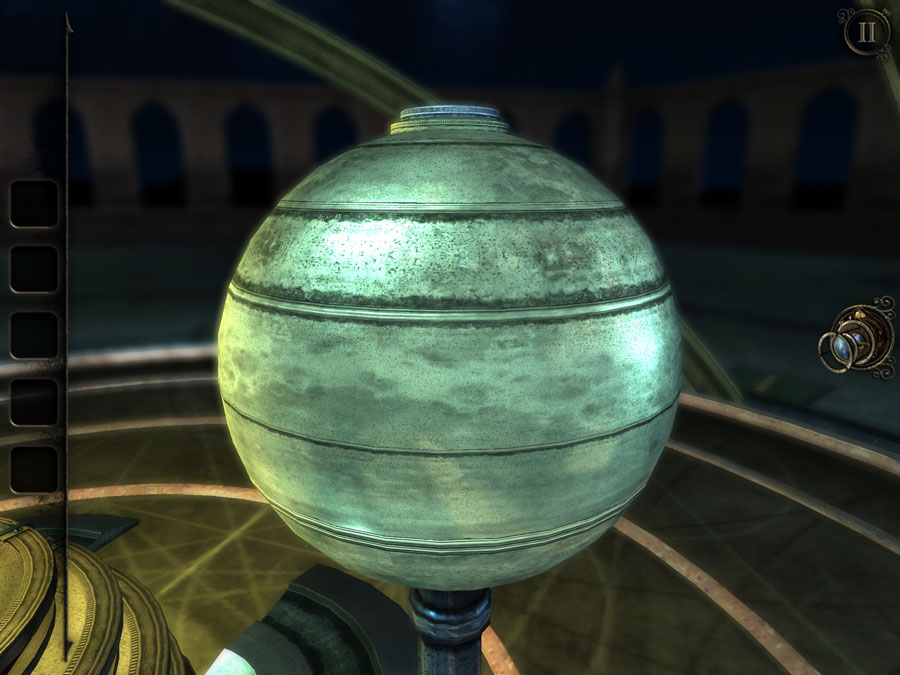
For the second planet place the orb with a socket onto the top. Then press the button.
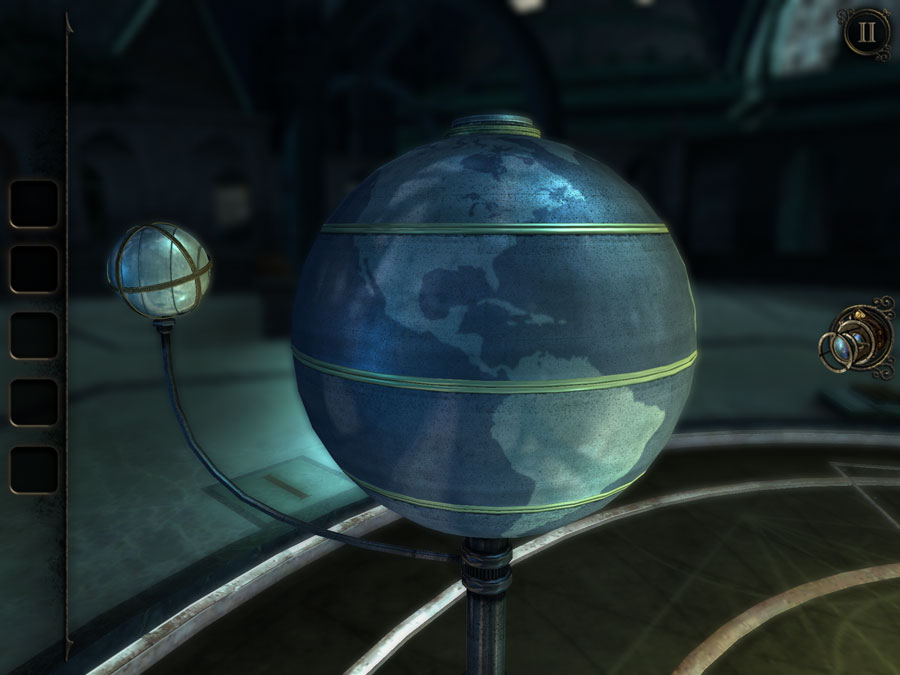
For the third planet, spin the top three dials to make a map of the earth. The bottom dial can't spin, so make sure your map lines up with that. Press the button on the top.
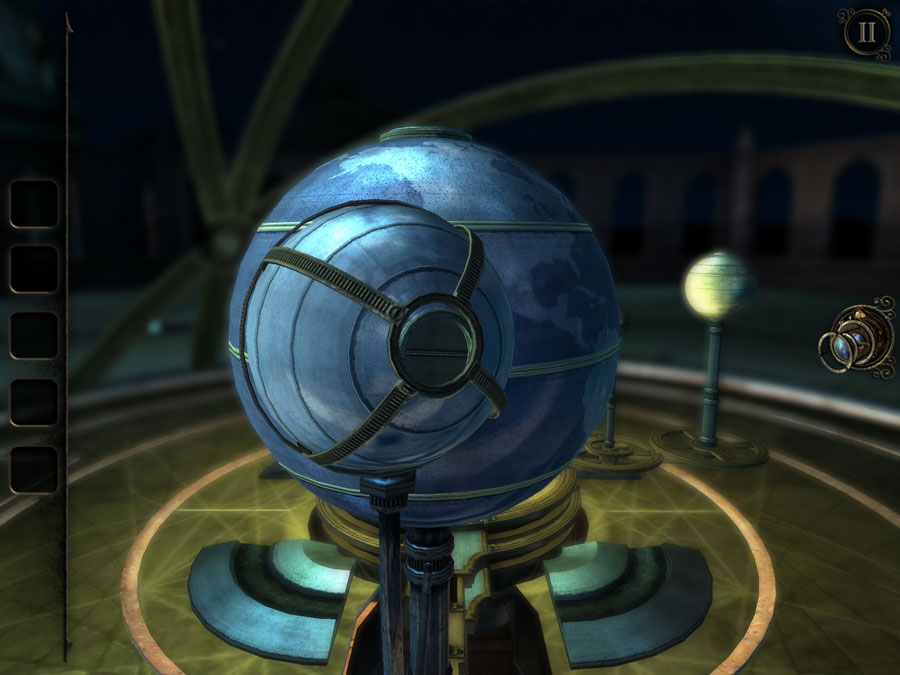
Move the metal lattice around this planet until the hole lines up with the hole on the planet. Take the metal casting from inside.
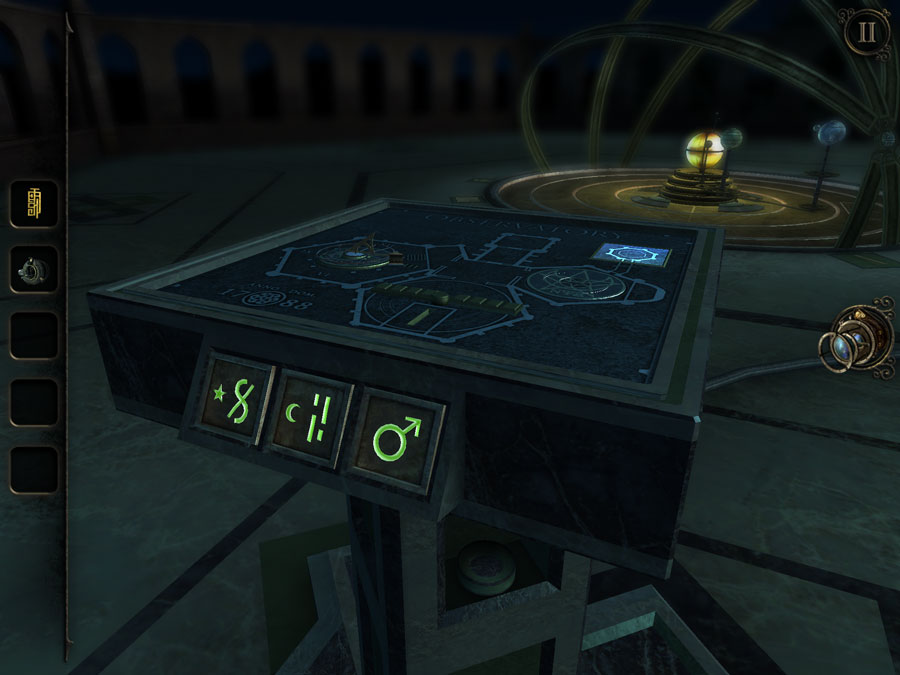
With the planets (except the furthest) now spinning, take the lens cover. And make a note of the shapes on the front of the podium.

Before we go back to the telescope, look at this part of the podium through your eyepiece. Spin the three dials to make the shape above (to match the metal casting). Then place the casting into the indentation that appears. Use your eyepiece to go inside.
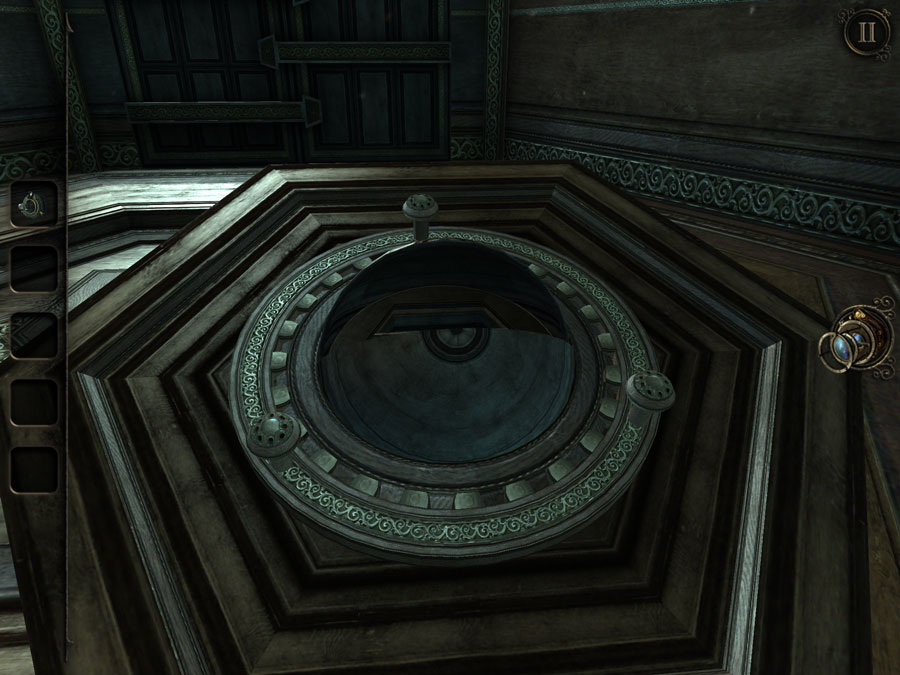
Spin this wheel until the orb opens. Take the stone carving. Now leave the area and return to the telescope.

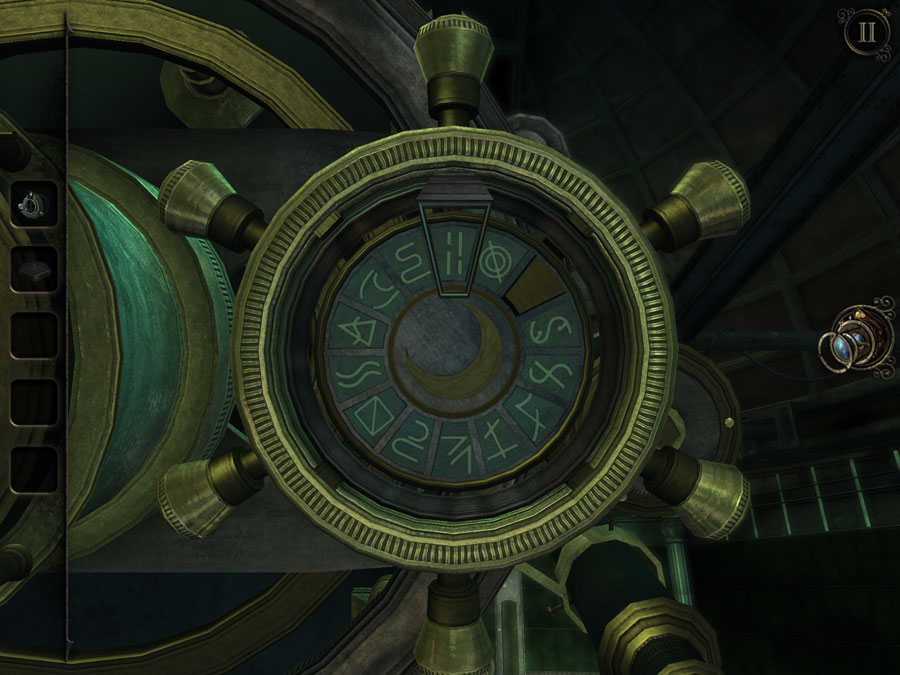
Once again, spin the star and moon dials. This time, to match the symbols on the podium, as above.
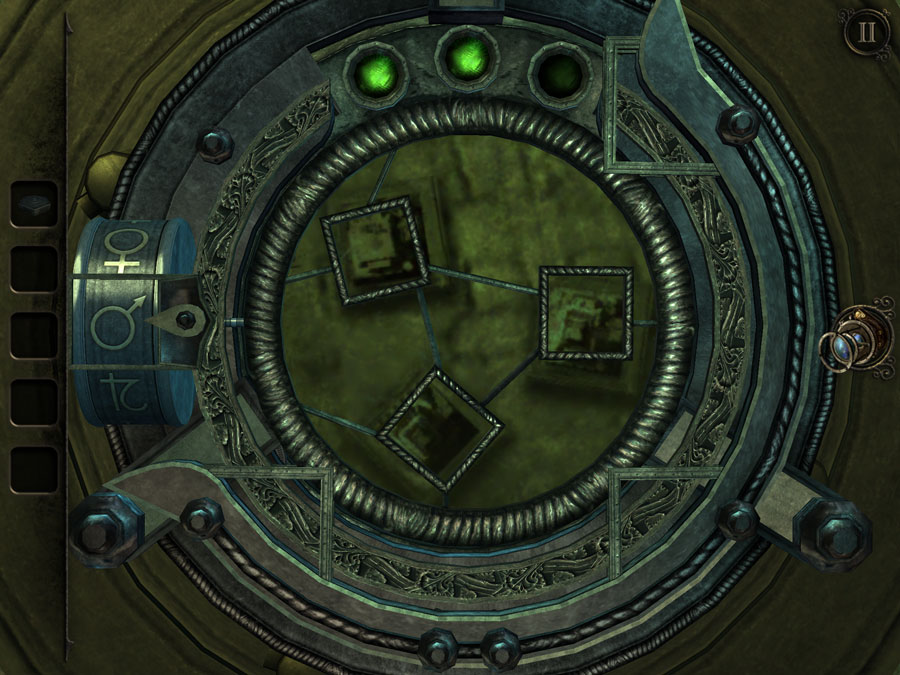
Place the lens cover on the telescope lens. Move the dial to the male symbol. Spin the inner dial until the three squares overlap the three pyramids. You'll be take to the other room.
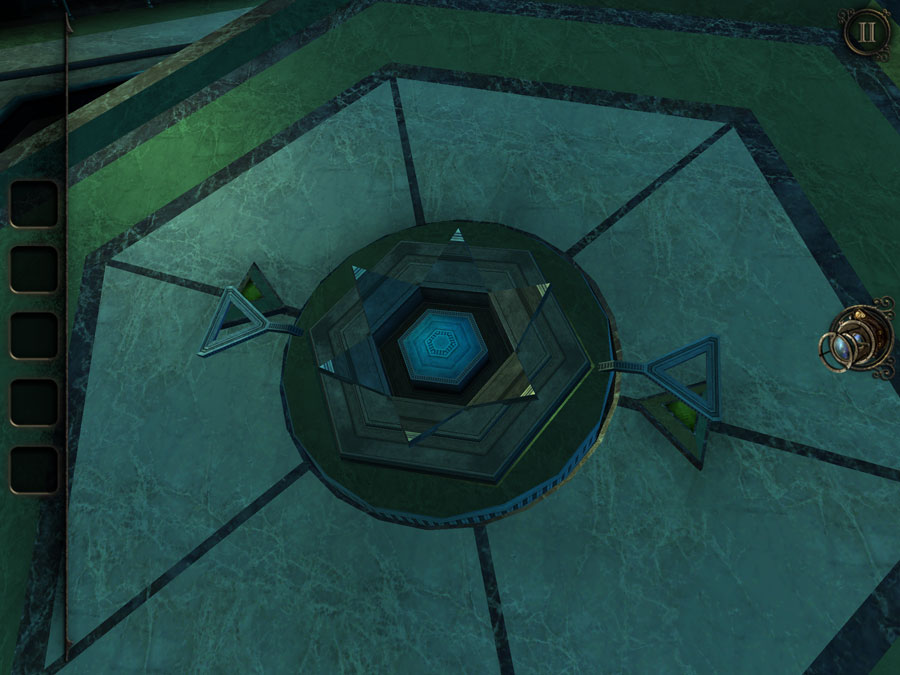
Place the stone carving on this podium. Spin the handles like above, then press the button.
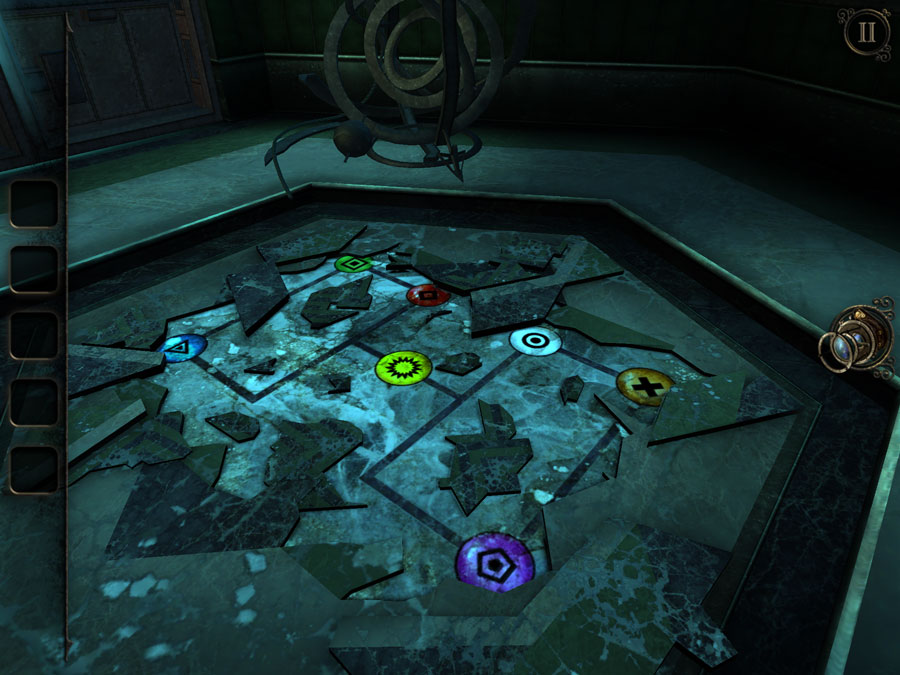
Our goal is to move the coloured gems about the board, to match those on the floor. If you don't see the image on the floor, you need to return to the podium by the sun dial and follow the instructions from earlier.
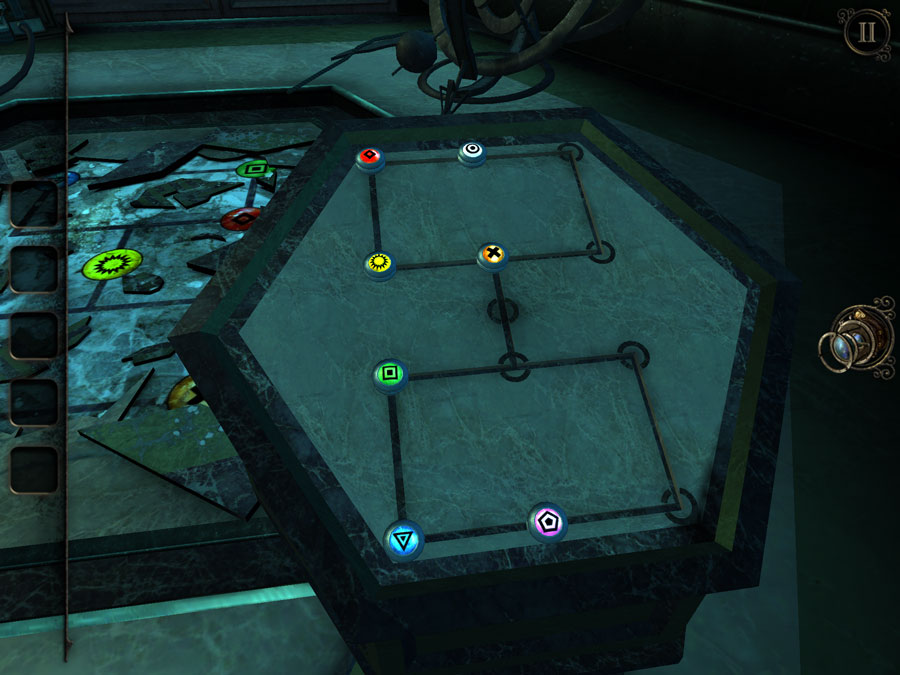
First, do this - move the lower gems to the left spaces, and move the orange gem down and to its correct position on the bottom right.
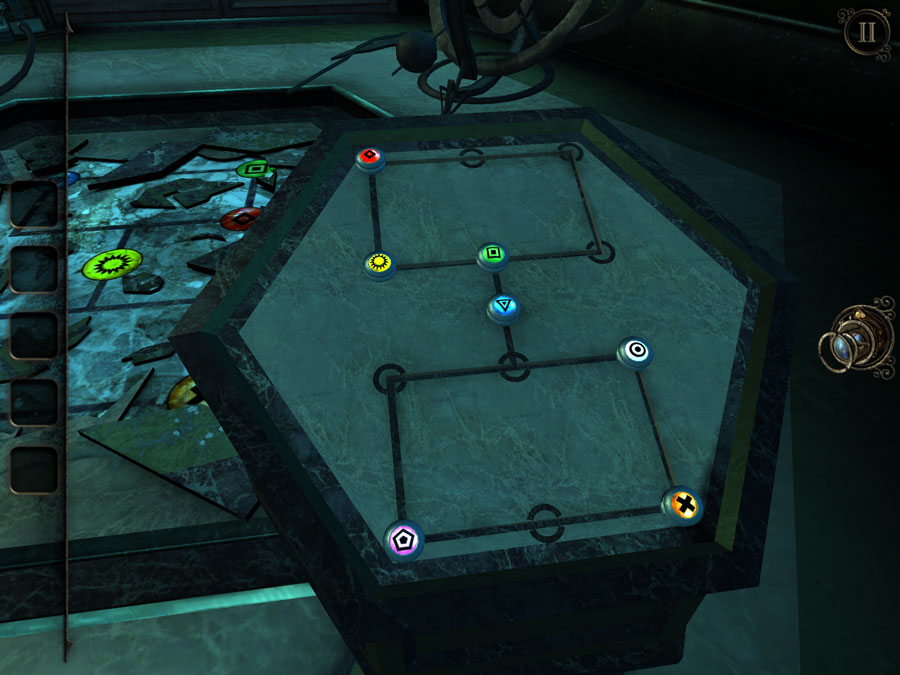
Move the purple gem across and the white gem down to finish the lower section.
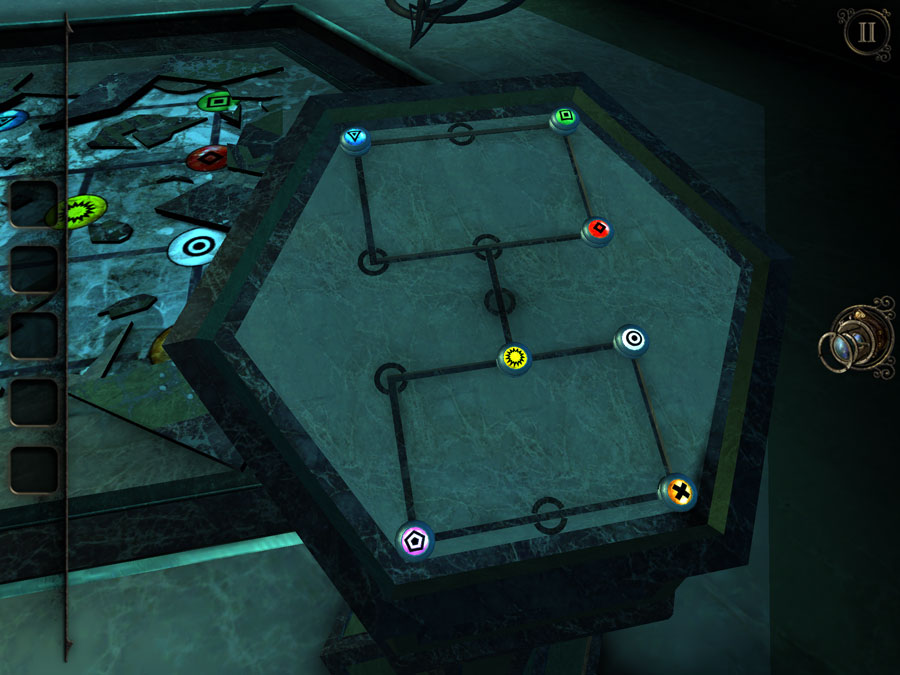
Move the blue gem up, and the yellow gem right down to give yourself room to put all the upper gems into the right place. Then move the yellow gem up to finish the job.
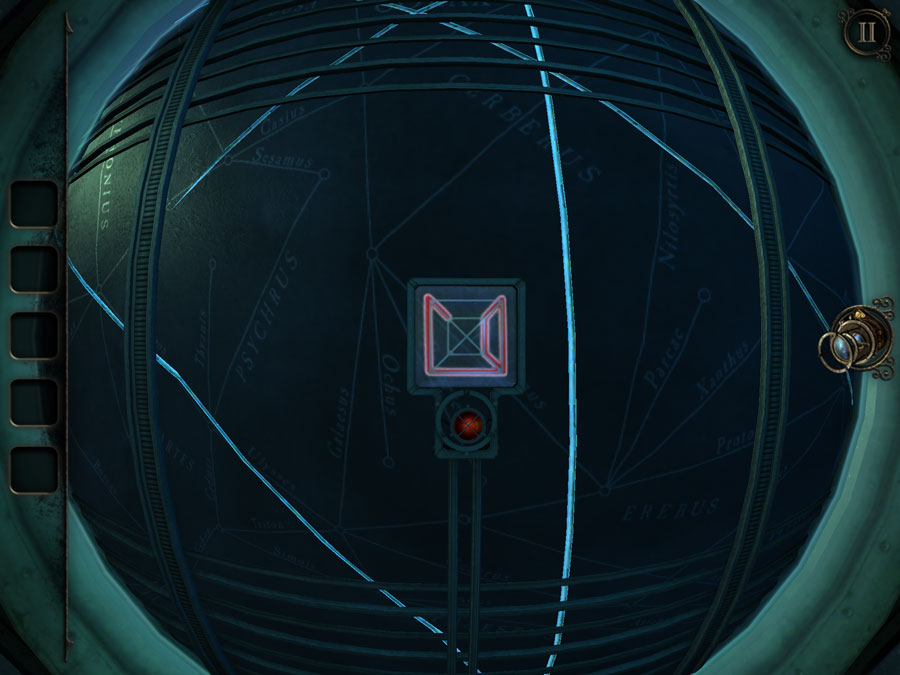
Spin the globe until you find one of the red shapes. Use the red dot to help you locate it.
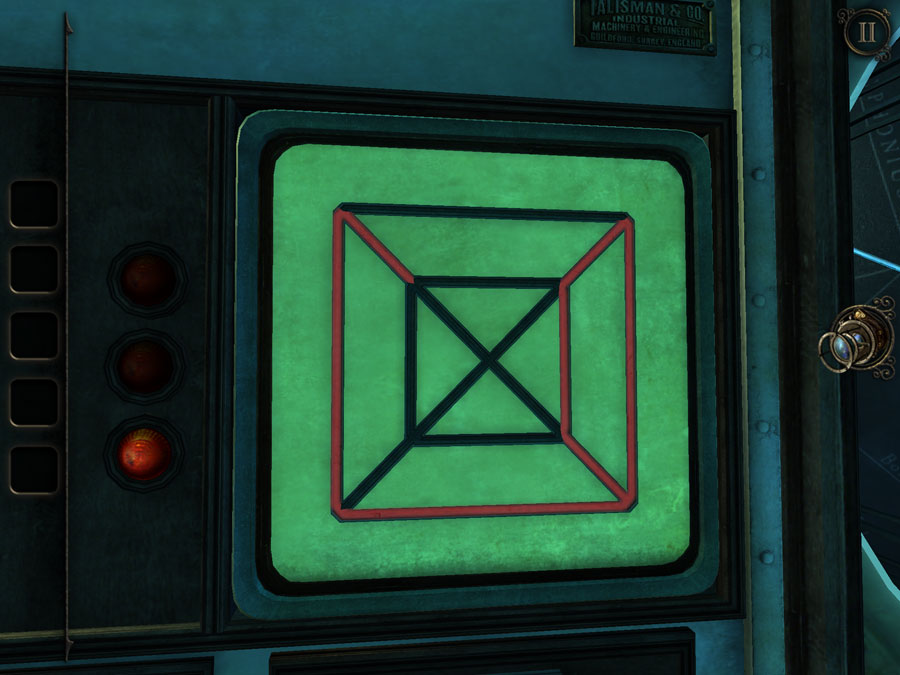
Then, draw the shape - without releasing your finger from the screen - on the metal bars, here.
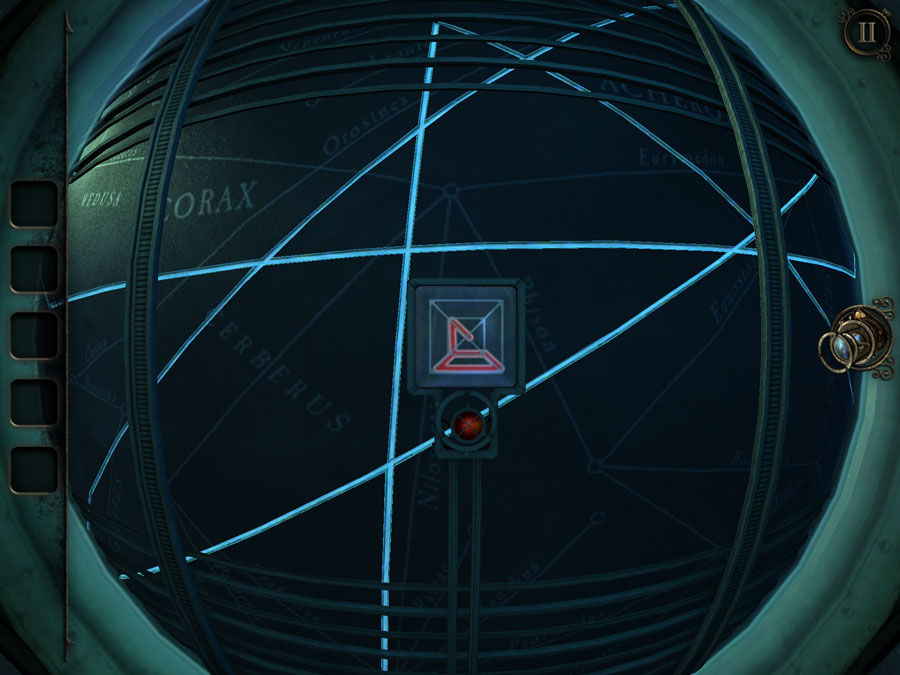
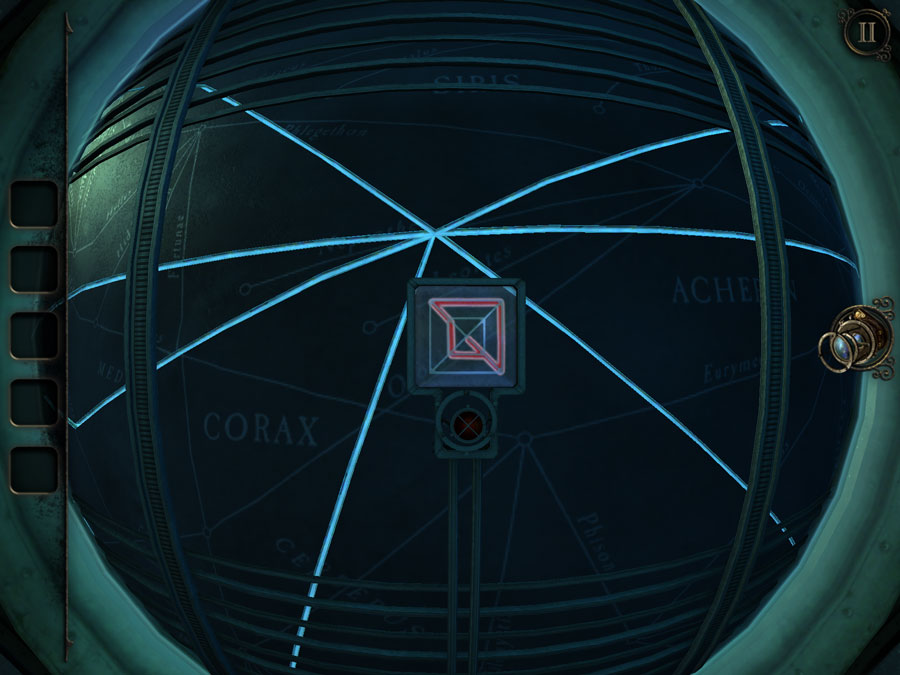
Repeat for the other shapes. The shape must be shown on the viewfinder (which cause a light to flash next to the metal bars) for it to work - so you can't just cheat and use the images above
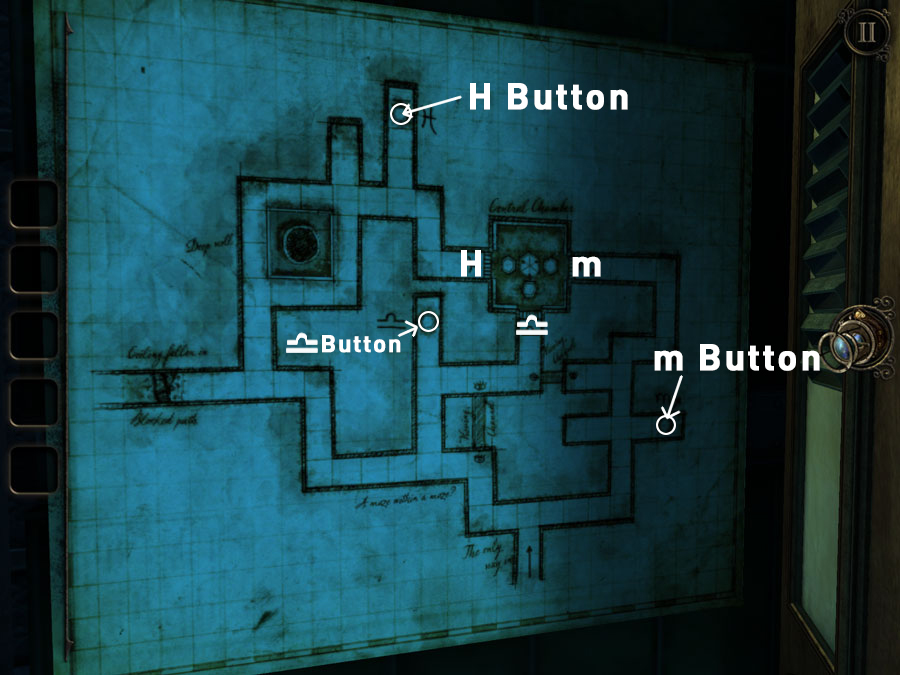
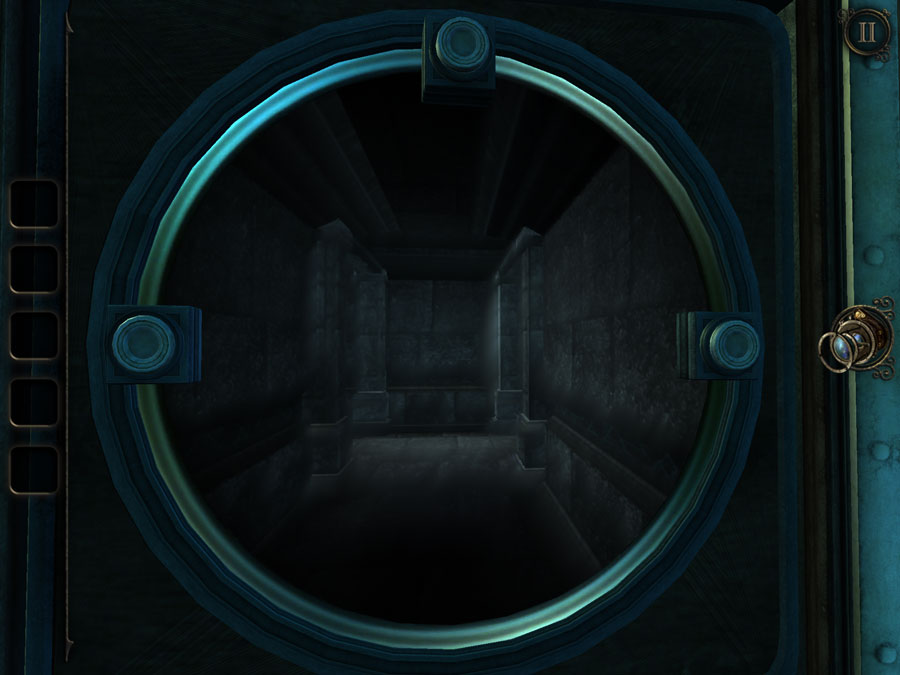
Okay, now for the fun bit! Spoiler: it is actually not that much fun.
You are in a maze, and you move through it using the three buttons on the outer circle, which move you left, forward, and right.
Your job is to stand on the pressure plate marked "m", then go through the door to the central chamber marked m, and stand on the pressure plate in there. Then, repeat this process with the buttons and doors for "h" and "=n=".
Luckily, the map on the wall shows you exactly where to go, making the whole thing slightly less tedious. Slightly.
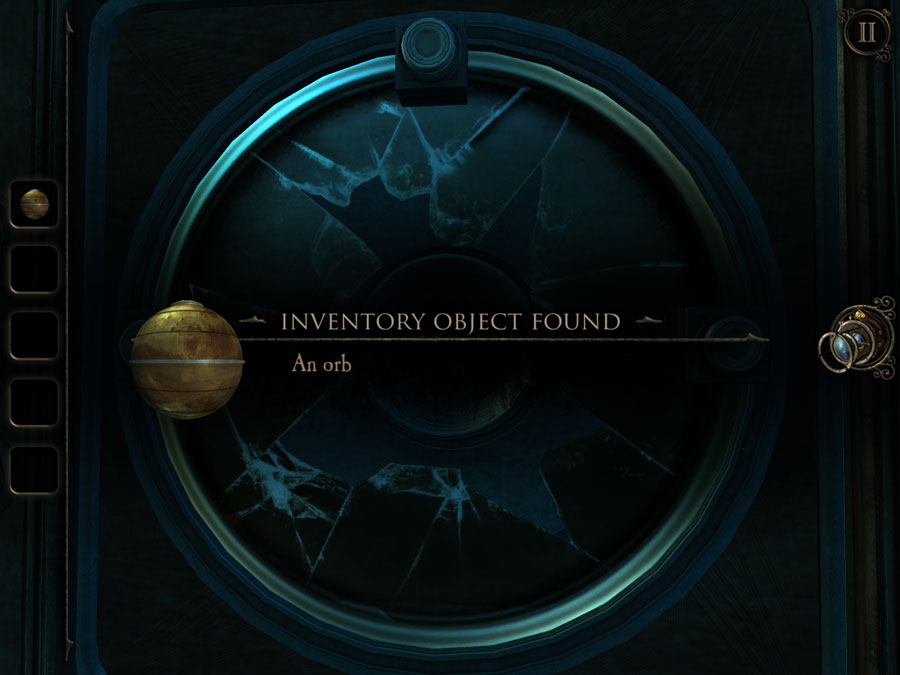
When you've done the lot, take the orb from the panel and go outside.
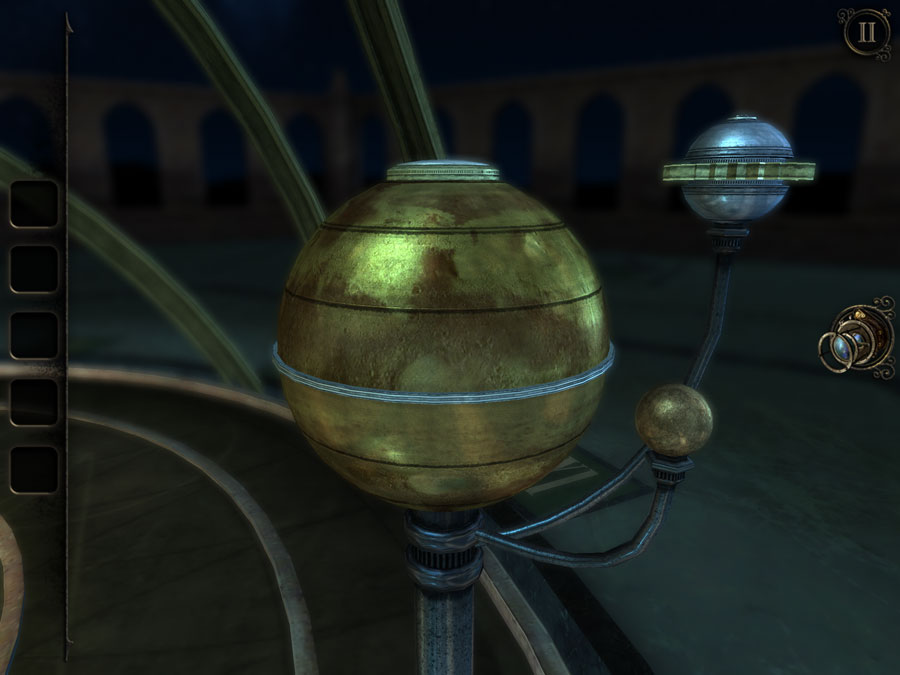
Place the orb on arm, to make it the final planet. Press the button on the top and then enter inside with your eye piece.
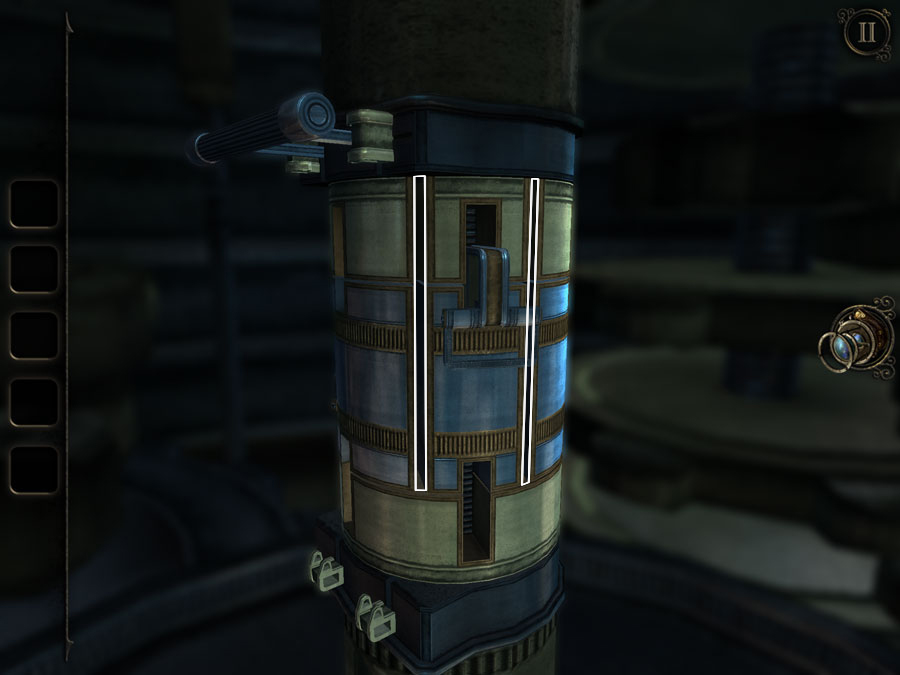
Move this top arm up with one hand, then spin the cylinder with the other until the lines, shown above, line up. Drop the arm back down.
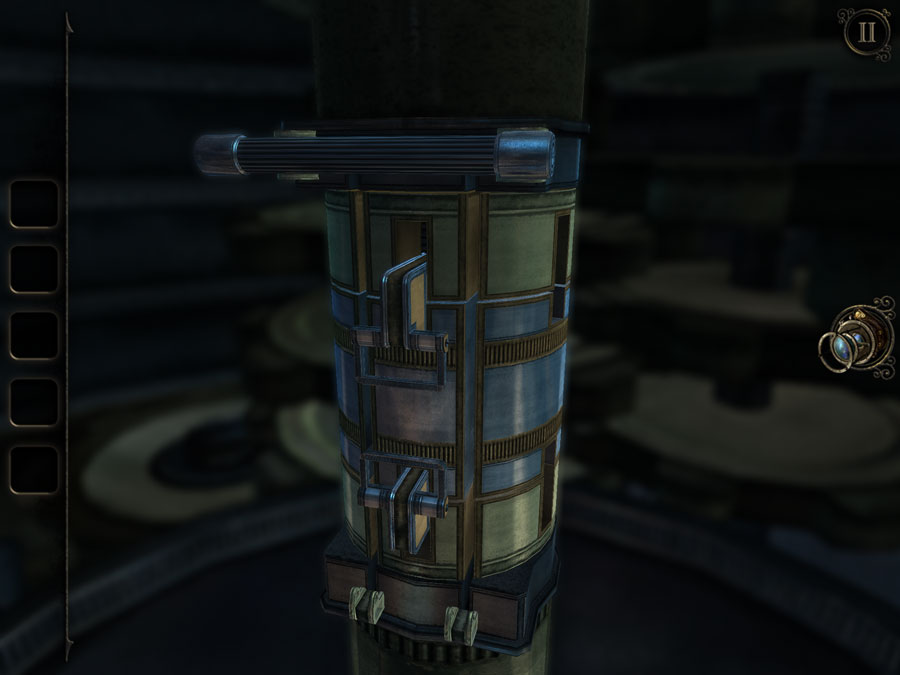
Do the same with the bottom arm. But this time, you'll have to move it one notch at a time. Repeat until the two arms line up, as above. Now pull the big handle down. Outside, press the button on the top of the orb.
Take the pyramid to complete the chapter. Phew! That was a long one.




 Flappy Nyan Cheats & Hack for High Score - New Cheats Available - AppGameCheats.com
 100 Pics Liverpool FC Icons Pack Levels 1-100 Answers
 ColorMania – Guess the Colors Answers Level 1 Icon 1-20
 FIFA 15 Ultimate Team iOS and Android Cheats & Tips - Coins Hack Tool - AppGameCheats.com
 Closed Room: iPhone Game by Ateam: Walkthrough