
The following guide contains a thorough walkthrough of the missions of new factions introduced in the Dawnguard DLC: the Dawnguard and the Vampires. Apart from that, it includes all side missions, those for a vampire hunter as well as for a vampire lord. Thanks to this guide you will also obtain the new demonic mount Arvak, which will make navigating through Skyrim and the mysterious Soul Cairn easier.

The guide contains the following colours:
Redrefers mostly to NPS who you will come across throughout the game, though it also has been used to mark enemies, wild animals and monsters.
Bluerefers to locations, both the main ones, which appear on the world map, as well as the less important, including single houses or further dungeon levels.
Greenrefers to all items which you find during the game, which go into your inventory after being collected
Orangerefers mainly to names of Shouts, Words of Power and vampire skills, though other skills and spells have also been marked with it.
Michal "Kwisc" Chwistek ()
Translated to English by Jakub "cilgan" Lasota

In order to begin the plot of the Dawnguard DLC, you need to be at least on level 10. After you obtain it, head to any city you want and speak to a guard. He will tell you a rumour of the vampire-fighting Dawnguard clan revival. You can receive similar information from the man named Durak, who will speak to you after you get attacked by vampires (random event). In both cases, the headquarters of the organization will be marked nearby Riften.
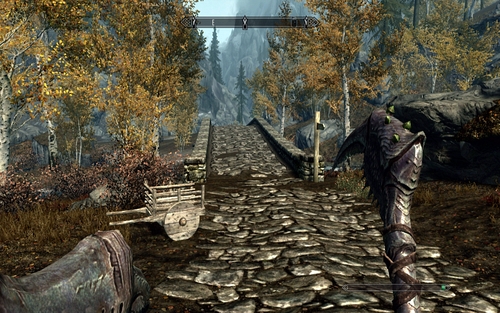
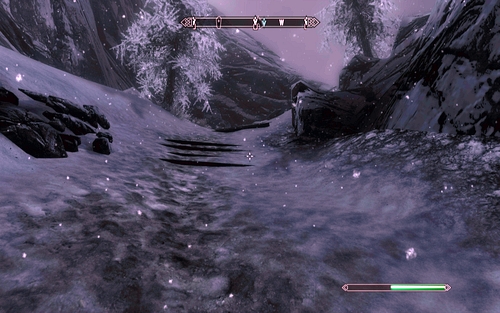
In order to reach it, head right after getting out of the city and you will reach a rocky path. Turn left then and head onwards while keeping an eye on the woods on the left.
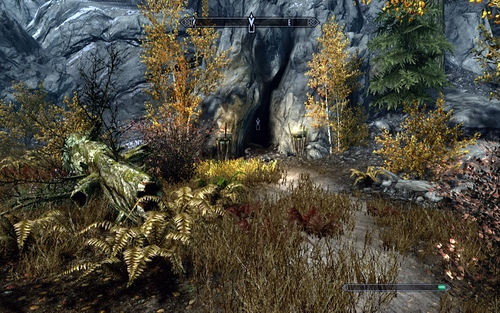
Eventually you should note a canyon entrance there (Dayspring Canyon).
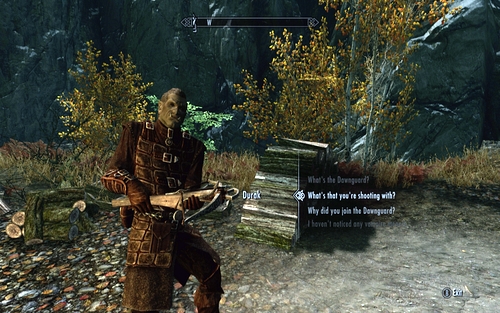
Follow it and you will come across yet another future member - Agmear. Head together to Fort Dawnguard. On your way you can speak to Durak, who's camping nearby the road. The Orc will give you a new type of weapon - the crossbow.
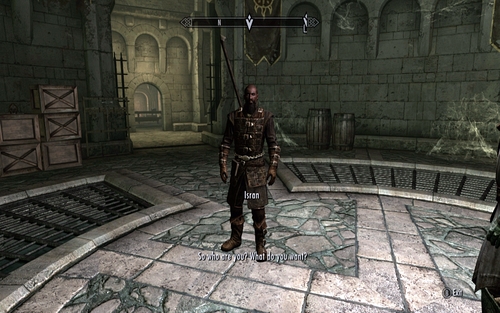
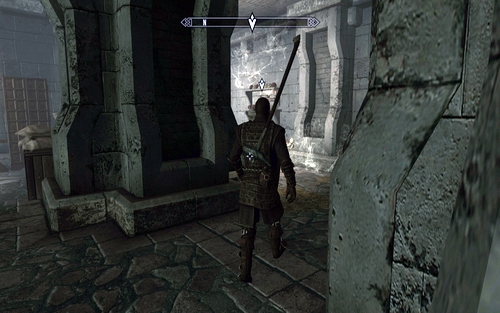
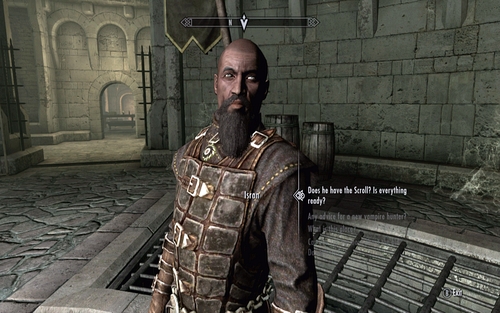
After getting inside the Fort, speak to Isran. Join the organization and ask for your first mission.
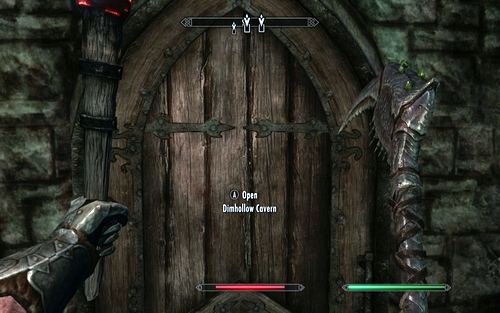
The objective of your first mission is investigating the Dimhollow Crypt, where an ancient vampire artifact is supposed to be found. The Crypt is located nearby the city of Dawnstar. In order to reach it, use the path on the east side of the hill.
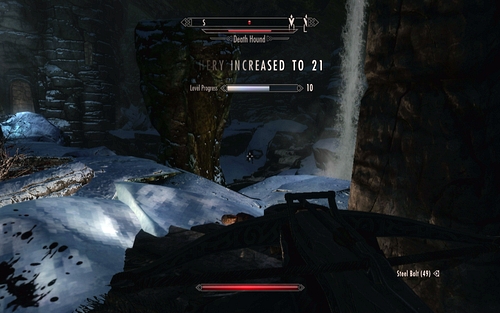
After heading inside, you will hear a conversation between two vampires and learn that the man who was supposed to accompany you has been murdered. Avenge his death. The blood drinkers and their dog should quickly die of couple of bolts. When the fight's over, take the item lying by the corpse of the killed man and enter the room in the south.
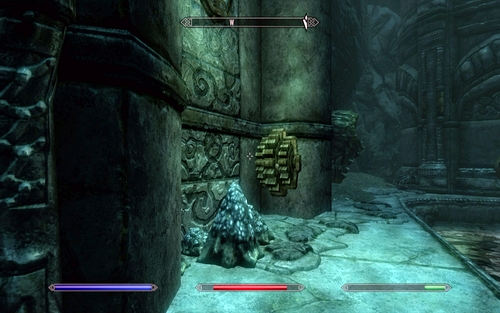
Inside you will find a chain, using which you can open the grate in the north.
Head further and you will come across another vampire and a group of undead. To the left of where you meet them you will come across another grate. Open it using the nearby grate. Inside the crypt you will be in for yet another fight. Always try to firstly kill the vampires and then their servants.
When you see a blood sucker fighting with a spider, wait for their fight to end. Only after the death of one of them, open the grate and kill off the weakened enemy. A bit further you will come across a passage to the Dimhollow Cavern.
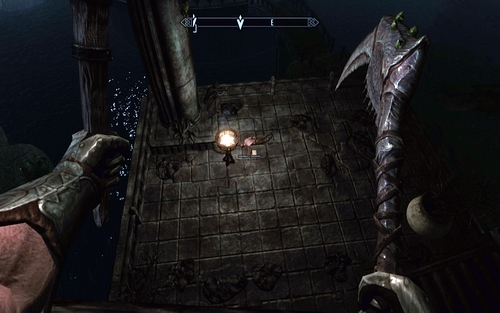
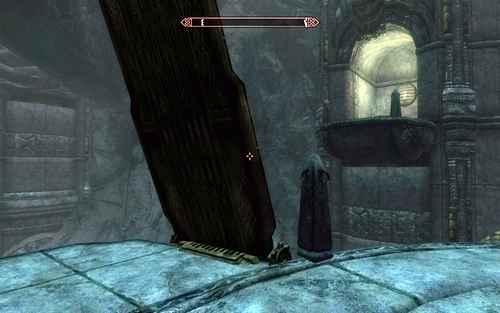
Inside, you will once again hear talking vampires. They can be found below on the right, by the man's corpse.
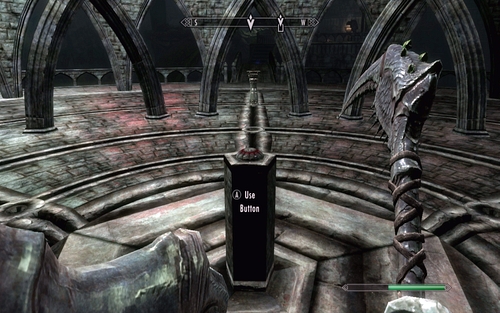
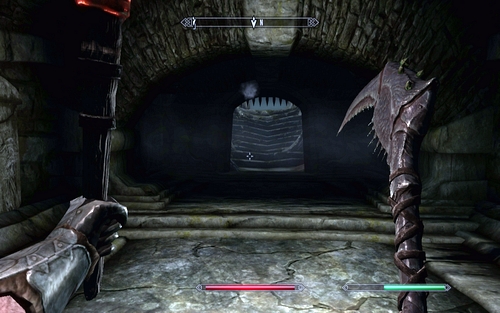
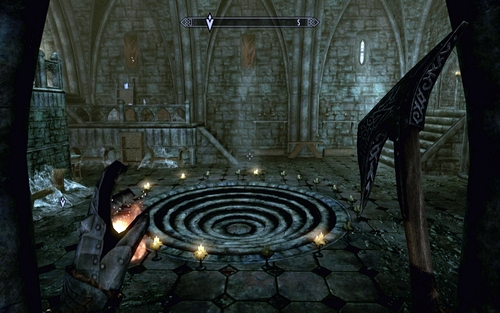
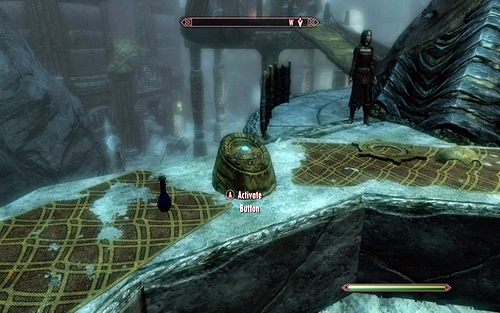
Quickly defeat all the enemies and use the button in the middle of the big circle.

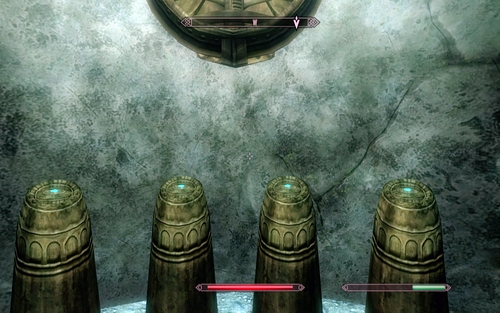
You need to move the goblets in such a way that a purple flame burns in them. Begin with the one to which the fire from the middle gets and continue counter clockwise. The first one should be on the outer circle, the second on the middle, third as well and fourth one on the outer. With all of them burning, the circle will start to move.
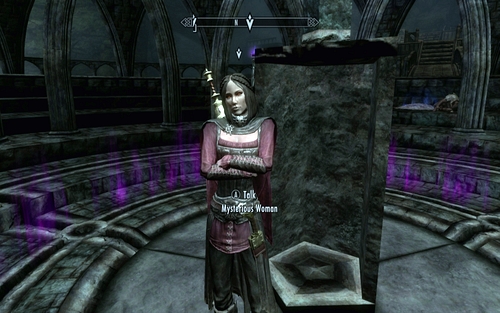
Use the stone in the middle. that way you will free a woman named Serana. Speak to her and you will receive another quest. You need to take the vampire outside and escort her to her family house.
In order to leave the crypt, enter the corridor on the other side of the large circle. During the march you will not only be attacked by undeads, but also gargoyles. Luckily your companion knows how to fight.
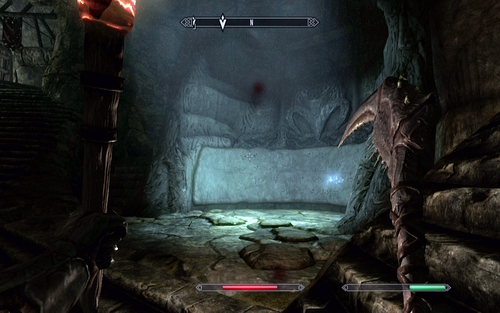
Eventually you will reach a big room, where you will have to fight waves of enemies. With all of them dead, approach the writings on the wall on the right. That way you will learn the Drain Vitality shout.
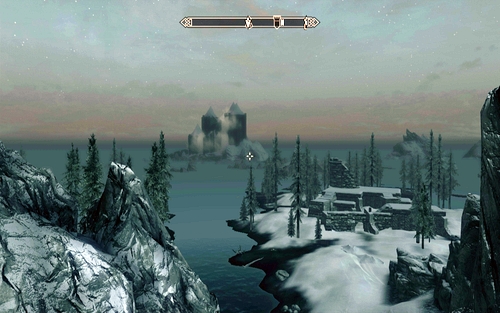
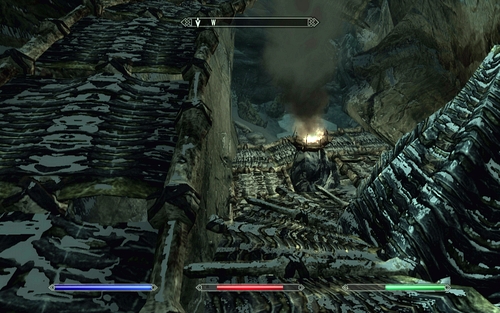
When you finally get outside, head to the north-west corner of the Skyrim. If you don't have any nearby place discovered, take a carriage to Solitude and head west from there.
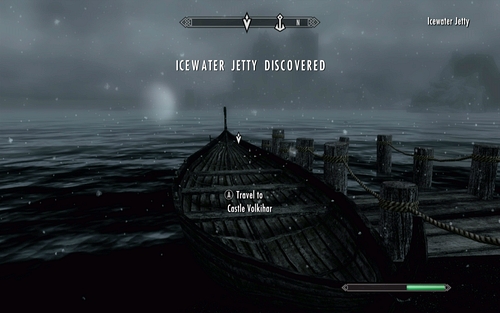
Nearby Northwatch Keep you will find a small harbour, where the Icewater Jetty is waiting for you.
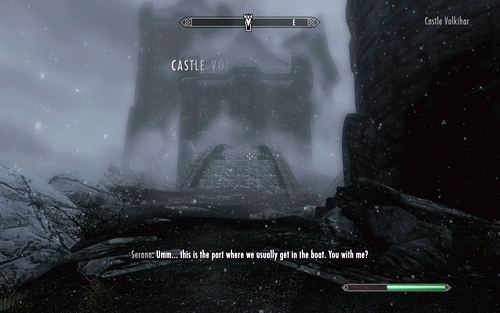
Thanks to it you will reach the island on which Serana's castle has been built.
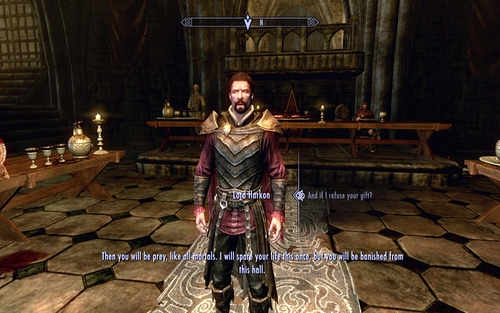
After heading inside, wait for Vingalmo to greet your companion and afterwards speak to Lord Harkon. In return for brining his daughter home, the vampire will offer you his own blood. Depending on the choice you make, you will begin one of the excluding story lines. By rejecting his offer you will choose to support the vampire hunters, while accepting it will cause you to become a Vampire Lord.
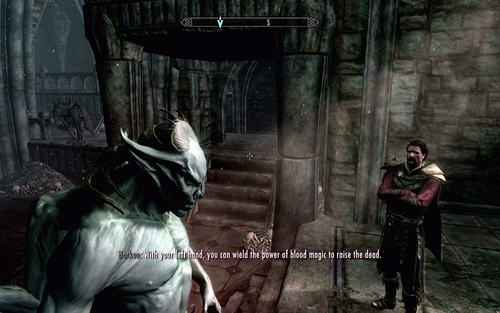
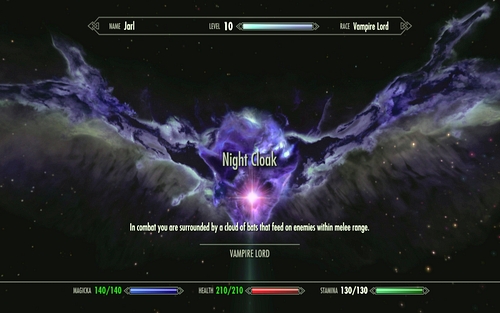
If you accept Lord Harkon's offer, you will lose consciousness and wake up nearby a well full of blood. The powerful vampire will teach you how to use your new powers. Start off by heading to the Magic menu, choose Powers and the Vampire Lord skill. Now if you press RB, you will change into a Vampire Lord.
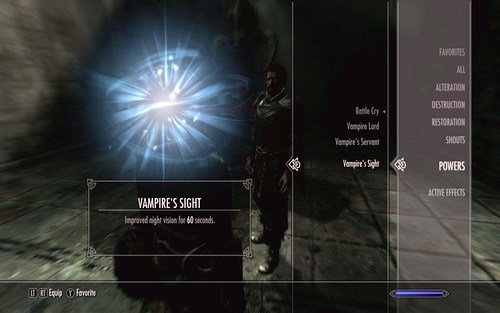
In your new form, you gain a few interesting skills. You use RT to deal damage and LT to raise the fallen to fight alongside you. Additionally by using the D-pad you can assign three spells to RB: quickly moving in a swarm of bats (Bats), seeing in darkness (Vampire's Sight) and returning to your normal form (Revert Form).
Soon afterwards Lord Harkon will also tech you melee combat. To attack with your claws, land on ground (LS) and alternate between pressing LT and RT. The Vampire Lord has also a skill tree of his own. You can check it out by pressing B. New perks are unlocked for killing victims with drain vitality and biting.
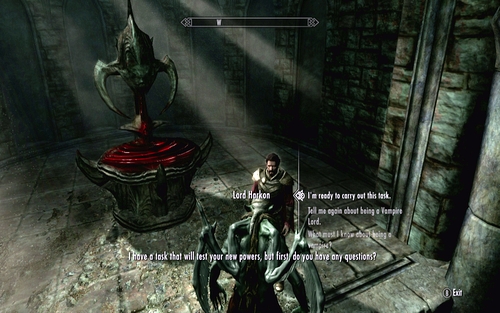
The last thing you should know about vampires is their weakness of sunlight. The longer you don't suck blood out of people or drain it in the Lord form, the weaker you become because of sunlight (however the power of vampire skills grow). When you're fed, you can walk during the day without any problems. After you learn everything, accept the first mission from the Lord.
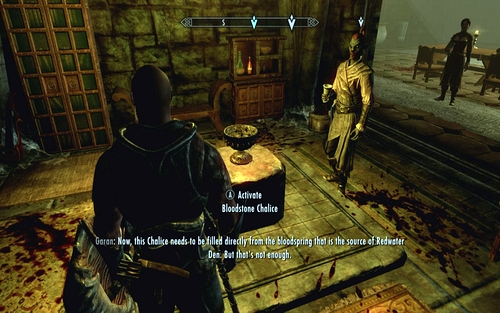
Start off by finding Garen Marethi in the vampire headquarters and speak to him. He will give you a mission of filling the Bloodstone Chalice with water from the Redwater Den.
It's located in the south-east part of the location (nearby Riften). You can take the demonic dog from the main hall to help you. Just give it a piece of meat.
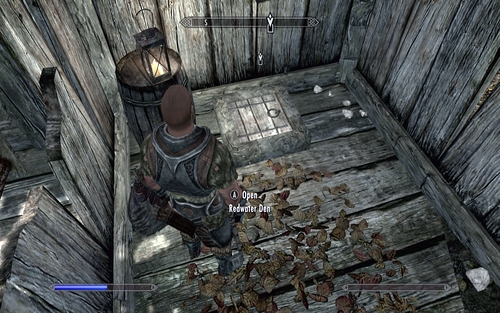
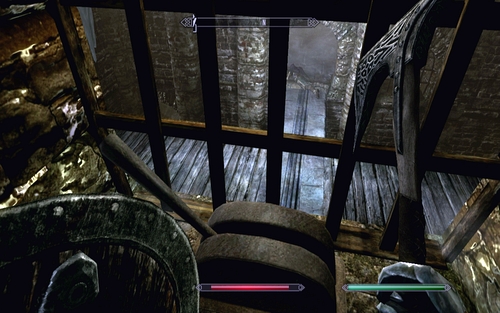
After getting there, head to the devastated hut. In the corner of the building there's a hatch in the floor, through which you can reach the cellar. When the guard open the door, head below and speak with the dealer. You have to either buy a bottle of skooma from her or convince her to give you a sample of it.
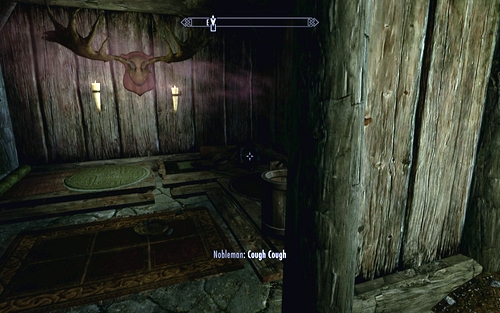
Afterwards head to one of the small rooms and take the drug. You will eventually end up in a locked cell.
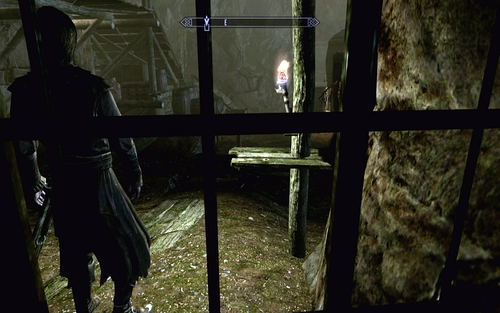
There's a couple ways of getting outside:
1. Pick the lock.
2. Steal the key from the nearby vampire.
3. Change into a Vampire Lord and the guard will open the gate himself and attack you.
4. Pick up the telekinesis spell book and learn it. Using it, you can pull it the key from the table on the right.
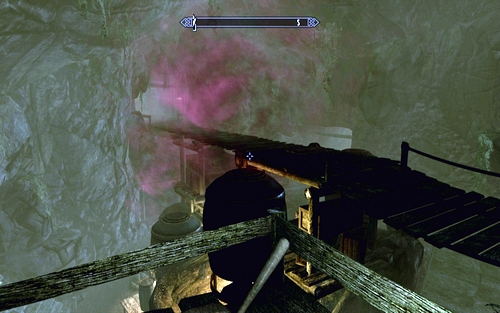
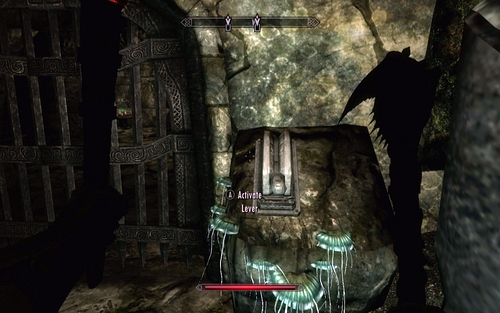
Once you're free, defeat the enemies in the cellar and head onto the upper floor of the room. There you will find a lever which will lower the bridge to the further part of the underground.
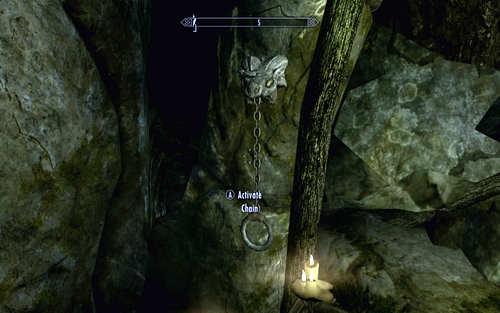
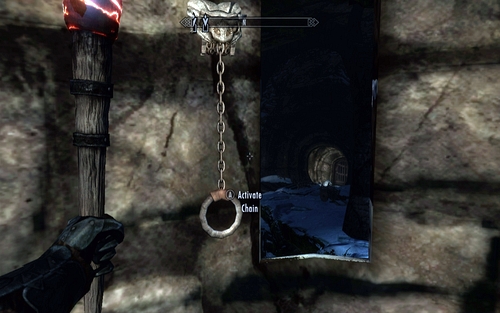
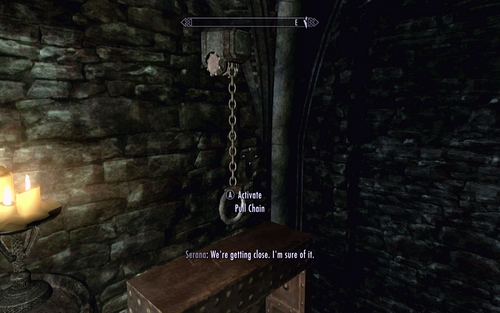
Move on and you will reach a locked gate. Open it by pulling the nearby chain and defeat the enemies on the other side. A bit further there's a door to Redwater Spring.
Killing the enemies on your way, go up the stairs. There you will find a chain which pulls up the grate visible through the hole in the wall. Behind it you will have to fight a vampire master and his minions.
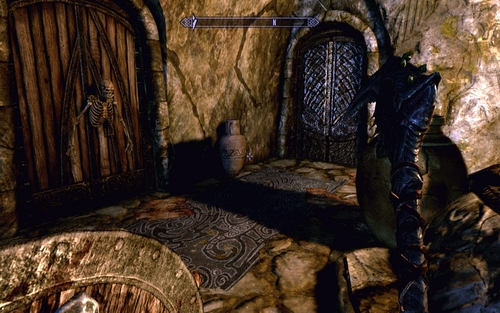
After they're all dead, head further on until you reach a spot with a hanging skeleton. The further road leads through the gate on the right.
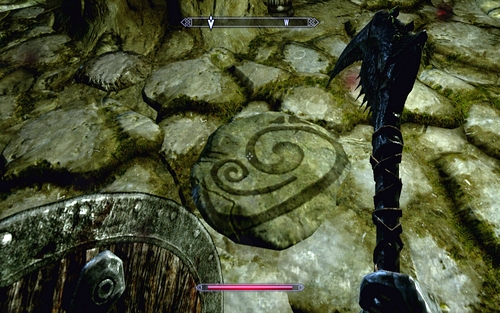
Behind them there's a corridor filled with traps which are activated by buttons in the floor. You better don't step on them.
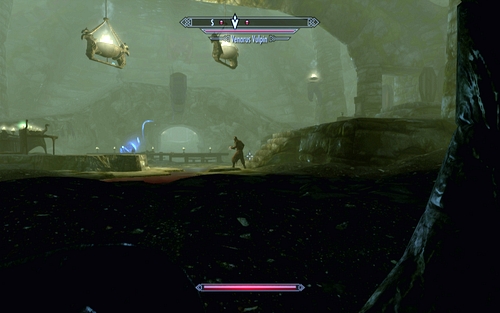
The tunnel will lead you to a bigger room, where you will be attacked by a group of vampires led by Venarus Vulpin.
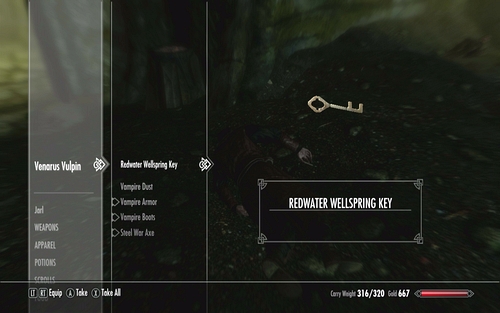
Defeat them all and pick up the Redwater Wellspring Key lying by the leader's corpse.
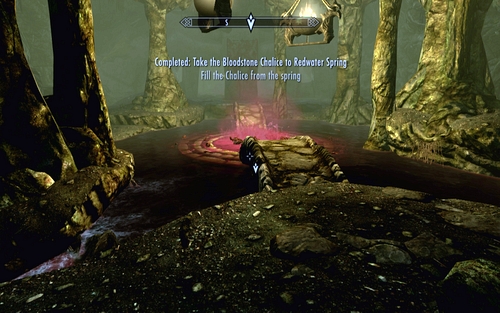
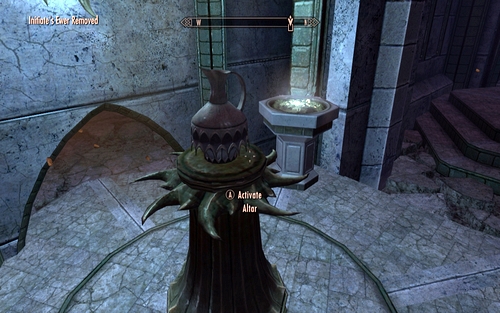
Using it you will be able to easily open the door leading to the well cave. Fill up the chalice with the red water and listen to the conversation between two vampires. They will attack after they stop arguing.
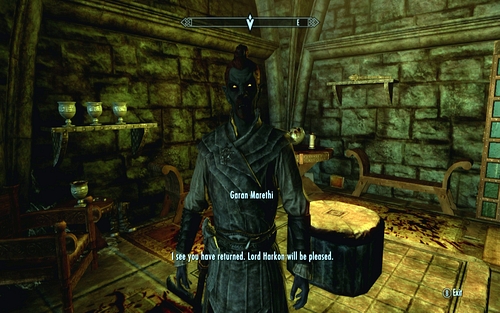
After defeating them, collect some blood from one of the bodies. You can now return to Garan Marethi and end the mission.
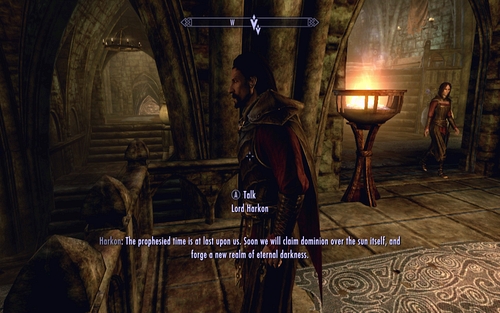
After completing the previous task, go speak with Lord Harkon. The vampire will tell you to follow him and listen to his speech. The vampire will tell you that he's looking for a prophet who could help him read an ancient scroll. Serana will accompany in your searches for it.

In order to learn where the prophet is, you need to complete one of the side objectives which will be marked in your journal:
1. Ask an Innkeeper from any big city about the prophet.
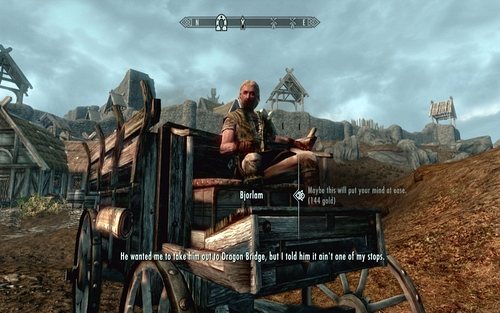
2. Convince or bribe a Carriage driver to tell you what he knows about the Prophet staying in Skyrim.
3. Head to the College of Winterhold and speak about the prophets with Urag gro-Shub.
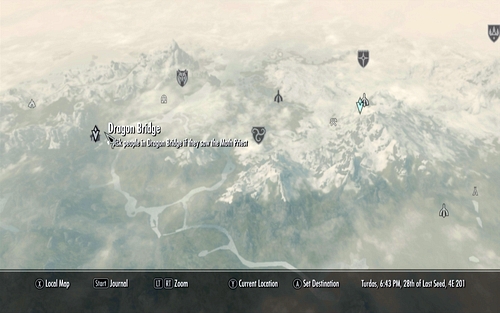
In each of the three cases you will learn that the prophet has been seen in the city of Dragon Bridge. Head there. The city can be found south of Solitude.
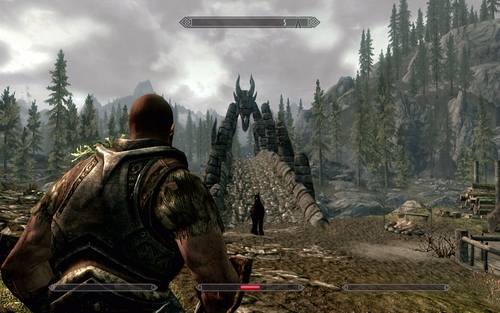
After you get there, speak with any of the citizens about the old traveller and speak to one of the guards afterwards. You will get information that the man went south through the big stone bridge.
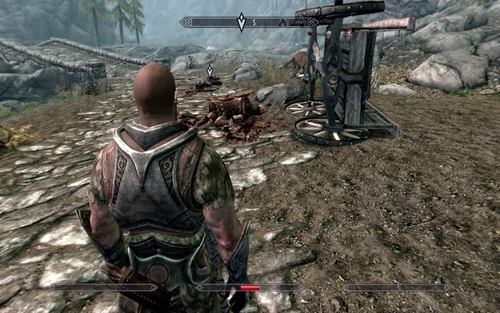
Head into the same direction and you will come across a knocked over carriage surrounded by multiple corpses. By the vampire's corpse there's a note which you need to read. From it you will learn of the Forebears' Holdout, where the prophet is probably being held.
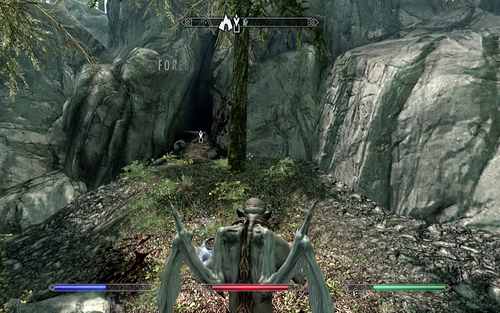
The location is right beside the road.
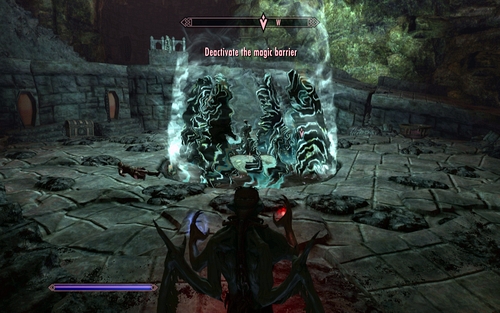
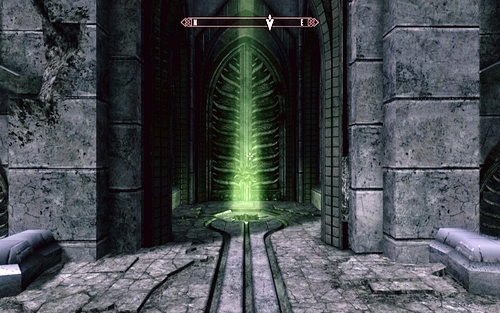
After heading inside, kill off all the enemies and go to the upper floor where you will see a big blue barrier.
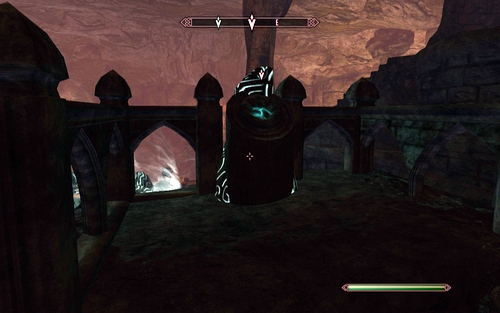
To deactivate it, pick up the Weystone Focus stone lying beside the vampire' corpse and place it on the stone pedestal on the right.
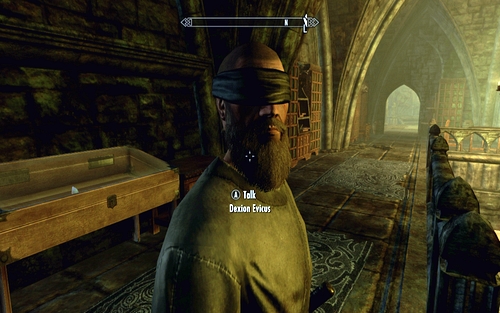
The prophet will attack your character. After the fight, you will have to use the Vampire's Seduction on him, found in the Powers menu. This skill is however available only for those vampires who haven't sucked blood in a long time. If you can't see it, head outside and sleep a couple times.
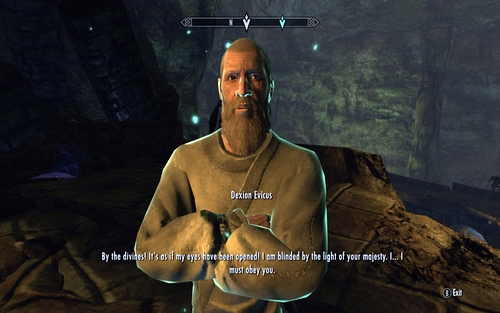
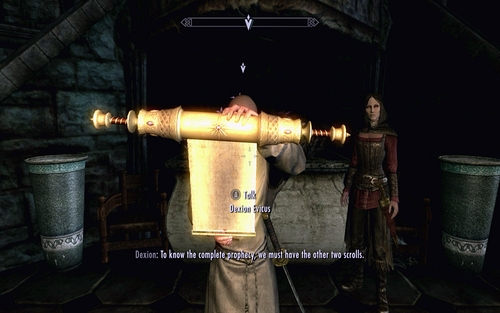
After seducing the prophet, drink his blood and speak to him. You need to send him to the castle of Lord Harkon and head there yourself.
After giving a report, order the man to read the scroll. As he finishes reading the prophecy, once again speak to Harkon and accept the new mission. In order to finish Seeking Disclosure, you need to complete two missions: Chasing Echoes and Scroll Scouting. Well take care of the first one first.
Start off by speaking to Serana and head through the castle gate.
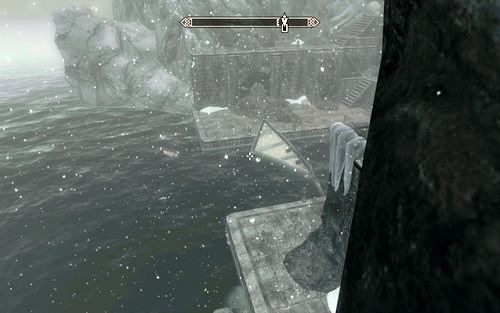
Go around the building from the north and you will reach a small harbour, where a group of vampires will attack you. You need to defeat them and enter the castle through the nearby door. That way you will reach Volkihar Undercroft.
Inside the underground, find stairs leading onto the upper level. There you will find a lever which lowers the wooden bridge below on the right. Get onto it and turn left.

Keep going forward while fighting the enemies you come across and you will reach another lever. It will lower the next part of the bridge. On the other side you will find a door leading to the castle gardens.
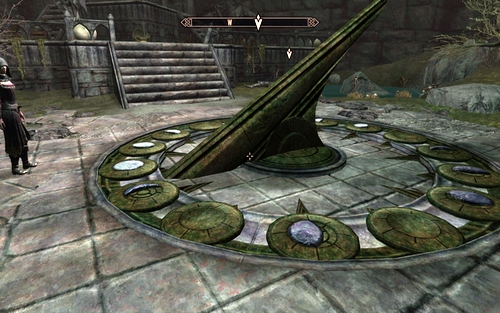
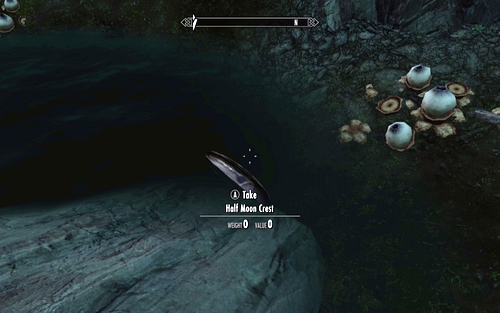
In the very middle you should note a big moondial which is missing a few crystals. You need to find them and put them back in place.
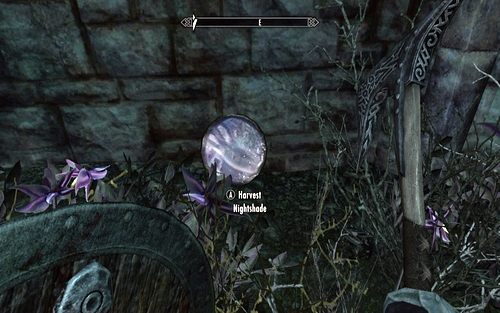
The first one can be found in the bushes behind the fence (to the right of the dial).
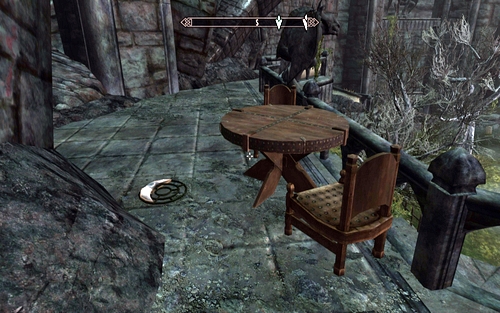
The second is on a terrace above the previous part.

The third has been thrown into the garden pond.
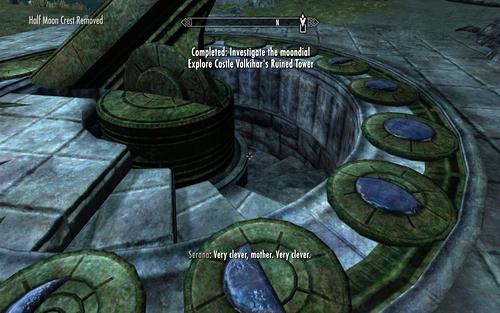
After collecting all of them, place them in free spots around the hand. That way you will unlock a staircase leading to the ruined tower.

After heading inside, pull the chain to unlock a further passage.

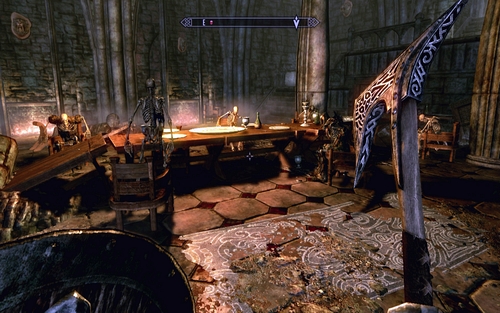
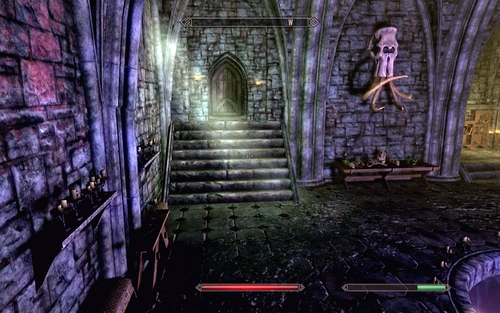
The corridor will leady you to a banquet hall, where you will be attacked by a group of skeletons. Quickly defeat all of them and use the stairs on the right.
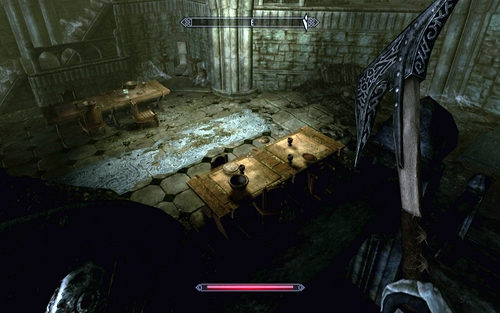
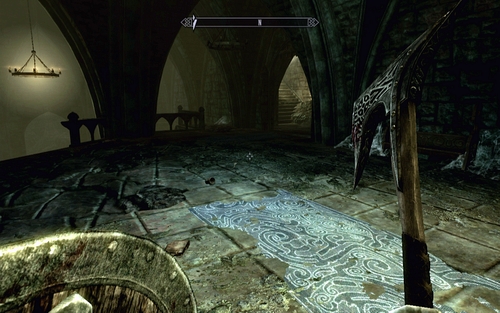
Keep heading onwards while killing the enemies you come across and eventually you will reach a second room with wooden tables.
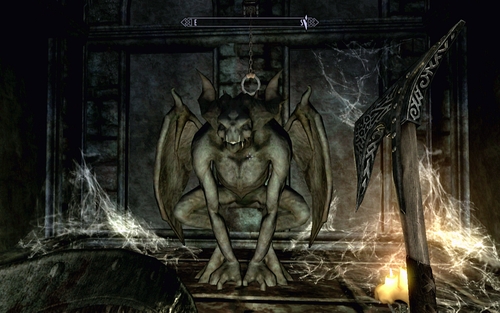
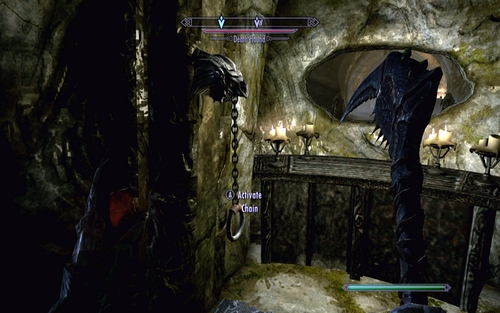
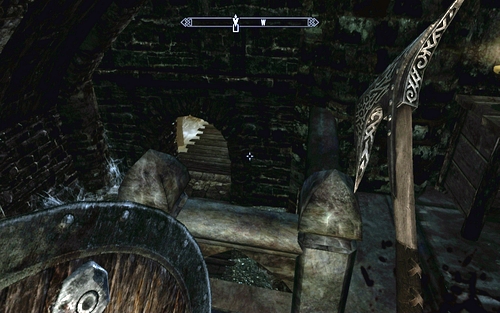
Head to its other side, go up the stairs and pull the chain above the gargoyle.

Doing so will cause the statue to come to life and raise the grate nearby the stairs.

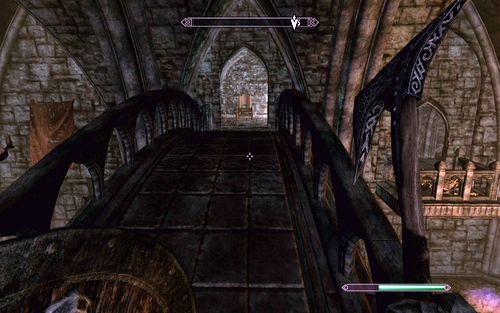
Behind it you will find a grate and a door beside each other. The road behind the wooden door is shorter, but requires lockpicking abilities. Both will lead you to a bridge above the a room.

Head to the other side and keep going right. That way you will reach another gate, behind which you're in for a longer fight with gargoyles. After defeating the beasts, examine the armour lying nearby the coffins (it might come in handy) and afterwards pull the candlestick hanging on the left side of the fireplace.

That way you will unlock a secret passage which will lead you to the laboratory of the vampire you're looking for. Speak with your companion there and she will ask you to find her mother's journal.
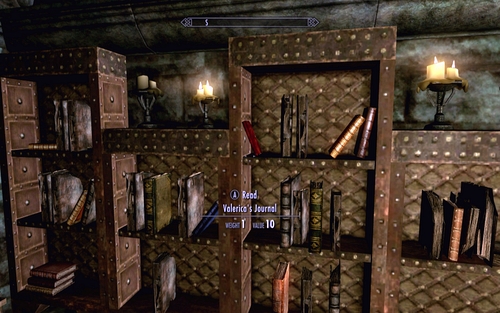
The little red book can be found in the middle shelf of the candle-lit library. Take it to the vampire.

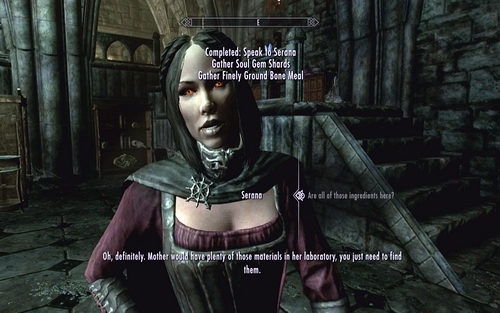
Your next mission will be finding three ingredients needed to create the portal.
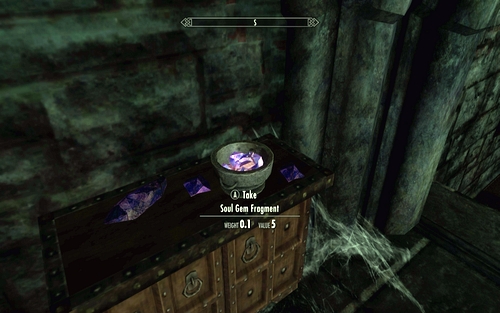
The Soul Gem Shard can be found in the bowl standing on the table by the stairs.

The Purified Void Salts has been hidden on a shelf in the upper part of the room.
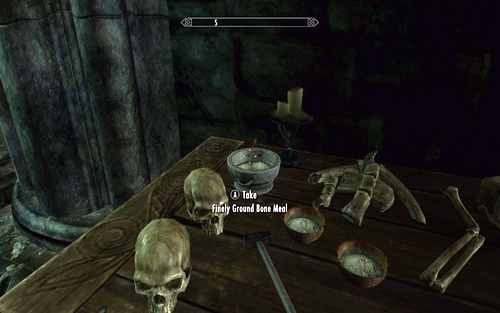
The Finely Ground Bone Meal lies in a silver bowl below a mammoth skull.

Having collected all of them, but them into the bowl where Serana is waiting for you. Soon afterwards a portal which can take you to Soul Cairn will be created.
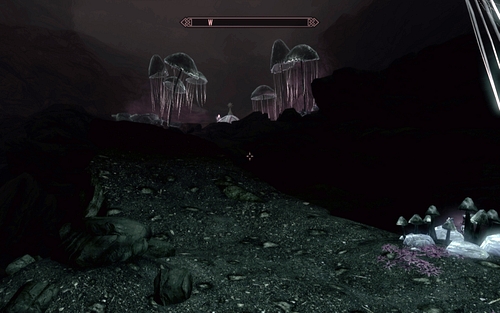
After you reach the world of souls, follow the main road forward. On your way you will come across a soul with which you can speak and a couple skeletons which you need to defeat.

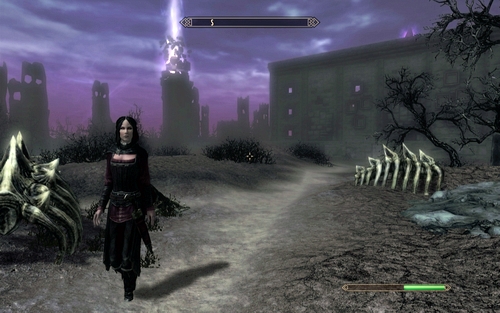
Eventually you will reach a castle with a strange barrier, where Valerica is imprisoned.

After a short conversation with Serana, the vampire will speak to your hero. Regardless of the choices you make, you will receive a mission of freeing the woman.

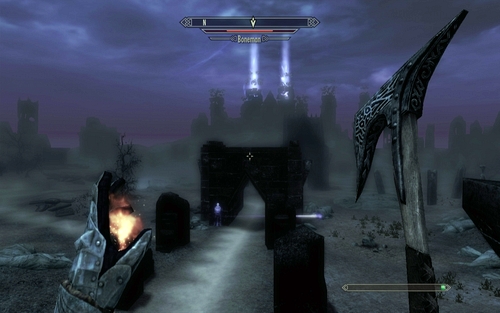
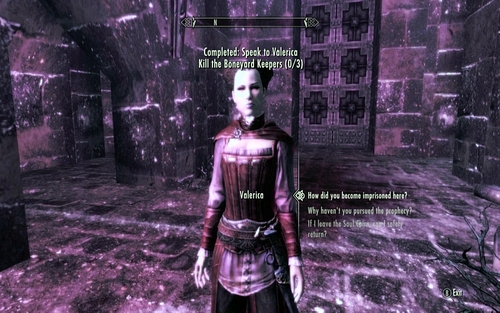
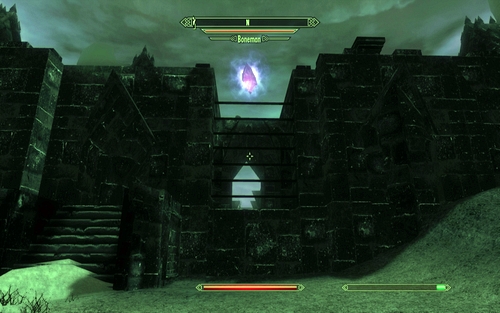
In order to get rid of the barrier, you need to kill three Boneyard Keepers who will be marked on the Soul Cairne map. They're quite far away from each other, so before trying to take them on you should get a hold of the undead mount by completing Find Arvak's skull in the Soul Cairn. Its description can be found in the chapter dedicated to side missions.

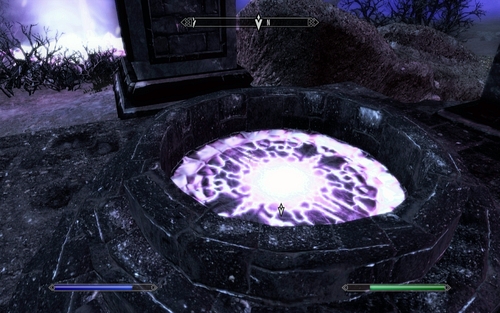
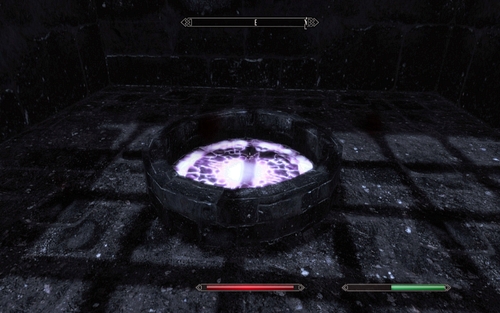
In order to reach one of the Keepers, you need to stand on the glowing circle.
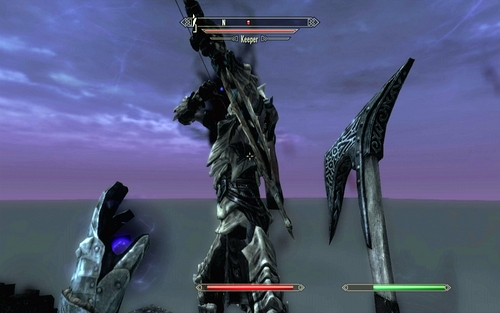
That way you will be moved to an island where the undead warrior is waiting for you. After defeating him, go up the stairs and use the teleport to return.
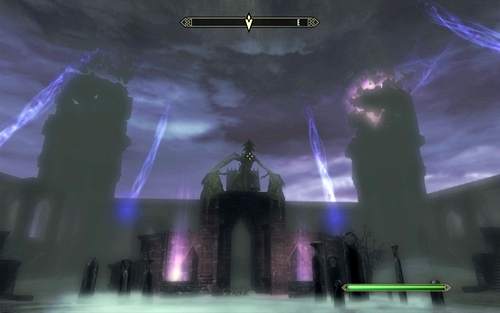
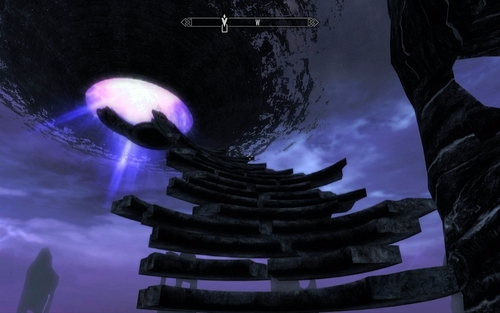
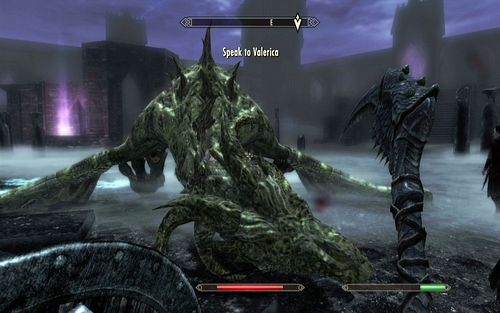
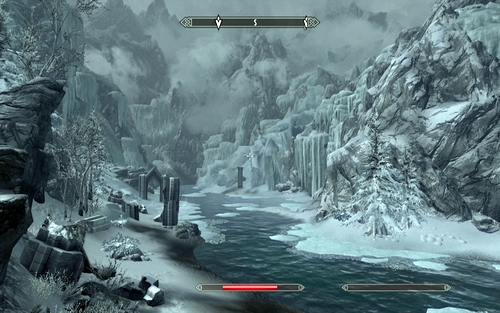
With the last enemy dead, the barrier will disappear. Head to the other side and speak to Valerica. The woman will lead you to a big square, where you will be attacked by a dragon named Durnehviir.

Fighting him is just like facing other dragons. The only difference is the fact that the beast calls in small groups of undead skeletons from time to time, which you have to take care of as soon as possible. Return to attacking the dragon only after they're dead.

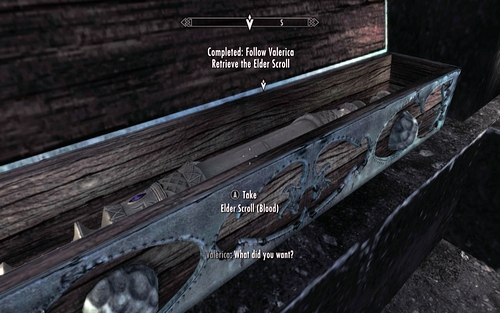
After it disappear, speak to Valerica and take the nearby Scroll.
With it in hand, you need to return to Tamriel by following the same route by which your came here.
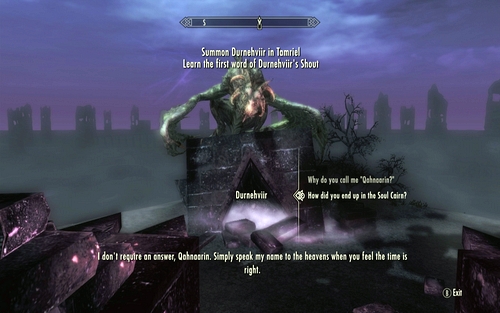
After you leave the square, you will meet with Durnehviir once again. The dragon will teach you a Shout thanks to which you will be able to call him to aid you in battle. Bid the beast farewell and return to the normal world.
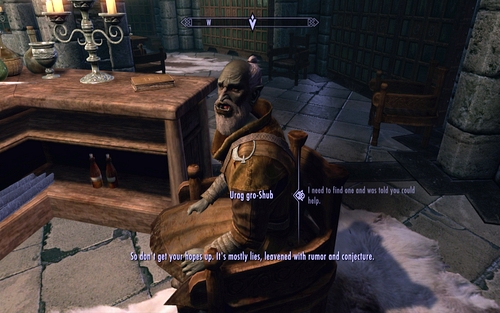
In order to find the second Elder Scroll, head to the academy in Winterhold. In the library, you will meet a half-orc Urag gro-Shub, who will give you the mission Discerning the Transmundane. If you have previously complete the main plot line of the basic game, you must have finished this mission and already have the Scroll. it however might have happened that you sold the Scroll to a librarian. In such case you will have to buy it back for 4 thousand gold or 2 thousand if you're the Arch-Mage. The description of Discerning the Transmundane can be found in the guide to Skyrim dedicated to the main and Daedric missions.
Once you have both scrolls, take them to the prophet at Castle Volkihar. He will give you another mission.
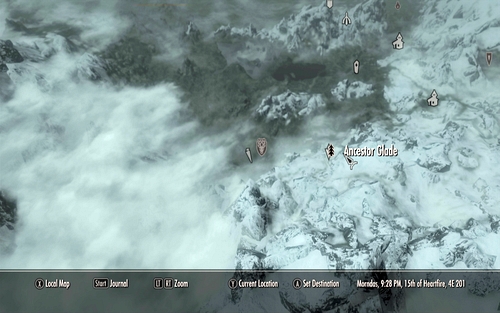
This time you will have to find a knife which is necessary for the magic ritual. It can be found in the Ancestor Glade, east of Falkreath.
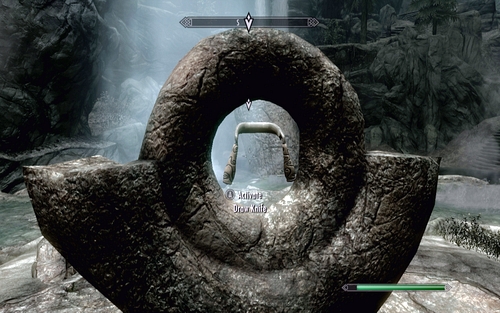
After heading inside, climb onto the rock on the left and afterwards head to the other side of the fallen trunk. The road will lead you to a statue on which the Knife has been placed.

After obtaining it, turn around and use it on the tree behind you. That way you will obtain a piece of bark which will draw the nearby Moths to you. You need to find 6 more similar swarms.
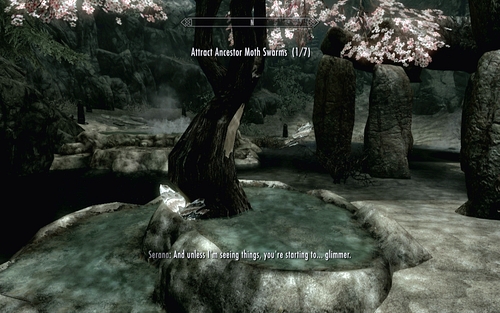
The next one is by the tree to the right of the statue. Afterwards keep going right and along the stream.
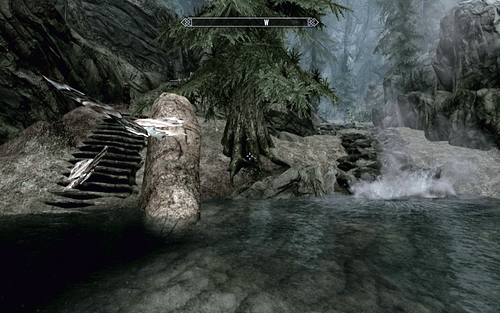
After getting to the end, climb the rocks on the left and continue along the narrow path.

It will lead you to a tree with pink leaves. Going like this, you should gather all the insects.

Afterwards return below and stand in the pillar of light found there. While in it, you need to read the Elder Scroll with the Dragon note. After the vision ends, speak to Serana to receive another mission.

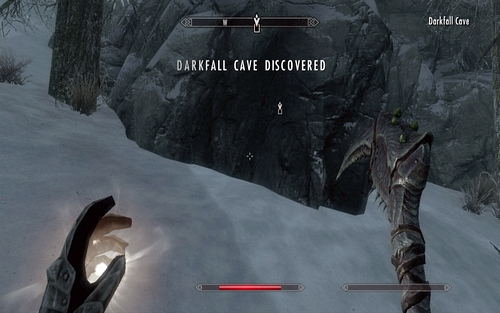
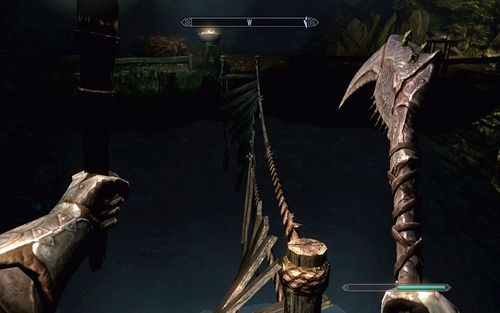
This time your mission is to find the bow of the goddess Auriel, which is located in the Darkfall Cave. The cave can be found west of Dragon Bridge. Keep heading that way and you will eventually reach a stream, nearby which the entrance to the cave has been hidden.

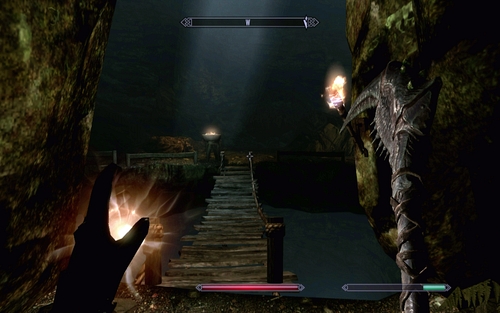
Inside, keep heading onwards until you reach a wooden bridge. Cross it twice and the rope will break, causing you to fall into the stream.

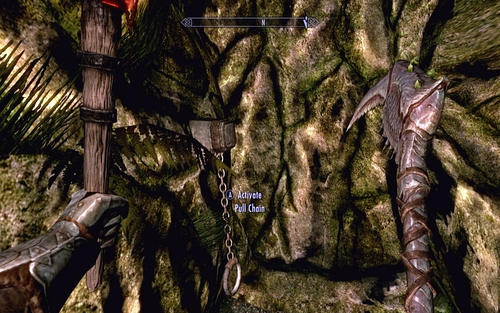
Swim with the current and you will reach the shore once again. A narrow path will lead you to a hidden passage. Unlock it by pulling the nearby chain.

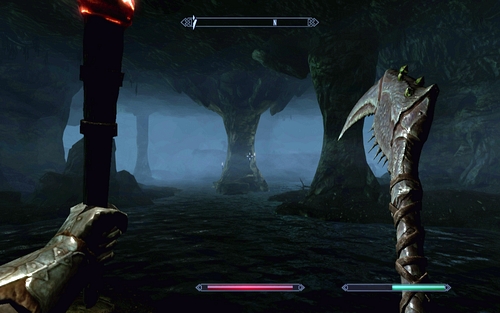
Make your way through the spider webs and you will reach a broken bridge. From there, keep heading west, deeper into the cave.

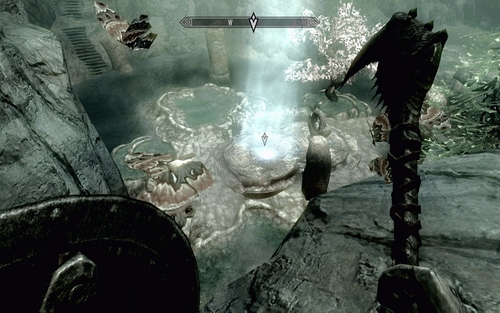
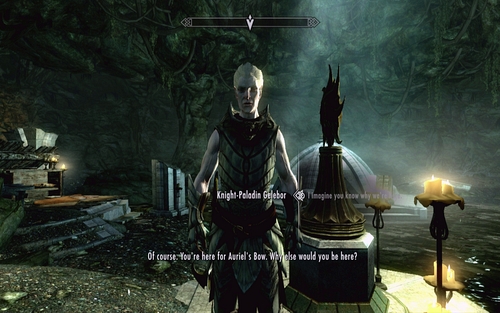
At its end you will come across a big cavern filled with water and in its left part a pale elf named Gelebor.

Speak with him to learn how to obtain the bow.
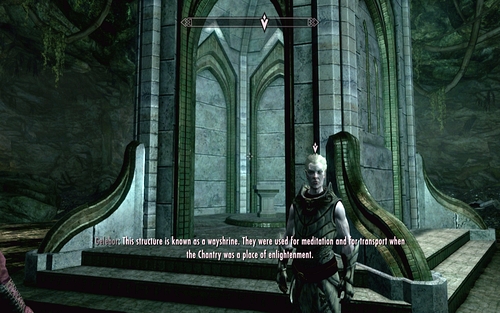
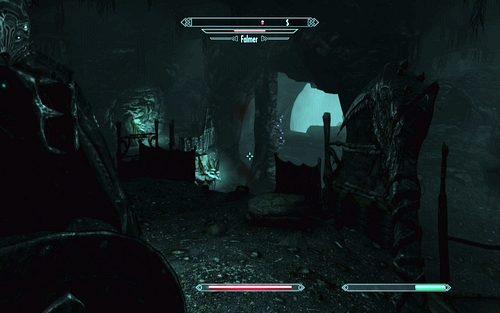
In order to reach the Darkfall Passage, go through the portal found in the shrine.

A narrow path will lead you to a big village, where you need to turn left.
Soon you should reach a treasure chest. Be careful when opening it, as there's a trap beside it.
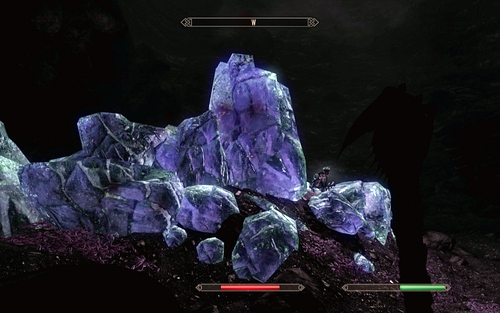
Further road leads up and to the right. Behind a stone bridge you will find a big shining rock which you need to walk around and go down.
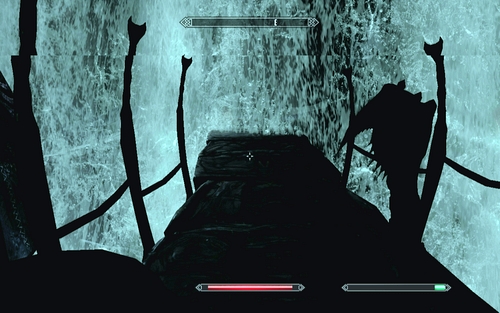
That way you will reach a bridge built under a waterfall.

When you reach an intersection, choose the path left and avoid the trap set in the corridor. The tunnel will lead you to two ropes with weights on it. You will have to use them to unlock passage to the big cave.
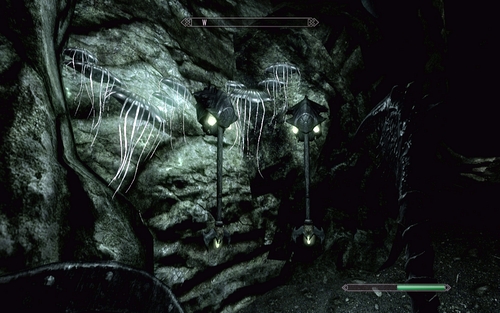
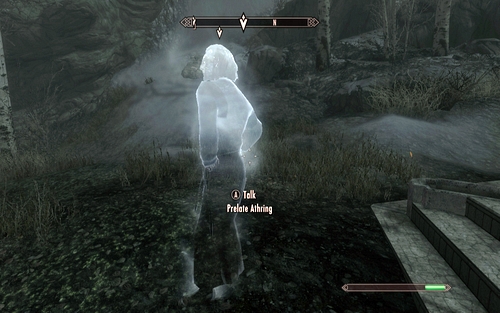
After heading inside, go to the other side of the location and climb up. The you will find the first shrine and its guardian.

Speak with the ghost, draw water and go through the gate to the Forgotten Vale.
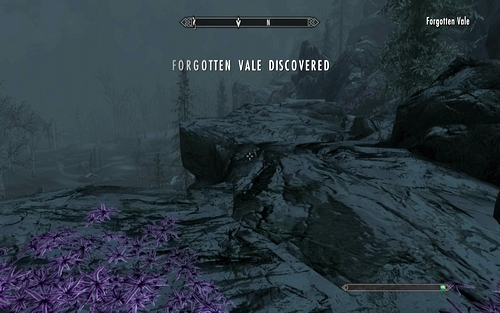
The narrow tunnel will lead you to a big open location, where you will find the four other temples.
To find the first one, stick to the east mountain range. The shrine will be right beneath it.
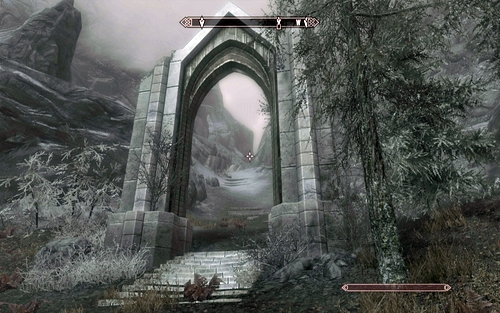
Go further in the same direction and you will eventually come across a passage beneath a stone arch, behind which there's a narrow gorge full of spider webs.

Defeat the enemies found there and head to the other side. That way, you will reach a wide frozen lake.

Keep going south afterwards. On the left shore you will find another shrine. Take water from it and head to the other side of the stream.

There you will find a path that will take you up.

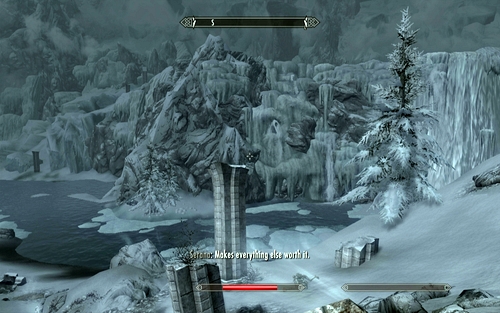
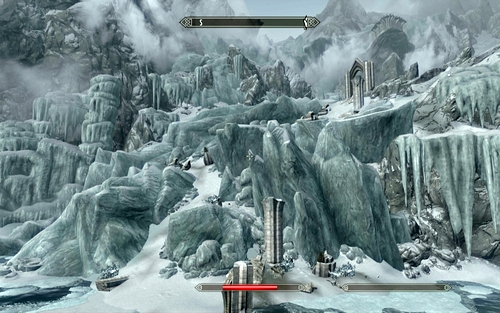
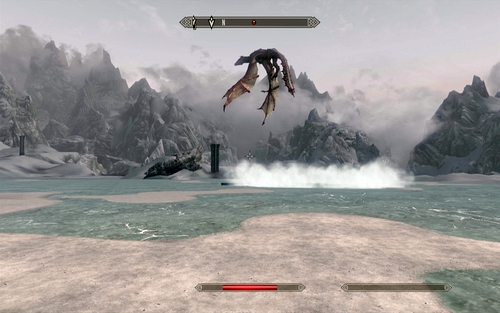
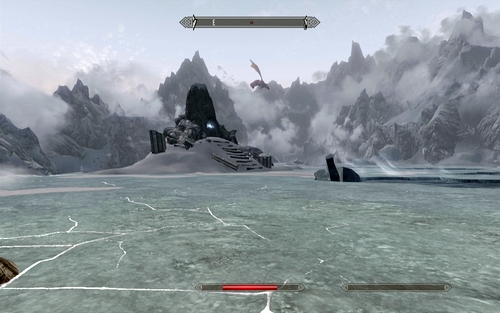
Turn north at the top and go through a big frozen lake. There, you will be attacked by two powerful dragons. If you want, you can just run straight to the next shrine. that way you might lose one of the beasts and you will have an easier fight.

In the middle of the lakes there's also a stone with a Word of Power on it. The runes present the word Stamina, belonging to the Drain Vitality Shout.
After drawing water from the fourth shrine, follow the mountain road to the north.
That way you will reach a small camp at the edge of the stream.

Head into the water and keep swimming against the stream's current.
At its end you will find a stone path which will lead you to Glacial Crevice.

Inside the cave, keep heading forward and up, until you find the exit to the Forgotten Vale.
At the end of the gorge there's a high-placed village. Go up the bridges and onto the narrow path in the east.

At the very bottom you will find a tunnel which will lead you to the shrine.
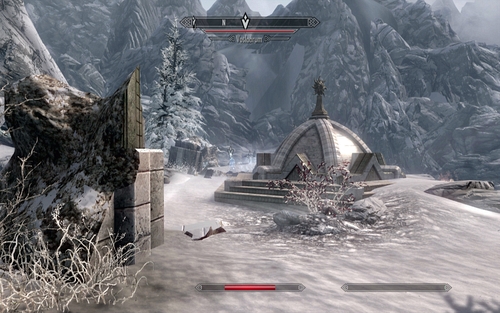
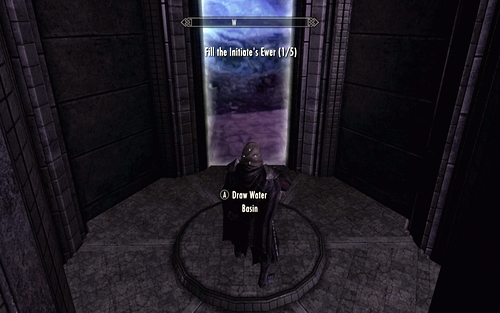
After drawing water from the last bowl, head to the nearby temple.

Above, behind the statue you will find a pedestal onto which you need to pour the water. That way you will open the gate.

Put the water jug onto the pedestal on the left, thanks to which you will unlock a passage into a room with a Frost Giant. The beast can deal large damage bur is rather slow, so you shouldn't have problems with defeating it.
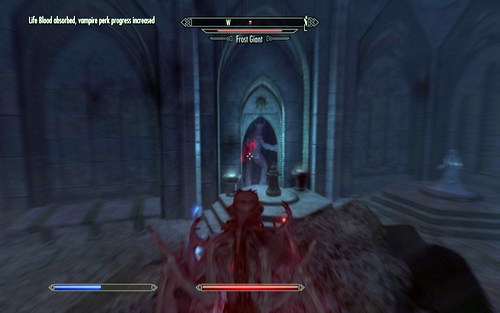
You can also head back to the exit. That way the beast will get blocked in the passage and become an easy target (just look out for frost beasts!).

When the area's clear, take the jug and the items lying by the corpse and head to the other side before the gate closes. Inside the Giant room you will find another pedestal on which you can put the vessel.

On the other side there's a treasure chest.
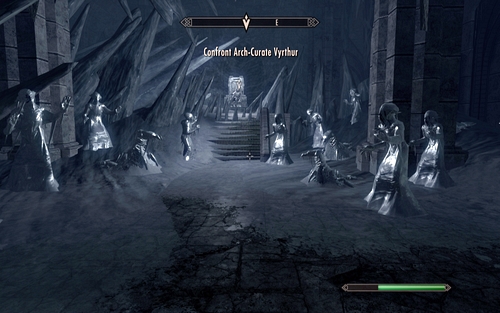
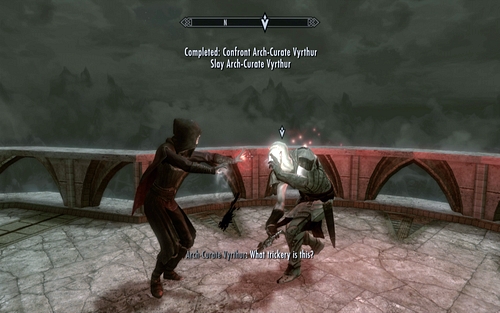
Take everything you can from it and bring the jug to the first room. The corridor in the north will take you to Auriel's Shrine, where you will have to fight with Arch-Curate Vyrthur.
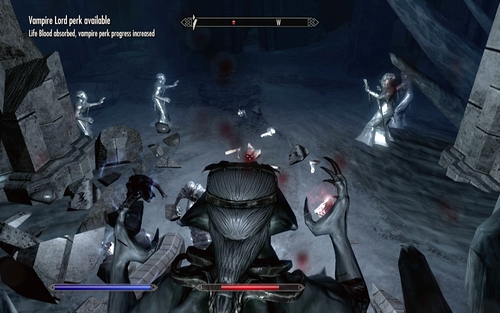
After you finish talking with the Snow Elf, approach his throne and turn your back onto him. It's a good spot for fighting off the incoming waves of enemies. Firstly you will be attacked by giant worms and then by a group of Felmers.

After you defeat them all, the ceiling will start falling down and the enemy will summon a Frost Atronach. Take care of it and chase the crazy priest. You will find him nearby the balustrade, where he will attack you in a more conventional way. The fight shouldn't take too long.
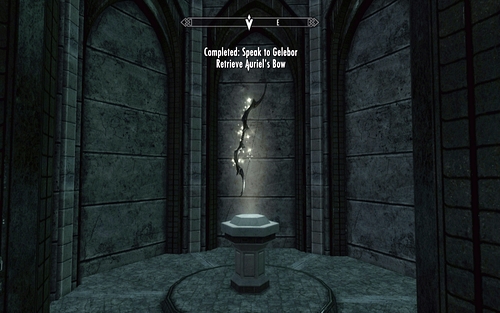
After the fight, speak to Gelebor and pick up the bow from the shrine. it's a really powerful weapon, great against undead enemies. Additionally you can shoot two types of special arrows from it.
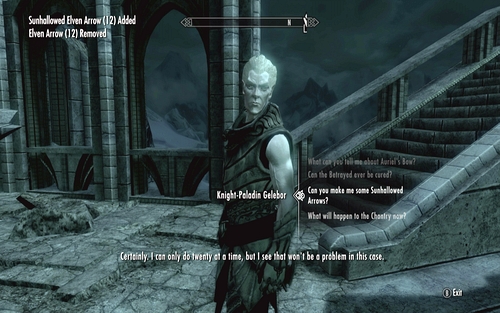
In order to create the Sunhallowed Arrows, speak to Gelebor once again. He can change normal elven arrows to such which deal additional sun damage. You need to get them before meeting with Lord Harkon.
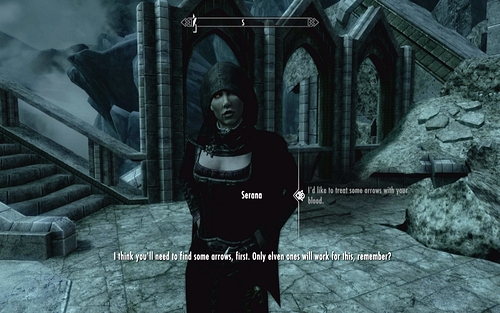
Apart from that, Serana can change elven arrows as well. She can create the so-called Bloodcursed Elven Arrows, shooting which cause a solar eclipse for one day. Very useful for every vampire.

Once you have a proper amount of Sunhallowed Arrows, head out to Castle Volkihar. Inside the castle cathedral you will meet Lord Harkon. Regardless of the chosen dialogue options, you will end up fighting the vampire leader. Only the decision regarding whether to hand over or keep Auriel's Bow has an influence on the fight. If you hand it over, you won't be able to use it during the fight. I wouldn't recommend doing that.

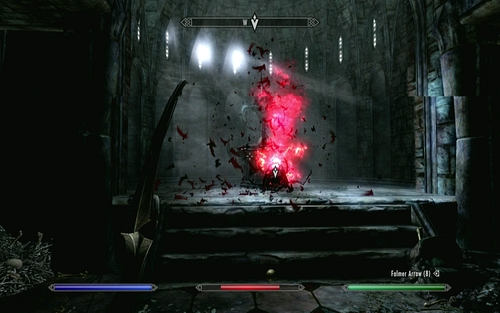
During the fight, Lord Harkon will be using a couple skills. Firstly he'll start calling in gargoyles, which you need to get rid of as fast as possible. Apart from that he can also teleport and change into fog (during which he's immune to attacks). Focus on attacking him mostly when he's trying to suck out your life. You can't let him heal too much. The best weapon for this fight is Auriel's Bow with Sunhallowed Arrows. Those arrows are required to break the red barrier which Lord Harkon creates around himself from time to time and additionally deal very large damage to all undead creatures. If you don't have the arrows, you will have to wait for the barrier to disappear itself. The enemy will stop creating it after losing the majority of his power.

When the fight finally comes to an end, the main story of the vampires will come to an end and you character will become the owner of Harkon's castle. Inside the basement you will find people who you can feed on. You can also move to side quests or load the game and start the Dawnguard plot.
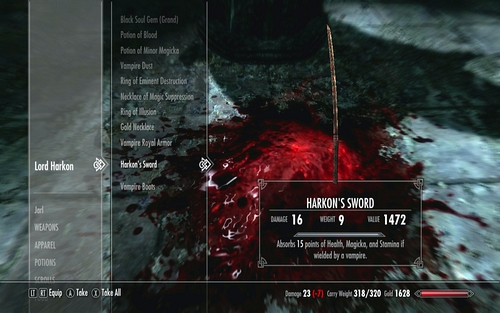
Also remember to take the items lying beside the remains of the former Lord.
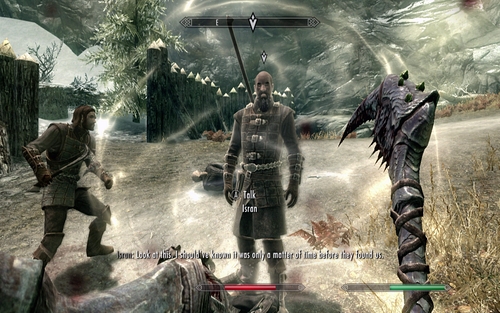
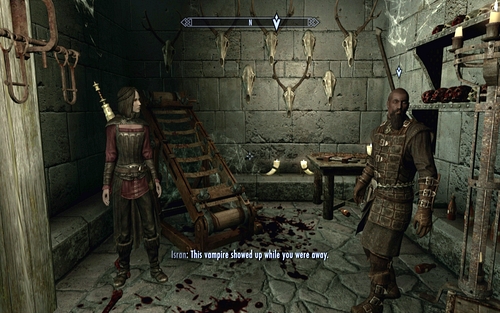
After being exiled by the vampire lord, get onto the boat and head to Fort Dawnguard to speak with Isran. The man can be found nearby the castle entrance, where he will be fighting a group of vampires. Help him and tell what happened. You will receive another mission.
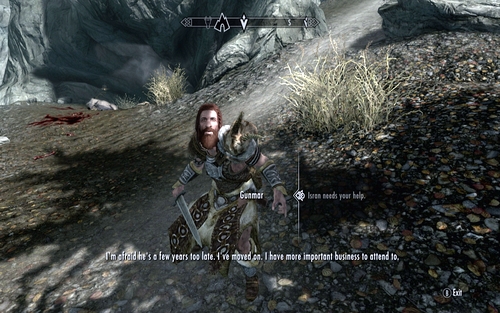
Gunmar is a bearded Nord, who can be found beside the entrance to a cave south of Riften. Speak to him and help in fighting a large Cave Bear living inside the Crystaldrift Cave.
The beast will be accompanied by a pack of wolves, so be careful.
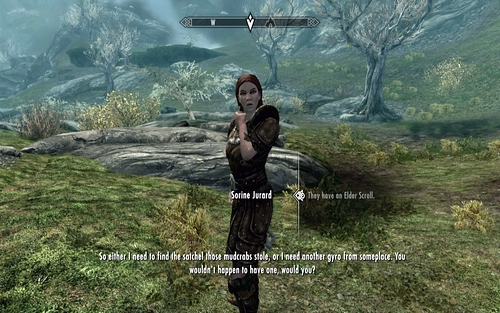
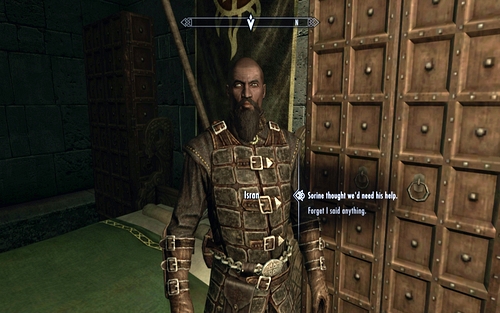
Sorina can be found south of Dragon Bridge, a village nearby Solitude. In order to convince her to join the brotherhood, you can use persuasion or give her a Dwemer Gyro.
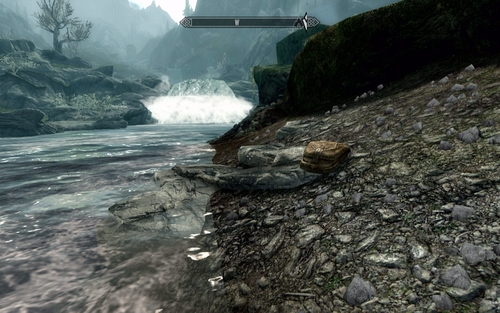
If you don't have any with you, find Sorina's bag by the stream shore. You will find the item inside.
After recruiting two new members, return to Fort Dawnguard to meet with Isran. He will give you your next mission.
The leader will take you to Serana, the vampire which you have met before. Speak to her and listen to what Isran has to say. Regardless of the chosen dialogue options, you will receive a mission of finding a priest who can read the elder scrolls.
In order to learn where the prophet is, you need to complete one of the side objectives which will be marked in your journal:
1. Ask an Innkeeper from any big city about the prophet.
2. Convince or bribe a Carriage driver to tell you what he knows about the Prophet staying in Skyrim.
3. Head to the College of Winterhold and speak about the prophets with Urag gro-Shub.

In each of the three cases you will learn that the prophet has been seen in the city of Dragon Bridge. Head there. The city can be found south of Solitude.

After you get there, speak with any of the citizens about the old traveller and speak to one of the guards afterwards. You will get information that the man went south through the big stone bridge.

Head into the same direction and you will come across a knocked over carriage surrounded by multiple corpses. By the vampire's corpse there's a note which you need to read. From it you will learn of the Forebears' Holdout, where the prophet is probably being held.
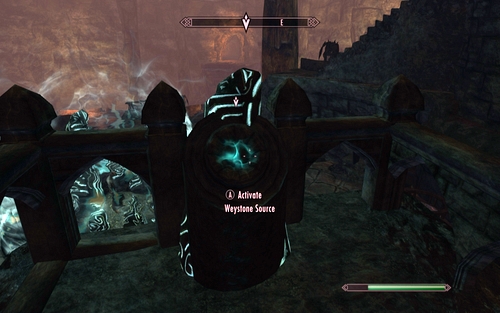
After getting inside, kill the enemies you come across and head onto the upper level where you should see a big blue barrier. In order to deactivate it, pick up the Weystone Focus lying beside the vampire's corpse and place in on the stone pedestal on the right.
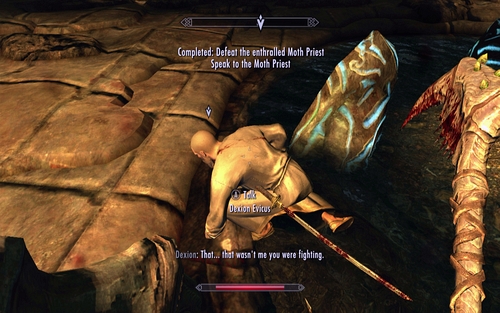
The mad monk will attack you. Hit him a couple times and he will regain control over himself. Speak to him and send to Fort Dawnguard.
After giving a report to Isran, tell the saved man to read the scroll. After listening to the prophecy, speak to Isran again and accept the new mission. In order to complete Seeking Disclosure, you will need to do two missions: Chasing Echoes and Scroll Scouting. We'll start with the first one.

Start off by speaking to Serana and head to Castle Volhikar.

Go around the building from the north and you will reach a small harbour, where a group of vampires will attack you. You need to defeat them and enter the castle through the nearby door. That way you will reach Volkihar Undercroft.

Inside the underground, find stairs leading onto the upper level. There you will find a lever which lowers the wooden bridge below on the right. Get onto it and turn left.
Keep going forward while fighting the enemies you come across and you will reach another lever. It will lower the next part of the bridge. On the other side you will find a door leading to the castle gardens.

In the very middle you should note a big moondial which is missing a few crystals. You need to find them and put them back in place.

The first one can be found in the bushes behind the fence (to the right of the dial).

The second is on a terrace above the previous part.
The third has been thrown into the garden pond.

After collecting all of them, place them in free spots around the hand. That way you will unlock a staircase leading to the ruined tower.
After heading inside, pull the chain to unlock a further passage.
The corridor will leady you to a banquet hall, where you will be attacked by a group of skeletons. Quickly defeat all of them and use the stairs on the right.

Keep heading onwards while killing the enemies you come across and eventually you will reach a second room with wooden tables.

Head to its other side, go up the stairs and pull the chain above the gargoyle.
Doing so will cause the statue to come to life and raise the grate nearby the stairs.
Behind it you will find a grate and a door beside each other. The road behind the wooden door is shorter, but requires lockpicking abilities. Both will lead you to a bridge above the room.
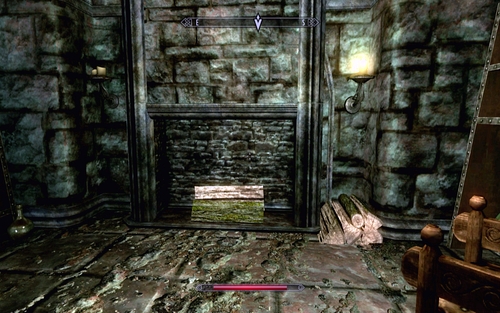
Head to the other side and keep going right. That way you will reach another gate, behind which you're in for a longer fight with gargoyles. After defeating the beasts, examine the armour lying nearby the coffins (it might come in handy) and afterwards pull the candlestick hanging on the left side of the fireplace.
That way you will unlock a secret passage which will lead you to the laboratory of the vampire you're looking for. Speak with your companion there and she will ask you to find her mother's journal.

The little red book can be found in the middle shelf of the candle-lit library. Take it to the vampire.
Your next mission will be finding three ingredients needed to create the portal.

The Soul Gem Shard can be found in the bowl standing on the table by the stairs.
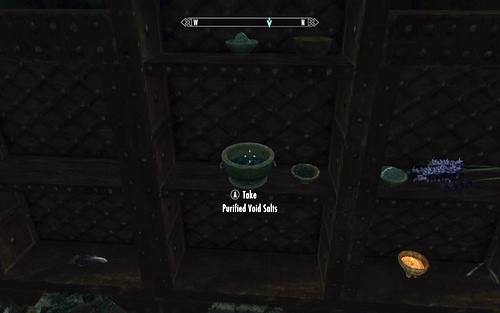
The Purified Void Salts has been hidden on a shelf in the upper part of the room.

The Finely Ground Bone Meal lies in a silver bowl below a mammoth skull.
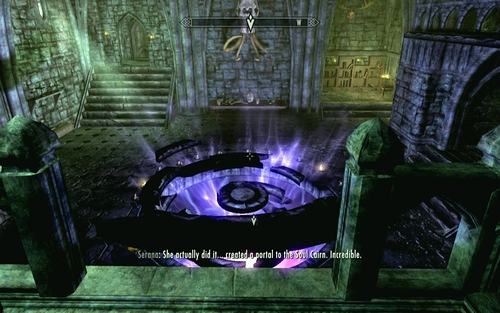
Having collected all of them, but them into the bowl where Serana is waiting for you. Soon afterwards a portal which can take you to Soul Cairn will be created.
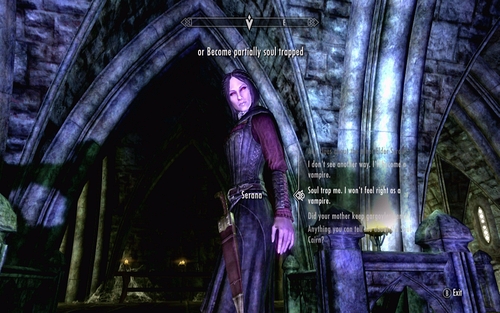
In order to head through it, you need to fulfil one of two conditions. You either have to change into a vampire or let a part of your soul to be taken from you. Both rituals can be performed by Serana. The disadvantage of the first solution is that you won't be able to complete the Dawnguard side missions (no problems with the main story line), while the second option will take away a part of your statistics. You however will be able to recover them after you obtain the scroll.

After you reach the world of souls, follow the main road forward. On your way you will come across a soul with which you can speak and a couple skeletons which you need to defeat.
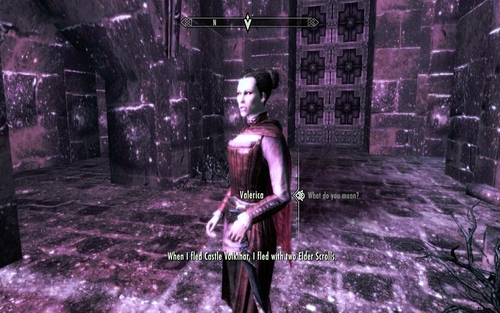
Eventually you will reach a castle with a strange barrier, where Valerica is imprisoned.
After a short conversation with Serana, the vampire will speak to your hero. Regardless of the choices you make, you will receive a mission of freeing the woman.
In order to get rid of the barrier, you need to kill three Boneyard Keepers who will be marked on the Soul Cairne map. They're quite far away from each other, so before trying to take them on you should get a hold of the undead mount by completing Find Arvak's skull in the Soul Cairn. Its description can be found in the chapter dedicated to side missions.
In order to reach one of the Keepers, you need to stand on the glowing circle.

That way you will be moved to an island where the undead warrior is waiting for you. After defeating him, go up the stairs and use the teleport to return.

With the last enemy dead, the barrier will disappear. Head to the other side and speak to Valerica. The woman will lead you to a big square, where you will be attacked by a dragon named Durnehviir.
Fighting him is just like facing other dragons. The only difference is the fact that the beast calls in small groups of undead skeletons from time to time, which you have to take care of as soon as possible. Return to attacking the dragon only after they're dead.
After it disappear, speak to Valerica and take the nearby Scroll. You need to return to Tamriel by following the same route by which your came here.
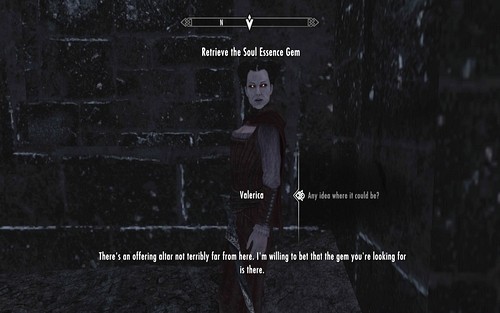
The woman will also tell you where the gem in which the part of your soul is trapped can be found, assuming you didn't want to change into a vampire.
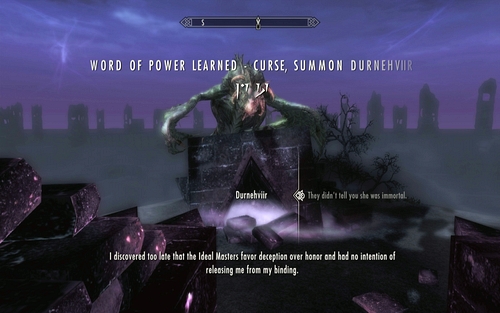
After you leave the square, you will meet with Durnehviir once again. The dragon will teach you a Shout thanks to which you will be able to call him to aid you in battle. Bid the beast farewell and go find the soul gem.
It can be found north-west of Valerica's former prison, inside big ruins with a rock flying above.
Defeat small skeletons groups inside and find a purple teleport. It will take you to the upper floor, where you can find a chest with the stone.

You need to take it as fast as possible, as the stone above deals quite a lot of damage.
After you finish the mission, return to Tamriel through the portal by which you came here.
From Valerica's lab, you can head onto the balcony and from there to any part of the world with fast travel.

In order to find the second Elder Scroll, head to the academy in Winterhold. In the library, you will meet a half-orc Urag gro-Shub, who will give you the mission Discerning the Transmundane. If you have previously complete the main plot line of the basic game, you must have finished this mission and already have the Scroll. It however might have happened that you sold the Scroll to a librarian. In such case you will have to buy it back for 4 thousand gold or 2 thousand if you're the Arch-Mage. The description of Discerning the Transmundane can be found in the guide to Skyrim dedicated to the main and Daedric missions. After collecting both scrolls, take them to the prophet in Fort Dawnguard and he will give you your next mission.

This time you will have to find a knife which is necessary for the magic ritual. It can be found in the Ancestor Glade, east of Falkreath.

After heading inside, climb onto the rock on the left and afterwards head to the other side of the fallen trunk. The road will lead you to a statue on which the Knife has been placed.
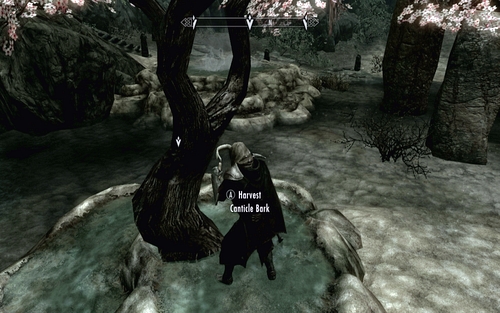
After obtaining it, turn around and use it on the tree behind you. That way you will obtain a piece of bark which will draw the nearby Moths to you. You need to find 6 more similar swarms.

The next one is by the tree to the right of the statue. Afterwards keep going right and along the stream.

After getting to the end, climb the rocks on the left and continue along the narrow path.
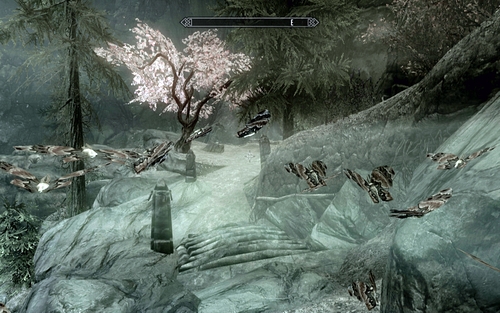
It will lead you to a tree with pink leaves. Going like this, you should gather all the insects.
Afterwards return below and stand in the pillar of light found there. While in it, you need to read the Elder Scroll with the Dragon note. After the vision ends, speak to Serana to receive another mission.
This time your mission is to find the bow of the goddess Auriel, which is located in the Darkfall Cave. The cave can be found west of Dragon Bridge. Keep heading that way and you will eventually reach a stream, nearby which the entrance to the cave has been hidden.
Inside, keep heading onwards until you reach a wooden bridge. Cross it twice and the rope will break, causing you to fall into the stream.
Swim with the current and you will reach the shore once again. A narrow path will lead you to a hidden passage. Unlock it by pulling the nearby chain.
Make your way through the spider webs and you will reach a broken bridge. From there, keep heading west, deeper into the cave.
At its end you will come across a big cavern filled with water and in its left part a pale elf named Gelebor.
Speak with him to learn how to obtain the bow.

In order to reach the Darkfall Passage, go through the portal found in the shrine.
A narrow path will lead you to a big village, where you need to turn left.

Soon you should reach a treasure chest. Be careful when opening it, as there's a trap beside it.

Further road leads up and to the right. Behind a stone bridge you will find a big shining rock which you need to walk around and go down.

That way you will reach a bridge built under a waterfall.
When you reach an intersection, choose the path left and avoid the trap set in the corridor. The tunnel will lead you to two ropes with weights on it. You will have to use them to unlock passage to the big cave.

After heading inside, go to the other side of the location and climb up. The you will find the first shrine and its guardian.
Speak with the ghost, draw water and go through the gate to the Forgotten Vale.

The narrow tunnel will lead you to a big open location, where you will find the four other temples.
To find the first one, stick to the east mountain range. The shrine will be right beneath it.

Go further in the same direction and you will eventually come across a passage beneath a stone arch, behind which there's a narrow gorge full of spider webs.
Defeat the enemies found there and head to the other side. That way, you will reach a wide frozen lake.
Keep going south afterwards. On the left shore you will find another shrine. Take water from it and head to the other side of the stream.
There you will find a path that will take you up.
Turn north at the top and go through a big frozen lake. There, you will be attacked by two powerful dragons. If you want, you can just run straight to the next shrine. that way you might lose one of the beasts and you will have an easier fight.
In the middle of the lakes there's also a stone with a Word of Power on it. The runes present the word Stamina, belonging to the Drain Vitality Shout.

After drawing water from the fourth shrine, follow the mountain road to the north.

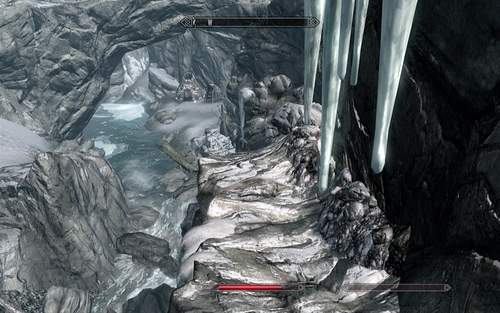
That way you will reach a small camp at the edge of the stream.

Head into the water and keep swimming against the stream's current.

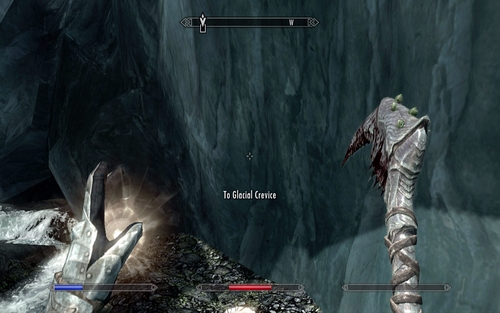
At its end you will find a stone path which will lead you to Glacial Crevice.

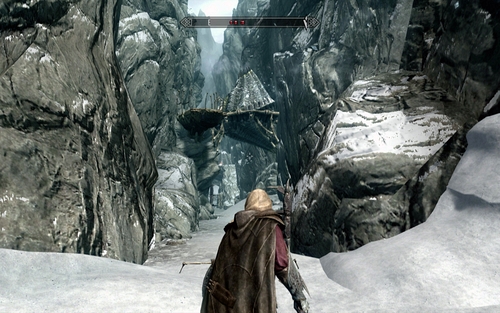
Inside the cave, keep heading forward and up, until you find the exit to the Forgotten Vale.

At the end of the gorge there's a high-placed village. Go up the bridges and onto the narrow path in the east.
At the very bottom you will find a tunnel which will lead you to the shrine.

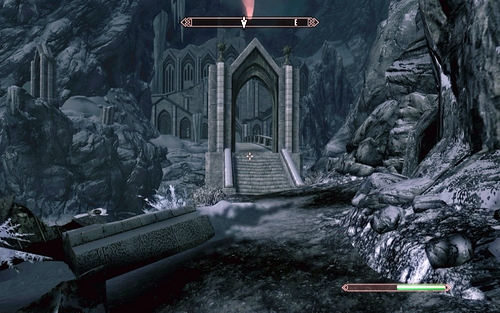
After drawing water from the last bowl, head to the nearby temple.
Above, behind the statue you will find a pedestal onto which you need to pour the water. That way you will open the gate.
Put the water jug onto the pedestal on the left, thanks to which you will unlock a passage into a room with a Frost Giant. The beast can deal large damage bur is rather slow, so you shouldn't have problems with defeating it.

When the area's clear, take the jug and the items lying by the corpse and head to the other side before the gate closes. Inside the Giant room you will find another pedestal on which you can put the vessel.
On the other side there's a treasure chest.

Take everything you can from it and bring the jug to the first room. The corridor in the north will take you to Auriel's Shrine, where you will have to fight with Arch-Curate Vyrthur.

After you finish talking with the Snow Elf, approach his throne and turn your back onto him. It's a good spot for fighting off the incoming waves of enemies. Firstly you will be attacked by giant worms and then by a group of Felmers.
After you defeat them all, the ceiling will start falling down and the enemy will summon a Frost Atronach. Take care of it and chase the crazy priest. You will find him nearby the balustrade, where he will attack you in a more conventional way. The fight shouldn't take too long.

After the fight, speak to Gelebor and pick up the bow from the shrine. it's a really powerful weapon, great against undead enemies. Additionally you can shoot two types of special arrows from it.

In order to create the Sunhallowed Arrows, speak to Gelebor once again. He can change normal elven arrows to such which deal additional sun damage. You need to get them before meeting with Lord Harkon.

Apart from that, Serana can change elven arrows as well. She can create the so-called Bloodcursed Elven Arrows, shooting which cause a solar eclipse for one day. Very useful for every vampire.

Once you have a proper amount of Sunhallowed Arrows, head out to Castle Volkihar. Inside the castle cathedral you will meet Lord Harkon. Regardless of the chosen dialogue options, you will end up fighting the vampire leader. Only the decision regarding whether to hand over or keep Auriel's Bow has an influence on the fight. If you hand it over, you won't be able to use it during the fight. I wouldn't recommend doing that.
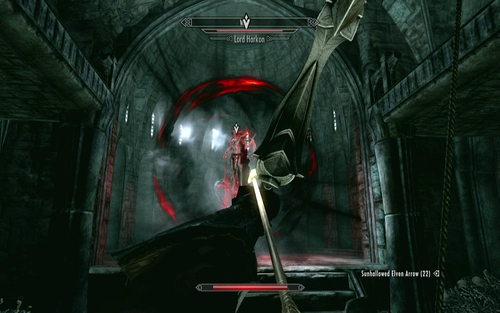
During the fight, Lord Harkon will be using a couple skills. Firstly he'll start calling in gargoyles, which you need to get rid of as fast as possible. Apart from that he can also teleport and change into fog (during which he's immune to attacks). Focus on attacking him mostly when he's trying to suck out your life. You can't let him heal too much. The best weapon for this fight is Auriel's Bow with Sunhallowed Arrows. Those arrows are required to break the red barrier which Lord Harkon creates around himself from time to time and additionally deal very large damage to all undead creatures. If you don't have the arrows, you will have to wait for the barrier to disappear itself. The enemy will stop creating it after losing the majority of his power.
When the fight finally comes to an end, you will end the vampire story line and your character will become the owner of Fort Dawnguard. You can now take on the side missions or load the game and start the vampire story line.

Also remember to take the items lying beside the remains of the former Lord.
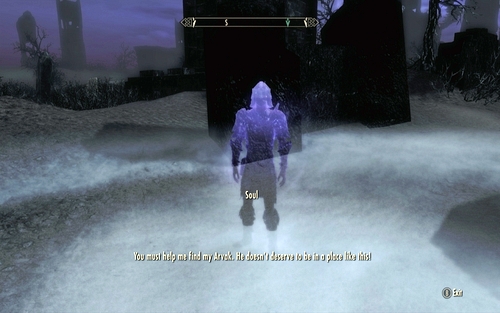
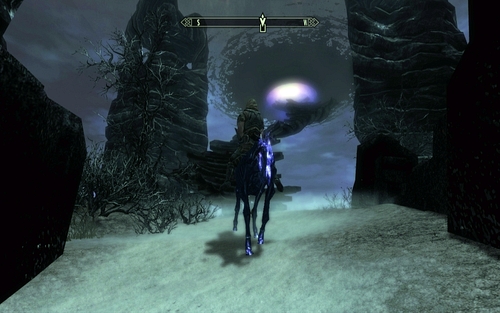
On your way to the imprisoned vampire in Soul Cairn, you will be stopped by one of the souls. The man will ask you to find the skull of his horse.
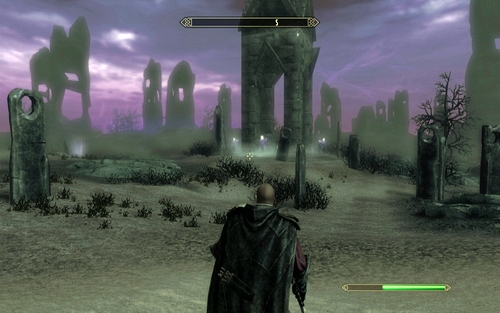
In order to find it, head to the castle where Valerica is waiting for you and keep going east afterwards. At some point, you should notice some ruins with a couple ghosts around it on the right
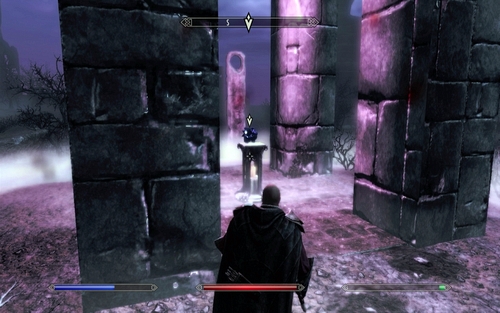
When you get closer, the area will turn purple and the souls will change into deadly skeletons. Quickly defeat all the enemies and pick up the nearby skull.
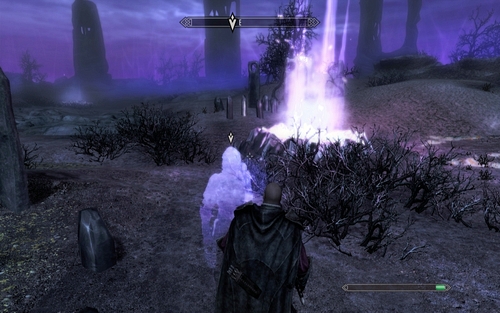
In order to finish the mission, you need to take it to the soul marked on your map.
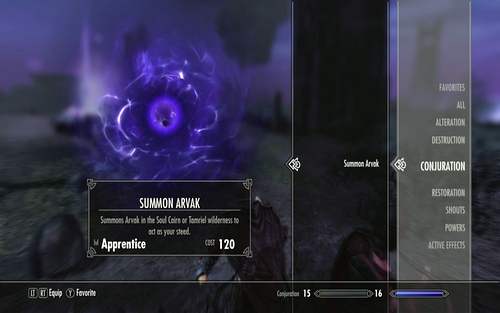
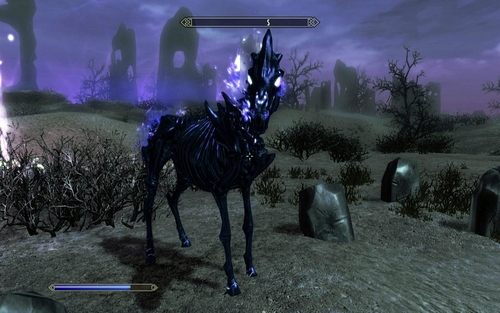
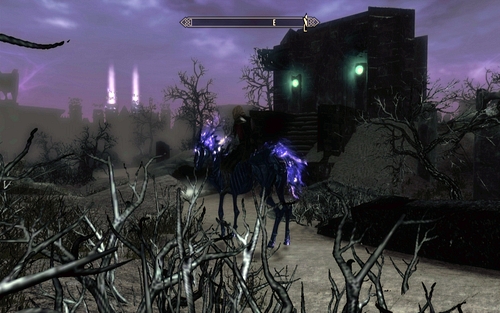
In return you will receive the Summon Avrak spell (found in Conjuration), using which you can summon an undead horse.
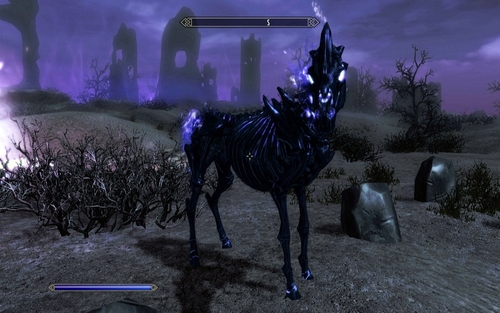
It will come in handy to complete all other missions in Soul Cairn.
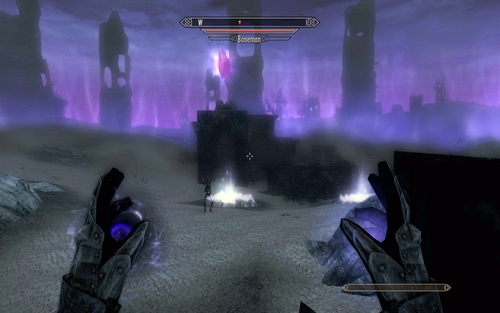
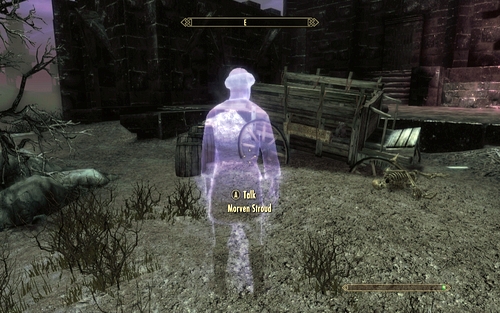
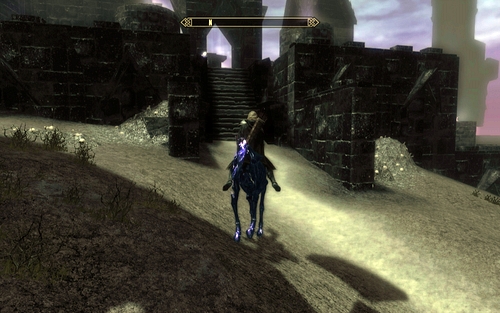
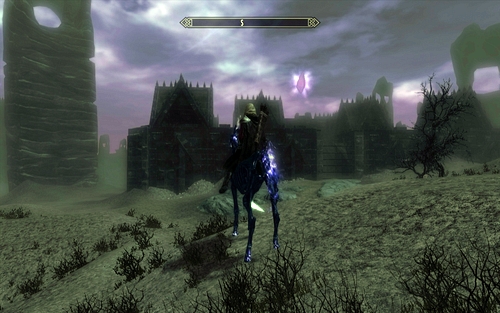
You can begin this mission after speaking to a man called Jiub. In order to find him, head to Valerica's prison and from there keep going straight east, until you reach a narrow path. You need to follow it south.
A bit before the big rectangular buildings, there's an intersection on which you should head left. It will take you to the elf you're searching for.
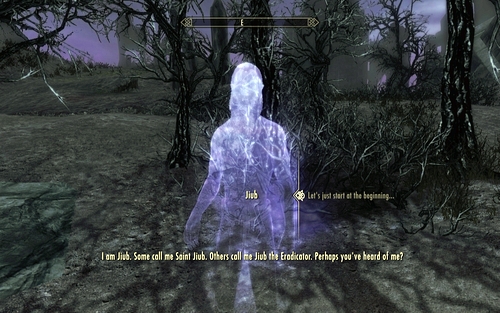
He will ask you to find 10 pages of his novel, hidden throughout Soul Cairn. Start off with the portal leading to Skyrim.
Going along the northern path, on the right you will pass by a building with two blue lights.
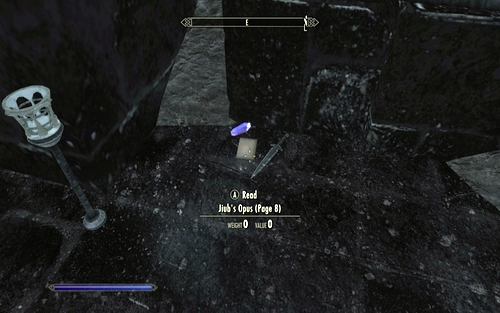
Shoot them from a bow or hit with any spell you like to open a cage behind which you will find page 8.
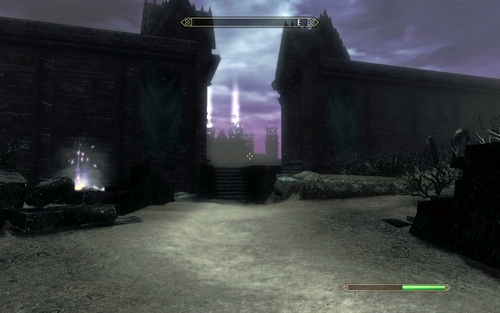
Afterwards head all the way north until you see a big wall dividing the location into two parts. Turn left right before it and to the other side of the nearby building.
Behind it you will find a building with a stone hovering above it.
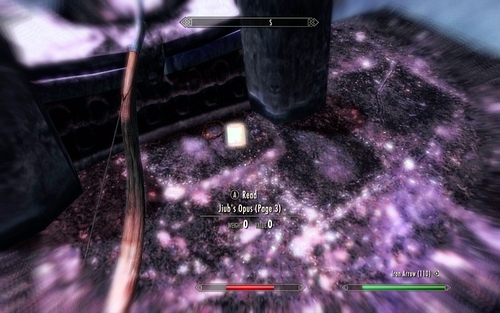
Head to the top of the building and pick up page 3.

Return to the passage through the wall and turn left. Go along the wall and on the left you will see a set of stairs.

Take them up to find page 1.
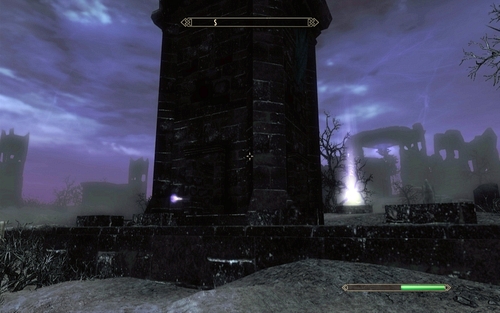
Once again return to the wall passage and follow the path south-west. On the left side of the path you should see a stone tower.
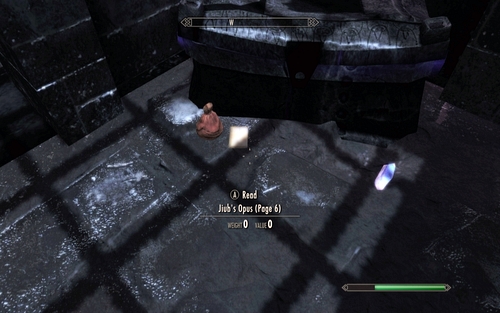
Page 6 has been hidden inside.
After getting on the other side of the wall, keeping going east until you reach a dead merchant.
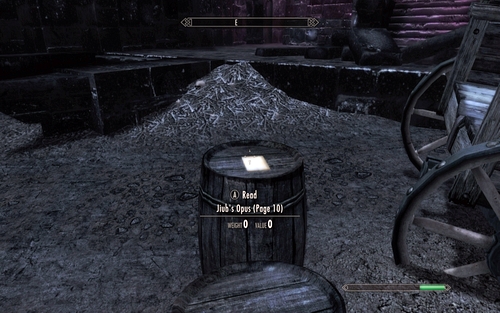
On a barrel beside his carriage you will find page 10.
Now you should head to Valerica's prison in the north. Stand opposite to it and turn left.
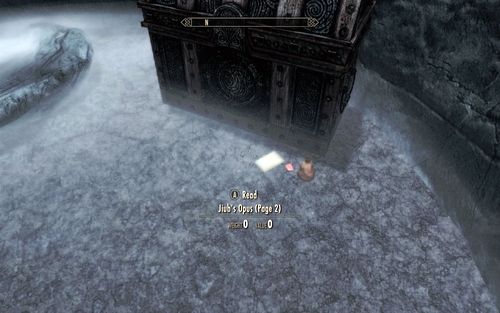
Inside the first building you come across you will find a chest, beside which page 2 has been left.
For the next one, head east of the pink barrier.
Ride along the wall to a tall building.
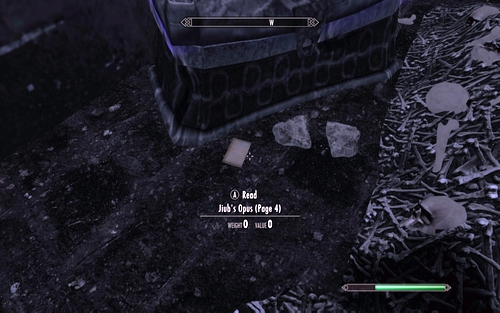
Head to its top and pick up page 4 lying beside the chest on the left.
After obtaining it, go down the stairs and keep going left until you find a staircase leading to a small altar.
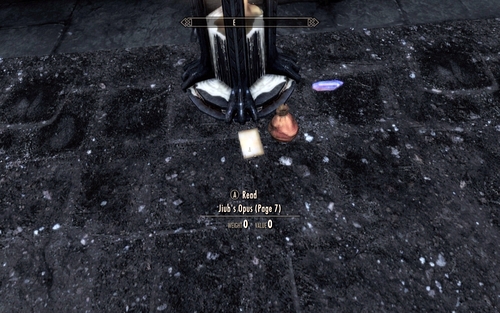
Page 7 is right beside it.

Now return to Valerica's prison and ride west along the edge of the location.
You will pass by a building with a hovering crystal on the left. Head inside from the south and find a pink portal leading upstairs. In order to find it, always follow the direction pointed by the square holes.
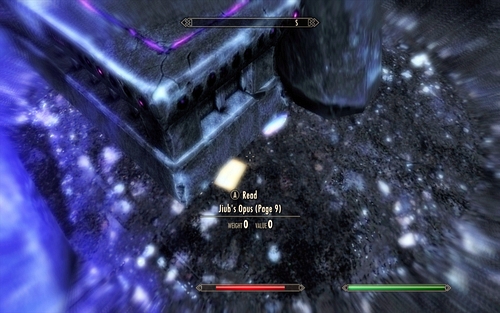
Page 9 is behind the chest below the crystal.
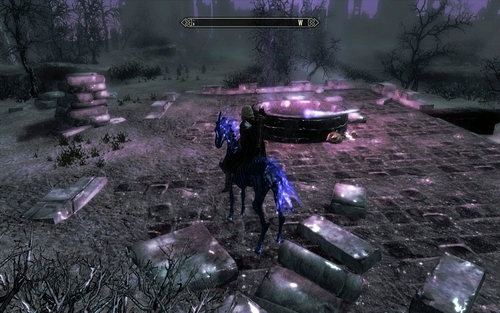
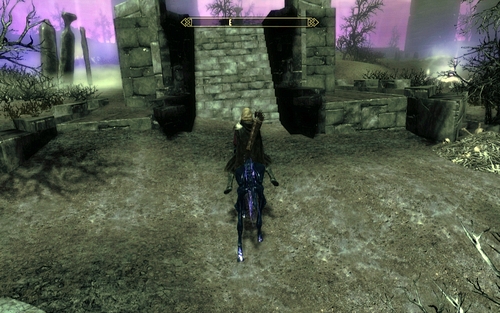
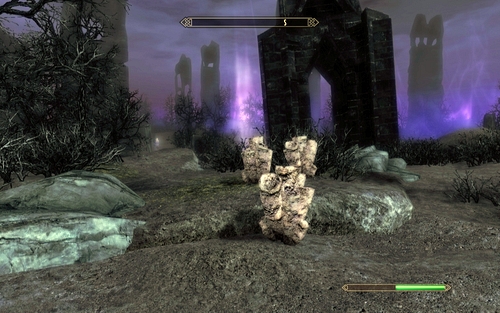
The last, 5th page is hidden around a dozen metres south of Jiub.
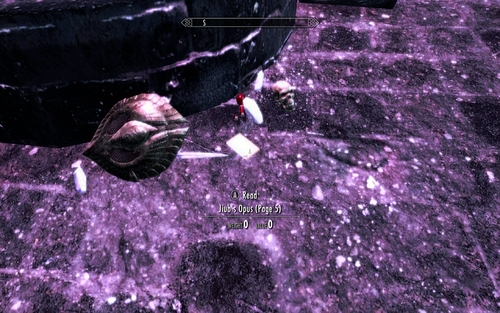
It's lying beside a big stone circle with a pink light in the middle.
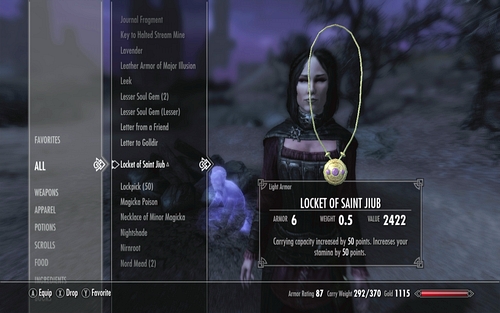
After you obtain all the pages, take them to the man. In return you will receive the only copy of his book and the Locket of Saint Jiub. The amulet increases stamina and capacity by 50.

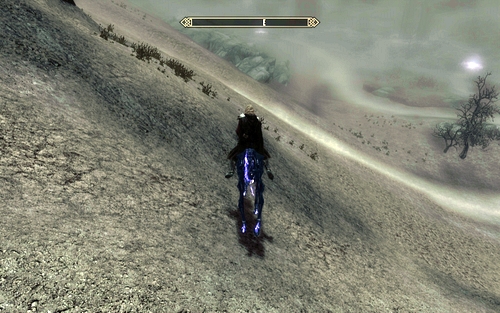
By going from the Soul Cairn entrance towards Valerica's prison, you will pass by a tall stone wall.

Once on the other side, run south-east. That way you will reach the soul of a certain merchant, who will agree to trade with you if you bring him 25 Soul Husks.
They grow all around Soul Cairn, so you shouldn't have problems with obtaining the required amount. Unfortunately the items that the man has for sale aren't of best quality. For 25 Soul Husks you can choose one of the available kinds and the item will be randomly generated. Considering the time required for completing this mission and the prize gained in return, I wouldn't recommend bothering with it.
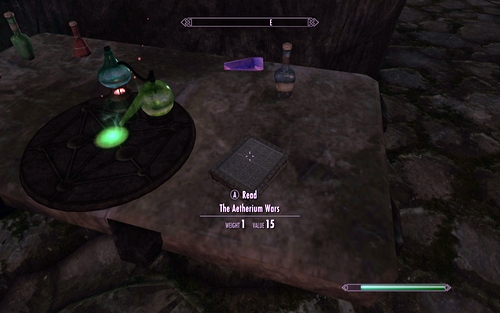
In order to begin this mission, you need to read a book called The Aetherium Wars. It can be found in various places around Skyrim, but personally I'd recommend examining the one lying on one of the tables in Castle Volhikar or Fort Dawnguard.
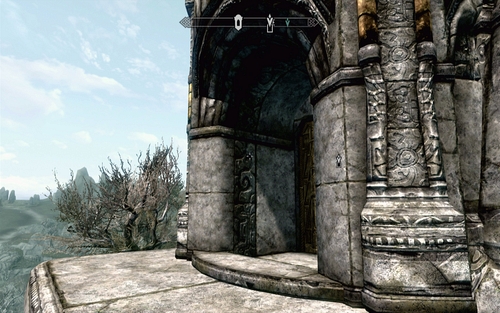
Afterwards head to Arkngthamz, the dungeon mentioned in the book, found south-east of Markarth.
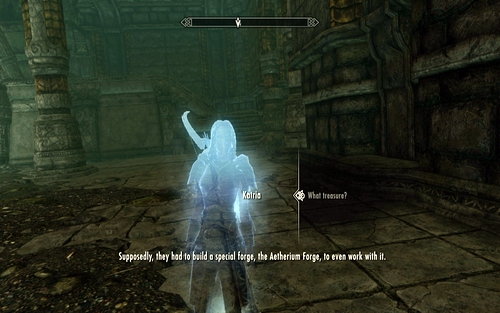
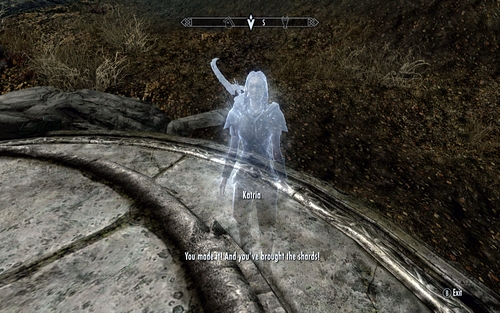
After getting to the big cave, the ghost of a woman named Katria will appear. Speak to her and accept her help to begin the next mission.
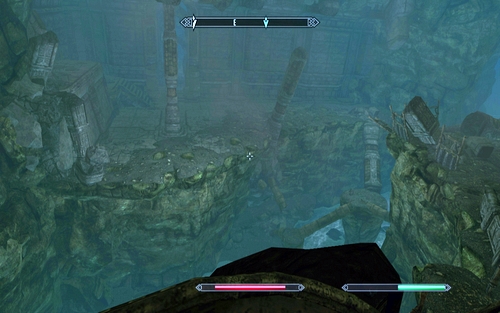
Start off by heading to the other side of the precipice, collecting a journal lying by the woman's body on your way.
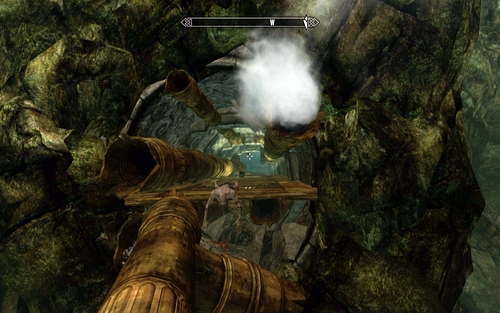
The corridor leads to a room with another pipe. Go up it.

At the end of the tunnel you will see a moving gate
Head through it and hit the machines on the right to open another passage.
Head further towards a big open space. turn right and keep running forward.
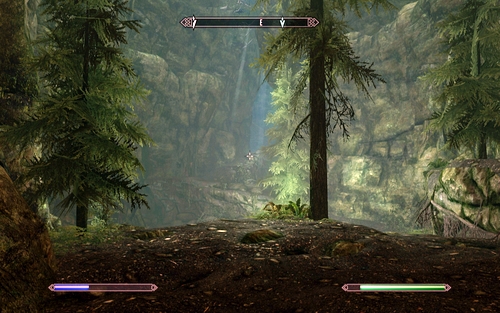
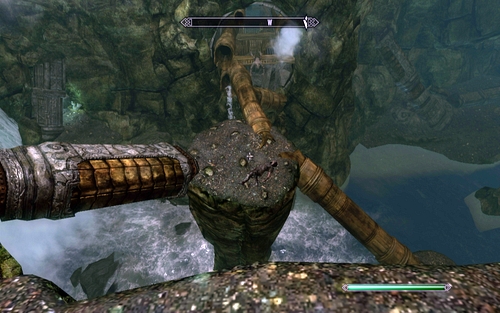
A bit further you will reach a spot with a couple growing trees. Katria will tell you that it's where she has fallen down.
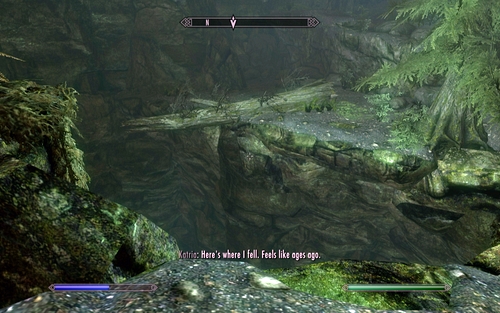
You will also learn that at the end of the fallen tree trunk you can find her bow, Zephyr. Pick it up, moving slowly along the trunk.
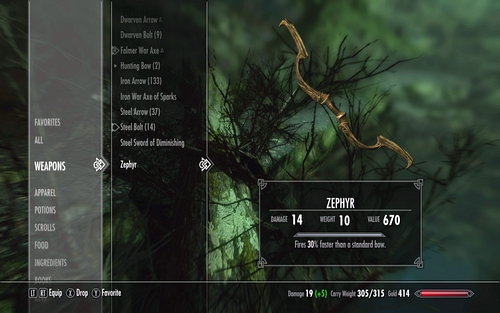
It's quite a good weapon, as it lets you shoot 30% faster than with other bows.
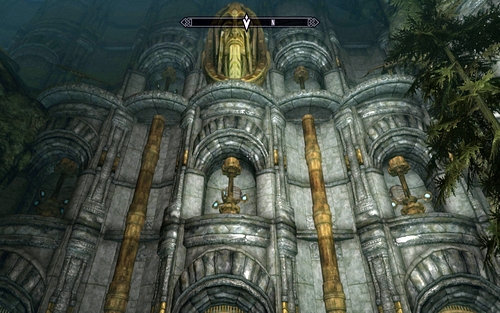
Further on you will come across a large stone gate protected by a complicated lock. In order to open it, you need to shoot the items around the stone fact in the proper order (aim at the blue crystals).
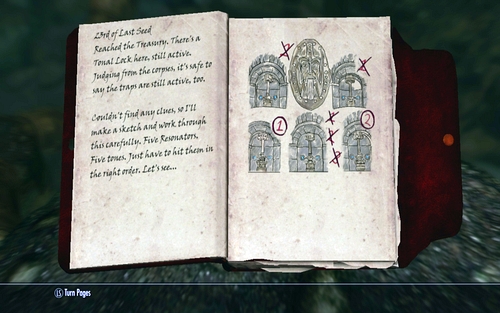
One of the hints can be found inside Katria's journal and the second one on a scrap of paper lying beside the corpse of one of the adventurers.
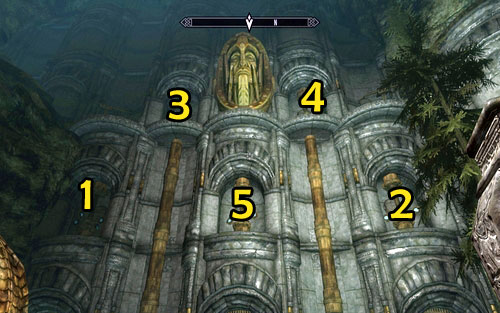
The proper order can be seen on the above screen.
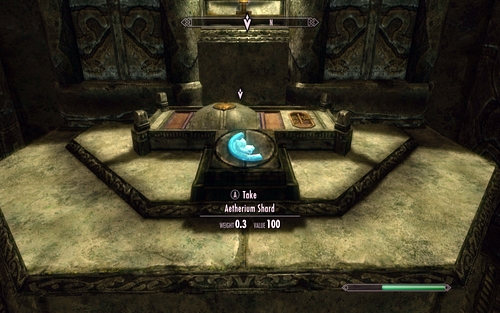
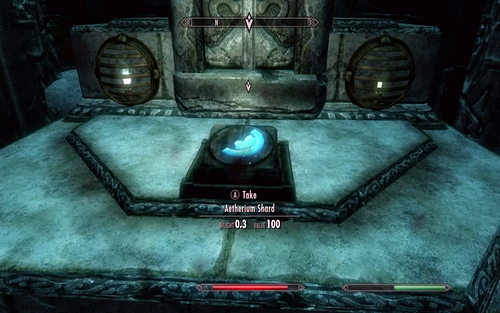
Behind the gate you will find the first shard.
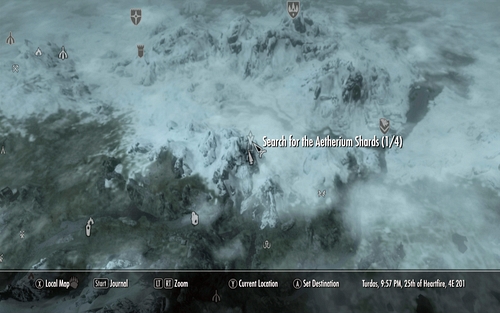
The second piece can be found in Raldbthar, west of Windhelm.
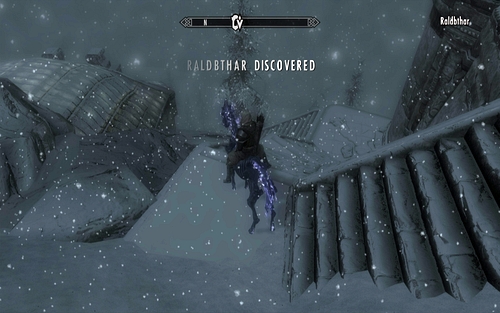
The cave is pointed on a map inside Katria's journal. It will appear on the world map only after you get close enough to it.
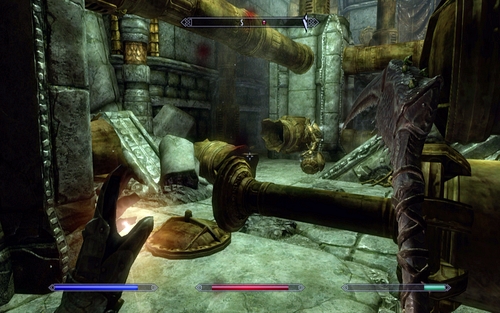
After getting inside, head straight all the way while avoiding traps and defeating Dwemer constructions.
That way you will reach a lift which will take you to the Raldbthar Deep Market.
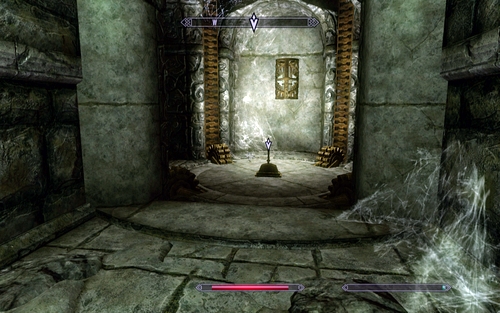
By heading further you will reach a tall tower with a drawbridge.
To lower it, press the button placed on the console on the nearby table.
A bit further you should come across a locked door and 4 Dwemer buttons. In order to open the gate, press the second one from the right.

Behind the grate you will find another bridge. It can be lowered using the nearby button, but the mechanism doesn't work because of 4 blocked gears.
The first one can be found in the left corner of the room, the second in the right corner, the third to the right before the bridge and the fourth underwater.
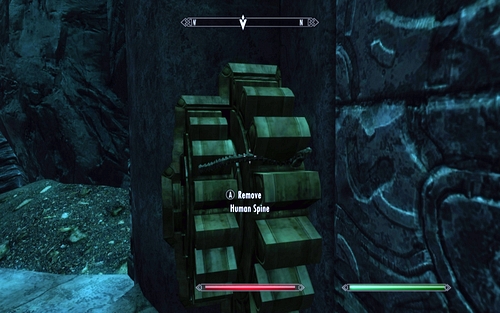
Each one has to be unblocked by taking out the bone stuck in it.
When you're done, press the button and defeat the powerful robot.
After you destroy it, you will be able to head through the next grate and reach the next fragment after killing a couple enemies on your way.
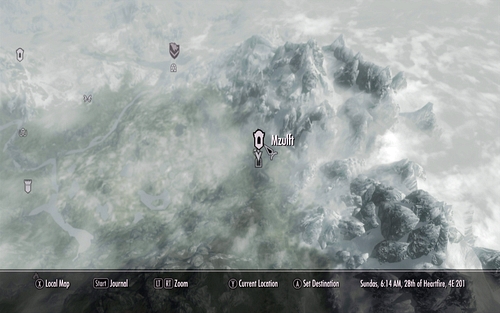
The third shard has been hidden inside Mzulft, to the south-east of Windhelm.
To obtain it, you will have to open one Master or two Apprentice locks.
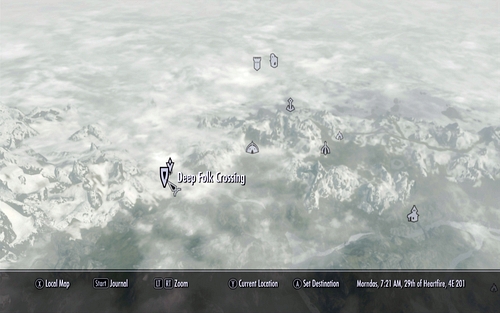
The fourth shard is hidden inside Deep Folk Crossing, north-east of Markarth.
It's lying on one of the stone pedestals.
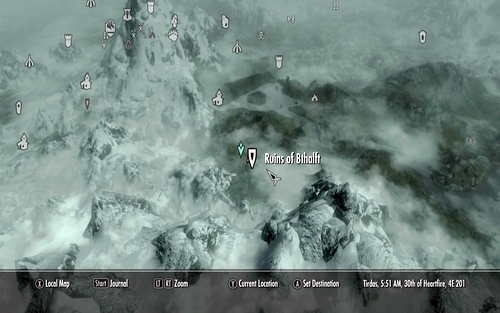
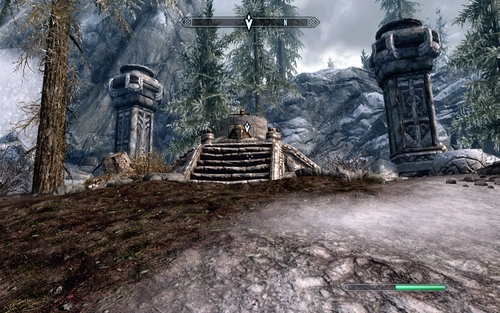
After collecting all the shards, head to where the Forge has been hidden, i.e. the Ruins of Bthalft - south-west of Ivarstead.
After getting there, speak to Katria. The woman will tell you to place the obtained shards on the nearby pedestal. Afterwards take them and move away a couple steps for an entrance to appear.
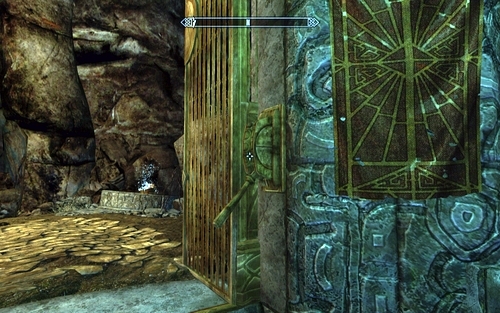
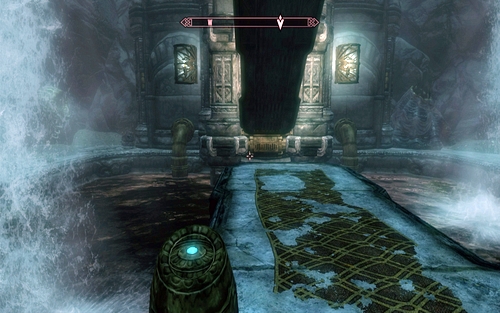
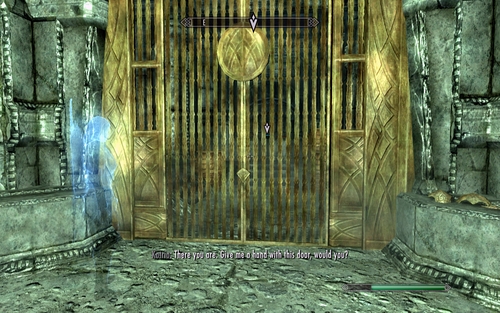
Inside the ruins, pull the nearby lever and keep moving onwards until you reach a large closed gate.
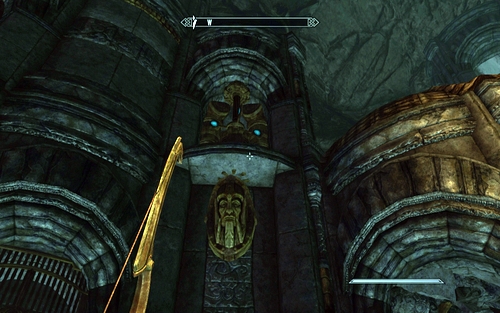
In order to open it, you will need to shoot two mechanisms placed on the right and left side of the passage. Aim at the blue crystals.
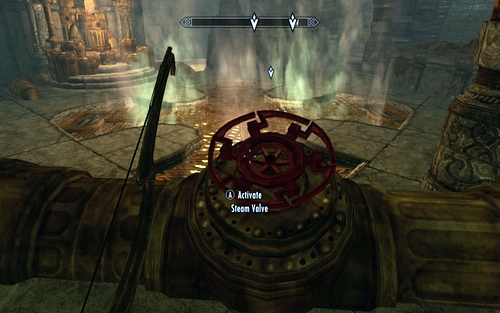
Head through it to reach the forge, covered by steam. Block it by turning the two marked valves.
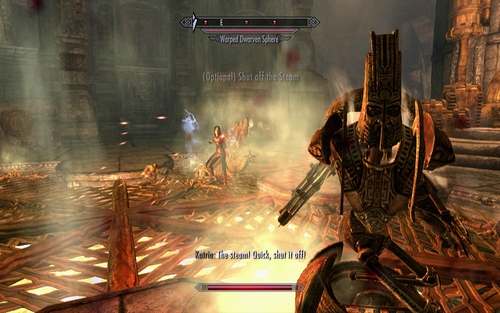
After you do it and approach the mechanism, you will be attacked by Dwemer robots. In the end the Forgemaster himself will appear as well
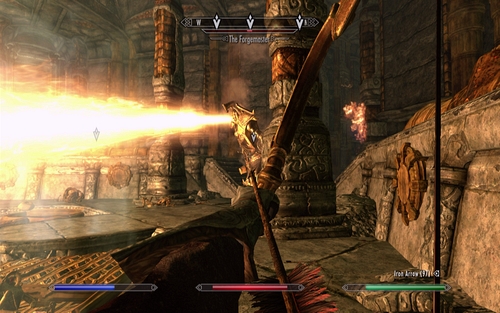
I'd recommend fighting by the wall of the room, as there you won't be hit by the steam appearing from time to time. You will be also able to easily shoot at the fire-breathing robots.
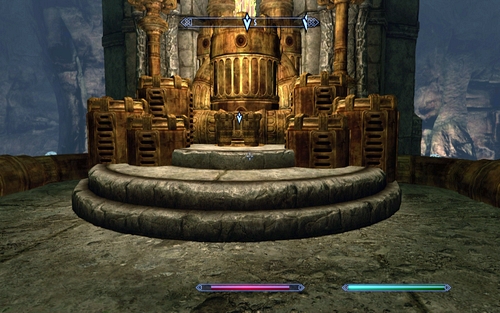
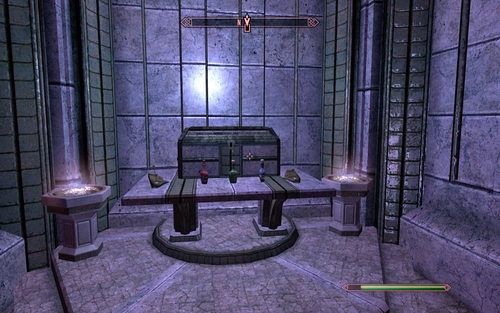
After clearing the area, approach the forge and use it.
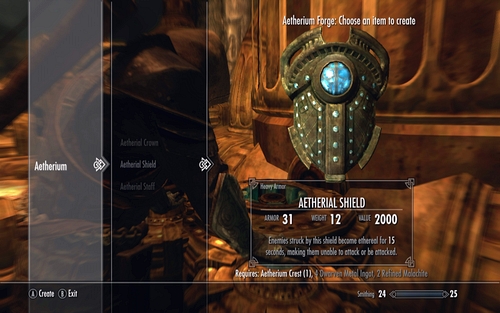
Using it, you can forge one of three items: a shield, crown or staff. The required materials can be found in the chest on the right. I'd recommend thinking this over well, as you won't be able to change your mind afterwards. This way you will end the mission.
Depending on which faction you joined, you will be able to access one of two location: Fort Dawnguard or Castle Volhikar. In both cases, by speaking to its inhabitants you can receive various additional missions, the order and goals of which are mostly random. Below I will try to describe all the tasks, though without going into details and naming given dungeons or items, as they are prone to change. With the exception of Bolstering the Ranks, which always plays out the same.
New primary objective: Speak to Isran
This mission will become available right after you complete Prophet. Find Sorina Jurard in Fort Dawnguard and speak to her. The woman will suggest that a certain Florentius Baenius could join the brotherhood. Speak to Isran about it.
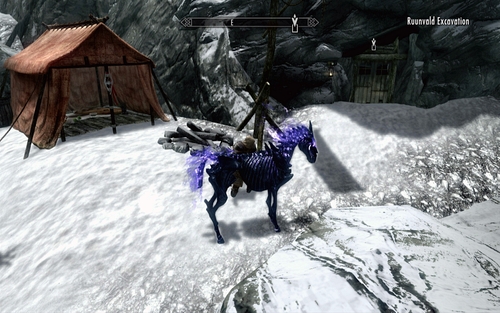
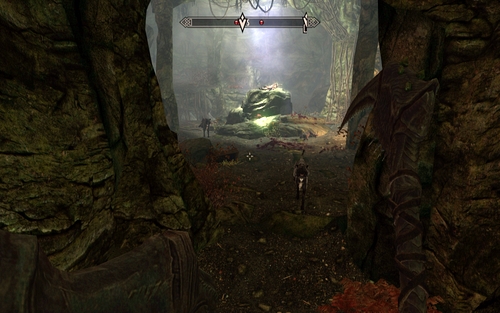
The man has been last seen in Ruunwald Excavation located north of Riften. Before going in, take the journal from the nearby tent.
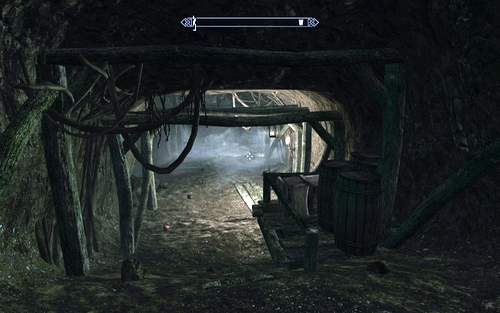
Keep going onwards inside, killing all the enemies on your way. At the end you will find a door leading to Ruunwald Temple.
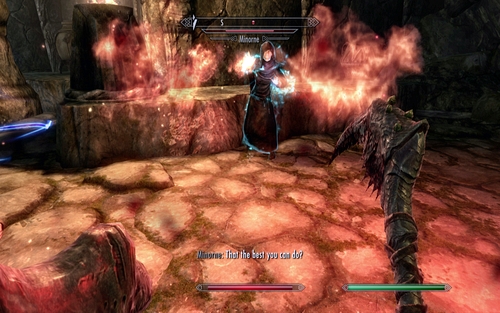
Inside, in a big room, you will be attacked by a group of enemies led by a mage Minorna. You should eliminate her in the first place.
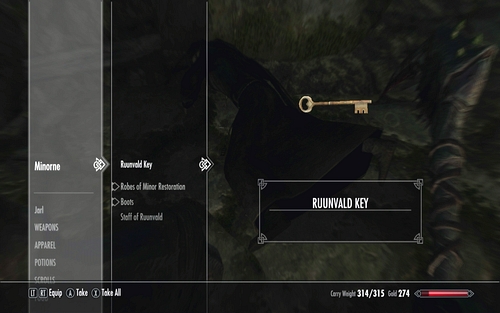
Beside her dead body you will find a key to Florentius' cage.
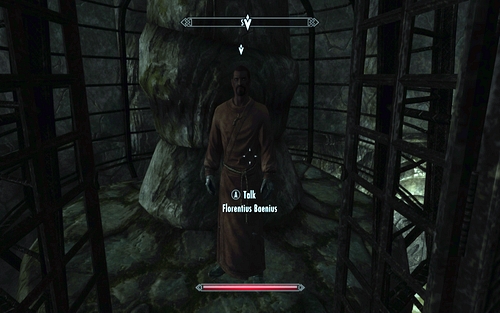
Free the man and speak to him to convince him to head to Fort Dawnguard. That way you will finish the mission.
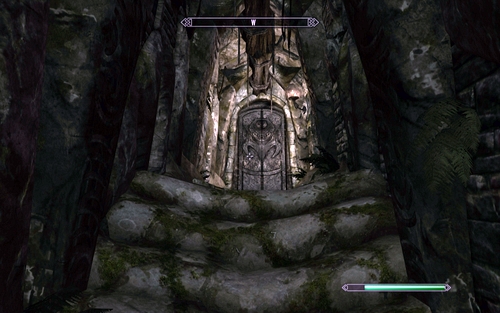
In order to leave the location fast, open the door in the south using the recently obtained key. The corridor behind will lead you to the surface.
After completing Bolstering the Rank, speak to Florentius in Fort Dawnguard. The man will ask you to retrieve an ancient artifact which can be found in a random dungeon. Usually it's at the end of tunnels.
Sorine Jurard will ask you to find a special schematic which will let her improve your crossbow. It's mostly found in dungeons filled with vampires. Defeat all the enemies, take the item and return to Sorine to collect your prize.
You will receive this mission from Gunmar. The man will ask you to kill a vampire who pretends to be human. You can kill him in front of guards, but you will have to pay a fine or end up in prison, so a silent assassination is a better solution. If you find your victim in a crowded place, ask/order him to follow you and head to a secluded place to finish the job.
Isran will tell you that a vampire has infiltrated one of the Jarl's courts. You have to kill him before the can threaten the lord. Before you do it, you however have to steal a note from him (Orders). If you show him to the Jarl, the guards won't interfere when you attack the spy. Otherwise you will be thrown into jail or have to pay a fine.
From Florentius you will learn that one of the people close to you has been kidnapped. You need to head to the marked location and save the man/woman. You will most probably find him/her inside a cell guarded by a group of enemies. Once they're all dead, pull the lever to open the grate and end the mission.
This mission received from Gunmar is very simple. You need to head to the marked dungeon and kill the Master Vampire there. He will be most probably protected by other weaker vampires, but overall the fight shouldn't cause you a big trouble.
Gunmar will ask you to head to town and ask a certain person for the whereabouts of a vampire. During the conversation you will have the option to bribe, intimidate or persuade the human to give you the letter with the beast's location. If the persuasion attempt fails, you can always try to steal the letter. Afterwards head to the described location and kill the blood sucker.
After completing The Bloodstone Chalice, Feran Sadri will order you to find a piece of an ancient vampire. If you bring it to him, the effects of the Bloodstone Chalice will last longer. The mission can be repeated up to seven times with different parts of the vampire's body.
Feran Sadri from Castle Volhikar will send you out to find two magic rings which boost vampire abilities. You can find them in the marked underground, hidden inside a chest or by the corpse of an enemy. The Ring of the Beast increases the damage dealt with claws as a Vampiric Lord and maximum health, while the Ring of the Erudite increases the regeneration rate and amount of magic.
Vingalmowill ask you to find a given person and change him/her into a vampire. In order to do it, you will need the Vampiric Seduction power. It can be found in the proper menu after not drinking blood for a couple days. When you're ready, head to the proper town, wait for your victim to be alone and use the spell. Afterwards you need to enter stealth mode, click on your victim and choose to feed.
Feran Sadri of Castle Volhikar will send you out to find two magic amulets which boost the abilities of a vampire. They can be found random dungeons, hidden inside a chest or found by the corpse of an enemy. The Amulet of Bats causes the bats that you summon to suck out life from enemies, while the Amulet of the Gargoyle increases the amount of Gargoyles that you can summon.
Fura Bloodmouth will order you to assassinate one of the Dawnguard members. In order to do that, find you victim and wait for him/her to be in a secluded place without any witnesses. You can also speak to him/her and convince to follow you. Once the area's clear, kill your victim and head to the vampire to collect your prize. A silent assassination is on a side objective, so don't worry if someone notices you, as you won't fail the mission that way. Eliminating the target is what matters really.
Fura Bloodmouth will introduce you to her plan of storming Fort Dawnguard. Agree and head to the designated spot. The Fort is full of enemies, so be very careful. Try eliminating them one at a time and at best silently without any witnesses. It's also a good idea to use Pacify on some of the enemies. That way you will gain access to items available only for the members of the organization. The Nord named Gunmar will even sell you an armed troll.
This mission, received from Garan Marethi, is very simple You need to head to the marked dungeon and kill the Master Vampire there. He will be most probably protected by other weaker vampires, but overall the fight shouldn't cause you a big trouble.
Feran Sadriwill give you a mission of killing a citizen of a given city, so that a big amount of people sees it, and placing an Incriminating Letter by his corpse. Additionally, you will receive more gold for killing someone of high profile and some Potions of Blood if the assassination will be executed while wearing a Dawnguard armor. You will receive the armor at the beginning of the mission, so equip it right away so that you don't forget. As for high profile citizens, they're mostly inn keepers, shop owners or priests. After you manage to kill your victim, quickly place the letter by his body and run from the guards. It's best to avoid killing any other citizens, as that way you will avoid paying a fine.


 The Amazing Spider-Man 2 Game Guide & Walkthrough
 The Amazing Spider-Man Game Guide & WalkthroughTERA Game Guide & Walkthrough
 The Elder Scrolls V: Skyrim Game Guide & Walkthrough
 The Dark Eye - Chains of Satinav Game Guide & Walkthrough