
This is a complete walkthrough of the game's 14 episodes, with screenshots illustrating subsequent stages of the play and original chapter guidelines. The guide has been prepared based on Normal difficulty level.
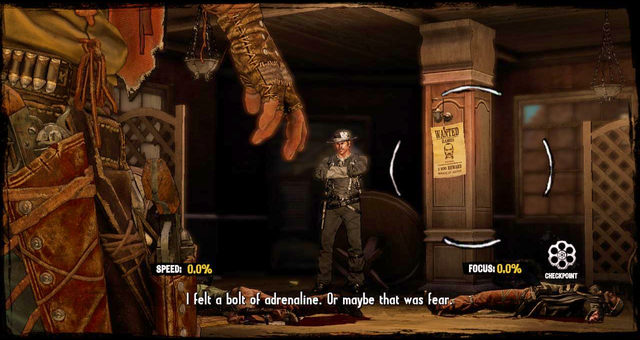
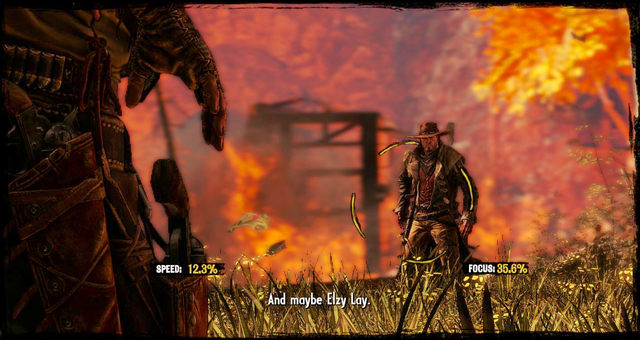
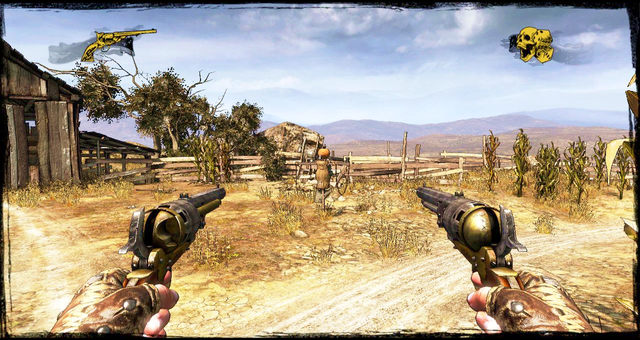
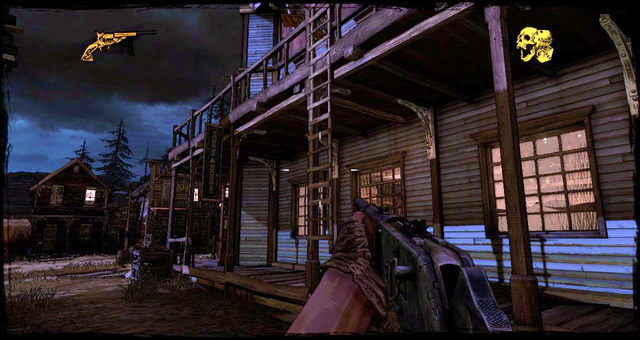
Call of Juarez: Gunslinger is a linear first-person shooter set in the world of the Wild West, where bullets flying right past your ear were a common day reality. You play as Silas Greaves, and old and embittered bounty hunter. Despite its linear form, the game will at times allow choosing between several paths to reach the destination.
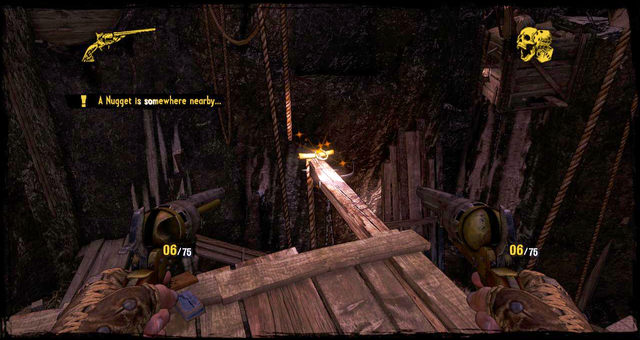
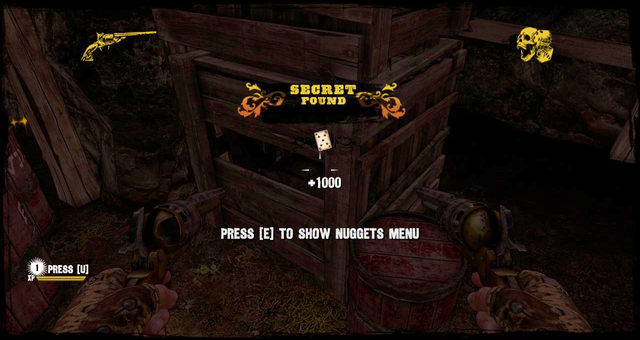
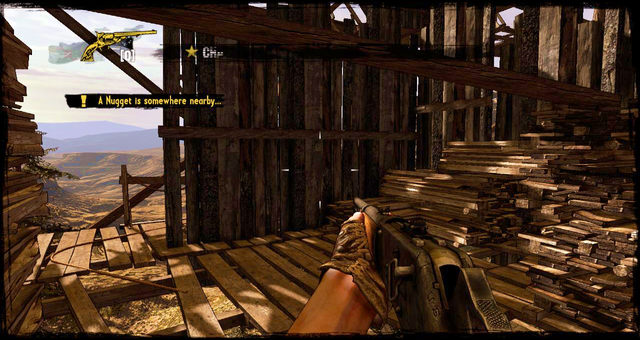
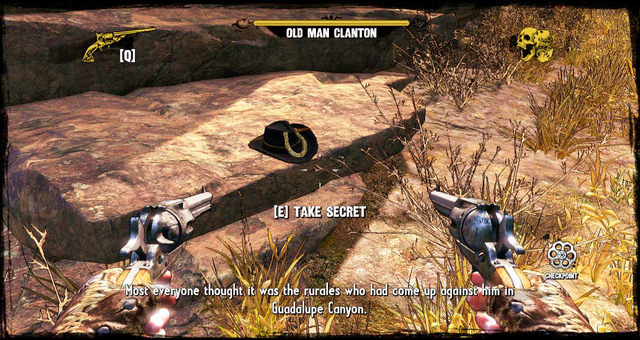 One of the game's hidden secrets.
The guide also lists the locations of all secrets - 54 Nuggets of Truth, which you can stumble upon throughout the campaign. While you read through the guide, you will find mentions of secrets that you can find nearby, but their exact locations are described in a separate chapter.
Marcin "Xanas" Baran

W - Move forward, S - Move backward,
D - Strafe right, A - Strafe left

- Toggle weapon

- Crouch

- Sprint

- Concentration Mode

- Melee

- Fire

- Aim
- Jump

- Reload
- Throw dynamite

- Objective

- Skills

- Interact
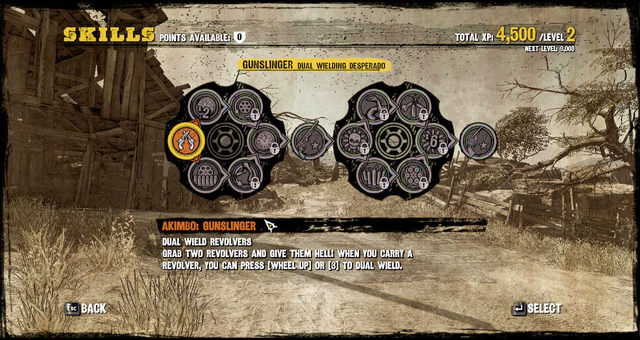 Desperado skill tree
Name
Description
Akimbo: Desperado
Dual Wielding Revolvers
Concentrated
Longer Combos
Deep Pockets: Desperado
Revolver Ammo Capacity Increased
On the Run
Reload While Sprinting
Making Time
Improved Agility in Concentration
Guns Blazing: Desperado
Faster Revolver Reload
Upgrade: Engraved Ranger
+25% Range, -30% Recoil
Cold Rage
Improved Damage in Concentration
Resupply
Dynamite Looting
Readiness
Reloaded Guns in Concentration
By the Numbers
Concentration for Combos
Stack'em High
Extra Damage for Combos
Cold Blooded
More Concentration in the Bar
Upgrade: Ivory-Handled Quickshooter
+ 30% Damage, +25% Aim Speed
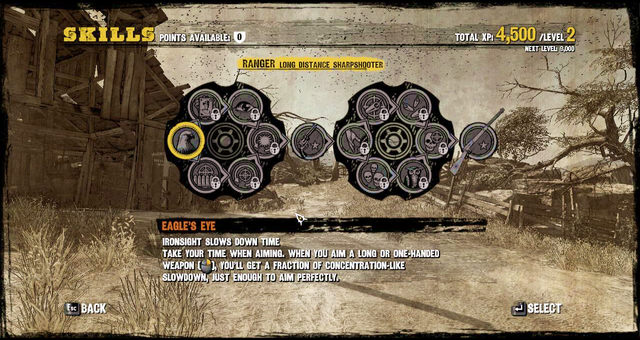 Ranger skill tree
Name
Description
Eagle's Eye
Ironsight Slows Down Time
Truth Seeking
Hints About Nuggets of Truth
Deep Pockets: Ranger
Rifle Ammo Capacity Increased
Steady Aim
Addition Zoom While Aiming
Quick Fingers
Reload Rate Increased by Smashing
Guns Blazing: Ranger
Fast Rifle Reload
Upgrade: Inlaid Six-Shooter
+30% Fire Rate, +15% Aim Speed
Fastest Gun
Fast Aiming
Headhunter
More Concentration for Headshots
None Can Hide
Hints about Enemies Behind You
Executioner
Execute Nearby Enemies
Generous
Splitting Dynamite Mid-Air
Grenadier
Throw Shoot the Dynamite
Upgrade: Golden Rifle
-25% Recoil, +30% Aim Speed, +2 Ammo
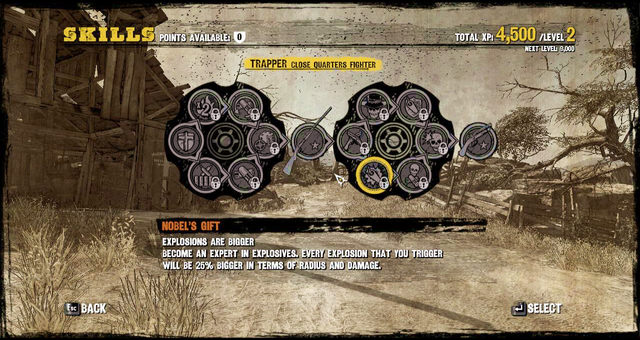 Trapper skill tree
Name
Description
Crusader's Armor
Close Combat Resistance
Waste Not
Higher Combos in Concentration
Deep Pockets: Trapper
Shells, Dynamite Capacity Increased
Street Sweeper
More Shot in Shotgun Rounds
Righteous Fire
Counter-Attack After Sense of Death
Guns Blazing: Trapper
Fast Shotgun Reload
Upgrade: Silver Shotgun
+35% Range, +15% Damage, +15% Spread
Akimbo: Trapper
Dual Wield Sawed-Off Shotguns
Nobel's Gift
Explosions are Bigger
Devil's Shotgun
Loaded Shotgun in Concentration
Sixth Sense
Sticky Crosshair in Concentration
Returning Favors
Throwing Back Enemy Dynamite
Come Closer
More Concentration for Full Blasts
Upgrade: Ornate Sawed-Off
+30% Damage, +10% Range, -30% Recoil
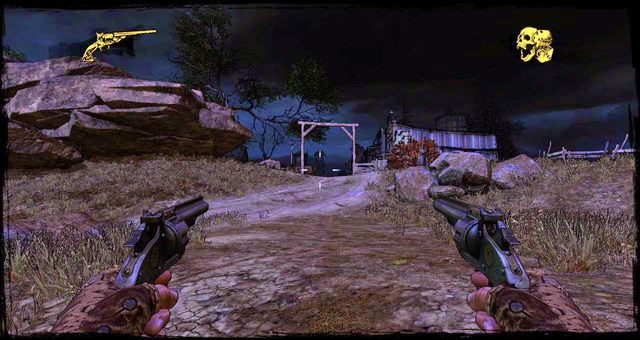
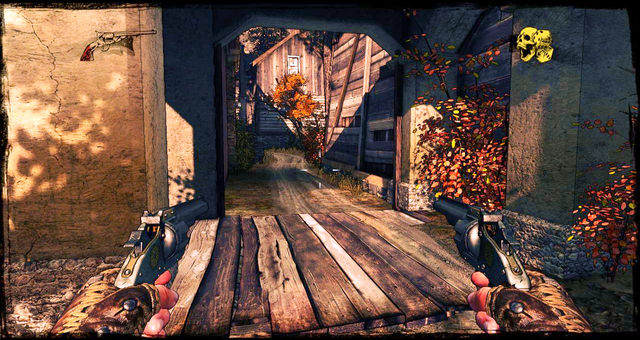
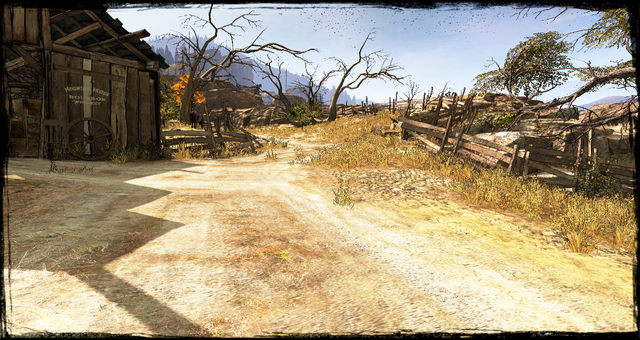 The beginning
As soon as the cutscene ends, follow the path ahead. You can also go through the demolished building on the left, but you'll end up on the same route anyway.
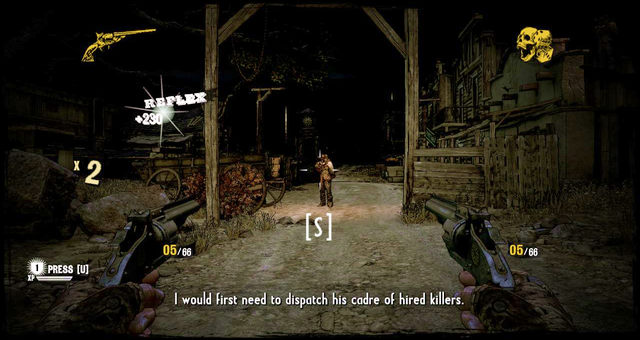
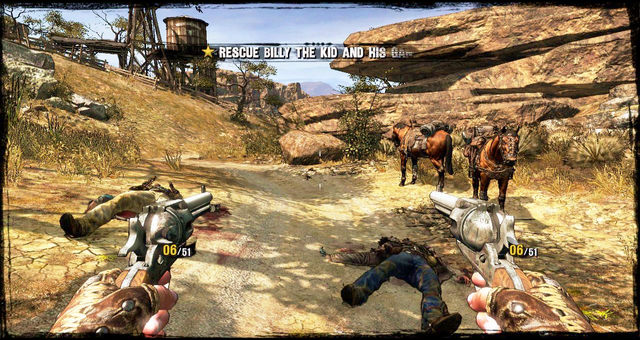 The first shootout
Once you turn the first corner on the right, you'll hear a conversation between two thugs: this will be your first shootout, and you'll also receive info on gaining experience points. Take the enemies out and move along, past the two horses.
Eventually, you'll reach a gate leading to a ranch, and once you cross it, another gunfight will start, a much bigger one. The game will force you to use Concentration, so just follow the instructions in the tutorial.
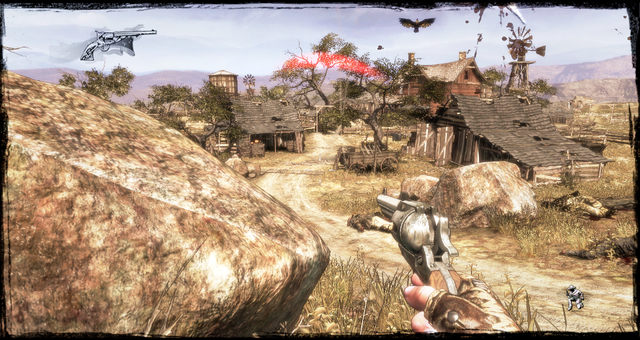 A view on Billy's farm
Take cover to eliminate all enemies, then move forward until you reach a pathway blocked by wagon. The game will tell you that the only way to get to the other side is to crouch and get through on the left, because the path in the front is blocked.
 The path on the right will get you around the blocked entrance in the front
As soon as you squeeze through the gap, you'll find your first Nugget of Truth and probably spend some experience points on your first level. You can choose between three skill trees: Desperado, Ranger and Trapper.
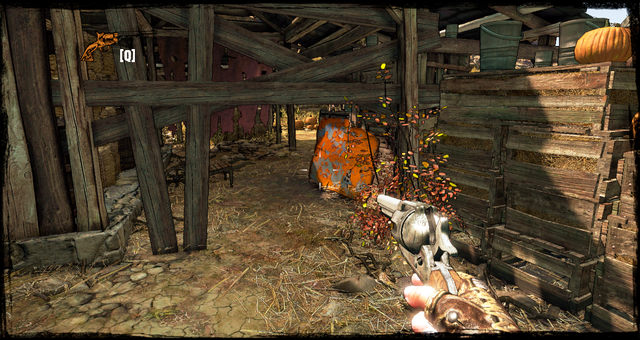
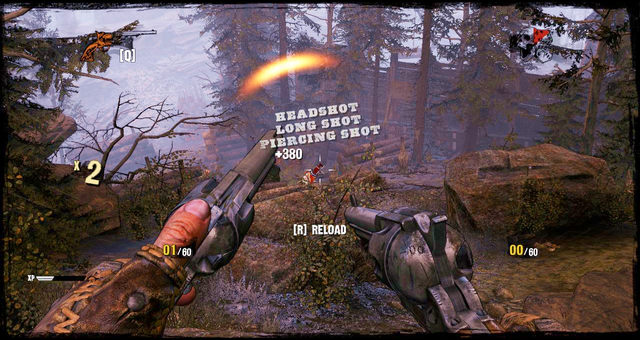
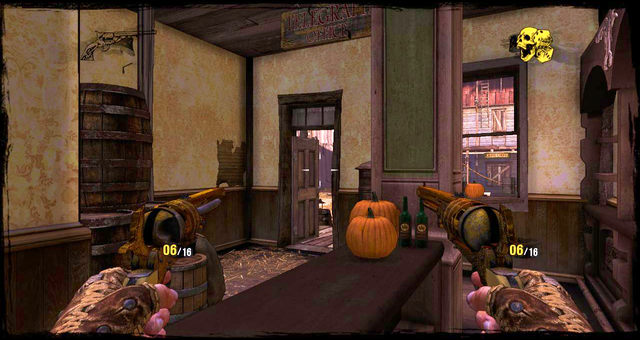
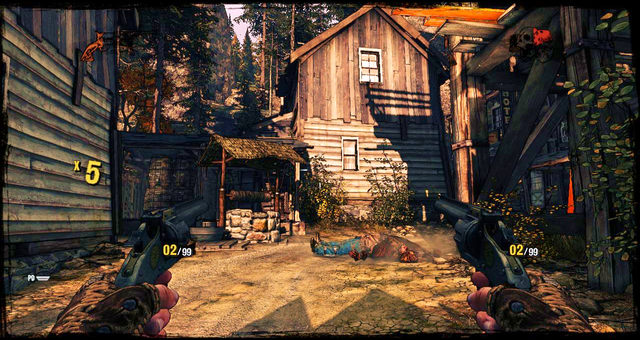
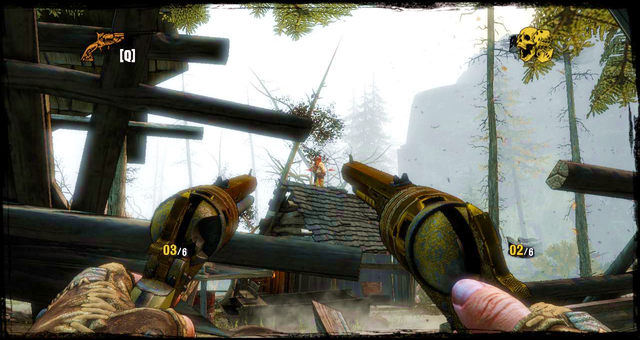
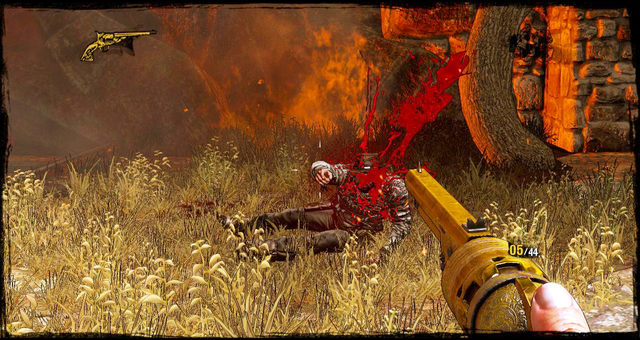
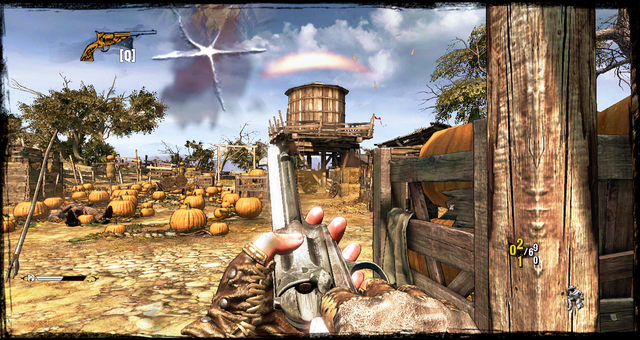 Fighting in-between pumpkins (5 points per pumpkin)
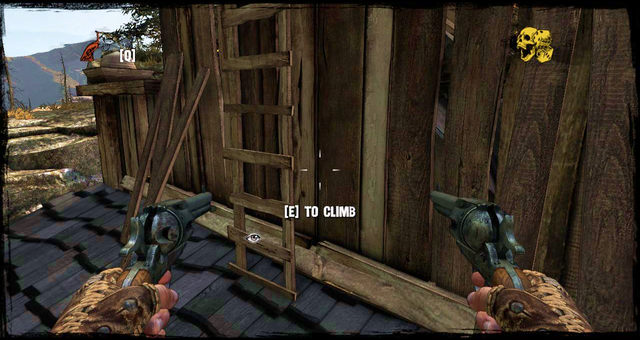
After leveling up, you'll find yourself on a pumpkin field with bandits all around. Take this opportunity to learn how to use the Sense of Death. Afterwards, there will be two paths to choose from.
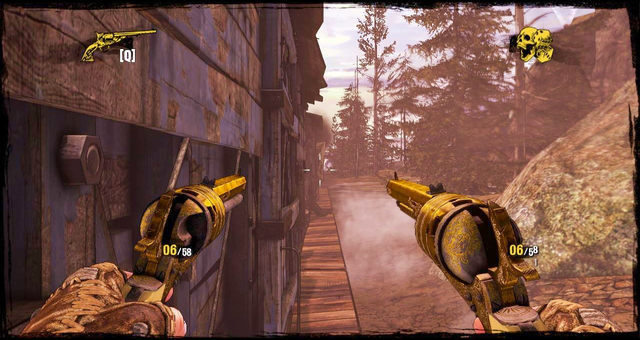
You can follow the path and kill the enemies the usual way, or climb up the ladder and take them out from a vantage point. If you choose the latter, you'll be given an opportunity to switch revolvers for Ranger pistols.
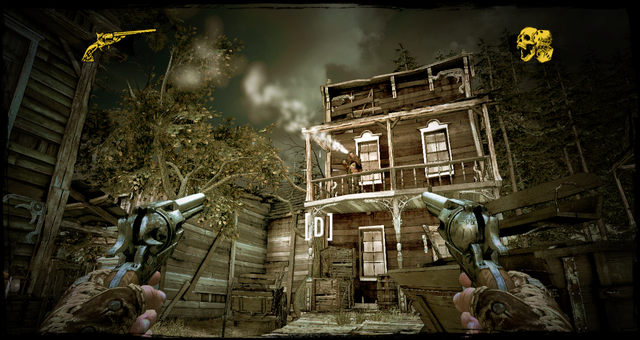
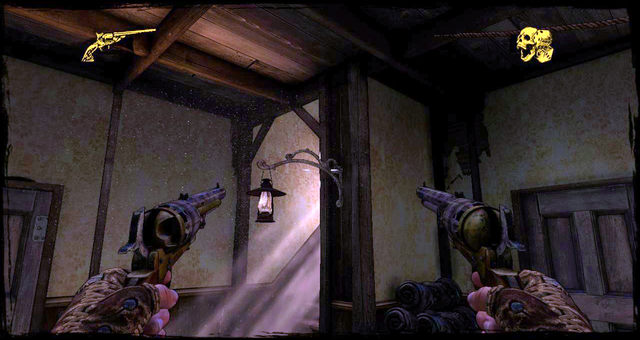 The inside of the house where Billy is taking a stand
Regardless of the path, a few moments later you'll find yourself at the back of the farmhouse, which is also surrounded by enemies. Get rid of them and approach the door to enter.
Inside, go upstairs and collect another Nugget of Truth on the way. When you open another door, you'll trigger a cutscene. Once it's over, you'll be given a rifle and will have to fight back waves of enemies by shooting them from a window. Use Concentration a lot and shoot the exploding barrels, but make sure to step away from the window as soon as you detect death is upon you.
After a while, you'll hear a command to move to the opposite window. The second part of the fun isn't any different from the first; just shoot to kill until you get a sign to escape the house.
As soon as you turn around, you'll learn that one of the bandits had gotten inside, so kill him by pressing the button indicated on the screen.
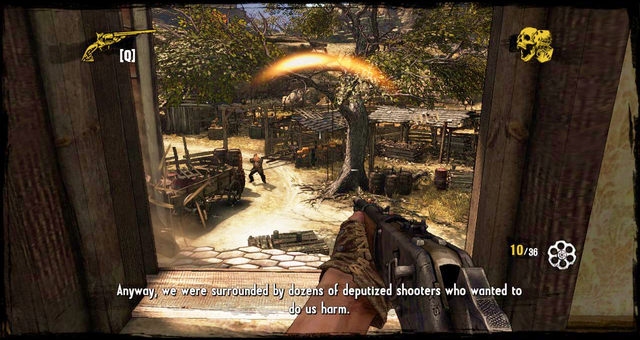
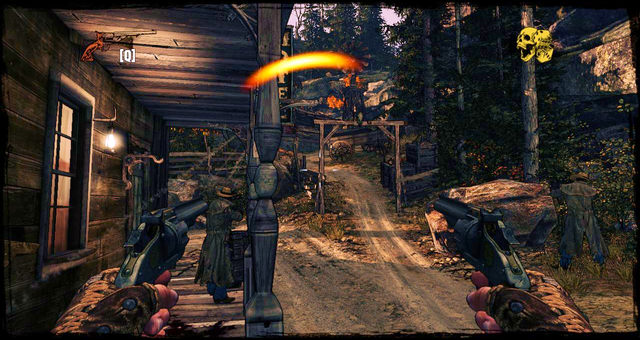
 Escape from the house to get the horses
The task now is to bring the horses. To do that, run down to the ground floor and kick the door. Time will slow for a moment and you'll have a several precious seconds to eliminate most of the remaining enemies. Once you're outside, run left towards the demolished building, from which a man with a shield will emerge. It's best to wait until he leans out and shoot him once he does; better not to waste ammo on attacking the shield.
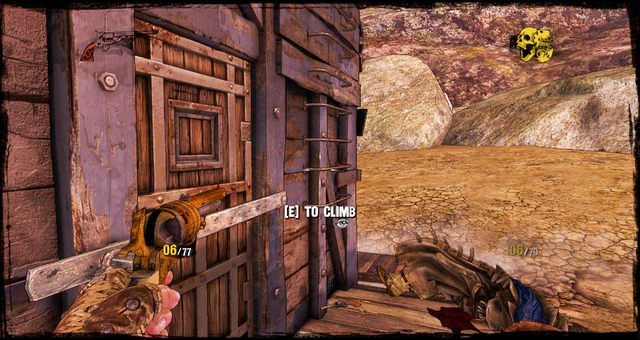
 The entrance to the ruined shack
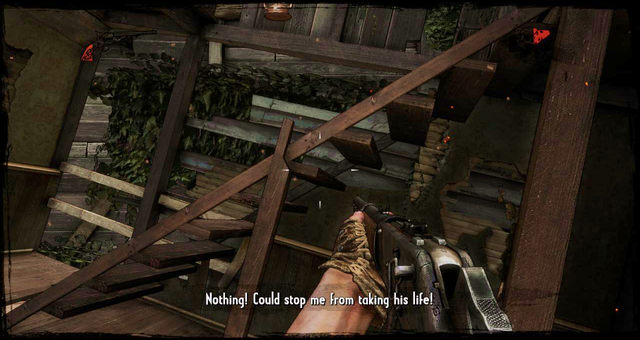
Enter the building and climb up the ladder. A thug will charge at you, but kill him quickly by pressing "F". Run forward and jump through the gap in the wall.
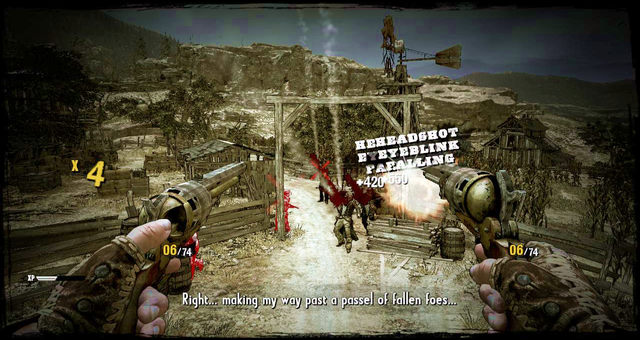
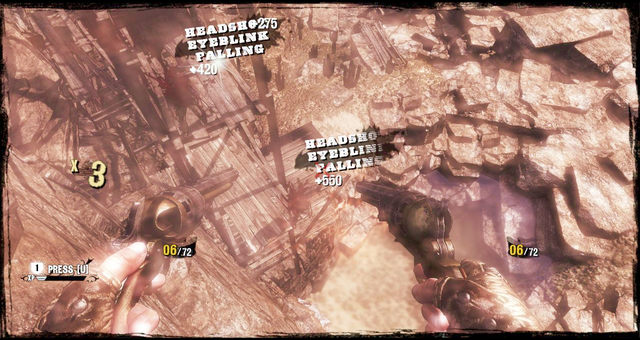
While in mid-air, press the left mouse button and your gunslinger will automatically aim at and kill enemies.
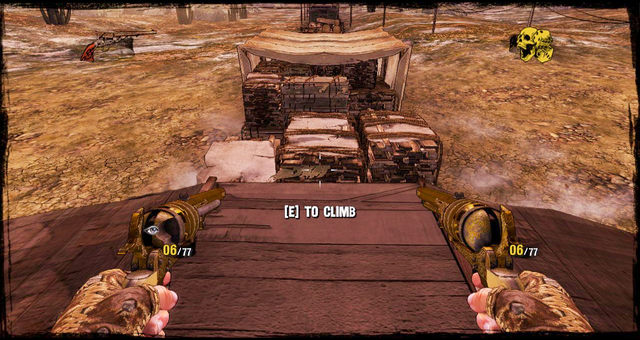
 A view on the stable, take one
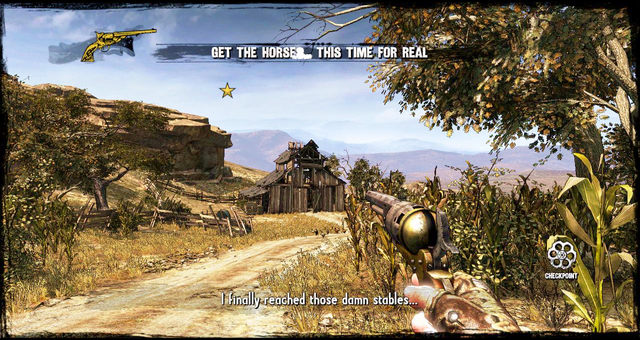
Back on the ground, follow the path, kill the last bunch of enemies, and go right at the next turn. You'll see the stable from which you need to get the horses.
Before you go inside, approach the scarecrow on the right to find the last Nugget of Truth. Now enter the stable to trigger another cutscene.
After the cutscene, you'll face the Sheriff himself. The duel is divided into two parts. Firstly, keep the crosshairs on the Sheriff's body to fill the Concentration meter and get a better aim. Secondly, keep your eye on the Sheriff's hand, because in the first duel you can draw your weapon only when he draws his first. When both of you do, you have splits of seconds to make the shot. If you fail, you're going to have repeat the whole sequence.
After the duel, make sure to read the tutorial tips displayed on the screen.
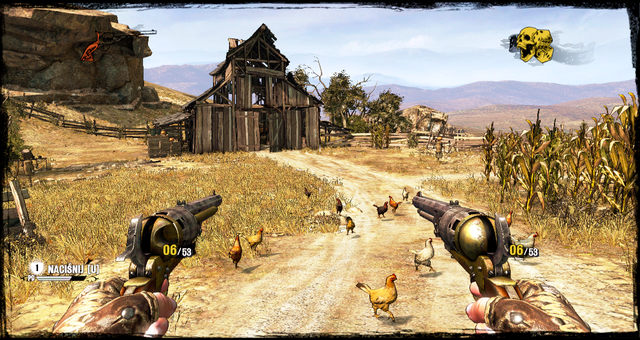
 A view on the stable... again
When the killing is done, the game will put you back on the path and you'll have to enter the stables again. Do it to finish the episode.
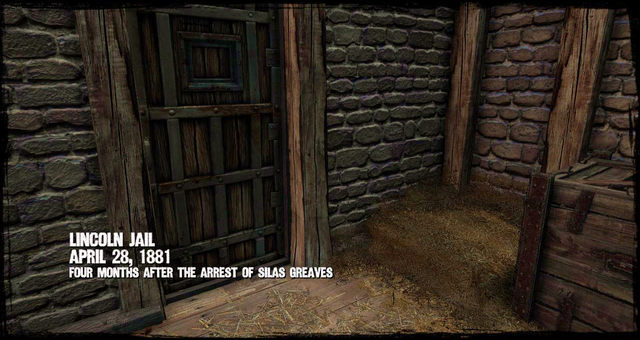
At the beginning of the episode, you won't have anything to do. Just listen to what Greaves is saying and wait for the events to unfold. When keys appear on the floor, grab them and open the door.
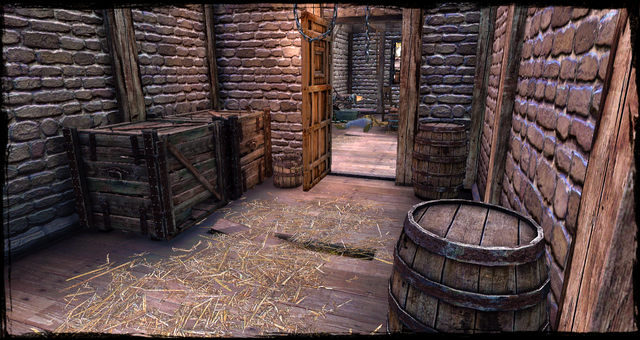 The entrance to the office
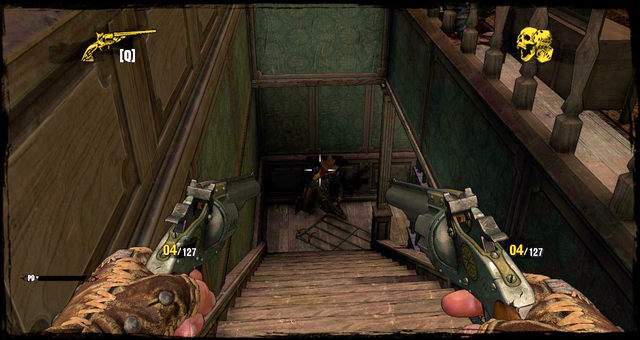
Leave the cell and turn left, but don't forget to collect a Nugget of Truth in the form of a hat. After a while, you'll reach a corpse-ridden office and find a weapon - a pretty big shotgun.
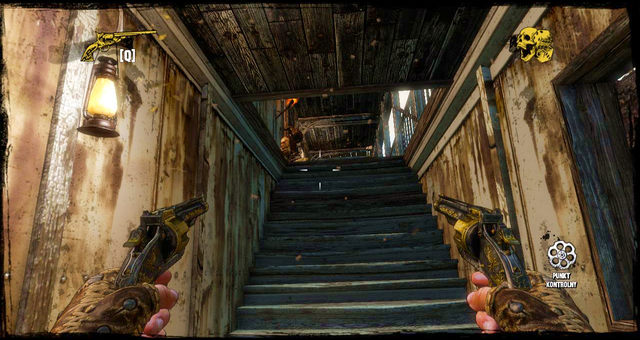
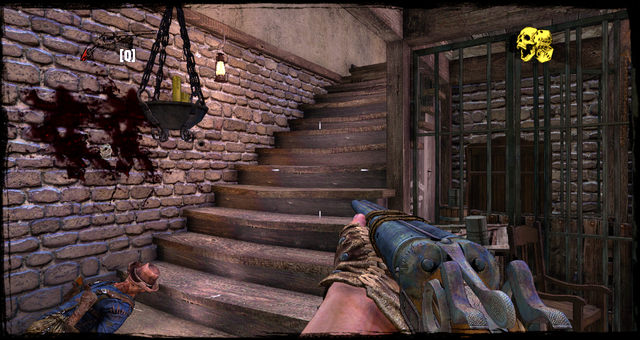 Stair up
With the shotgun in hand, move up the stairs. There will be three enemies on the way, but you shouldn't have a problem with them, shotgun and all. Killing them will get you a pair of revolvers, too.
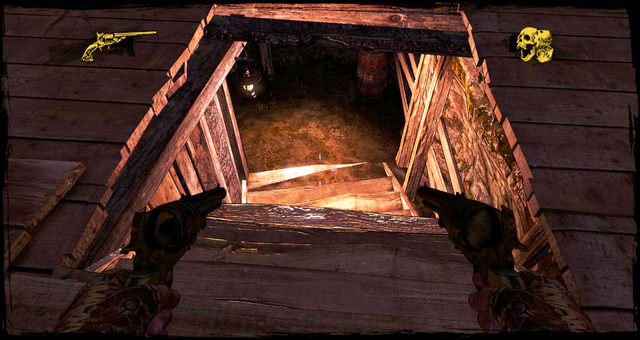
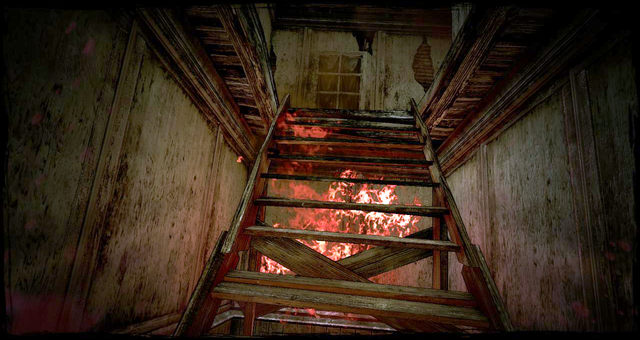
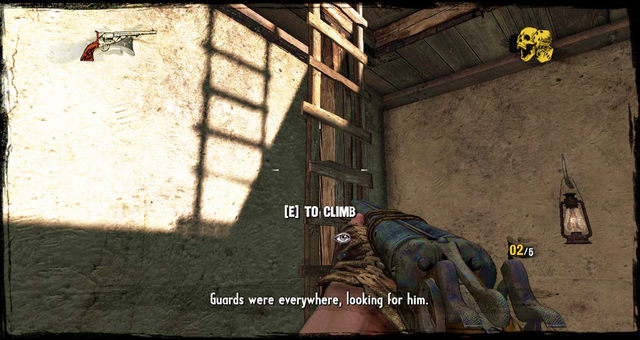 The ladder to the roof
Upstairs, run down the corridor until you get to the ladder to the roof.
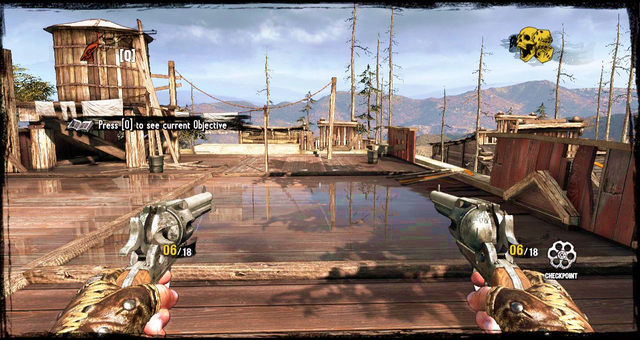 The prison's roof
Out on the fresh air, there will be some running and jumping to do. Move forward, turn right a while later and jump over to the scaffolding by the next building.
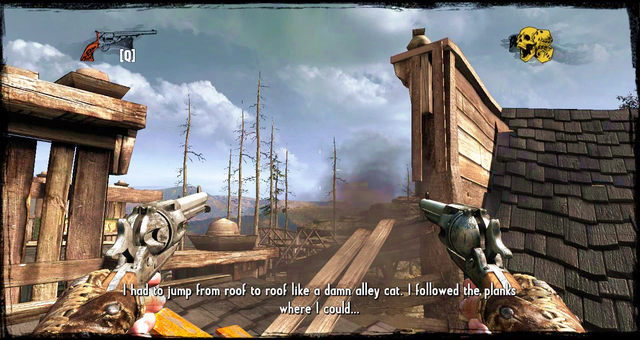 The view from another building
You'll see some planks on the left which you can use to get across. Watch out, though, because half the city is shooting at you from down below. Don't bother shooting back; even if you get some of them down, others will come in their place.
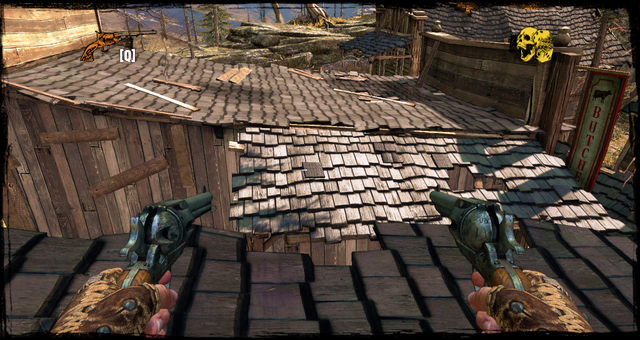 The view before the jump
Run along the planks until you can perform another jump. Be fast; there will be more and more enemies below.
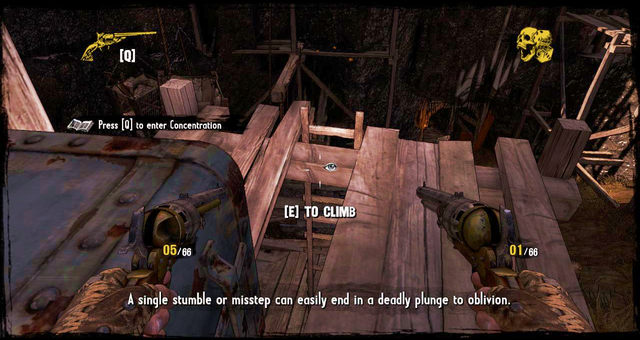
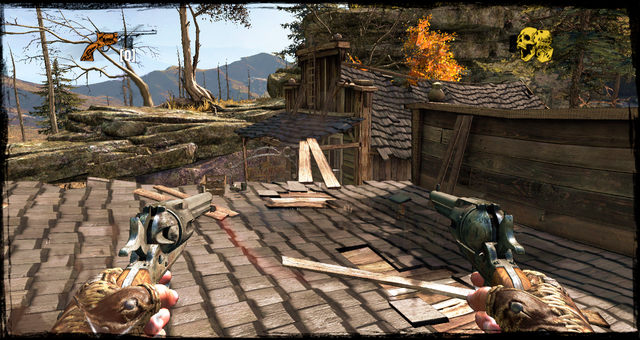 The Last Plank
After the jump, you'll see another pathway to follow. Keep in mind that falling is a death threat, so try your best not to. Bullets will try to find you all the time.
 The ladder up
You'll see a ladder on the right. Climb up and get close to the left side of the roof to jump down on a rock shelf.
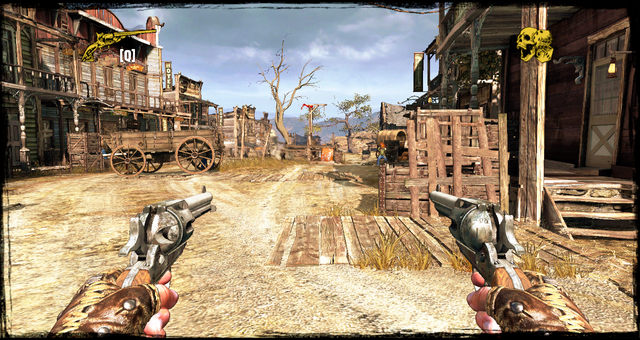
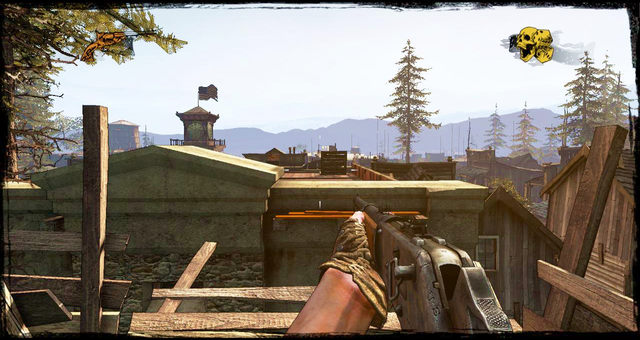
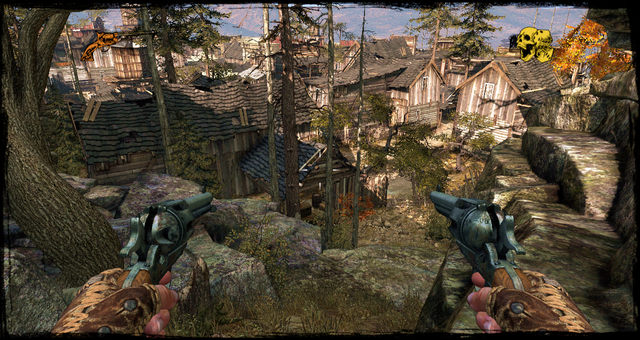 Town view
That's the end of the chase, now you're going to have to get through the city. Move ahead until a cutscene triggers. When it's over, turn right and get in-between the buildings.
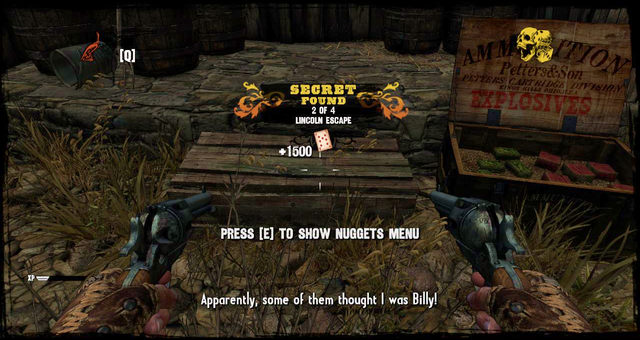
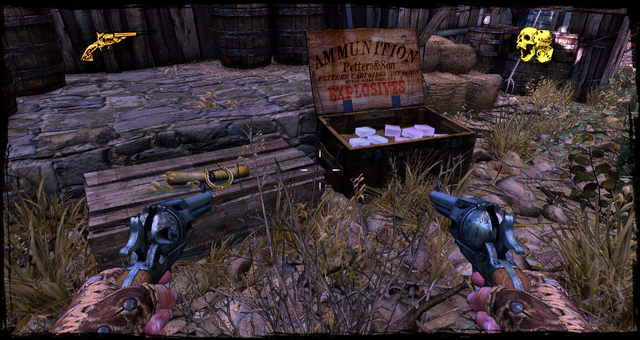 The second secret and ammo
When you reach the first structures, you'll have two ways of getting across. You may choose either of them, but only by going left from the ammo crate, close to the rocks, will you find another secret and another crate.
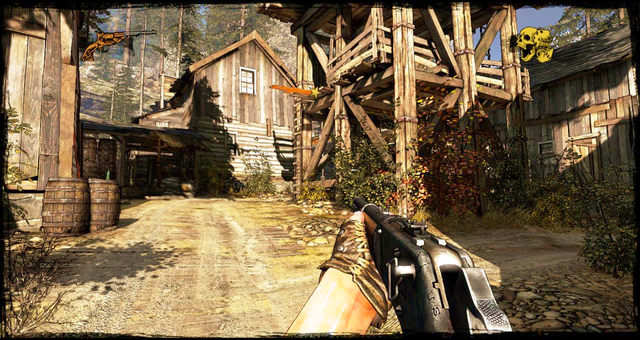
 Run through the city here
Once you've taken the second ammo box, turn right. You'll see a street, but the way is blocked by two enemies and a roof under which you can walk. Kill the enemies and get on the street.
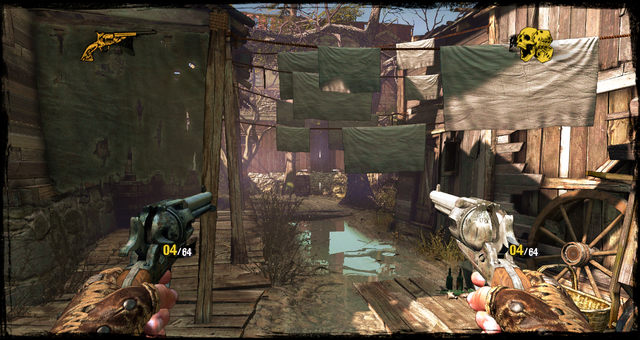 Laundry on the left
Follow the path and turn left only once you see some laundry stretched on a line across the buildings.
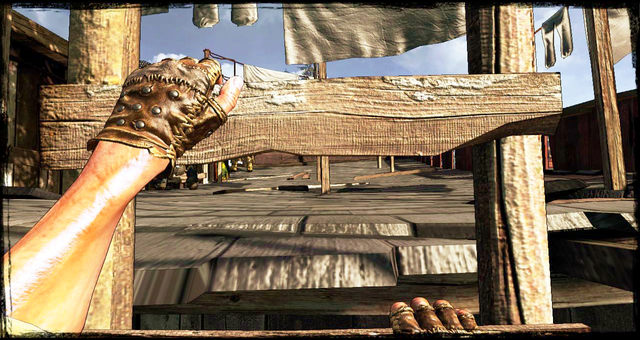
 Cloth entrance to the ruined house
Move along the path, killing some enemies on the way, then walk under the hanging cloth. It's a way inside a ruined household, but it's not too complex; just go straight ahead and you'll walk out on fresh air in no time.
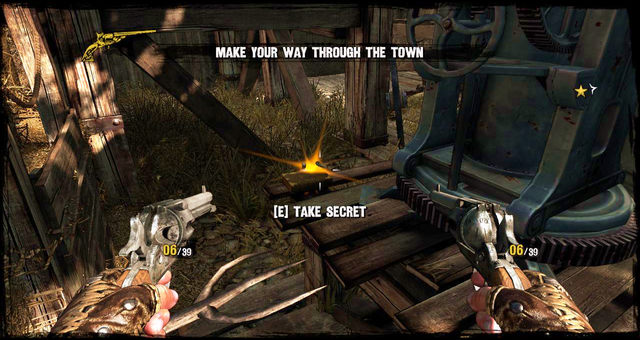 Third secret next to the machinery
Back outside, turn left, past some old machinery on your right. That's where you'll find another Nugget of Truth.
 After leaving the ruined house, you'll end up on crossroads
You'll reach a crossroads. Every way to the left and to the right is blocked, there's no way to get through.
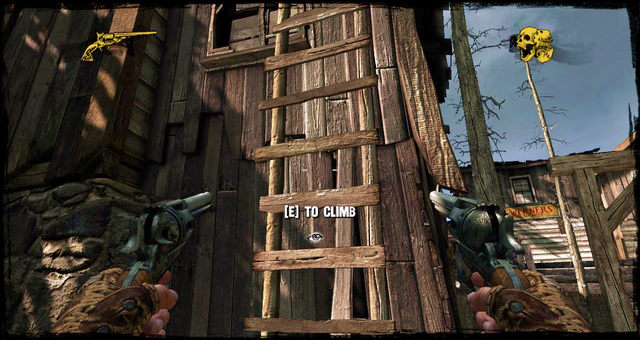 The ladder attached to the building
Turn right, though, and you'll see a ladder attached to a building. Climb it up and jump down on the other side.
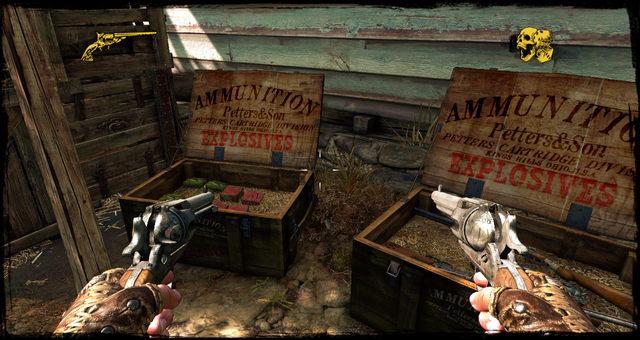 Weapons and ammo cache
You'll see another ammo box. You can also switch the shotgun for a rifle, if you wish.
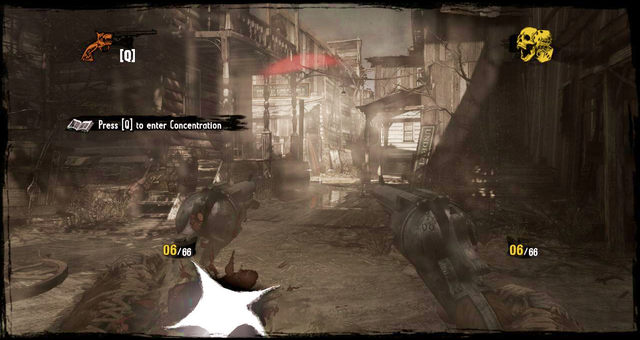
 Mini game square fight
Keep moving forward, and you'll reach quite a large square. As soon as you step on it, a mini game will trigger in which time slows down and you have to press buttons indicated on the screen. If you succeed, Silas will automatically finish off four enemies. If you fail, the next shot one of them makes at you will be fatal, and only the Sense of Death will be able to save you from dying.
 The main the path to the stable
Once these sequences are over, there will be a few more enemies to tackle. When you're done, leave the square through the main street. You're going to have to reach the end by killing more bandits on the way.
 The room with the fourth secret
On the right side of the street, right at its beginning, there is way inside a building in which you can find the fourth Nugget of Truth.
The roof of the saloonThe gunfight on the street gives you several tactical options. You can maneuver your way between buildings, walk right through the middle of the street, or even jump across rooftops.
Be careful with the last option, though, because falling is practically a death sentence.
In order to be able to shoot enemies from above, look for ladders attached to buildings.
For example: When you're leveled with the gallows, take a turn inside the left back street and climb the ladder to the roof. Move along it and you'll see another way up, this time to the roof pictured above.
 Stables at the edge of town, your destination
Once you've eliminated all enemies (one way or the other), make your way towards the stables directly in front. When you reach them, the game will trigger a cutscene after which you'll be dueling another sheriff.
 The concluding duel with the sheriff
This duel is in many ways different from the previous one. Firstly, there is a speed meter, which measures how fast you draw your weapon. Secondly, this time you can draw your weapon first, as soon as you hear the beating of your heart. Apart from that, everything else stays the same. Killing the sheriff marks the end of the episode.
NOTE: If you draw your weapon first, the game will count it as dishonorable move.
Move ahead, following the sandy path. Soon you'll hear gunshots, so run towards them without delay.
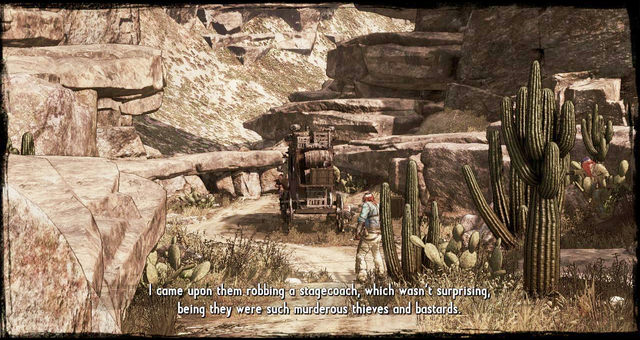 Stagecoach robbery in progress
When you turn around the corner, you'll see a bunch of bandits robbing a stagecoach. Kill them all and approach the stagecoach to see if there's anyone alive.
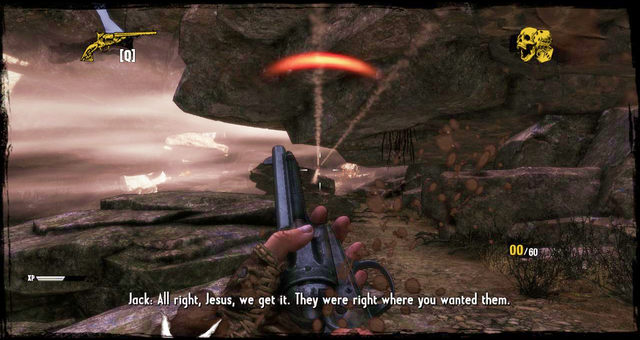
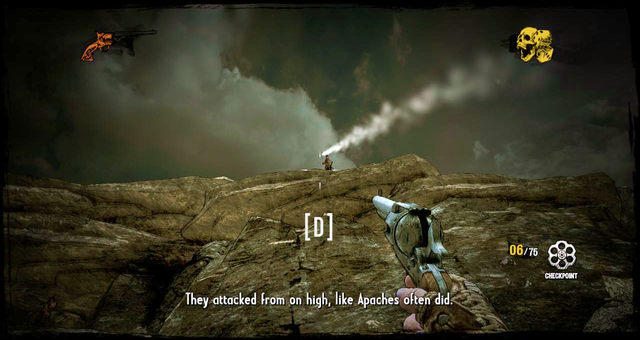 Apache warriors attacking from rocks
A short cutscene later, you'll be attacked by a group of Apache warriors. This will trigger the familiar mini game which will have you pressing the indicated buttons. The enemies are positioned on rocks, so there's no way of approaching them.
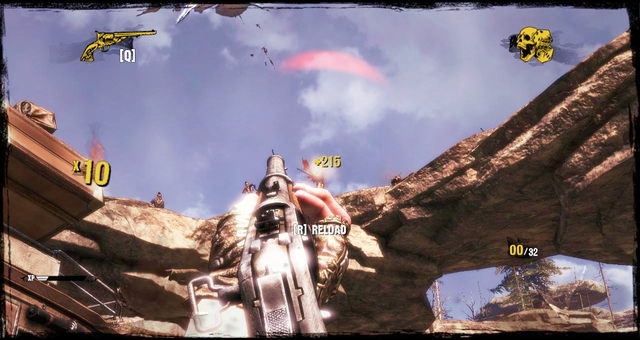 Trap
TrapWhen a few of them are down, Silas will make a correction in his choice of words, and instead of Indians there will appear bandits. Quite a lot of them, in fact, so it's a good idea to take cover behind the stagecoach - you'll see the sense in this when they start trying to flank you.
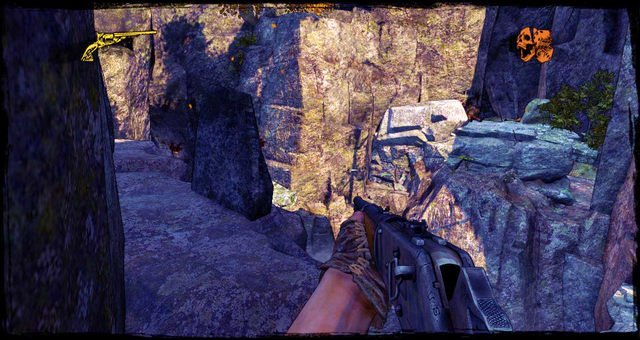
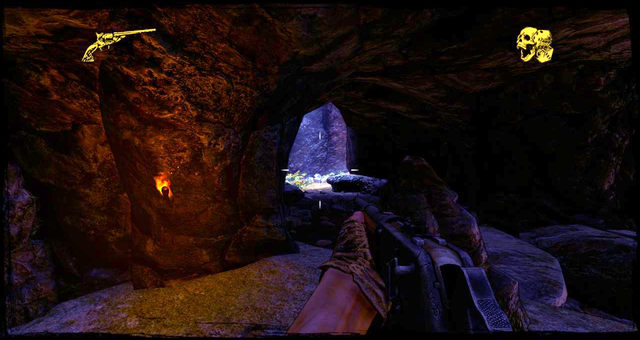
 Escape into the cave
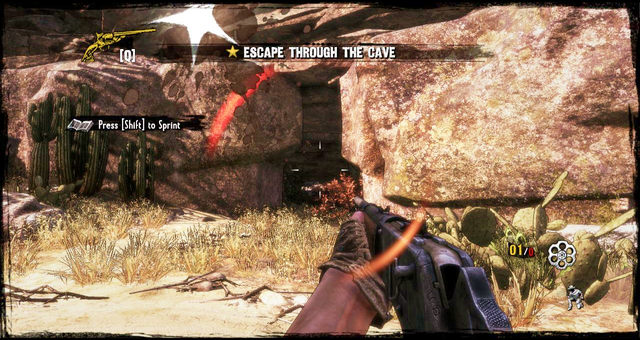
Hold on until Silas notices an entrance into a cave. Make your way towards it at once, but make sure not to get yourself killed. On a side note, you'll practically run out of ammo as well.
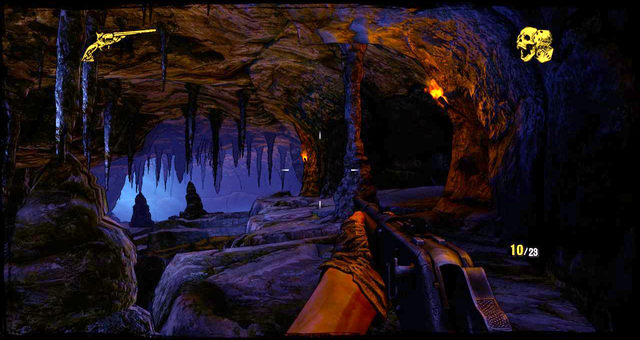
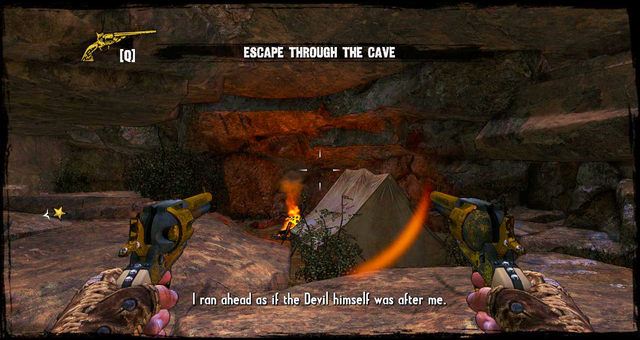
 Escape through the cave
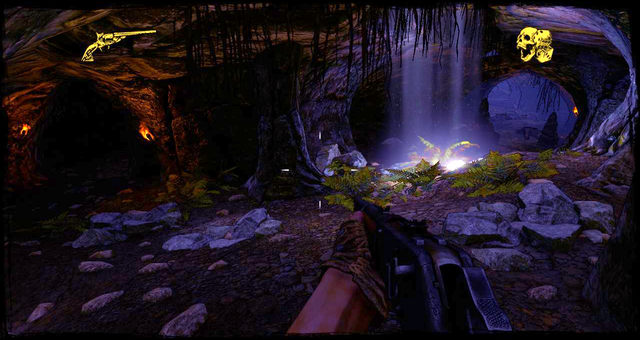
Once you're in, run straight ahead to get some distance between you and your pursuers. The road through the cave is a long one, but pretty straightforward and without any forks. The key is to run as fast as you can to avoid bullet flying past you all the time.
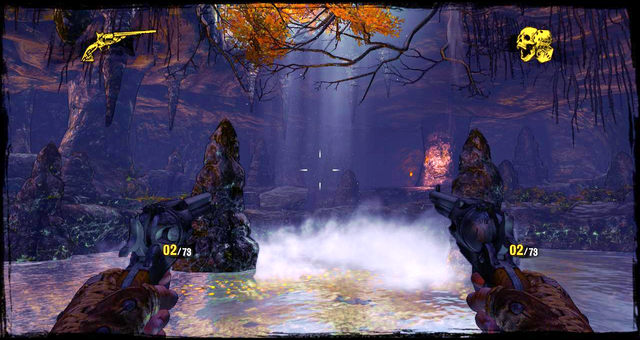
The pursuit won't stop until you reach a small lake, which will trigger a cutscene. You'll see a corpse of an Apache warrior in front of you, with enough ammo to deal with the pursuers once and for all.
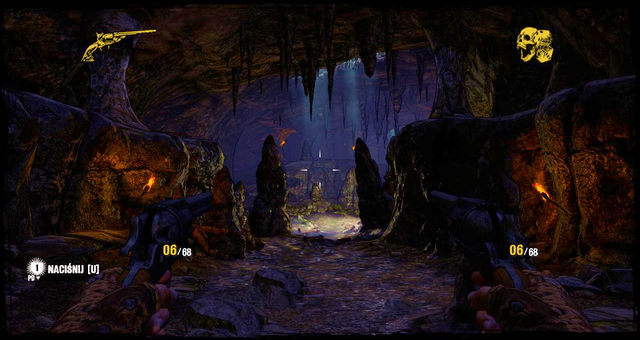
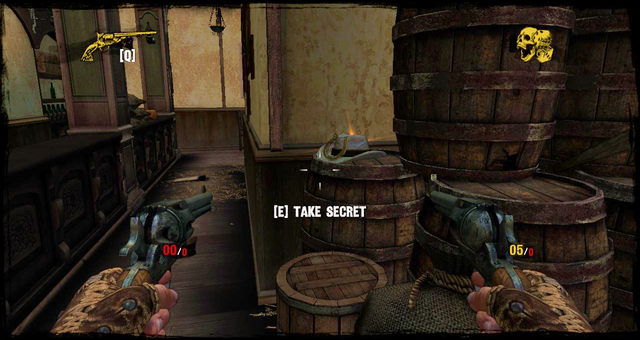
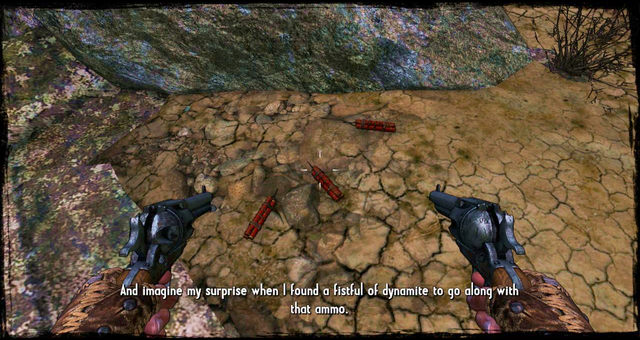 Finding dynamite
This is another mini game with the quick pressing the fire button. If you fail, the Sense of Death will save you, but you're going to have to finish off the remaining enemies the usual way. There will only be a handful of them, though, so that shouldn't be a problem.
Once they're dealt with, start walking along the right bank of the lake until you find five sticks of dynamite. Grab them all and move forward.
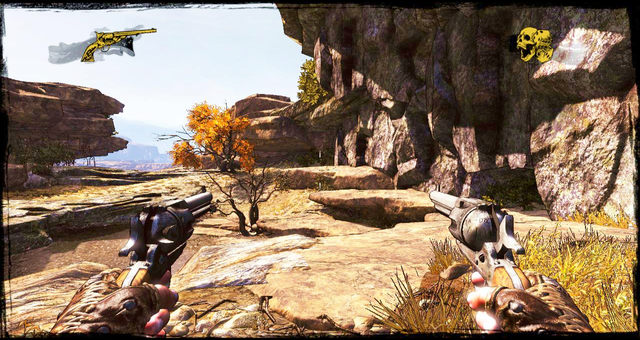
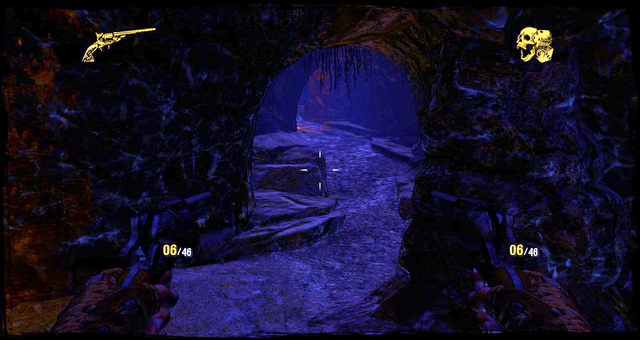
 Payback
A while later you'll stumble upon the bandits that chased you, and now you can show them how that ends. Kill everyone in the cave, then take the new path to leave it.
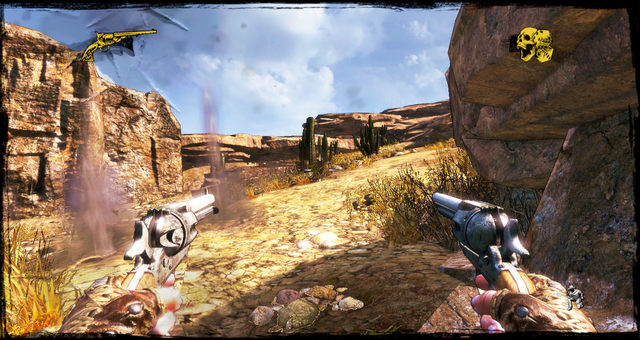
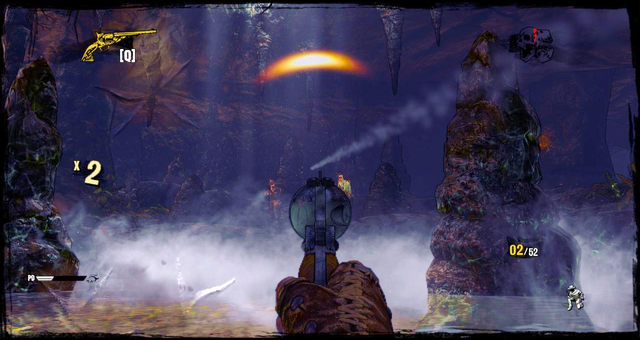
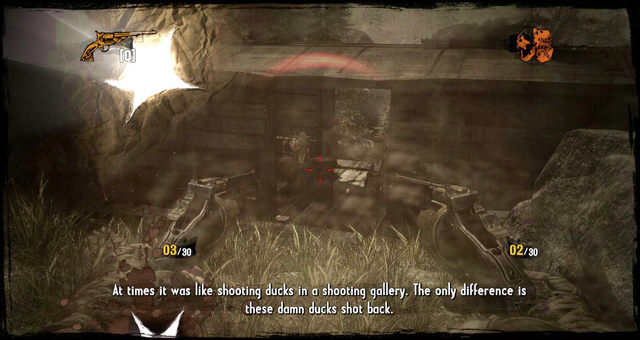
Clanton, sitting behind the trigger of a gatling gun, will be waiting for you at the exit. The key to success lies in ducking behind any cover possible. If you try charging directly at him, you'll die in a manner of seconds, but if you sprint from cover to cover, you'll get close to him slowly, but surely.
The best moment for changing covers is when Clanton is reloading the gun. He's quite fast at it, but it will give you enough time to move.
 These are the covers to take
You'll want to use Concentration in this battle, too, because you'll be able to see bullets and thus evade them. Not to mention how it increases your chances of reaching another cover.
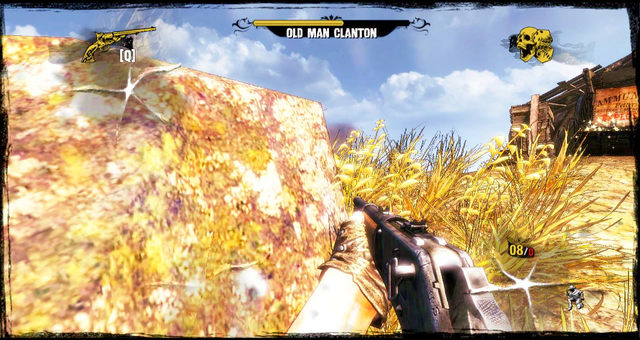 Flanking Clanton
Once you're close enough, the boss' health bar will appear. It will also turn out that you're not the only one with explosives at your disposal. Clanton will be aided by regular enemies, who'll not only shoot, but also throw dynamite at you. Unless you have the skill that allows you to throw the sticks back, you'd do best to evade them and take the goons out from behind a cover.
Eliminate the flies first, then wait until the boss stops shooting for a while and sprint towards the gun. To your right is a breach which will get you behind him and his toy.
Now you can see him at last. Watch out, though, because the gun can turn and if you're not careful, you may pay for your recklessness with your life. Keep hiding behind a cover and start throwing dynamite. A few sticks should be enough to do the job.
NOTE: If you've used up your dynamite reserves, there is a supply wagon nearby. Gather whatever is around it.
Once the boss is dead, the episode comes to a close.
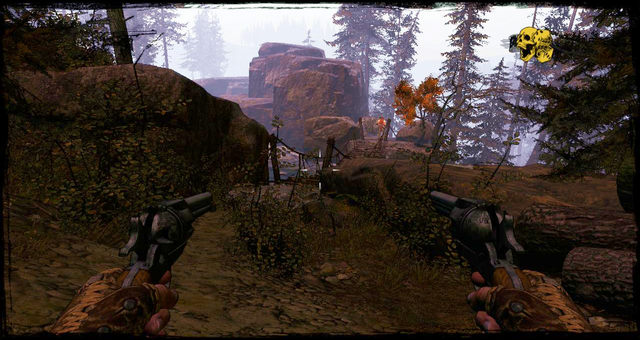
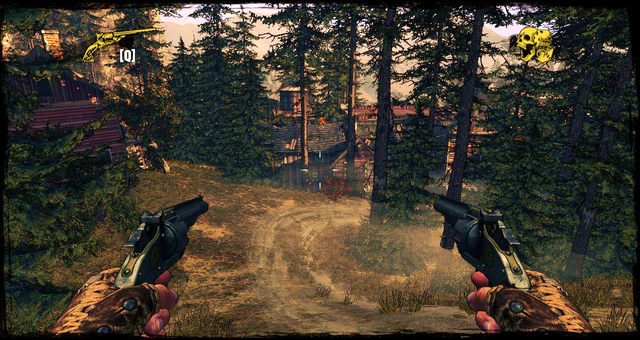
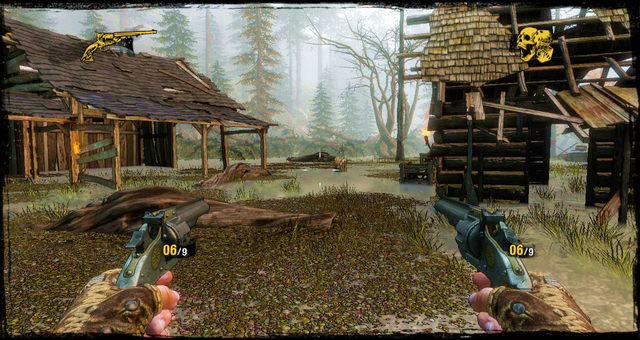
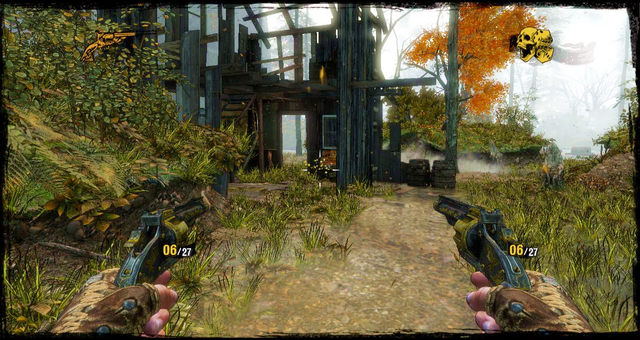
 The beginning of the Sawmill mission
This time the game throws you in the vicinity of a Sawmill. Once get control back, move right - there's no path there, so you need to walk through a forest.
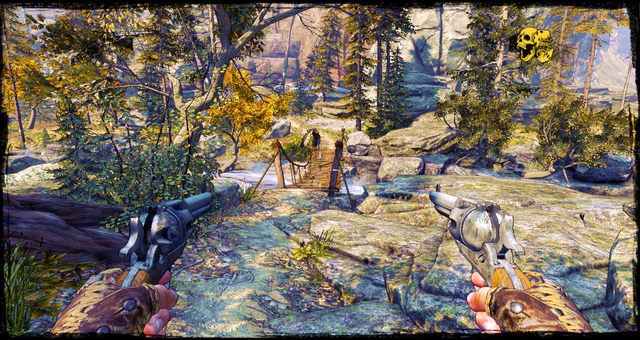
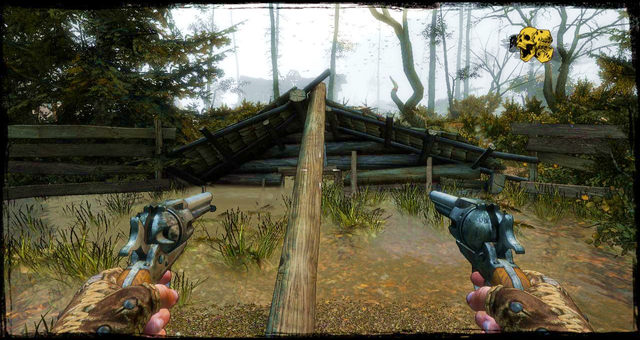
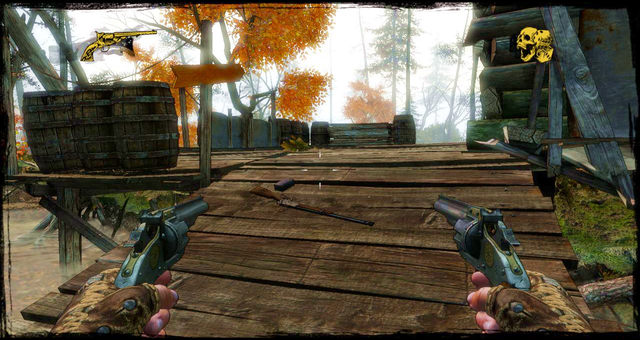
 The first bridge
A while later, you'll see a drawbridge. A guard is waiting for at its opposite end. Kill him and make your way across.
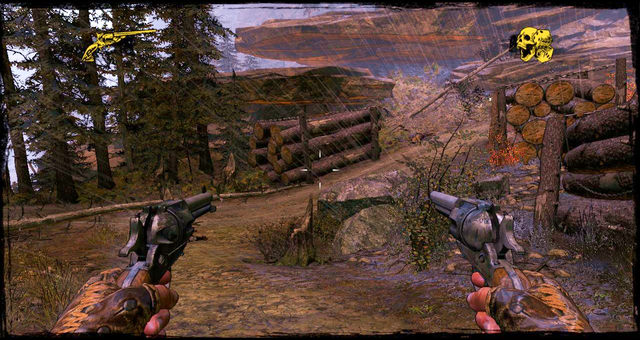
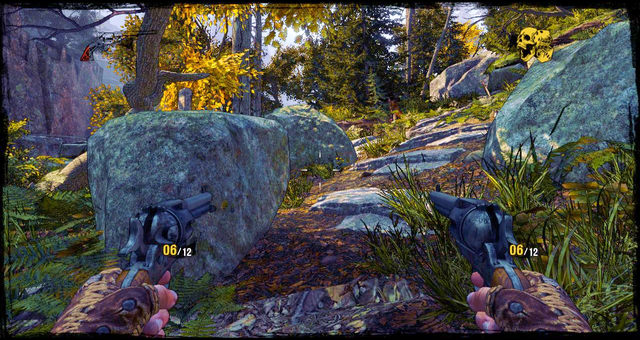
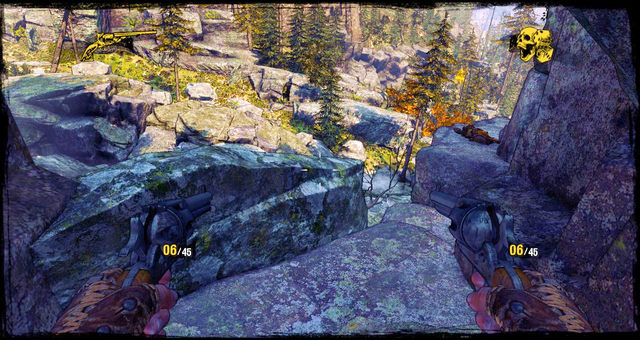
 Take cover behind these log piles
There is a pretty steep slope ahead, with log piles all over, which are a perfect cover against enemy fire - and they are aplenty, so move from cover to cover and keep going down.
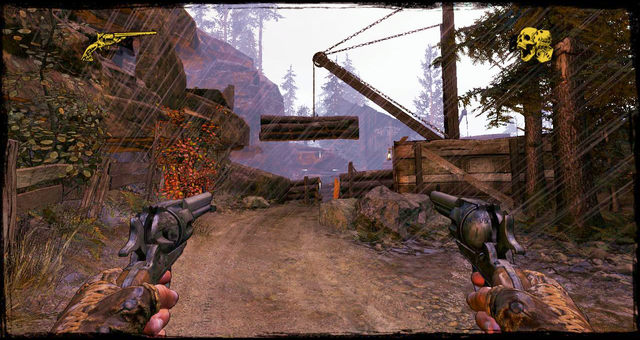
 The path between the logs
Eventually, you'll see a path leading right. Follow it for a moment until you reach a log pile supported by a crane.
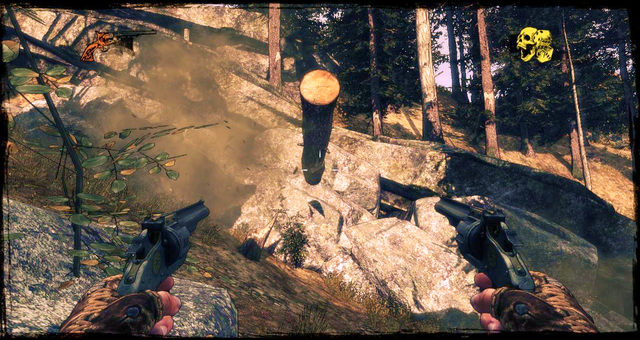
 Logs above the road
When you get close, the logs will fall down on the road and more enemies will show up. Luckily, the logs won't block the passage, so feel free to move forward. Kill the most troublesome enemies, then make your way ahead and turn right.
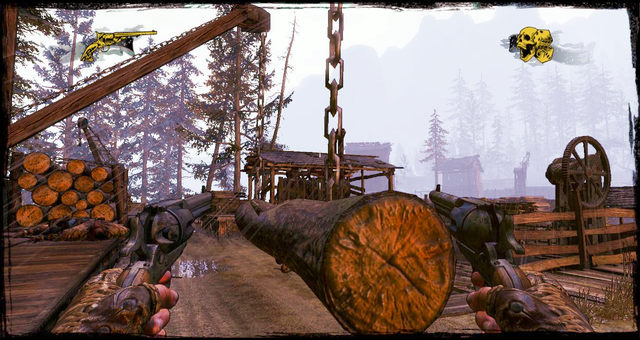
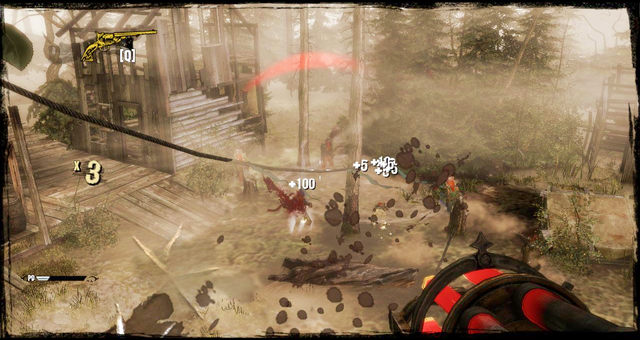
 Logs crushing the enemies
You'll see more hanging logs are more enemies underneath them. You can take them out the usual way, or shoot the rope and let the logs crush them.
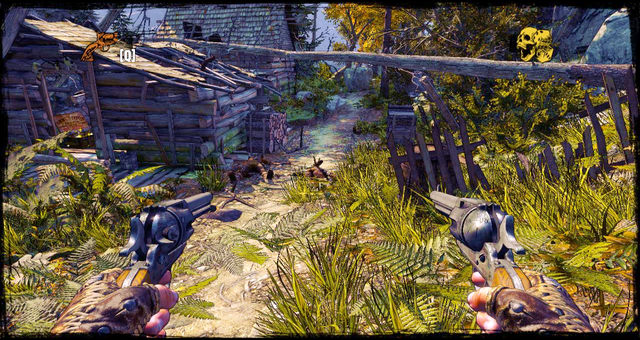
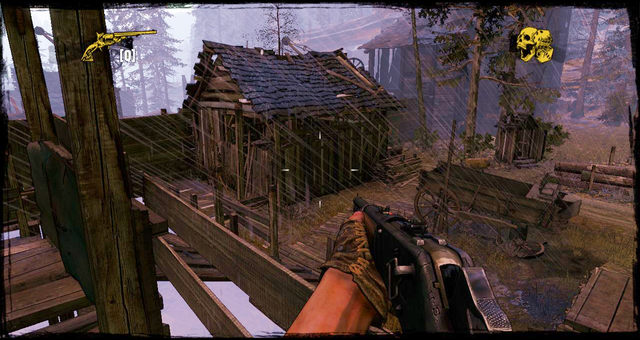
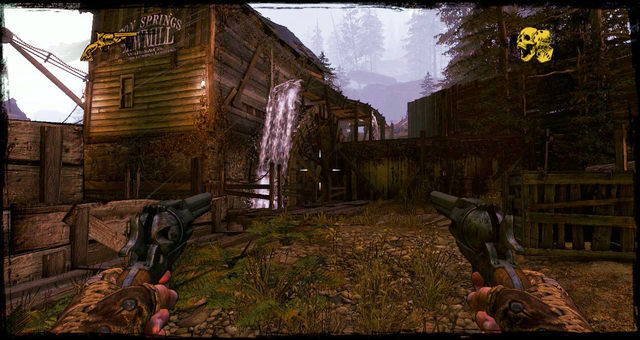 The old, but operational mill
As soon as you leave this place behind, you'll see a mill. Make your way towards and turn left immediately at it.
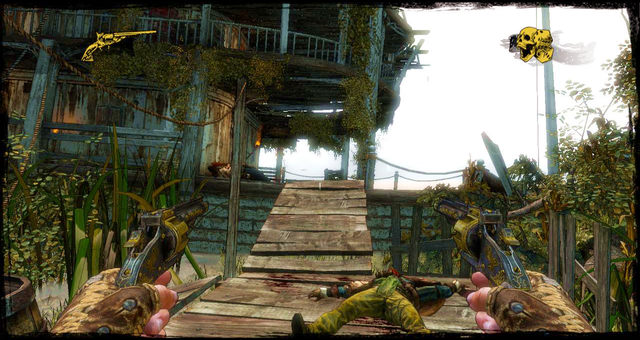
 Wooden bridge between buildings
As you walk across the plank, two enemies will charge at you with the intent of fighting you hand-to-hand. Get rid of them, turn right, and keep moving forward for the wooden bridge.
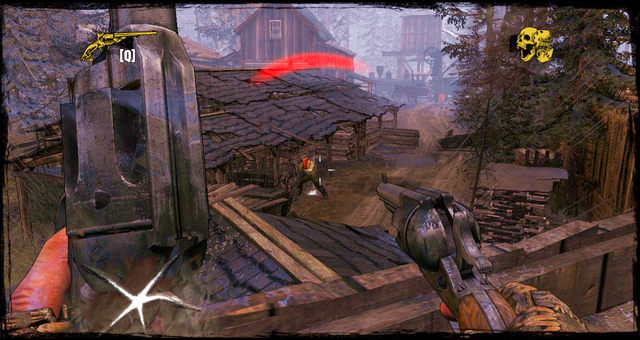 The shootout at the wood depot
Cross it, and you'll see a crate with explosives to your right. You can take them, and a several steps later you'll be attacked by a whole brigade of Cowboys. This is when dynamite and the rifle come in handy.
 The log hanged on chains. Sprint to avoid getting hit
When the fight is over, jump down on the road and follow it to the right. Three guys with shields will show their ugly faces. The best way to get rid of their shields is to throw the dynamite; they will drop them and flee.
When you get to spot they came from, keep your guard up. There is a log hanged on two chains on the side, and when you walk past it, it will break loose and may damage you pretty seriously. Use Sprint to avoid that.
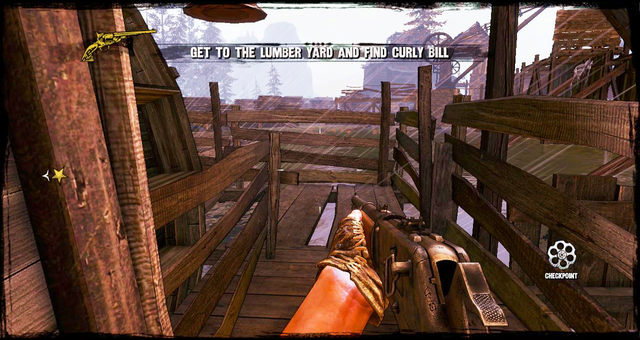
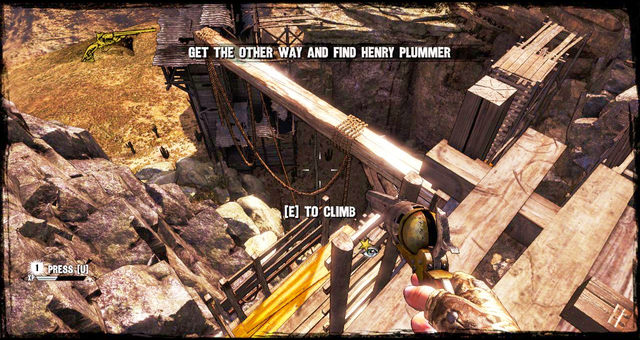
 Sprinting along mismatched planks
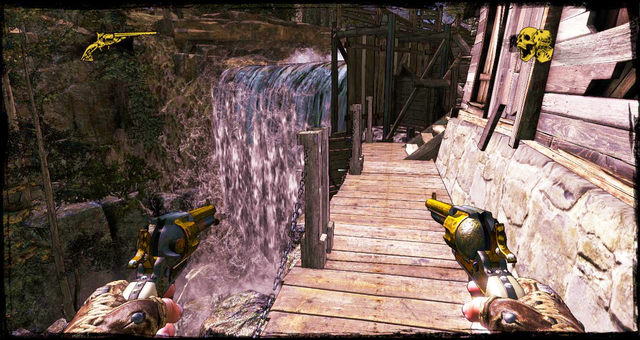
When you're through, turn right and run towards another bridge, which will lead you to a large scaffolding. Follow it as the game tells you until you see a black crane. Walk past it on the plank, but watch out for a red barrel.
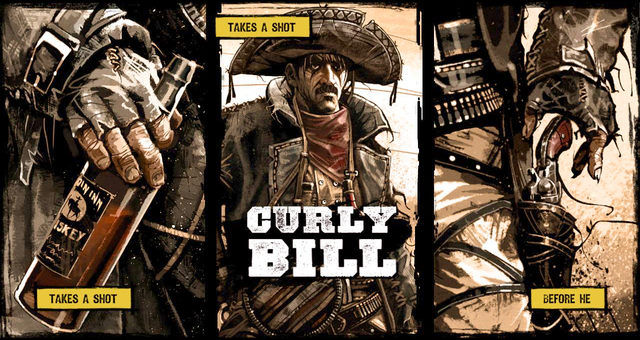
You'll immediately see a depot which stores cut lumber. Go inside to commence a boss fight with the guy pictured above.
The battle isn't difficult in itself, though Curly Bill has a tendency to hide behind stockpiles of lumber, and has his goons with him. The first order of business is to locate the boss, take cover and shoot at him from behind it.
If the goons are giving you too much trouble, kill them if you have them in sight. Try to keep the opponent at a distance - you may pack him full of lead from up close, but so can he. And sadly, he's much more resistant that you.
A few minutes of this hit-and-run should conclude the matter.
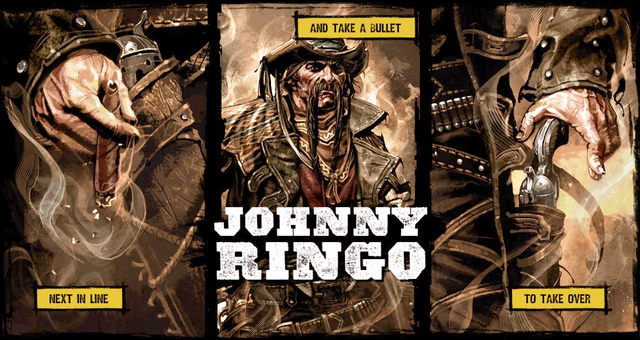
Unfortunately, this isn't the end of the mission yet, because you'll have to defeat Johnny Ringo as well (see above). The battle looks exactly the same.
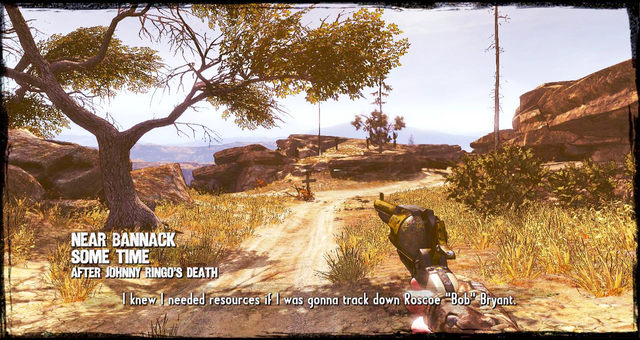
This time you'll find yourself on a dirt road which leads to a gold mine. The crossroads in front gives you two choices; you can go either right, or left. Both ways lead to the mine's entrance, but the right one is quicker, so that's the one described below. Walk past a damaged wagon.
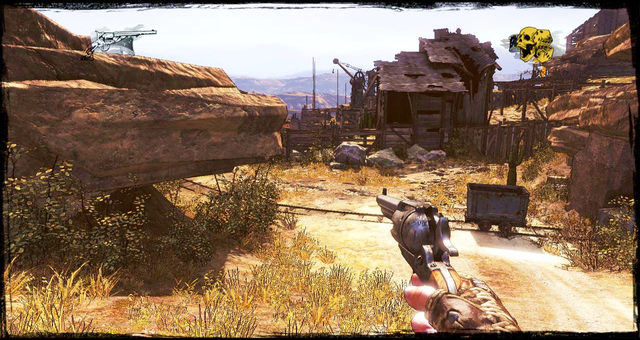 The mining cart
Go down the road until you reach a gold mining cart. Step on the tracks and follow them. You'll hear the first conversation between bandits.
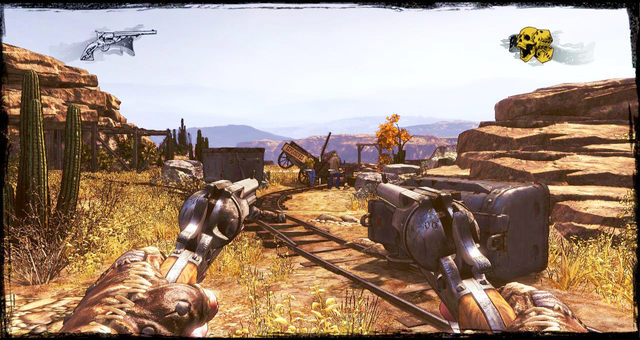 As you follow the tracks, you'll stumble upon the first bunch of enemies
Continue forward, and you'll see three guards standing next to a damaged cart, and another one on a rock, above the entrance to a smaller mine. You can take them out as usual, or shoot the exploding barrel right next to them.
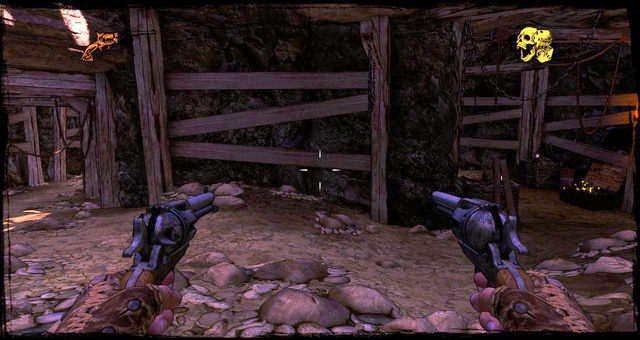
 There is an entrance to the smaller mine to the left of the cart
If you want to switch weapons, you can go inside the nearby smaller mine. The tracks will lead to the entrance.
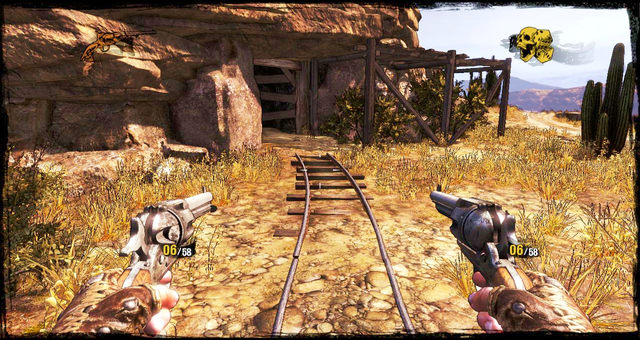
 Smaller mine, ammo box on the right
Inside, make your way forward until you reach a crossroads. On your right, there is a nook full of ammo, where you can also switch your pistol for a sawed-off, or the rifle for a shotgun. Once you've taken what you need, backtrack to the entrance.
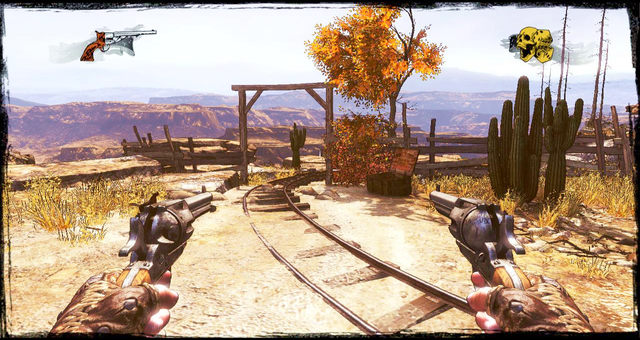 The passage to mine mining site
Walk past the overturned cart and go through the gate, as seen above. Silas will also notice dynamite in a crate.
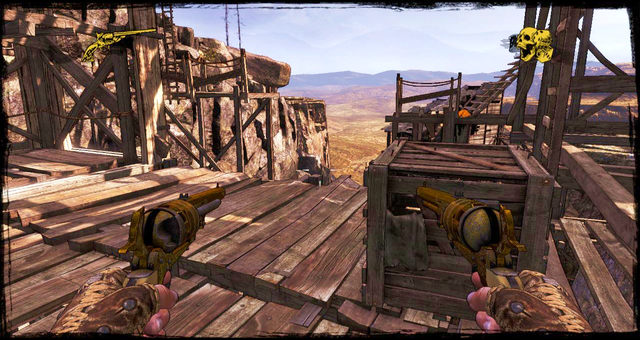
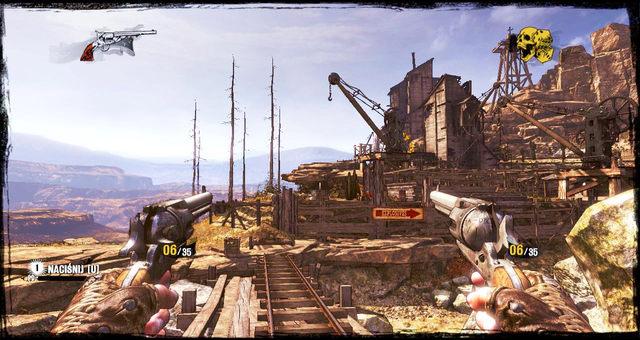 A view on the storage buildings around the mine
Once you're through the gate, you can finally see the site of the mine and some more enemies. They will throw dynamite sticks at you, but you can shoot them mid-air. Make sure not to get hit, if you want to stay alive.
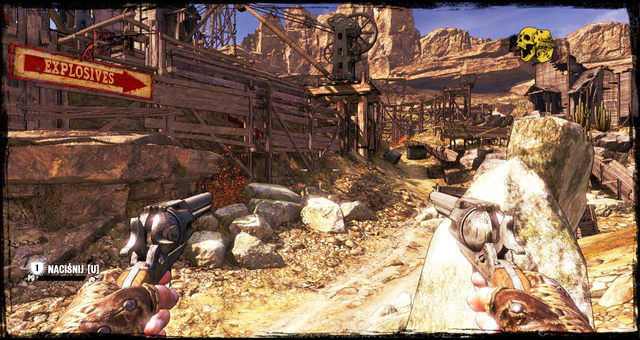 The path to explosives storage
While shooting and dodging, take the right path. Follow the "Explosives" sing.
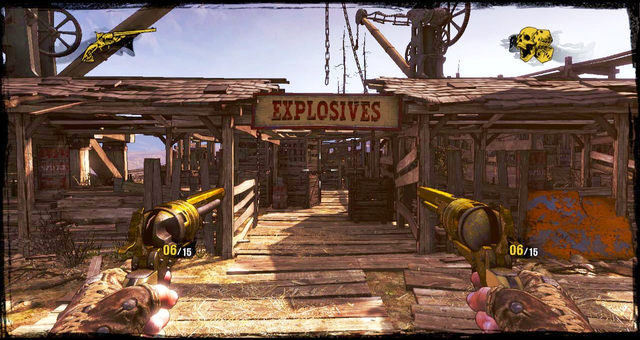 Storage entrance
Go through the explosives storage, killing more enemies on the way. Use the barrels that are conveniently put there.
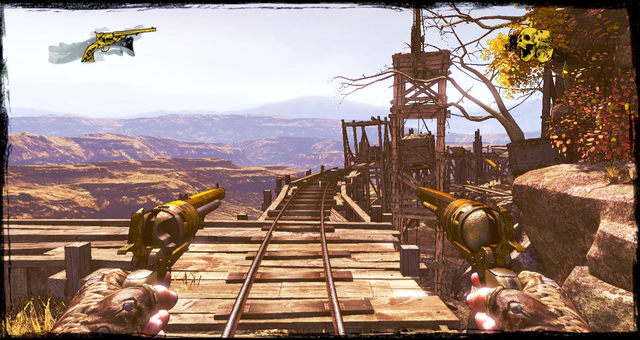 Tracks behind the storage area
Once you're trough, follow the road until reach tracks laid out above ground. Step on them to trigger another cutscene. Silas will notice an entrance to a mine next to him. Use it.
You'll stumble upon new enemies, as well as another spot where you can switch weapons. Move forward, to a fork in the road. It's a little problematic, because according to what Silas is saying, you can easily get lost in this mine. Luckily, this guide will show you the right way.
 The ladder down
Turn right and go straight ahead until you reach a ladder. Go down and kill some enemies on your way.
 Down to further storages
Eventually, you'll reach stairs that lead further down. There will be plenty of explosives around, so make sure you know what you're shooting. Two bandits are guarding the place, so kill them carefully and move out to the right.
 The collapsing tunnel. Run!
When you exit the storage area, an enemy will fire a single bullet your way. Dodge it with the Sense of Death, the run as fast as you can. The bullet that missed you hit the explosives, causing the passage to collapse.
Run at full pelt; a moment of delay will be the cause of your death. Luckily, there are no paths to choose between; the route is straightforward, without any large turns.
 The mid-air mini game battle
Jump into the water, but while in mid-air, deal as much damage as you can. Once in the water, you'll get hit by a falling cart. The game over screen will be displayed. Hit the resurrection button.
 The ladder on the bridge you see after resurrection
You'll find yourself in front the mine's entrance. Get to the ladder on the left side of the tracks. Make your way down the scaffolding, listening to what Greaves has to say about this whole business.
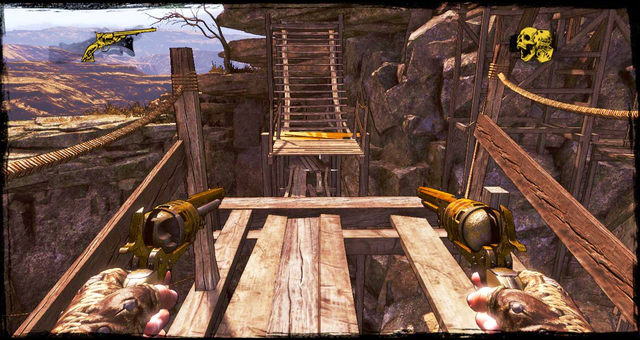 Here's where you need to jump over to the second platform
After a while, you'll be forced to jump over to another scaffolding. Take a run-up before you jump, otherwise there will be no jumping to speak of.
 The tunnel to the other side of the mountain
Once the leap of faith is behind you, enter the mine and move straight ahead. You'll run into some enemies on the way, but don't let them stop you. At the end of the tunnel, you'll have to make a choice.
 Choosing between the ladder and the lift
You can use either the lift or the ladder.
If you choose the lift, you'll be able to grab a Nugget of Truth, but there will be two enemies waiting for you up. If you choose the ladder, you can flank these two same enemies, but you won't collect the secret.
 The last tracks before meeting the boss
Regardless of the path, step on the new tracks and follow them. Watch out for dynamite sticks flying your way; try to shoot them mid-air.
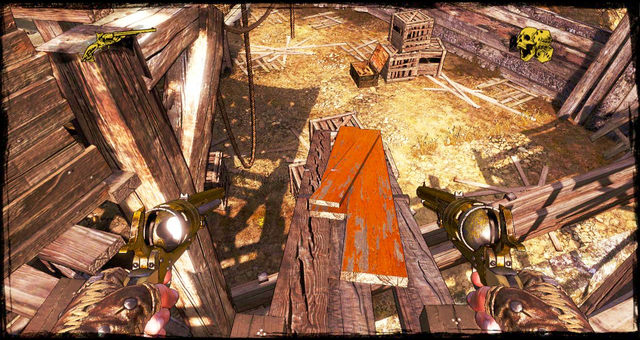 Red planks down
Kill whoever threw them, reach the end of the tracks, then turn right and go down the red planks.
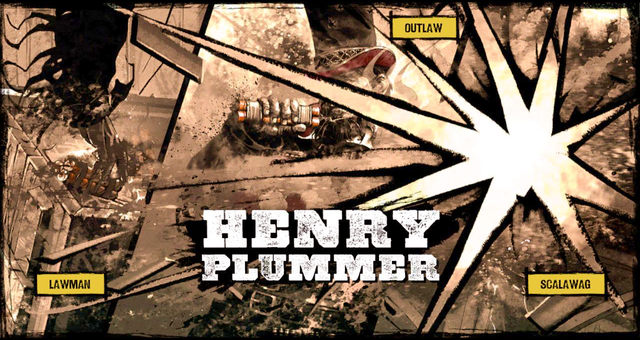
Here's where the boss shows up, which is as usually announced by a cinematic cutscene. The opponent will be throwing large amounts of dynamite to kill you, which you're going to have to shoot down mid-air.
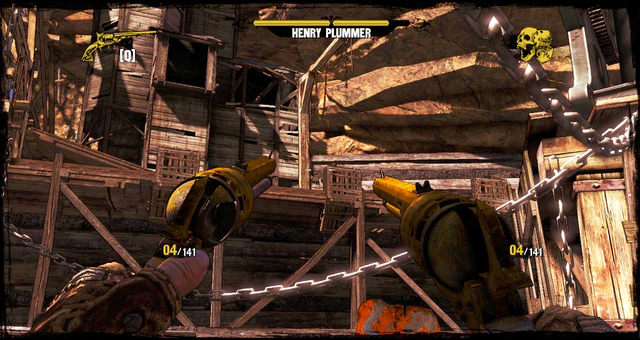 Battling Henry
Unfortunately, he's standing on a platform which is out of your reach, so you need to evade the dynamite sticks, throw your own or shoot him with firearms.
Halfway through the battle, his health bar will disappear, and he'll call his men to help him out, while retreating himself. You're left with killing the goons, who are hiding in the same spots as the boss before, but don't throw dynamite.
When you take them out, the sheriff will be back and the whole hide-and-seek fun will start again, but this time he'll be calling the goons too.
The battle is pretty hard, given the two dynamite sticks at once, but if you keep your eyes out, you shouldn't have any major problems ending it.
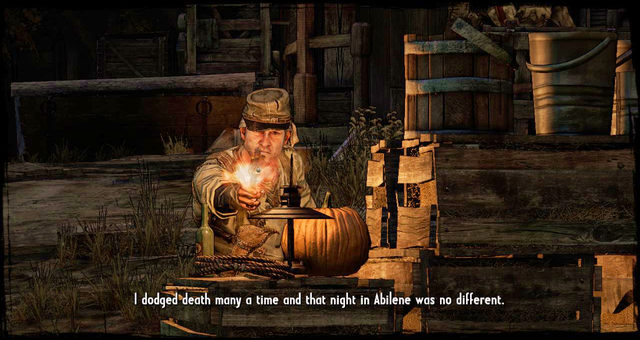 The first shot after episode start
As soon as the episode begins, you will be treated to a bullet, which you can evade only with the Sense of Death. When you've killed the enemies that jumped you at the beginning, make your way forward.
Your first stop, the saloonLook for the doors to a saloon, go inside and watch the cutscene. The events there will be cut and you will be taken a few hours back.
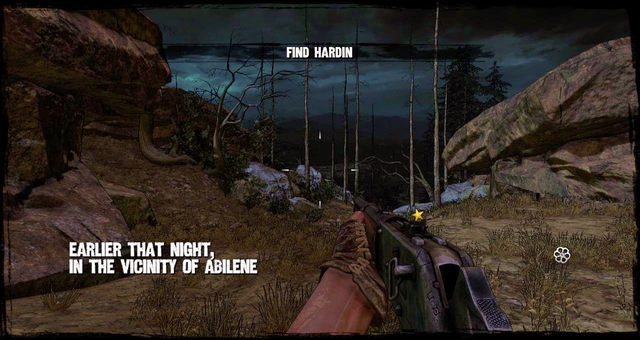 A few hours earlier... on a road
You'll find yourself in the middle of a road, at night, and your task would be to find Hardin. Move out, past a herd of cows grazing in the center.
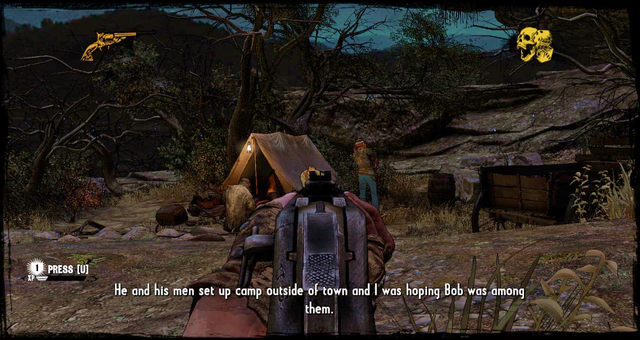 The first tent in the camp
Right past the cows, there is a bandits' camp. There are several of them, but if you manage to surprise them, you'll be able to get rid of them very quickly.
 The path between rocks further into the camp
It turns out, your target isn't inside. Move out again, past the first tents on the left. The second camp is much bigger than you could have anticipated. Without getting off the beaten path, squeeze between the rocks on the right. You'll see more tents with enemies.
 Town gate
Once there're all taken care of, follow the path again, and when you see a makeshift windmill, go around it from the right, but don't stray off course. Keep going straight ahead until you see a town gate. Approach it to trigger a cutscene.
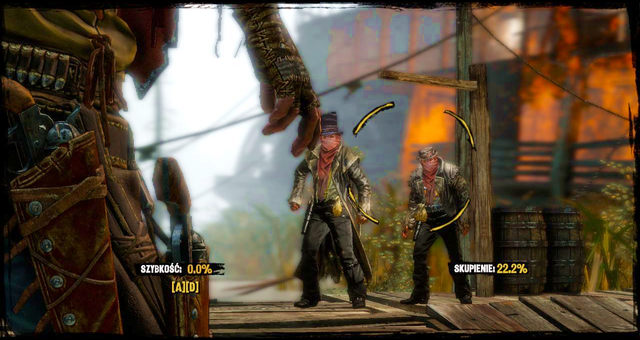
 The killers at the entrance
You'll be distracted by fireworks, and when you look ahead again, several amigos will be waiting for you. It's time for the familiar mini game.
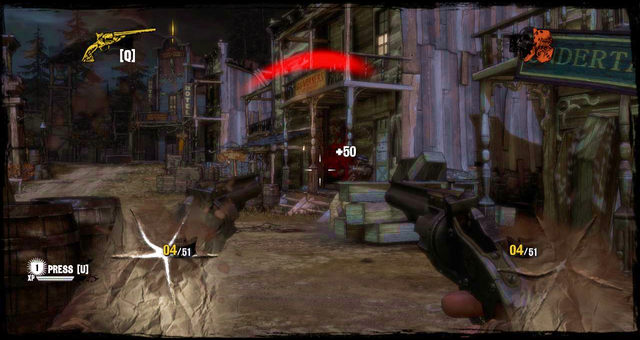 Street shootout and no ammo
As soon as you enter the town, you'll be swarmed with enemies. If you're running short on ammo, there's a box full of it on your left, underneath the wagon. Arm yourself and kill everyone that stands in your way to the saloon.
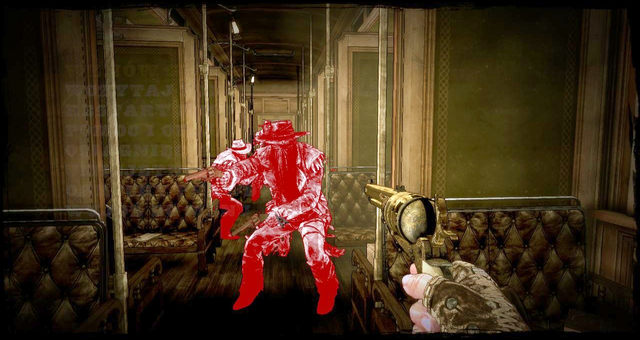
 The good old saloon fight
Enter the saloon and prepare yourself for another trigger-happy Wild West shootout.
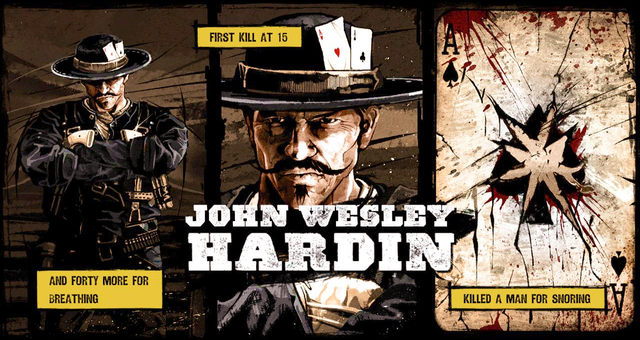
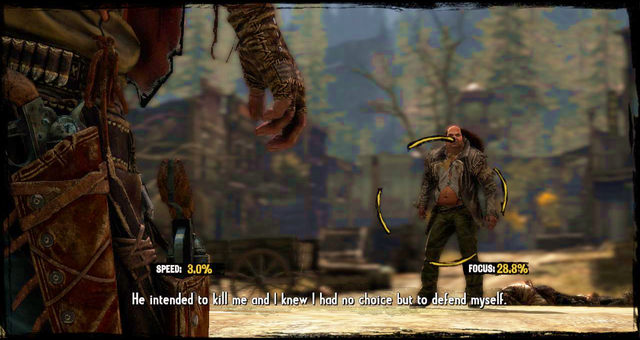
Once it's over, it's time for another cutscene and another boss fight. This time you'll be pitted against John Wesley Hardin, pictured above.
 Dodge to avoid getting shot
This one is a little harder than the previous bosses due to the addition of dodging. When you draw your weapon, your crosshairs will be pretty far-off. You're going to have to wait until it closes distance and in the meantime dodge the bullets to the right or to the left. Don't dodge on one side only, because you'll evade one bullet, but not the other. Be flexible and you'll eventually succeed.
 Here's where the wolf shows up
Follow the path in front of you. After a longer walk up the hill, you'll see a cutscene with a wolf looking at you from above a shelf. The wolf will ignore you, so do the same and keep moving.
The river bridgeFurther way will lead you between rocks, and after a while you'll see a rope bridge stretched across a river. Cross the bridge - and you'll stand face to face with the first Apache warriors. Shoot them, then go left.
 There's an ammo cache behind that house
Your next landmark will be a ruined cabin that haven't been occupied for long. Another shootout will start right next to it.
You can also restock your rifle ammo in the cabin.
 The road up
Move out, all the way up the hill. The path will lead you, and so will more enemies. All of them will be using rifles, so if you've chosen the Desperado class, sooner or later you're going to have to switch to the rifle as well.
 Keep going up
Eventually, you'll reach the river again; follow it on the right up the hill. Two enemies with tomahawks will charge at you.
 The entrance to the Indian camp
As you keep walking up the river, killing more enemies on the way, you'll reach a crack between the rocks. Your target is there, so make your way inside.
 Here's where the Indians were standing
Go straight ahead, but turn left at the first fork; the path ahead leads only to large gap. Soon, you'll see some enemies to get rid of.
 A fork in the road, the right path is a dead end
At the next fork, you can go either right or left. The right path is a dead end, so go left.
 Another fork
Follow the path until another shootout with the Apache starts; you can now go straight at them or take a longer route by turning left. Both lead to the same spot, but taking the longer path will let find an ammo box and a Nugget of Truth.
 Stone bridge
Move out again to reach another fork. Take the right path, the left is a dead end. The next thing you see is going to be a stone bridge that you're going to have walk across. Be careful, though, because the Apache will show up again.
 The entrance to another cave complex
Keep moving. When you find yourself in the lit part, pictured above, an enemy will appear above. You're going to have to kill him quickly with the button indicated on the screen.
 The larger cavern in which a mini game triggers
Move until you reach a larger cave. The slow-motion mini game will let you take care of five Apache warriors.
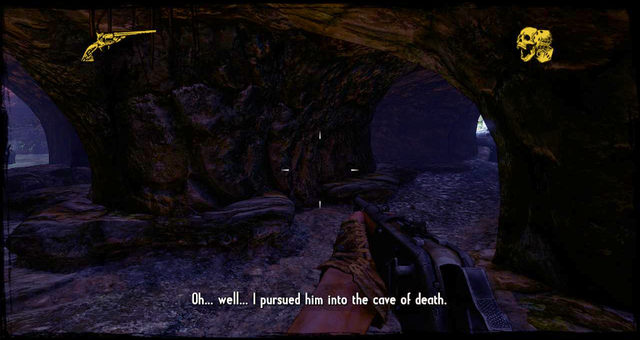
 The Cave of Death in which you have a conversation with Grey Wolf
Once you're through the cave, proceed into the Cave of Death, as the Apache call it. Take the tunnel ahead, jump into the pool and you'll see Grey Wolf.
Grey Wolf will mess with your head, forcing you to fight a battle inside your mind, in which you're going to have to kill enemies hiding in the woods. It's not difficult, you don't even have to move.
 The Indian shootout after the conversation
Once Grey Wolf stops talking, he'll start running, and a very large number of enemies will show up in his place. Kill them as fast as you can, because they'll only keep coming. Take cover behind rocks and you should be just fine. A little while later, a couple of rocks will fall down and you'll be able to use them as stairs.
 The tunnel to the surface
Run through the tunnel ahead until you reach the exit. You'll see a view on the river. Look right to locate a rock on which you can jump.
 Turn right and jump over the next rock shelf
Chase after Grey Wolf. For the time being, keep close to the wall and jump, when needed, to the ledges in front of you. Soon you'll see the enemy running away. Go after him.
 Go after the Indian, directly towards the sun
Everything has its end, and so does the ledge - drop down and turn right. Run up the hill, killing the Indians that will try to stop you.
 Canyon sprint after fighting the Indians
You shouldn't have trouble finding the right path here. While it is a chase, you don't have a timer, so there's no rush. Take your time killing enemies and proceed forward. The road leads straight ahead.
 The trap
Eventually, you'll find yourself in a valley - and in a trap. You're going to have a hard time in there because you haven't been pitted against this many enemies before. They are all positioned on rocks, so you won't be able to get close. The trap is divided into three rounds, and your job is to survive. In the first round, all Indians will be firing at you from above; in the second, they'll come down and attack you with tomahawks; and in the third they'll be back on the rocks.
 Here's the way out
If you manage to survive, a pathway will unlock. Take it and go left. Keep close to the rocks so as not to fall down.
 The last run
A while later, a cutscene will show you the Indian turning into a Wolf, and escaping.
 Starting room
The episode begins in a room; there are pistols and the rifle in front of you. Take everything and go out into the streets, where you can hear shots.
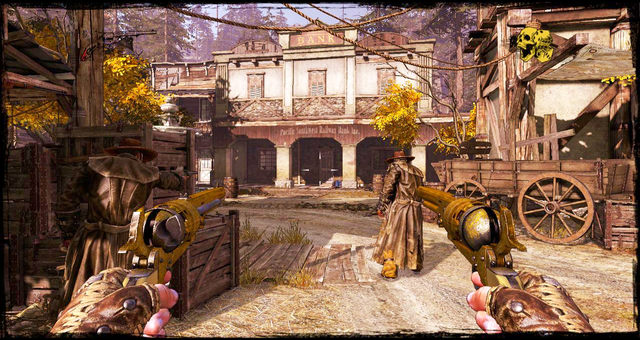 The shootout in front of the bank
Turn left to see citizens fending off bandits. Help them clear the town, then make your way into the bank in front.
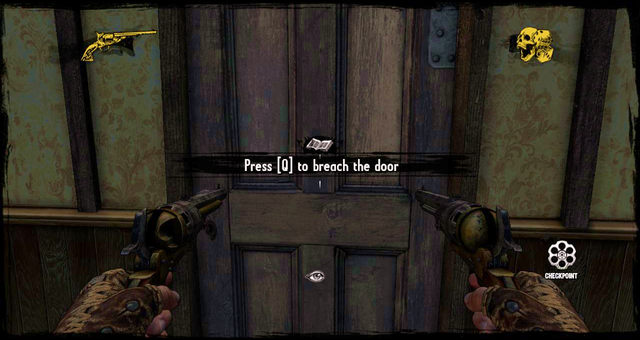
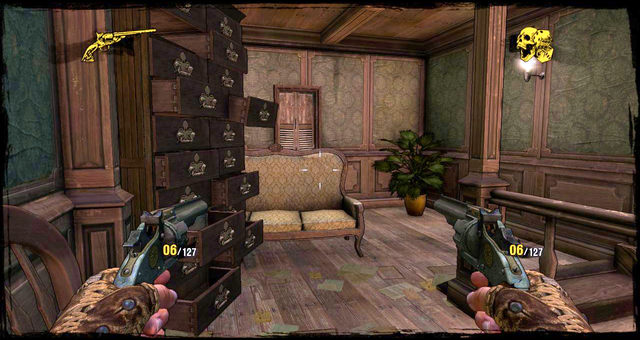
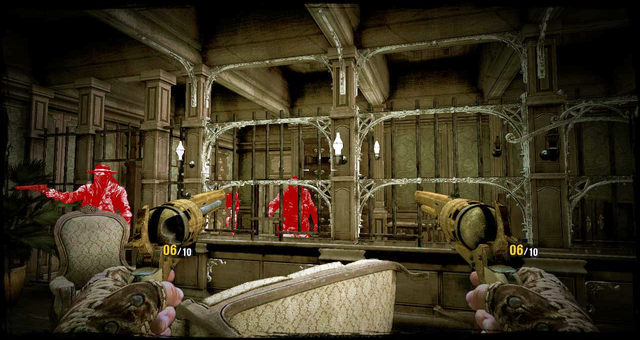 The cash register where time slows down
Force the door open; time will go into slow-motion, giving you an opportunity to kill everybody in the first room.
 The second slow-motion room
Approach the next door and do the same in the second room. A short cutscene will take you somewhere else entirely.
 Rooftops shootout
You're now on a roof, where you're accompanying some decent folk fighting back bandits in the opposite building.
 Go down the ladder
There're quite a lot of them in there. Once you take them out, turn around and climb down the ladder.
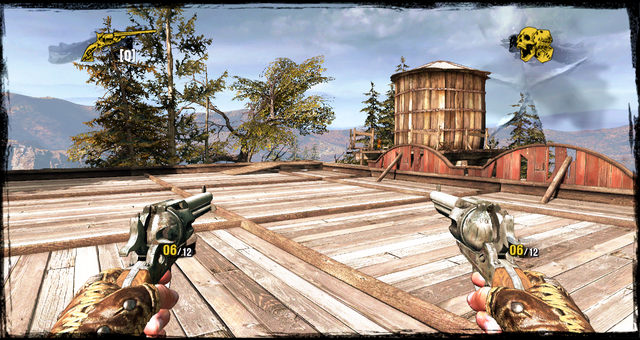
 Climb the water tank
The game will tell you to get to the back of the bank, showing you the way. Move forward until you reach a water tower. Approach the ladder, climb up, then climb up the next one to get to the top.
 A leap of faith
Take a run-up and jump over to the next building. There, approach the trapdoor.
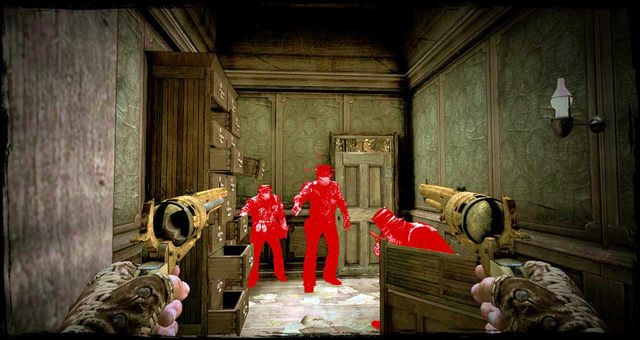
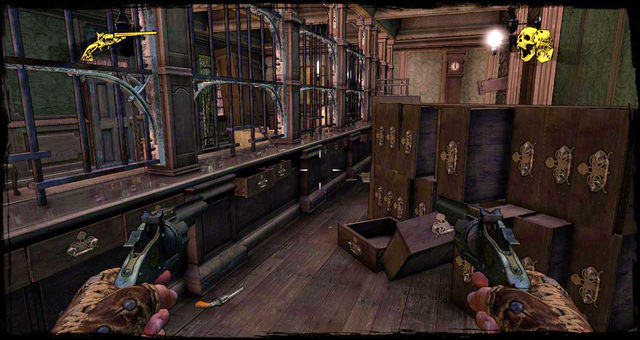
 Upstairs rooms with bandits all around
Drop down inside and force the door open. There will be three thugs inside, but you can take them out quickly with the slow-motion red marks mode. Pick up the sawed-off from the table. Turn right and follow the tunnel into the next room, but watch out for some new enemies that will show up in the meantime.
 Ground floor stairs
Go through another room and get to the stairs. Take the lone gunman out and go downstairs.
 Bank hall
Eventually, you'll reach the safes and another door to break through. The first attempt will be interrupted by a thug from behind. The second attempt will go as it should, and time will slow down once again. Kill everyone that makes their way into the room. Approach the double door on the right and kick them open. Repeat the previous steps.
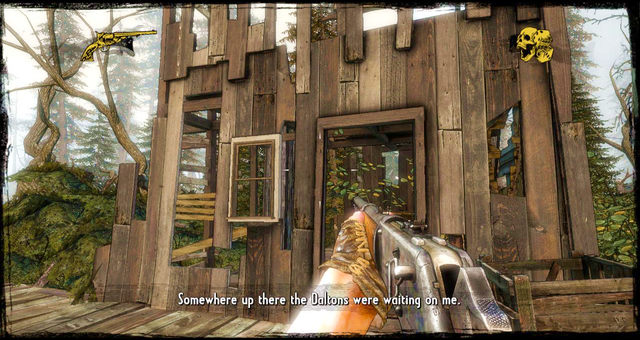
 The road into town
Once again, the game will take you someplace else, but this time you'll see the events as Greaves did. You'll find yourself in the middle of a road. Do make haste and get to the town.
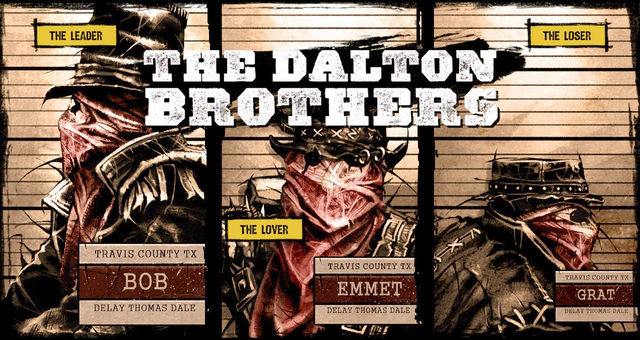
A cutscene will show the Dalton brothers rushing out on the streets with money bags. The place will be flooded with the shield guys with murder on their minds.
 Back alley by the bank exit
Get rid of the welcoming committee and follow the fugitives. At the bank, turn left into the back alley, and proceed forward.
 The chase
At one point, the mini game will trigger, so finish the enemies off and continue after the brothers.
 The Smith family shootout
You'll reach a crossroads; on the left, the Smith family is shooting at the town's defenders. They're the cousins of Daltons, so to proceed, you need to get rid of them. The left path is the right path.
 Smiths' cabin, probably
Once the Smiths are dealt with, go through the gate and enter the house. Run through it and exit on the other side.
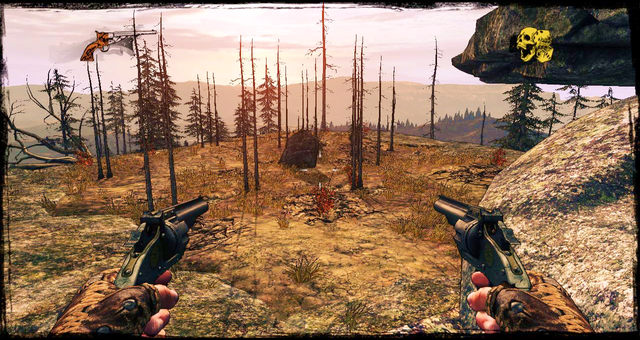
 The valley the Daltons escape into
Back on the fresh air, make your way up the hill to get the Daltons.
 A safe view on the falling logs
As soon as you squeeze through the rocks and start the ascent, logs will start falling at you. Squeeze back into the gap and wait until they fall, then continue up the hill.
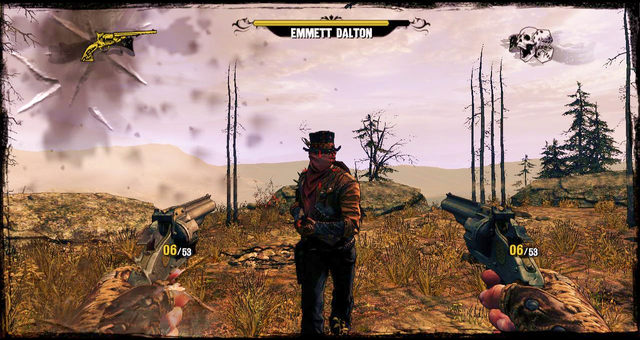
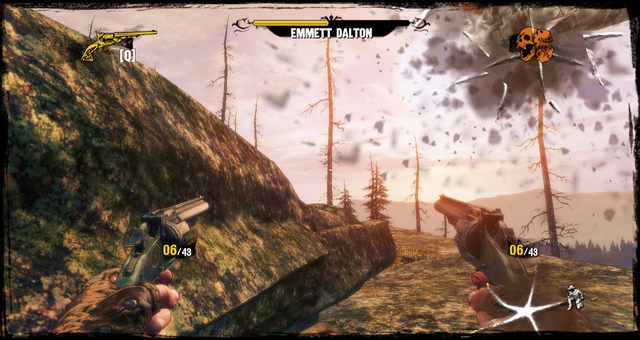
 The clearing where you duel Emmett
At the top, turn left towards a large clearing.
One of the Daltons will be waiting for you there, and he's the boss in this episode. He uses a shotgun and moves quite slowly, but nevertheless, make sure not to get hit.
 Here's where you need to hide
Mobility and covers are the keys to success. Usually, if you get hit two times in a row, it's game over, so be on your guard. Dalton is pretty resistant, so I recommend the rifle, not the revolvers, here.
You can find covers around the rock ledge, so keep running from one to the other to maintain distance.
Once the boss is dead, the episode is over.
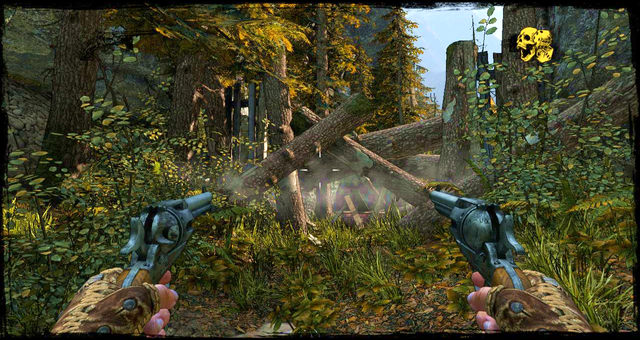 Collapsed passageway, go under the logs
Wading in water, move forward. The walk is short, you'll soon see some collapsed trees. Press the crouch button to go underneath them.
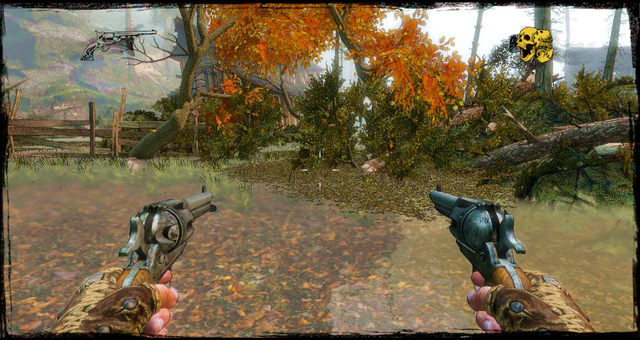
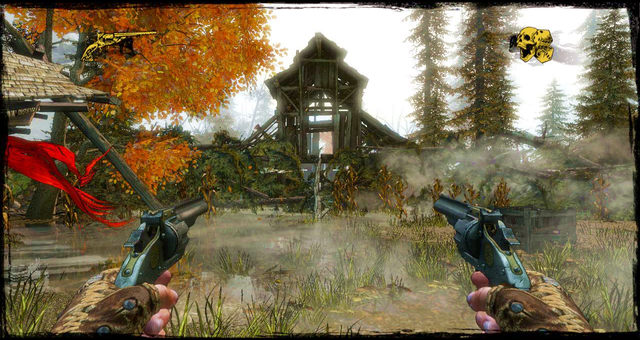
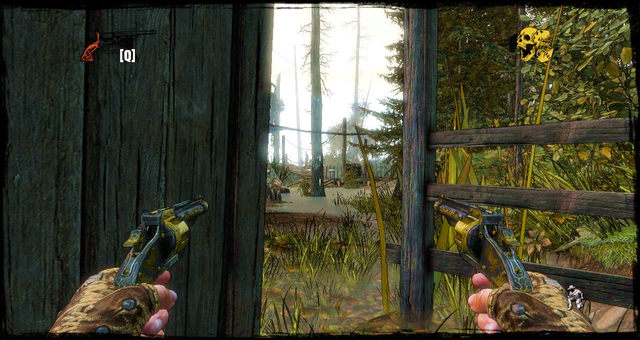
 The first red scarf; they will be showing you the way
Continue forward, but turn left when you spot a red scarf wrapped around a tree.
 Get across the log
You'll see a plank made of a log, so use it to get across.
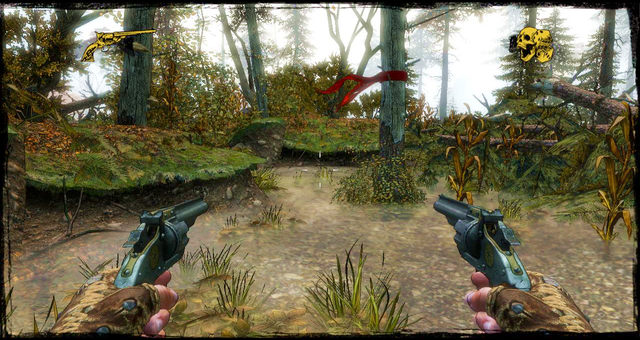
 These trees show you the way
The red scarves will be showing you the way. Following the next one, walk underneath the trees with brown leaves.
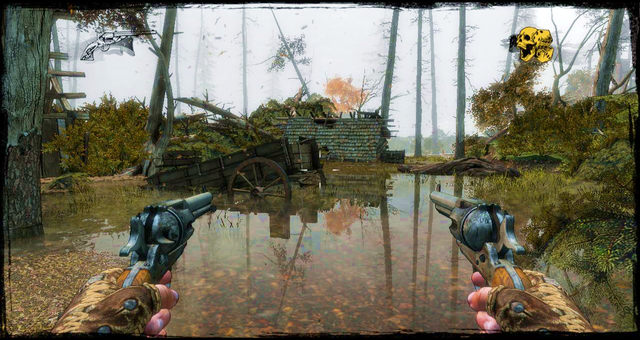 The collapsed wagon
At the next scarf, turn right and walk by a damaged cart. Keep going. A few steps later, some bandits will ambush you. Kill them and continue forward, past a devastated building nearby.
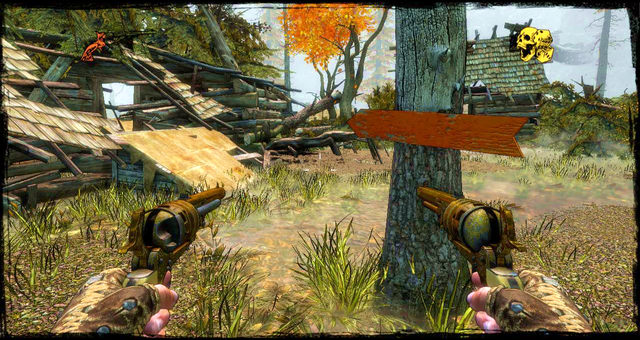 The red sign and the way into the house
This time, follow the red wooden sign and go into the flooded house through a hole. A red plank will show you the entrance.
 The fight prior to leaving the flooded house
The next room will show you the exit too, but when you pass it, a bunch of Daltons' friend will try to pack you full of lead. Take care of them. If you're short on ammo, you can find a whole supply to the right of the damaged cart in front.
Continue onwards between the buildings, eliminating whoever's coming at you. A little further, in one of the shacks, you can find some more ammo.
 Barn entrance
When you reach another red scarf, Silas will see a barn. Use the collapsed tree to get inside.
Inside, the doors will open, so move out and turn right. Several steps later, you'll see another scarf. Follow it and proceed forward.
 Another red scarf
At the next sign, be ready for some Indians. Fend them off for a while, then, once they escape, move ahead and turn right. Keep following the sings and you won't get lost.
 The entrance to a cabin which is still in good shape
Turn right to see a wooden cabin that hasn't been destroyed yet. Go inside to find more ammo, then leave and proceed through the marshes.
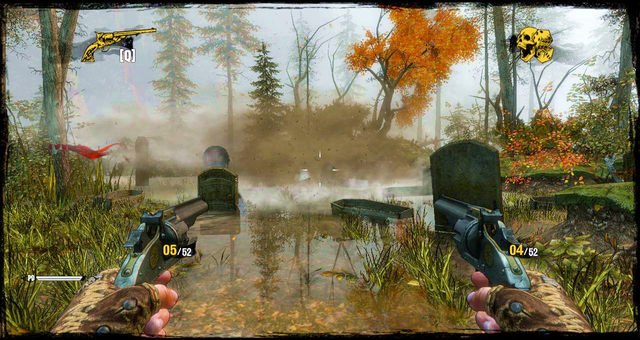
Eventually, you'll reach a flooded cemetery. As you pass the collapsed cart, a mini game will trigger and more cousins of the Daltons will show up. After the shootout, make your way towards the above cemetery.
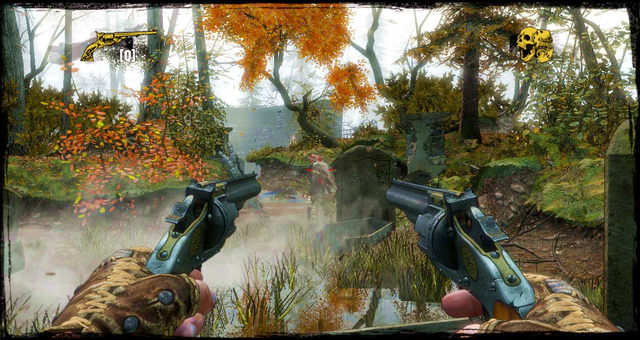 Shootout between graves and the road on the right
Once you're in between graves, turn right and keep going forward. You'll see Shielders with new shields, and these cannot be killed with a shot to the head.
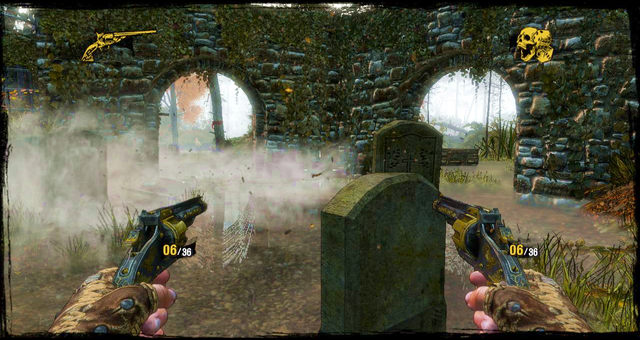 The left or right passageway
Afterwards, you'll find yourself near some sort of aqueduct. There are two paths from here, one to the right, and one to the left.
 Remains of a cabin
Take the left one and grab some ammo and dynamite from a nearby house. Now keep running straight ahead until you see the red signs. Follow them.
 A view from your temporary hideout
Turn left after a few steps, and continue forward. Eventually, you'll trigger a nice cutscene which will shower you with enemies, so try to find some cover.
The best one for this particular purpose is the shack to the right of the steamship. There's also some ammo to find there.
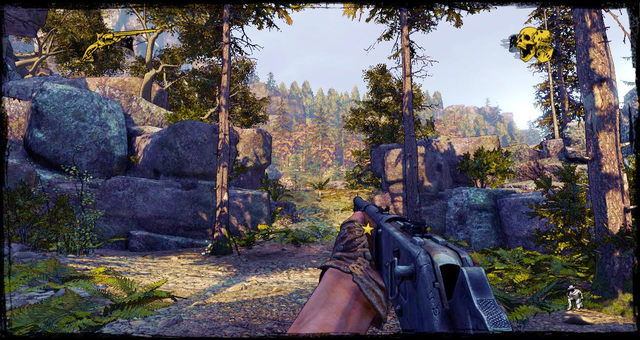
Once you're fairly safe, turn a little to the left of the ammo box. A star will show you your destination. Follow the way, but make sure to thin the enemies' lines a bit.
 Ship entrance
To get aboard the ship, walk across the wooden plank.
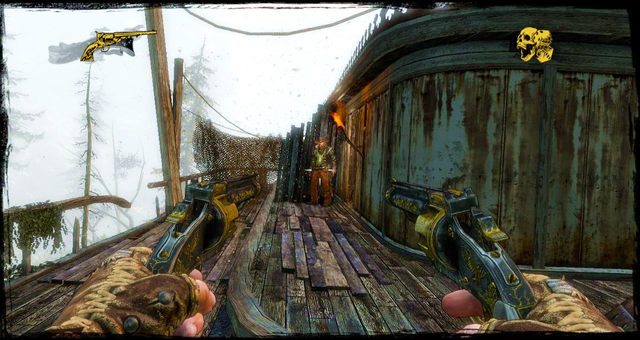
 A view on the crate and the passageway on the right
You'll see a crate on the right. Move along the right side of the ship, trying to make your way inside.
 Stairs up
Soon, you'll find stairs leading up, so use them and continue forward. You'll come across an open door; go through it and turn left.
 A view on the engine room, you need to go through it
It turns out you're in the engine room, so don't stop there, turn right and climb the ladder to leave.
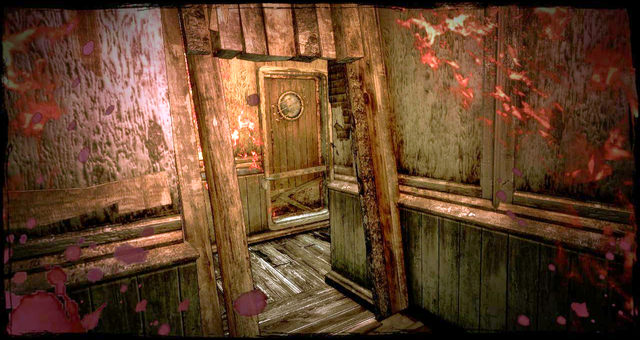
 Approach the door and force it open
When you reach another set of stairs, go up, turn around and make your way to the stern of the ship. There, turn right to see one of your companions from the beginning. Approach him and force the door open. As soon as you do... he'll knock you unconscious.
 The burning wreckage of the ship
You'll wake up in a burning room, which you should leave immediately. Get your grip together, go through the door, turn right and run.
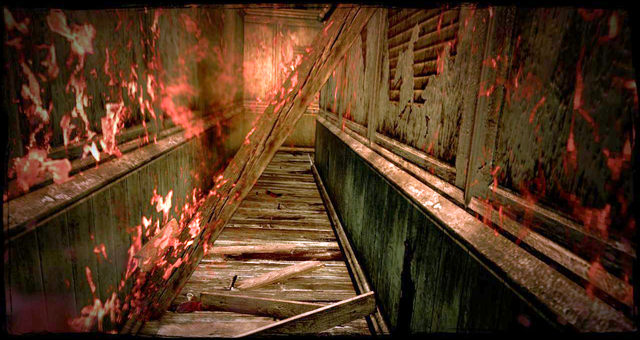 The collapsed corridor; crouch and move through
When a plank falls right in front you, crouch to go under it. Keep running through the corridor.
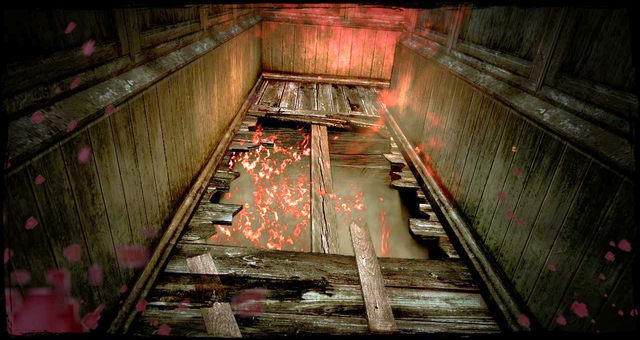 The collapsed floor
A fragment of the floor will collapse, so walk across the single plank left in the middle.
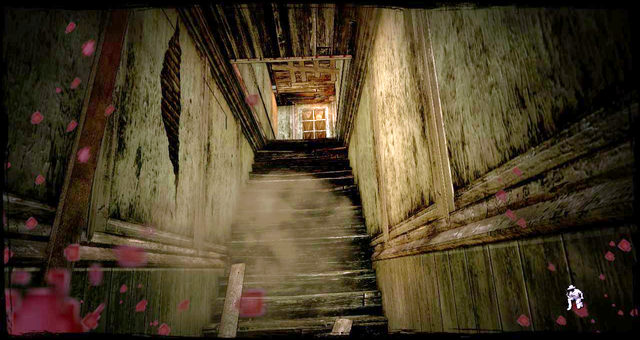 Run up the stairs to get out of hell
Continue onwards. When you see the stairs, go up.
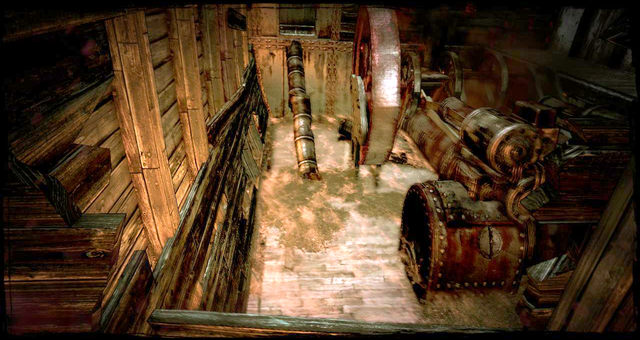 The metal pipe leading to the exit
Run across the hallway to enter the engine room, then walk across the metal pipe.
 The last set of stairs; there's only a sprint left
Run up the stairs, squeeze through the burning wood and jump over the next. This is the last sprint, the doors to freedom are right in front. Force them open and fall for a while.
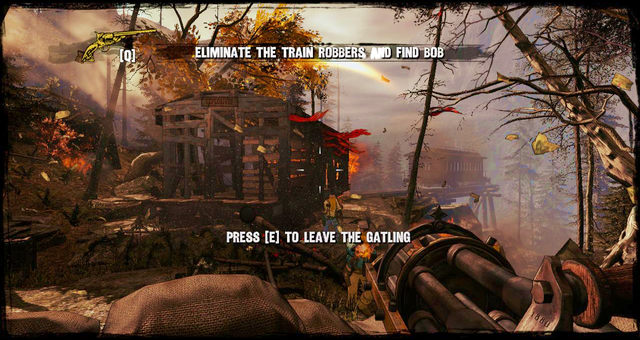
 The gatling gun is in your hands now
You'll land near a gatling run. Take control over it and start eliminating your pursuers.
Don't worry about the machine overheating. Even though it's red, you can shoot continuously.
When enough of them are down, you're in for a encounter with the two other brothers at once. Despite being a little out of standard, the "duel" works on the same principles as the previous ones. Dodging is imperative, but so is Concentration and speed.
The only difficulty in this fight is that you have to kill them both as fast as you can. It doesn't matter which one dies first.
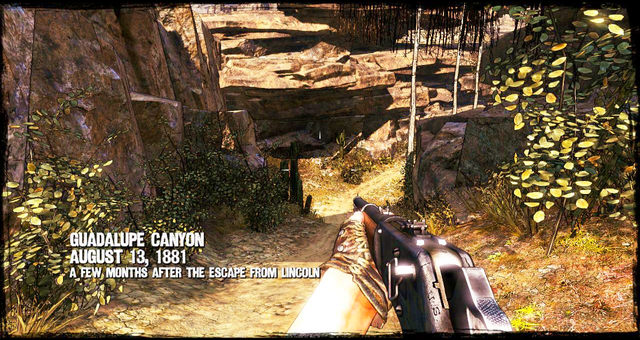
 The road to the cliff
As soon as the mission starts, make your way through the valley. The walk is long, but straightforward.
 A view on the passenger cart you need to go through
When you reach the cliff, turn right. You'll see a damaged cart which works perfectly as a plank.
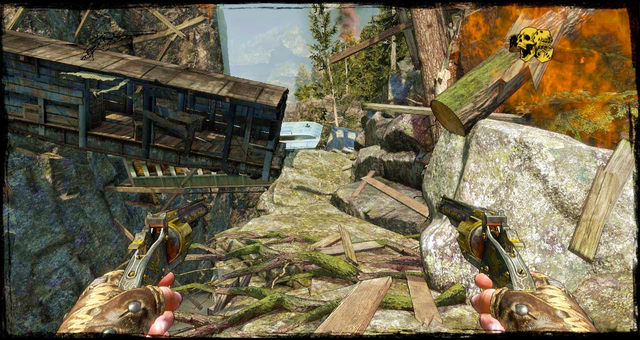 Another cart; it will collapse as you go through
Turn left, and after a few steps later, left again to get inside another cart. Leave on the other side, then run, because the cart will collapse shortly.
 Ammo box
Turn left once again and keep close to the rocks. You'll find an ammo box on the way.
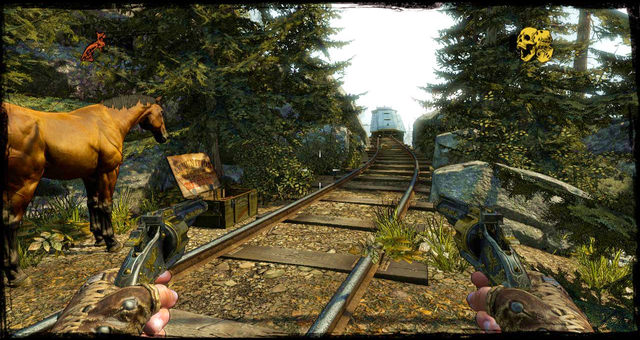 A view on the track and the rest of the train
Start going up the hill and a while later you'll hear a conversation between two bandits. You'll see them a few steps later. Get rid of them and go right.
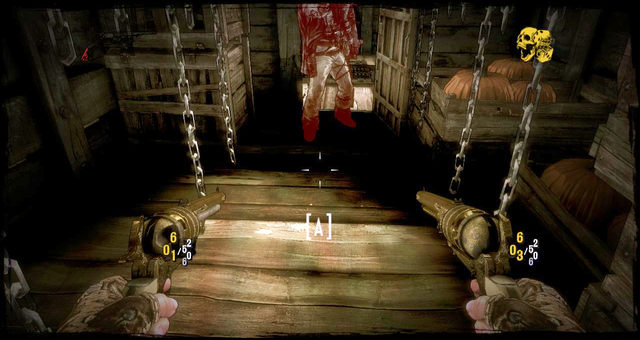
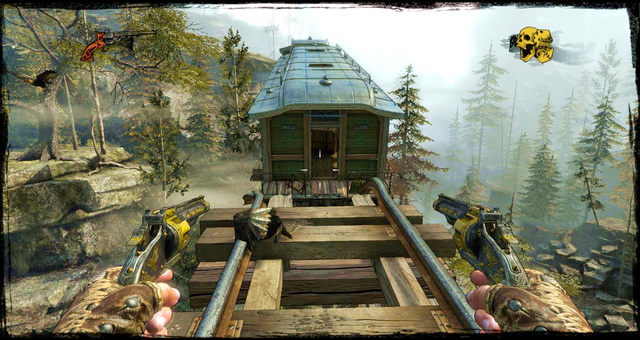 The jump into the hanging cart
You'll find yourself on tracks, so follow them. To get inside the hanging cart, you're going to have to perform another leap of faith.
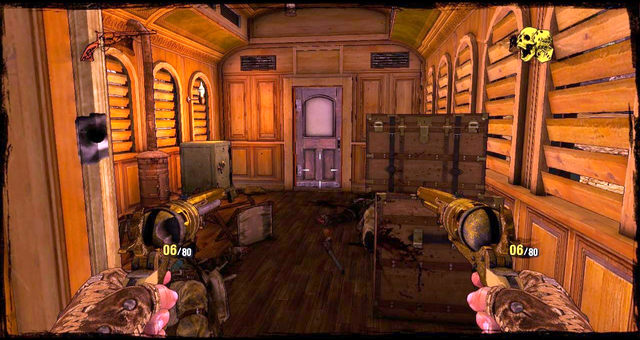
 Inside the train
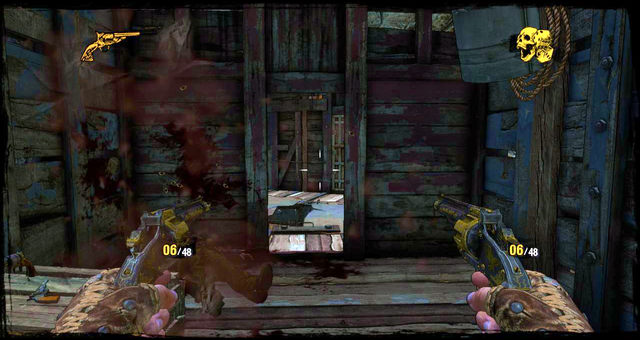
Take a run-up, jump and kill a thug in mid-air. Go through the door and kill the rest of the company.
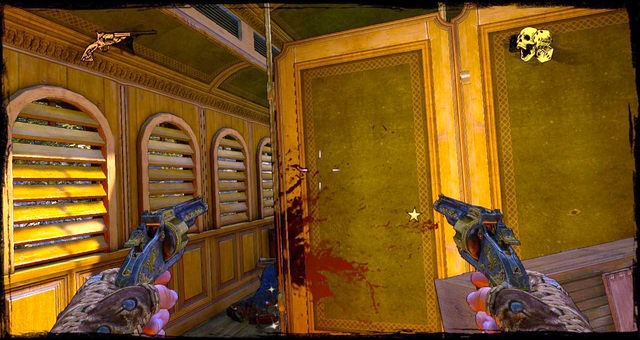
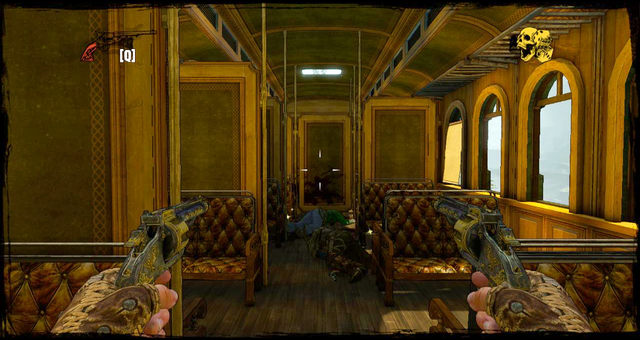 Another standard compartment
Make your way to the next cart, forcing the door open. Shoot two desperados there. The road leads straight ahead.
Move from cart to cart until you see the familiar red scarf on the right. Approach the side door, pictured above, and open it.
 Plank battle
Outside, proceed forward until you find a spot where you can go back inside. After the shootout on the plank, enter the cart again.
 Exit to the rock shelf
Leaving it, go left, towards a rock shelf. Move along the carts.
 One shot, nice fireworks
When you can, enter the next cart, but shoot the exploding barrel first.
 The way up to the roof
Run through the compartment, collecting a Nugget of Truth on the way, then climb up the ladder to get to roof of the next cart.
 Shoot the enemies' backs
A cutscene will trigger, but without anything substantial to show. Shoot three thugs once you're on the roof, then run along the carts.
 Another standard compartment
Repeatedly, you're going to have break through doors and shoot the bandits behind them. The train is pretty long, but at least not complicated.
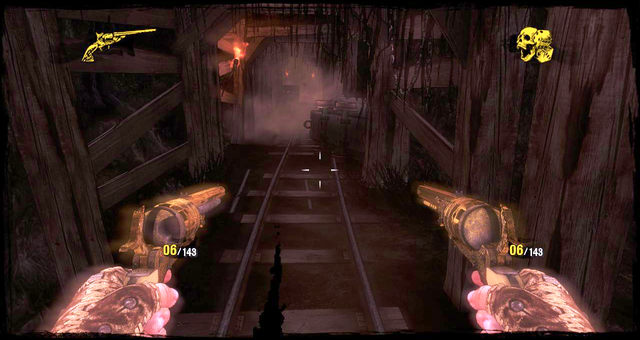
 Gatling gun massacre
Eventually, you'll reach a tunnel with the remaining members of the band. There's quite a lot of them, actually, but you can use the gatling gun, conveniently set in such a way as to leave no survivors.
Once you've killed them all, a boss fight commences, which is the same as the others. Finish your opponent to conclude the episode.
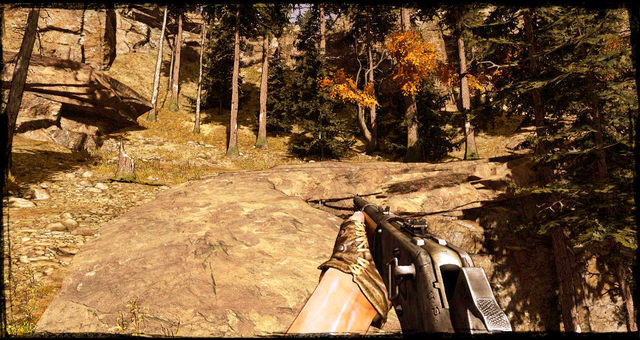
 The road at the beginning\
Follow the path ahead. There won't be anything interesting on the way, so there's no point leaving it. Eventually, you'll hear some conversations nearby.
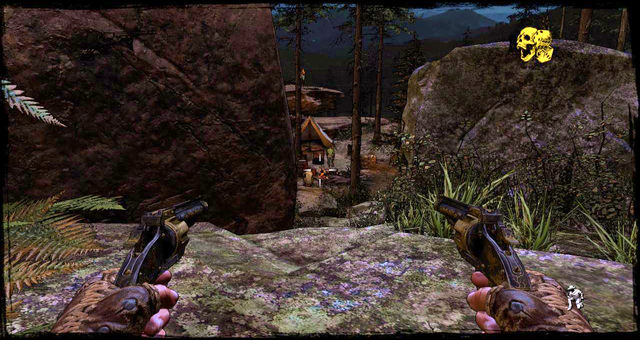 Bandits' camp
If you look closely, you'll see you've stumbled upon a bandits' camp. The only way to get rid of them is to eliminate them the old cowboy way.
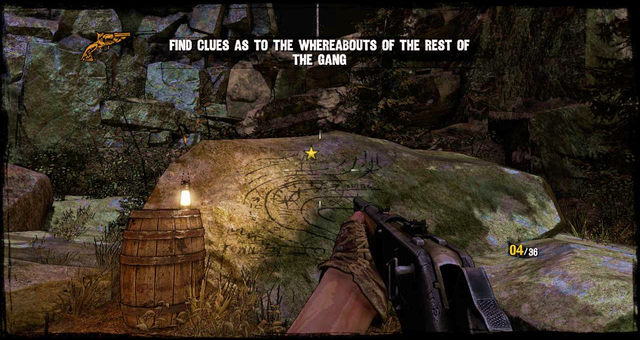 Examine the map on the rock
Afterwards, go down inside the camp, replenish your ammo and grab a Nugget of Truth from one of the tents. You'll see a rock with a map drew on it. Examine it.
 The road to the railway bridge
The game will take you near railway bridge that the Wild Bunch wants to blow up. Turn left and proceed towards your destination.
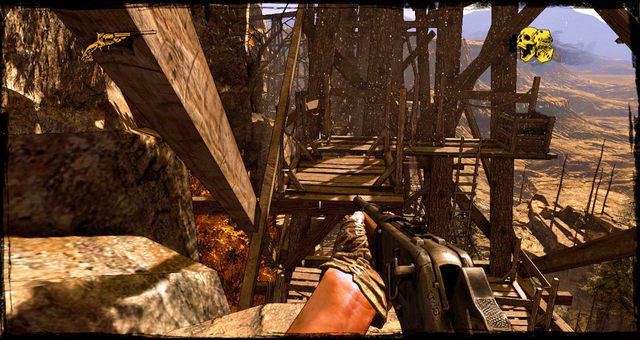 Bridge entrance|
Climb the rock shelves, then jump over to the bridge. Use the ladder to get on the same level as the first dynamite bomb.
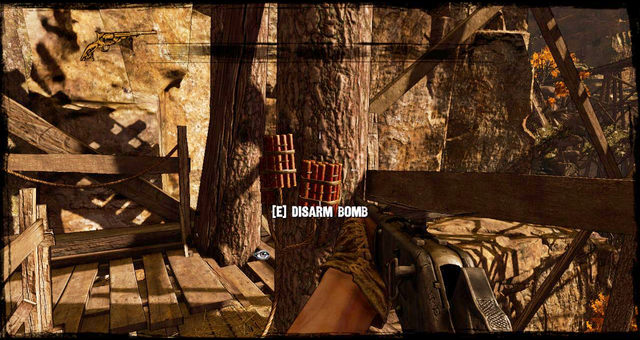 The first dynamite bomb
You'll see it a few steps further. Disarm it using the interact button and go left towards another ladder. Go down.
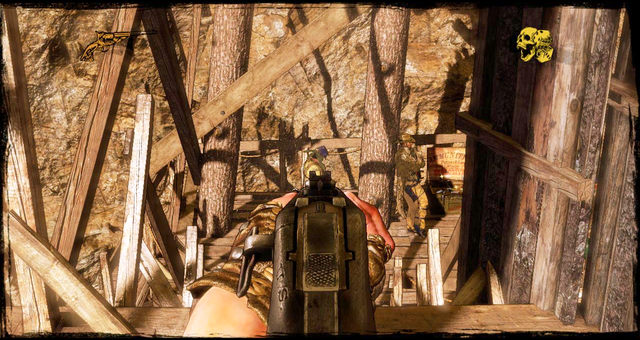 Thus setting up the second charge
Walk across a single plank, then the stairs. The first members of the Wild Bunch will be waiting for you there. Take care of them and turn right.
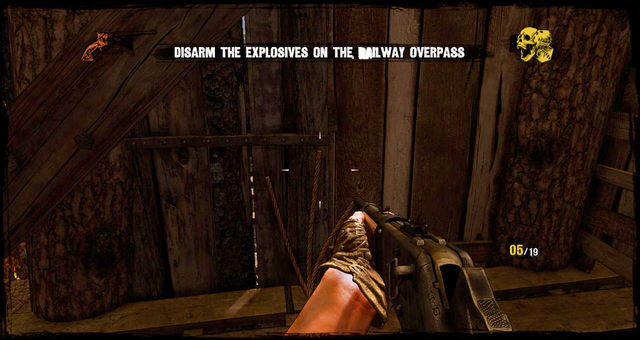
 The next bomb
Another dynamite bomb will be right in front of you. Take it down, grab some ammo from a nearby box and follow the given path.
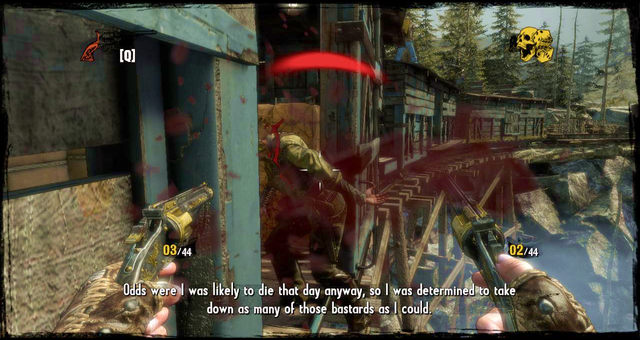
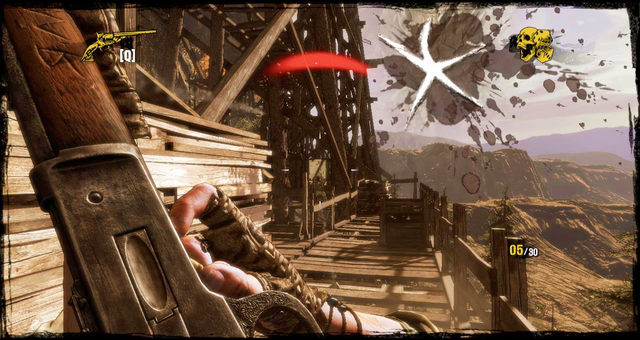 Railway bridge shootout
Moving alone the wooden bridges, keep going forward. Tons of enemies will be attacking you at this point, so take cover and slowly, but steadily, diminish their numbers.
 Bomb taken down
When you come across the third dynamite bomb, take it down as the rest of them.
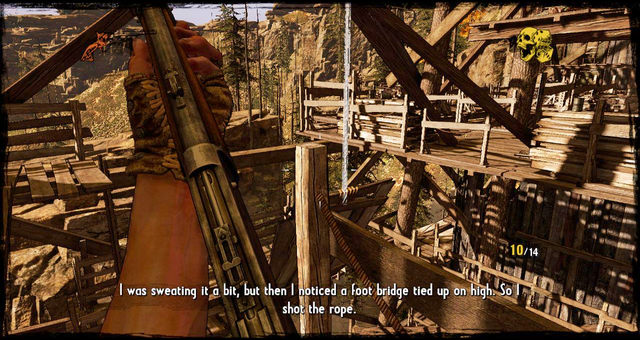 Foot bridge tied on a rope
The game will turn your attention to a foot bridge tied on a rope. Shoot the rope, and when the bridge collapses, go down the ladder and walk across the newly made floor.
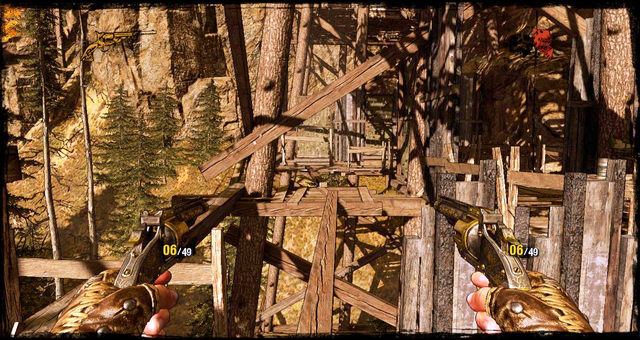 A single plank bridge
After several turns, the bridge underneath you will collapse, time will go into slow-motion and you'll be given a chance to kill some enemies. Afterwards, turn around and walk across the single plank.
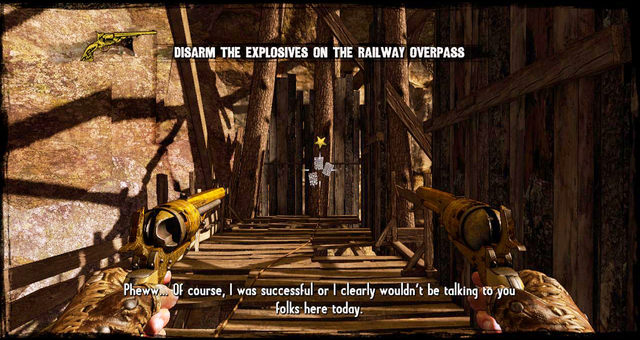
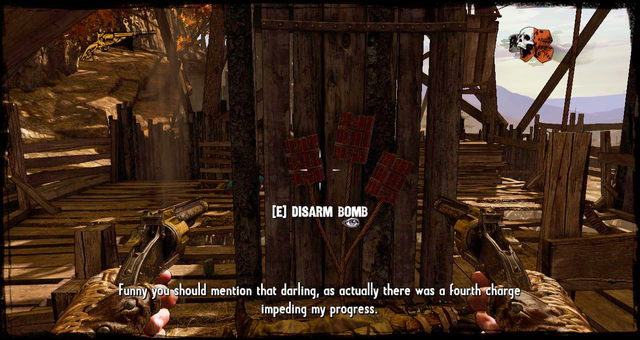 The last but not least dynamite bomb
Several steps later, you'll see the fourth dynamite bomb, so treat it same as the rest. Go round the beam on the left and move forward.
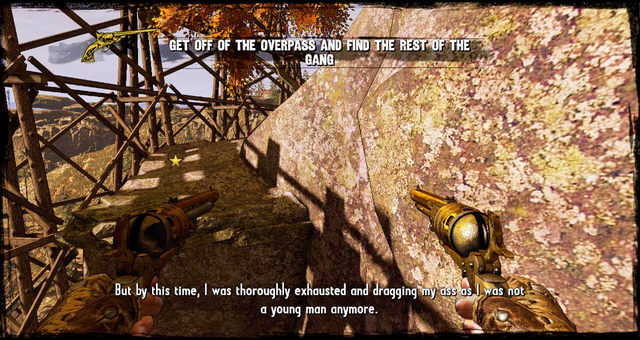
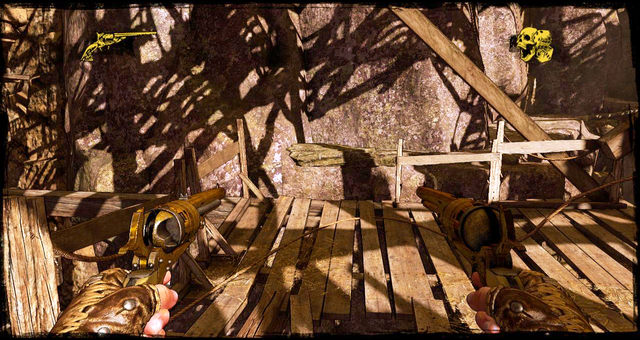 Jump over to the rock
Keep running ahead until you reach a ladder on the right. Turn your back to it and you'll see a rock ledge. Take a run-up and jump over to it.
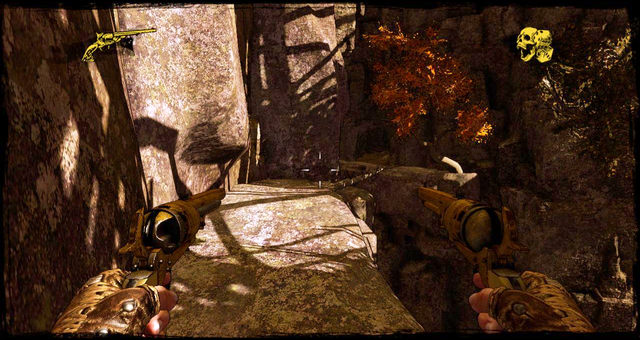 The collapsed tree and the entrance to a short tunnel
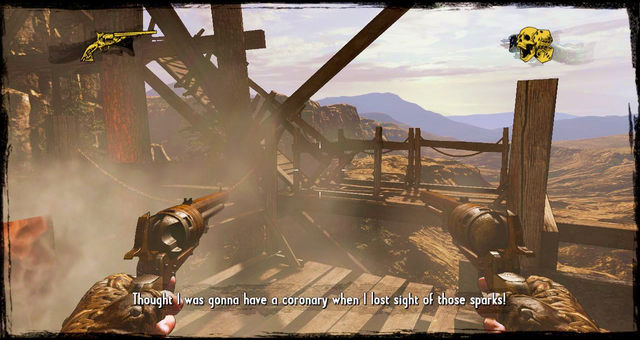
Continue onwards, crouching underneath a collapsed tree, then enter a cave. A short cutscene will trigger in a moment.
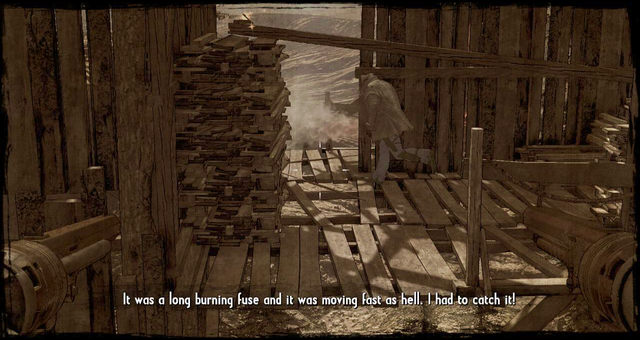
Jump back on the bridge and run after the spark as fast as you can. The long burning fuse will show you the way.
 When the spark foes up, jump right and continue after it
When the fire goes up, turn right and quickly jump over to the second plank. Run as if the devil himself were on your tail.
 The last charges
As soon as you manage to put the spark out, approach the last dynamite bomb and take it down. The path to the left will unlock. Climb on the rock and move close to the wall.
 Stony road
Run across the ledges, jumping when needed, until you reach the tracks.
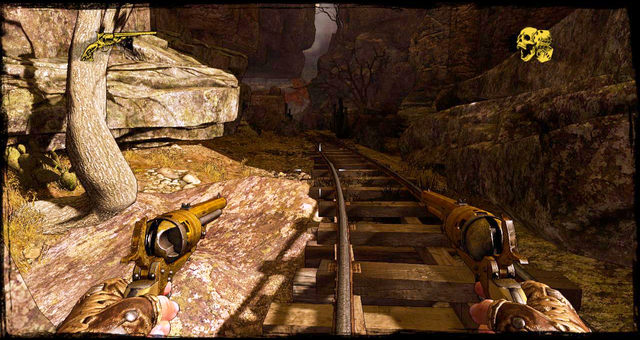 Follow the tracks towards a canyon
As you move towards the canyon, more enemies will show up. Take care of them with the help of the familiar mini game.
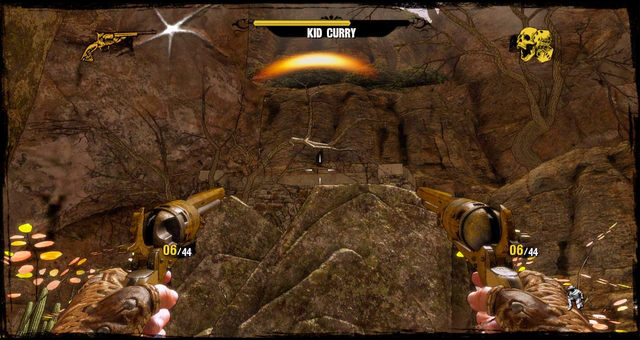
 Kid Curry
A while later, you'll see your opponent, Kid Curry, who'll want to end you with a gatling gun set in the tunnel.
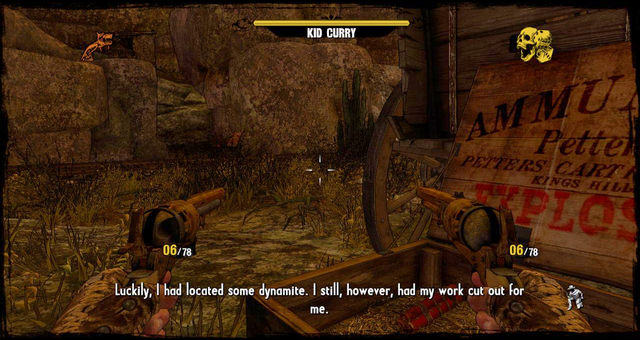 Dynamite reserves
The game will tell you to destroy the gatling gun with dynamite. To that end, you need to come closer. Unfortunately, the boss isn't alone, and his minions will stop at nothing to try and shoot your brains out. Take them out first, then make your move towards the boss.
The battle is now pretty schematic. Wait until the boss stops shooting, run to the next cover, wait until the boss stops shooting... etc.
Get close enough so as to be able to throw the dynamite. Don't worry if you don't have any. Take cover behind a cart and you'll find plenty of explosives. Now get to the nearest rocks and start throwing.
The boss won't be able to hit you from the spot pictured above, but you will be able to pester him. Watch out, though, because at one point he'll call his goons, so before you do anything else, get rid of them first.
Remember that the boss can be hit ONLY with dynamite, but luckily, its reserves renew at the cart.
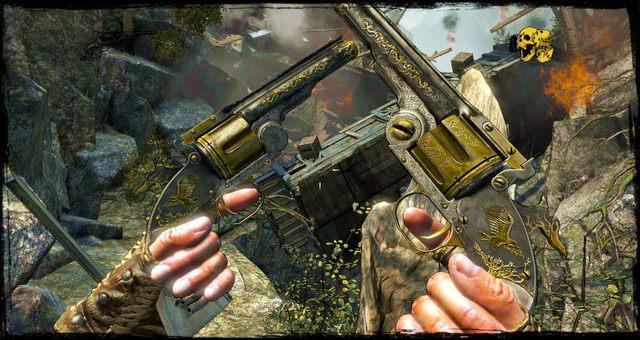
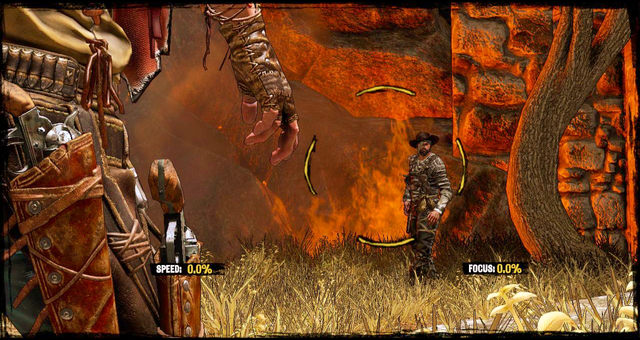 Kid meeting you on open ground
When his health drops to one fourth, a cutscene will show him meeting you on open ground. The duel looks exactly like the rest.
 Curry's Death
When you win, it's not over yet - you've only wounded him. He'll shoot a bullet which only the Sense of Death can help you avoid.
 Silas entering the train
Another shootout in a train. This time, though, you're not in a destroyed wreckage, but in a fast as hell steel stallion. Make a big entrance by forcing the door open.
 Inside a cart
Break through several carts, killing everyone in the way, until you trigger a cutscene showing how you ended up on this train anyway.
 The mini game inside
As soon as you break inside, kill the enemies in front, then move out.
 The ladder by the door
Continue onwards until you reach a closed door and a ladder on the side. Climb up to the roof and kill the thug there.
 Barrel shootout
Make your way to the end of the cart, drop down and eliminate the enemies hiding behind the barrels.
Horse cart; you're going to pass through it around four timesEnter another cart, this time with horses. As you go through it, time will go into slow-motion. Don't worry about it, just go for the door. A while later it's going to turn out that you're walking in circles, until Silas goes back to telling the story. You'll make four or so circles before the story moves forward.
 The passage on the side plank
Go outside, then choose either the left or the right plank by the train. There's no other way - the door is closed with a padlock.
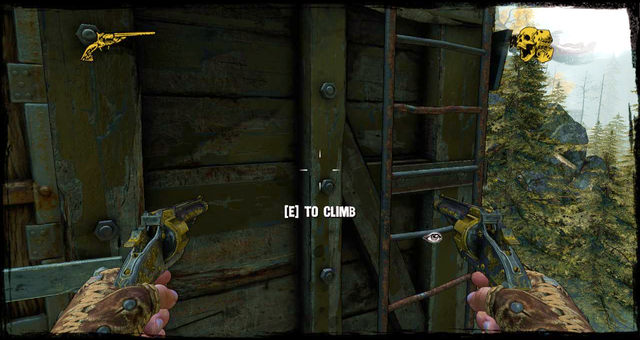
 The ladder to the roof from which you can jump over the obstacle
Walk along the train until you find a way back on it. Climb up the ladder behind you (the road in front is blocked).
 Once's roof
On the roof, take a run-up and jump over the planks that blocked your way. Make your way through the cargo.
 Log fight
When you're at the logs, throw some dynamite at the enemies in front. It will cause the logs to break free and crush them.
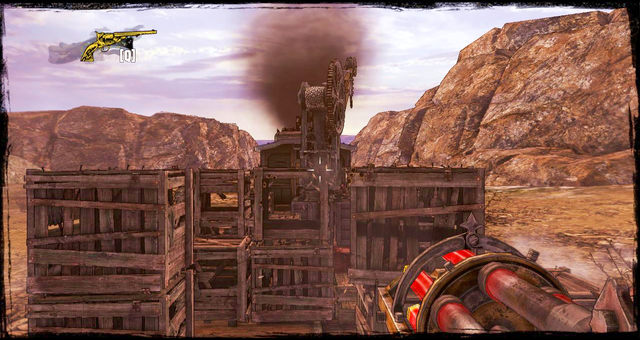
Once again, the gatling gunProceed forward and you'll find another gatling gun. Kill the guy who's shooting at you first, then take control of the gun. You'll have plenty of enemies to shower with bullets without remorse.
 Jesse James have just blown up the engine and you're going to duel him in no time
Once you've finished them off, move through further carts, killing everyone who steps in your way. Eventually, you'll reach the engine, which is about to explode.
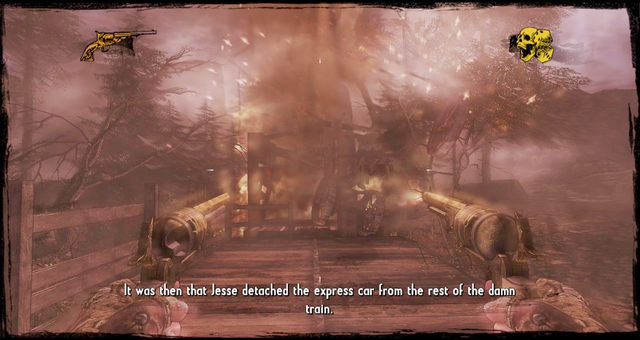
 The Jesse James duel
Jesse James will be waiting for you there. Duel with him.
Shoot him to end the episode.
 Follow the path
Go down on the road and follow the path. After a while, you'll come face to face with Indians who don't have friendly intentions.
 A view on the camp
Follow the path until you reach a camp.
As you get close, more Indians will show up, but you know the drill. Once they stop coming, go to where they came from.
Look for a path on your left and go down it while Greaves sings you a song about death. When the storm hits, the game will take you somewhere else.
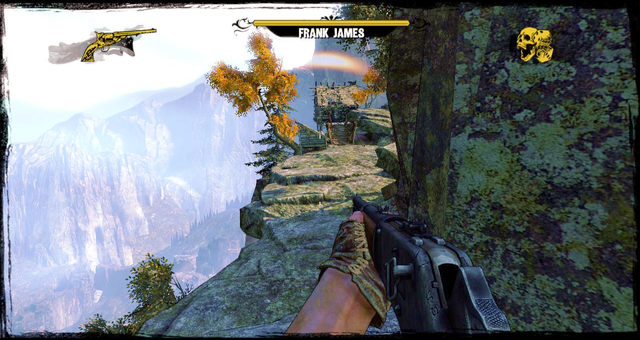
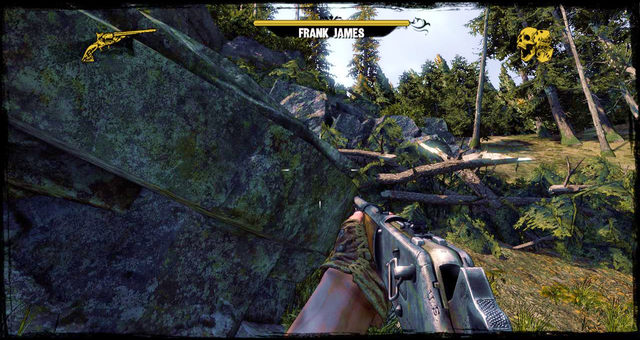 Take cover to evade Frank's bullets
You'll be immediately dragged into a fight with Frank James, a sniper. Take cover to avoid his bullets.
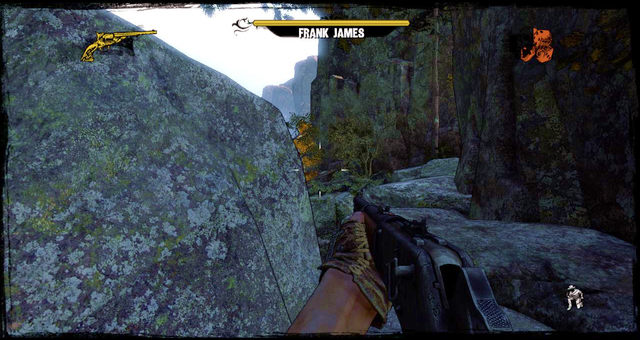 Going after Frank
Same as many times before, try to get close by moving from cover to cover one cover at a time. It's going to be a challenge, though, because as you move forward, he'll be moving backwards and won't stop firing.
Don't give up and don't get shot.
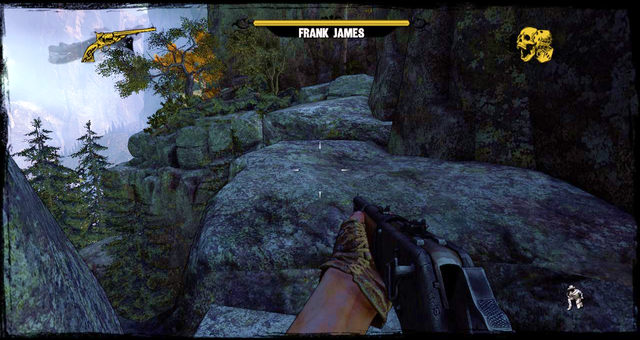 Here's where the boulders start falling
When you climb the rocks, watch out four boulders coming your way - whatever you do, don't let them touch you.
 Frank's cabin
A while later, you'll catch up with Frank near his cabin. You'll also find dynamite again, so as you move to the cover on the left, start throwing it at him. Frank's goons will come out of the house, armed with axes. Make sure to take care of them first.
Once you defeat him, his cabin will fall down the cliff, taking him with it.
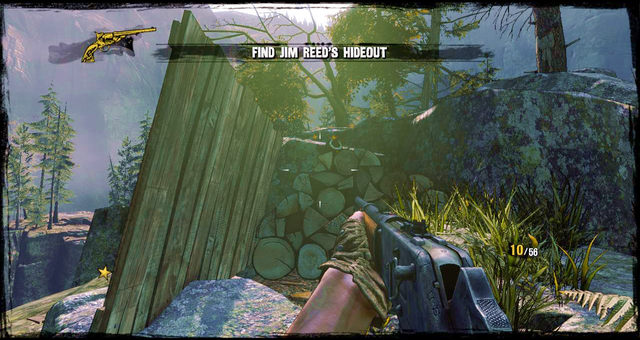
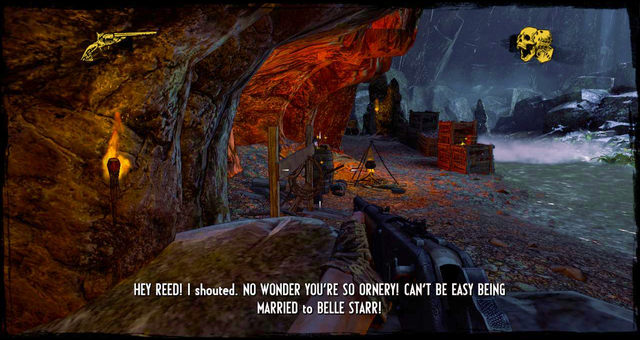
Frank, though, will survive, and you'll part in peace. Move out to search for Reed. You'll find him in a cave. Get rid of the guards, then come down to get him.
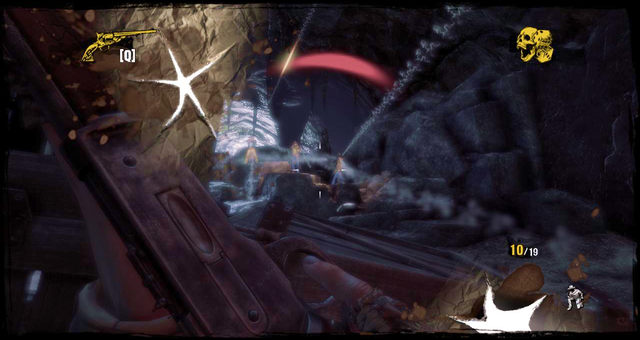 Cave shootout
It turns out Reed has some more men at his disposal. A whole bunch of them will come to get you. Take cover behind the crates and take them out one by one until the boss shows up for a duel.
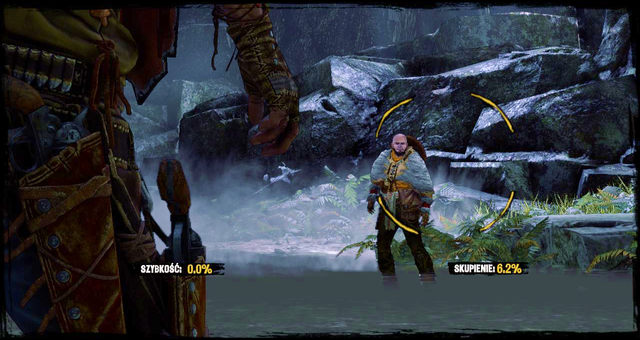 The duel with Reed
Winning concludes the episode.
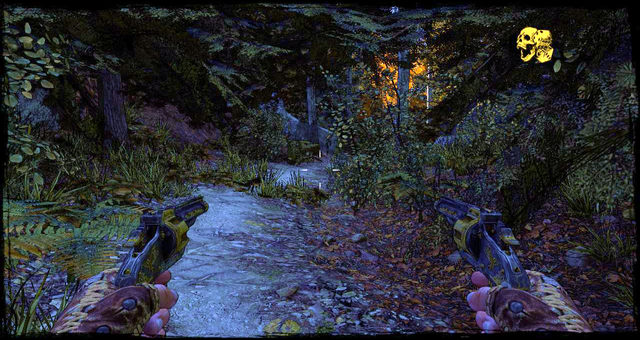
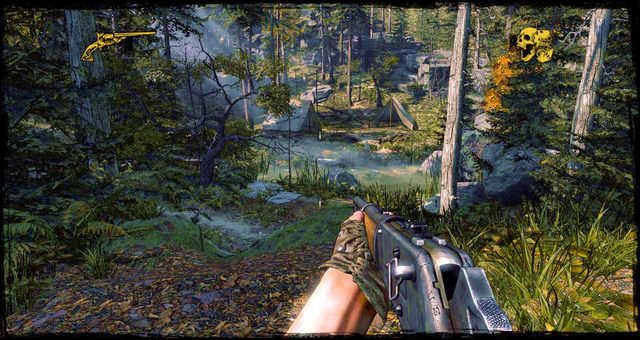
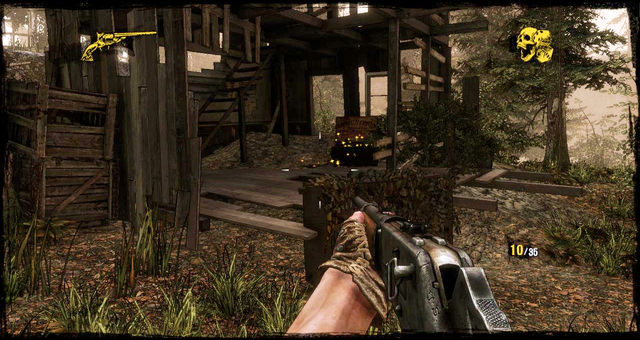
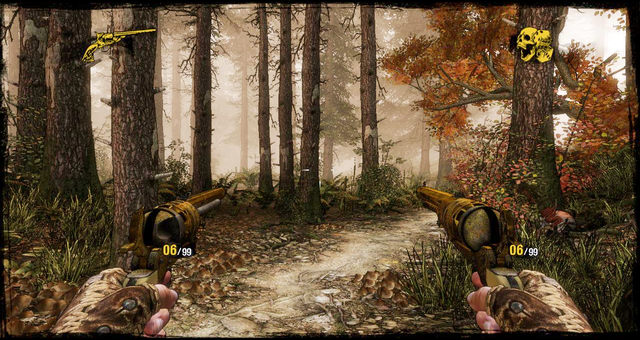 You begin in a forest
You'll find yourself in a forest, so just follow the path in front. You'll have some enemies to take care of in a minute, but the slow-motion mode will let you dispose of them quickly.
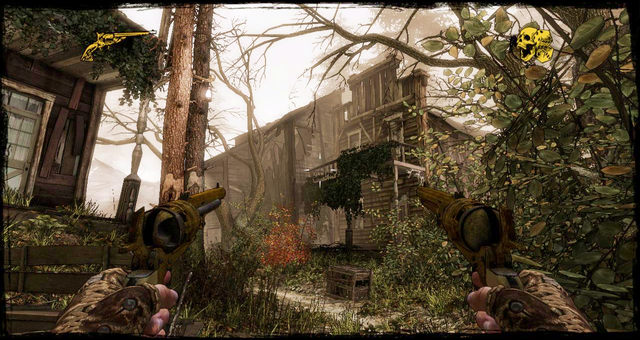
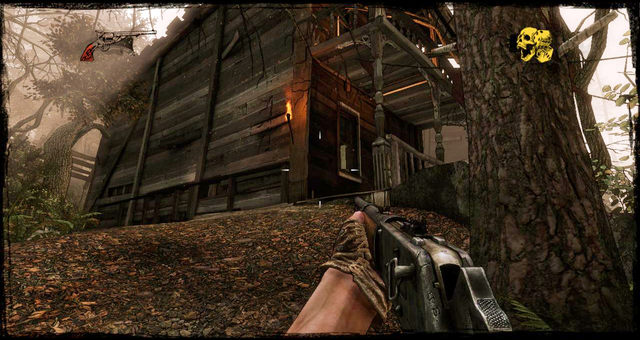
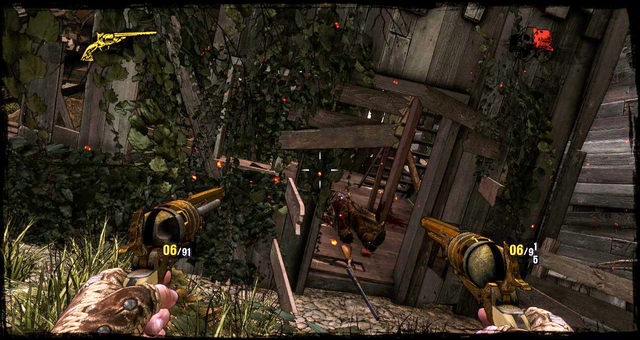 Go through the ruined house
Continue forward until you reach some buildings. They're ruins, actually, at which the path will end. Instead, you'll have an entrance to a house to your right, so make use of it.
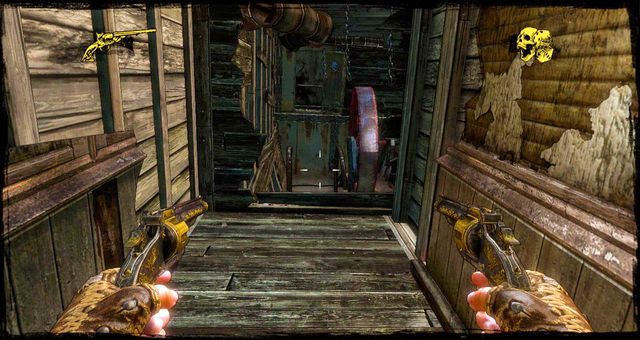
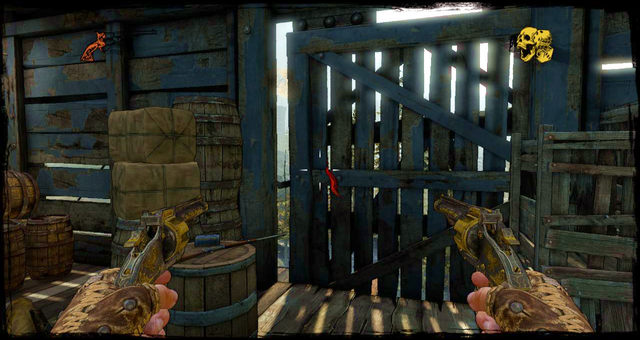
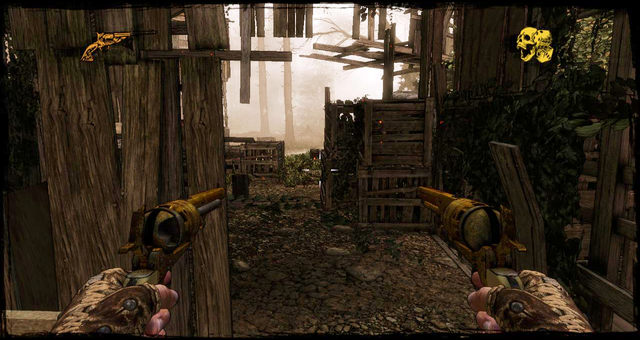
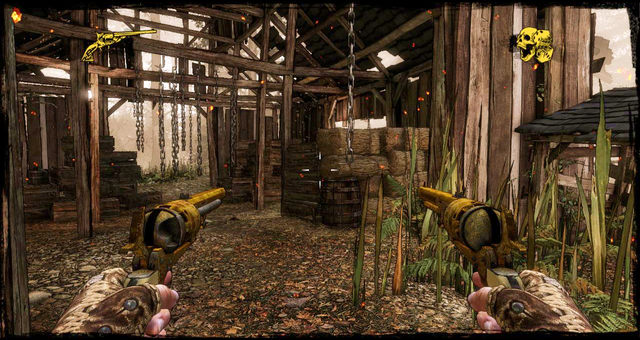 Barn entrance
Inside, crouch and get through on the left. After a while you'll see a barn. Go through it.
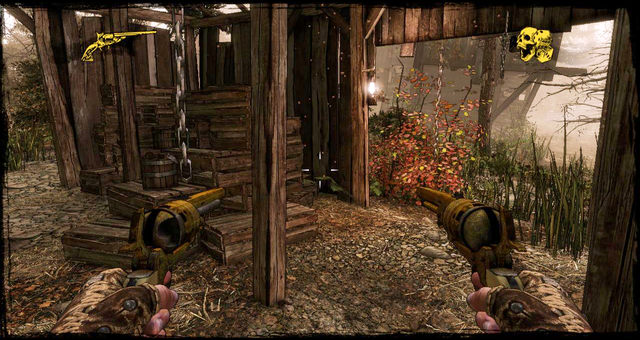 Barn exit
Watch out, because the beams will collapse and you're going to have to avoid being crushed. Turn right and get back on the path.
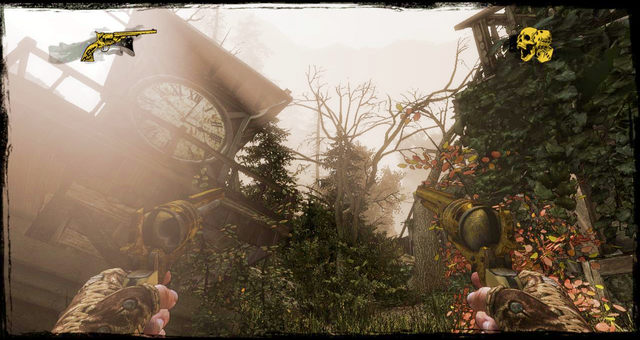
As you follow it, the mini game will trigger. Once the enemy's dead, continue onwards. When you reach the ruined clock tower, pictured above, turn right, then left.
 Fend off the bandits from here
As you enter the ruined household, bandits will show up outside, shooting at you from windows. Thin their ranks a little to force them to flee. Now go straight ahead.
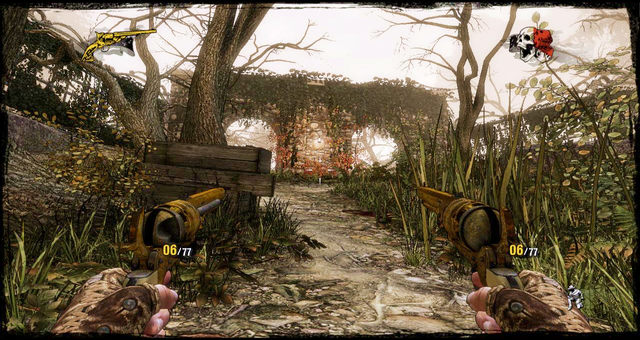
 A view on the ghost town
Ghosts of the past will block you the way. Don't show them any mercy, just shoot at them as if they were alive. The way leads through the ghost town, anyway, so take covers and keep going. If you're running short on ammo, there is a box in the shack on the left.
 Cemetery entrance
Make your way up until you see a cemetery entrance. Go there right away.
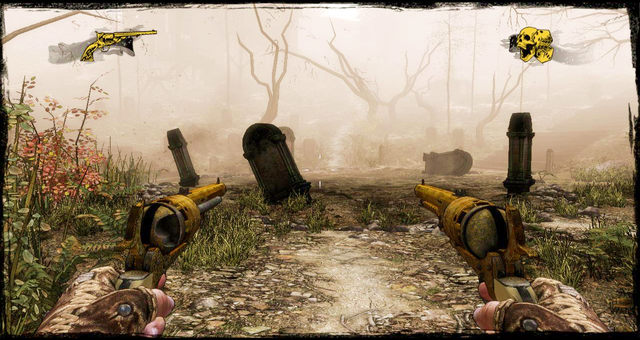 The stage of the final battle
Keep following the path, it will show you the right direction. Once you're between the graves, loads of the undead will come at you. Keep changing positions because they will pester you from behind more than once.
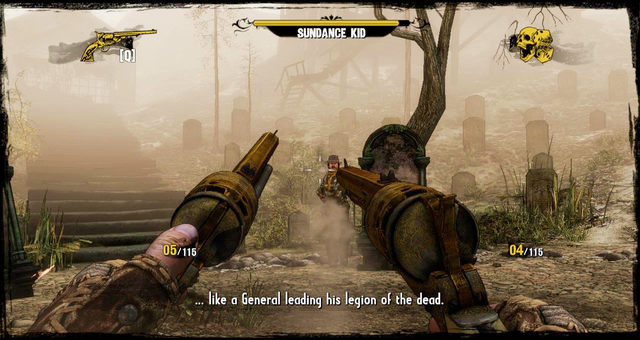 The duel with Sundance Kid
Fend them off until Sundance shows up. The fight is similar to the one against one of the Daltons after the bank robbery. The guy is hellishly resistant, though, and wields a shotgun at that. Keep hiding behind the graves and make sure to maintain a healthy distance. In case of emergency, use Concentration to unload on him and step back.
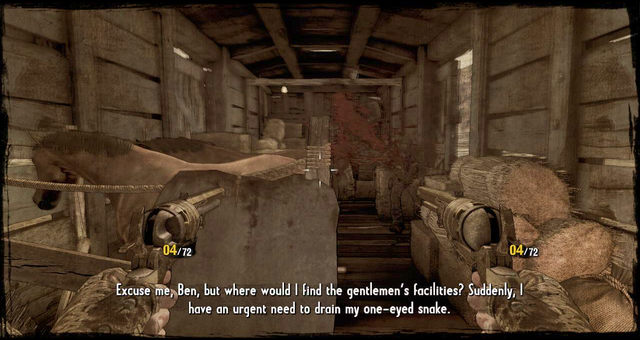
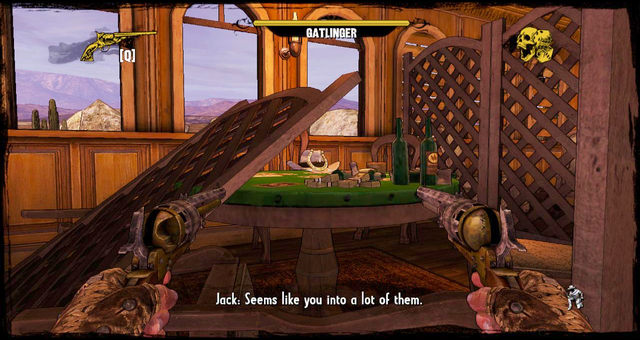
After the battle it will turn out he's not exactly dead. He'll stand up as if nothing ever happened, and then a second opponent will make his entrance. A Mexican standoff commences.
 Mexican standoff
The basis of the duel remains the same, but one little thing changes: to fill up the Concentration meter now, you need to have your crosshairs on the enemy who is looking at you at the given moment. You can switch the view using Q and E. Once the weapons are drawn, immediately shoot one of them, then switch to the other and pack a bullet in him too. After it's all over, it will turn out that Ben, to whom you've been telling the story all along, is actually Bob - the one you've been chasing after throughout the entire game. You'll have a choice to make: either take your revenge, or forgive him.
If you choose revenge, you'll trigger a duel. However, there won't be any Concentration or speed meters anymore; you'll be left only with your crosshairs. Apart from that, the rest is the same. Once Bob is dead, the game comes to a conclusion.
 The first Nugget of Truth
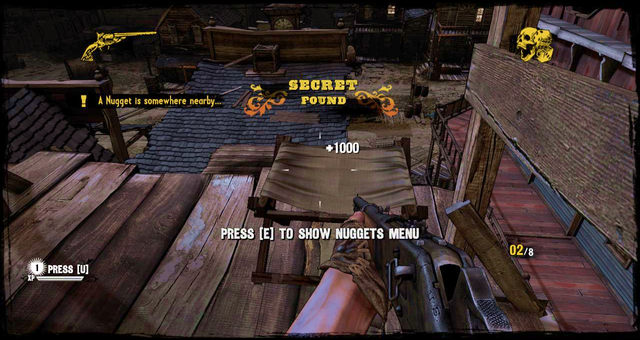
The first secret can't be missed. As soon as you take down the first bunch of enemies on the farm, approach the wagon blocking the passage and turn left. Crouch under the fence and collect the first Nugget.
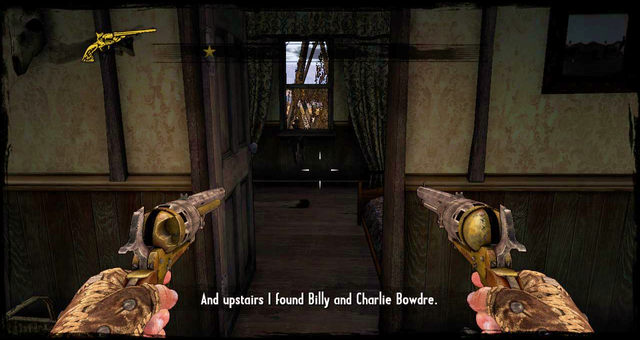
The open room upstairsThe second secret is inside the house Billy the Kid is hiding in. Enter through the back door and go upstairs. You'll find what you're looking for in the open room on the upper floor.
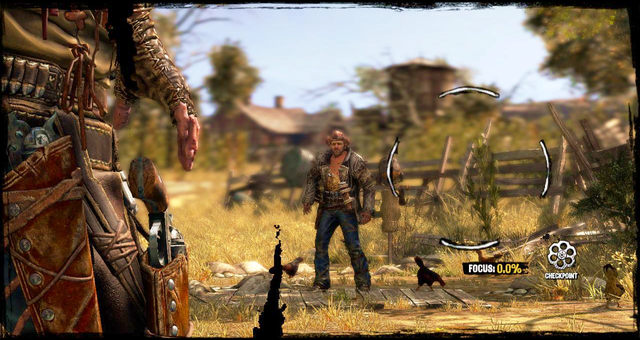
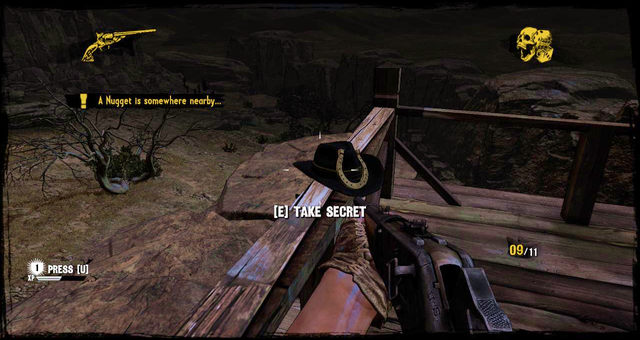
 The scarecrow has the secret
The last secret in this episode is located near the stable you go to after the shootout in the house. When you near it, turn left and approach the scarecrow. The Nugget of Truth, in the form of a hat, is hanging right on it.
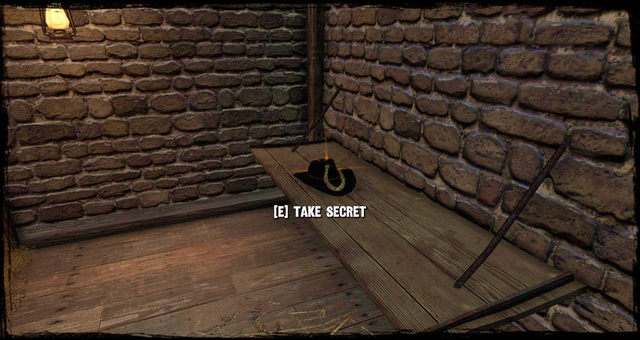 The first secret in a cell
You'll find the first Nugget in one of the cells. As soon as you leave yours, go for the corridor and look inside the first cell on the right. The Nugget lies on the bench.
 The secret in the town, next to a supply cache
You'll stumble upon the second on your way through the roofs. When you drop down back in town, follow the rocks on the left. Go around a building and you'll find not only the secret, but a hidden ammo cache as well.
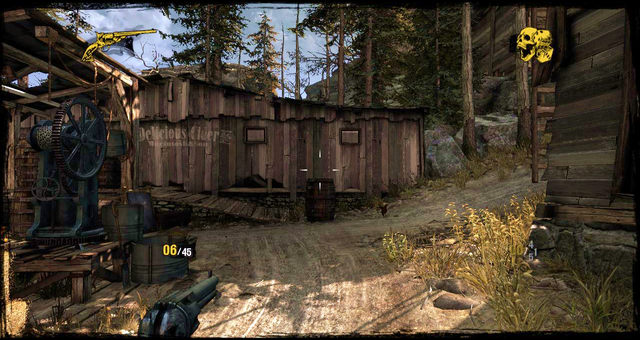 Crossroads, the secret is on the left (by the black machine)
The third is located on the crossroads with blocked paths. Climb up the ladder attached to one of the buildings. The secret lies by the old machinery on the left side of the road you took to get here.
 The house on the right after you get on the main street
You'll find the last of them after the shootout in the square. Follow the large street towards the stable. The Nugget is hidden in the first building on the right, right after entering the main street.
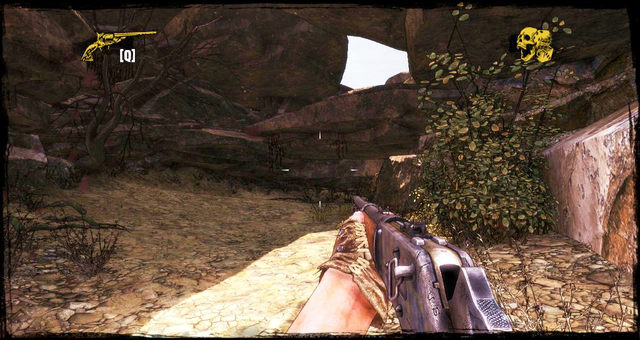
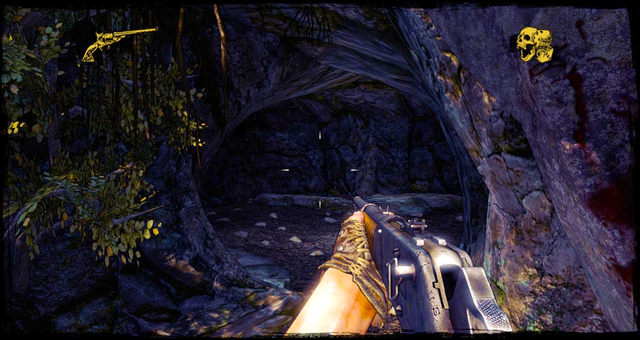
 The tent in the cave, the secret inside
The first secret awaits you in the cave you use to escape after the stagecoach trap. Grab it from a tent.
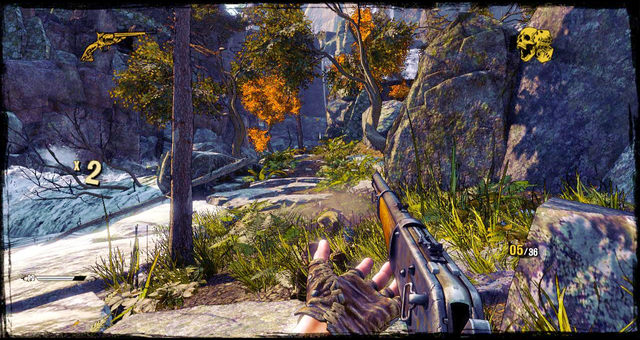
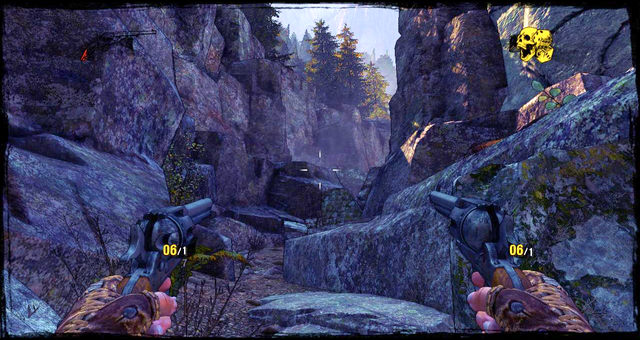
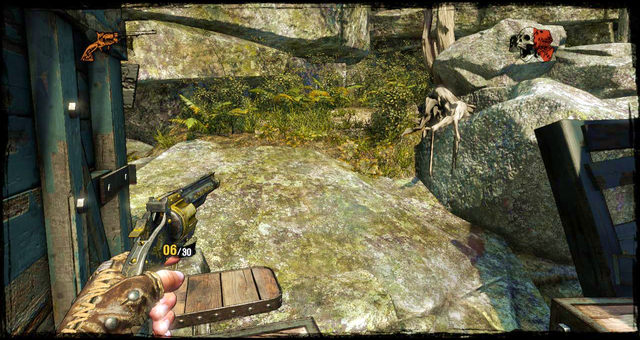
 Follow these rocks
You'll find the second one right after robbing the Indian out of his ammo. Once you get the dynamite, keep close to the left side of the rocks. You can tell the correct path by Indian drawings on them. The secrets lies at the end of the road.
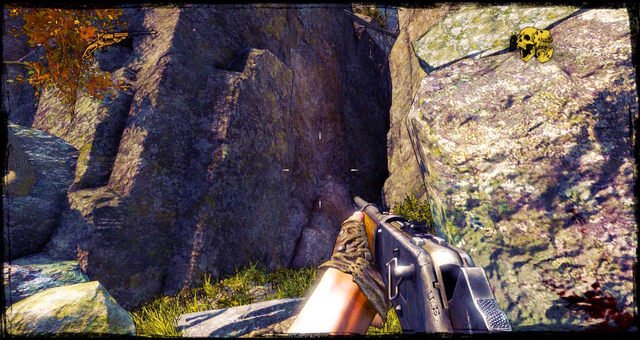
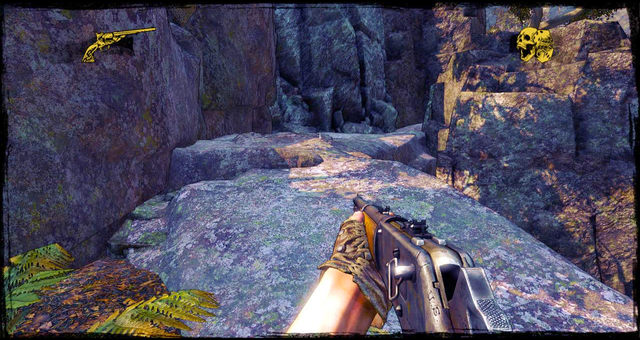
 Flank Clanton on the left and you'll find the secret
The third and the last is located next to the left rock shelf. You can grab it when the battle with Clanton starts and you're practically underneath him. The walkthrough tells you to turn right, but to get the secret you need to turn left.
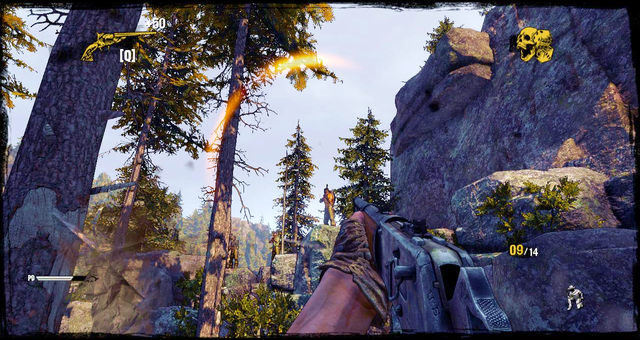
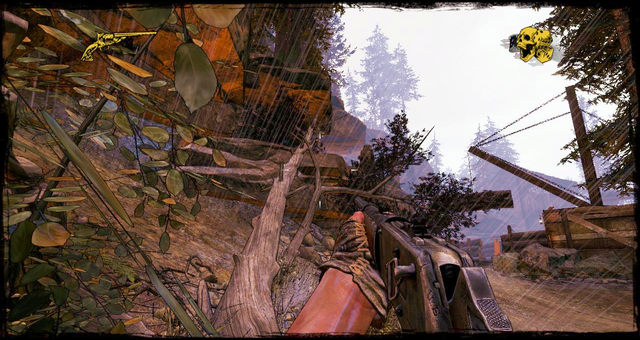 Climb that tree
After the first shootout between the logs, go down and follow the path until you see a collapsed tree. Go up it to unlock the Nugget.
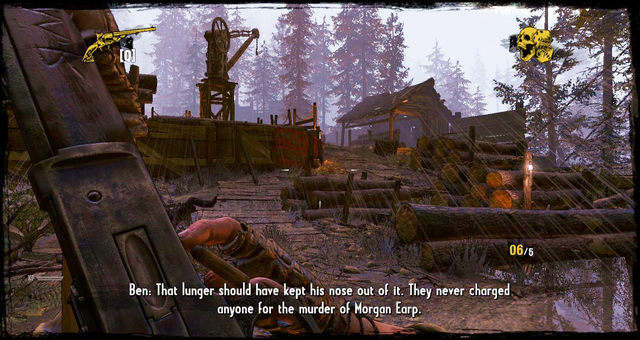
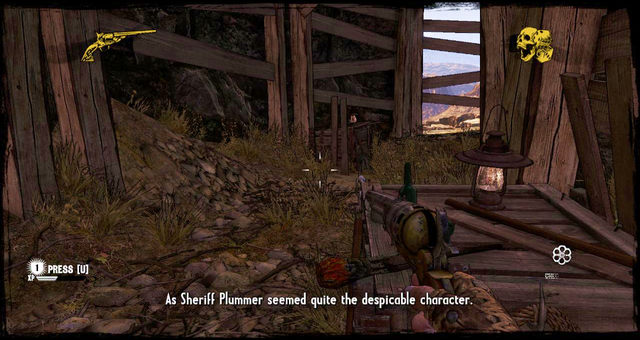
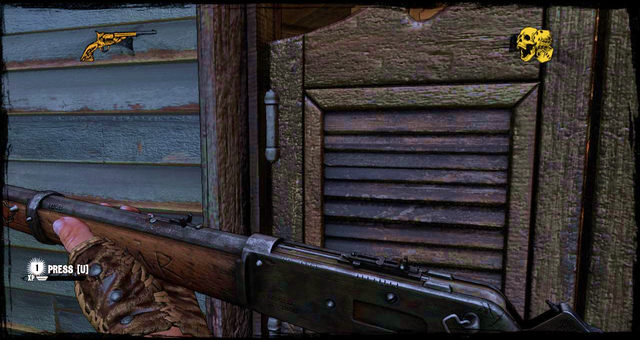
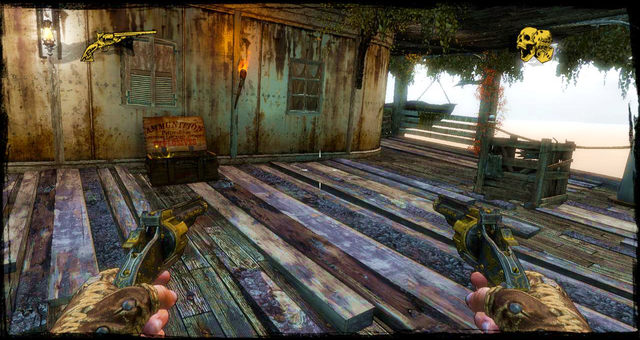
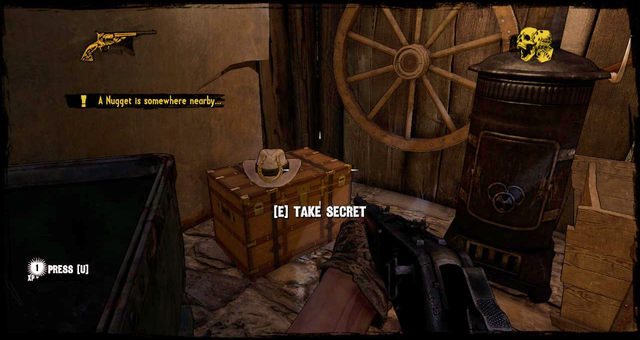
 The barn hides the secret
When you find the dynamite, make your way up the stairs towards the shack on the left. The Nugget of Truth is right there.
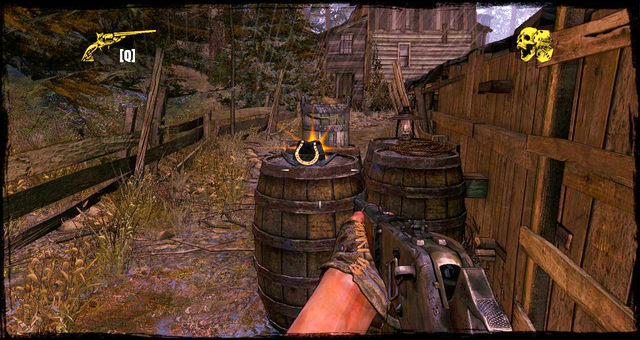 Behind the logs
Prior to the entrance of the shielders, you can turn right and look for the secret on top of the barrels.
 Get on the balcony
Move out as soon as the log on chains falls. When you get to the bridge, turn left the first chance you have. The Nugget is on the left.
 The smaller mine (the Nugget on the right, as pictures above)
The first secret lies in the smaller mine, left of the wagon with explosives. Grab it from inside.
 The mine proper, the secret down the ladder
The second is in the cave with a plenitude of forks and hallways. Turn right at the first crossroads and go straight ahead. Climb down the ladder and you'll find it on your right.
 Explosives storage
As you go further, you'll reach a storage area with a lot of enemies and a lot or exploding barrels. The secret cache is on the left.
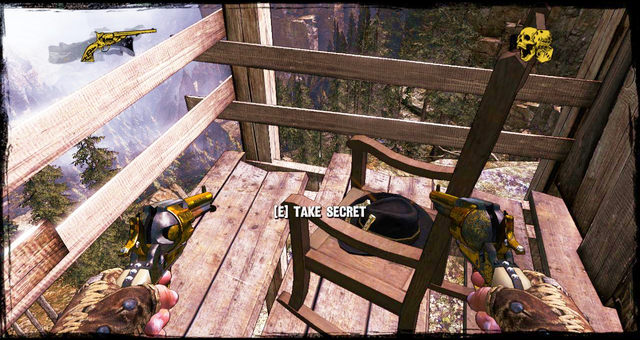
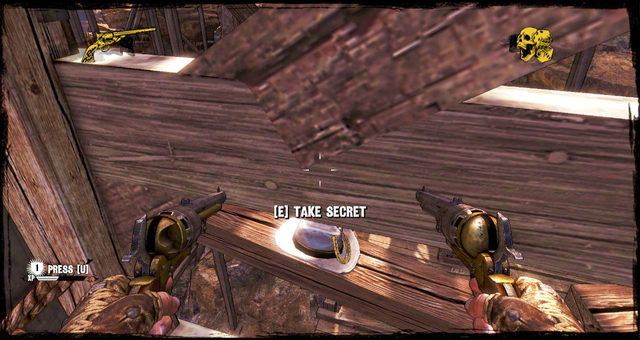 The hat on the planks
The last secret is located in the spot where you can choose either the ladders or the lift. To get the Nugget, take the lift, and grab the secret from a plank as you go up.
 The Nugget of Truth inside the blacksmith's house
When the episode begins, move back and enter the first back alley. Follow the path until you reach a blacksmith's building. The next Nugget is right in there.
 Climb up that ladder, then go inside the room|
Turn right prior to entering the saloon. Climb up the ladder, the enter the room through a window. The secret is waiting for you inside.
 The water tower secret
Go out on the balcony, find another ladder, get to the roof, jump over to the second tower, and you'll find the third Nugget on the table.
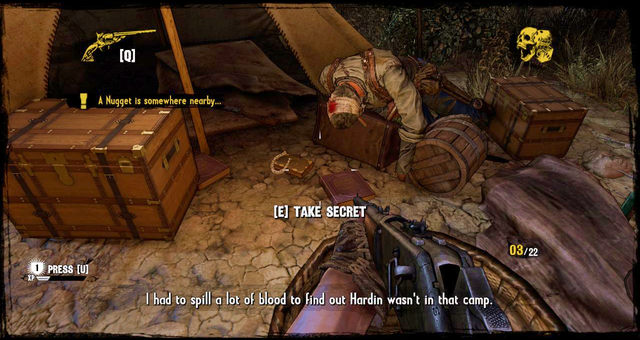 The first tent
Once the story moves forward, you'll be walking down a forest path. As you pass a herd of cows, you'll stumble upon the first camp tents. The secret is hidden inside one of them.
 The second tent, up on the rocks
You'll find the next in one of the tents ahead. Go between the rocks on the right to reach it.
 The water tower railing, near the bandits' camp
The next one is on the water tower. Climb up the ladder and you'll see it.
 House entrance
Walk to the other side of the river and turn left. You'll come across a ruined wooden cabin. Go inside to get the secret.
 The Nugget to the left of the crossroads
The second lies in the cave which you can enter from up the river. When you reach the crossroads (the right path is lit, the left one isn't), go to the left.
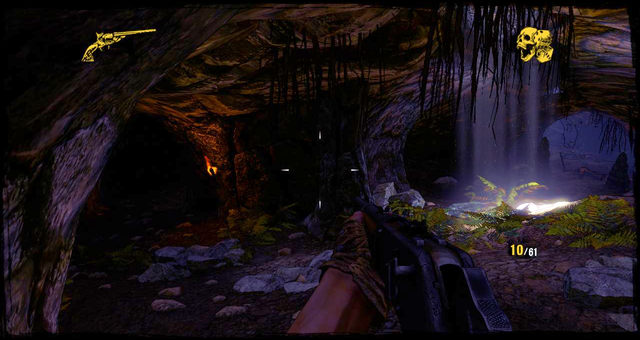
 The Nugget on the right
When Silas tells you you're approaching the Cave of Death, don't go in yet, but turn right first. You'll find the secret in the next room.
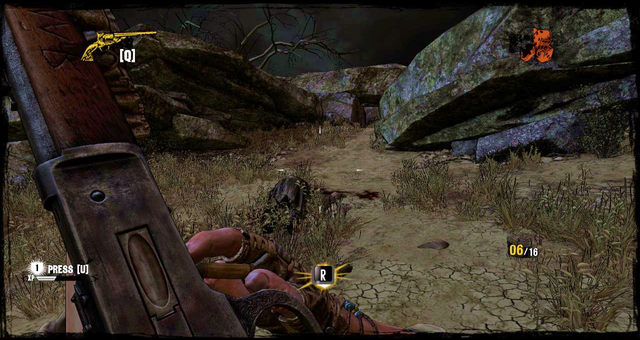
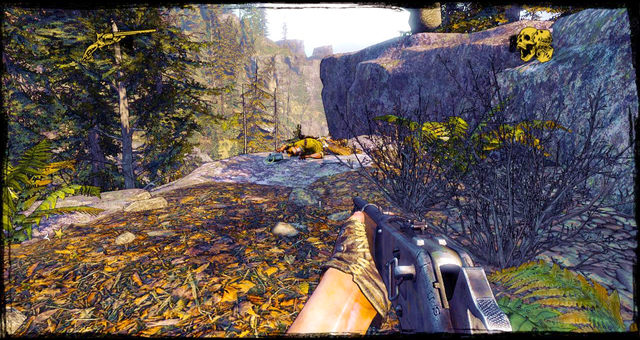 The dead Indian
When the trap ends and you see the further way, follow the way the game gives you, then stop and turn right immediately. You'll see a corpse of an Indian.
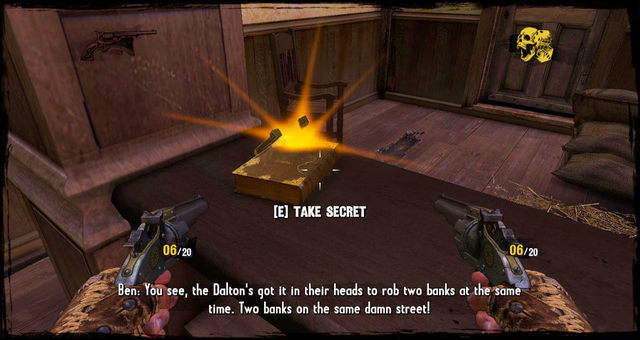 The Nugget on the counter
The first secret is located just on your left, right at the beginning of the episode.
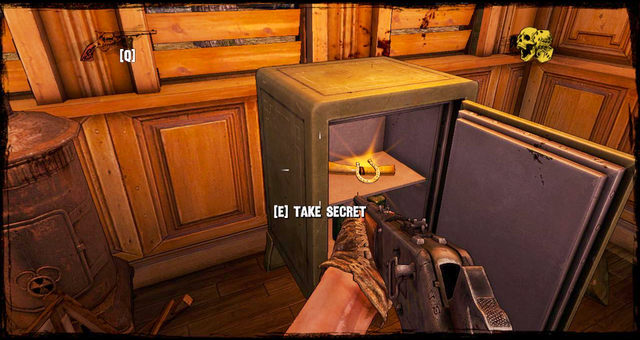
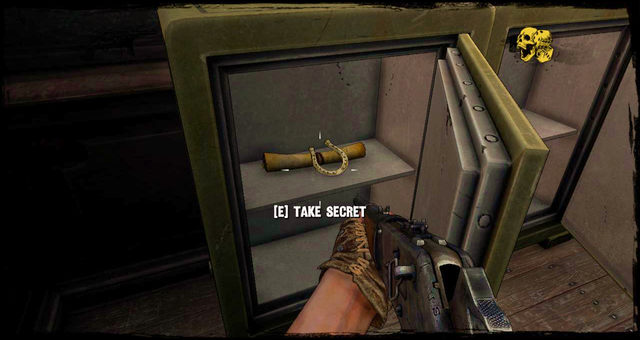 The safe on the ground floor
You can find the next one only after you've gotten inside the bank. There is a safe on the ground floor, and inside it - the secret.
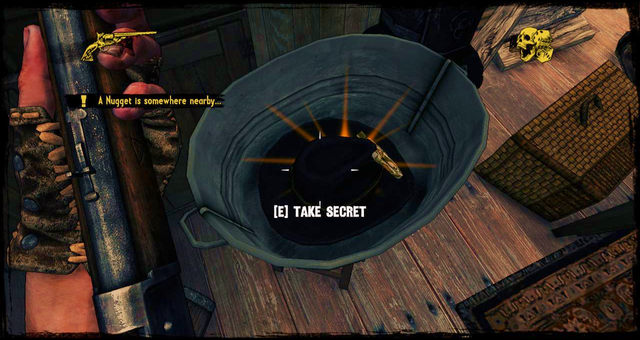 The Nugget in the bucket
The next one is inside Smiths' house. You'll reach it during the pursuit of the Daltons after they got away with the money. Silas will tell you when the Smiths show up, and their house is just up the street. Get the secret from the ground floor, on the left.
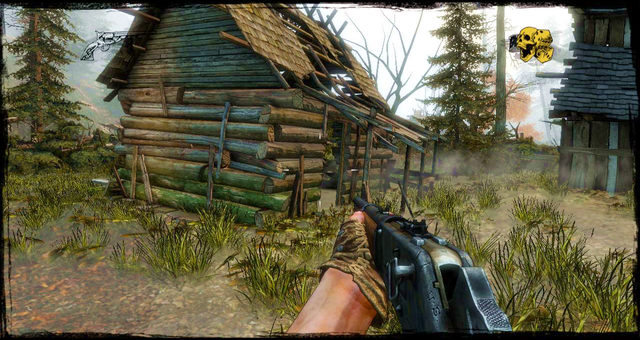 The house with the secret
When you reach the first flooded buildings, get the Nugget from inside one of them.
 Another house with another secret
The second lies near the steamship, on the upper floor of the building on the right.
 Upstairs the ship
You'll find the third on the steamship. Get aboard and go upstairs. When you see doors on the left, go past it and get to the end.
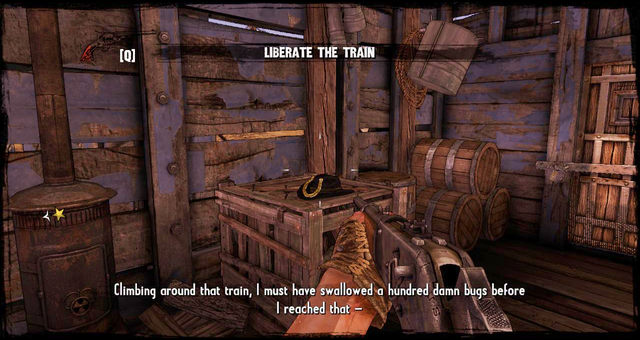
 The Nugget is inside the cart
The first secret is located inside the green cart, between coffers. You'll see it next to the one that's going to follow you down the precipice.
 The cart you destroyed
You can find the second one in the cart with exploding barrels and some enemies. Shoot the barrel to get rid of them, go inside, and the secret will be waiting for you on the left.
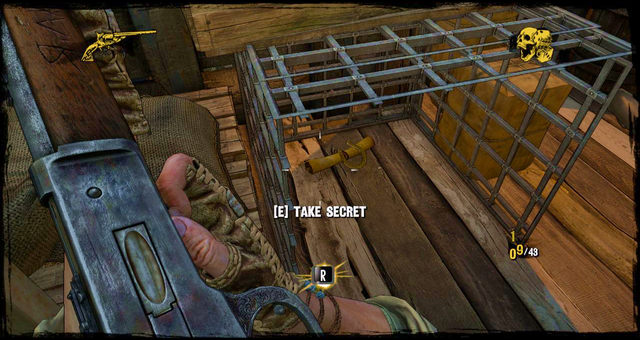 Between grates
The third one lies inside the carts further on (the second one after the roof cutscene). Look for a metal grate in the floor. Look under it and you'll find the last Nugget of this episode.
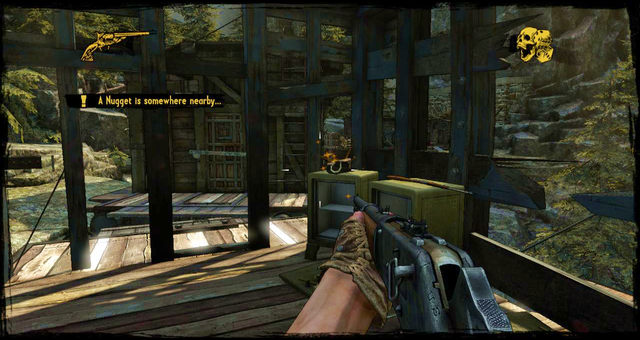
 The tent in the camp
The first one is in the camp you come across at the beginning. It's the same camp with the map written on the rock. Grab the Nugget from a tent.
 Climb the tent
You can find the second one after disarming the fourth dynamite bomb. Move forward, find a ladder on the right, climb up, go across a plank, go down the next ladder, get the secret.
 Use the planks on the right to get higher
The last but not least can be found while chasing the spark. When the spark goes left, you go right. Jump across planks and you'll the secret at the end of the road.
The crate near the wagonYou can grab the last one during the battle with Curry Kid. In the crate, near the wagon.
 The safe
The first secret lies in one of the carts; it may be helpful that it's hidden inside an open safe.
 The hat on the crate
At one point, you're going to have climb to the roof of the speeding train. You'll be taking cover behind an open hatch leading inside the cart below. Drop down and you'll find the Nugget.
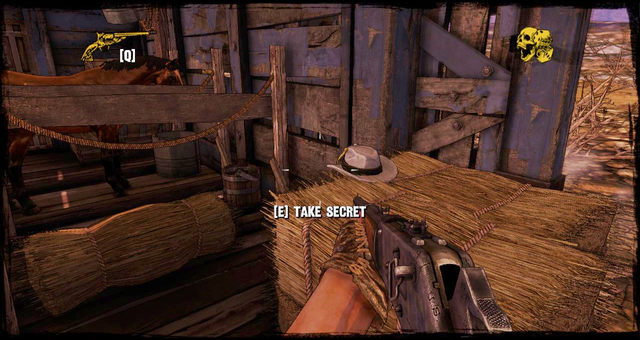 Next to the horses
The third one is located in the next cart, one of the few with horses.
 During the gatling gun exchange
The last one is easy to see, on the table with cards and cash.
 The tent in the Indian's camp
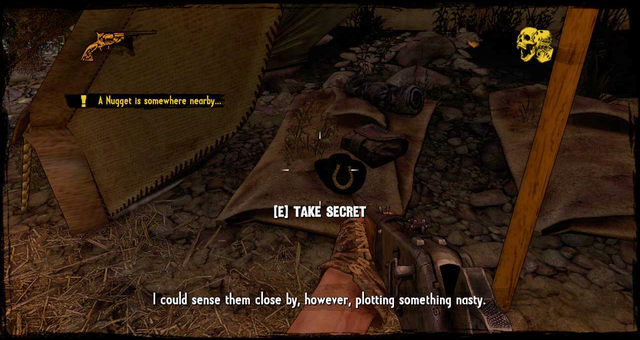
The first secret awaits you in an Indian tent.
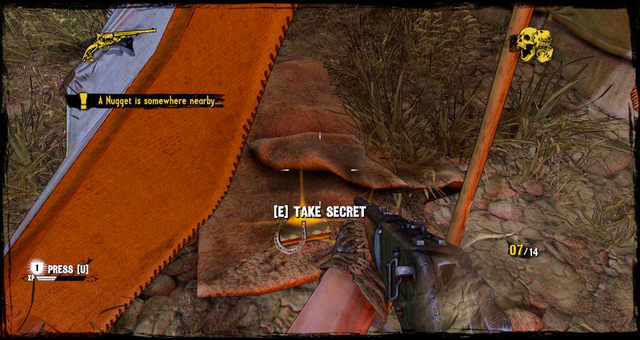
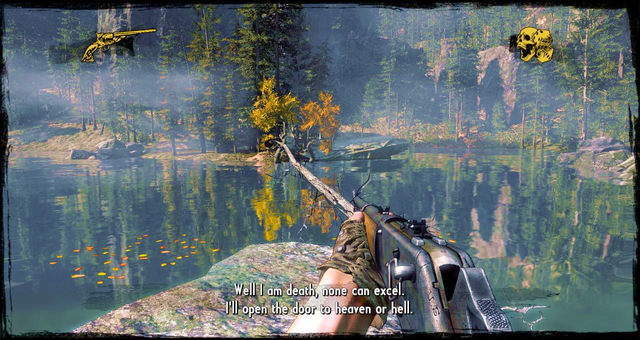 By the lake
The second one is by the lakeshore, hanging from a branch stretched across water.
 Walk this plank and you'll know you're on the right path
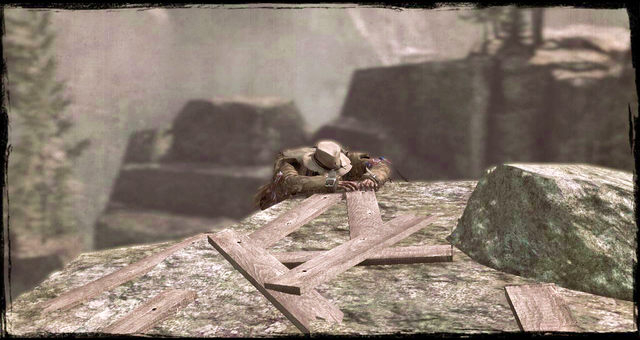
As you go after Frank, there'll be a point where you can go left, past the rocks, or right. Go right and you'll find the Nugget in no time.
On the logsRight after the dynamite battle, you'll be crossing a bridge. When you do, the Nugget will be waiting for you on the right, on top of some logs.
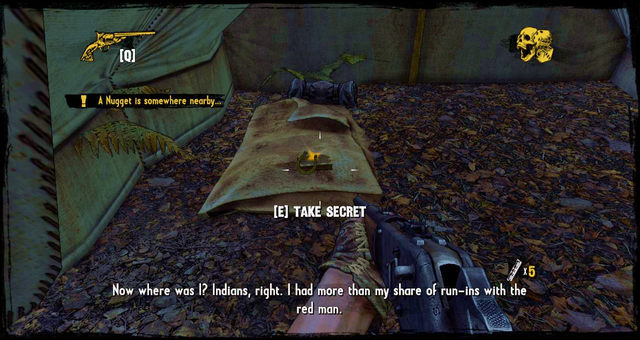
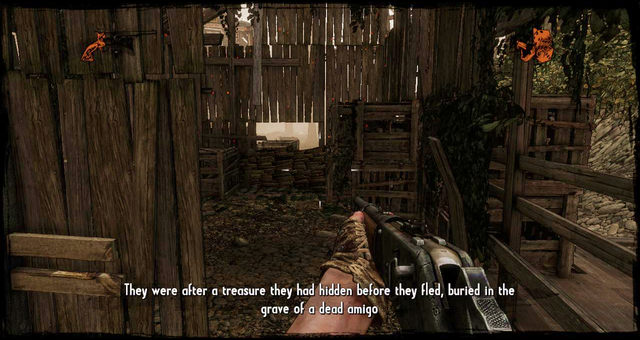
 Jim's cave
The last one lies in Jim Reed's cave, where some twenty or so gunmen jump you and you need to take cover behind barrels. The secret is on top one of them.
 Climb these stairs to get to the secret
The first one lies inside the house you need to go through since the path is blocked. It's to your right. Once inside, go upstairs and grab the Nugget.
 The house hiding the next Nugget
The second one is hidden in a household behind the barn. Grab it from the table.
 Here's where you lose consciousness; the Nugget is upstairs|
When you see the clock, turn right, then left. You'll reach a building in which the story unfolds. The Nugget of Truth is right upstairs.
 The house near the cemetery, the last Nugget in the game
The last one is hidden in the ghost town, prior to entering the cemetery. To be exact, it's in the building on the right.


 Car Mechanic Simulator 2014 Game Guide & Walkthrough
 Call of Duty: Modern Warfare 3 Game Guide & Walkthrough
 Command & Conquer: Red Alert 3 Game Guide & Walkthrough
 Company of Heroes 2 Game Guide & Walkthrough
 Crime Scene Investigation: Hard Evidence Game Guide & Walkthrough