After you create a new world in Minecraft, the first order of business is to survive the first night. While the first night can be scary and frustrating for a first-time player, a little preparation will make it a breeze. The table shows a basic schedule of what you’ll need to do to prepare for the night in the 13 minutes you have available.
After you start the game and your avatar appears, you need to start planning out your day, so you can survive the night. The first thing you will need to do is find a living space with some trees and a suitable area for building (usually flat).
Always locate trees when starting a game, because you use wooden materials to craft most of the initial items. To survive the first night, on your first day you need to craft these elements:
Crafting table (or workbench, used for building)
Wooden tools
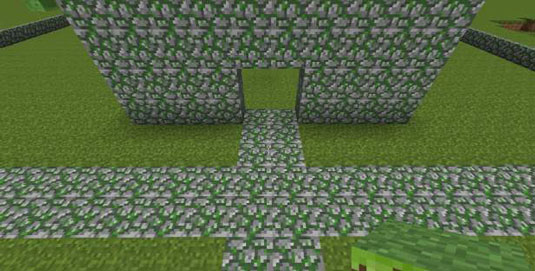
Shelter with a door
You can also craft useful, non-essential items as daylight allows, often during the first day:
Stone tools
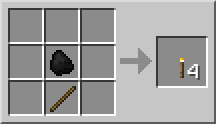
Torches
Furnace
Bed
Chest
When you start creating your own world, you may discover that the sun is setting too quickly. If that’s the case, you can press Esc to open the Pause menu and choose Options→Difficulty repeatedly until the screen reads Difficulty: Peaceful. This option makes the world much safer and causes your health to regenerate. Alternatively, if you enable cheats for your world, press T, type /time set 0, and press Enter to cause an early sunrise.
Before you start gathering materials and crafting items, you should know how to manage the Inventory screen. The nine squares at the bottom of the game screen display items you’ve obtained.
For example, if you break a block such as wood or dirt, an item pops out that is automatically picked up, causing it to appear in one of the inventory squares. The row of squares at the bottom of the game screen represents a quarter of the inventory.
To see the entire inventory, as shown, press E (or the corresponding key binding).
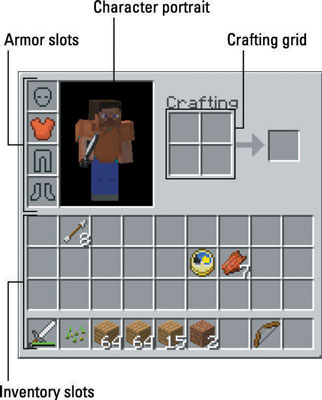
You should be familiar with these four components of the inventory:
Inventory slots: The four rows of squares at the bottom of the screen, where you see your items. You select the items in the bottom row outside the Inventory screen with the 1–9 keys on the keyboard or the scroll wheel.
Crafting grid: A 2-by-2 square, followed by an arrow pointing toward another square to the right. When you want to craft basic items, such as torches or mushroom stew, place the ingredients on the grid to make the result appear on the other side of the arrow.
Character portrait: A small screen showing what your character looks like now. This portrait can change when your character sits or sleeps, wears armor, gets hit by arrows, drinks invisibility potions, catches fire, and more.
Armor slots: The four squares in the upper left corner, representing a helmet, a suit, leggings, and boots. When you obtain armor later in the game, you can place it in these slots; shift-clicking a piece of armor automatically equips it in the corresponding slot.
Because most items are stackable, several similar items such as wooden planks or steak can share the same inventory slot; an item may have a white number next to it in the inventory, indicating how many you have. Most stackable items cannot exceed a 64-stack — you can fit as many as 64 items into one space. Tools, weapons, and armor do not stack, and some items, such as ender pearls or snowballs, cannot exceed a 16-stack.
While viewing the full inventory, you can use these basic commands for manipulating items in the inventory:
Pick up the items in an inventory square: Click a square in the inventory to pick up the items there.
Pick up half of the items in an inventory square: Right-click a square in the inventory to pick up half (rounded up) of the items there.
Place all items you’re holding: While holding an item or a stack of items, click an empty square to place the item(s) there.
Place a single item that you’re holding: While holding a stack of items, right-click an empty square to place one item there. The rest remain on the cursor. Right-click several times to place several items.
In addition, while holding an item, you can click outside the Inventory screen to drop the item on the ground. While outside the Inventory screen, you can press the 1–9 keys to select an item from the bottom row of the inventory and then press Q to drop the item. If you do this with a stack of items, only one item is thrown.
If you’re just starting out in Minecraft, break nearby blocks and move them around in the inventory to become familiar with it.
 How to Make Your Minecraft Construction Look Old - For Dummies
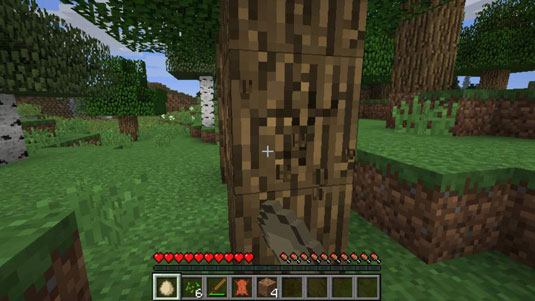 3 Strategies to Help You Survive the First Night in Minecraft - For Dummies
 How to Write Minecraft Mods with Functions - For Dummies
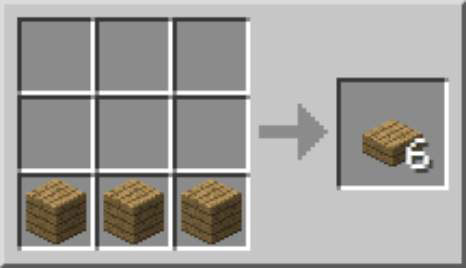 How to Craft Slabs in Minecraft - For Dummies
 How to Make Sticks and Wooden Tools in Minecraft - For Dummies