 Today’s free flash game of the day was Deep Chalk: Phase Three and, as promised, I am giving you the Deep Chalk: Phase Three walkthrough to help you carry on with the game in case you got stuck. So simply read the step by step instructions below on how to beat Deep Chalk: Phase Three and experience the great puzzler in my Deep Chalk: Phase Three walkthrough!
In order to start the game, click on the lever near the text that reads “Third phase”
Level 1 walkthrough:
– Mouse over the sun until the branches get all the flower buds. Then, mouse over each flower bud to create a flower bridge the crystal will cross.
– Press the buttons in the bottom right corner until all the poles get in the boxes: press the first button to the left, then the fourth button, then the second button (from left to right), then the third button. A bridge appears and the crystal will cross it.
Level 2 walkthrough:
– Mouse over the butterflies until they create a bridge (watch them all, as one butterfly will remain somewhere to the right of the screen).
– Nudge the ball of the pedestal and notice that a rope with a button on it appears near the two hooks below. Click on that button then nudge the ball to the right.
Level 3 walkthrough:
– Hit the button above the flying machine so that it follows your cursor. Move up near the symbol with three dots in the upper left corner and numbers will appear near the umbrellas’ locations. That’s the order you have to go to them and hang them.
– In order to “hang” them, you have to move your flying machine beneath each of them. The correct order is: 1) umbrella to the foremost right, 2) umbrella at the top of the screen, 3) umbrella at the middle and 4) umbrella below. If you mess things up, simply hang all the umbrellas in whatever order and they will be reseted.
– After all umbrellas are in place, move the flying machine to the bottom right of the screen and the diamond will get out.
Level 4 walkthrough:
– Press the buttons below the spinning wheel so that electricity arrives at the same time (first, the middle button, then the button above, then the button to the left)
– use the two water valves beneath the reservoir to water that white thing until it turns into a ball. Click the ball and after it falls, use the valves again so that water pumps from the crack below and the crystal passes it. Next, hit the valves again so the water falls on the ball and wait a little until a tree is born.
Level 5 walkthrough:
– Click on the pipe situated on the board and the bridge will get repaierd.
– Between the rocks, there is a new pipe that can barely be seen. Click on it to repair the second conduct.
– Finally, in the middle of the screen, under the three plants there is the third pipe. Click on it.
– Now you have to move fast: click on the button below the crystal and notice the the circles to the left start shining. You have to guide all three of them to the right of the screen. To do so, mouse over the one below first, then the two above. Just be quick and mouse over them until they all get to the right of the screen. If done correctly, your crystal will get to the next level.
Level 6 walkthrough:
– Mouse over the sun and remember the highlighted areas. Click on them to remove the obstacles ahead.
– Use the code that falls off the bridge from time to time (1969) and you’re done!
Hope you enjoyed my Deep Chalk: Phase Three walkthrough. If you still have problems, feel free to use the comment section below!


 Top 10 Best Hack and Slash Games
 10 Best iPhone iOS Games of 2015
 Total War - Attila (PC) The Huns guide
 Reincarnation: Riley’s Out Again Walkthrough
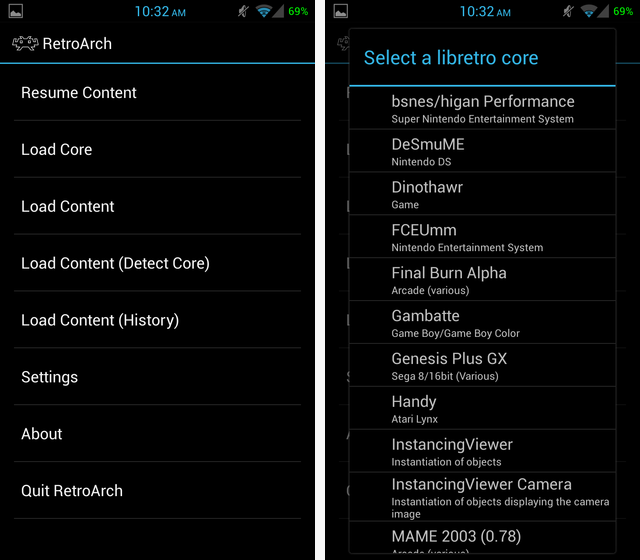 Easily Turn Your Android Device Into A Retro Gaming Hub