

One of the best advantages of having an Android device is being able to emulate old consoles. From the Sega Genesis to the Nintendo 64 (or even the Nintendo DS if your device is fast enough), there exists a wide range of emulators for Android devices, all available without any rooting or modding.
All of the emulators we will discuss have on-screen controls, but they can also be turned off if you want to connect a Wii Remote, PS3 Controller, Xbox 360 controller, or other third party controller.
First up, we’ll look at one app that is really dominating Android retro gaming right now before looking at some alternatives.
Imagine having one app to control all of your retro gaming; that’s the idea behind RetroArch. It supports a wide range of old game consoles through what it calls “cores”, which you can manually choose or have it automatically detect.
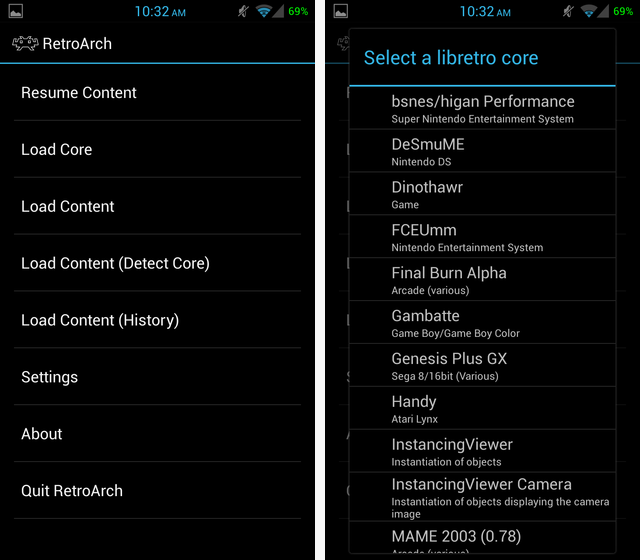
To control different games, you can change the “input overlay”, which is essentially on-screen controls, as shown below. The overlays are pretty limited and look really squished in portrait mode, but you can download custom made ones from the Libretro forums (Libretro is the development interface RetroArch uses).
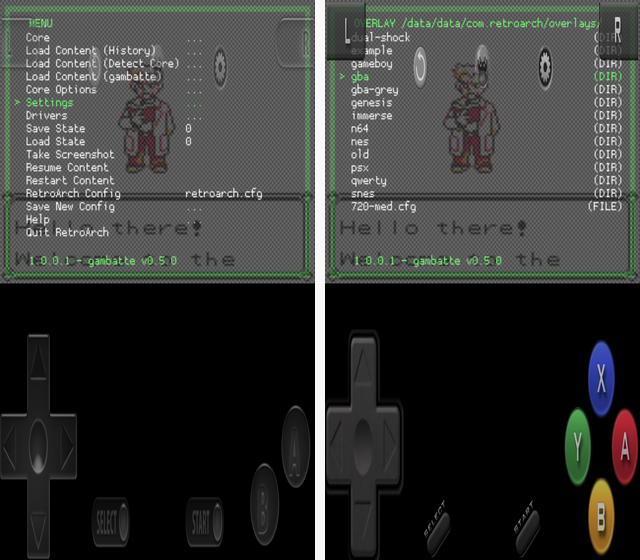
Shown below, the controls look a lot better in landscape, but they still aren’t customizable.
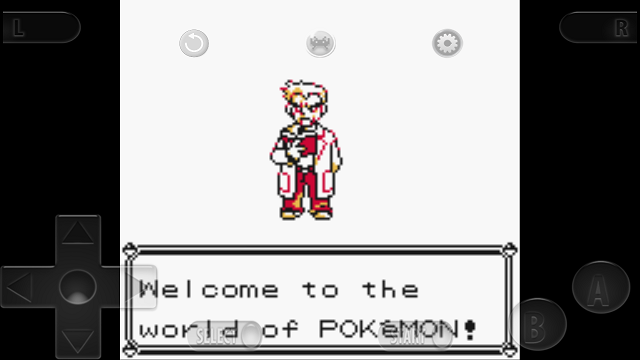
Due to this lack of on-screen control customization, I actually find it useful to have some separate emulator apps, which we’ll discuss later, but I love the simplicity of using RetroArch, and the fact that it is an open-source project, free, and has no ads.
As an alternative to RetroArch with much improved control customization and a nicer interface is ClassicBoy. The app on the Play Store is only a “Lite” version, and most of the features have to be unlocked through a $3.00 in-app purchase. But for those three dollars, you get completely customizable controls, a slick interface, but slightly fewer options for consoles to emulate and no auto-detect option.
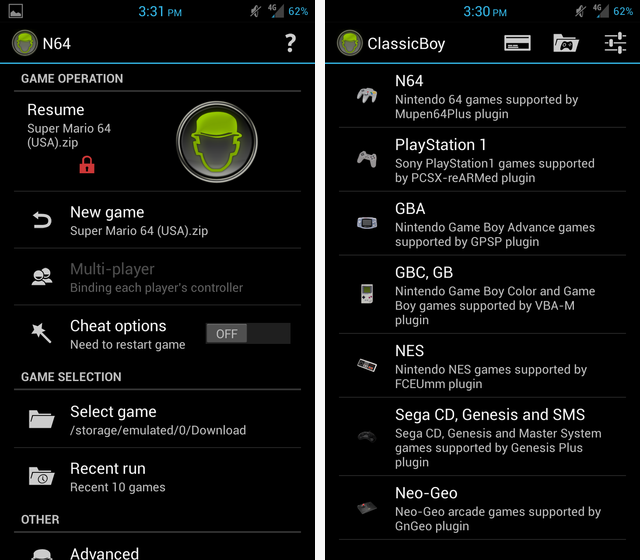
Below, you can see the controls for the GameBoy color emulator inside ClassicBoy. The controls are completely moveable and resizable, so you can squeeze all the buttons over to the right side or make the d-pad small enough that it doesn’t touch the square screen in the center.
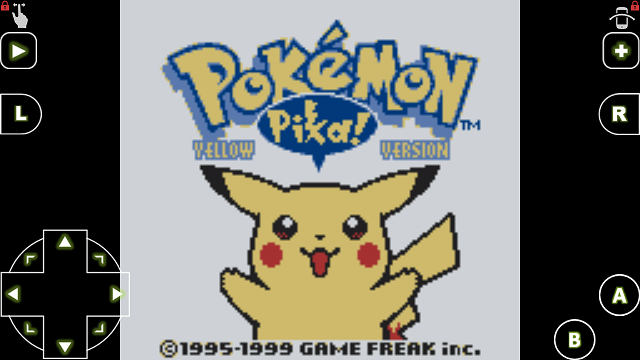
$3.00 really isn’t a bad deal for the seven emulators included with this app, and it has a wealth of features on top of that like gesture and accelerometer controls and external controller support for up to four players.
In the past, we’ve covered how to play N64 and GBA games on your Android device, but there are many more emulators out there for even older consoles. Emuparadise has a pretty solid list of free emulators that you can download as an apk file and install on your device, but here are a few of the best options that you can get from the Play Store.
They may cost you a few bucks or be ad-supported, but they’ll receive updates and be supported by their developers. If they require a “bios” file to run, you’ll have to do your own Google searching to find it.
PlayStation: ePSXe For Android ($3.75)
Nintendo DS: Aftershock NDS Emulator (Free)
Nintendo 64: Mupen64+AE (Free)
GameBoy Advance: Aftershock GBA Emulator (Free)
GameBoy/GameBoy Color: GameBoy Color A.D. (Free)
SNES: SNESDroid (Free)
NES: Nostalgia.NES (Free)
Sega DreamCast: Reicast (Free)
Sega Genesis: GENPlusDroid (Free)
Neo Geo: NEO.emu (Free)
If you can’t find something you like in the Play Store, I’d suggest checking Emuparadise as they seem to have a wider range of emulators.
But why use any of these instead of RetroArch or ClassicBoy? Well, in some cases it can be to support a certain system; for instance, ClassicBoy doesn’t support Nintendo DS yet. In other cases, they might lack something that you want like on-screen control customization or improved user interface. Below, we’ll compare a few of the different on-screen controls from different apps.
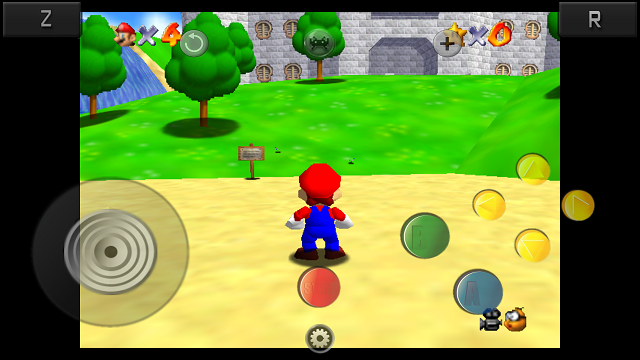
The first image, above, is from the RetroArch emulator. The N64 buttons definitely look less skewed in landscape than they do in portrait, but they’re still quite intrusive and I found their look distracting.
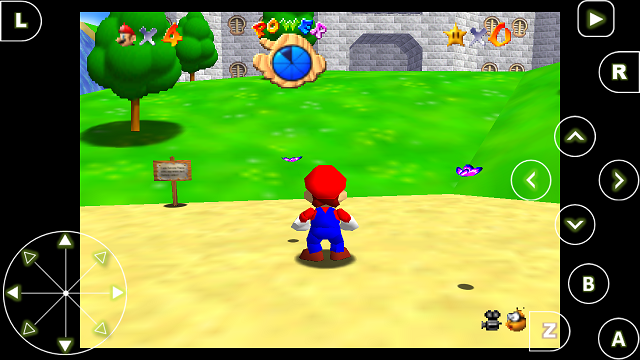
The screencap above is from N64oid, a wonderful emulator downloadable from Emuparadise. This was my favorite because of the very transparent keys and the ability to map the Z button to my volume up button (making it much easier to run, hold Z, and press A at the same time to do a long jump).
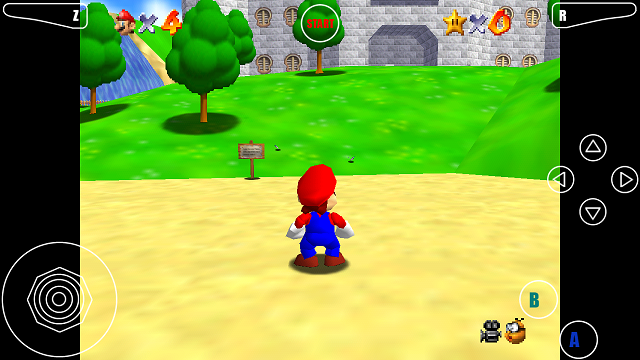
Above is the Mupen64+AE app mentioned earlier as downloadable from the Play Store.

And finally, this is the ClassicBoy setup. While I love the ability to move the buttons around (like the Z button on the screen), the analog stick was strange and hard to get used to.
A ROM is essentially the game itself. It stands for Read-Only Memory, but it has come to indicate the file used for playing a game. These files are pretty readily available on the Internet, but be sure to only download those which you own a physical copy of. We don’t endorse any ROM downloading, and you take matters into your own hands when doing this.
When searching for ROMs, be sure that no websites try to download anything other than a .zip file, especially if it’s a .exe file (on a PC) or a .apk file (on Android). All ROMs should be .zip files, and you shouldn’t need to unzip them, just select the zipped folder with the emulator. File types such as .exe or .apk or programs that run on your PC or Android device and can be harmful.
Older games will likely be smaller in size, like Super Mario World for the SNES which is 334KB, but newer games will be larger, like Pokemon Black for the DS which is 106MB.
Is there anything more fun than playing retro games on your Android device? Yes! Connecting your device to your TV and playing retro games there. With the right physical controller, you could get a really solid gaming session going solely with your phone or tablet.
What are some of your favorite emulation apps for Android? Any games from your childhood that these emulators have helped you relive? Let us know in the comments.
 15 Best Exploration Games of All Time
 Why Jimmy Kimmel is Wrong About YouTube Gaming and Gamers
 Monster Hunter 4 Ultimate Guide: How to Kill a Rathian
 Resident Evil HD Remaster: learn to face most common enemies
 Mad Max Guide: Where to Find Death Run Vehicles